Blank Walls can recite stories with Minimal effort.
Turn them into something special with a plate wall, a time-tested way to showcase your style and memories.
From cozy cottages to sleek apartments, this decorating trick has stood the test of time.
It’s easy to do, even for beginners, and takes less than two hours.
You don’t need fancy tools or skills, just a few plates and a plan.
The final look?
An innovative display that grabs attention and shows off your personality.
Planning Your Plate Wall
Successful plate walls begin with thoughtful planning.
Before reaching for a hammer and nails, consider your vision, space, and materials.
The plates you select establish the tone for your entire display.
Think about how your selection will complement your existing décor and the mood you want to create.
When selecting your wall space, look for areas with natural visibility.
Lighting matters significantly—plates with glossy finishes may create glare in direct sunlight.
The detailed patterns need good illumination to showcase their intricacies.
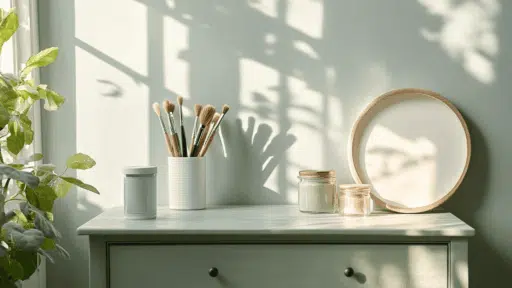
Materials Required to Hang Plates
With just a few tools and a little time, you can hang plates on your wall in a fun and tidy way.
This table lists everything you’ll need.
It also shows how much each item may cost.
| ITEM | PURPOSE | ESTIMATED COST (USD) |
|---|---|---|
| Plates | Your chosen decorative or vintage collection | $5–$50 each |
| Recycled/Newspaper Paper | For tracing outlines and planning a layout | Free |
| Dark Marker or Felt Tip Pen | To trace plate shapes on paper | $1–$3 |
| Scissors | To cut out paper templates | $3–$8 |
| Measuring Tape or Ruler | For spacing and alignment accuracy | $2–$10 |
| Painter’s/Masking Tape | To stick paper outlines to the wall | $3–$6 |
| Plastic Scraper | Removes stickers without scratching | $2–$5 |
| Wire Plate Hangers (e.g., Tripar) | Holds plates securely on the wall | $3–$7 each |
| Picture Hanger Nails with Hooks | Used to hang the plates | $2–$6 per pack |
| Hammer | To insert nails into the wall | $5–$15 |
Estimated Cost: $26–$157
Now you have all the tools and steps to hang your plates the right way.
Take your time, plan your layout, and enjoy the process.
A little effort goes a long way, and you’ll love how your wall turns out.
A Step-by-Step Hanging Process
Arranging plates on a wall adds character and visual interest to your space.
It’s a creative way to show off designs that might otherwise stay hidden in a cabinet.
With the right tools and a clear method, you can put them up safely and neatly.
The following are the steps to give your room a personality:
Step 1: Trace Plate Silhouettes on Paper
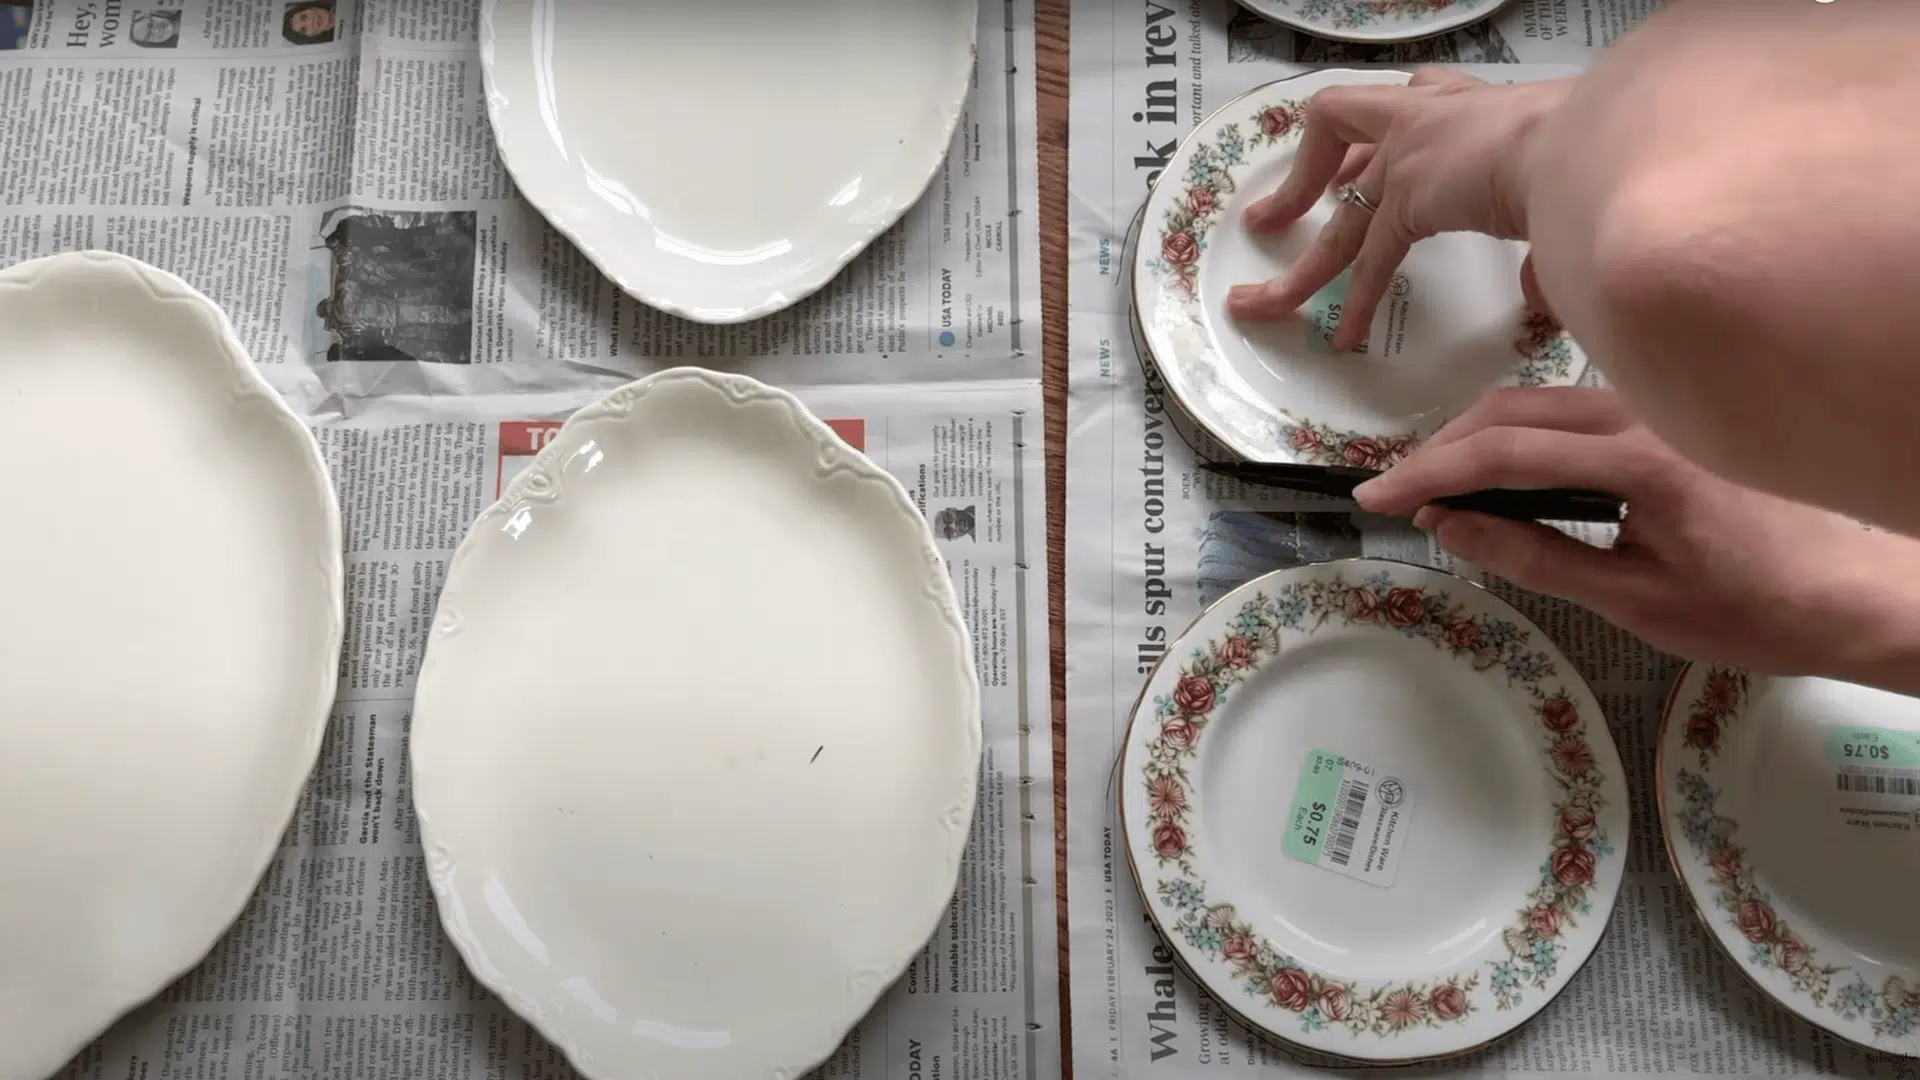
Start by laying out recycled or newspaper sheets on the floor.
Place each plate on the paper and trace around it with a dark marker to create a silhouette.
Then, cut out each shape.
This helps in visualizing the arrangement on the wall before any nails go in.
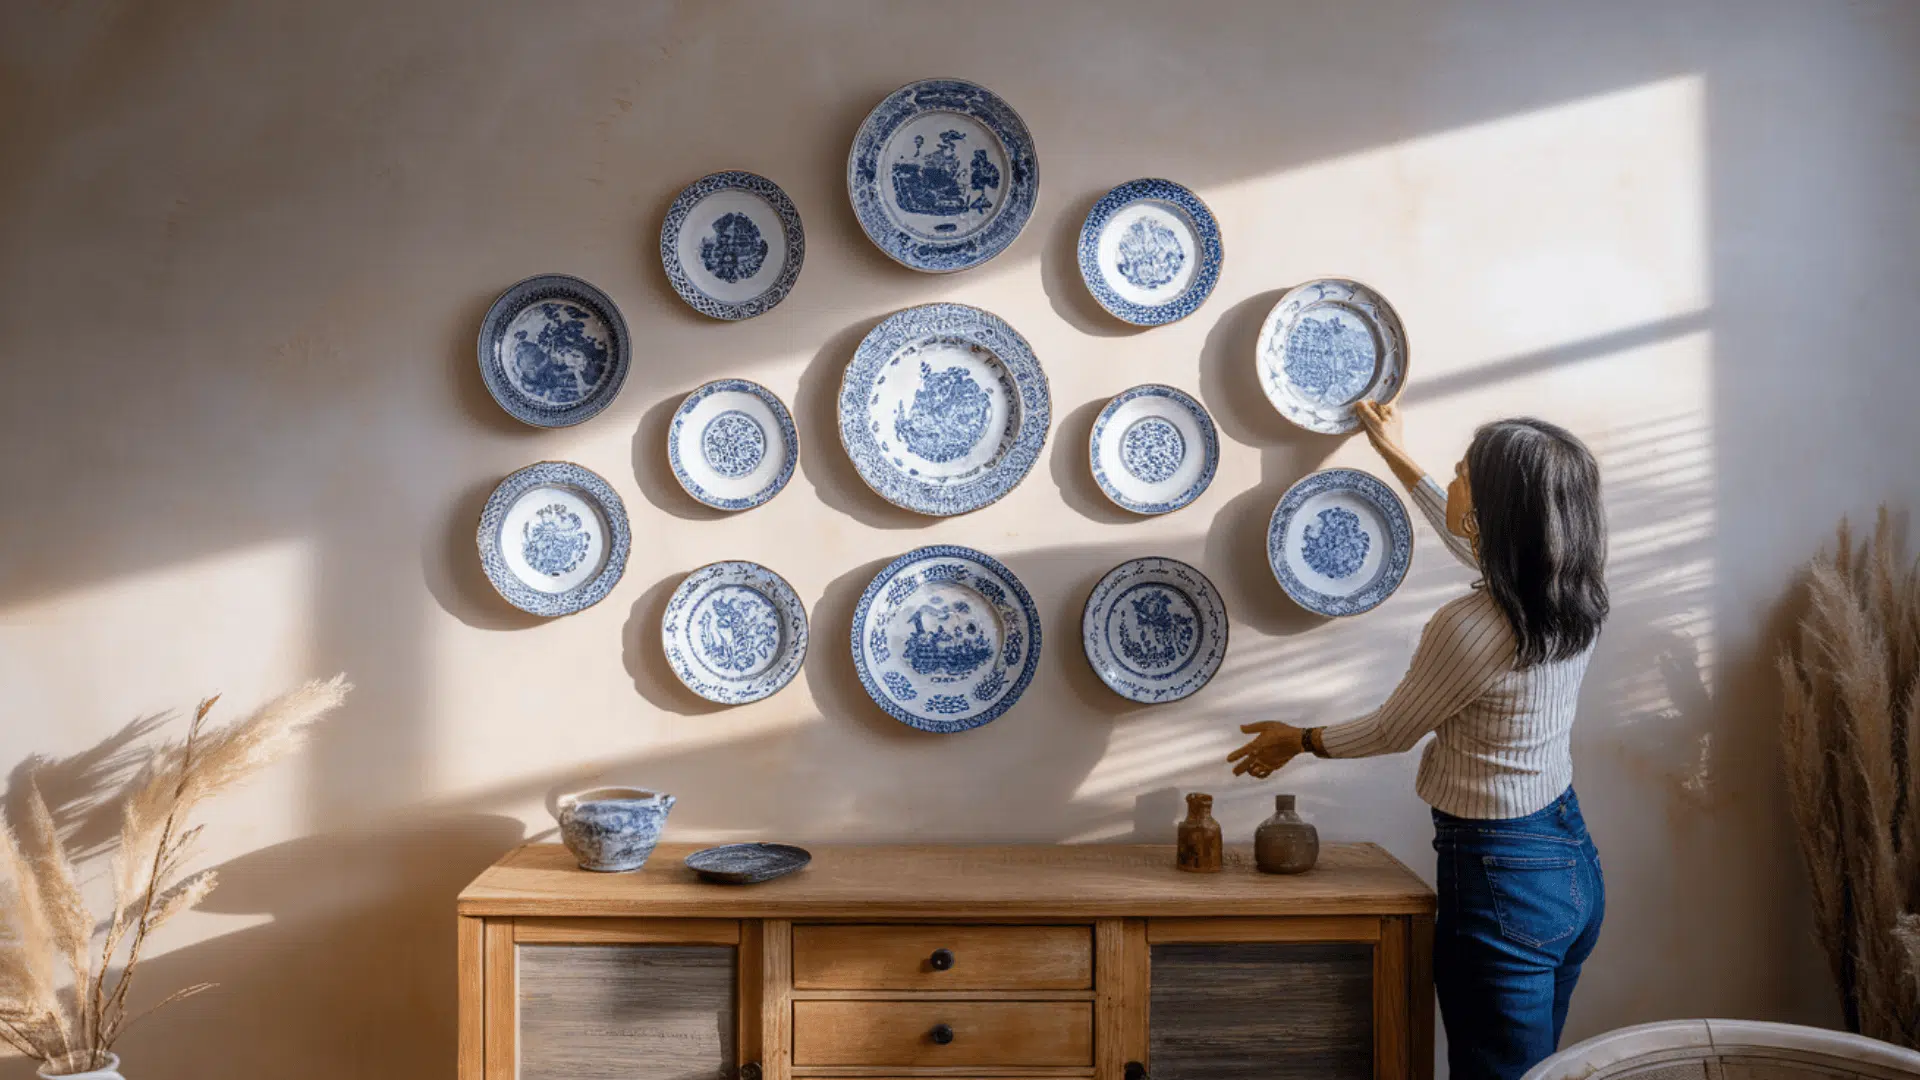
Step 2: Plan and Arrange the Layout
Position the real plates on the floor to decide the order and design you want.
Consider these popular arrangement styles:
Symmetrical arrangements create balanced displays where plates mirror each other across a central axis, working beautifully in dining rooms and formal settings.
Clustered Arrangements group plates in organic, freeform patterns. This casual style suits relaxed settings and allows you to expand your collection.
Linear Arrangements position plates in straight lines, horizontally, vertically, or both, for a clean, modern look ideal for contemporary interiors.
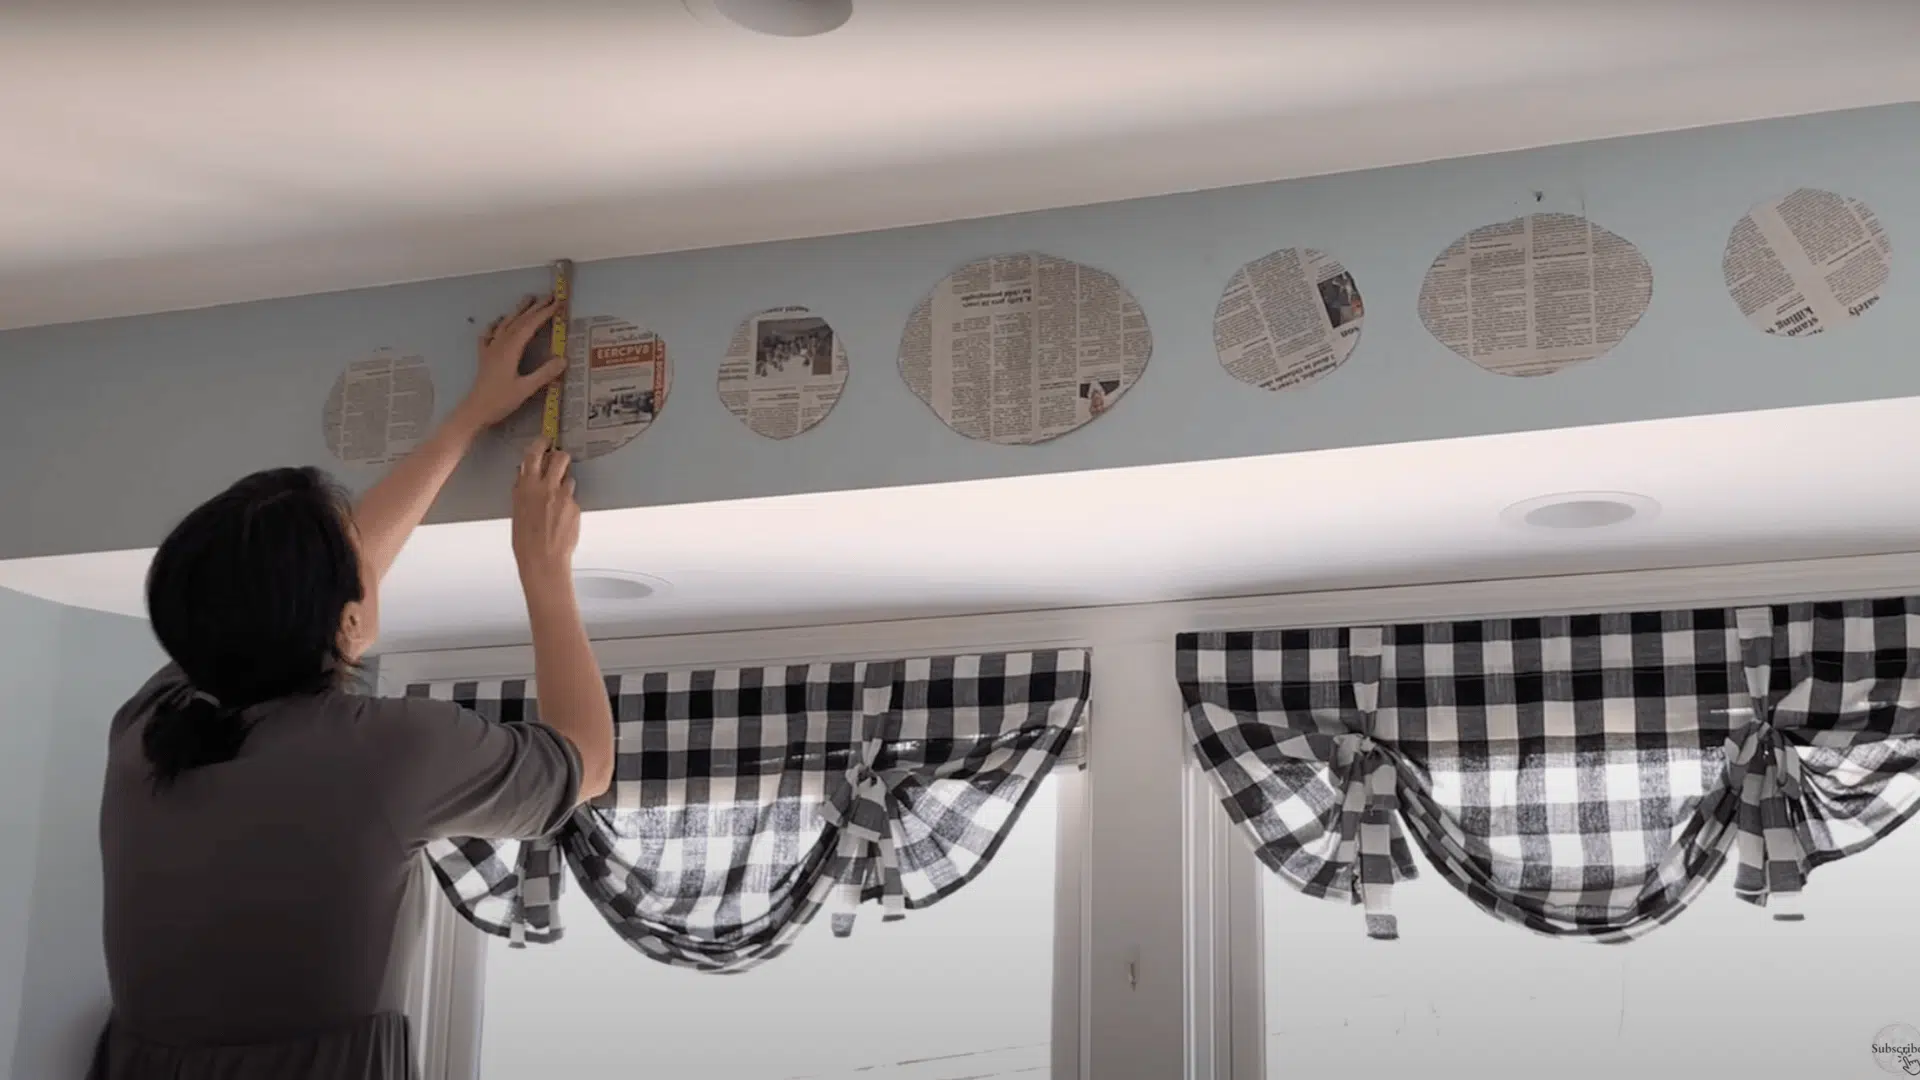
Once finalized, tape the paper cutouts onto the wall.
This step allows for easy adjustments and ensures your layout looks balanced before you commit to any holes.
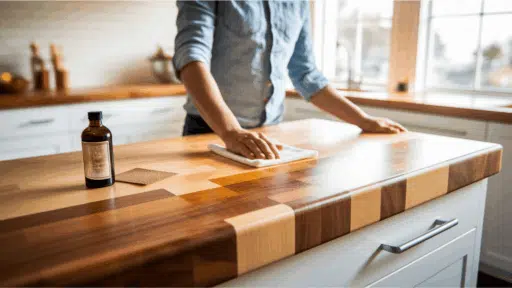
Step 3: Clean and Prepare the Plates
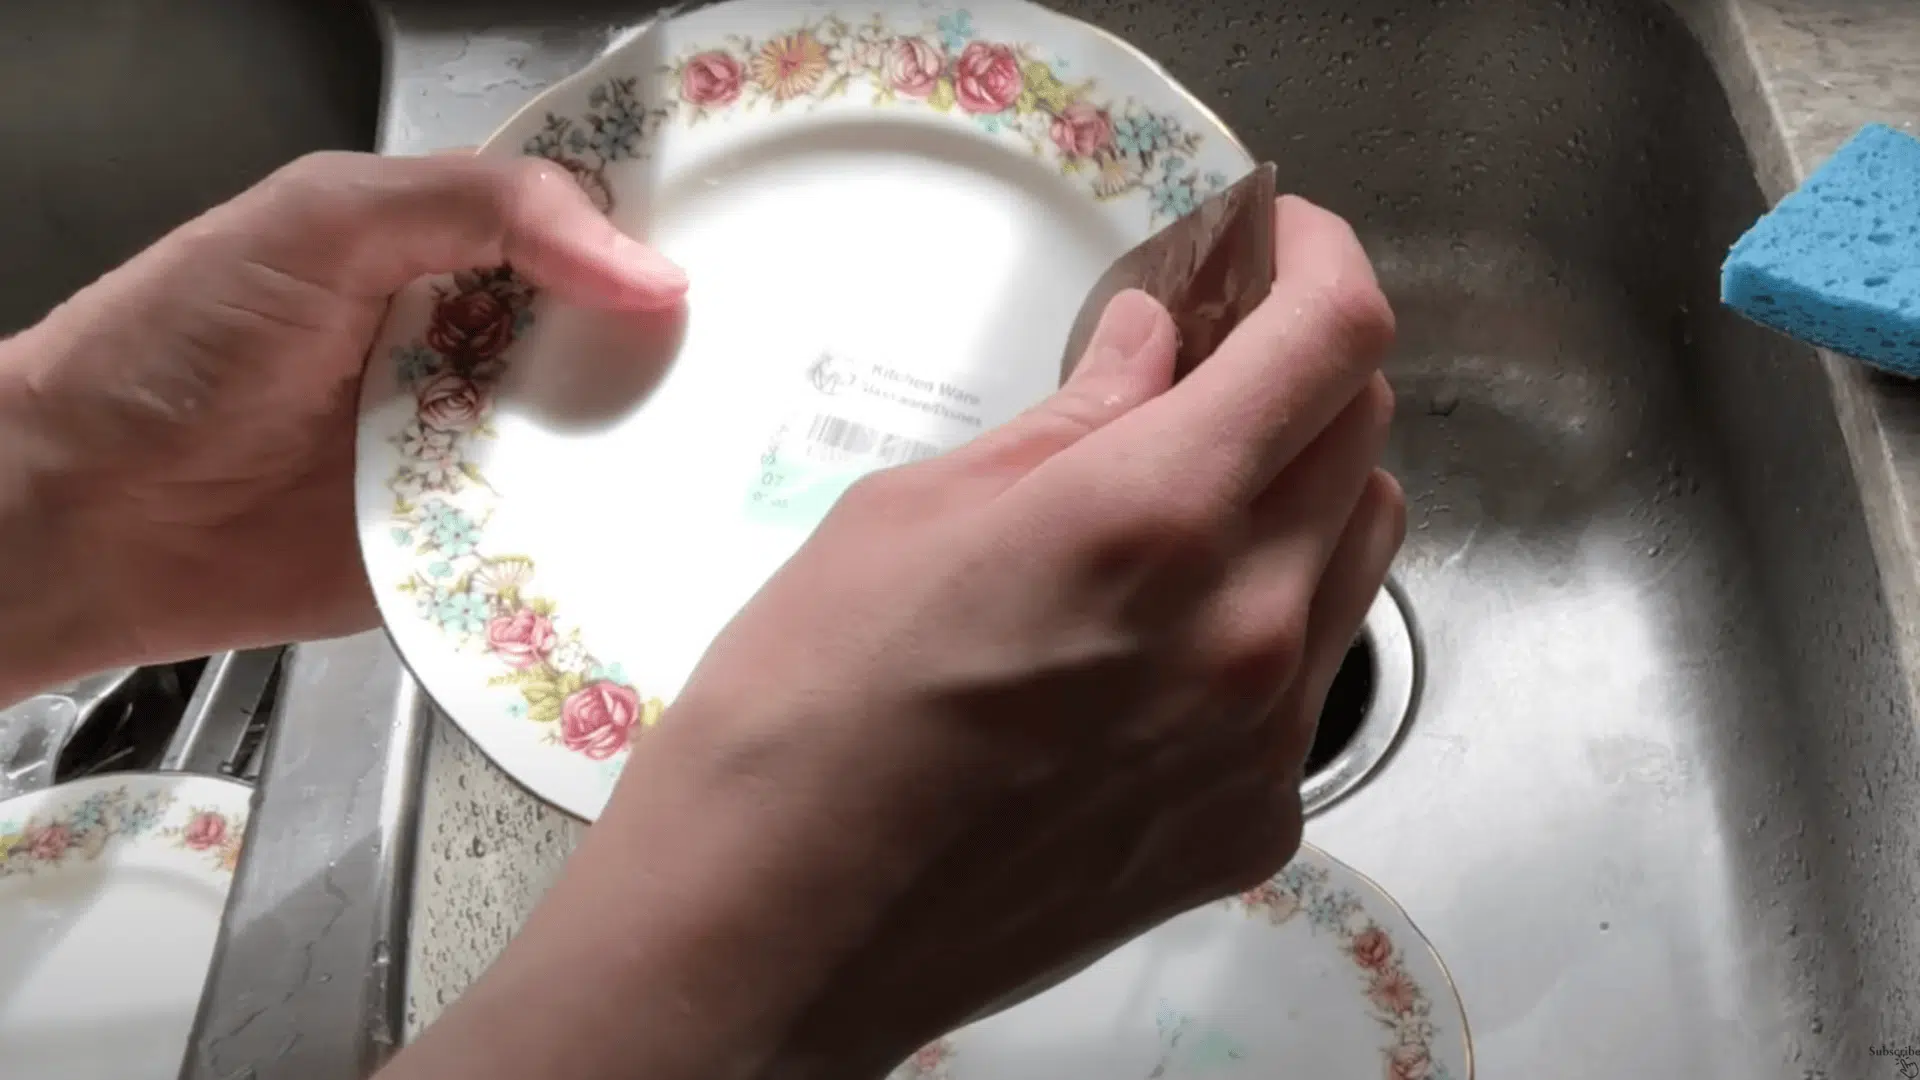
Before hanging, remove any price stickers from the back of your vintage plates.
Soak stubborn stickers in warm, soapy water and gently scrape them off with a plastic scraper.
This ensures a clean surface for secure hanger attachment.
Step 4: Attach Plate Hangers Securely
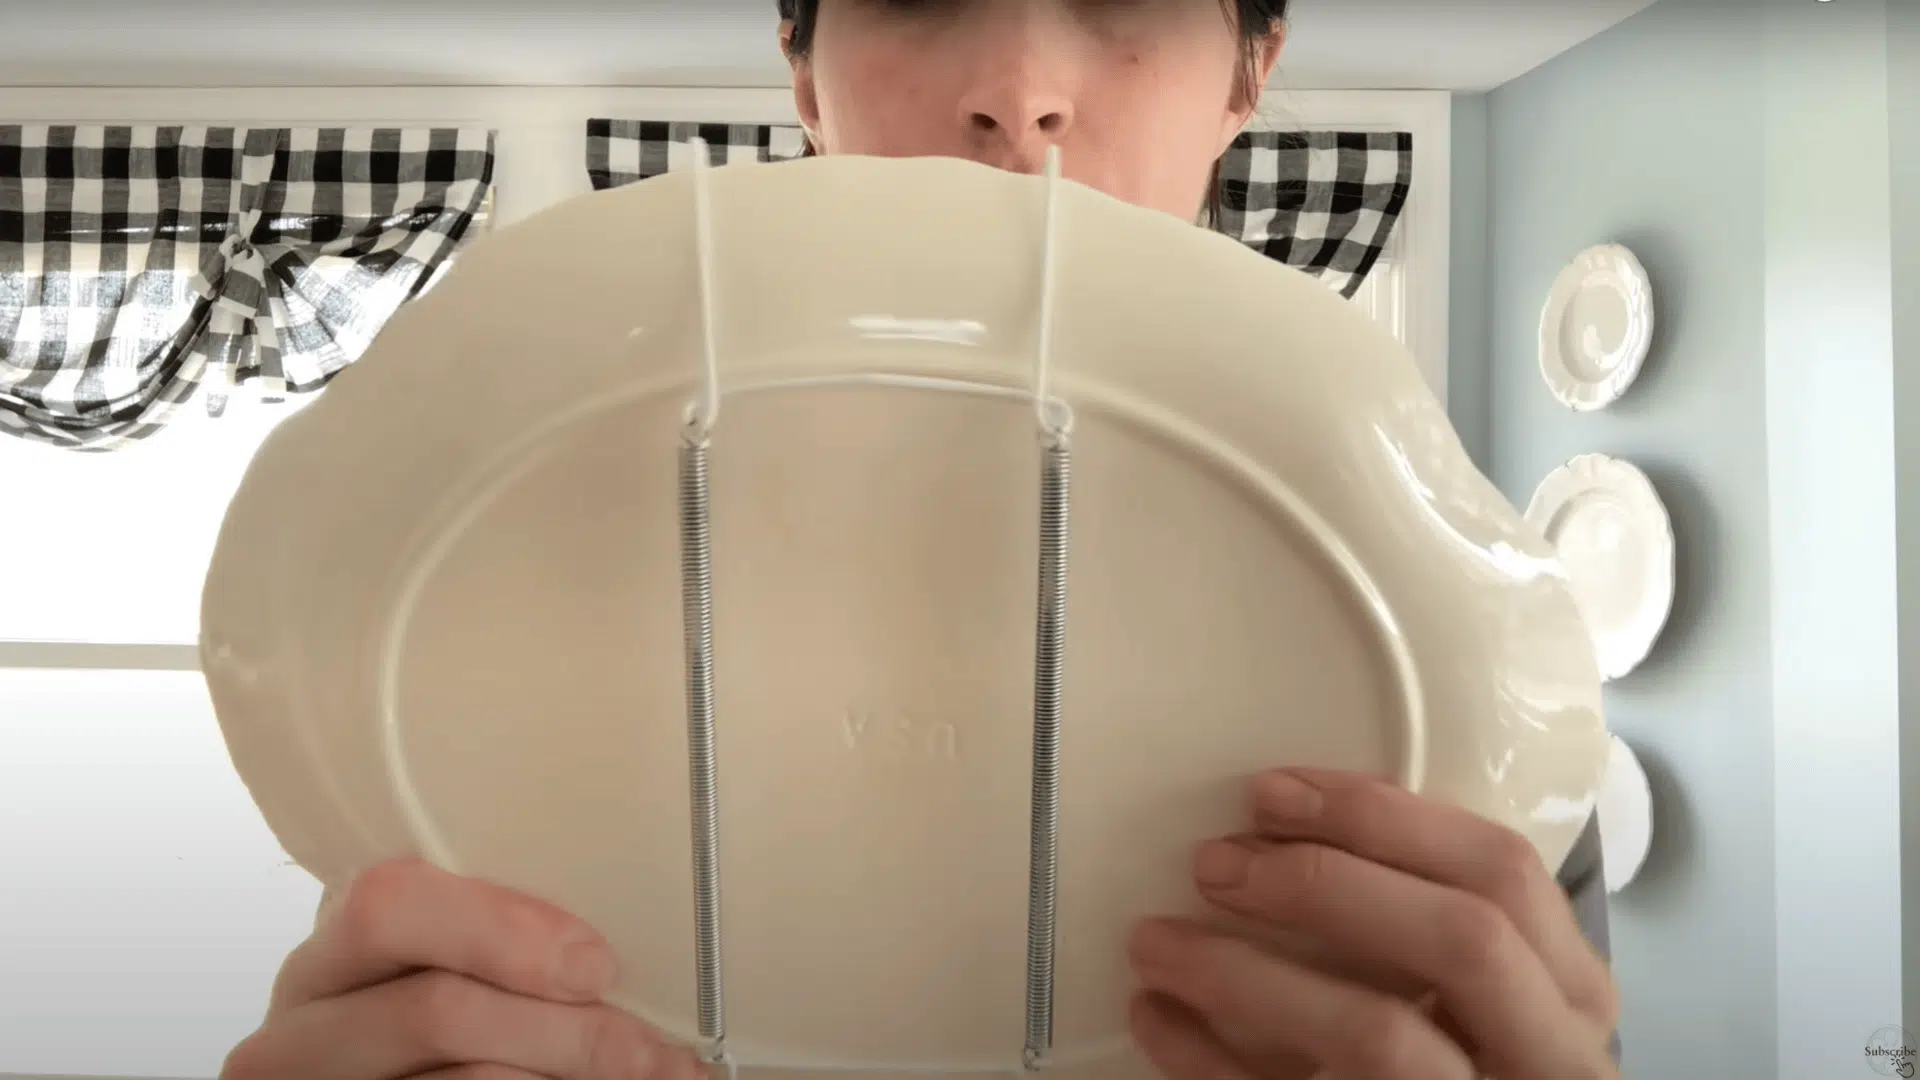
Mount each dish using wire plate hangers, like the ones by Tripar.
Attach the top hooks first, then stretch and secure the bottom ones.
Make sure the hanger fits snugly and adjust the hooks with pliers if needed.
Keep the included nail and hanger piece for mounting.
For best results and plate protection, select hangers with plastic or rubber coating on the contact points.
Wire hangers work well in situations where you might want to remove plates occasionally for use or cleaning.
Step 5: Measure, Nail, and Hang
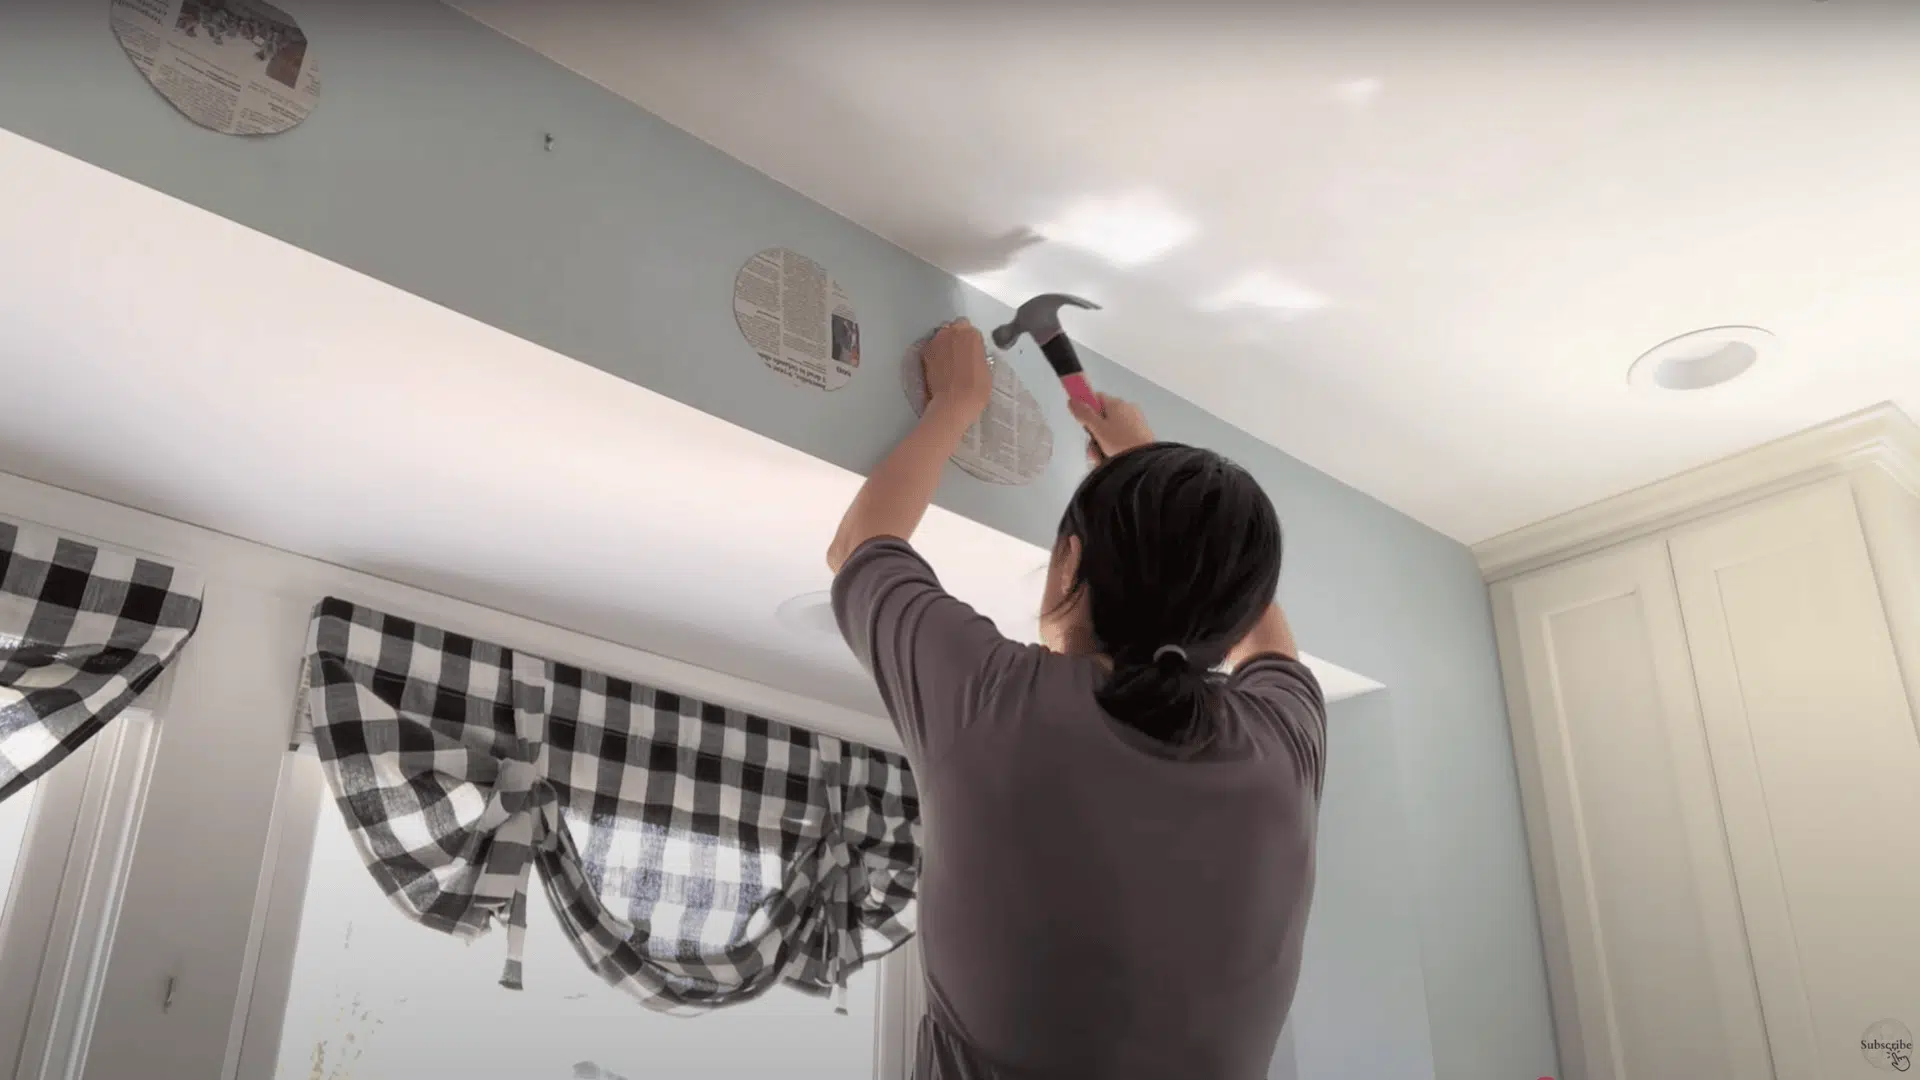
Measure the distance from the top of each plate to the hanger loop on the back.
Mark this distance on the corresponding paper silhouette on the wall.
Nail the hanger directly over the mark.
Once done, tear away the paper, leaving the hanger in place.
Then hang your plates once all nails are in to avoid disturbing already hung dishes.
Watch How It’s Done: How to Hang Plates on the Walls
For more information, check out this video tutorial by Hymns & Home
Room-Specific Styling Ideas
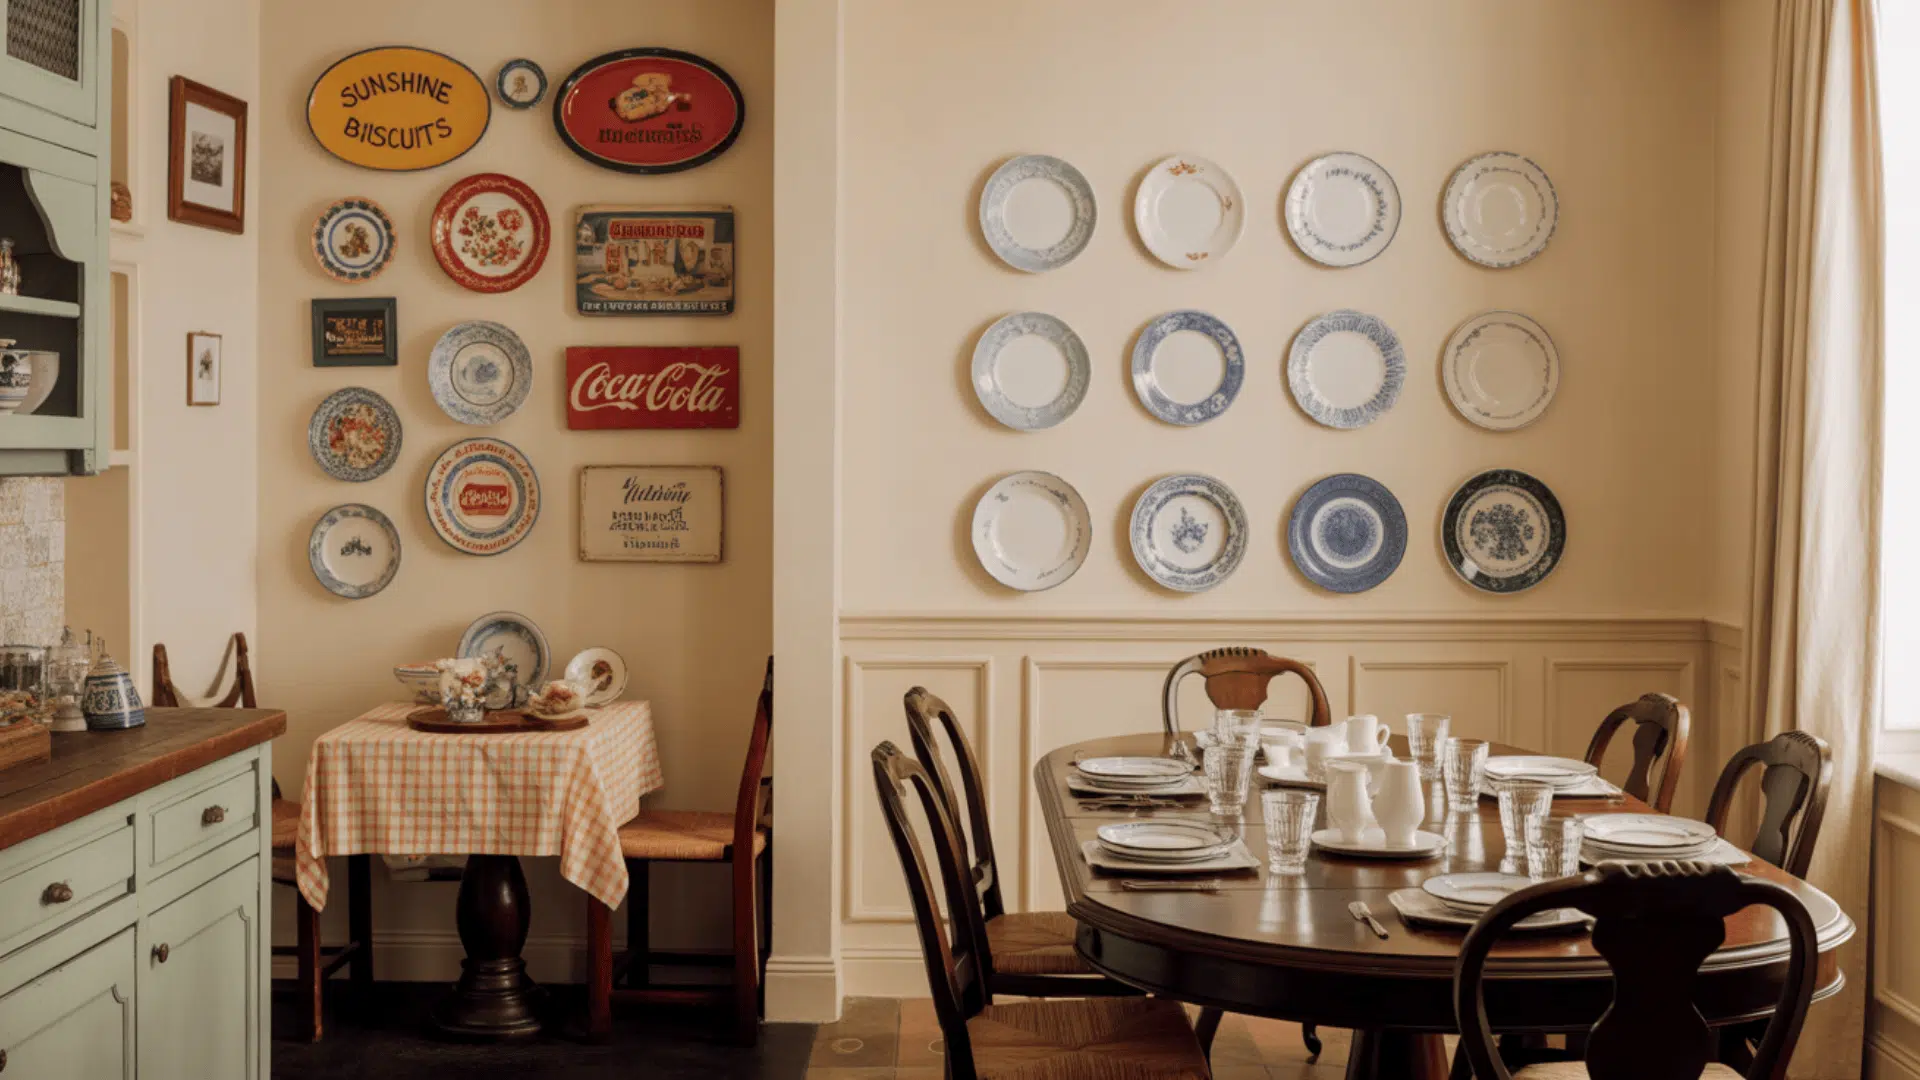
Decorating with plates can bring charm and character to every room in your home.
In the kitchen, a casual and colorful style works best with everyday ceramics or vintage advertisement plates clustered near eating areas.
The dining room suits a more formal and structured look.
Fine china or family heirlooms are displayed in a symmetrical pattern centered on a main wall.
Select unique finds or souvenirs for a gallery-style arrangement that complements framed art and sparks conversation.
Each space gives you a chance to show your style, and with the right plate mix and layout, you can add visual interest and warmth to your home.
Plate Hanging Methods Comparison
There are three main ways to hang plates on the wall.
Each works better for different plate types and room styles.
The following explains how each method works, what it’s good for, and what to watch out for.
1. Wire Hangers
Wire hangers are metal holders that stretch across the back of the plate.
The top hook hangs on a nail or screw.
They are good for heavy or older plates.
- How They Work: A spring-loaded wire wraps around the plate and hooks onto a nail.
- Good For: Large or special plates.
Tip: Add soft pads to avoid marks on the plate.
2. Adhesive Disc Hangers
These hangers stick to the back of a plate.
The disc has a ring that hangs on a hook or nail.
They are almost invisible from the front.
- How They Work: A glue disc sticks to the plate. The hook goes over a nail or wall hanger.
- Good For: Light plates with smooth backs.
Tip: Let the glue dry overnight before hanging.
3. Plate Racks
Plate racks are shelves or frames that hold plates.
They can hang on the wall or sit on a table.
They are great for displaying many plates together.
- How They Work: The plate sits in a frame or ledge and leans back safely.
- Good For: Displays and changing plates often.
Tip: Use grips or felt pads to keep plates from sliding.
Technical Considerations for Different Wall Types
Understanding the technical needs of your specific wall type is crucial before hanging anything.
Choosing the right hardware not only protects your plates but also ensures a secure, long-lasting display.
| WALL TYPE | HARDWARE | SPECIAL CONSIDERATIONS | WEIGHT LIMIT |
|---|---|---|---|
| Drywall | Wall anchors with screws | Pre-drill pilot holes | 5–20 lbs (depends on anchor) |
| Plaster | Plaster wall anchors | Drill slowly to avoid cracks | 10–15 lbs |
| Brick/Stone | Masonry anchors | Use a masonry drill bit | 20+ lbs |
| Paneling | Panel hangers | Locate and mount to studs if possible | 5–10 lbs |
Always assess your wall material before installation to avoid unnecessary damage and frustration.
When in doubt, consult with a hardware specialist or opt for professional-grade anchors rated for your specific weight and surface type.
Execution and Final Touches
With planning complete and hanging methods selected, the execution phase brings your vision to life.
Install one plate at a time, checking alignment before proceeding to the next.
After hanging each plate, step back to assess the overall composition.
Small adjustments might be necessary; plates may need slight repositioning for visual balance.
The benefit of using paper templates is that your nail holes are already precisely positioned, minimizing the need for corrections.
Consider the spacing between pieces carefully.
Smaller plates can fill spaces between these focal points, creating flow and balance throughout the display.
Common Mistakes to Avoid
Even the most stylish plate wall can fall flat if you overlook a few key details during installation.
The common mistakes while hanging plates on the wall are listed below:
- Use a Template First: Skipping a paper layout can lead to crooked arrangements and unnecessary wall damage.
- Choose the Right Hanger: Match the hanger to your plate’s weight and shape to avoid accidents.
- Consider Wall Type: Use appropriate hardware for drywall, brick, or plaster to ensure secure hanging.
- Mind the Spacing: Keep plates 2–3 inches apart to maintain visual balance.
- Photograph Your Layout: A photo of the floor arrangement helps recreate your design accurately on the wall.
Taking a few extra steps can make all the difference in how your plate wall turns out.
By planning and avoiding these common mistakes, your display will look neat and stay secure.
A well-done layout adds charm to any room and feels more complete.
Smart choices now mean fewer fixes later.
Maintenance and Safety Tips
Once installed, your plate wall requires minimal upkeep.
Dust regularly with a soft cloth or feather duster, taking care not to put pressure on the plates or hanging mechanisms.
For deeper cleaning, remove plates individually rather than trying to clean them in place.
Periodically inspect your hanging hardware, particularly for heavier pieces or if using the DIY method.
Environmental factors like humidity and heating cycles can affect adhesives and wall anchors over time.
Tighten or reinforce as needed to prevent accidents.
This invisible product provides extra stability without damaging your walls or plates.
Conclusion
Creating a plate wall combines artistic choice with practical skill.
Select your collection, plan your layout, and choose suitable hanging methods to create a distinctive feature that showcases meaningful pieces.
One homeowner recently changed her plain dining room using plates collected during European travels.
“My guests always comment on how the blue and white Portuguese plates bring the room to life,” she notes.
“The plates tell stories my artwork never could.”
Plate walls can change over time as you find new pieces or as your style preferences shift.
Start with a few key pieces and add gradually, allowing your display to grow naturally with your collection.
Which hanging method will you try first?
Take a photo of your finished plate wall.
Your unique creation will surely inspire others to try this classic decorating technique.

Stephanie Grace, a graduate with a degree in Fine Arts from the Savannah College of Art and Design, has been inspiring DIY enthusiasts with her creative and practical guidance for over 14 years. Her career in design and crafting began in a small artisan workshop, where she developed a passion for transforming everyday materials into beautiful and functional items. Stephanie joined our website in 2018, rapidly gaining popularity for her easy-to-follow DIY tutorials and innovative project ideas. Since then, she has been the creative mind behind our DIY section, helping readers bring their artistic visions to life. Outside her professional pursuits, Stephanie enjoys pottery and urban gardening, hobbies that showcase her love for hands-on creativity and nature.