Have you ever dreamed of adding graceful wall sconces to your home but been discouraged by the thought of complicated wiring and expensive electricians?
I’ve got a game-changing solution that will blow your mind: wireless wall sconces. These clever little additions bring style and refinement to any room without the hassle of electrical work.
Imagine mounting these beauties anywhere—in that awkward corner of your bedroom, above your cozy reading area, or even in your rental apartment.
There are no holes in the walls for wiring, no expensive electrical bills, and no headaches. You can install them yourself in less time than it takes to order takeout.
Ready to light up your space smartly? Here’s everything you need to know about wireless wall sconces.
Materials Required For This DIY Project
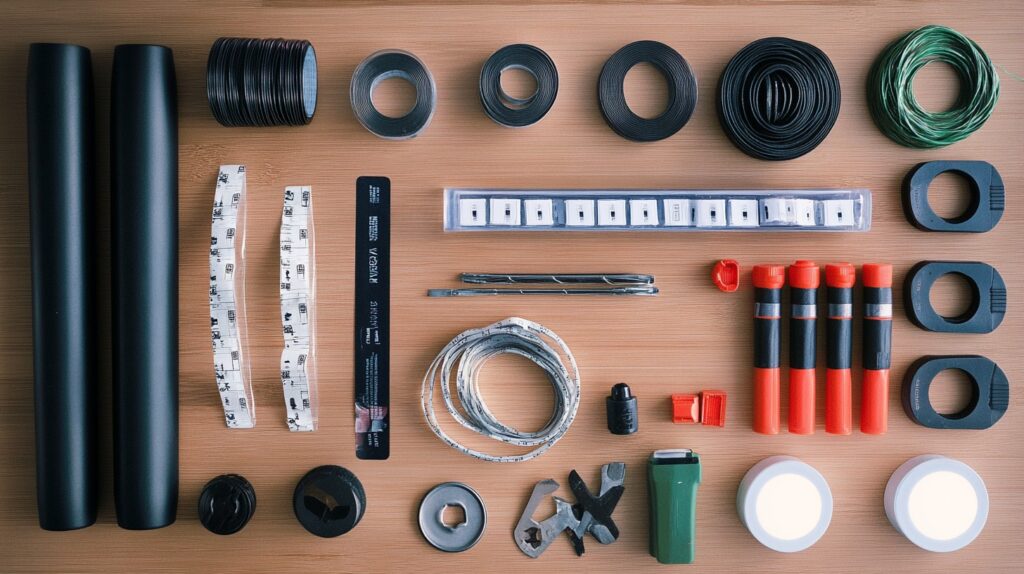
Before getting started, let’s make sure you have everything you need.
The beauty of this project is that it doesn’t require complex electrical tools or expertise—just a few basic supplies, and you’ll be ready to go.
The key item you’ll need is a pair of battery-operated puck lights, which are the secret to creating that gorgeous ambient lighting without any wiring.
Beyond that, you’ll want to think about the mounting method that works best for your walls – whether that’s traditional screws or damage-free tacky strips.
I also recommend grabbing a few extra batteries, as there’s nothing worse than running out halfway through your project.
Here’s what you’ll need:
| Item | Description/Notes |
|---|---|
| Wall sconces with shades wide enough for puck lights | For mounting the puck lights. |
| Battery-operated puck lights with remote control | Wireless and can be controlled remotely. |
| AAA batteries (3 per puck light) | Required for powering the puck lights. |
| Screwdriver or drill with screws | For securely attaching the sconces. |
| Command strips or mounting (optional) | For easy, non-permanent installation (optional). |
| Level for proper alignment | Ensures the sconces are hung straight. |
| Measuring tape and pencil | For marking the correct placement and dimensions. |
| Wire cutters (if trimming existing wires) | Needed if the wires need to be cut or adjusted. |
How To Choose The Right Wall Sconce?
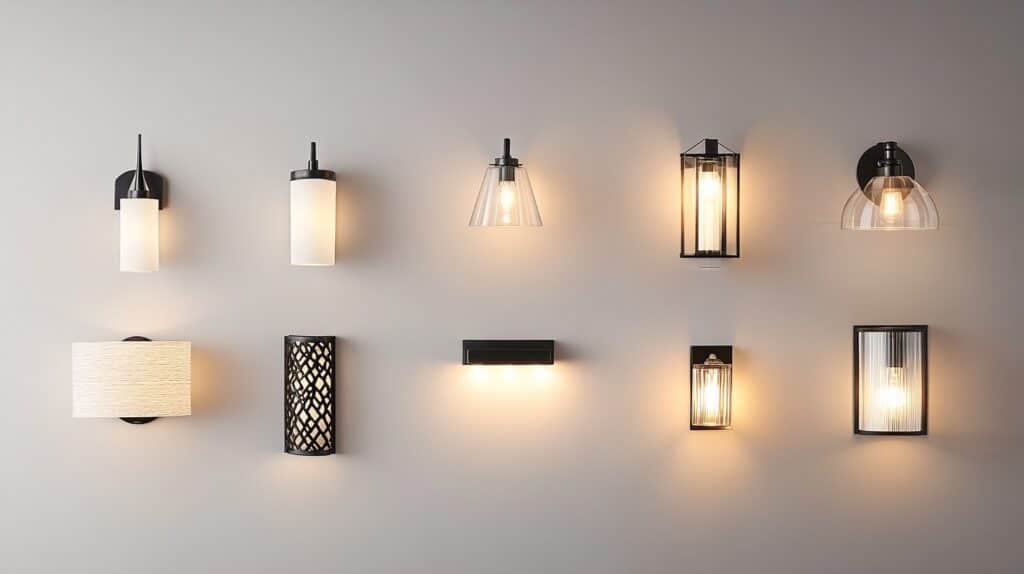
Design Considerations for Wireless Sconces
Picking the perfect wireless sconce isn’t just about looks—though that’s important. You should focus on sconces with deeper shades or enclosed designs that cleverly hide puck lights.
There are many styles available, from modern minimalist to classic traditional. Just remember that the shade opening needs to be wide enough to accommodate your puck light without making it obvious that it is not conventional blue.
Matching Your Space and Style
- Consider your room’s color scheme and existing fixtures
- Look for sconces with at least a 2.5-inch shade depth
- Choose opaque or icy shades to diffuse the puck light
- Factor in the finish – brushed nickel, matte black, and aged brass are popular choices
- Think about the light direction – do you want up-lighting, down-lighting, or both?
- Remember scale – bigger isn’t always better, especially in smaller spaces
Feel free to mix and match styles while considering these practical considerations. After all, the best sconce looks great and works perfectly with your wireless setup.
Step-by-Step Guide For Installing Wireless Wall Sconces
1. Select Your Wall Sconces
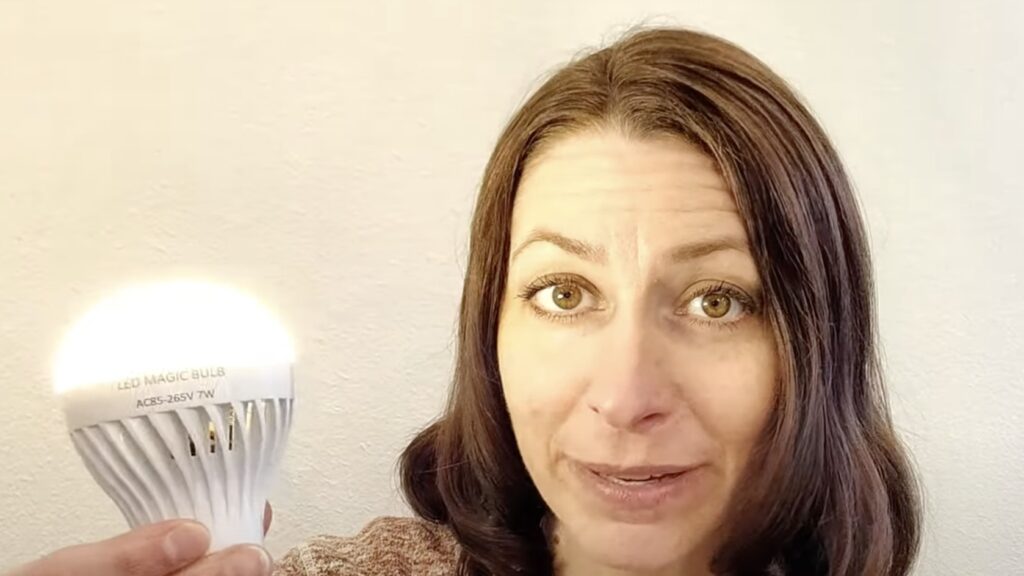
Begin by choosing the right Wall sconces for your space. After receiving your order, carefully unbox the sconces to ensure they are not defective. This step is crucial because it allows you to return them hassle-free.
- Inspect: Check each sconce for defects immediately upon unboxing.
- Care: Handle each component carefully to avoid damage.
2. Prepare Your Tools and Materials
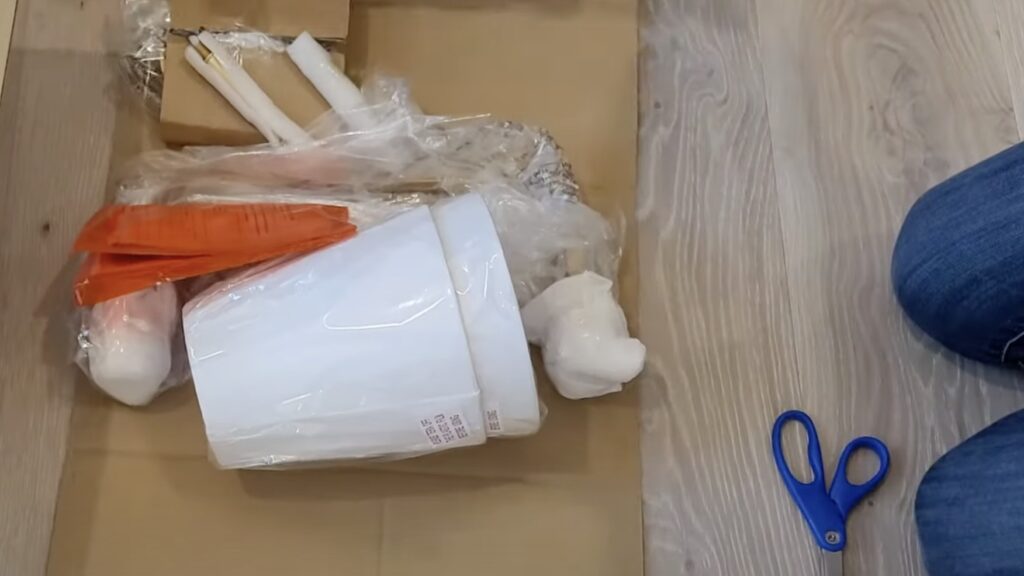
Gather all the tools and materials you will need for the installation. This includes any screws, wall anchors, or tools like pliers that will help you securely attach the sconce to the Wall.
Keep all packaging materials in case you need to return the fixture.
- Tools Needed: Pliers, screwdriver, and possibly a drill.
- Keep Packaging: Save all boxes and wrapping materials for potential returns.
3. Assemble the Sconce
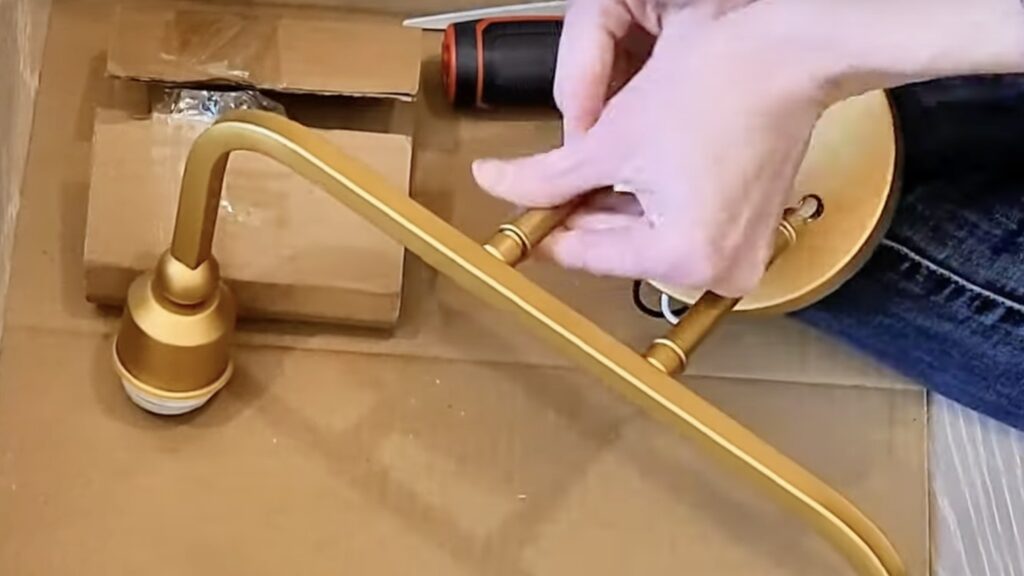
Start by attaching the sconce’s back plate to your Wall to support the fixture. Connect the rod to the arm-shaped light fixture and tighten it adequately without over-tightening.
Attach the piece that mounts to the Wall and secure the bolts.
- Connection Order: Ensure pieces are connected correctly to avoid rework.
- Tightening: Secure all connections without over-tightening to ensure stability.
4. Mark the Placement on the Wall
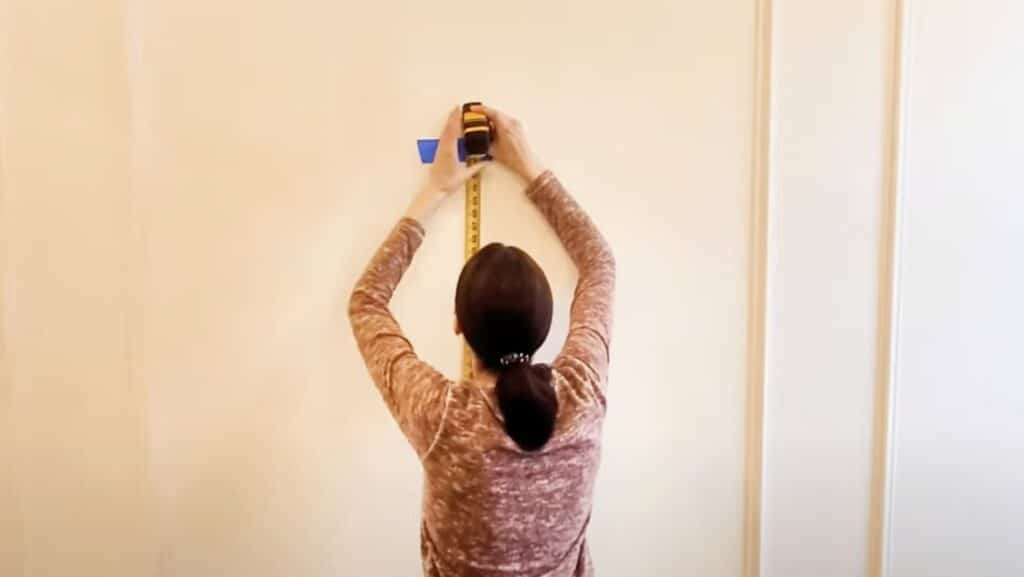
Measure and mark the placement of the sconce on your Wall. It is typically around 72inches from the floor, but you can adjust it based on ceiling height and personal preference. Use a level to ensure your markings are straight.
- Measuring: Use a measuring tape for precise placement.
- Leveling: Use a level to ensure the sconce will be perfectly horizontal.
5. Install Wall Anchors
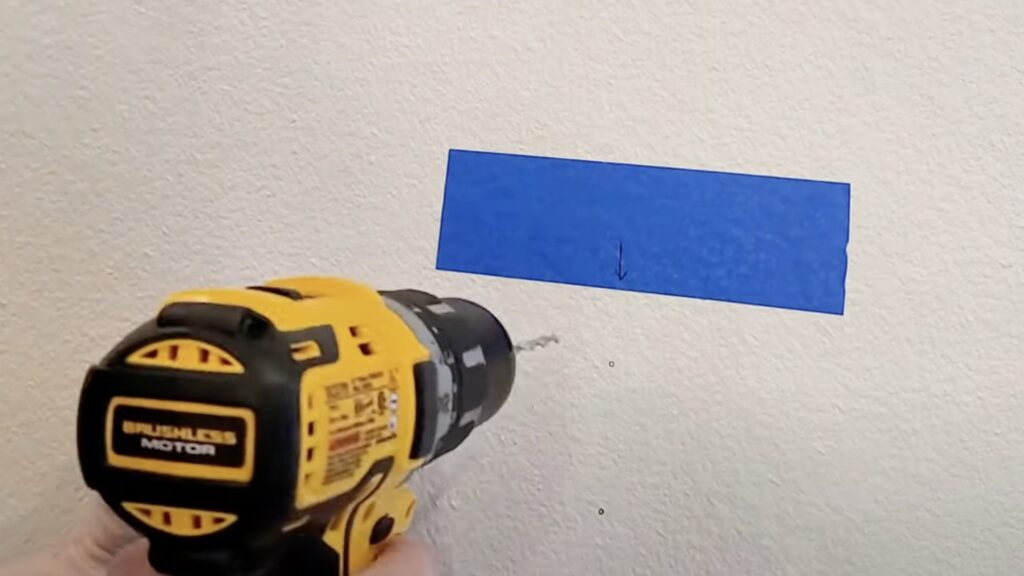
Use wall anchors for additional support if your chosen spot lacks a stud. Pre-drill the spots for your anchors carefully to avoid damaging the Wall. Insert the anchors firmly to provide a solid base for the screws.
- Drilling: Pre-drill holes carefully to fit the anchors.
- Anchor Installation: Ensure anchors are securely placed for solid support.
6. Attach the Sconce to the Wall
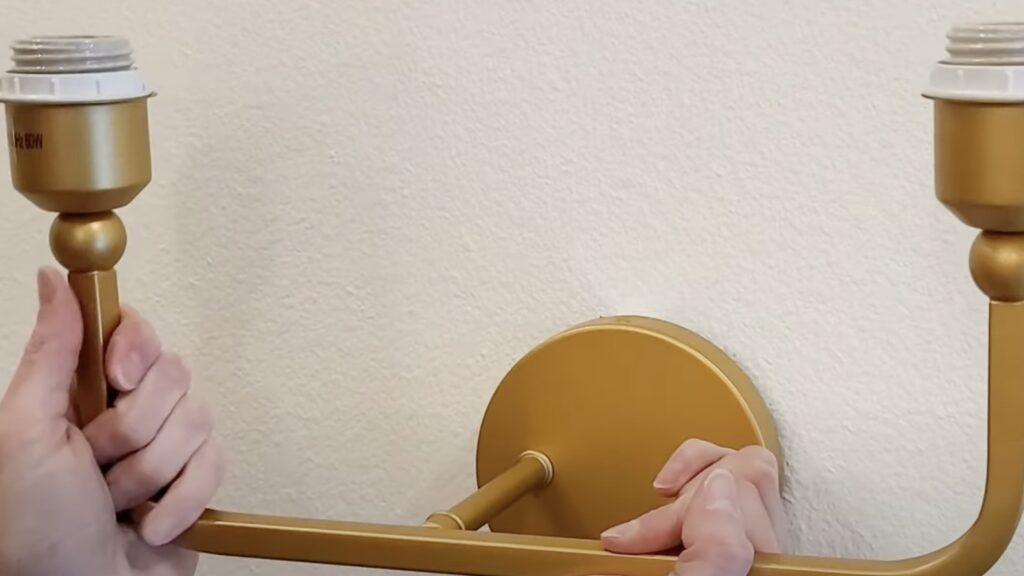
Secure the sconce to the Wall by screwing it into the pre-installed anchors. Having another person help by holding the sconce can make this step easier if available. Ensure the fixture is level before fully tightening the screws.
- Assistance: Having a helper can ensure proper placement and leveling.
- Securing: Double-check that the fixture is level before final tightening.
7. Add the Light Source
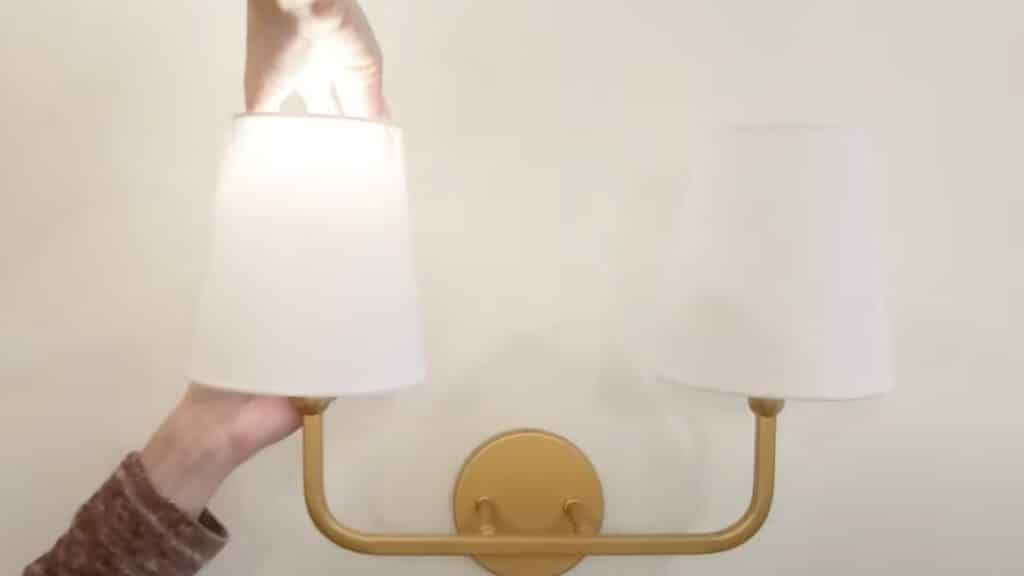
Instead of traditional light bulbs, use “magic light bulbs,” which are battery-operated and come with a remote control. These bulbs offer various brightness settings and are easy to recharge, making them perfect for a wireless setup.
- Battery Operation: Utilize battery-operated bulbs for ease of use.
- Brightness Setting: Adjust settings via remote for the desired ambiance.
8. Final Adjustments and Testing
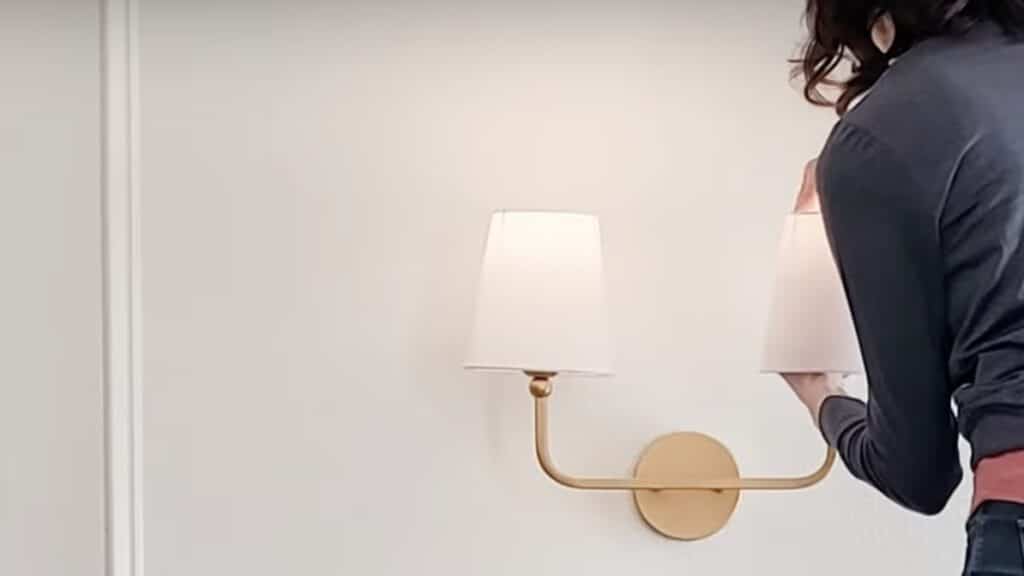
Attach the shades to the sconce, ensuring any seams face the back for a cleaner look. Test the installation by turning on the light using the remote control. Adjust the fixture if necessary to ensure it is perfectly level and secure.
- Seam Positioning: Orient shades so that seams are not visible from the front.
- Testing: Use the remote to test light functionality and settings.
9. Enjoy Your New Lighting
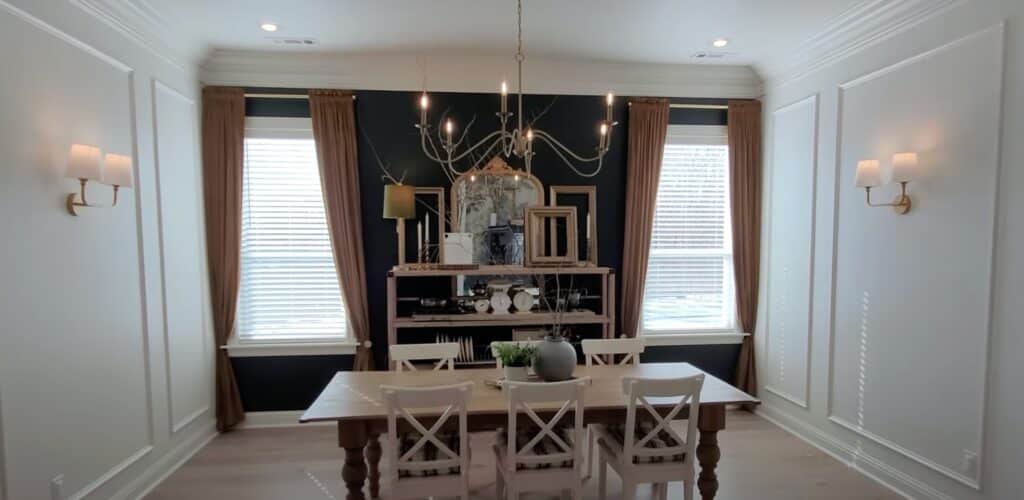
Once everything is set up, enjoy your new wireless wall sconces. They are an effective, budget-friendly lighting solution that adds style and functionality to your space without needing an electrician.
- Enjoyment: Relish the new look and functionality of your space.
- Maintenance: Regularly check and recharge the bulbs as needed.
Watch How It’s Done: DIY Wall Sconce Installation Video
For more information, check out this video tutorial by Amy SycaMore
Tips for Installing Wall Sconces Without Electrical Work
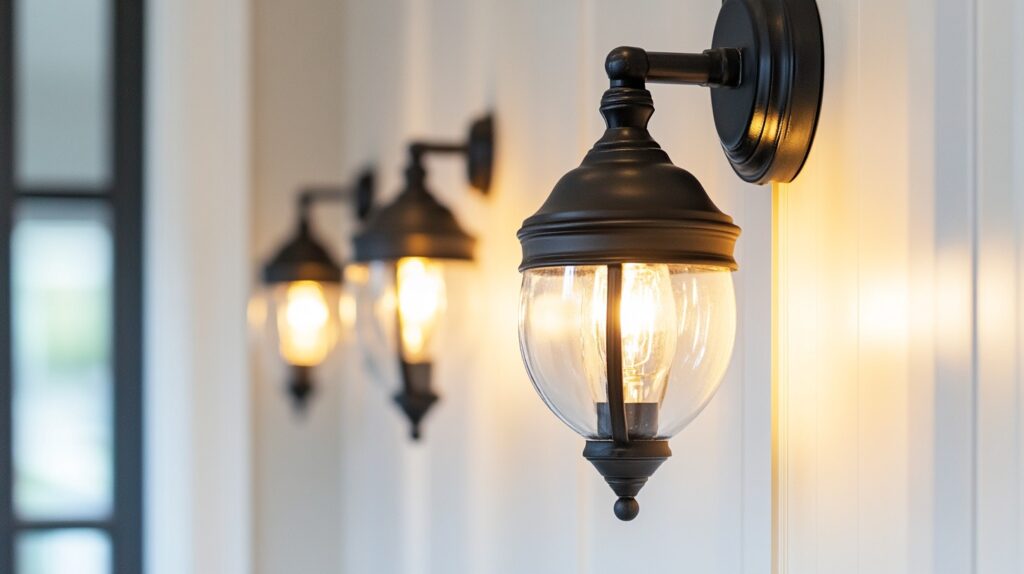
Want to add gorgeous lighting without calling an electrician? Here are some game-changing tips for installing wireless wall sconces.
First, pick the perfect spot—it should be functional and eye-catching. Before you mount anything, clean your Wall with rubbing alcohol to ensure the sticky strips or mounting hardware will adhere properly.
Whether using Command strips for a rental-friendly option or going all-in with wall anchors, choose the right attachment method for your wall type.
And hey, don’t forget about style. Keep your sconces level with each other (a laser level is your best friend here), and pick designs that complement your existing decor.
Choose sconces with opaque shades—they’ll hide those battery-operated puck lights like a charm.
Troubleshooting Common Issues
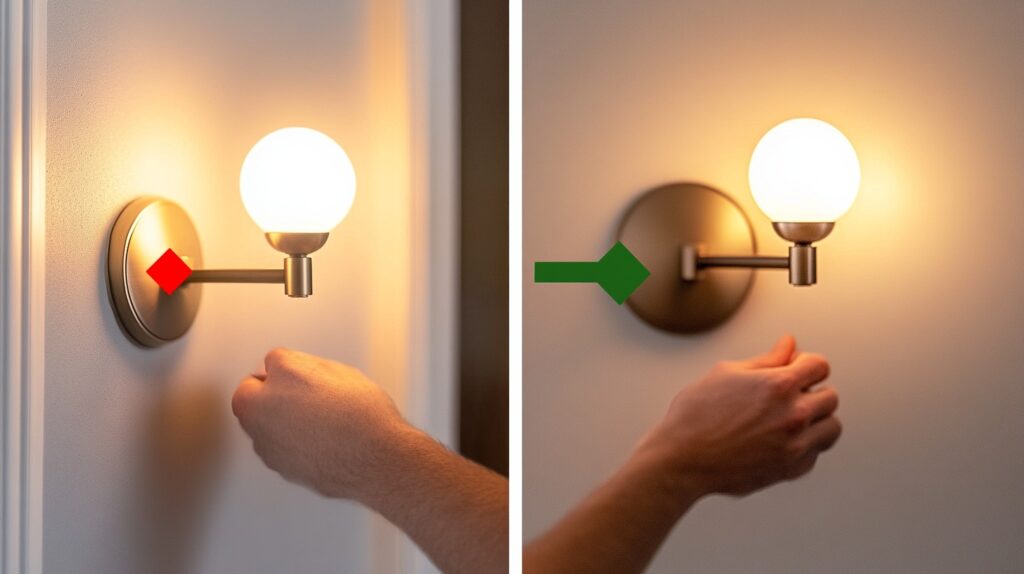
Are you having trouble with your wireless wall sconces? Don’t worry—it happens to the best of us.
If you notice uneven lighting between your sconces, it’s usually because the puck lights aren’t sitting at the same angle inside each fixture.
A quick adjustment of the light’s position can make all the difference, and you can use a small piece of mounting tape to keep it exactly where you want it.
Do you have a wobbly sconce? It’s super frustrating, but it’s fixable. First, check if your mounting hardware needs tightening.
If you’re using sticky strips, they might need to be replaced. They can lose grip over time, especially in humid areas like bathrooms.
Pro Tips:
- Clean the wall surface with alcohol before applying new strips.
- When changing puck light batteries, make it easier on yourself by tracking when you last replaced them.
- Most puck lights will give you about 100 hours of light, so maybe jot down the installation date inside your medicine cabinet or set a reminder on the year.
Conclusion
Remaking your space doesn’t always need a professional touch or a big budget. Wireless wall sconces prove that sometimes the simplest solutions are the most brilliant.
With just a few basic tools, some puck lights, and about an hour of your time, you can create that warm, inviting ambiance you’ve been dreaming of.
It’s all about picking the right sconce, preparing your space well, and taking time with the installation.
These wireless wonders are perfect for renters looking for temporary solutions or homeowners wanting quick updates.
So light up that dark hallway, create the perfect reading space, or add some drama to your dining room. Your ideal lighting solution is just a few steps away!

