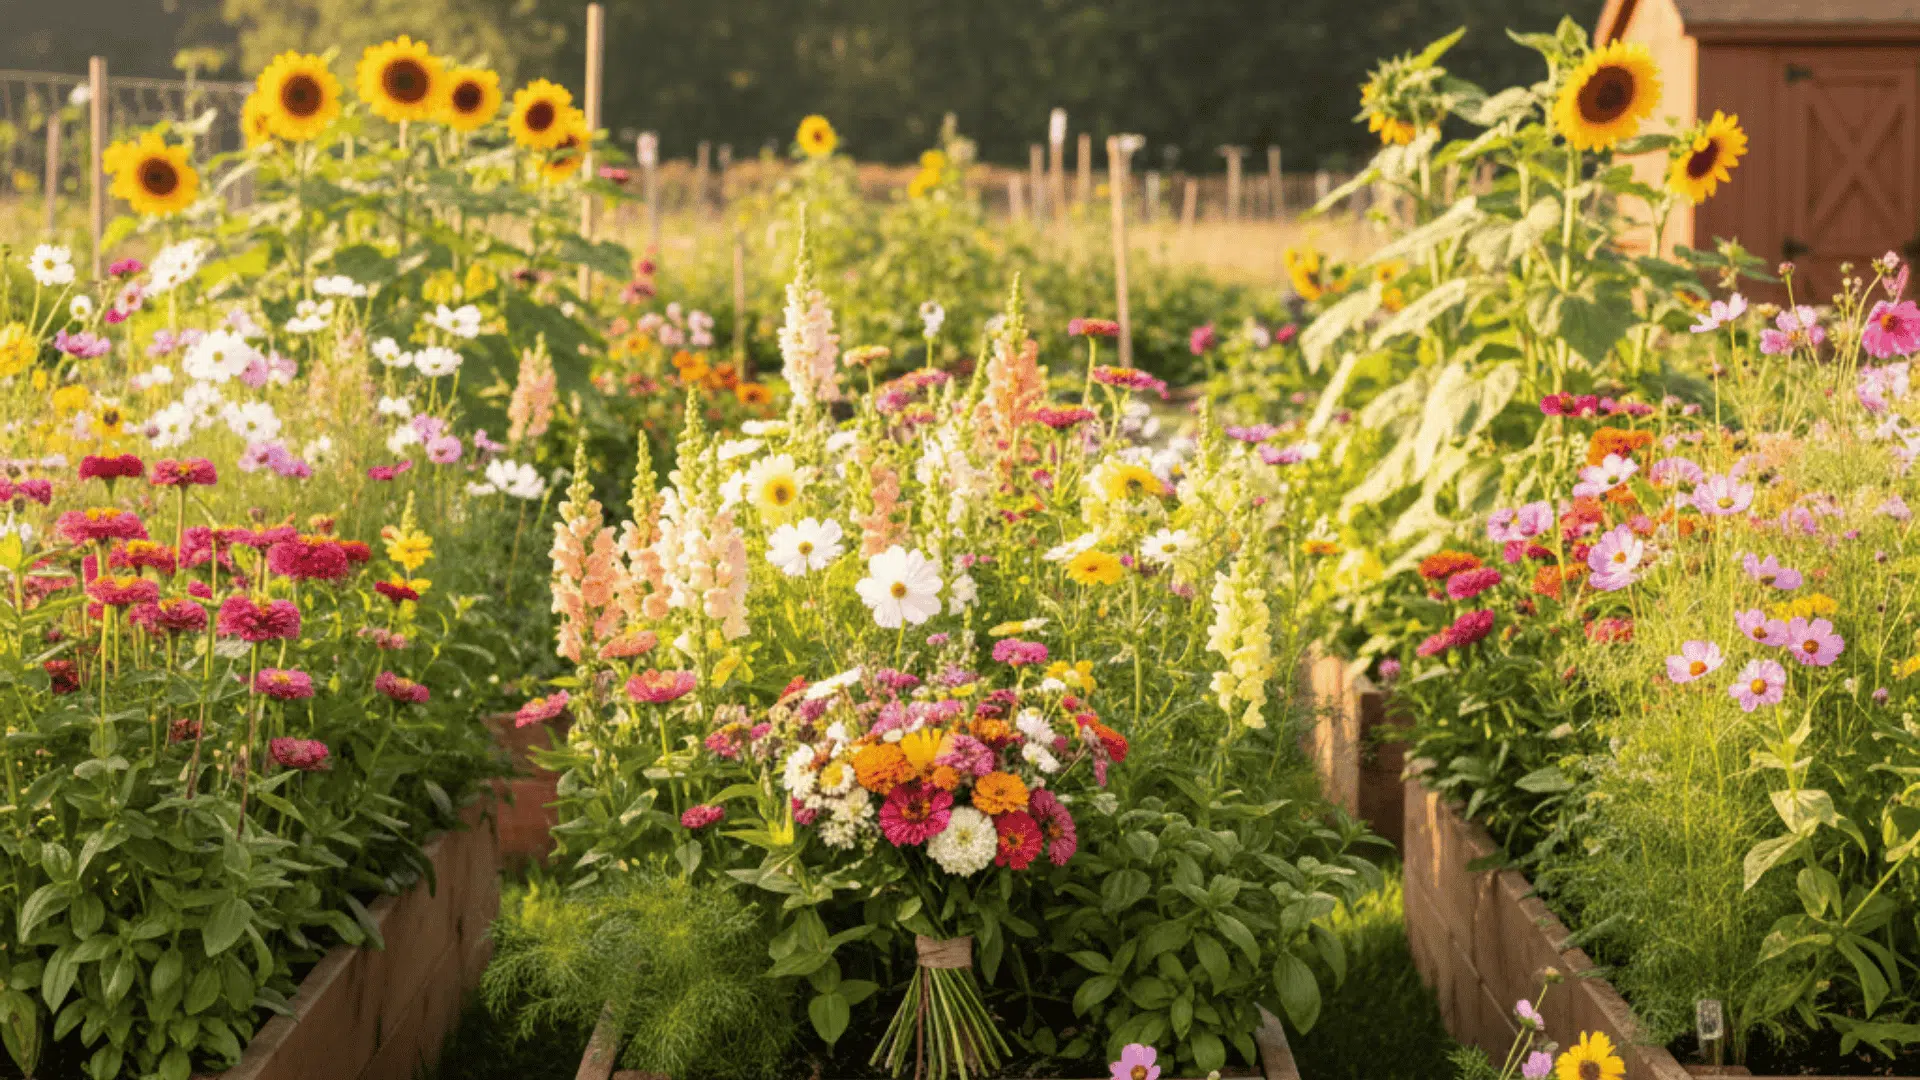
Gardening is not just about cultivating plants; it’s also about creating a space that reflects your personality and creativity. One way to enhance your garden’s aesthetic appeal while keeping it organized is by crafting DIY plant tags.
With the precision and versatility of laser cutting, you can create beautiful, durable, and highly customizable plant tags that stand out. Whether you’re a gardening enthusiast, a DIY lover, or simply looking for a fun project, using a laser cutter to make plant tags is a rewarding experience. In this article, we’ll guide you through the process of making creative DIY plant tags for your garden using a laser cutter, covering everything from materials and tools to design ideas and finishing touches.
Why Use a Laser Cutter for Plant Tags?
Laser cutting technology opens up endless possibilities for creating intricate and professional-looking plant tags. Here’s why it’s an excellent choice for this project:
1. Precision: Laser cutters can create detailed designs and sharp text that are difficult to achieve with traditional crafting methods.
2. Customization: You can personalize your plant tags with unique shapes, fonts, and even engraved images.
3. Versatility: Laser cutters work with a variety of materials, including wood, acrylic, metal, and leather, giving you plenty of options to match your garden’s style.
4. Durability: Materials like acrylic, metal, and treated wood are weather-resistant, ensuring your tags last for years.
5. Efficiency: Once you’ve created your design, the laser cutter can produce multiple tags quickly and accurately.
Step 1: Choose Your Materials
The first step in making laser-cut plant tags is selecting the right material. Each material has its own aesthetic and functional benefits, so choose one that suits your garden’s needs and style.
1. Wood
· Advantages: Wood is a classic and eco-friendly option. It’s easy to cut and engrave, and it gives your garden a natural, rustic look.
· Best Types: Birch plywood, bamboo, or reclaimed wood.
· Considerations: Seal the wood with varnish to protect it from moisture and UV damage.
2. Acrylic
· Advantages: Acrylic is durable, weather-resistant, and available in a wide range of colors and finishes (e.g., transparent, frosted, or mirrored).
· Best Uses: Modern or colorful gardens.
· Considerations: Use UV-resistant acrylic to prevent fading in sunlight.
3. Metal
· Advantages: Metal tags are incredibly durable and give your garden a sleek, industrial look.
· Best Types: Thin sheets of aluminum or stainless steel.
· Considerations: Laser engraving works best for metal, as cutting requires a more powerful laser cutter.
4. Leather
· Advantages: Leather tags are soft, flexible, and give your garden a unique, handcrafted feel.
· Best Uses: Indoor or shaded gardens.
· Considerations: Use faux leather for a more weather-resistant option.
Step 2: Gather Your Tools and Equipment
To create your laser-cut plant tags, you’ll need the following tools and supplies:
1. Laser Cutter: A desktop laser cutter like Glowforge, Epilog, or xTool is ideal for small-scale projects.
2. Design Software: Use programs like Adobe Illustrator, CorelDRAW, or the free Inkscape to create your designs. Most laser cutters require vector files (.SVG, .AI, or .DXF).
3. Protective Gear: Safety goggles and gloves are recommended when working with certain materials.
4. Finishing Supplies: Sandpaper, varnish, or sealant to protect and polish your tags.
5. Optional Accessories: Twine, stakes, or clips to attach the tags to your plants.
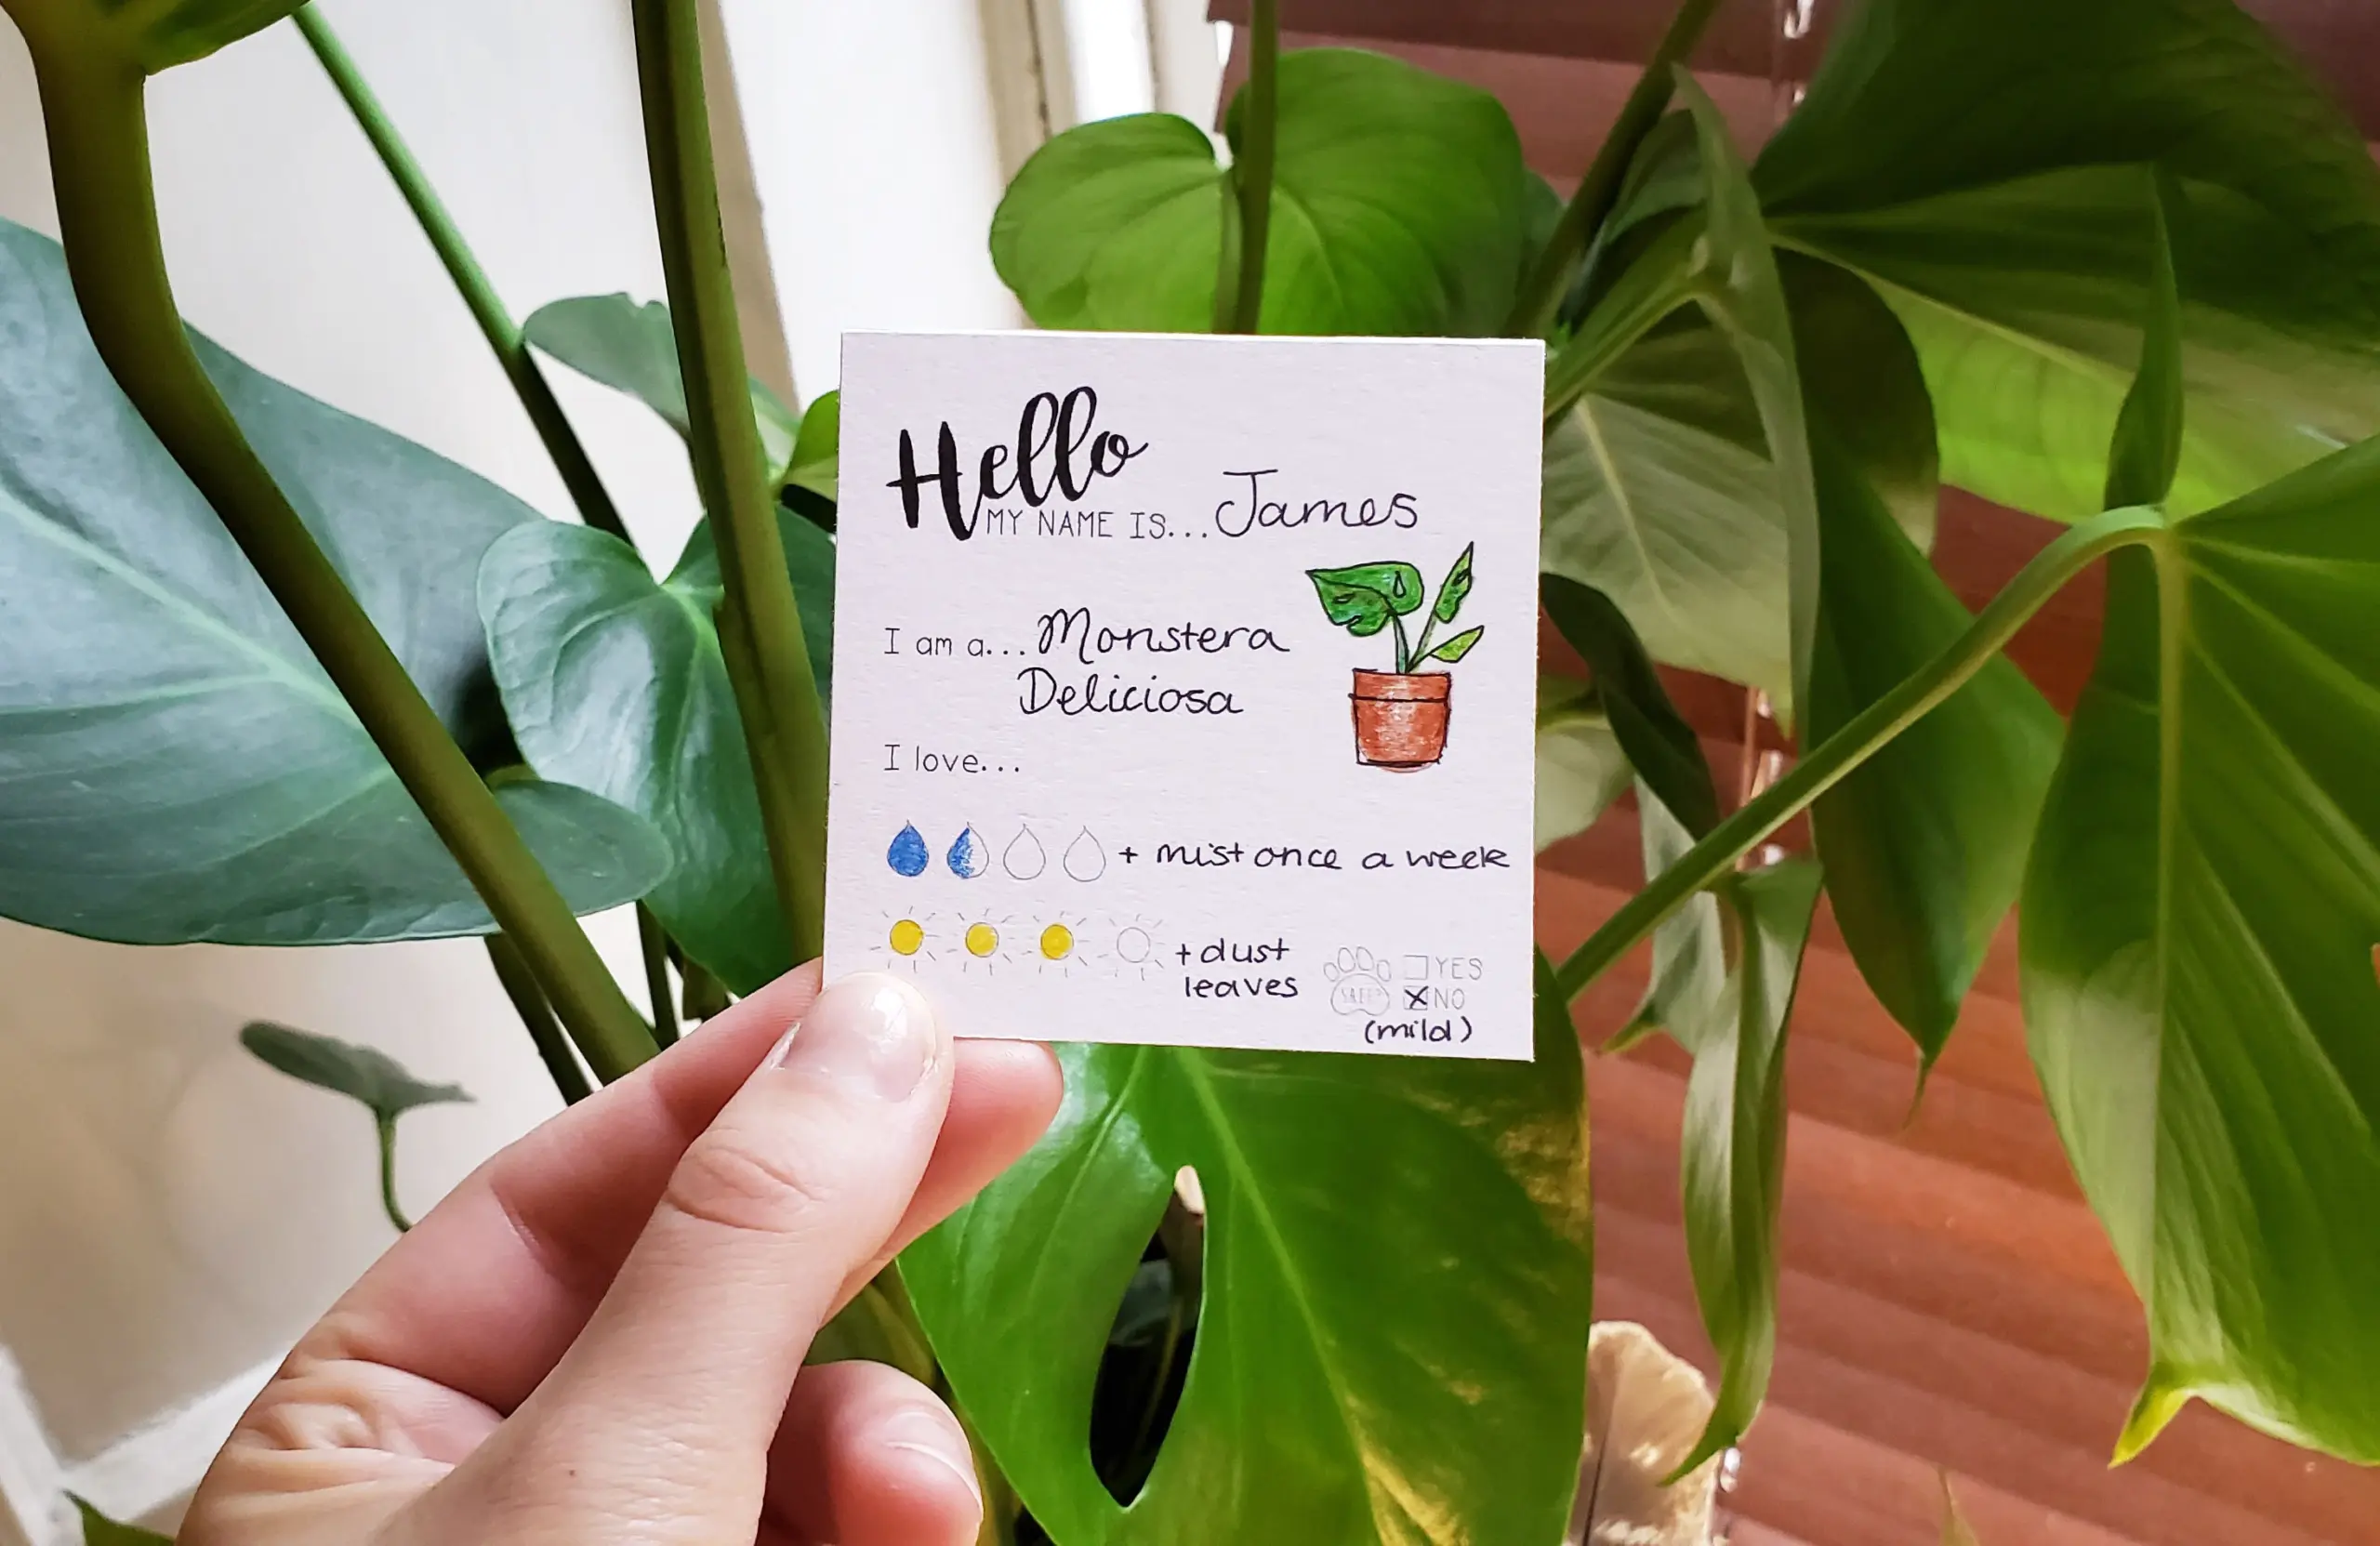
Step 3: Design Your Plant Tags
The design phase is where you can let your creativity shine. Here’s how to create a design that’s both functional and beautiful:
1. Decide on the Shape
· Popular shapes include rectangles, circles, ovals, leaves, and custom silhouettes like flowers or vegetables.
· Ensure the size is appropriate for your plants—small enough to be unobtrusive but large enough to display the text clearly.
2. Add Text
· Use clear, legible fonts for the plant names. Sans-serif fonts like Arial or Helvetica work well for readability.
· Consider adding additional information, such as planting dates, care instructions, or fun facts.
3. Include Decorative Elements
· Add borders, patterns, or small icons (e.g., leaves, flowers, or garden tools) to enhance the design.
· For a personal touch, engrave your name or a short message like “Welcome to My Garden.”
4. Test Your Design
· Before cutting, test your design on paper to ensure the text and layout look good.
Step 4: Laser Cut Your Plant Tags
Once your design is ready, it’s time to bring it to life with your laser cutter. Follow these steps:
1. Prepare the Material
· Clean the material to remove dust or debris that could interfere with the laser.
· Cut the material to fit the laser cutter’s bed if necessary.
2. Configure the Laser Cutter
· Adjust the laser’s power, speed, and focus settings based on the material you’re using. Refer to your laser cutter’s manual for guidance.
o Wood: Lower speed and higher power for cutting; lower power for engraving.
o Acrylic: Moderate speed and power for clean cuts.
o Metal: Use settings optimized for engraving thin metal sheets.
· Perform a test cut on a scrap piece to ensure the settings are correct.
3. Cut and Engrave
· Start by engraving the text and decorative elements. This ensures the material remains stable during the process.
· Once engraving is complete, cut out the tag shapes.
4. Remove and Inspect
· Carefully remove the tags from the laser cutter and inspect them for any imperfections.
Step 5: Finish and Protect Your Tags
To ensure your plant tags last as long as possible, take the time to finish and protect them:
1. Sand the Edges: Use fine-grit sandpaper to smooth the edges of wooden or acrylic tags.
2. Seal the Surface: Apply a clear varnish, wax, or outdoor sealant to protect wooden tags from moisture and UV damage.
3. Attach Accessories:
o Drill small holes in the tags for twine or wire.
o Glue the tags to stakes for easy placement in the soil.
Creative Ideas for Laser-Cut Plant Tags
1. Seasonal Themes: Create tags with seasonal designs, such as snowflakes for winter or sunflowers for summer.
2. Layered Designs: Combine multiple materials (e.g., wood and acrylic) for a 3D effect.
3. Engraved Images: Add illustrations of the plants or their leaves for a decorative touch.
4. Themed Shapes: Use shapes that match the plants, such as tomato-shaped tags for tomatoes or leaf-shaped tags for herbs.
Tips for Long-Lasting Plant Tags
1. Weatherproofing: Always seal wooden tags and use UV-resistant materials for outdoor durability.
2. Regular Maintenance: Clean your tags periodically to keep them looking fresh and legible.
3. Secure Placement: Ensure the tags are firmly attached to stakes or placed in the soil to prevent them from being blown away.
Conclusion
Creating DIY plant tags with a laser cutter is a fun and practical way to add a personal touch to your garden. With endless design possibilities and the precision of laser cutting, you can craft tags that are not only functional but also works of art. Whether you choose wood for a rustic vibe, acrylic for a modern look, or metal for long-lasting durability, your laser-cut plant tags will make your garden more organized, stylish, and uniquely yours. So grab your tools, unleash your creativity, and start designing plant tags that will make your garden truly one of a kind!

With a Master’s in Landscape Architecture from the University of Virginia, Sophia Stephenson has dedicated the last 20 years to creating and maintaining vibrant outdoor spaces. Her professional journey started in landscape design, where she gained a reputation for innovative and sustainable approaches. Sophia became a part of our editorial team as a freelancer in 2019, offering a fresh perspective on outdoor living. Since 2020, she has been the chief for our outdoor design content, blending aesthetic appeal with environmental stewardship. In her leisure time, Sophia is a keen photographer, capturing the beauty of natural landscapes, a hobby that complements her professional expertise.