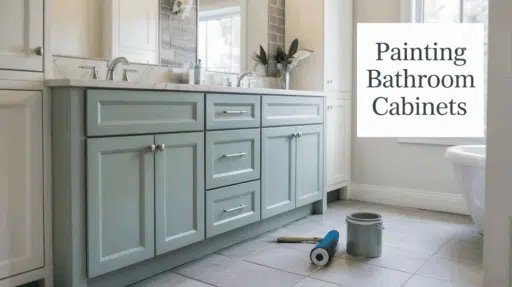
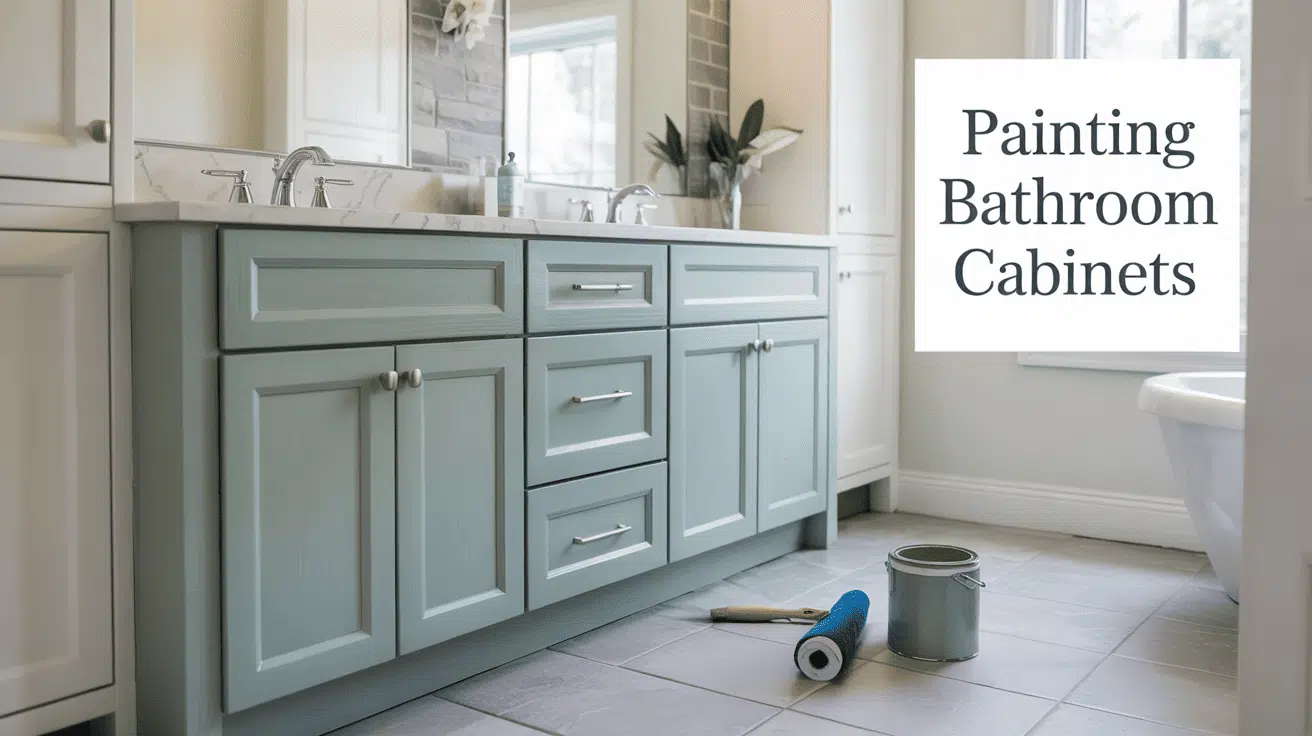
Looking to update your bathroom without breaking the bank? Learning how to paint bathroom cabinets might be the perfect weekend project for you!
This simple DIY upgrade can completely change the look and feel of your bathroom without the hefty price tag of a full renovation. If your current cabinets are outdated, damaged, or just not your style anymore, a fresh coat of paint can work wonders.
With just a few basic supplies and some patience, you can give your bathroom a magazine-worthy makeover that will impress your guests and make you smile every time you walk in.
Ready to roll up your sleeves and learn how to paint bathroom cabinets like a pro?
Why Paint Bathroom Cabinets?
Painting your bathroom cabinets is one of the smartest updates you can make to your bathroom. It’s incredibly cost-effective compared to a full replacement, allowing you to achieve a custom look for just the cost of paint and supplies.
If your cabinets are outdated, damaged, or simply not your style, a fresh coat of paint can completely change them. You don’t need to hire expensive professionals to get professional-looking results.
With some basic tools, quality paint, and a weekend of work, you can refresh your entire bathroom space. It’s a perfect project for homeowners who want to make a big impact with a modest budget.
Even if you’ve never tackled a DIY project before, cabinet painting is accessible for beginners and offers immediate satisfaction when you see those freshly painted cabinets brightening up your bathroom.
Materials You’ll Need
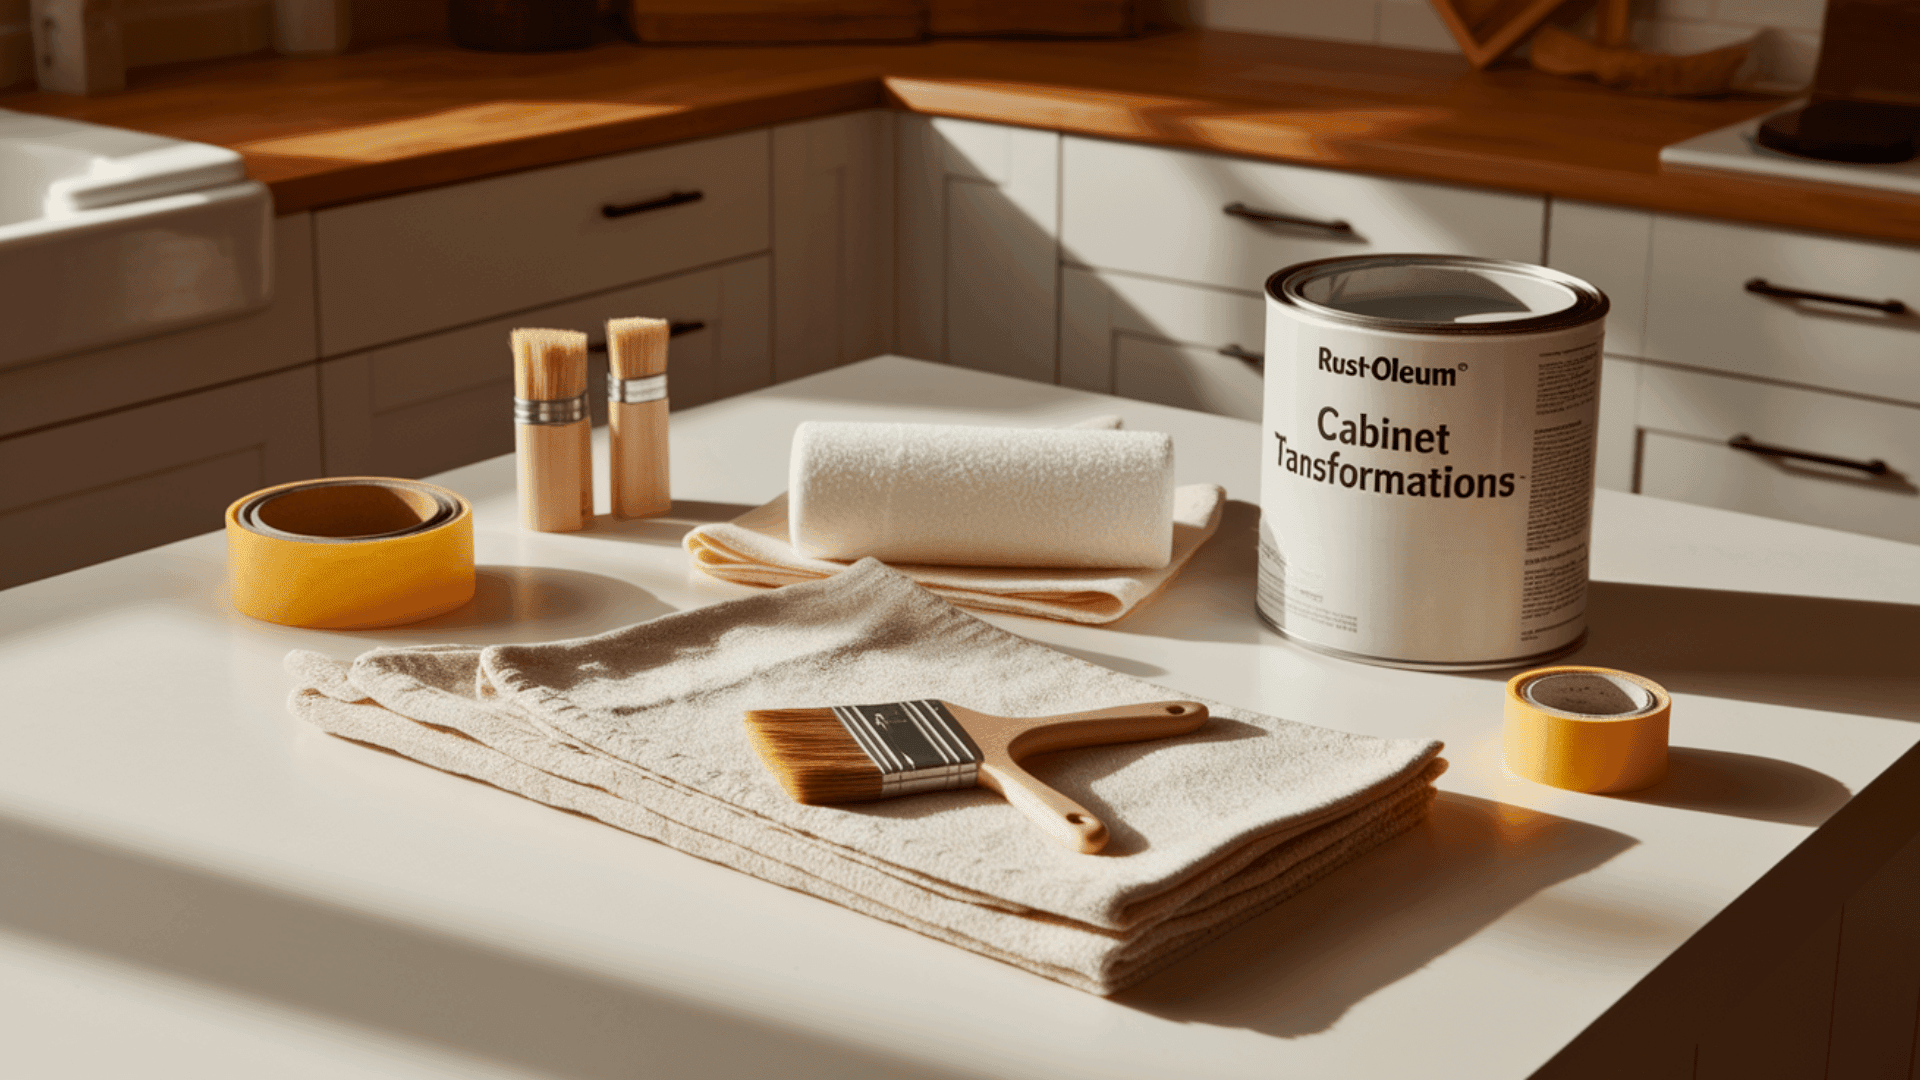
Getting the right materials before you start painting your bathroom cabinets is essential for a smooth process. High-quality supplies will ensure better results and make the job easier. The Rust-Oleum Cabinet Transformations Kit is a popular option that includes most of what you need for the project.
- Rust-Oleum Cabinet Transformations Kit
- 2-inch paintbrush
- 1/4-inch nap roller
- Painter’s tape
- Drop cloths
- Gloves
- Plastic wood or painter’s putty
- Scrub pad
- Damp and dry cloths
- 2x4s and screws
- Baggies for hardware
Having all these materials ready before you begin will save you time and prevent interruptions during your project.
Take inventory before you start, and make sure everything is within reach. Most of these supplies can be found at your local hardware store or home improvement center.
How Much Does This Project Cost?
This is a budget-friendly project! The Rust-Oleum Cabinet Transformations kit is usually under $100, and you’ll just need a few extra supplies like brushes, rollers, and tape. Compared to replacing cabinets, you’ll save hundreds—if not thousands—of dollars.
Step-by-Step Guide to Painting Bathroom Cabinets
Painting bathroom cabinets might seem challenging, but breaking it down into simple steps makes it manageable for anyone. Follow these steps carefully for beautiful, professional-looking results that will change your bathroom.
Step 1: Prep the Space and Remove Cabinet Hardware
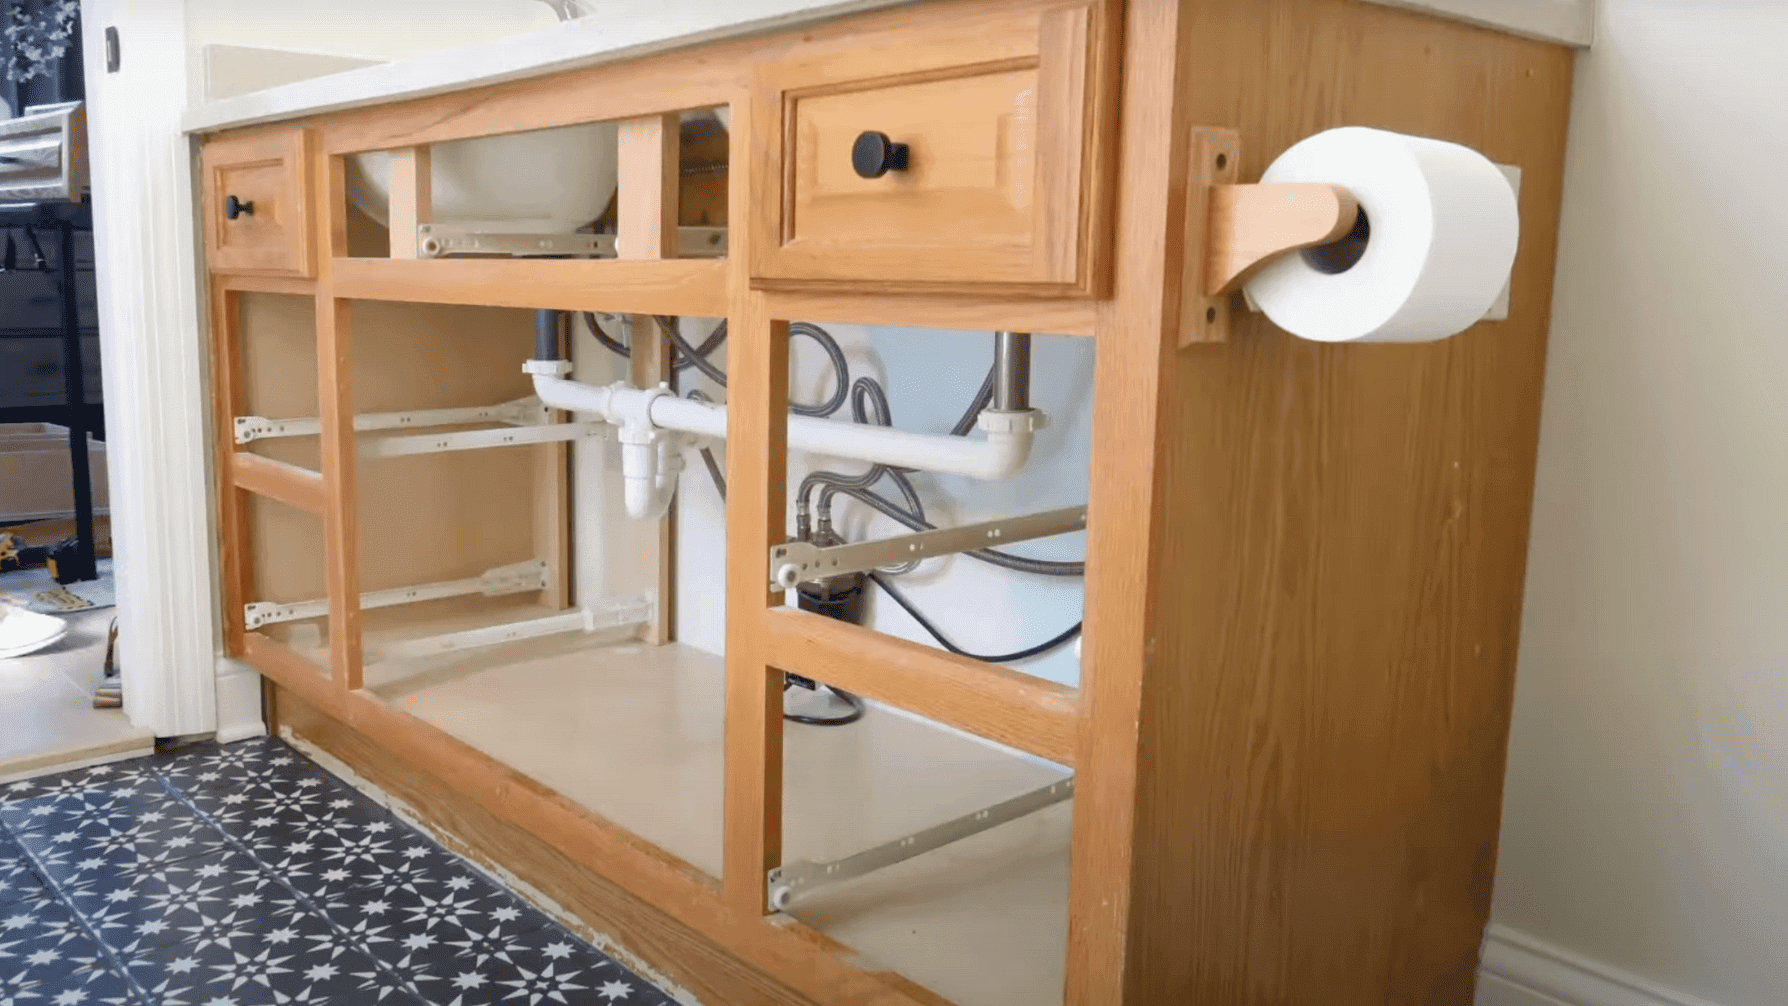
Start by removing all cabinet doors and drawers from your bathroom vanity and taking them to your work area. Carefully remove hinges, knobs, and all hardware, placing them in labeled plastic bags so you’ll know where everything goes during reassembly.
Examine the cabinet surfaces for any damage – fill nicks or dents with plastic wood or painter’s putty and allow it to dry completely.
To protect your bathroom from paint splatters, apply painter’s tape around all edges where the cabinets meet walls, countertops, and flooring. Good preparation is essential for a smooth painting process and will help you achieve professional-looking results without making a mess.
Step 2: Clean and De-gloss the Cabinets
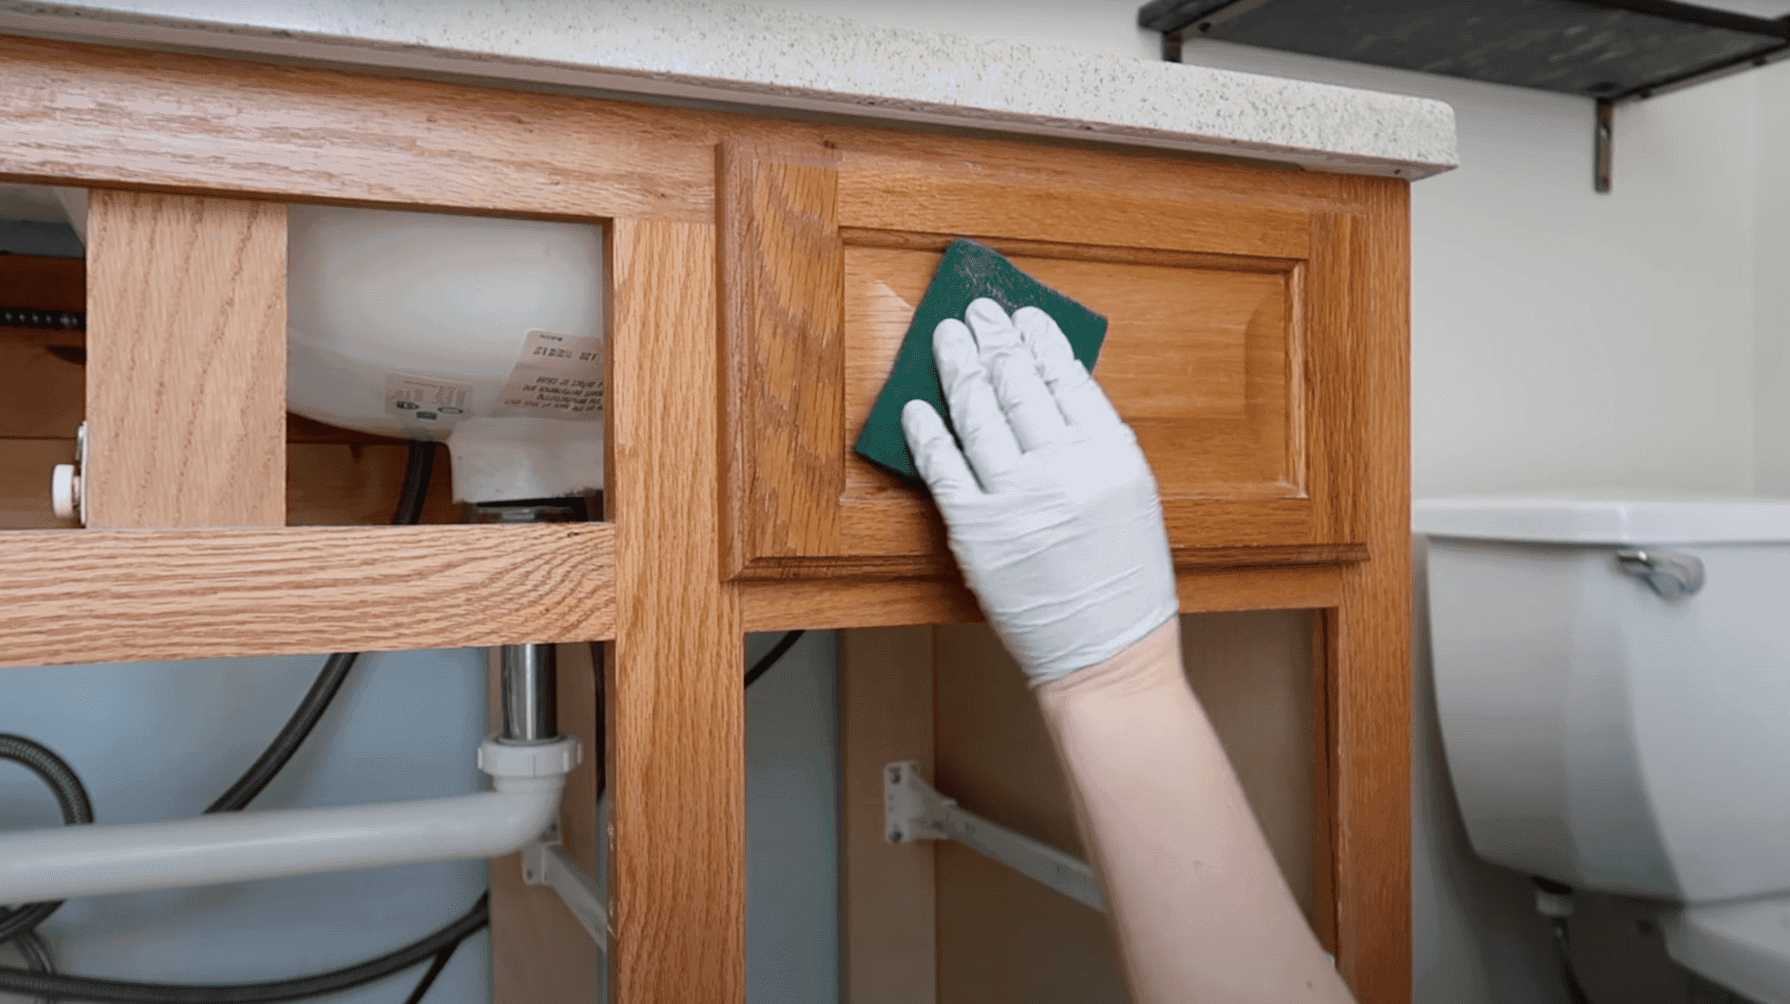
Proper cleaning and deglossing ensures your new paint will stick well to the cabinets for a lasting finish. Apply the Rust-Oleum Cabinet Transformations deglosser to your cabinet surfaces using a folded scrub pad.
Work in a circular motion with medium pressure, following the wood grain pattern if your cabinets are made of wood. This removes the shiny finish and creates a slightly rough surface that helps paint adhere better.
After scrubbing all surfaces thoroughly, wipe everything down with a damp cloth to remove residue and loose particles. Follow up with a clean, dry cloth to ensure no moisture remains. Let the cabinets dry completely for about an hour before moving to the painting stage.
Step 3: Paint the Cabinets
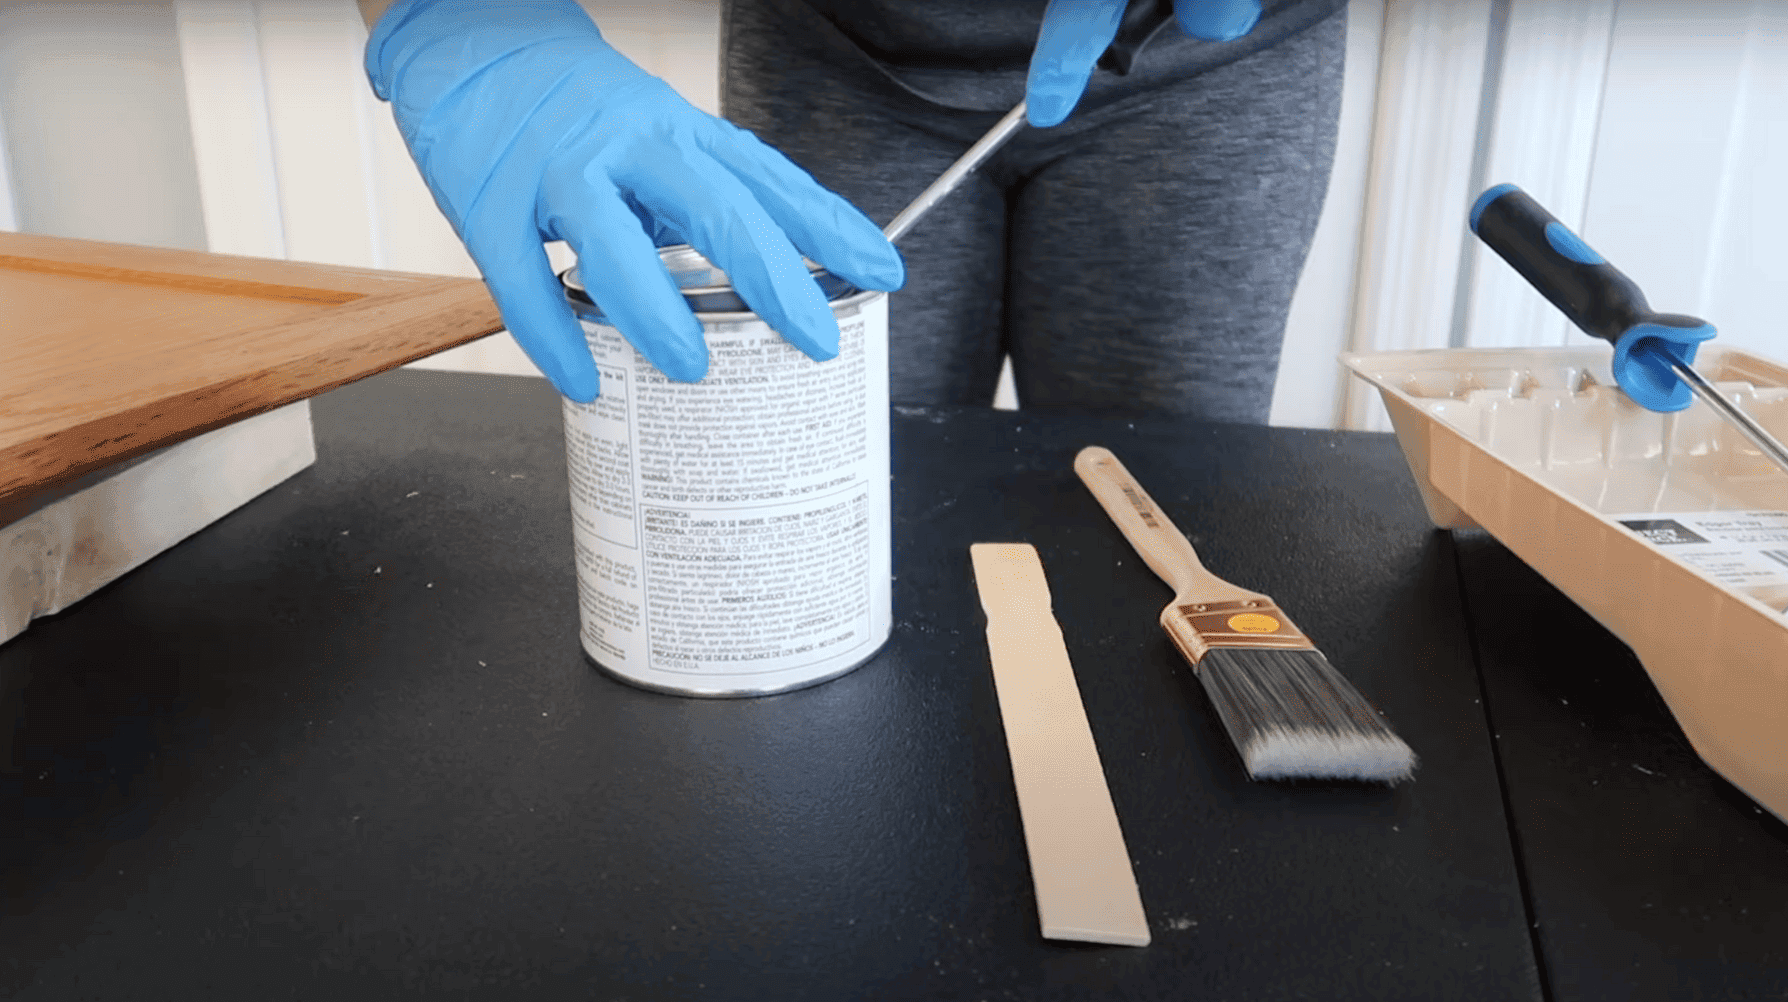
Now comes the most exciting part – actually applying the paint that will change your cabinets. Start by mixing your Rust-Oleum cabinet paint according to the package instructions.
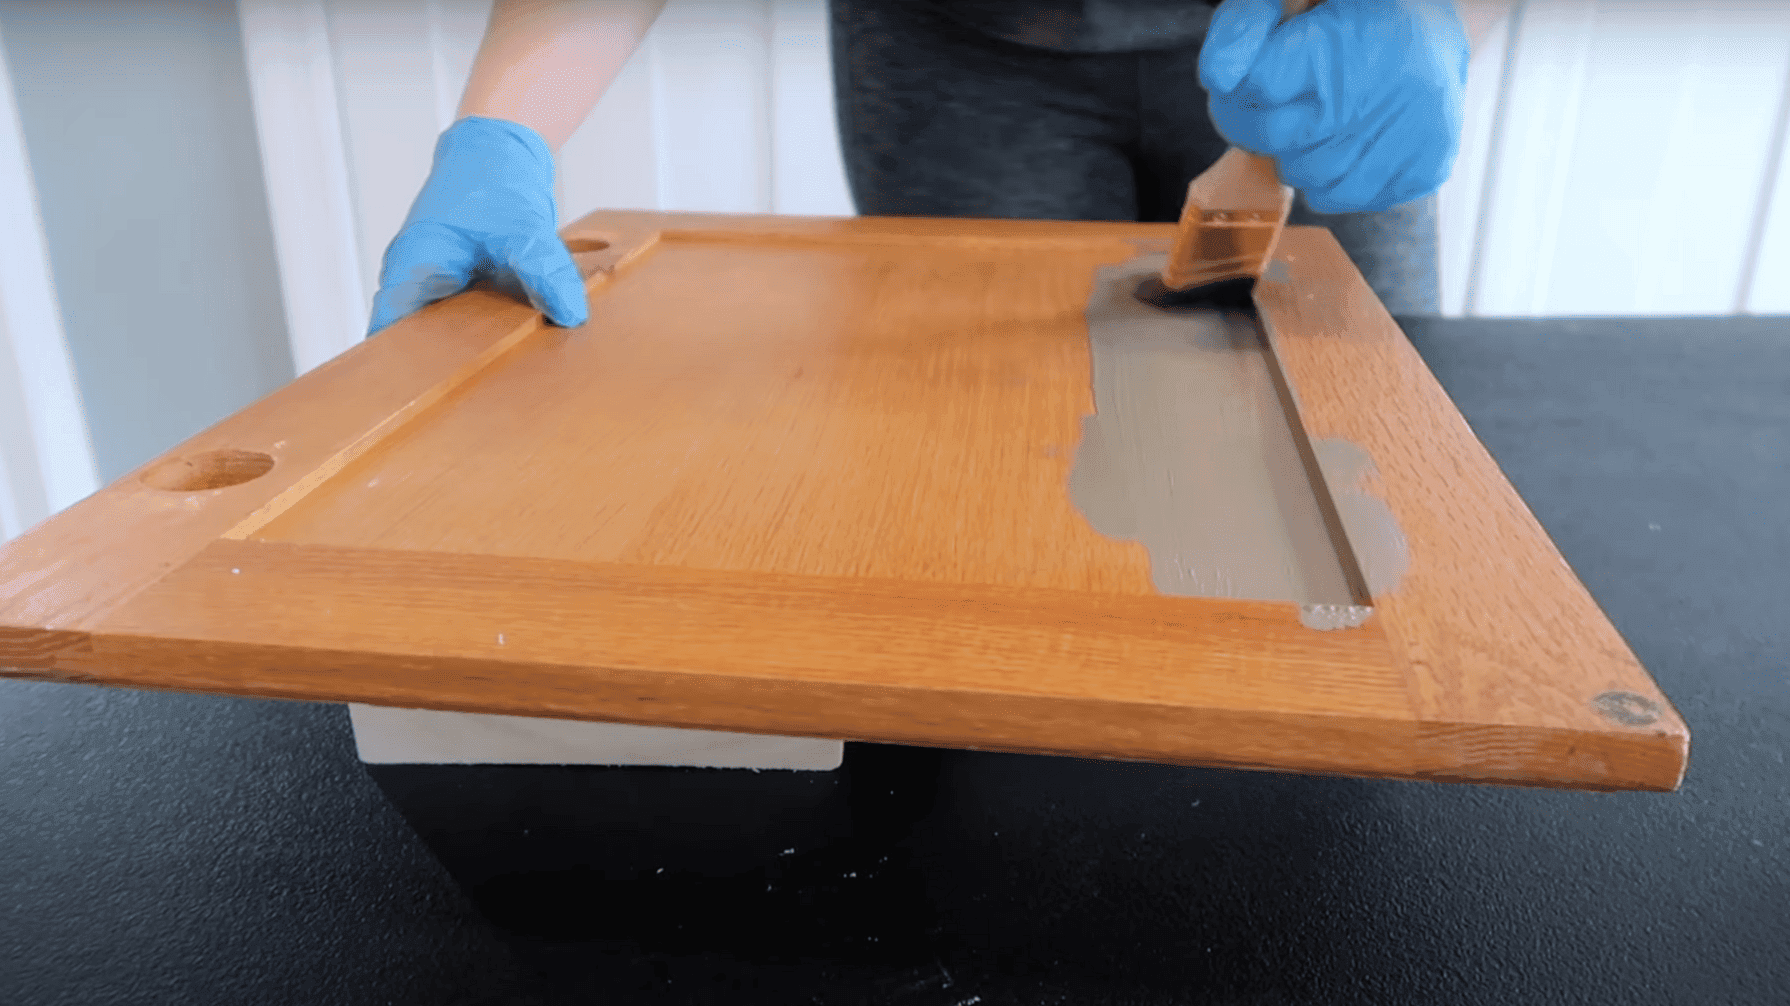
Set up your cabinet doors on 2x4s to upgrade them, making it easier to paint all edges. Use your 2-inch paintbrush for detailed areas like corners, edges, and any decorative parts.
Switch to the 1/4-inch nap roller for the larger flat surfaces to avoid brush marks and create a smoother finish. Paint all cabinet doors, drawer fronts, and the vanity base cabinet using thin, even coats.
Let the first coat dry completely for 2-3 hours, then apply a second coat for complete coverage. Allow this second coat to dry another 2-3 hours before moving to the next step.
Step 4: Apply the Protective Top Coat
The protective top coat is what makes your paint job durable enough to withstand bathroom moisture and daily use. Once the paint has fully dried, apply the protective top coat from the Rust-Oleum Cabinet Transformations kit using a clean 1/4-inch nap roller or paintbrush.
Work quickly in thin, even strokes, and avoid going back over areas you’ve already coated since this product dries fast and can streak if overworked.
Make sure to cover all painted surfaces completely without missing spots, especially edges and corners. The top coat will look milky at first but will dry clear with a subtle sheen. Allow it to dry undisturbed for at least 12 hours before handling the cabinets to ensure it cures properly.
Step 5: Reassemble and Final Touches
After waiting a full 24 hours for the protective coat to cure completely, you’re ready to put everything back together.
Retrieve your organized bags of hardware and begin reattaching hinges, knobs, and pulls to their proper doors and drawers. Be careful not to overtighten screws as this could damage your fresh paint.
Rehang the cabinet doors, making any needed adjustments so they hang straight and close properly. Reinsert all drawers and check that they slide smoothly.
Remove any remaining painter’s tape from around the vanity. Step back and admire your newly converted bathroom cabinets! This simple weekend project has given your bathroom a complete makeover for a fraction of what new cabinets would cost.
Video Tutorial
For more information, check out this video tutorial by DIY Playbook
Tips for Long-Lasting Results

With proper care and maintenance, your newly painted bathroom cabinets can stay beautiful for years.
Taking a few simple precautions will protect your hard work and keep your cabinets looking fresh and new for as long as possible.
- Clean cabinets regularly with a soft, slightly damp cloth.
- Avoid abrasive cleaners or scrubbing pads that can scratch the finish.
- Wipe up water splashes promptly to prevent damage.
- Use gentle, non-harsh cleaners when needed.
- Keep the bathroom well-ventilated with fans or open windows.
- Touch up any chips or scratches as soon as you notice them.
- Apply a new coat of protective topcoat every few years in high-use areas.
With minimal effort, your painted bathroom cabinets can maintain their beauty for many years.
Remember that prevention is always easier than repair, so be proactive about maintenance. Your small investment of time will pay off with cabinets that continue to enhance your bathroom’s appearance.
Summing It Up
Now you know how to paint bathroom cabinets like a pro! This affordable DIY project can dramatically improve your bathroom’s appearance without requiring professional help or a complete renovation.
By following these simple steps and using the right materials, you’ve learned that even beginners can achieve beautiful, long-lasting results.
Remember that preparation is key, and taking your time with each step will ensure your cabinets look their best for years to come.
The next time you walk into your bathroom and see those freshly painted cabinets, you’ll feel proud of what you’ve accomplished. So gather your supplies, set aside a weekend, and change your bathroom with this straightforward cabinet painting project.
If you’re interested in more DIY projects for your home, feel free to click here and explore our collection of easy weekend makeovers and step-by-step renovation tutorials.

James McLaren, with a rich background in architecture from the University of Manchester, has been contributing his expertise to the world of creative construction and home innovation for over 20 years. His journey began as a project manager for a leading construction firm, where he honed his skills in bringing complex designs to life. James joined our platform as a freelancer in 2019, quickly becoming a favorite for his insightful and practical advice. He has been a pivotal force to our wing ever since, bringing our readers a blend of technical know-how and creative flair. Beyond his professional life, James is an avid woodworker and enjoys restoring vintage furniture, a hobby that complements his professional insights beautifully.