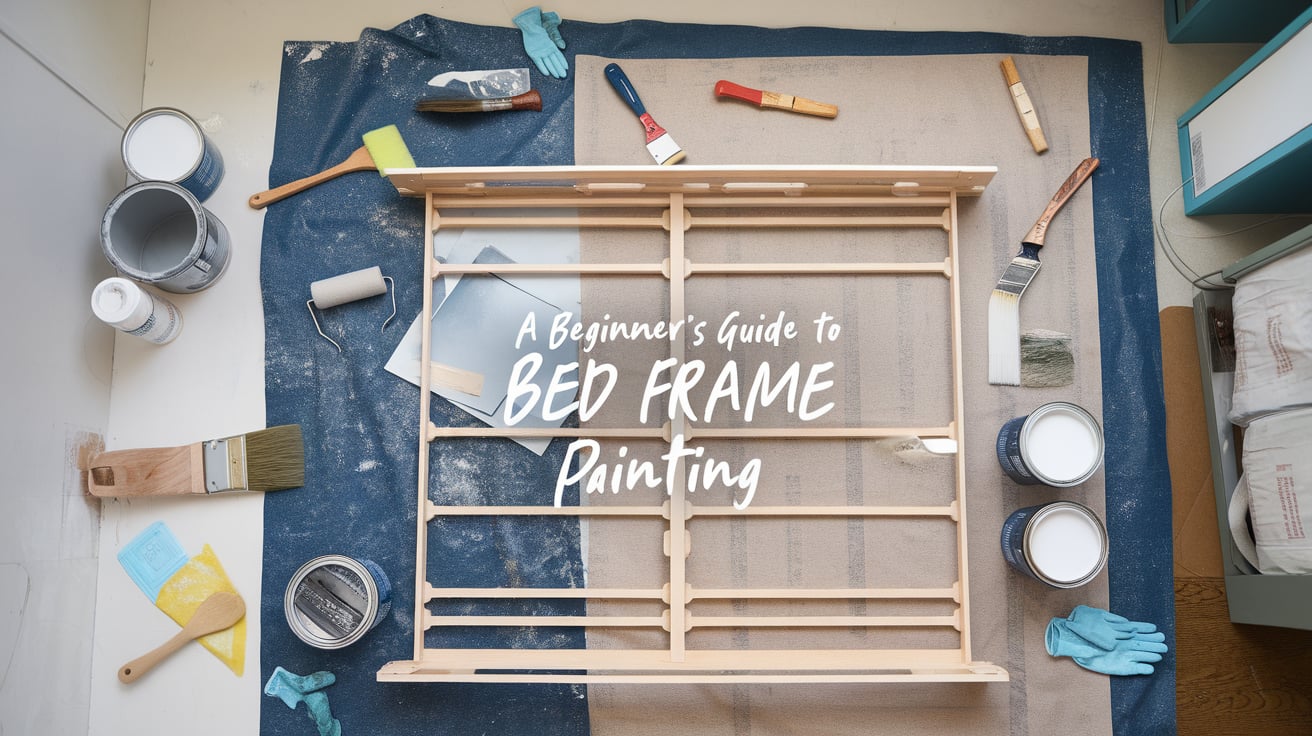
“Can I let you in on a secret? That old bed frame in your room doesn’t need to go.”
Here’s the pain most people face: You look at your bed frame every day, and it just doesn’t fit your style anymore. You’ve browsed furniture stores, but new bed frames cost way too much. I get it – I’ve been there too.
But here’s the good news: I’ve found a budget-friendly fix that works like magic. With just paint and a few basic tools, I’ll show you how to turn that outdated bed frame into a piece you’ll love.
In this guide, I’ll walk you through every step to make your bed frame look brand new.
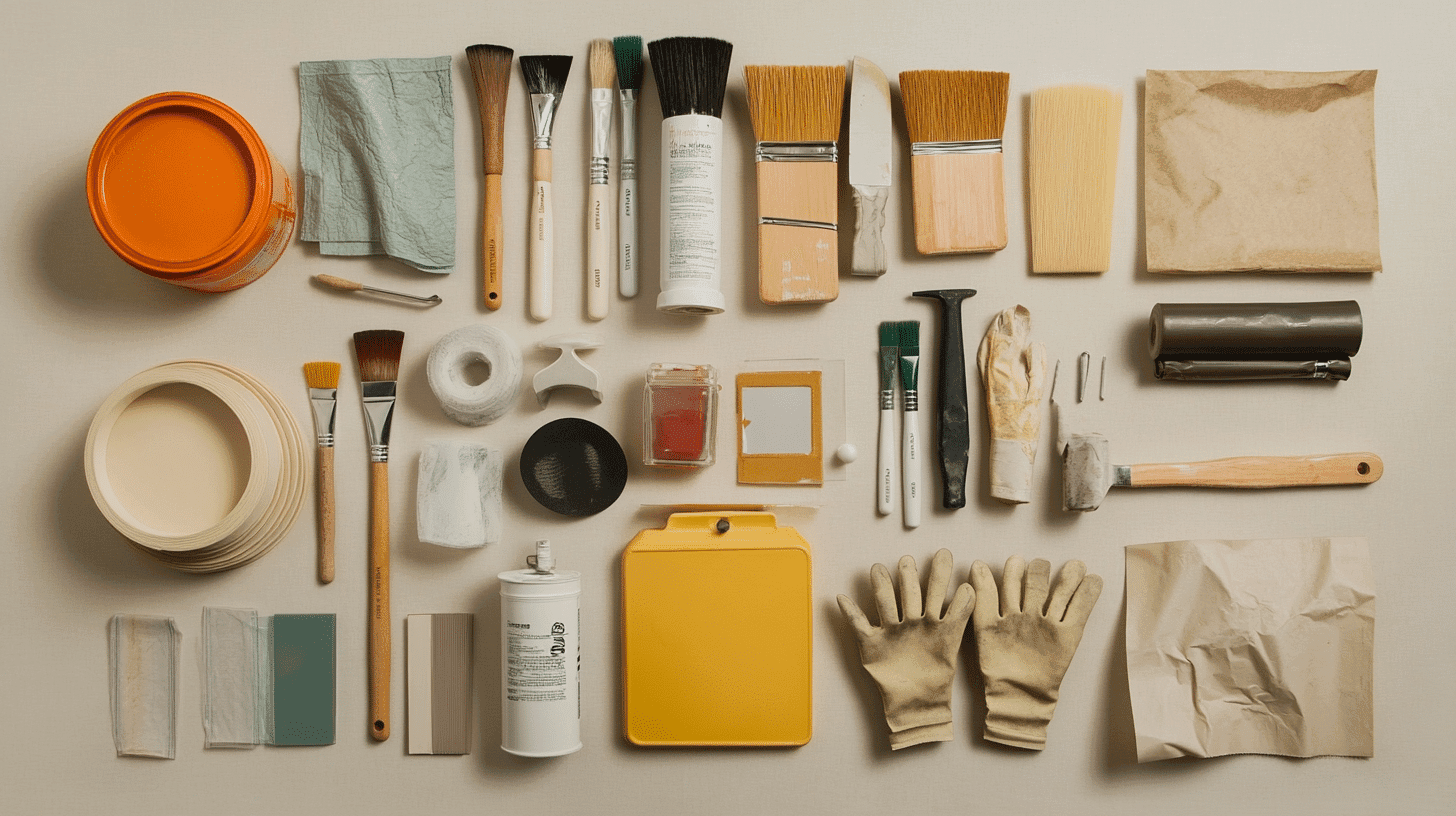
Essential Materials And Tools For A Perfect Bed Frame Makeover

Before painting your bed frame, let me help you gather everything you need. I’ve compiled a complete list of supplies based on what works best.
Having all your tools ready makes the job smoother and helps avoid mid-project shopping trips. Trust me – I learned this from running out of supplies halfway through my first project!
Remember, good tools help create better results. While you might want to save money, don’t use your paint and brushes too cheap. They’re the most important items on this list. I’ll explain what you need and why you need it.
Let’s check out the must-have items for your bed frame project:
| Category | Items | Details/Explanation |
|---|---|---|
| Paints | Latex, Acrylic, Chalk Paint (for wood) Enamel, Metal Paint (for metal) | Latex is durable and easy to clean; chalk paint gives a vintage look. Enamel is tough, ideal for metal frames. |
| Brushes & Rollers | Brushes (angled, flat) Rollers (small and foam) Spray Paint (optional) | Angled brushes for corners; foam rollers for smooth finishes; spray paint for even and quick coverage. |
| Sanding Tools | Sandpaper (medium and fine grit) Sanding Block | Medium grit is used to remove old paint; fine grit is used to smooth surfaces before painting. |
| Primer | Wood Primer Metal Primer | It provides a smooth base for painting and ensures that the paint adheres properly. |
| Protective Gear | Gloves, Goggles, Mask | Protect hands, eyes, and lungs from paint and sanding dust. |
| Workspace Essentials | Drop Cloth Painter’s Tape Ventilation Fans | Protects floors and surroundings; tape for clean edges; fans ensure proper airflow. |
| Sealant/Topcoat | Polyurethane, Polycrylic, or Wax Finish | Adds durability and protects the painted surface from scratches and chips. |
Choosing The Perfect Paint And Finish

Let me share what I know about paint types – it’s simpler than you might think.
- Latex paint makes a good choice if you’re working with wood. It dries fast, and you can clean your brushes with just soap and water.
- Acrylic paint works great, too – it sticks well to most surfaces and keeps its color for years. If you’re after that soft, classic look, chalk paint might be your best bet. You won’t need much prep work, and it gives your bed frame a gentle, smooth look.
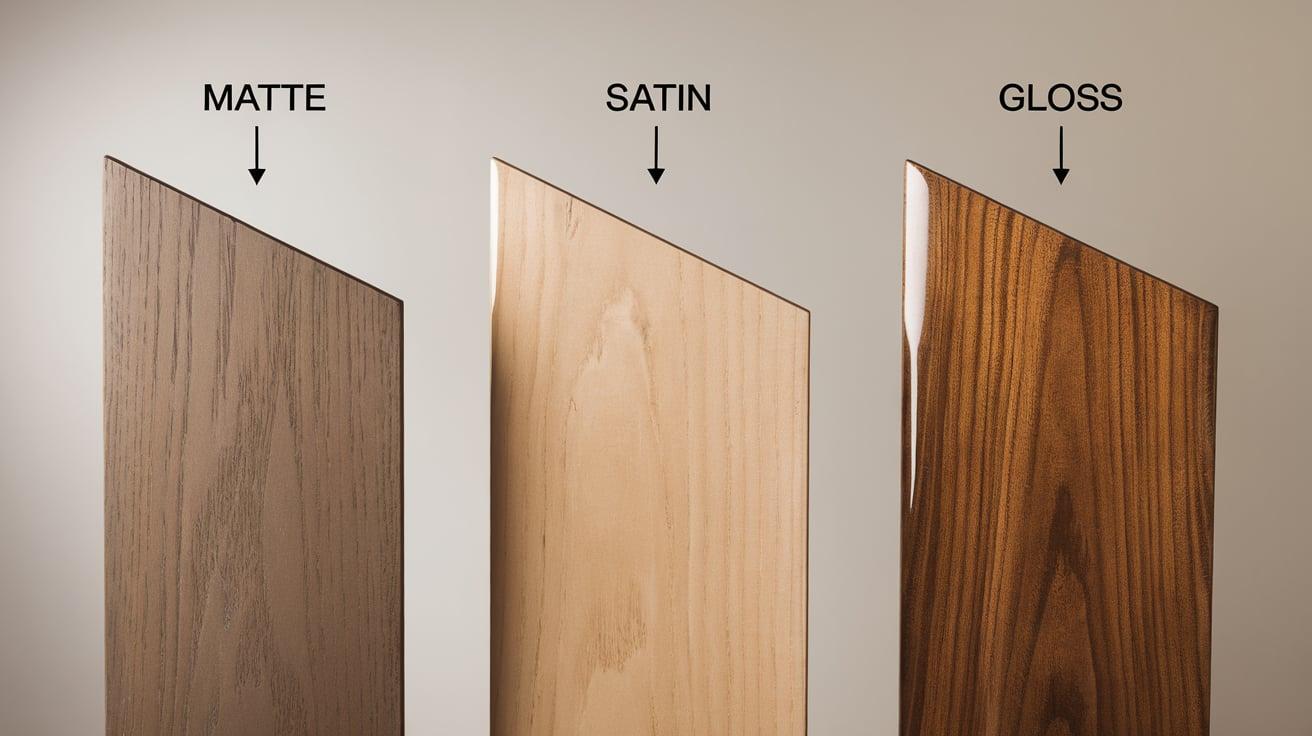
| Finish Type | Pros | Cons | Best For |
|---|---|---|---|
| Matte | Hides small flaws; gives a soft, elegant look | Requires gentle cleaning; less durable | Frames with imperfections or a vintage style |
| Satin | Easy to clean; balances durability and aesthetics | None significant | Daily-use frames needing a practical finish |
| Gloss | Very easy to wipe down; bright and shiny appearance | It shows every mark and bump | Modern or high-traffic settings need a sleek look |
Picking colors doesn’t have to be hard. I always start by looking at my room’s current colors. Get some small paint samples and test them on a hidden spot of your bed frame. Check how they look during the day and at night – you might be surprised how different a color can appear.
Take your time with this choice – there’s no need to rush.
Step-by-Step Painting Guide
Step 1: Clean the Bed Frame
First, mix TSP cleaner with warm water in a bucket. Take a microfiber cloth and clean every part of the bed frame.
Keep a old toothbrush handy – you’ll need it to reach those tight corners and edges. Don’t rush this step. If your water gets dirty, throw it out and mix a fresh batch. Once you’ve cleaned everything, take clean water and wipe the whole frame again to remove any cleaning solution.
Step 2: Prep the Surface
Take your 220-grit sandpaper and start smoothing the entire bed frame. You don’t need to sand too hard – just enough to give the paint something to grip onto. Run your hands over the surface to feel for any rough spots you might have missed. After sanding, take a tack cloth and wipe off all the dust.
Step 3: Apply Primer
Pick your primer based on your needs. If you plan to use light-colored paint or see any stains, go for a shellac-based primer. For dark colors, basic primer works fine. Hold the spray can about 8-10 inches from the surface.
Move your arm in steady strokes, making sure each spray path overlaps slightly with the last one. This helps prevent missed spots. Let the primer dry for several hours.
Step 4: Sand Again
Once the primer dries, take your 220-grit sandpaper again.
Feel the surface with your hand as you go – this helps you find spots that need more attention. Focus on any bumps or rough areas. After sanding, wipe everything down with a tack cloth to remove dust.
Step 5: Paint Application
Start painting in long, smooth strokes. Don’t go back over areas that have started to dry – this can leave marks.
If the paint starts to dry too fast, mist the surface lightly with water from a spray bottle. This keeps the paint workable. Let this first coat dry for about an hour, then add a second coat the same way. After the second coat, leave it overnight to dry fully.
Step 6: Seal Your Work
Mix your clear coat with a tiny bit of your paint color – this stops the sealer from looking cloudy. Apply the sealer in long, even strokes, working from top to bottom. Move quickly but carefully to avoid brush marks. Make sure you coat all surfaces evenly. Let it dry completely before moving or using the bed frame.
Want to see how this all comes together? Here is a complete video tutorial by Chic Antique that shows each step from start to finish. Watch it here:
Expert Tips And Safety Guidelines For Bed Frame Painting
- Use paint like butter on bread – just enough to cover. Too much causes drips and slow drying.
- Never skip the primer. It stops peeling and helps paint last longer.
- Keep a dry brush nearby to fix uneven spots and drips right away.
- Paint in one direction with light strokes. Let each coat dry fully.
- Stay safe: Open windows and use fans. Wear a mask and gloves. Take breaks every 30 minutes. Keep kids and pets away
Caring For Your Painted Bed Frame
Let me share some simple ways to keep your painted bed frame looking fresh and how to fix small damage when it happens.
Regular Care Tips
Clean your painted bed frame every few weeks with a soft cloth. Light dusting works best—there is no need for harsh cleaners. If you spot dirt, use a damp cloth with mild soap. Pat dry right away with a clean cloth to prevent watermarks.
Place felt pads where the mattress touches the frame. This will prevent the paint from wearing off when you make your bed. Also, keep sharp items away from your bed frame—even rings or watches can leave marks.
Quick Fixes For Small Damage
Found a scratch? Here’s a simple fix: clean the spot with a damp cloth and let it dry. Take your leftover paint and a small brush. Put a tiny bit of paint on the scratch. Dab, don’t stroke – this helps the touch-up blend in.
For chips, sand the edges lightly with fine sandpaper. Clean off the dust. Add paint in thin layers until it matches the height of the old paint. Let each layer dry between coats.
Keep your touch-up paint in a small jar with a tight lid. Add a label with the date. This makes quick fixes easy whenever you need them.
Conclusion
Painting your bed frame can change the whole look of your bedroom. Now that you have all the steps and tips, you’re ready to start your project. From picking the right paint to getting that smooth finish, each step matters.
The most important things to remember: Clean well, sand lightly, and let each coat dry fully. Take your time with the prep work – it makes all the difference in how your paint job turns out.
Ready to get started? Gather your supplies, open those windows, and turn that old bed frame into something you’ll love to see every day. Share your before and after photos if you try this project – I’d love to see how it turns out!
Frequently Asked Questions
How Long Does It Take For Paint To Fully Cure?
The paint needs 24 hours to dry to touch and 7 days to harden completely. Keep your bed frame gentle during this time.
What’s The Best Paint For A Metal Bed Frame?
Oil-based enamel paint with metal primer works best. It sticks well and stops rusting.
Can I Paint A Bed Frame Without Sanding It First?
You can, but I don’t suggest it. A quick light sanding helps the paint stick better and last longer.
Is Spray Painting Faster Or Better Than Brushing?
Spray painting is faster but requires more prep. Brushing gives more control and wastes less paint. Both work well—choose based on your space and comfort level.


