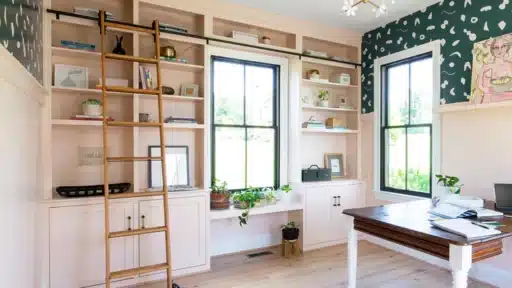
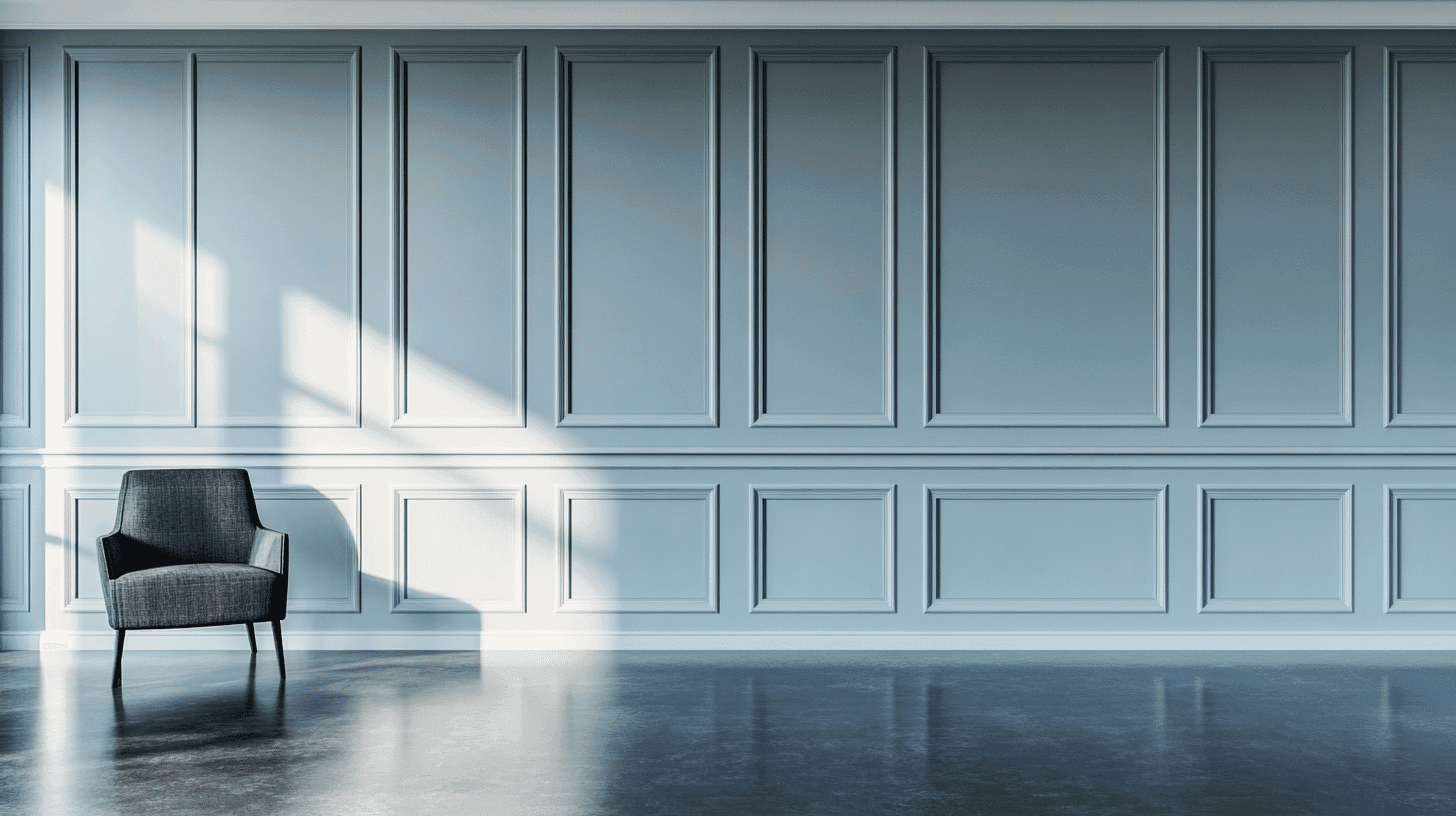
So, Why Wall Panelling?
There’s a good reason wall panelling has made a stylish comeback—it’s versatile, it looks fantastic, and it’s surprisingly functional. Whether you’re after a splash of classic charm or a modern edge, wood panelling has the power to transform a space completely. It hides dodgy plasterwork, adds a bit of soundproofing, and even helps with insulation.
Best of all? You don’t need to call in a pro. With a bit of planning (and a free weekend), you can do it yourself.
Let’s get stuck in.
Choosing a Style That Actually Suits Your Space
Before you dive into the DIY bit, take a moment to think about the look you’re going for. Not all panelling is created equal, and choosing the right style makes all the difference. Here are a few firm favourites:
- Shaker-style panelling keeps things simple and elegant. With its clean lines and unfussy detail, it works just as well in a cosy bedroom as it does in a slick living room.
- Beadboard panelling has a more old-school, cottagey feel. Those narrow vertical grooves? They’re perfect for adding warmth to kitchens and bathrooms—like something straight out of a country retreat.
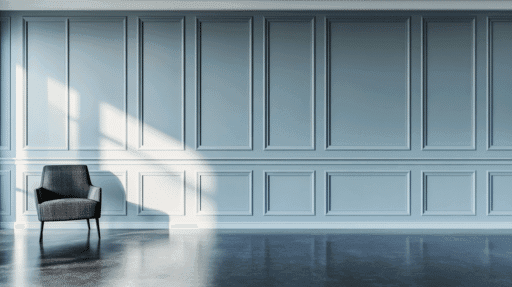
- Board and batten is for those who like a bit of drama. Think strong, geometric lines—great for statement walls or long corridors that need a bit of oomph.
- Slatted panelling is a winner if you’re into minimal, modern interiors. Sleek and stylish, it’s also great for improving sound quality in media rooms or open-plan living areas.
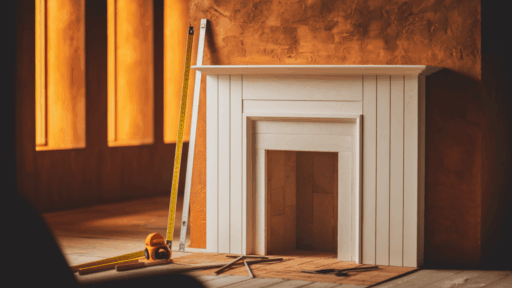
Plan First, Thank Yourself Later
1. Measure Twice, Cut Once
Grab a tape measure and sketch out your design. Some folks like to use masking tape on the wall to visualise the layout—which is a great way to catch spacing issues before committing. Be precise, especially if you’re going for anything more intricate than basic vertical strips.
2. What You’ll Need
Here’s your shopping list:
- MDF panels (pre-cut or full sheets you can trim to size)
- Strong adhesive (No More Nails does the job nicely)
- Decorator’s caulk for gap filling
- Primer and paint in your chosen shade
- Tools: mitre saw or hand saw, sandpaper, spirit level, caulking gun, paint brushes and rollers
3. Prep the Wall
Start with a clean slate—remove any nails, screws, or flaky bits of old paint. Sand down uneven areas so the panels sit flush. The smoother your surface, the better your end result.
Let’s Panel That Wall
1. Cutting to Size
Using the measurements you took earlier, cut your MDF panels accordingly. A mitre saw is quickest and most accurate, but a decent hand saw will work too—just take your time.
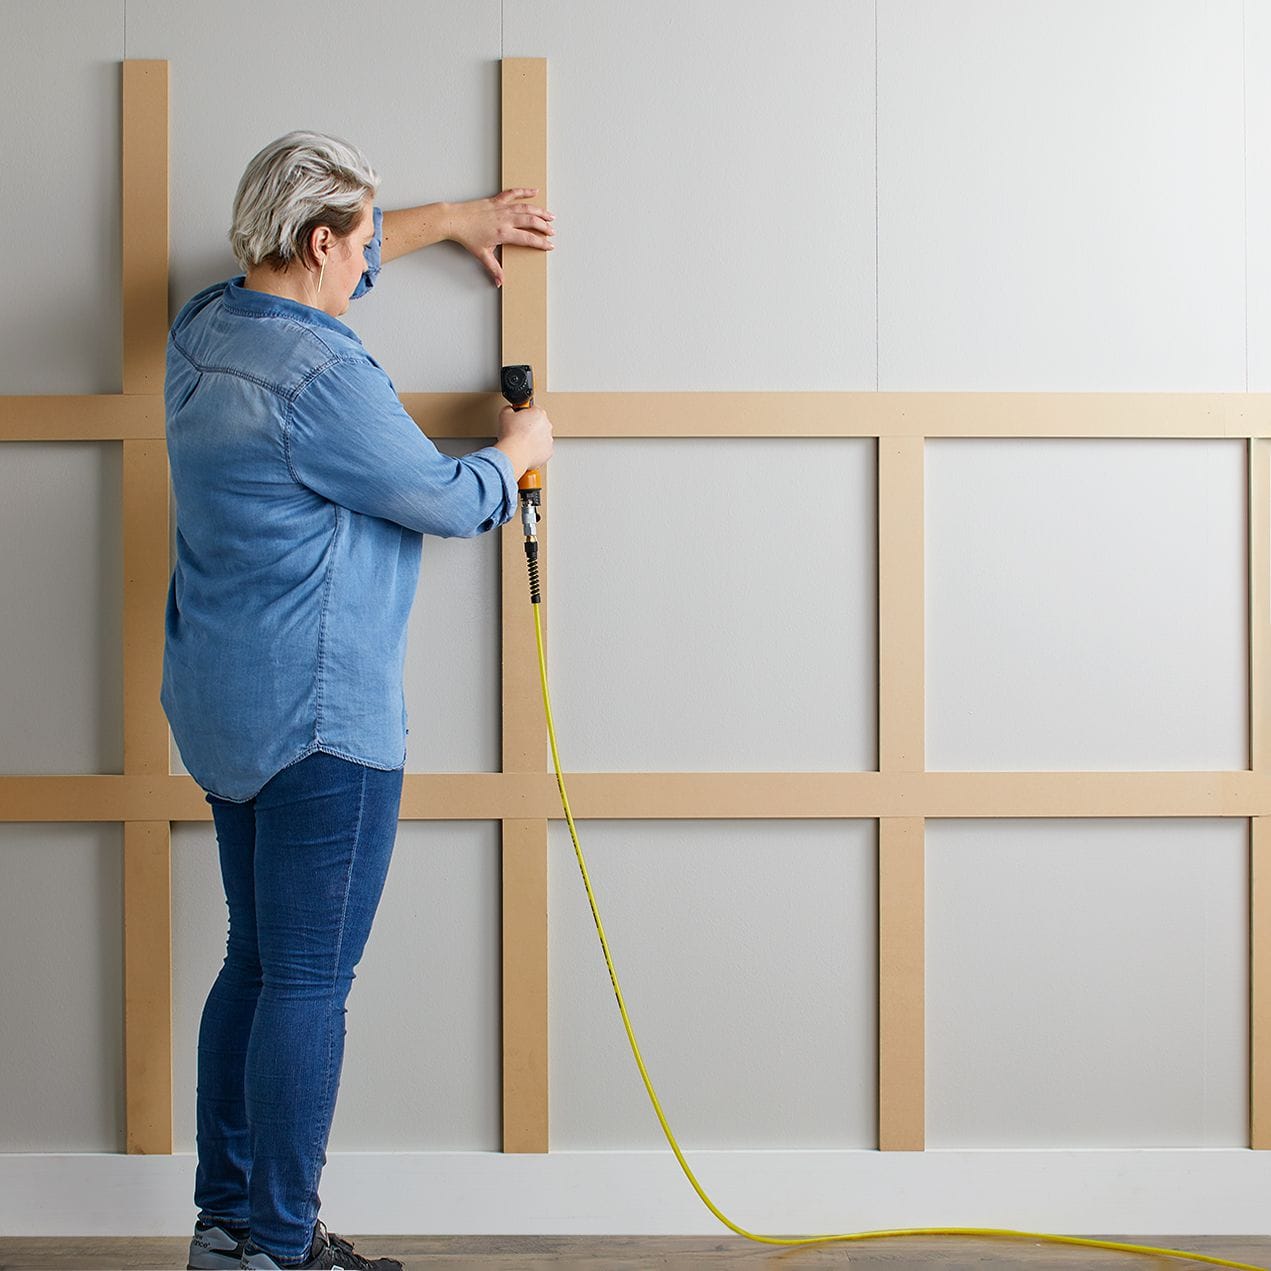
2. Stick ‘Em On
Apply your adhesive generously to the back of each panel, then press it firmly onto the wall. Start with the larger pieces and check for level as you go—you don’t want things wonky. Once the big panels are in place, move on to trims or any decorative extras.
3. Seal the Gaps
Once everything’s set and secure, run a bead of caulk along the seams. Smooth it over with a damp finger or tool and let it dry. A light sanding after that will help blend everything together.
4. Prime and Paint
Priming MDF is a must—it stops the paint soaking in unevenly. Once that’s dry, get your paint on. Use a brush for the edges and a roller for the flat bits. Two coats usually do the trick.
Keeping It Looking Sharp
A bit of regular TLC goes a long way. Dust it down now and again, and if you spot a scuff or mark, a dab of paint will have it looking fresh in no time. The beauty of panelling is how easy it is to maintain—and how well it hides wear and tear.
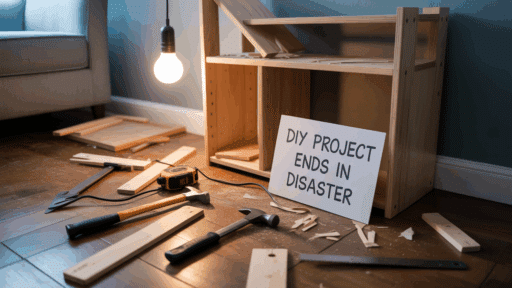
Final Thoughts: Worth the Effort?
Absolutely. Wall panelling isn’t just about good looks—it adds depth, warmth, and character to a room in a way plain walls never could. And for DIY beginners? It’s a fantastic starter project. Just take your time, follow the steps, and maybe watch a tutorial or two before you begin.
Fair warning though: once you’ve done one wall, you might start eyeing up the rest of the house

Stephanie Grace, a graduate with a degree in Fine Arts from the Savannah College of Art and Design, has been inspiring DIY enthusiasts with her creative and practical guidance for over 14 years. Her career in design and crafting began in a small artisan workshop, where she developed a passion for transforming everyday materials into beautiful and functional items. Stephanie joined our website in 2018, rapidly gaining popularity for her easy-to-follow DIY tutorials and innovative project ideas. Since then, she has been the creative mind behind our DIY section, helping readers bring their artistic visions to life. Outside her professional pursuits, Stephanie enjoys pottery and urban gardening, hobbies that showcase her love for hands-on creativity and nature.