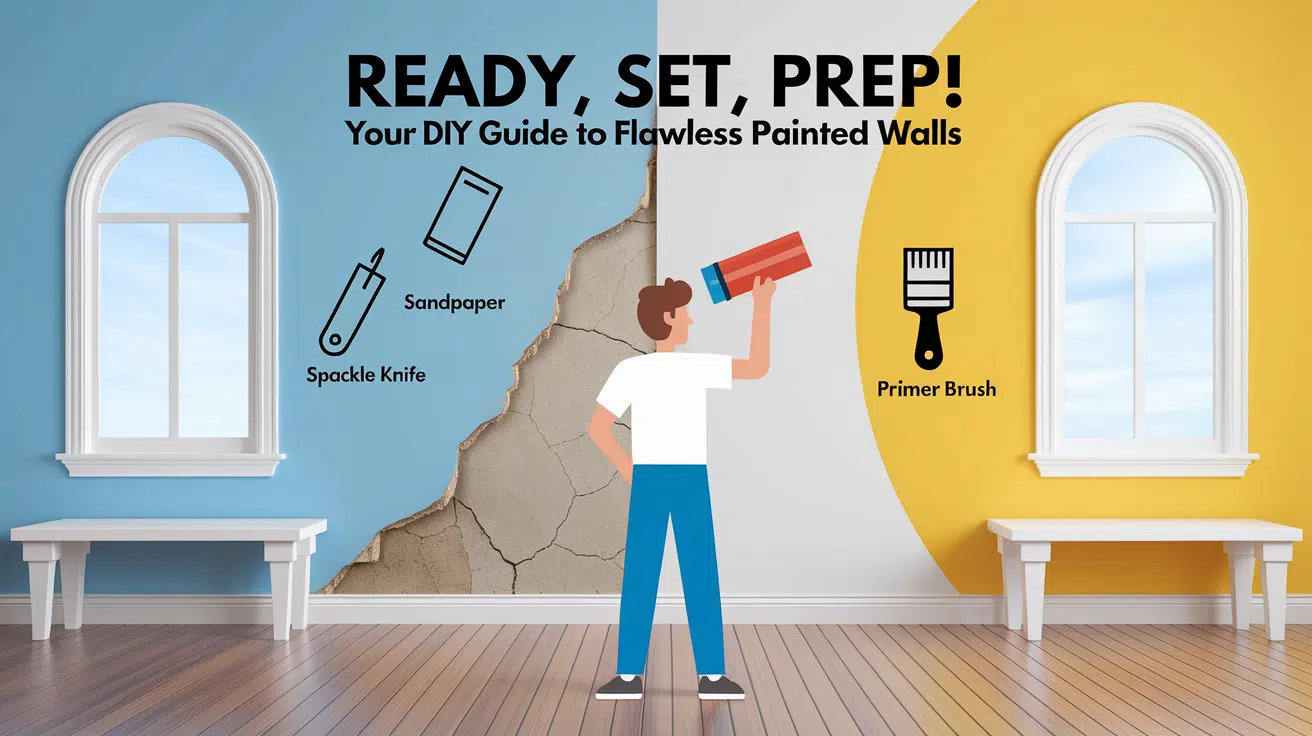
Tired of uneven paint, peeling edges, or patches that don’t stick? Even the best paint can’t cover dust, cracks, or peeling surfaces.
If you’re thinking about changing the color but aren’t sure where to begin, preparing your walls is a great first step. It might not be the most exciting part of the project, but it has a big impact on the final result.
Wall prep is entirely manageable with a few basic tools and a bit of patience. Taking this step ensures your chosen paint color goes on smoothly and lasts longer, saving you effort in the long run.
Keep reading to learn step-by-step how to prep walls for painting.
Why Wall Preparation Makes or Breaks Your Painting Project
Proper wall prep sets the stage for a smooth, long-lasting paint job. Just like adhesives work best on clean surfaces, paint sticks better to smooth, properly cleaned walls.
Skipping prep can lead to peeling, bubbling, or patchy finishes, often just months after painting. That’s why professionals spend over half their time preparing walls before applying color.
Though it may add an extra day and cost hundreds of dollars in materials per room, proper prep helps paint last up to 7–10 years, compared to 2–3 without it.
Just keep safety in mind: wear a dust mask when sanding and make sure your space is well-ventilated while using cleaners or primers.
Tools and Materials Required
Gathering the right tools and materials before starting your painting project is essential for professional results. The preparation phase requires specific equipment to clean, repair, and smooth your walls properly.
| TOOLS & MATERIALS | PURPOSE | COST |
|---|---|---|
| Canvas drop cloths | Protect floors | $15–30 |
| Plastic sheeting (optional) | Extra surface protection | $10–20 |
| Painter’s tape (2-inch) | Clean paint edges | $7–10 |
| Degreaser or detergent | Clean countertops | $6–10 |
| Sandpaper (80 & 220 grit) | Smooth surface | $5–8 |
| Primer | Base coat | $15–25 |
| Countertop paint | Color & Durability | $20–40 |
| Rollers & brushes | Paint application | $10–20 |
| Topcoat sealer or epoxy | Protect finish | $15–50 |
| Clean rags | Wipe surfaces | $5–10 |
| Dust mask & eye protection | Safety | $6–13 |
Total estimated cost: $92 and $166
Step-by-Step Wall Preparation for Painting
Repainting your walls begins with thorough preparation, long before the paint goes on. Proper preparation is what separates amateur painting jobs from professional-looking results.
Let’s break down the wall preparation process into manageable steps that will set you up for painting success.
STEP 1: Clear The Room And Protect Your Furniture
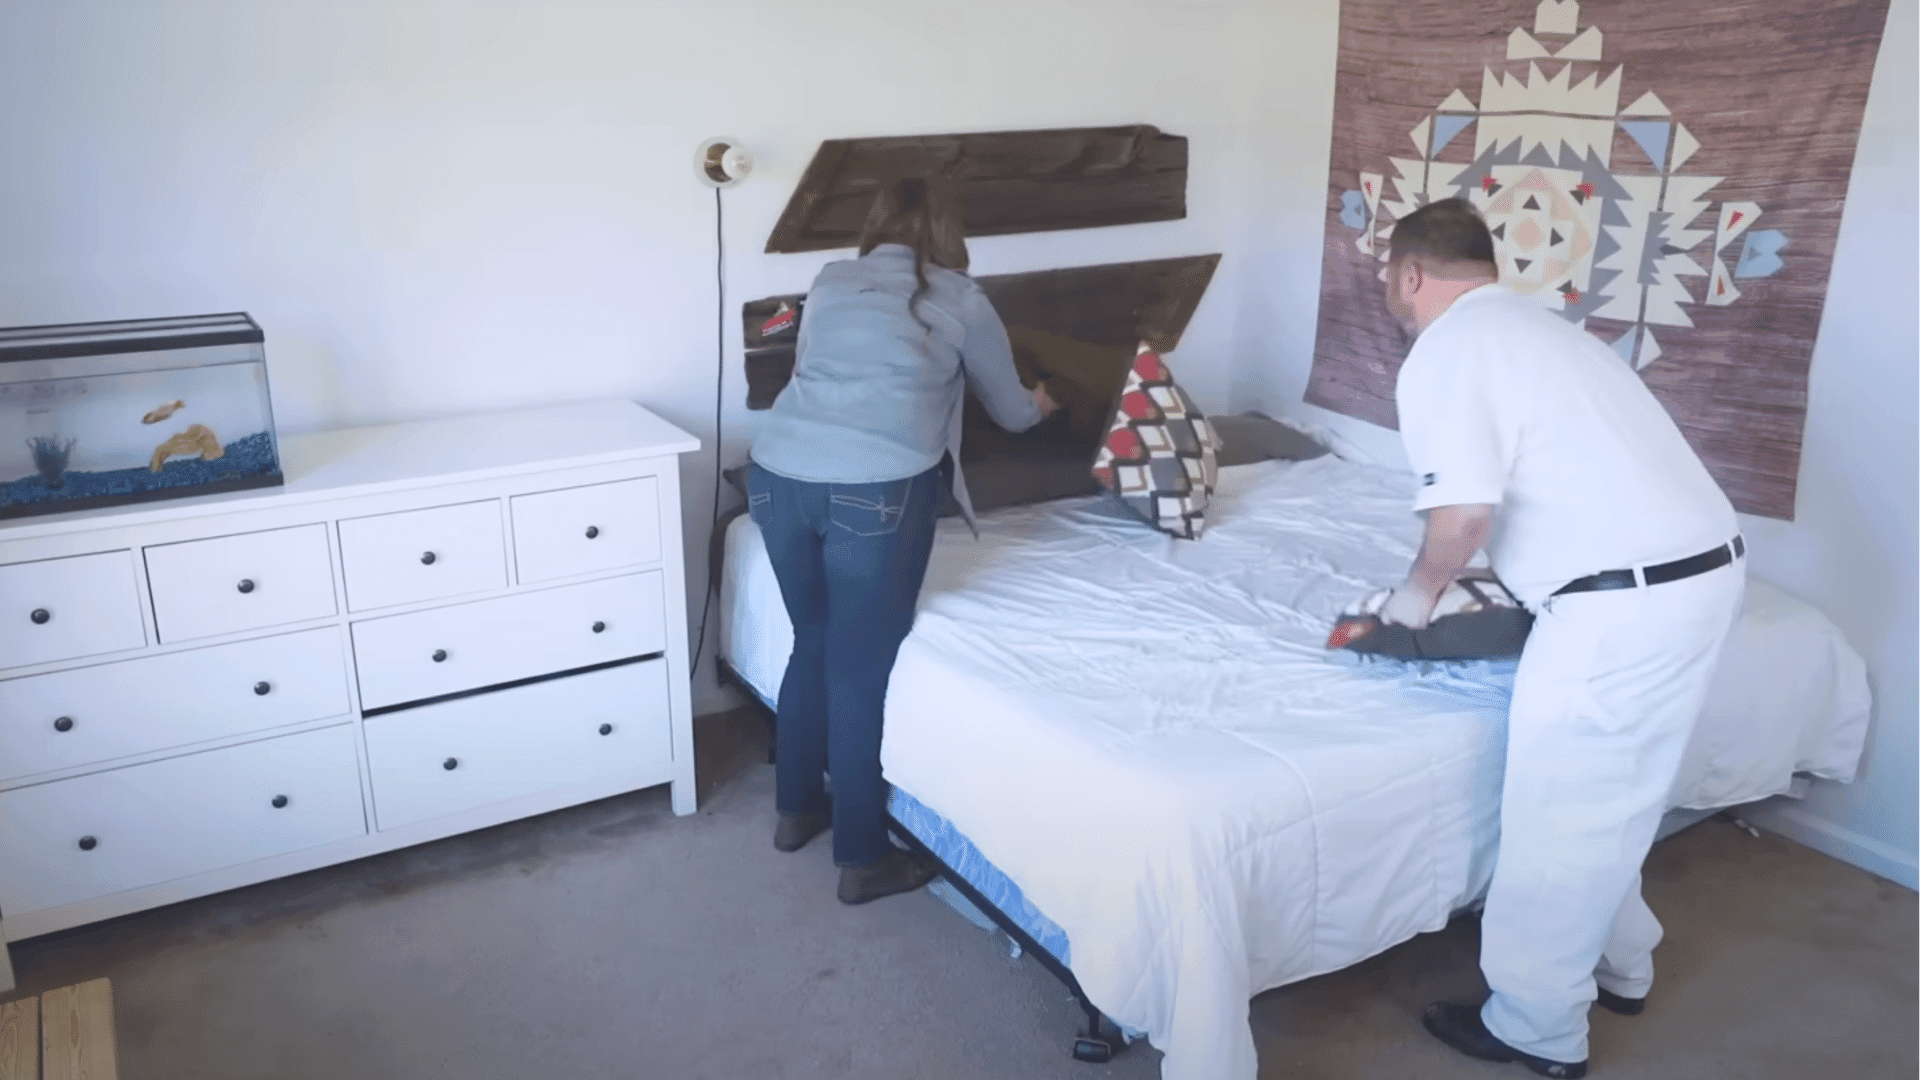
Before any prep work begins, clear the room of furniture, artwork, and decorative items. For large or heavy items that can’t be moved, shift them to the center of the room.
Cover them with durable plastic sheeting to protect against dust, splatters, and accidental drips.
STEP 2: Protect Your Floors Properly
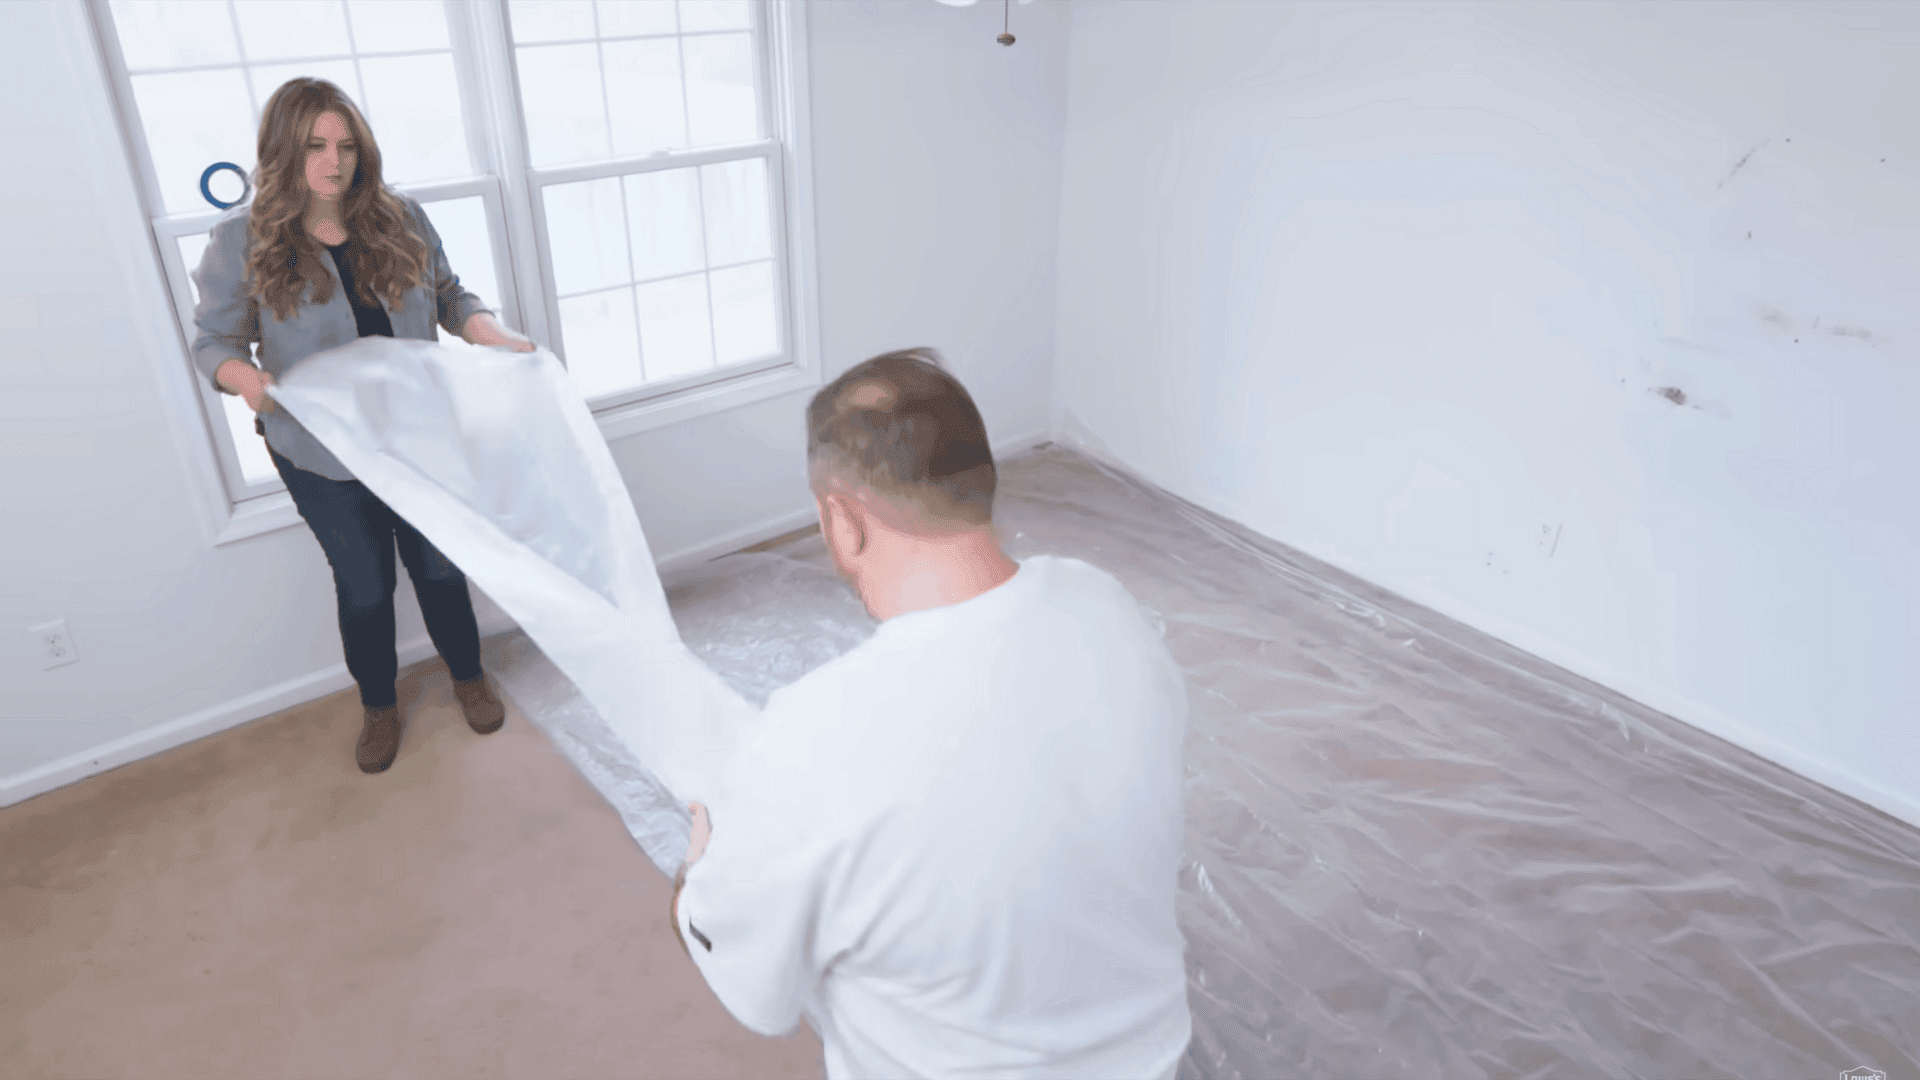
Paint spills and splatters are common, so safeguarding your floors is crucial. Start by laying down canvas drop cloths; they’re durable and won’t slide around.
This combination helps prevent seepage and keeps the canvas in place as you move. Be sure to cover the entire floor area where you’ll be working, including corners and under furniture.
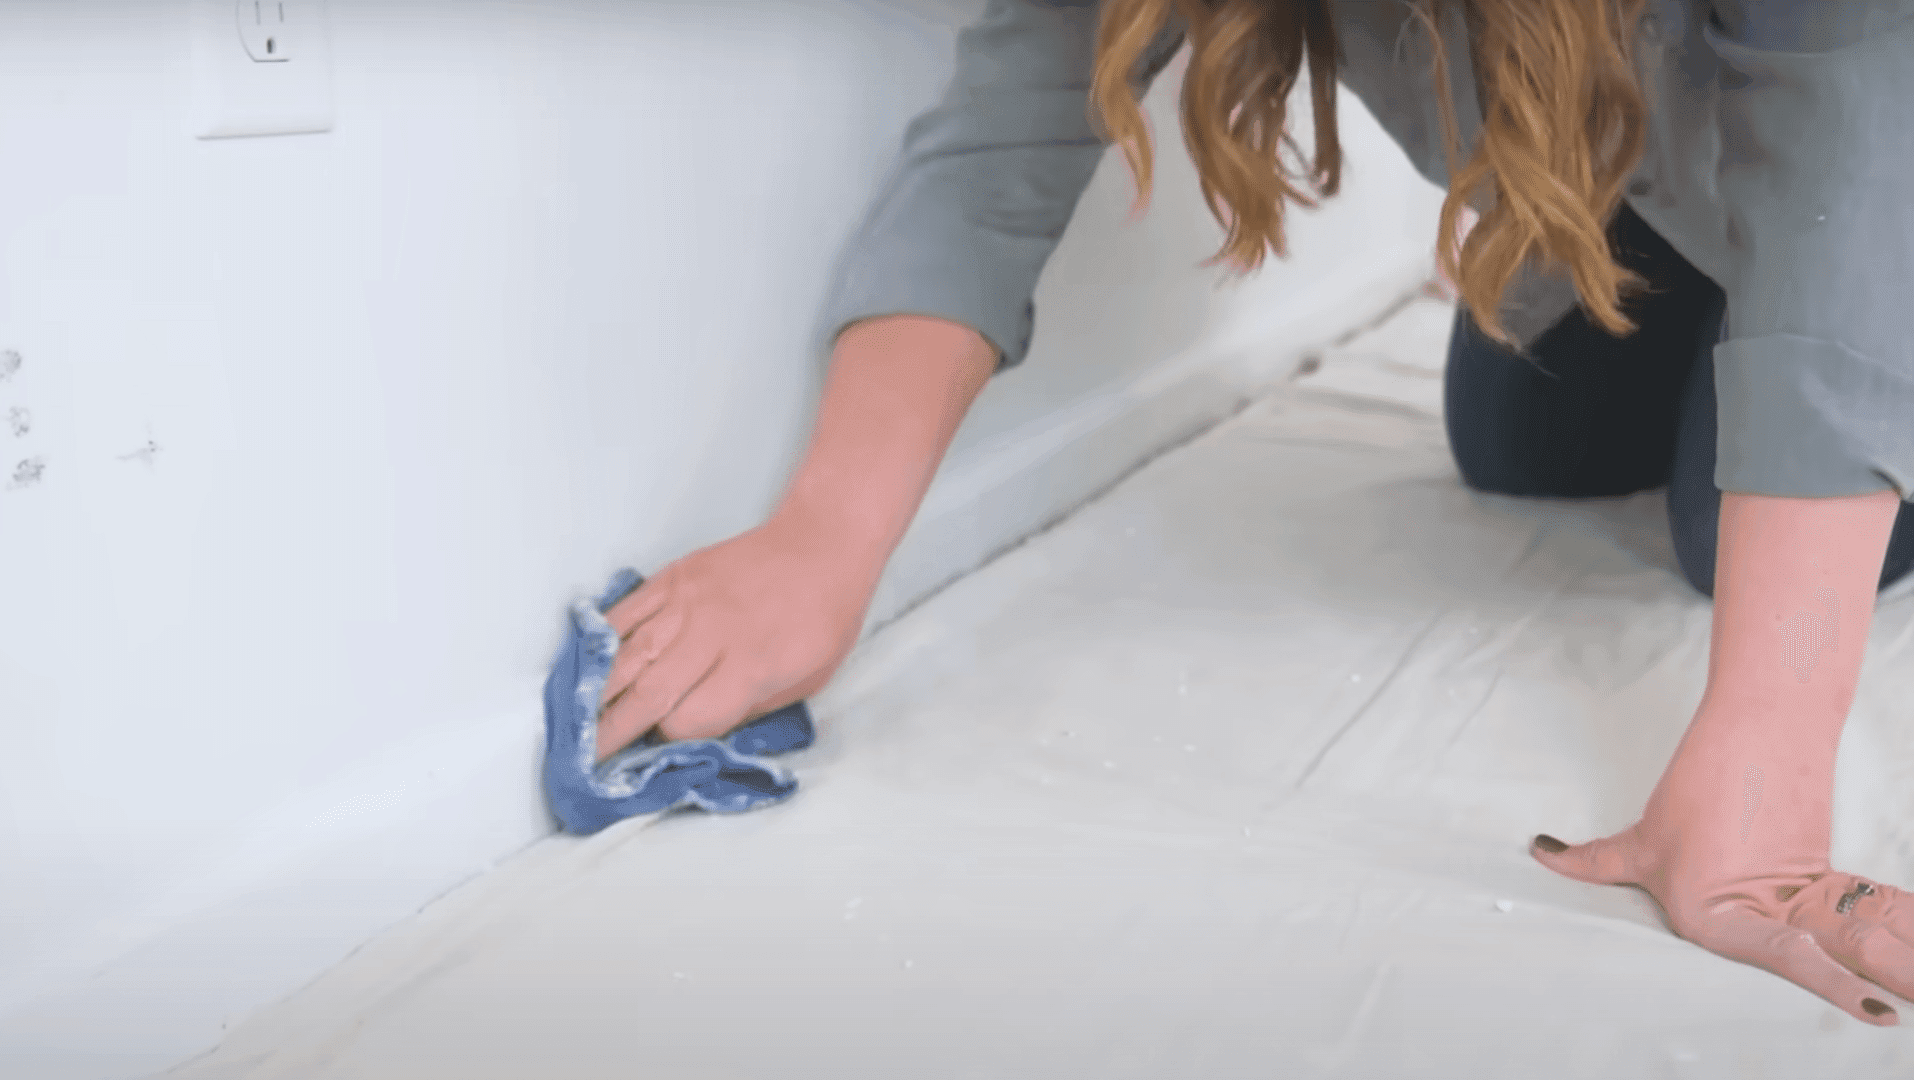
STEP 3: Clean The Walls Thoroughly
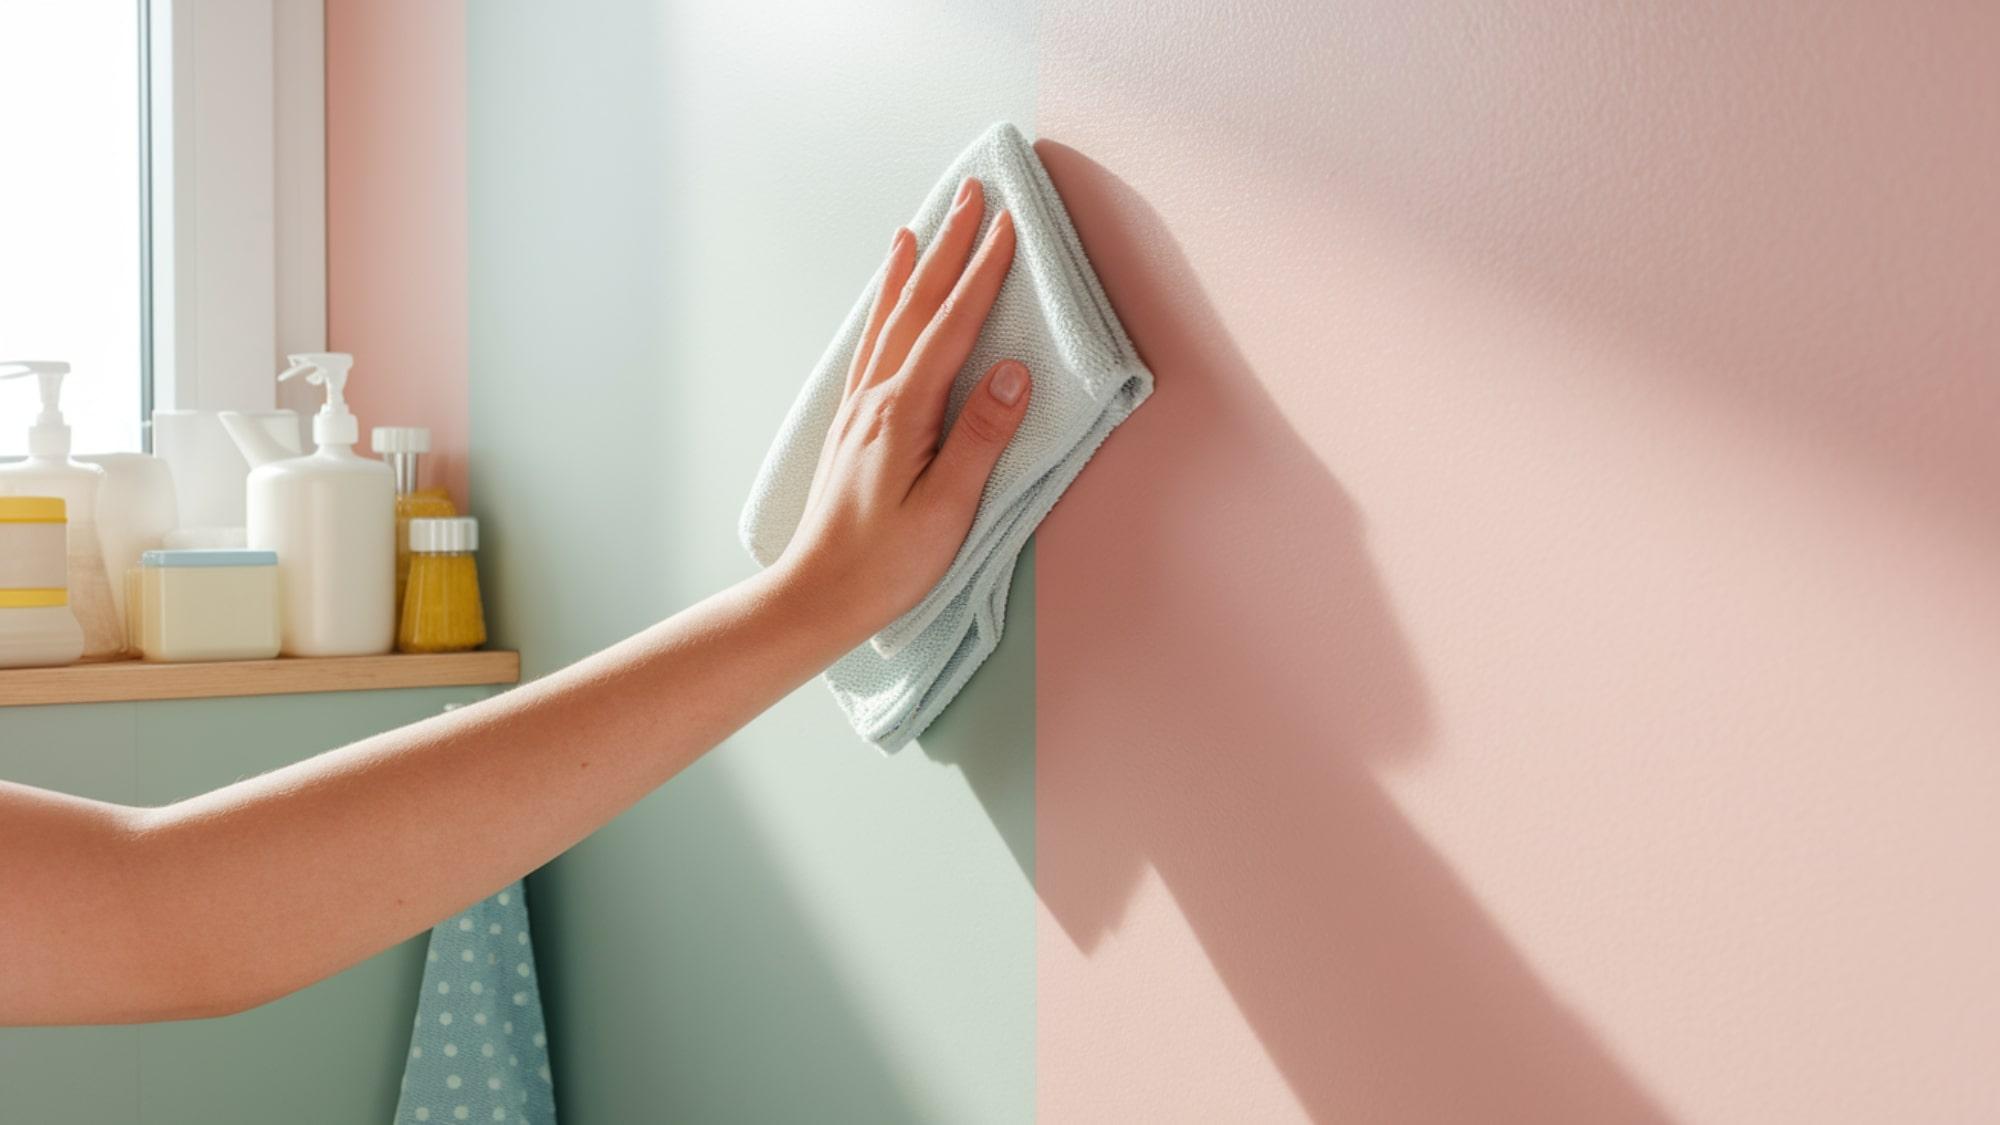
Clean walls help paint stick better and last longer. Use a solution of warm water and mild detergent to wipe down all wall surfaces. Focus on spots behind furniture or near light switches, where grime tends to accumulate.
Remove any cobwebs from corners and dust from baseboards. Let the walls dry completely before moving on to the next step. A clean surface ensures even, long-lasting coverage.
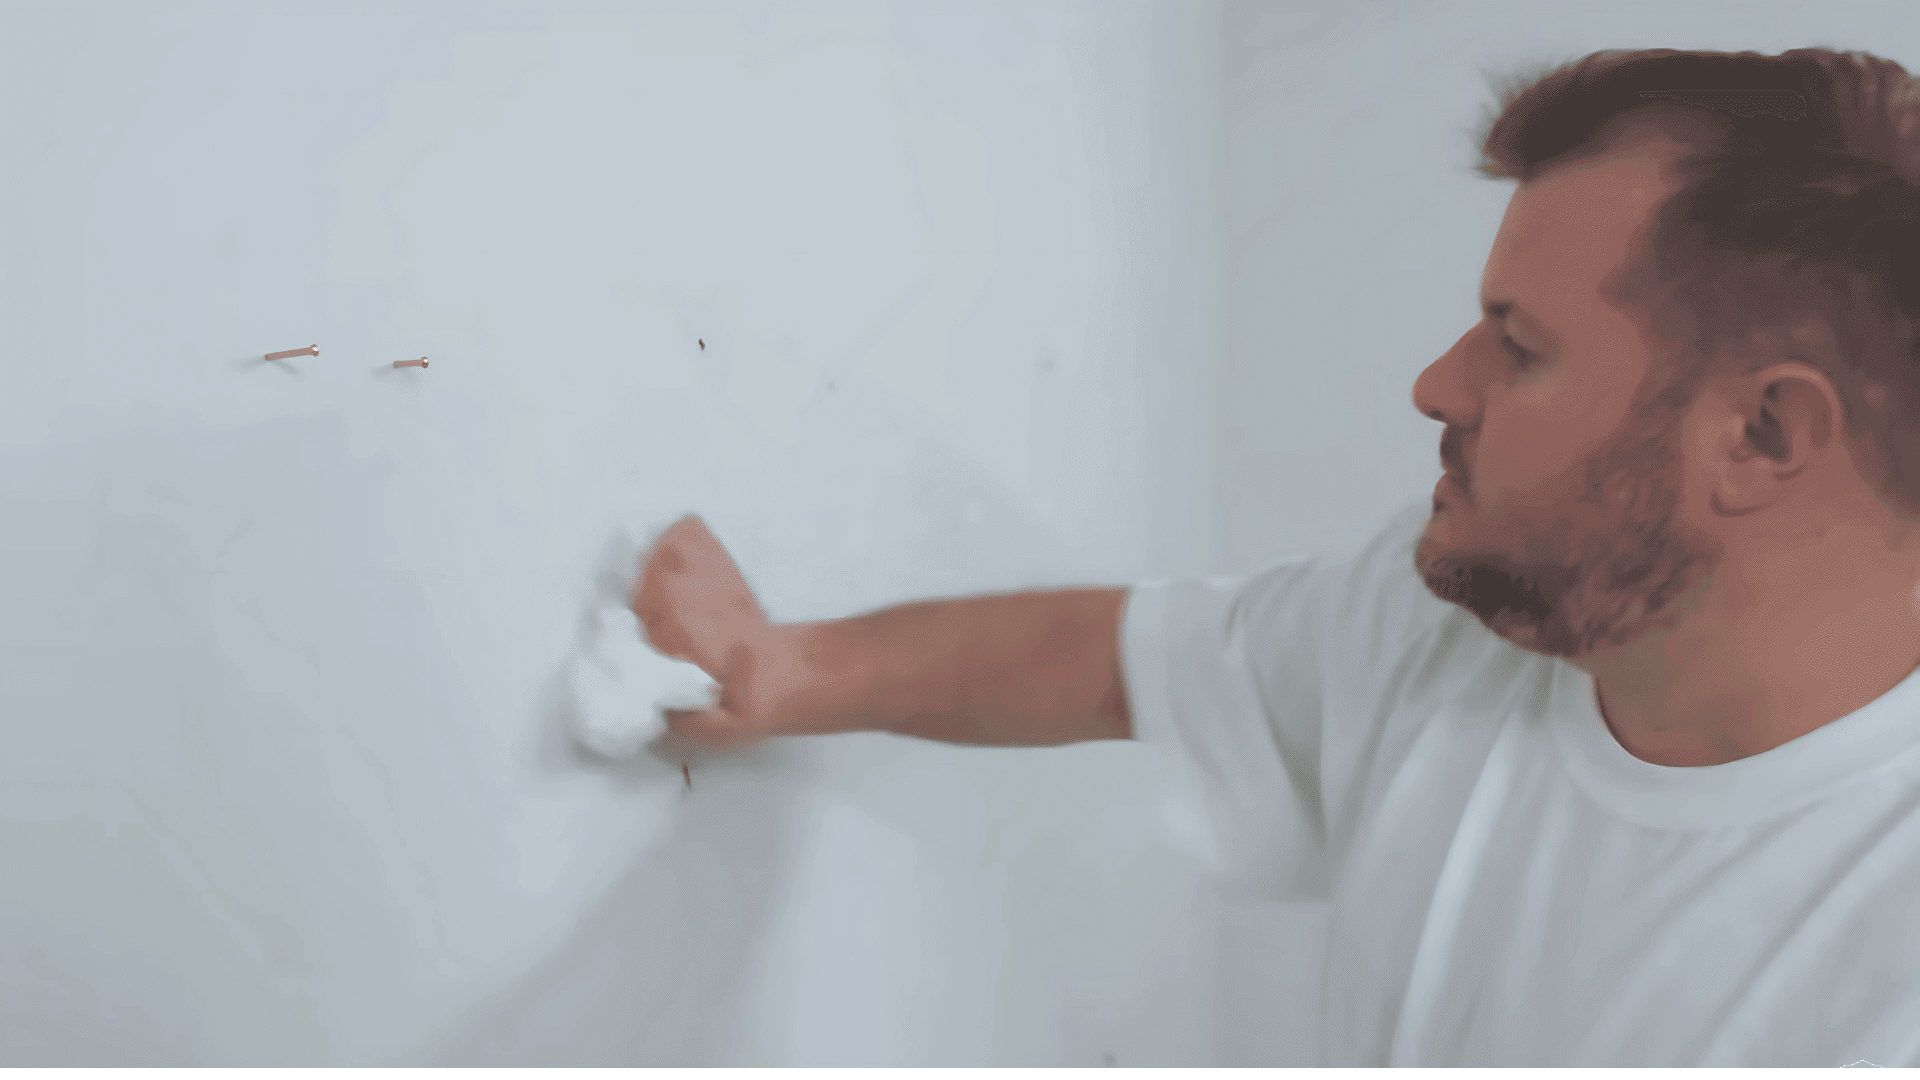
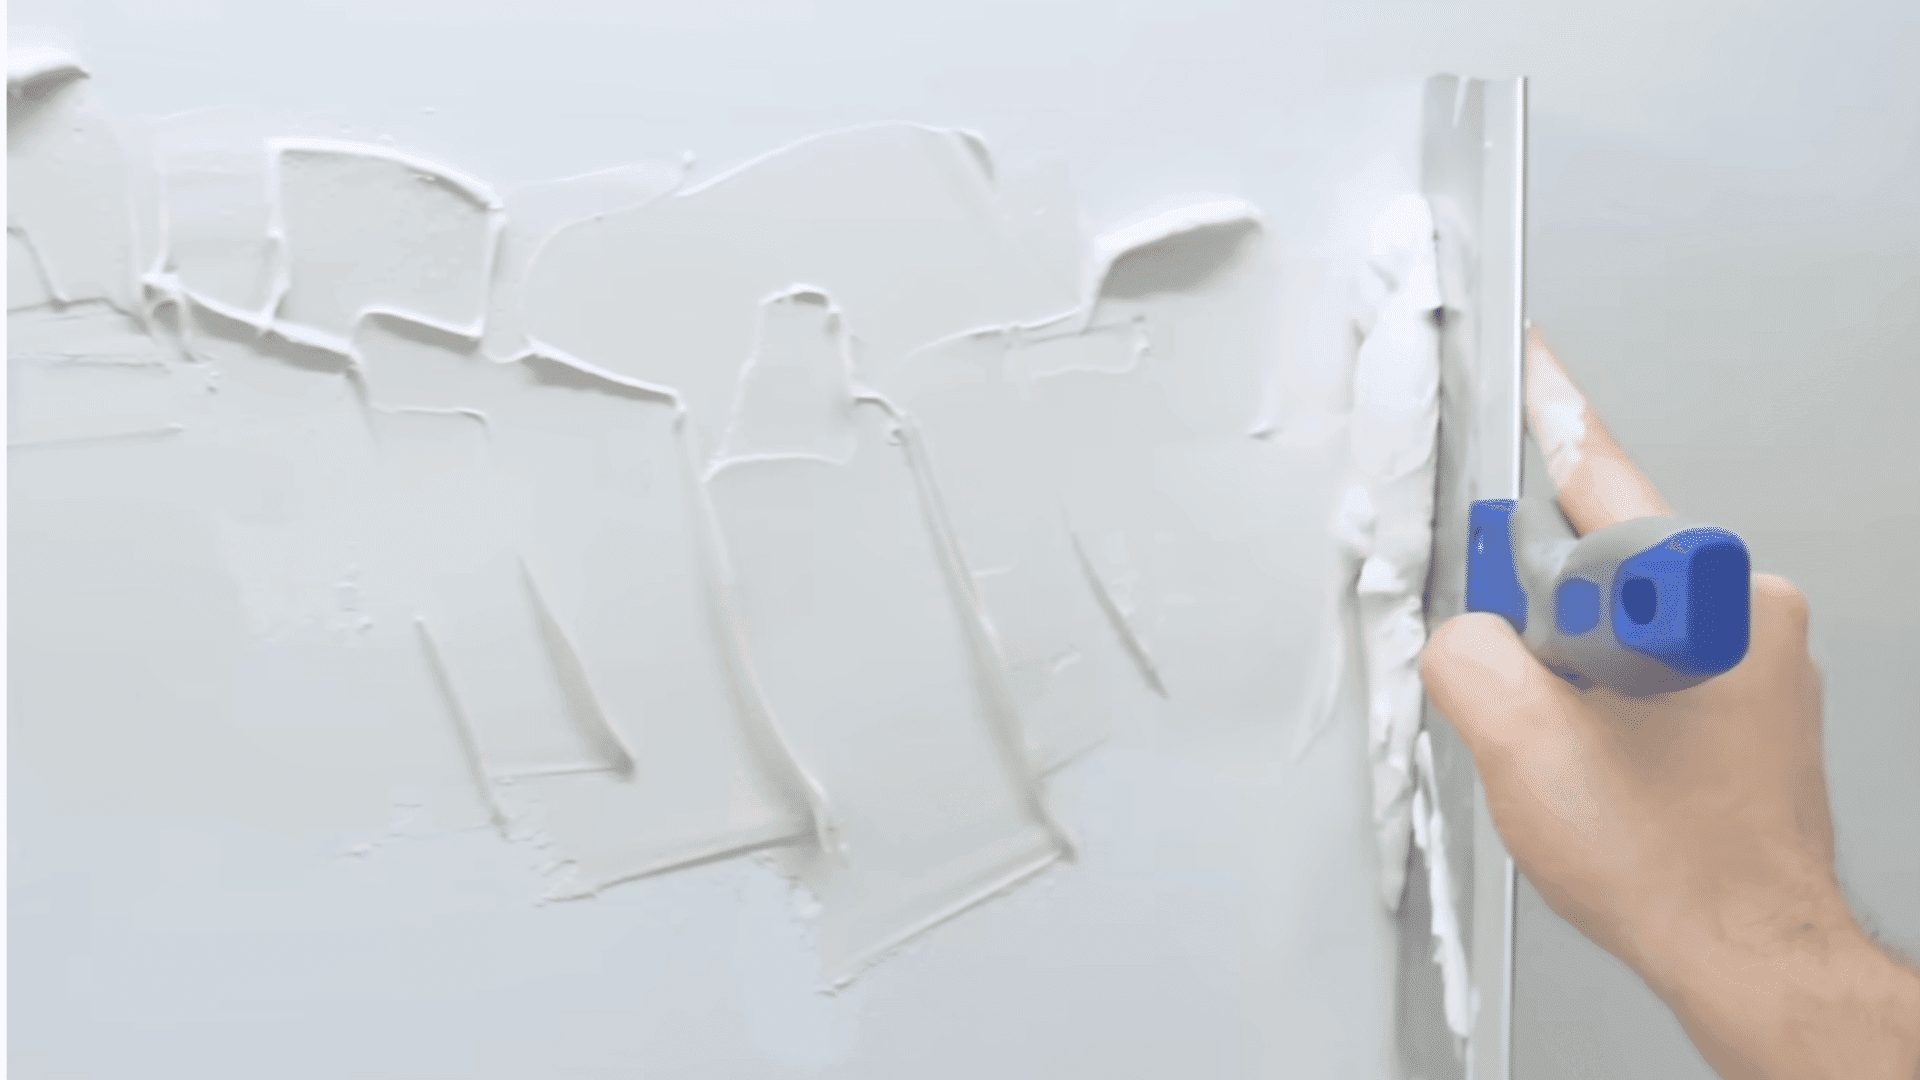
STEP 4: Repair Holes And Wall Imperfections
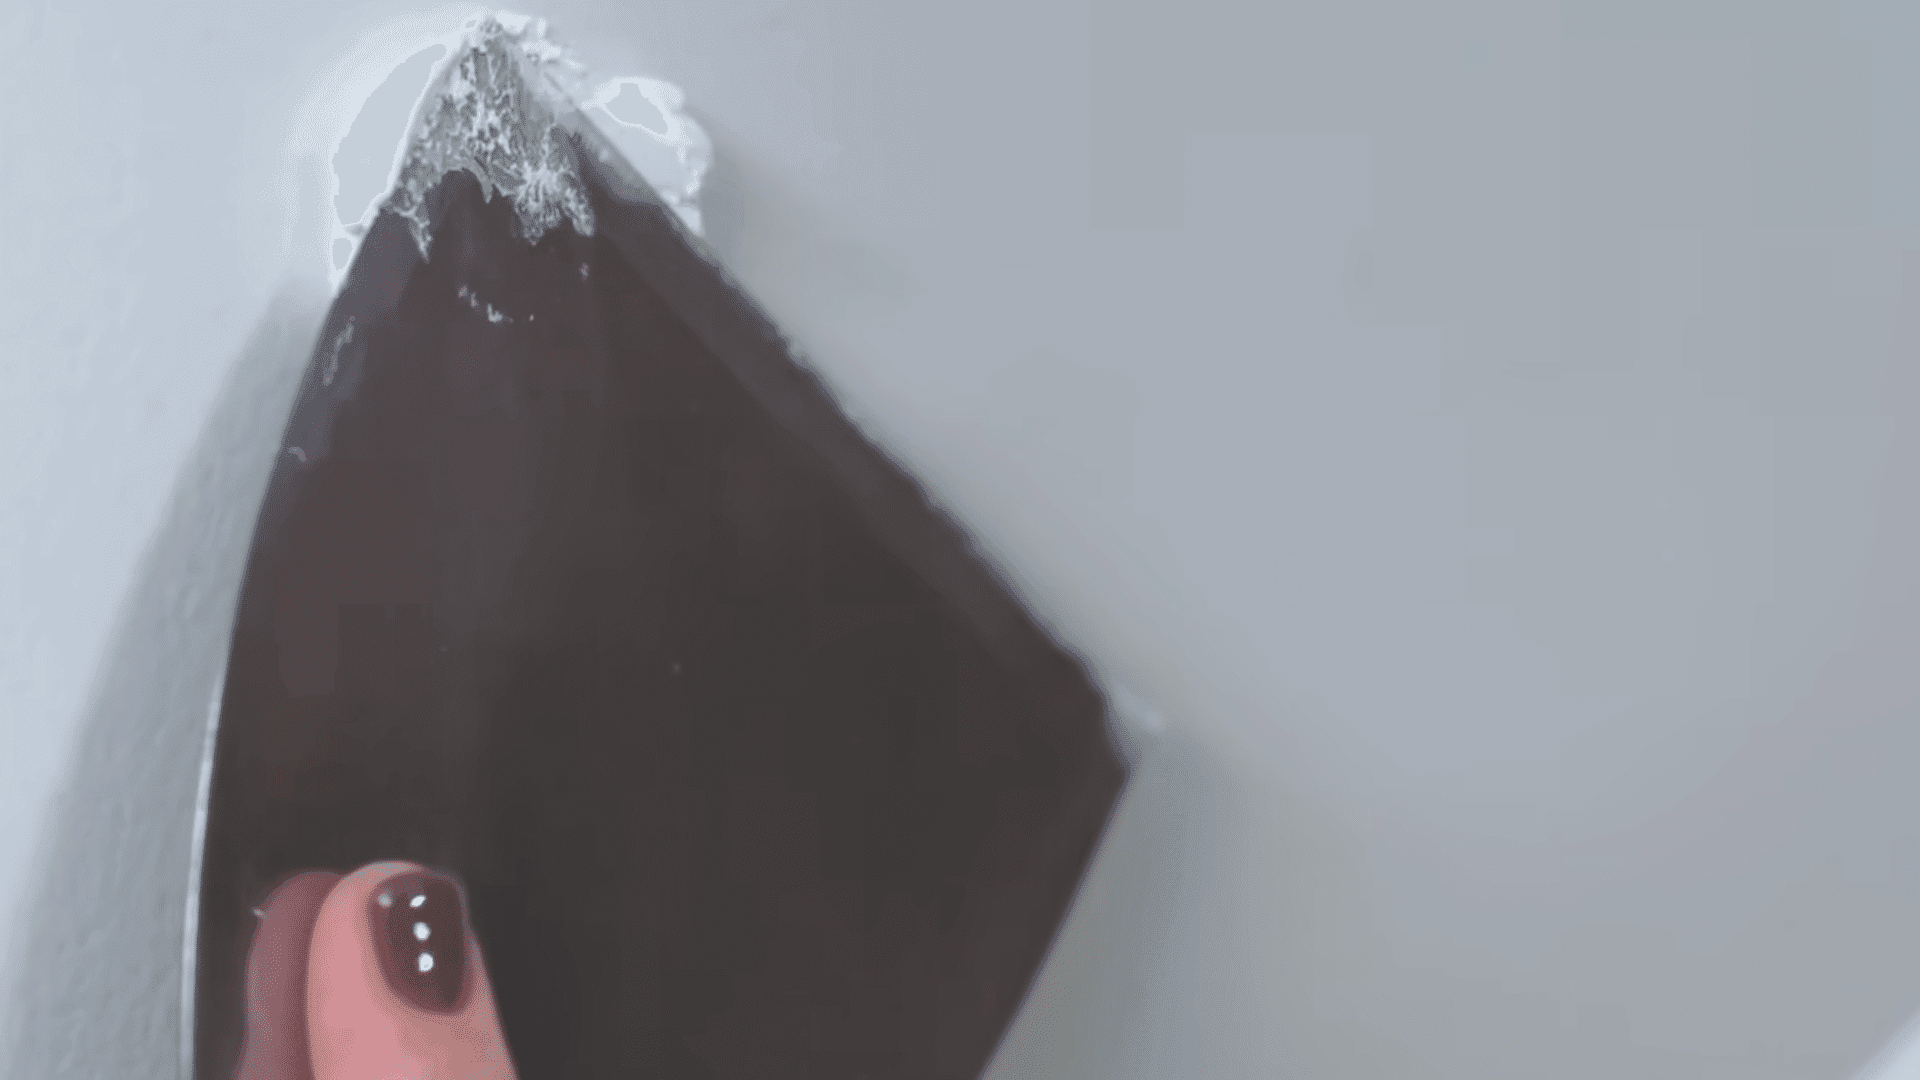
Examine your walls for dents, cracks, or nail holes. Fill minor holes with spackle and use joint compound for larger damage. Smooth the patched areas with a putty knife to ensure a flat surface. Let everything dry fully.
Proper repairs create a more professional-looking final result and help your paint job hold up over time.
STEP 5: Sand For A Smooth Finish
Once the repairs are dry, lightly sand the patched areas with fine-grit sandpaper. Use circular motions to blend the edges and eliminate any raised spots or rough patches.
This helps paint adhere better and provides a smooth, flawless finish. Remember to wear eye protection and a mask throughout the process.
STEP 6: Wipe Away Dust And Debris
Sanding creates fine dust that can affect your paint’s finish if not removed. Use a dry microfiber cloth to wipe down the walls thoroughly. Don’t forget to clean around baseboards, ceiling corners, and outlet covers.
It’s important to ensure the surface is entirely dust-free before painting. Even a small amount of debris can cause paint to bubble or apply unevenly.
STEP 7: Tape Off Trim And Fixtures
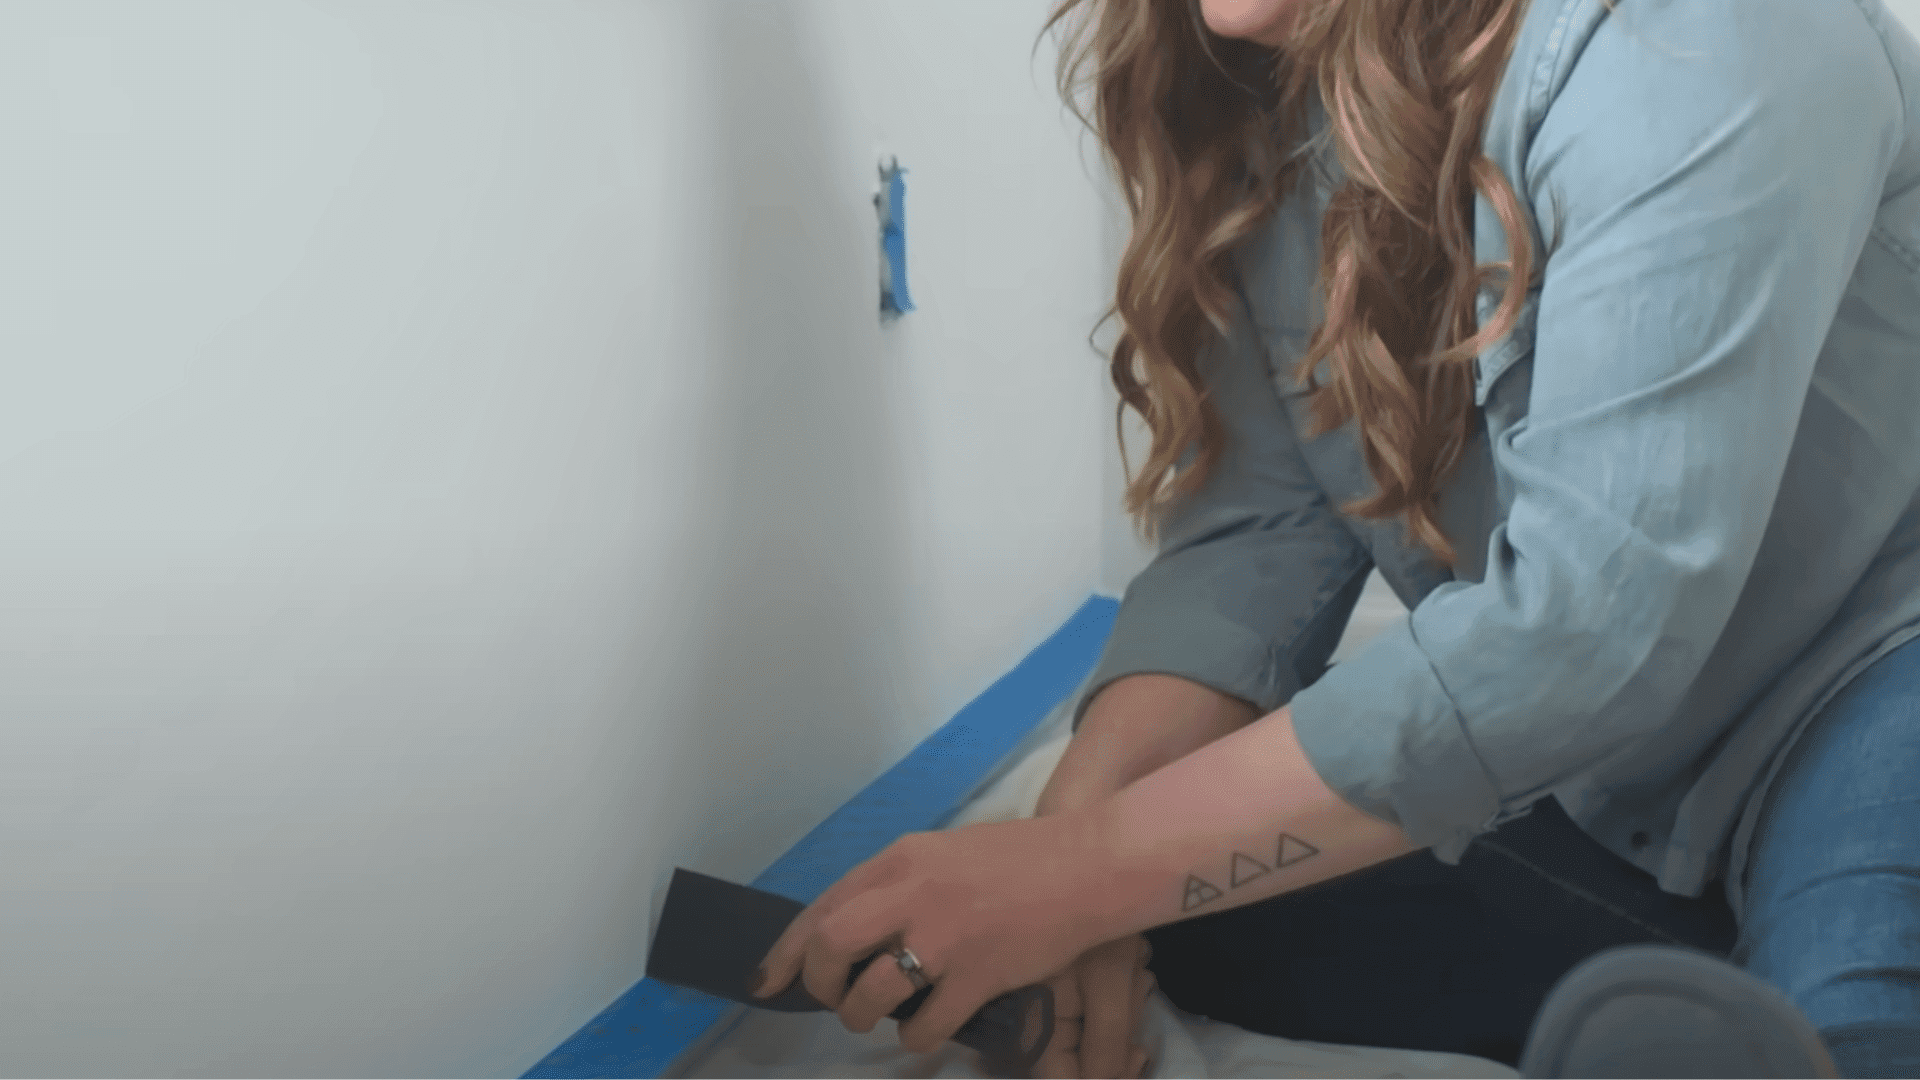
Precision matters, so take time to tape off all trim, baseboards, and edges. Use high-quality painter’s tape and press it down firmly with a putty knife or card to seal the edges. Cover any fixtures, outlets, or switches you can’t remove.
This step protects your trim and helps create clean, professional-looking lines when you paint. It also saves time on touch-ups later.
Watch How It’s Done: Preparing Walls for Painting
For step-by-step guidance, check out the video by Lowe’s Home Improvement
Different Walls, Different Paints
When it comes to painting your home, not all walls are created equal. Each surface has unique characteristics that affect how paint adheres and performs over time.
Understanding these differences can save you time, money, and frustration as you change your spaces with color.
| WALL TYPE | RECOMMENDED PAINT TYPE | KEY FEATURES | DURABILITY | BEST FOR |
|---|---|---|---|---|
| Drywall | Latex/Acrylic | Good coverage, low odor | Medium | Living rooms, bedrooms, and offices |
| Bathroom Walls | Moisture-resistant semi-gloss | Mildew resistance, easy to clean | High | Bathrooms, laundry rooms |
| Kitchen Walls | Washable satin or semi-gloss | Stain resistance, handles cleaning | High | Kitchens, dining areas |
| Concrete/Masonry | Masonry paint, elastomeric | Fills small cracks, breathable | Very high | Basements, exterior walls |
| Wood Paneling | Oil-based primer + latex paint | Good adhesion, seals wood | Medium-high | Dens, cabins, accent walls |
| Textured Walls | Flat or eggshell latex | Hides imperfections | Medium | Ceilings, older homes |
Budget-Friendly Wall Prep Hacks
Effective wall preparation is crucial for achieving a professional-grade finish, but that doesn’t mean it requires a large budget. Here are some simple, budget-friendly tips that really work.
- Instead of buying special wall cleaners, use dish soap mixed with warm water. This works just as well for removing dirt and grime from most walls.
- You can make your patch compound for small holes by mixing baking soda with white school glue until it forms a paste. This works for holes about the size of a nail.
- Plastic putty knives cost much less than metal ones and work fine for most small patching jobs. They’re also easier to clean.
- Baby wipes can remove many wall stains and marks. They’re cheaper than special cleaning products and gentle enough not to damage most surfaces.
- You don’t need fancy sanding tools for small jobs. Ordinary sandpaper wrapped around a wooden block works just as well in most cases.
Good prep is key to a great paint job, and it doesn’t have to cost much. These easy, affordable hacks help you get the job done right without overspending.
Caring for Your Paint
Caring for your paint starts with regular cleaning to keep surfaces looking fresh and vibrant. Dust and dirt can dull paint over time, so gently wiping walls with a soft cloth or microfiber duster every few weeks helps maintain their brilliance.
For tougher stains, use a mild detergent solution and avoid harsh chemicals or abrasive tools that can damage the paint’s finish. Address spills and marks promptly to prevent permanent discoloration.
Touch up small scratches or chips with leftover paint after cleaning and sanding the area smooth. Protecting your painted surfaces from moisture is crucial, especially in kitchens and bathrooms, where dampness can cause peeling or mold growth.
Using moisture-resistant or waterproof paints in these areas extends paint life.
Regular inspection helps catch early signs of damage like cracks or bubbling, allowing timely repairs that keep your walls looking flawless longer. With consistent care, your paint job will stay beautiful and durable for years to come.
The Bottom Line
Taking care of your painted walls is a small investment that brings big rewards. Just like prepping walls properly before painting gives you a smooth, lasting finish, regular maintenance keeps that fresh look for years.
With simple routines like regular dusting and quick attention to stains or damage, your walls can stay clean.
Remember, each room has its own set of challenges—kitchens face grease, bathrooms deal with moisture, and living areas see daily wear and tear.
Ready to upgrade your space? With the right supplies and a bit of DIY spirit, your countertops can look brand new in no time.
If you’re interested in more DIY projects for your home, feel free to click here and explore our collection of easy weekend makeovers and step-by-step renovation tutorials.

Stephanie Grace, a graduate with a degree in Fine Arts from the Savannah College of Art and Design, has been inspiring DIY enthusiasts with her creative and practical guidance for over 14 years. Her career in design and crafting began in a small artisan workshop, where she developed a passion for transforming everyday materials into beautiful and functional items. Stephanie joined our website in 2018, rapidly gaining popularity for her easy-to-follow DIY tutorials and innovative project ideas. Since then, she has been the creative mind behind our DIY section, helping readers bring their artistic visions to life. Outside her professional pursuits, Stephanie enjoys pottery and urban gardening, hobbies that showcase her love for hands-on creativity and nature.