Tiling a shower wall might sound like a big project, but I found it surprisingly doable with the right steps and a little patience.
When I first started, I wasn’t sure where to begin – but once I got going, it all came together. You don’t need to be a pro or have fancy tools to get great results.
In this post, I’ll walk you through the basics of tiling a shower wall, from prepping the surface to laying the tiles and finishing with grout.
No matter if you’re updating an old bathroom or starting from scratch, this guide keeps it simple and manageable.
I’ll share tips I learned along the way that made the job easier and the end result look clean and polished. If you’re ready to give your bathroom a fresh, new look, tiling your shower wall is a great place to start.
Benefits of Tiling a Shower Wall
Tiling your shower wall offers significant benefits that make a noticeable difference. One major reason to tile is that it adds value to your home.
Real estate agents love updated bathrooms, and buyers often notice modern tile work right away.
Another benefit is water protection. Tiles create a strong barrier that helps prevent water from entering your walls. This keeps mold and mildew out, so your bathroom stays healthier and cleaner over time.
Cleaning becomes super simple, too. You wipe the tiles once a week; no scrubbing or harsh cleaners are needed, unlike with painted walls that can stain or peel.
You also get tons of design choices. If you want ceramic, porcelain, or natural stone, there’s a style that fits your taste.
Finally, tiles last a long time when installed properly. You can expect them to last for 20 to 30 years with minimal worry about repairs.
Tools and Materials You’ll Need
The following are all the supplies you’ll need:
- Horeshoe spacers
- Notched trowel (1/4 inch)
- Level (4-foot minimum)
- Tile saw or wet saw
- Rubber float
- Grout sponge
- Measuring tape
- A pencil for marking
- Chalk line
- Drill with a mixing paddle
- Tiles (buy 10% extra)
- Thin-set mortar
- Grout (sanded or unsanded)
- Grout sealer
- Tile trim pieces
- Ledger board (straight 1×2)
- Screws and anchors
- Plastic sheeting
- Clean rags
- Safety Gear
Step-by-Step Guide: Tiling a Shower Wall
Installing shower wall tiles requires patience and precision. Don’t rush this process. Each step builds on the previous one. Skip a step, and you’ll regret it later:
1. Create Your Story Pole
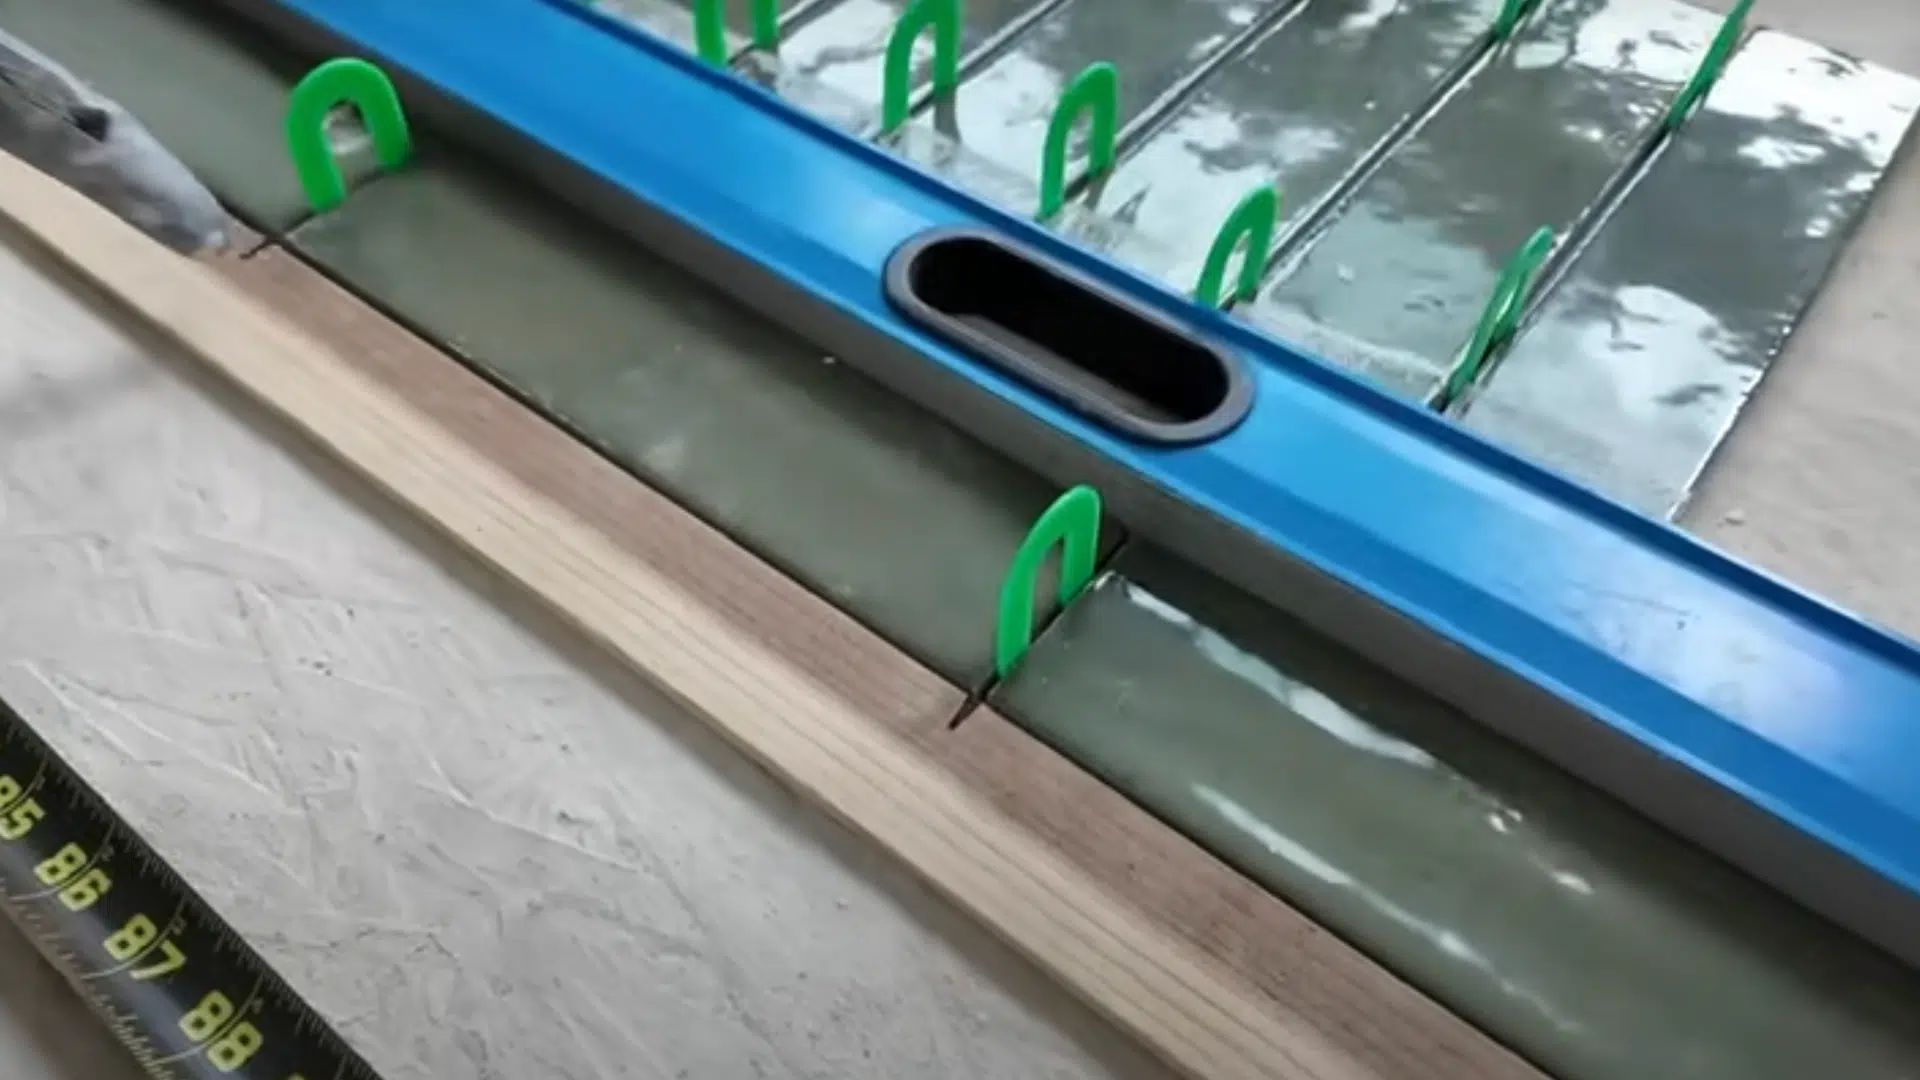
A story pole helps you see how your tile rows will fit. Use a straight board, such as a 1×2, and lay the tiles with spacers along it.
Mark where each tile ends and number each row. Hold it against the wall to check your layout. You’ll spot if tiles will end in awkward spots.
Perhaps the top row appears too thin or collides with a fixture. You can shift the layout slightly, an inch up or down can help.
This saves you from tiny tile slivers later. Planning now saves time and mistakes during install.
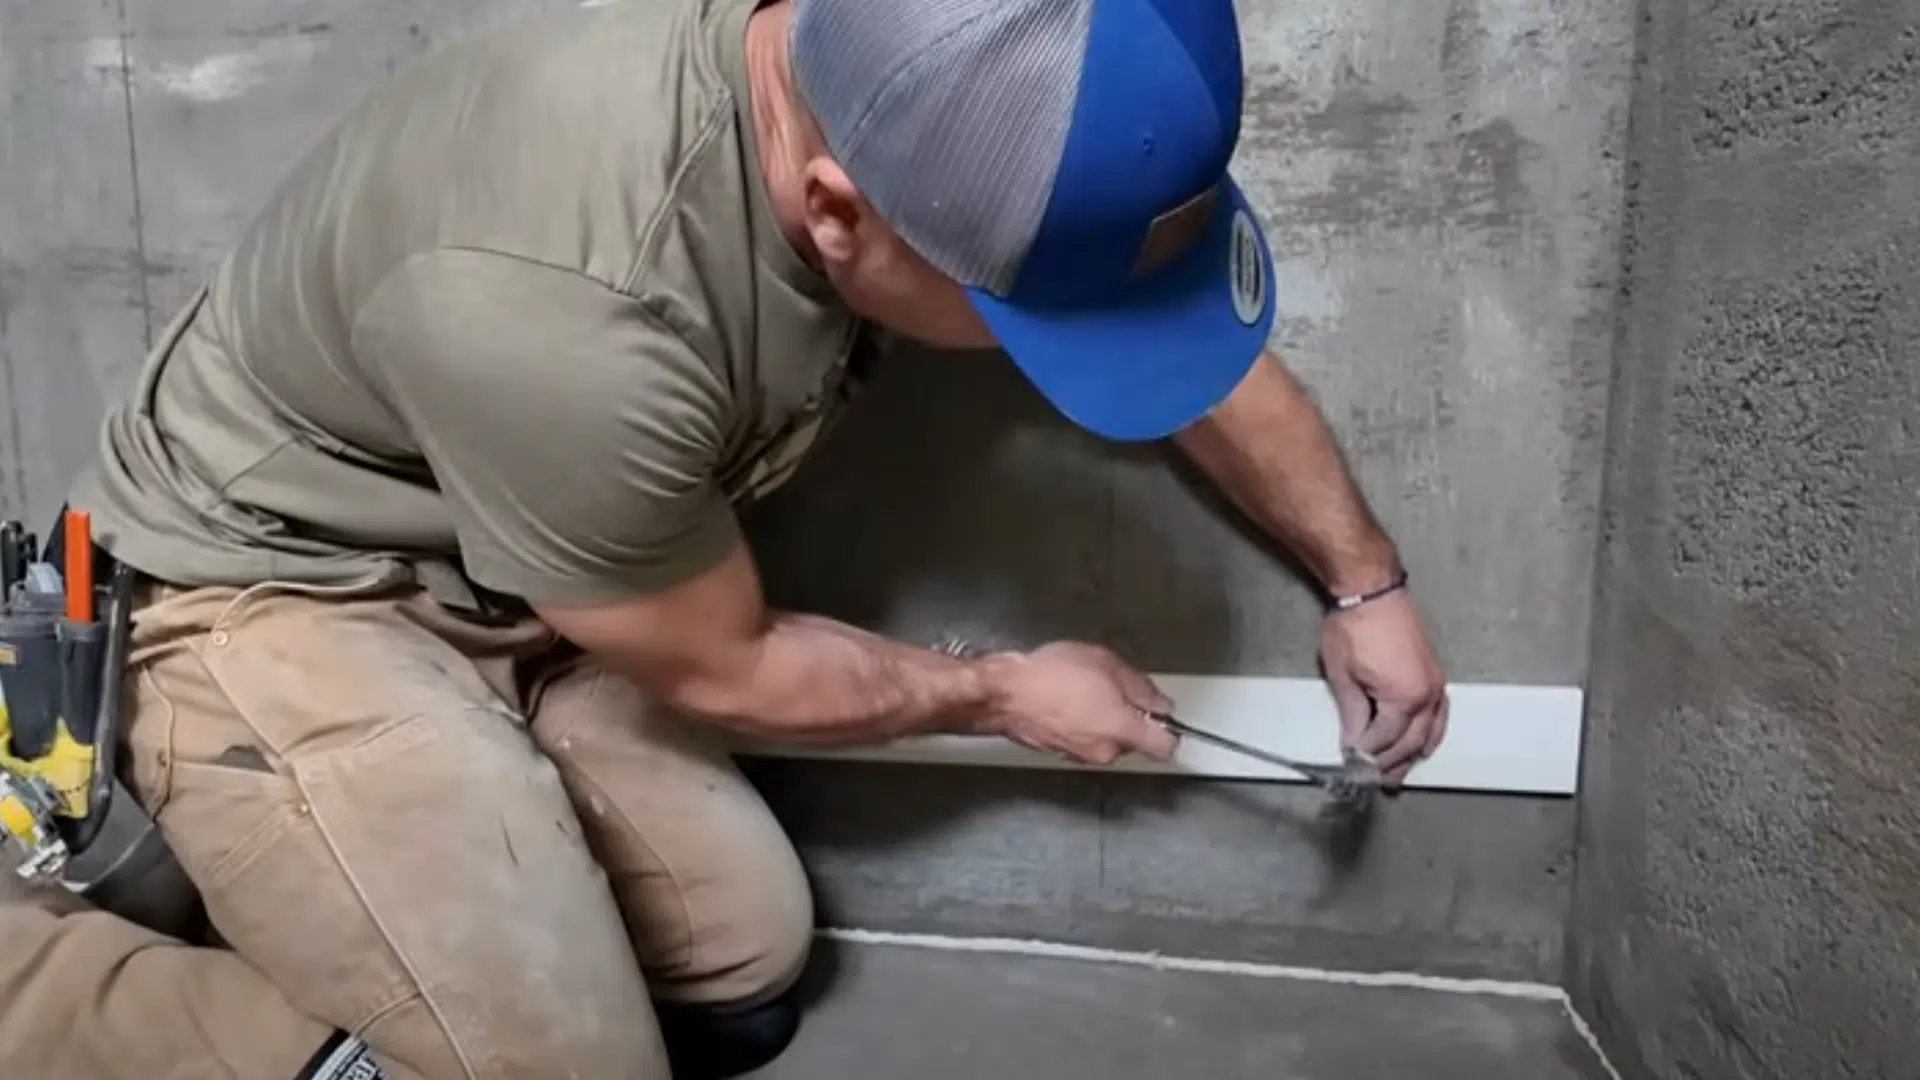
2. Marking the Wall for Precision
Start by measuring the width of your wall. Divide that in half to find the center. Mark this with a level line.
Use chalk lines to create long, straight guides. These will help keep your tile rows even. Check that every line is level and plumb.
Look for the highest and lowest points of the wall. You’ll want to cut tiles evenly at the top and bottom.
Also, mark outlets and fixtures. Measure from your center line to these spots. You’ll need those numbers later when you cut your tiles.
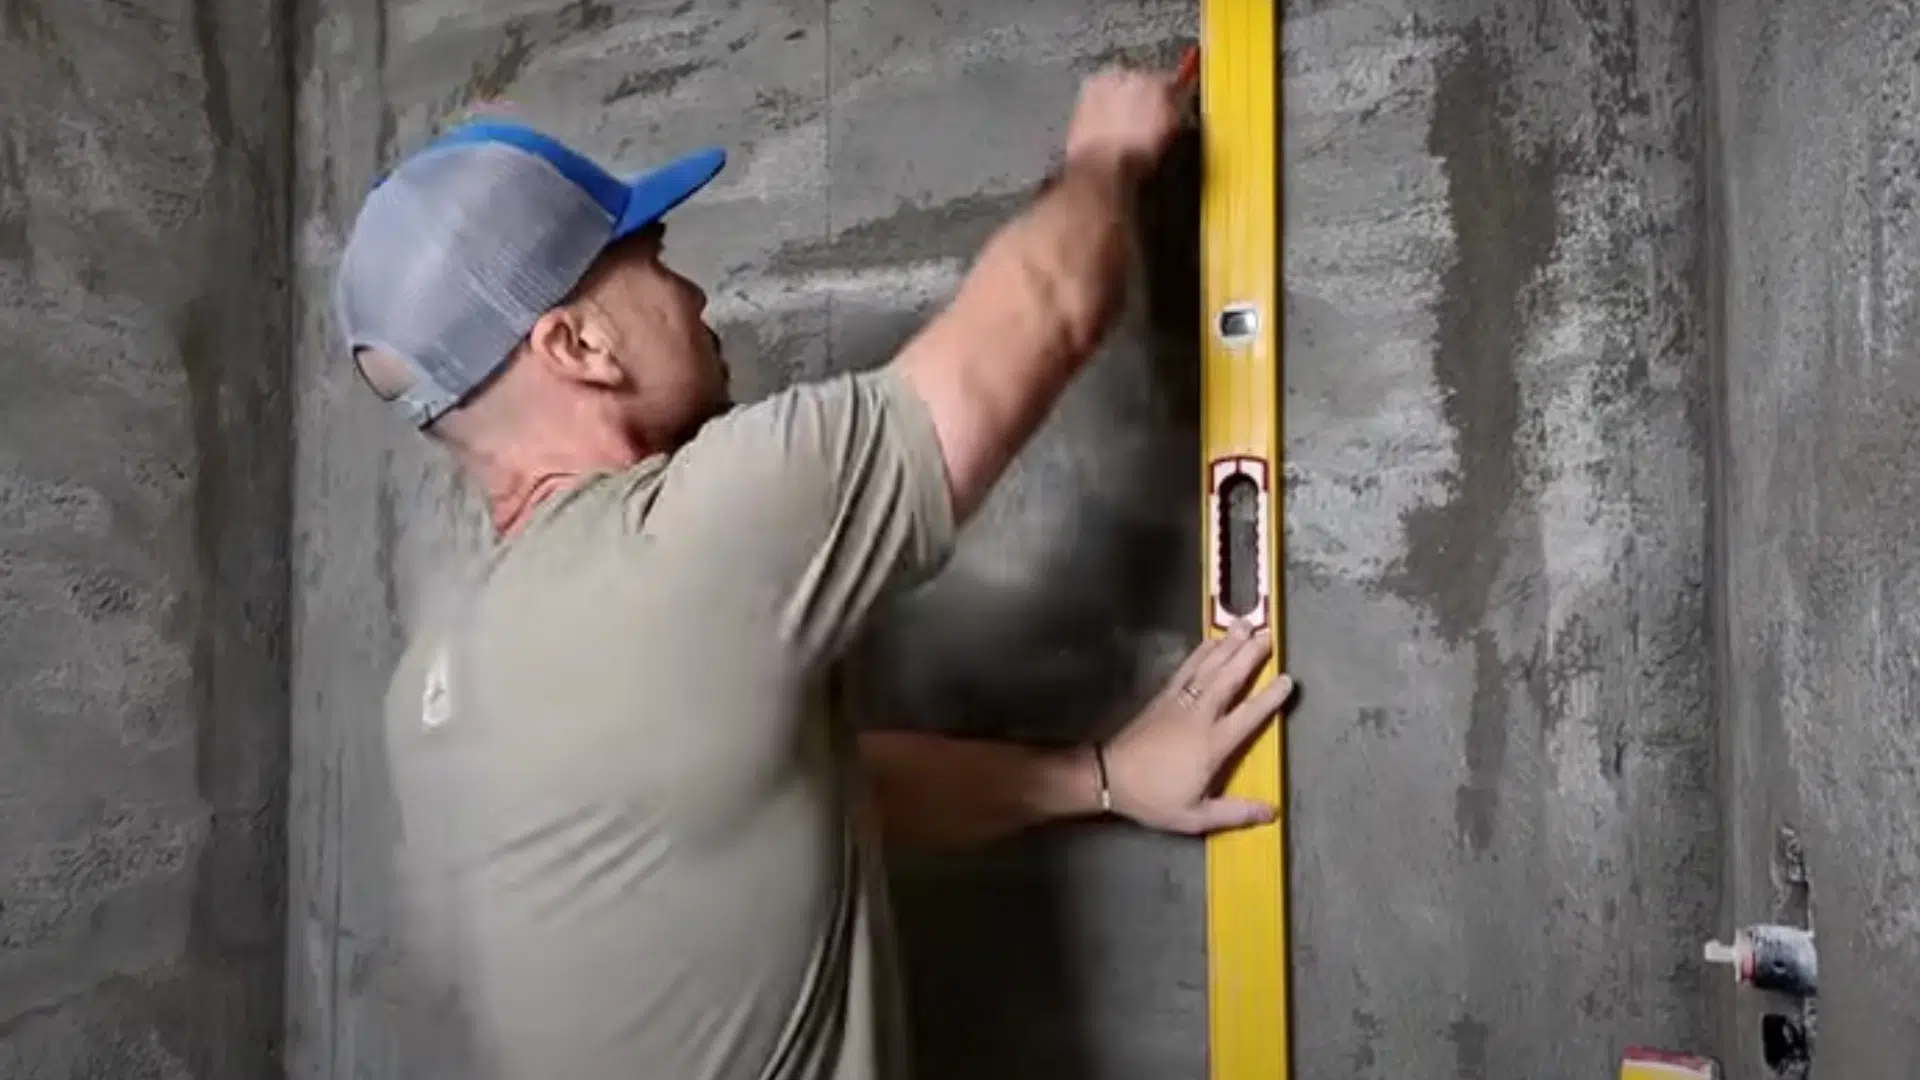
3. Setting Up Your Ledger Board
A ledger board holds the tiles in place while the mortar dries. Without it, tiles can slide and get uneven. Screw a straight board into wall studs.
Make sure it’s perfectly level using a long level. This board supports your second row of tiles. Leave room at the bottom for the first row to sit on the tub or shower pan.
If you can’t find a stud, use anchors made for drywall. Check the board again after screwing it in, as drilling can sometimes cause it to shift slightly.
A straight ledger makes your whole tile job look clean.
4. Applying Thin-Set Mortar
Mix a small batch of thin-set that you can use in 30 minutes. Mortar dries quickly, and wasting it costs money.
Use a 1/4-inch notched trowel for most tiles. Check the packaging to see if your tile needs a different size.
Spread the mortar in small sections, about 3 feet across. Hold the trowel at an angle and make even ridges.
Don’t cover too much wall at once. The mortar should stick but not drip. If it’s too thick, add a little water. If it’s runny, mix in more powder.
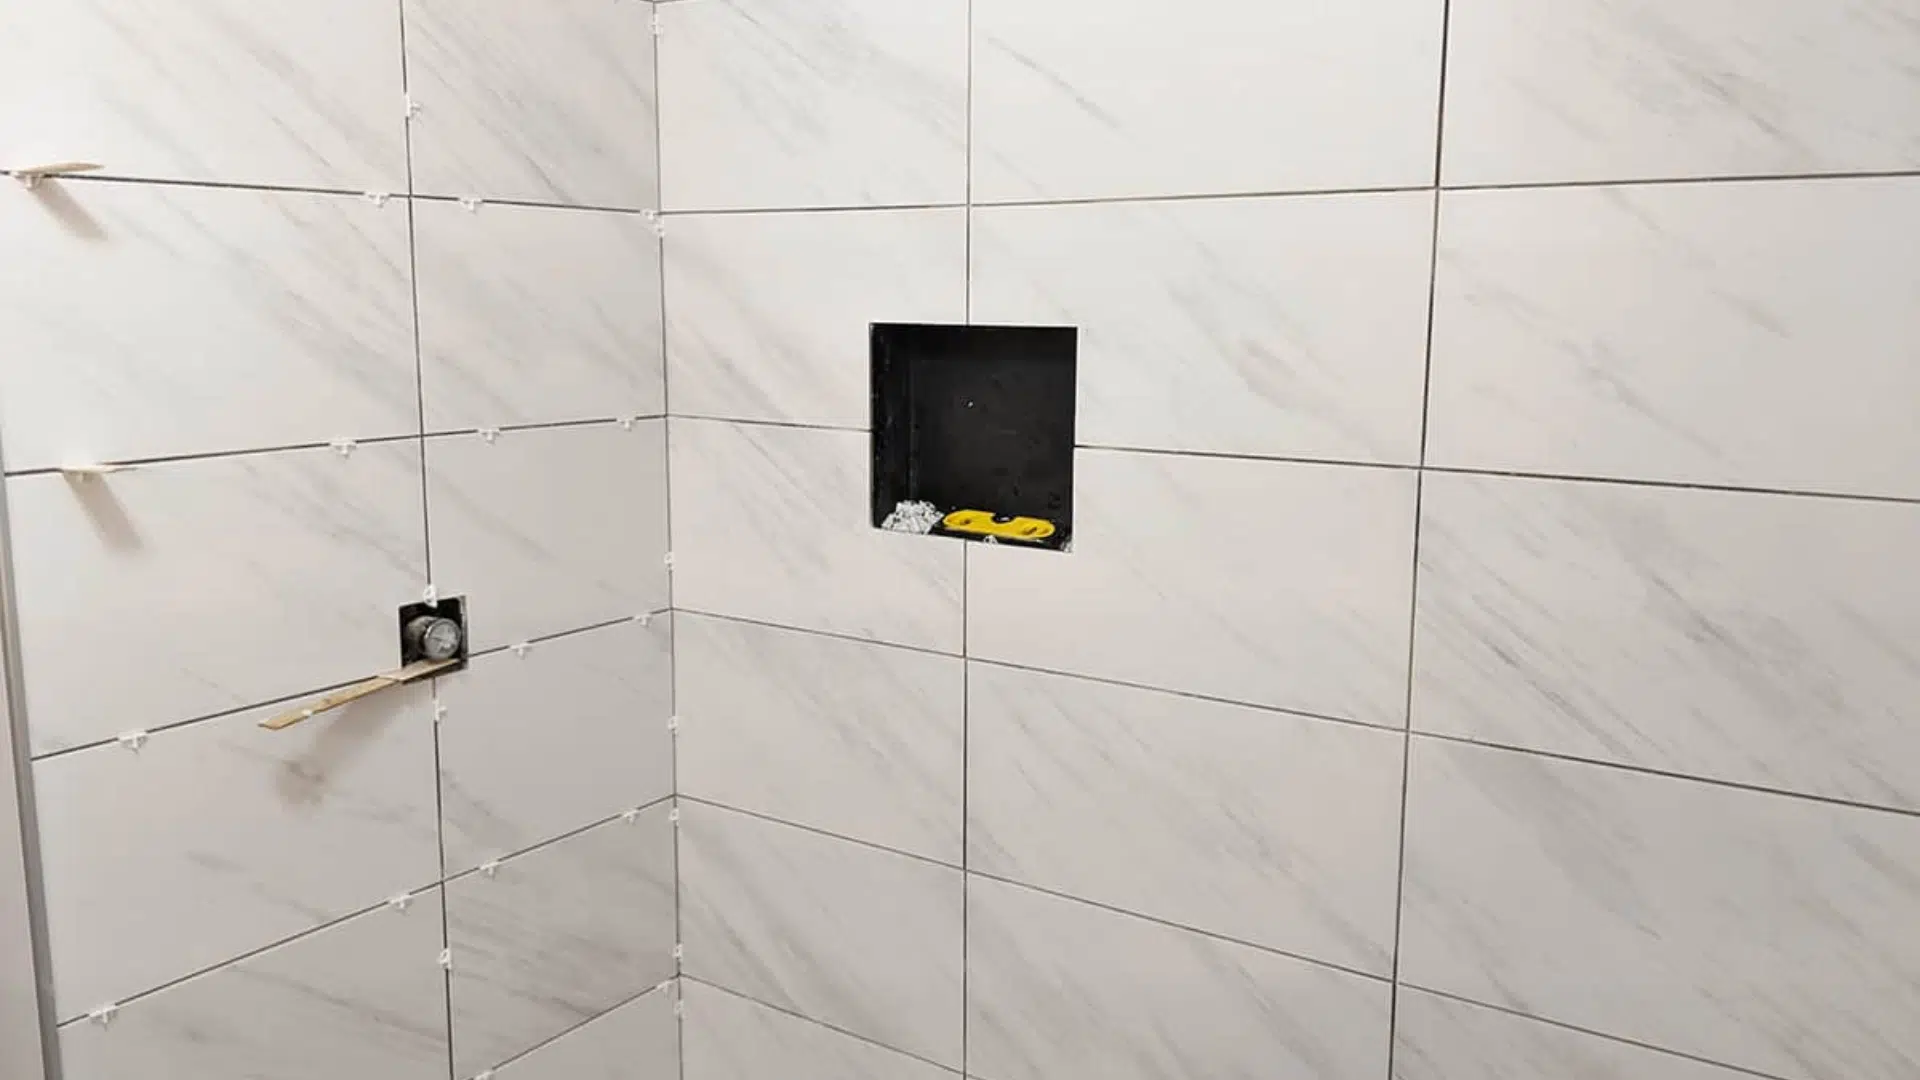
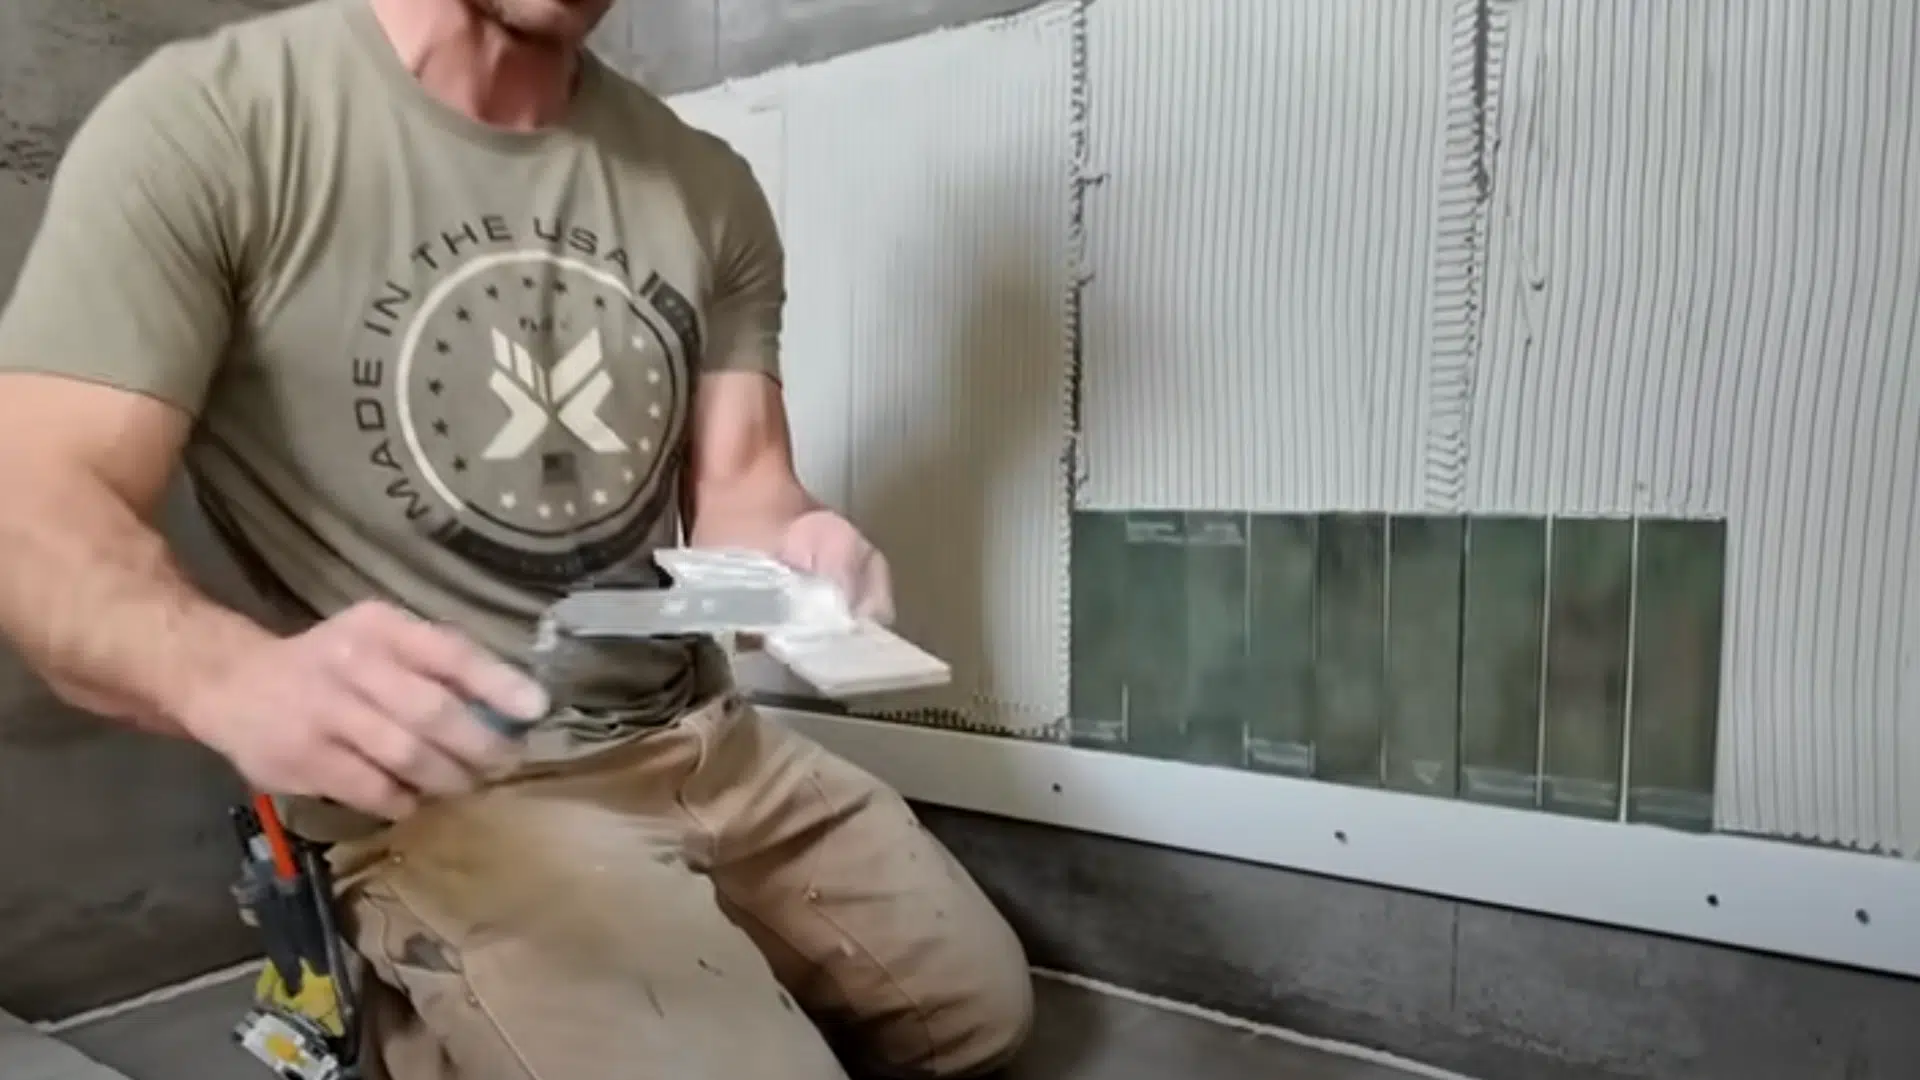
5. Stacking Your Tiles
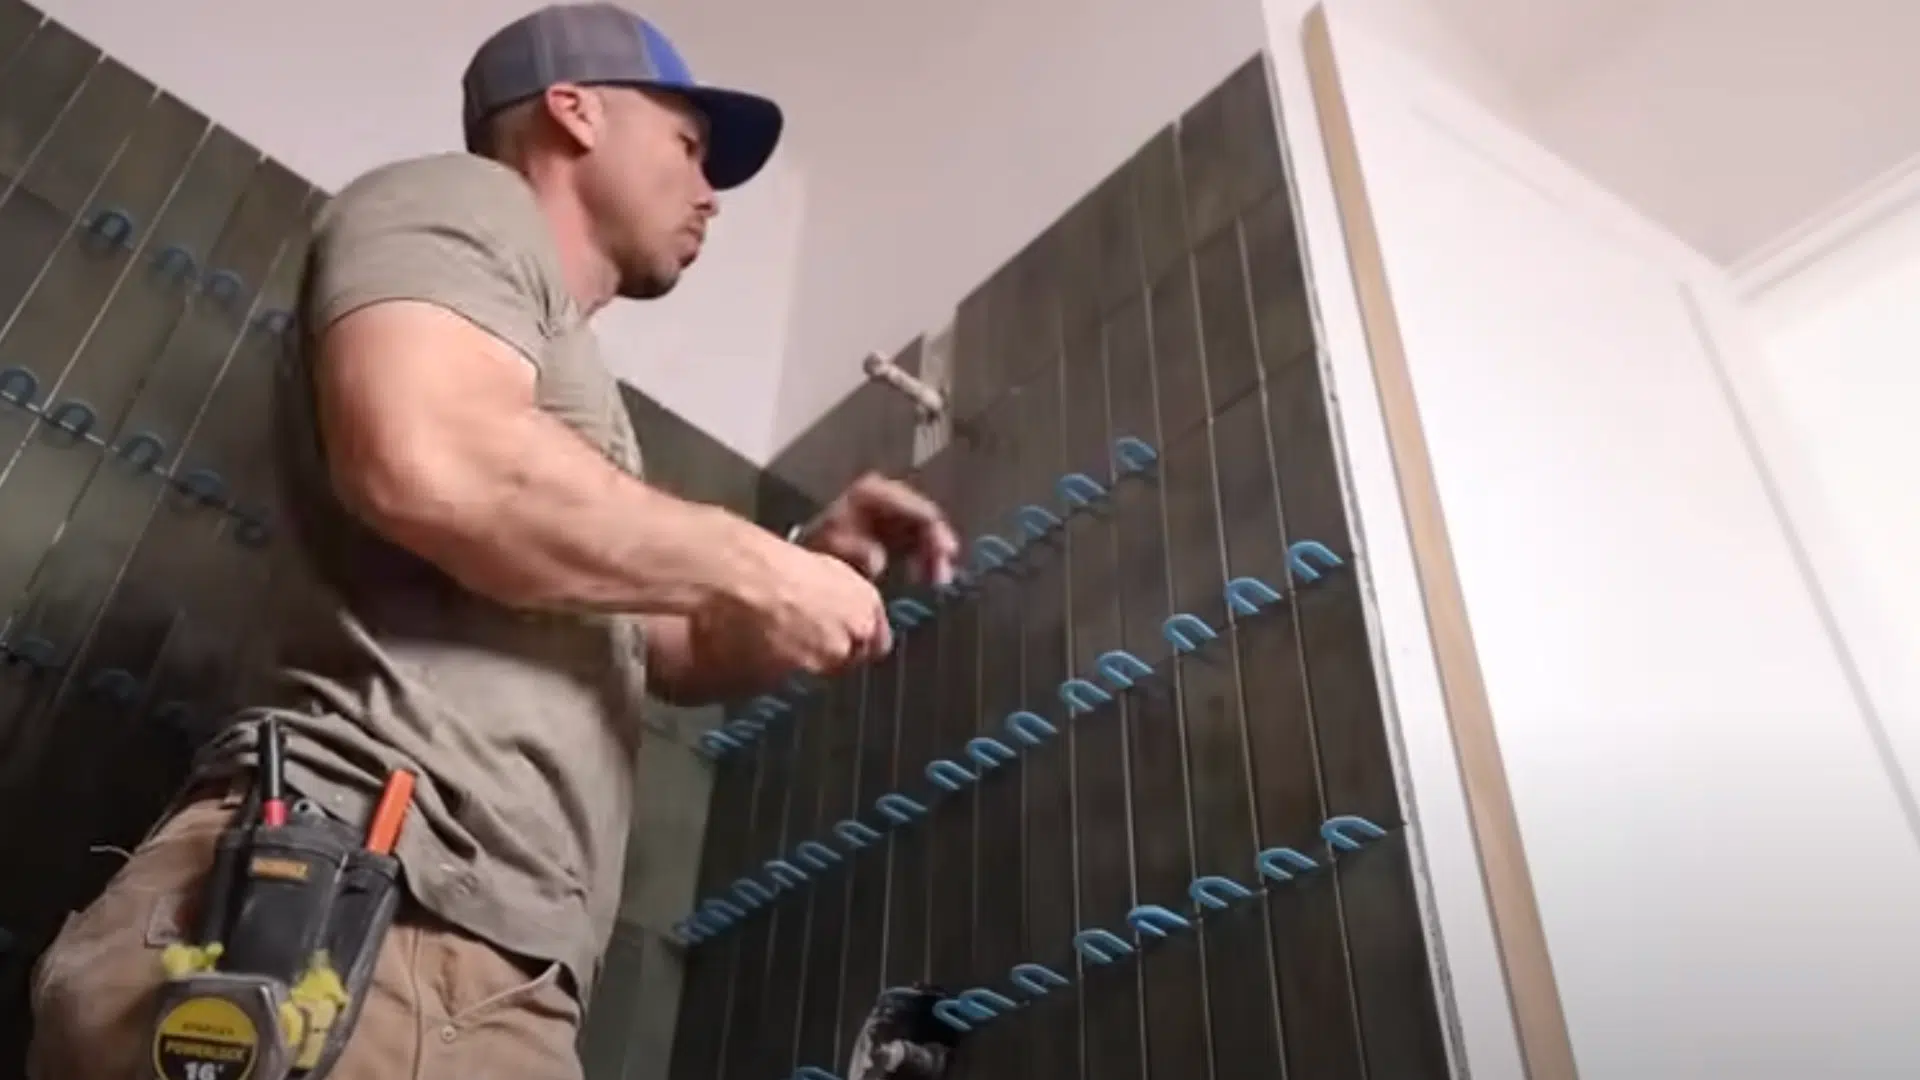
Start with the tile on your center mark. That first tile sets the tone for all the rest.
Press each tile into the mortar with a light twist. This helps it stick better. Put horseshoe spacers between each tile. This keeps the spacing even.
Check the level often across rows. Use a rubber mallet to fix high tiles. Add extra mortar if one sits too low.
Wipe off extra mortar right away. Clean the faces with a damp sponge. Don’t let it dry in the grout lines.
To see the steps in action, watch this helpful video from @TileCoachtogain a better understanding of them.
What Tiles Work Best in a Shower?
When I was redoing my shower, I quickly realized not all tiles are created equal. To help you avoid the guesswork, here’s a breakdown of the best tile types for showers and what makes each one a smart choice.
| Tile Type | Pros | Cons | Best For |
|---|---|---|---|
| Porcelain Tile | Waterproof, strong, low maintenance | Heavier than ceramic, harder to cut | Walls, floors, niches |
| Ceramic Tile | Affordable, easy to install, wide style range | Slightly less durable than porcelain | Shower walls |
| Glass Tile | Reflects light, adds shine, modern look | Can be slippery, shows water spots | Accents, borders, niches |
| Natural Stone | Luxurious, unique textures and colors | Requires sealing, higher cost | Spa-like showers, feature walls |
| Mosaic Tile | Great grip, flexible for slopes and curves | More grout lines to clean | Shower floors, decorative areas |
| Pebble Tile | Spa feel, natural texture, good grip | Needs sealing, can be uneven underfoot | Floors, niches |
The best shower tile depends on your style, budget, and how much maintenance you’re comfortable with.
Waterproofing Tips for a Long-Lasting Result
Waterproof tiles are essential as they protect them from molds, rot, and long-term water damage. The following are the tips you need to keep in mind when waterproofing:
- Use a waterproof membrane on the backer board before tiling.
- Apply liquid waterproofing in two coats for complete coverage.
- Seal all corners and seams with mesh tape and waterproof compound.
- Overlap membrane edges by at least 2 inches to prevent leaks.
- Waterproof around all fixtures and plumbing openings carefully.
- Let waterproofing materials dry fully before tiling—check product instructions.
- Don’t use drywall behind shower tile; always use cement or foam board.
- Reapply caulk in corners and edges annually to maintain a tight seal.
Conclusion
Tiling your shower wall completely changes the feel of your bathroom. It adds a clean, modern look and gives your space a fresh update.
Take your time with each step and double-check every measurement before cutting any tiles.
Being patient during the process saves you from making expensive and frustrating mistakes later on.
If you’re using high-end materials or planning a complex pattern, consider hiring a professional. Natural stone and large tiles require specialized tools and skills.
It’s better to spend a little more than to ruin costly materials. Clean the tiles with gentle soap once a week. If you try this project, please share your results in the comments.
If you find this blog helpful, read about how you can combine wood and tile flooring to make the rest of your home stylish.

Stephanie Grace, a graduate with a degree in Fine Arts from the Savannah College of Art and Design, has been inspiring DIY enthusiasts with her creative and practical guidance for over 14 years. Her career in design and crafting began in a small artisan workshop, where she developed a passion for transforming everyday materials into beautiful and functional items. Stephanie joined our website in 2018, rapidly gaining popularity for her easy-to-follow DIY tutorials and innovative project ideas. Since then, she has been the creative mind behind our DIY section, helping readers bring their artistic visions to life. Outside her professional pursuits, Stephanie enjoys pottery and urban gardening, hobbies that showcase her love for hands-on creativity and nature.