Kitchen cabinets go through a lot every day. Grease, spills, and constant use can leave them looking dull and worn over time. The good news is, a full replacement isn’t always needed.
Kitchen cabinet refinishing is a simple way to give them a fresh, updated look without spending too much. With the right tools and a bit of patience, it’s something you can handle on your own.
In this guide, you’ll learn how the process works, what you’ll need, and when it makes sense to try it yourself instead of going for bigger upgrades.
What is Kitchen Cabinet Refinishing?
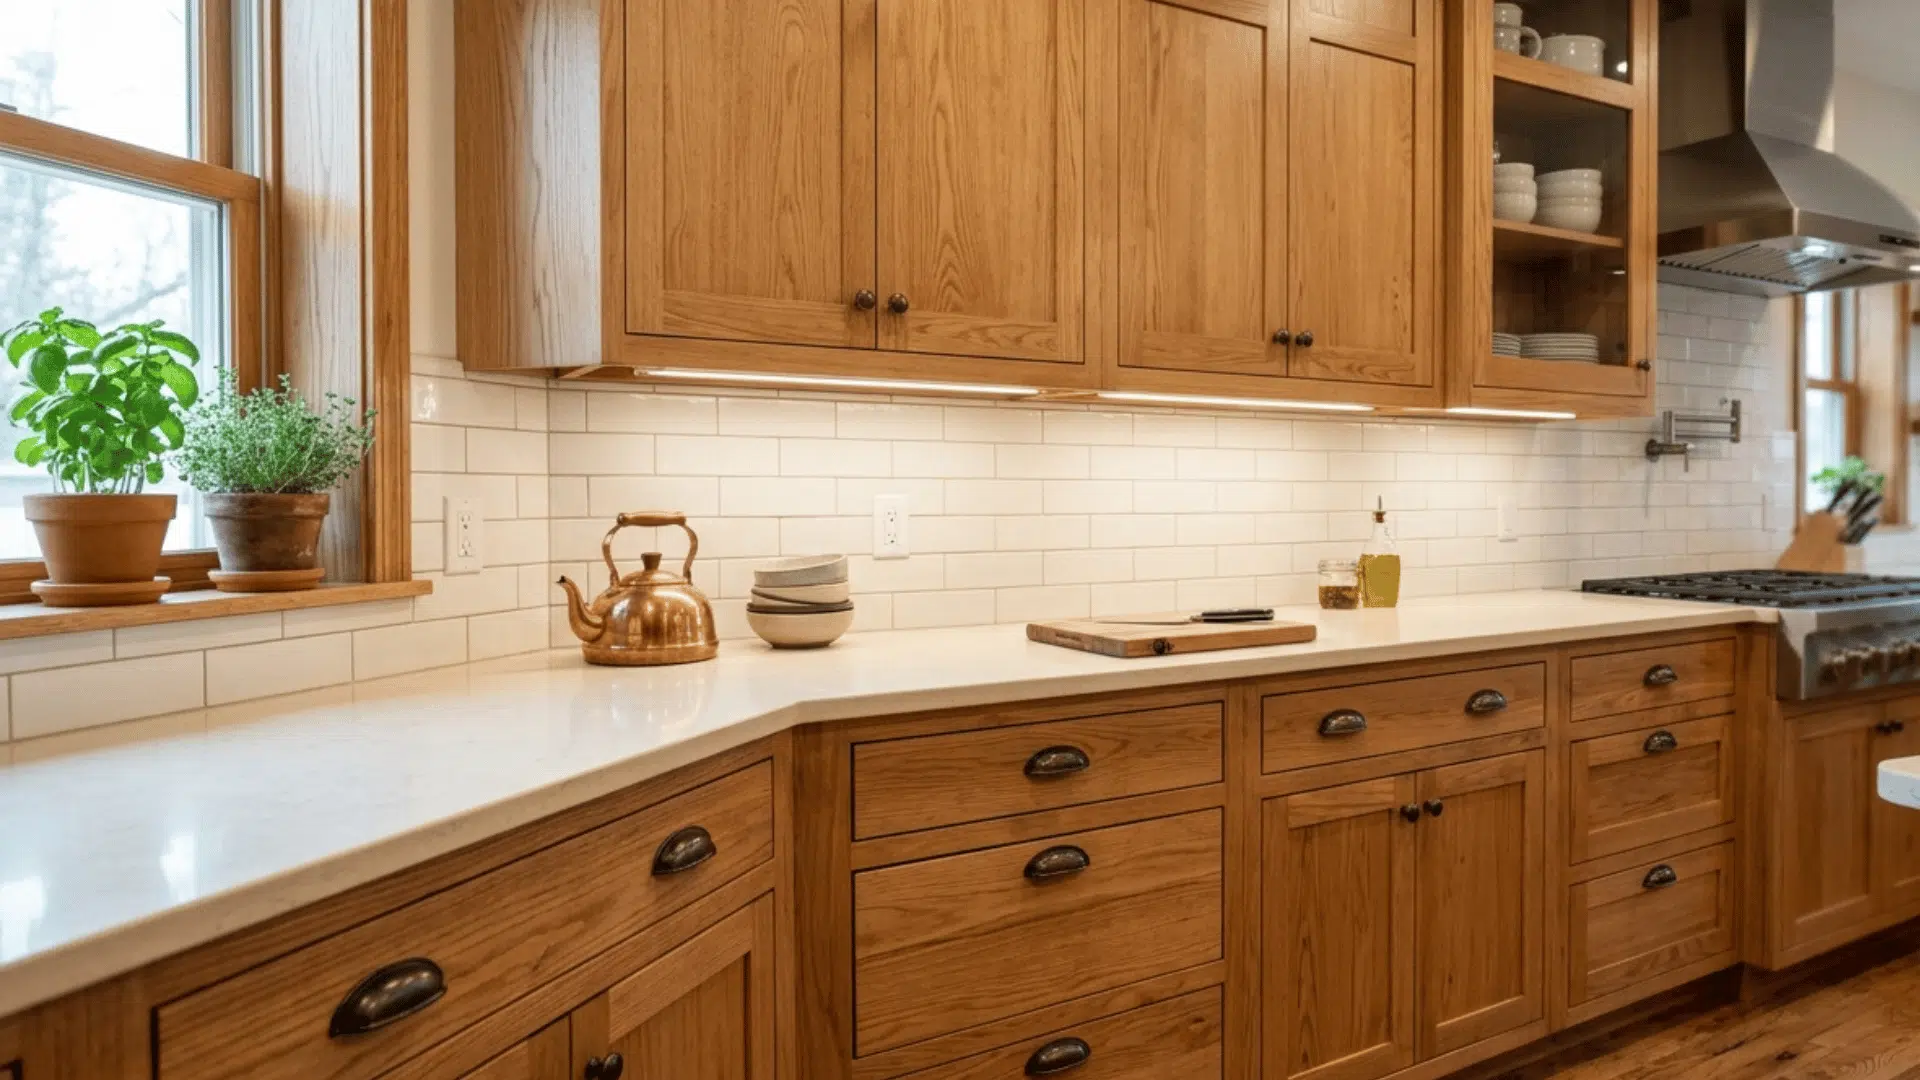
Kitchen cabinet refinishing means updating the surface of your existing cabinets without replacing them. It usually involves cleaning, sanding, and applying a new stain or finish to bring back their look.
Refinishing is different from repainting because repainting covers the surface with paint, while refinishing keeps the natural wood look and enhances it.
This option works best when cabinets are still strong but look worn, faded, or scratched. It’s a good choice if the layout and structure are fine, but the appearance needs improvement.
Ideal cabinets for refinishing have solid wood surfaces, minimal damage, and no major structural issues like warping or deep cracks.
Materials Needed
Here are the basic tools and materials you’ll need to get a smooth and long-lasting finish on your cabinets.
| Material / Tool | Purpose |
|---|---|
| Screwdriver | Remove doors, hinges, and hardware |
| Mineral Spirits / Cleaner | Clean grease and residue from surfaces |
| Soft Cloth / Rag | Apply cleaner and wipe surfaces |
| 220-Grit Sandpaper | Light sanding to prep surface |
| Tack Cloth / Clean Rag | Remove dust after sanding |
| Wood Touch-Up Pen | Restore faded or worn color areas |
| Stain + Polyurethane Mix | Add color and protective finish |
| High-Quality Brush | Apply smooth, even coating |
| New Hinges (Optional) | Replace old hardware |
| New Knobs / Handles (Optional) | Update cabinet look |
Step-by-Step Guide for Refinishing Kitchen Cabinets
Follow these simple steps to clean, prep, and refinish your kitchen cabinets for a fresh, updated look without replacing them.
Step 1: Remove Doors and Hardware
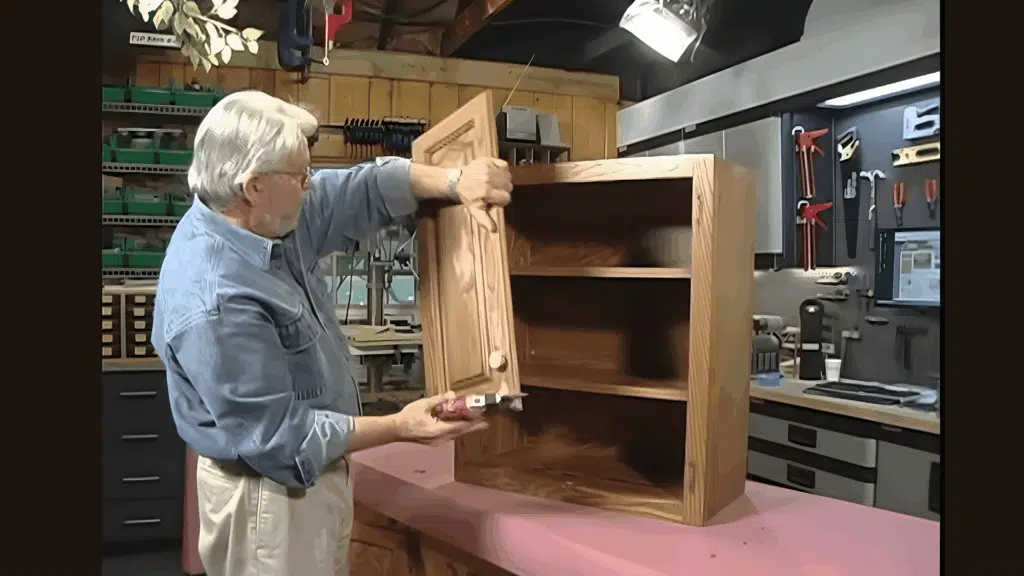
Start by removing all cabinet doors, shelves, hinges, and knobs. This step makes the refinishing process much easier and helps you reach every surface properly.
Keep a screwdriver handy and work slowly to avoid damage. It’s also a good idea to label each door and its matching spot so reassembly doesn’t get confusing later.
Taking everything apart may feel like extra work at first, but it plays a big role in getting a cleaner and smoother finish in the end.
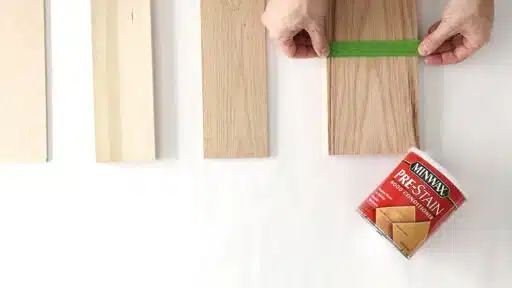
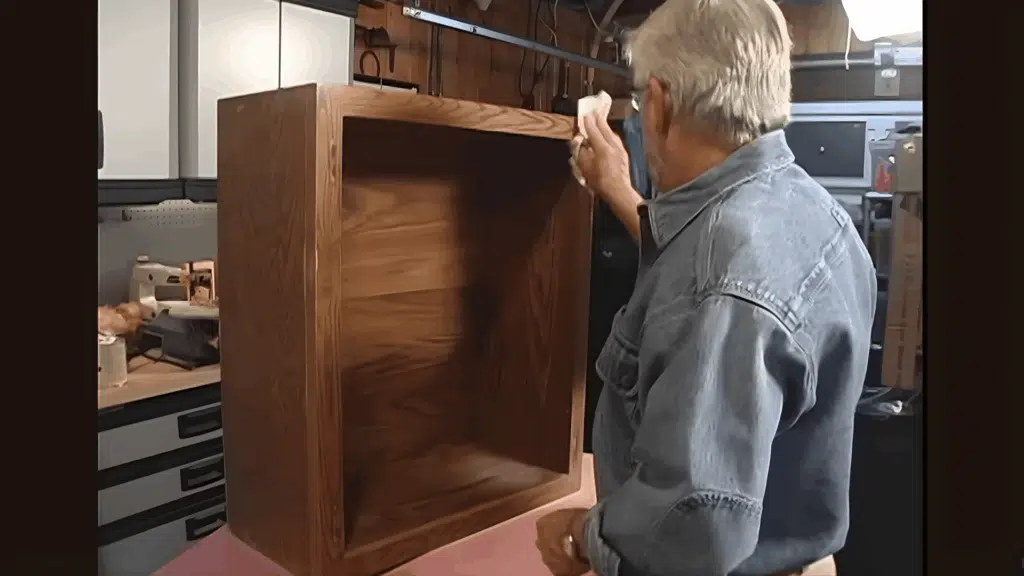
Step 2: Clean the Cabinet Surfaces
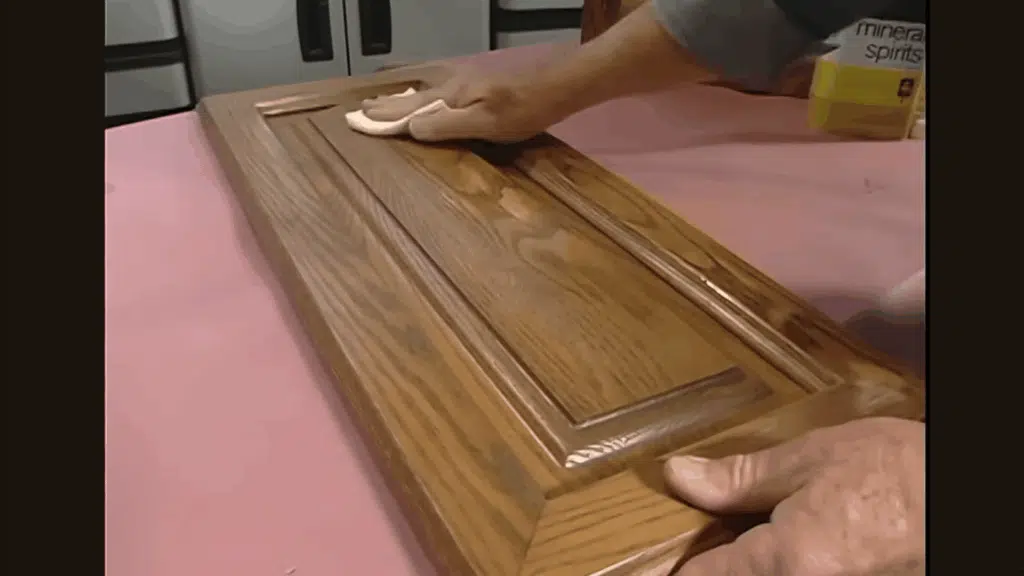
Before doing anything else, clean the cabinets well to remove grease, dirt, and buildup. Kitchen cabinets, especially those near the stove, collect oil over time.
Use mineral spirits or a similar cleaner with a soft cloth and wipe each surface two to three times. Turn the cloth as you go so you’re not spreading grime around.
This step is important because any leftover residue can stop the new finish from sticking properly.
Step 3: Lightly Sand the Cabinets
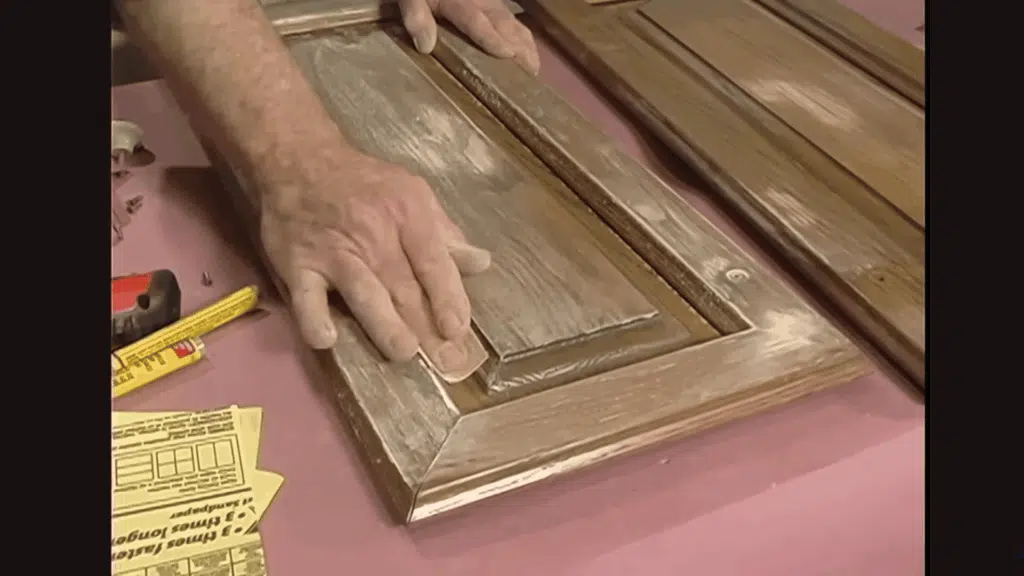
Once the cabinets are clean, move on to light sanding. Use fine 220-grit sandpaper and gently sand all surfaces. Always follow the direction of the wood grain to avoid scratches.
The goal here is not to remove the old finish completely but to slightly roughen the surface so the new coating can bond better. Take your time and use even pressure for a smooth result, especially on flat areas and detailed edges.
Step 4: Remove Dust Completely
After sanding, dust will be left behind on every surface. It’s important to remove this completely before applying any finish.
Use a clean cloth or a tack cloth to wipe down all cabinets, including corners and edges. Even a small amount of dust can affect how the stain or coating looks later.
Make sure the surface feels clean and smooth to the touch before moving on to the next step.
Step 5: Fix Worn or Faded Spots
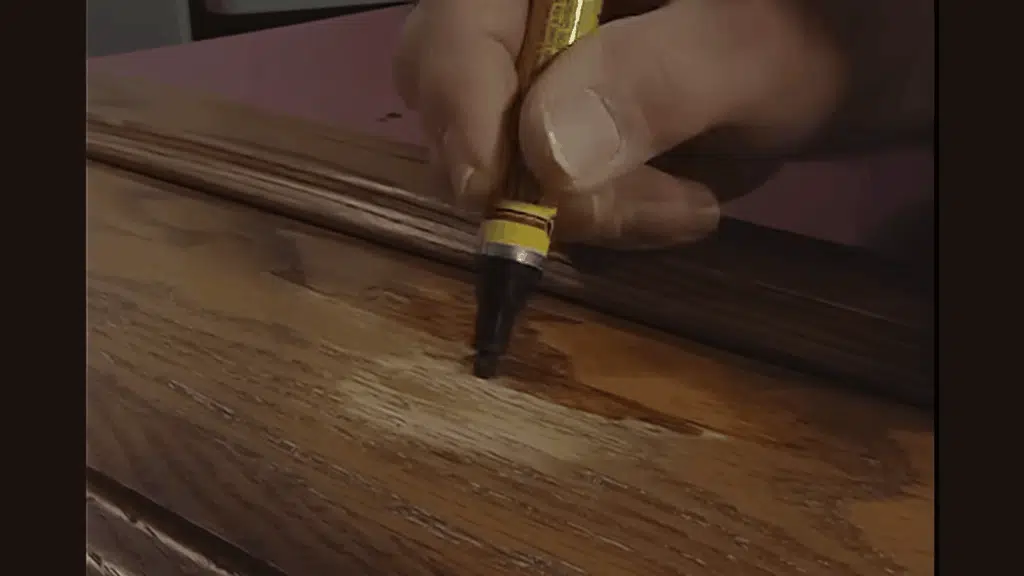
If your cabinets have faded areas or spots where the color has worn off, this is the time to fix them. Use a wood touch-up pen that matches your cabinet color and apply it like a marker.
Let it sit for a few seconds, then wipe away any extra and blend the edges so it looks natural. This step helps even out the color before applying the final finish, giving a more consistent and polished look.
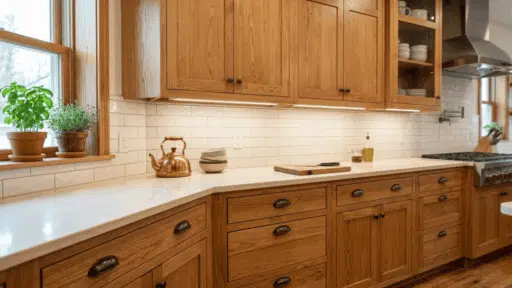
Step 6: Apply Stain and Protective Coating
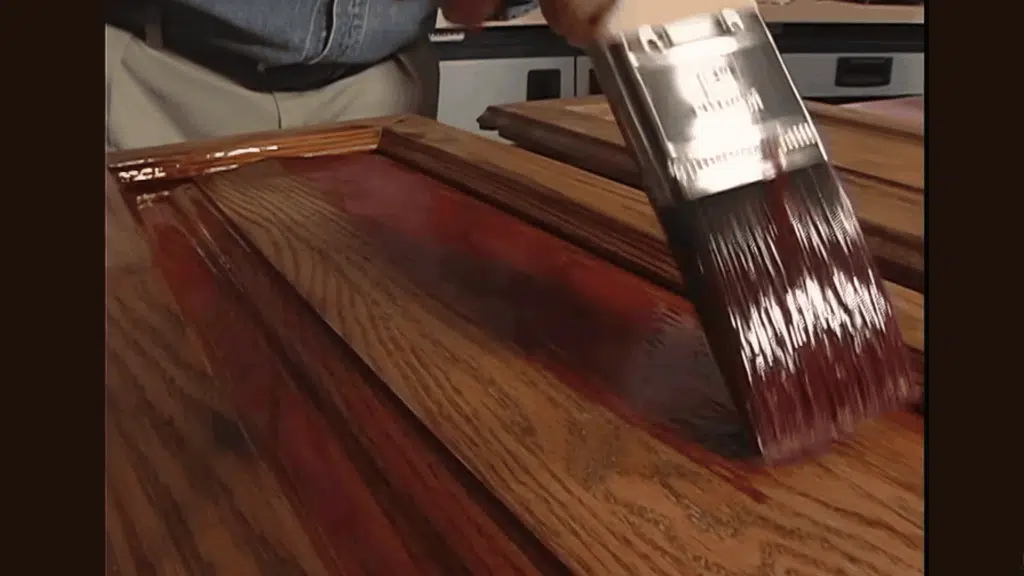
Now it’s time to apply the finish. Use a stain and polyurethane combination for both color and protection. Stir the product well to mix the pigments, but avoid shaking it to prevent bubbles.
Start by brushing the detailed areas first, then move to flat surfaces. Apply thin and even coats using a good-quality brush.
Don’t overload the brush, and avoid going over the same spot too much. If you want a deeper color, apply a second coat after the first one dries.
Step 7: Let Dry and Reassemble Cabinets
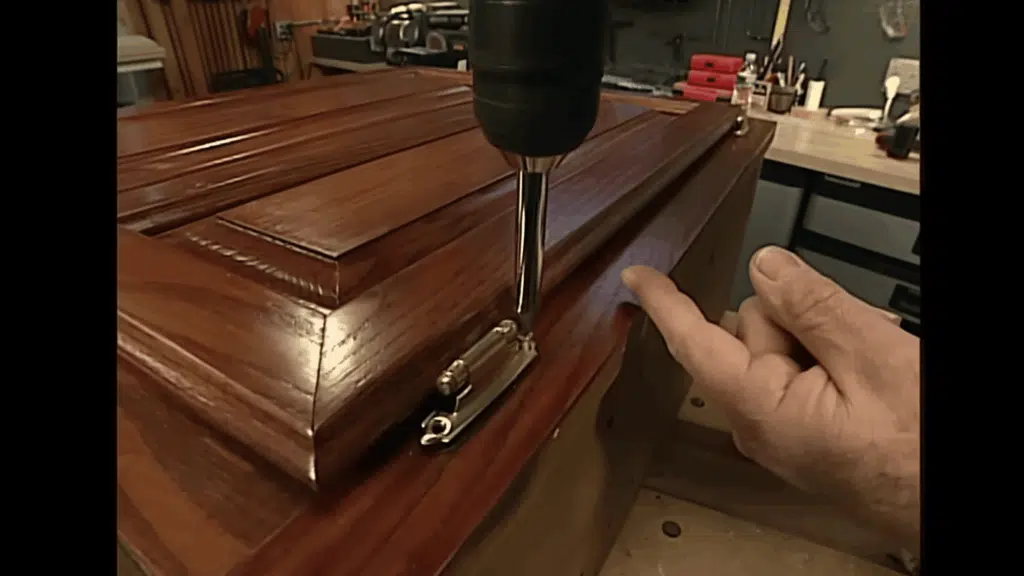
Allow the finish to dry completely before putting everything back together. Drying time can vary, so check the product instructions and give it enough time to set properly.
Once dry, reattach the doors, hinges, and knobs. This is also a great time to install new hardware if you want an updated look. After reassembly, your cabinets should look refreshed, clean, and much better than before without needing a full replacement.
For a better understanding of the process, watch this video for clear visual guidance.
Cabinet Refinishing vs. Refacing: Key Differences
Cabinet refinishing and refacing are both cost-effective ways to update your kitchen without full replacement.
| Feature | Cabinet Refinishing | Cabinet Refacing |
|---|---|---|
| What It Involves | Sanding, staining, or repainting existing cabinets | Replacing doors and applying new veneer |
| Cabinet Structure | Kept completely the same | Existing boxes stay, outer surfaces updated |
| Cost | Lower cost (budget-friendly DIY option) | Higher cost (professional service) |
| Time Required | 2–5 days (DIY or small project) | 3–7 days (usually done by professionals) |
| Skill Level | DIY-friendly | Requires professional installation |
| Final Look | Refreshed, similar style | Looks like brand-new cabinets |
| Best For | Cabinets in good condition but look worn | Outdated style but solid cabinet structure |
| Customization | Limited to color/finish changes | More options (new door styles, finishes) |
| Durability | Depends on prep and materials used | Generally longer-lasting finish |
Top Professional Cabinet Refacing Services
Professional cabinet refacing services offer a simple way to update your kitchen without removing existing cabinets. Experts replace doors, drawer fronts, and outer surfaces while keeping the cabinet boxes intact.
- Kitchen Magic is a family-owned kitchen remodeling company founded in 1979. It specializes in cabinet refacing, custom cabinetry, and countertops, offering cost-effective upgrades with professional design, installation, and long-lasting results.
- American Wood Reface focuses on cabinet refacing and kitchen updates, helping homeowners refresh existing cabinets without a full remodel. Its service centers on upgrading doors, drawer fronts, and exterior surfaces for a new look.
- N-Hance is a wood refinishing company that offers cabinet refinishing, painting, and refacing services. It promotes factory-like finishes, less mess, and quicker kitchen updates compared with full cabinet replacement.
- Cabinet Cures is a cabinet refacing and refinishing company that has served homeowners since 1985. It offers custom cabinet makeovers with design support, multiple finish choices, and professional installation.
- The Home Depot offers cabinet refacing through its Home Services division. The service includes new doors, drawers, hinges, hardware, and veneer, giving kitchens an updated look without replacing cabinet boxes.
Conclusion
Kitchen cabinet refinishing is a practical way to refresh your space without spending on a full remodel. It works well when cabinets are still strong but need a visual update.
With the right prep and tools, the results can look clean and long-lasting. At the same time, cabinet refacing is worth considering if you want a bigger style change with less effort.
Both options have their place, so the choice depends on your budget, time, and goals.
In the end, kitchen cabinet refinishing remains one of the simplest ways to improve how your kitchen looks and feels.

Tommy Hardy, an alumnus of the Georgia Institute of Technology with a degree in Mechanical Engineering, has been a go-to figure in residential upkeep and innovation for over 18 years. His career commenced in a leading home appliance manufacturing company, where he mastered the intricacies of household systems. Joining our platform in 2020, Tommy quickly became a reader favorite for his practical and easy-to-follow guides. He took the helm of our DIY section in 2019, consistently delivering content that empowers homeowners. Beyond his professional pursuits, Tommy is a passionate gardener and enjoys woodworking, skills enhancing his hands-on approach to home care.