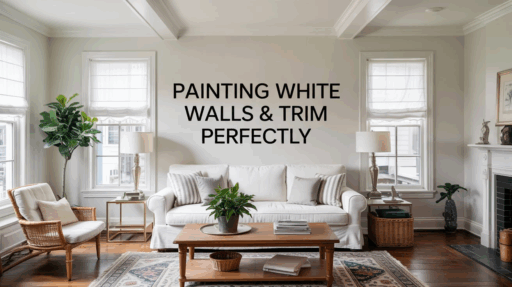

Reimagine your space with the timeless appeal of white walls and trim. White is classic, clean, and can make any room feel fresh and open. But getting that perfect, flawless finish isn’t always as easy as it seems.
If you’ve ever struggled with painting white walls and trim, you’re not alone. This guide is here to help. We’ll walk you through everything you need to know, from choosing the right paint to tips on application and maintenance.
Whether you’re a beginner or just looking to improve your technique, you’ll find simple steps and clear advice to solve your painting challenges. Trust that these tips are based on real experience and tested methods.
By the end of this article, you’ll know how to achieve a professional-looking paint job that lasts. Let’s get started and make your space shine with crisp, beautiful white walls and trim.
What Do White Walls and White Trim Mean for Your Home?
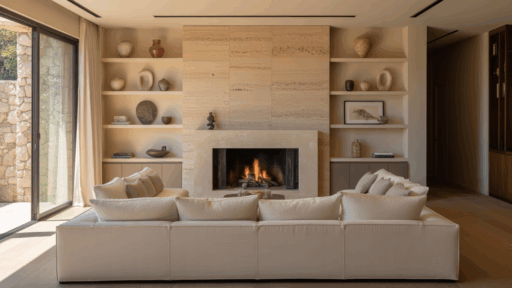
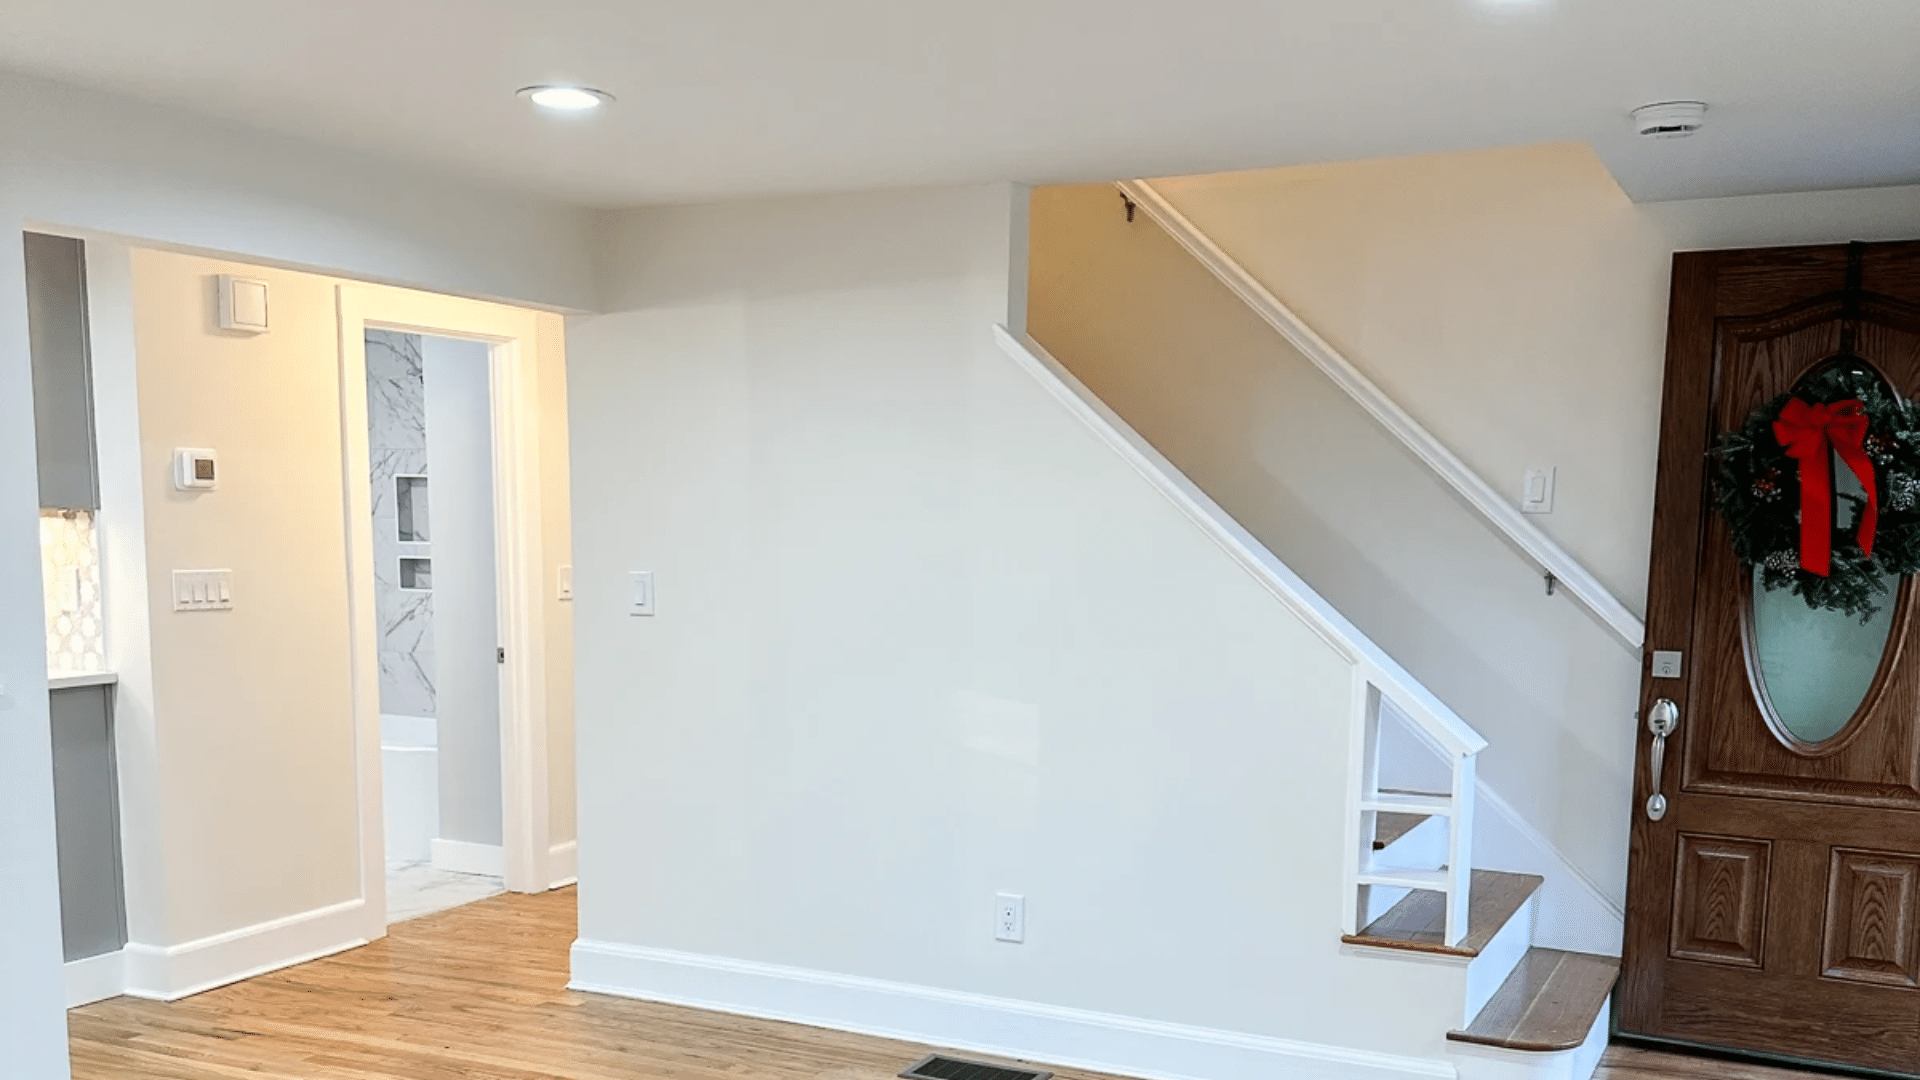
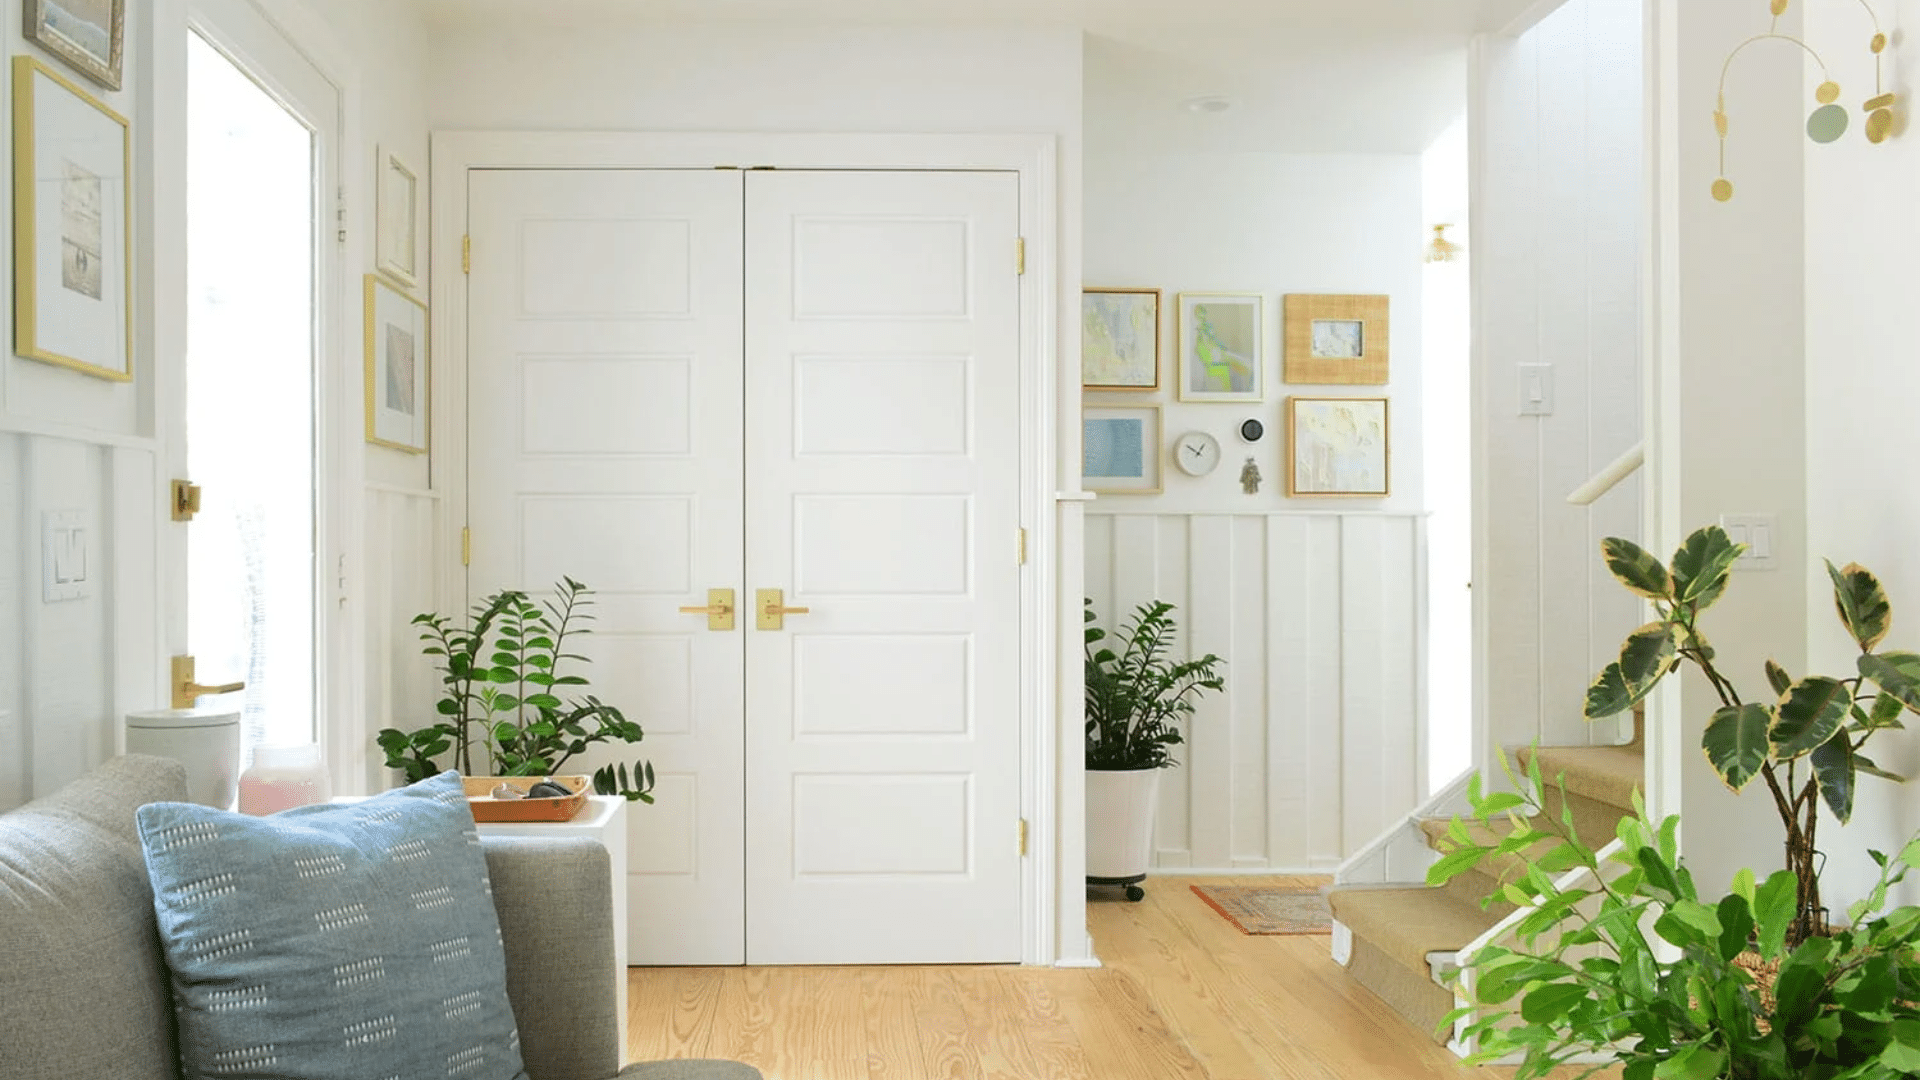
When I think of white walls and trim, I think of a clean, fresh look that suits almost any space. White walls serve as a blank canvas, lending the room a bright, open feel. The white trim, often around windows, doors, and baseboards, adds a crisp contrast, making the details stand out.
You might wonder, what’s the big deal about white? Here’s the thing—white is versatile. It works with any style, whether it’s modern, traditional, or something in between. It’s easy to decorate with and can make a room feel larger and more airy.
White walls are typically flat or matte, while white trim is often finished with a semi-gloss or satin sheen. This helps the trim stand out more, giving your space a clean, polished look.
Here’s why many choose white:
- Timeless and classic
- Easy to pair with any color
- Makes spaces feel brighter and larger
Choosing the Right White Paint
When I’m picking the right white paint, I always start with the undertones. Why? Because white isn’t just white. It can have different tints that change the entire feel of a room. If you don’t choose the right undertone, the room might feel off or unbalanced.
There are three main types of whites:
Warm Whites: These whites have a hint of yellow or beige. They create a cozy, inviting feel, which works well in living rooms or bedrooms where a relaxing atmosphere is desired. Warm whites pair well with wood tones and earthy colors.
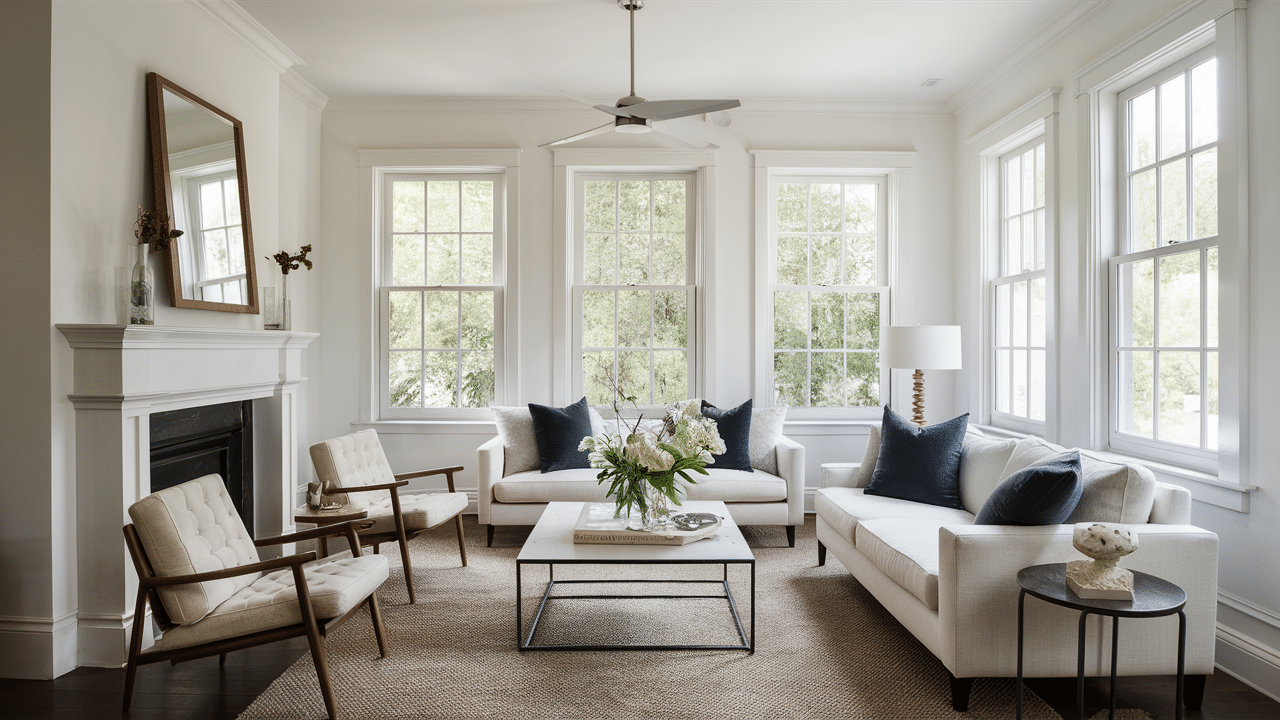
Cool Whites: These whites have a blue or gray undertone. They create a space that feels clean and modern, often giving it a crisp, refreshing vibe. Cool whites are ideal for kitchens and bathrooms, particularly in areas with abundant natural light.
Neutral Whites: A blend of both warm and cool tones, neutral whites complement any décor. They’re versatile and provide a balanced, clean look that’s neither too cold nor too warm. Neutral whites are great if you want a color that won’t clash with any other shades in the room.
Choosing the right undertone depends on your room’s lighting and style. For example, if your room gets a lot of sunlight, you might want a cooler white to balance the warmth of the light.
If your room has limited natural light, a warm white can help create a cozy and inviting atmosphere. If you have warm-toned furniture, a warm white will blend well. Cool whites work best in rooms with abundant natural light, where they can reflect and enhance the space’s existing light.
Top White Paints to Try
Benjamin Moore White Dove
This soft, warm white works well in any room. It’s perfect for creating a cozy, clear atmosphere and blends beautifully with both modern and traditional furniture. Its warmth makes it ideal for spaces where you want to feel relaxed, like a living room or bedroom.
Sherwin-Williams Pure White
A neutral white that fits with modern decor. It’s clean but not too stark. Pure White is ideal for minimalist spaces and pairs well with sleek, contemporary furniture. It doesn’t have any noticeable undertones, making it a versatile option for almost any room.
Benjamin Moore Simply White
A crisp, bright white. It has a slightly warmer tone compared to Pure White, but still maintains a fresh and clean look. Simply White is ideal for spaces that require a bright and fresh ambiance, such as kitchens, bathrooms, or an office.
Don’t forget about the finish. It makes a big difference. For trim, I always recommend a semi-gloss or satin finish. These finishes are durable, easy to clean, and give the trim a nice shine.
Satin finishes are perfect for creating a soft sheen, while semi-gloss is more reflective and easier to clean, making it ideal for areas like baseboards, doors, and window frames. Select a finish that suits the expected wear and tear of the area you’re painting.
Choose the right white, and your walls and trim will look perfect—bright, clean, and beautifully balanced.
Essential Tools and Materials
When it comes to painting white walls and trim, the right tools make all the difference. I’ve learned over time that using quality materials saves time and effort in the long run. Here’s what you’ll need:
- Brushes
- Rollers
- Painter’s Tape
- Drop Cloths
- Paint Trays and Liners
These tools are essential for a smooth, clean paint job. With the right materials, you’ll find the process much easier and faster. Let’s gather these items and get started!
Preparing for Painting
Before you start painting, preparation is everything. Trust me, the time spent on prep work will pay off in the end. Here’s what you need to do:
- Surface Cleaning: First, clean the surfaces you’ll be painting. Dust, grease, and grime can affect the paint’s adhesion. I usually use a damp cloth to wipe down the walls and trim. It’s simple but essential for a smooth finish.
- Sanding: Next, I lightly sand the trim to smooth out any rough spots or imperfections. This step helps the paint adhere more effectively, providing a cleaner and smoother surface. You don’t need to overdo it; just a quick pass with fine-grit sandpaper will do.
- Filling Holes: If you have any dents or nail holes, now is the time to repair them. I use wood filler for this. Apply a small amount, let it dry, and then sand it smooth to a fine finish. This helps avoid those little imperfections that can stand out after painting.
- Priming: Don’t skip this step! Priming is crucial for coverage and durability. It helps the paint apply evenly and ensures the color stands out. I always use a high-quality primer before applying the paint.
- Taping: Finally, tape off edges. This step helps protect adjacent surfaces from receiving paint. I take my time with this. A clean line can make all the difference, so make sure the tape is applied neatly and securely.
With these simple steps, your surfaces will be ready for a flawless paint job. Preparation is key, and once it’s done, the rest will fall into place.
Painting Techniques
Now that everything is prepped, it’s time to start painting. Here are the techniques I use to get smooth, professional results:
- Trim First: Always paint the trim before the walls. Why? This way, you avoid getting wall paint on your trim. Plus, it helps create clean lines. Trust me, it makes the whole process smoother.
- Cutting in: This step requires a steady hand. When painting edges near ceilings or where the wall meets the trim, I use a small brush to “cut in” the paint. Ensure that you do this slowly and carefully. You want clean, straight lines.
- Rolling Walls: When it’s time to roll the walls, I apply the paint in a ‘W’ pattern. Start from the top and work your way down. The W pattern helps spread the paint evenly and reduces streaks. It’s an easy way to get great coverage.
- Multiple Coats: Typically, one coat is insufficient. I always allow each coat to dry completely before applying the next. This allows the paint time to settle, ensuring a smooth finish. Don’t rush it. More coats give you better results.
- Finishing Touches: The last step is the best. Once the paint is dry to the touch, carefully remove the painter’s tape. Do it while the paint is still slightly wet. This prevents peeling and gives you that crisp, sharp line.
With these techniques, your painting project will look neat and professional. The key is to take your time and focus on the details. You’ve got this!
Troubleshooting Common Issues
Even with the best preparation, things don’t always go perfectly. Here are a few common problems I’ve run into while painting, along with simple ways to fix them:
- Brush Marks: Brush marks can be a real frustration. To avoid them, use a high-quality brush and apply the paint in thin layers. Thick coats tend to leave visible marks. If you notice any brush marks, lightly sand the area once it’s dry, then apply another thin coat.
- Uneven Coverage: Sometimes, paint doesn’t go on evenly. To fix this, ensure you apply the paint consistently. Roll in overlapping “W” patterns to ensure even coverage. If some spots appear lighter, apply an additional coat. Patience is key here!
- Paint Drips: Drips happen, especially when painting trim. If you see any, don’t wait! Grab a damp cloth and gently wipe the drip away. If the paint has already dried, use a touch-up brush to fix the spot.
- Tape Pulling Paint: If the painter’s tape pulls off some of the paint, it can be frustrating. To avoid this, score the tape line with a utility knife before attempting to remove it. This will help separate the tape from the paint without pulling any of it off.
These problems are common but easy to fix. Just stay calm, address them right away, and you’ll end up with a smooth, flawless finish.
Styling Your White Walls and Trim
Now that your white walls and trim are looking perfect, it’s time to make them shine with some thoughtful styling. Here’s how I add personality and warmth to a space with white walls:
Contrast with Decor
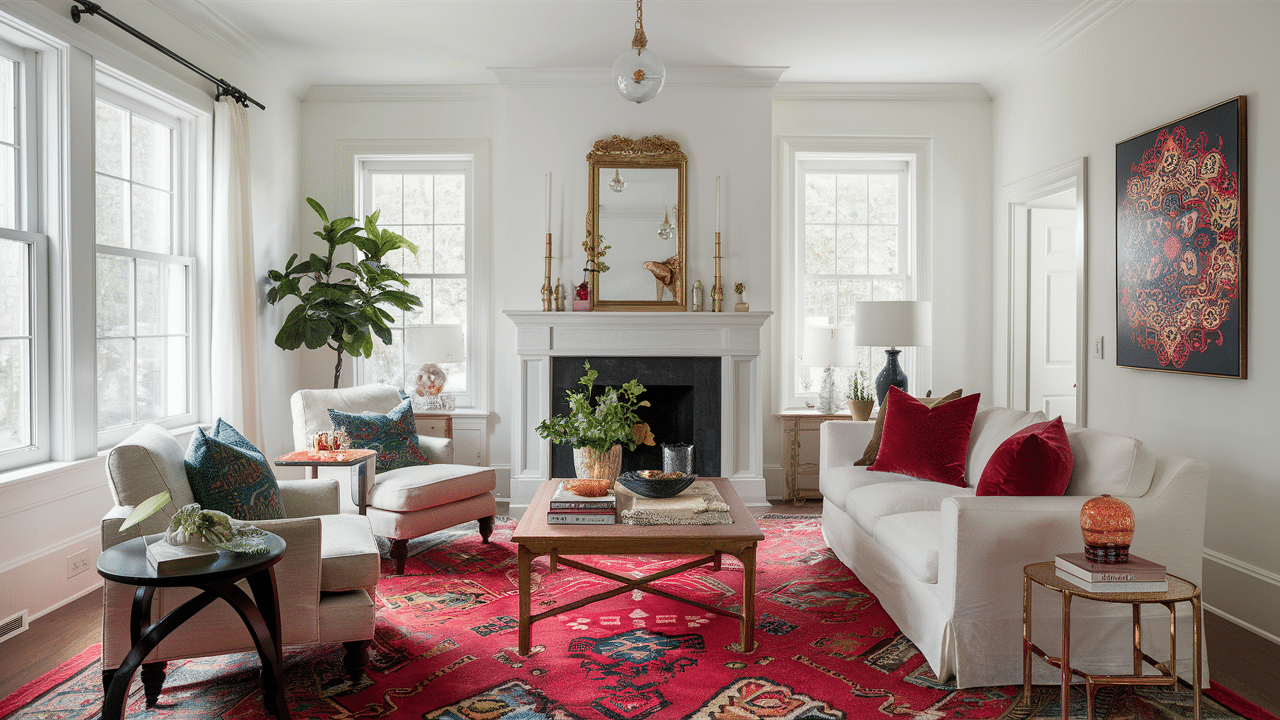
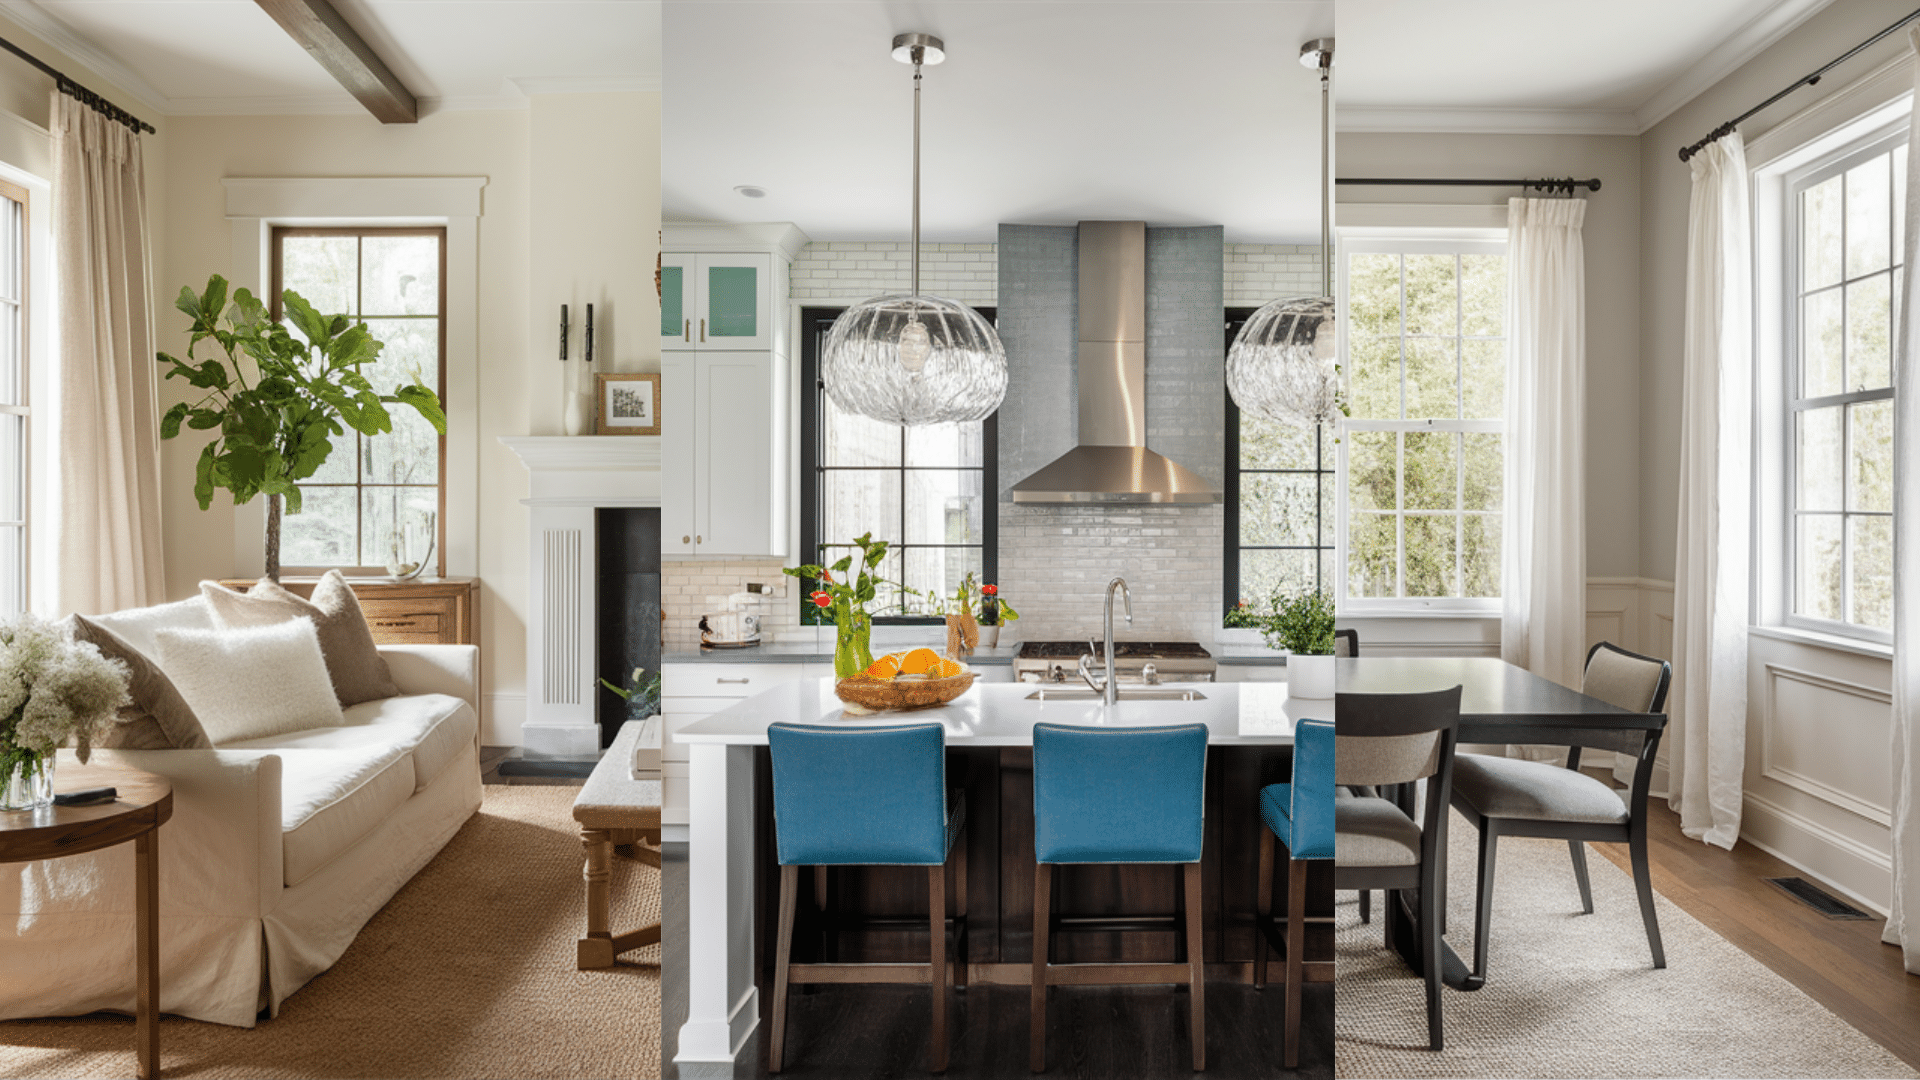
White can be a blank canvas, so bring it to life with colorful furnishings and artwork. Bold throw pillows, vibrant rugs, or a statement piece of art can create a focal point. These pops of color will make your white walls feel less stark and more inviting.
Textures
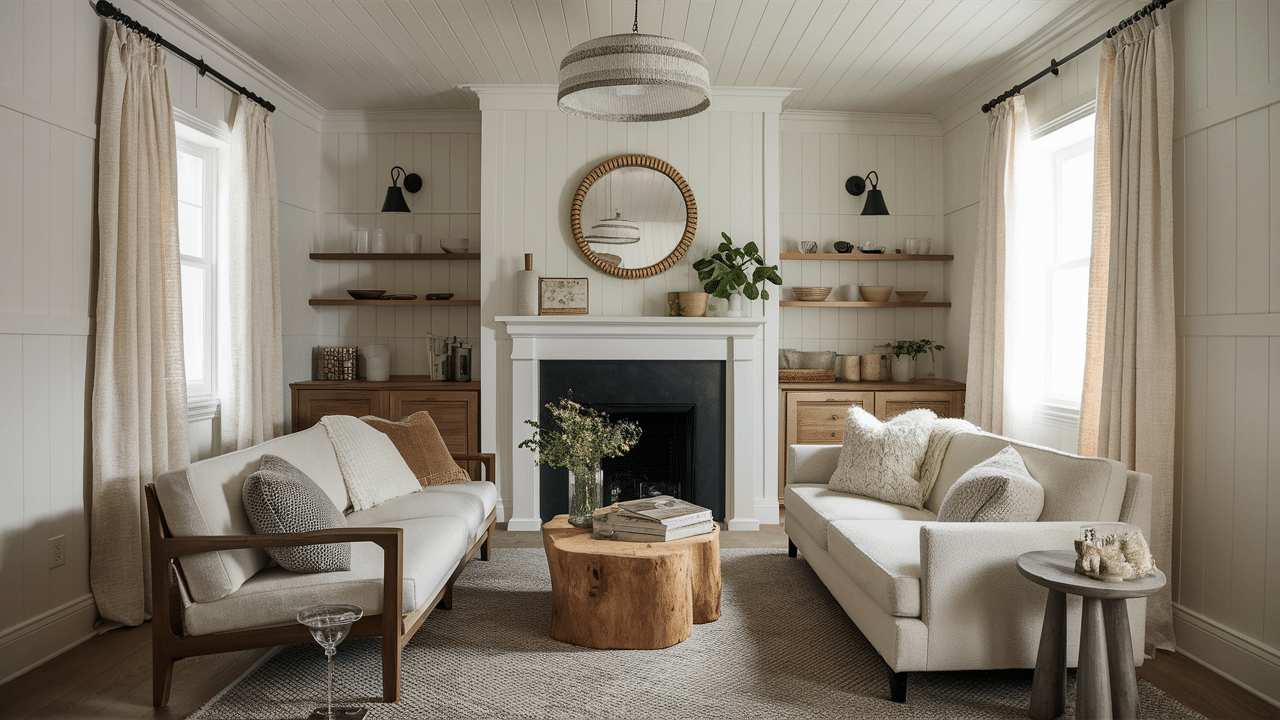
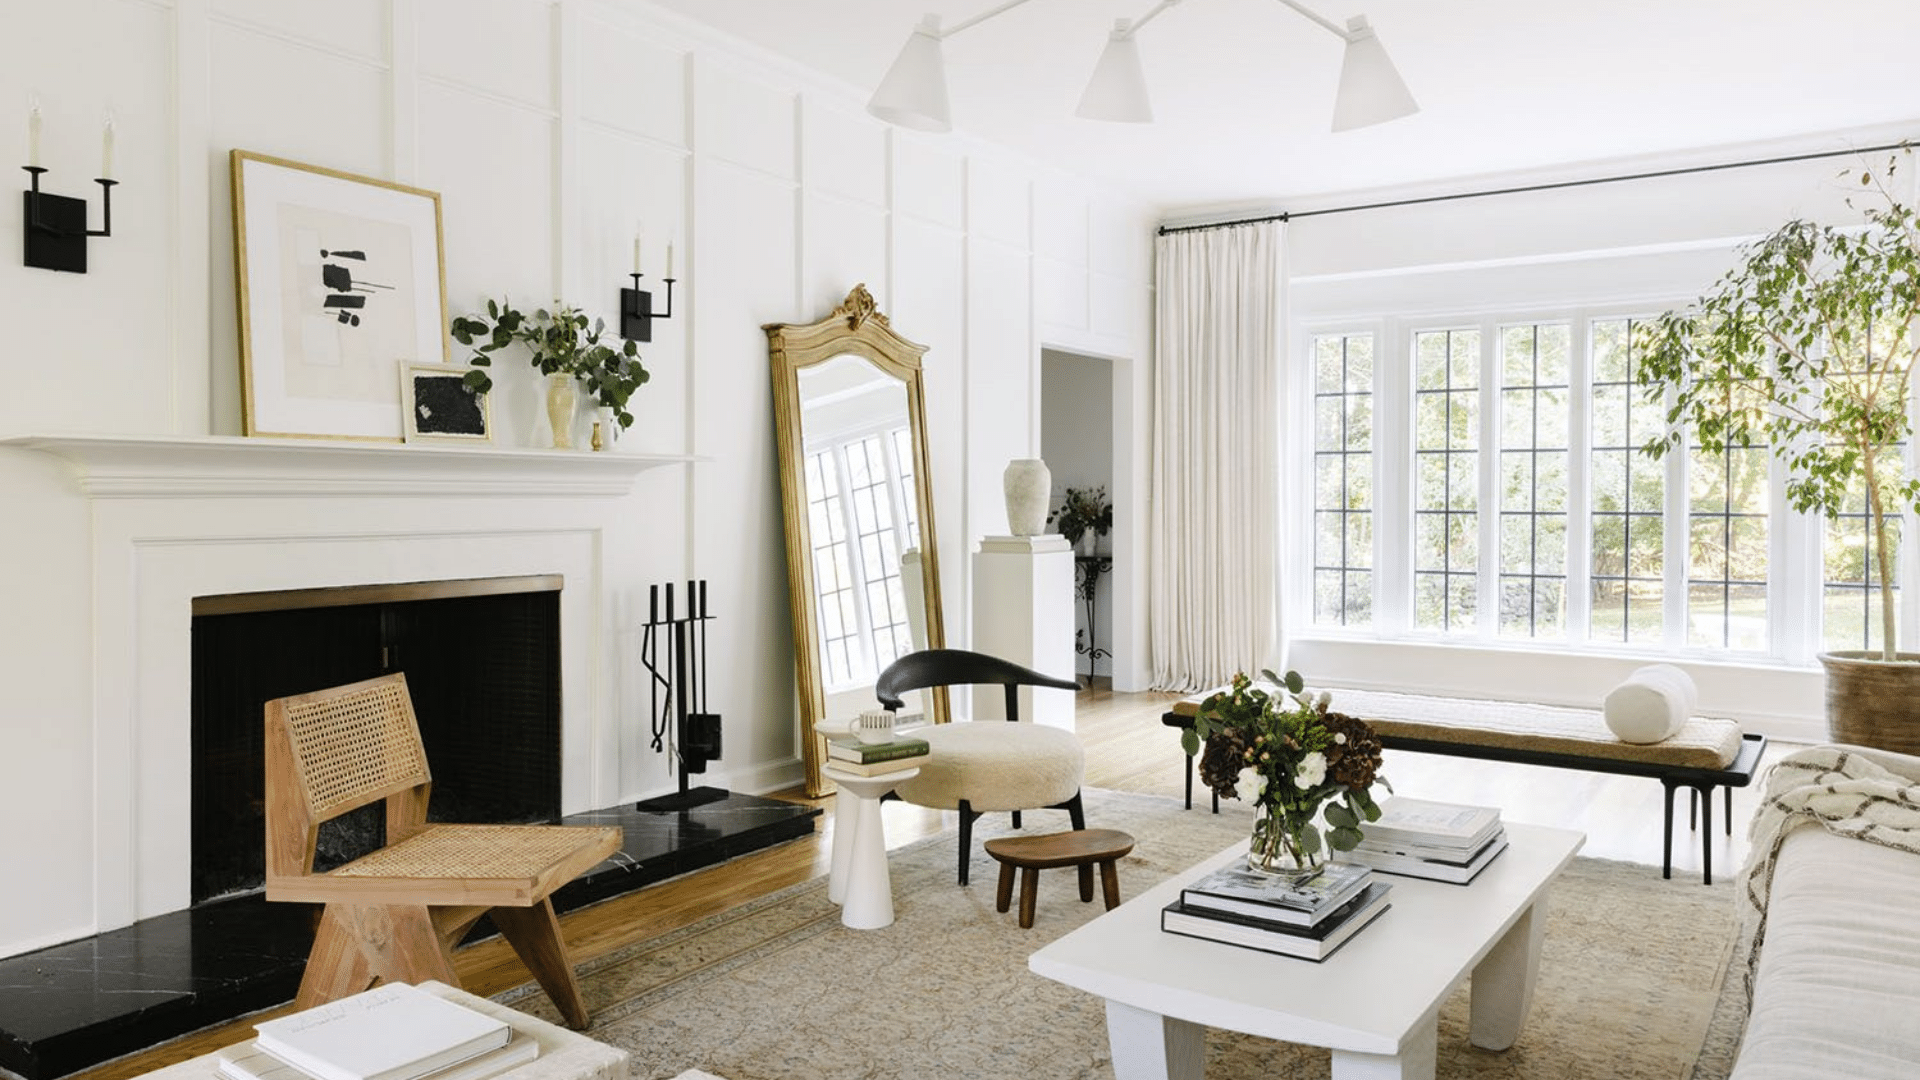
Adding different textures can create depth and interest in a room. I love mixing wood, metal, and fabric for a balanced look. For example, a wood coffee table, metal light fixtures, and soft, fabric curtains will create layers of texture that complement your white walls and trim.
Lighting
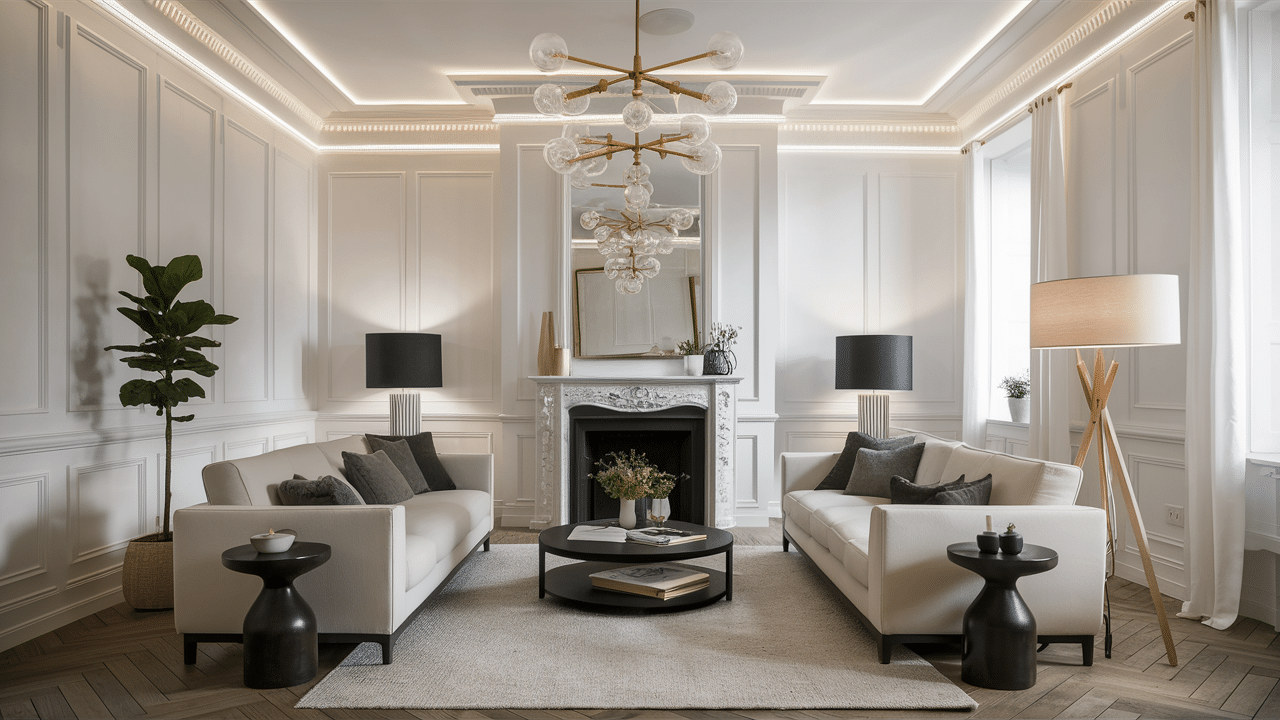
Lighting is everything when styling white spaces. Layered lighting—utilizing a combination of overhead lights, floor lamps, and accent lighting—can effectively highlight architectural features such as crown molding or trim. It also sets the mood in the room, whether you prefer a bright and airy atmosphere or a soft and cozy one.
Styling your white walls and trim doesn’t have to be complicated. By adding color, texture, and the right lighting, you’ll create a space that feels warm, personal, and inviting.
Conclusion
Achieving a perfect white paint job takes some effort, but the results are definitely worth it. With the right tools, preparation, and attention to detail, you can easily transform any room into a space that suits your needs. Whether you’re painting the walls or trim, following these tips will help you create a smooth, professional-looking finish that enhances the beauty of your space.
While painting white walls and trim may seem like a big task, don’t stress—with patience and the right techniques, you can do it. The key is to take your time and focus on the small details. You’ll end up with a bright, clean, and inviting environment.
So why wait? Start your painting project today and enjoy the fresh, timeless look of white walls and trim. You’ll be surprised at how a little paint can completely transform a room into something brand new!
If you found this article needful, then you’ll also read our other one article Step-by-step on White Wash a Brick Fireplace to know more.

Alex Guerrero, a graduate with a Fine Arts degree from the Rhode Island School of Design, has been a visionary in the world of color and design for over 15 years. His professional journey began in the heart of the fashion industry in Milan, where he developed an acute sense for color harmonies and trends. Alex joined our team in 2018, offering fresh and innovative perspectives on color utilization in various spaces. Renowned for his ability to blend contemporary trends with timeless elegance. Outside of work, Alex is an accomplished painter and a volunteer art therapist, his artistic talents further enriching his professional insights.