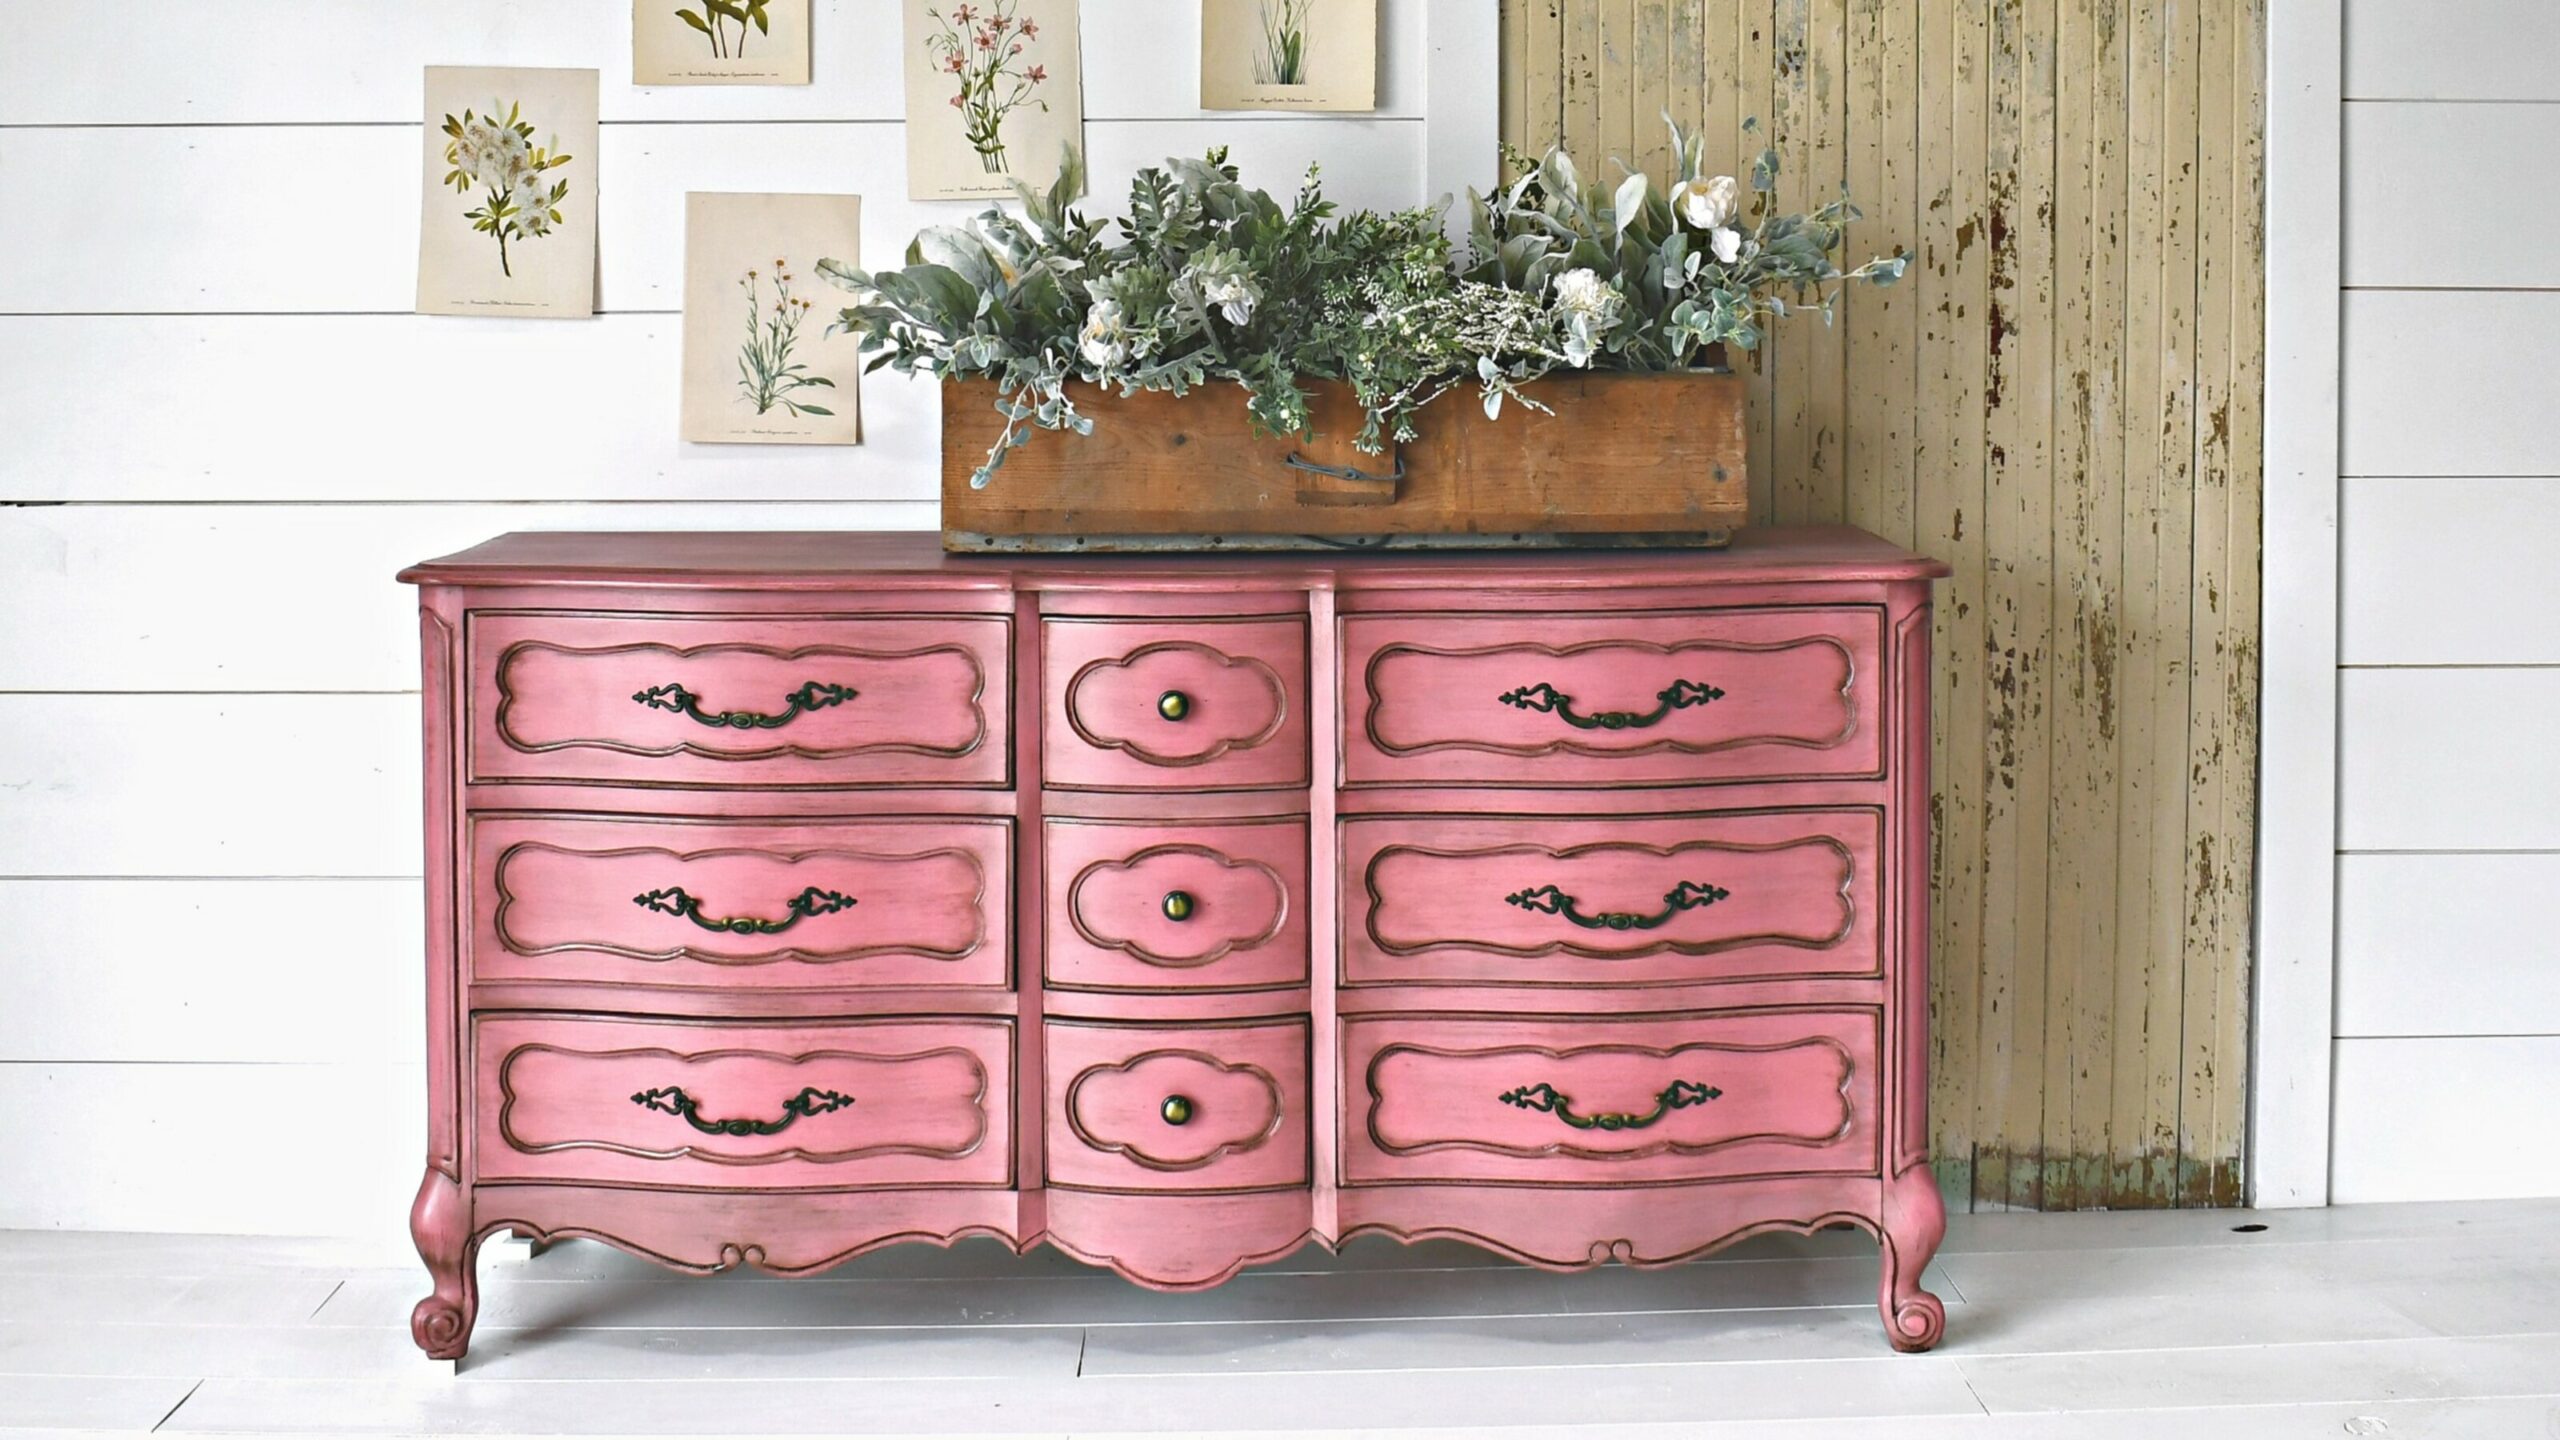
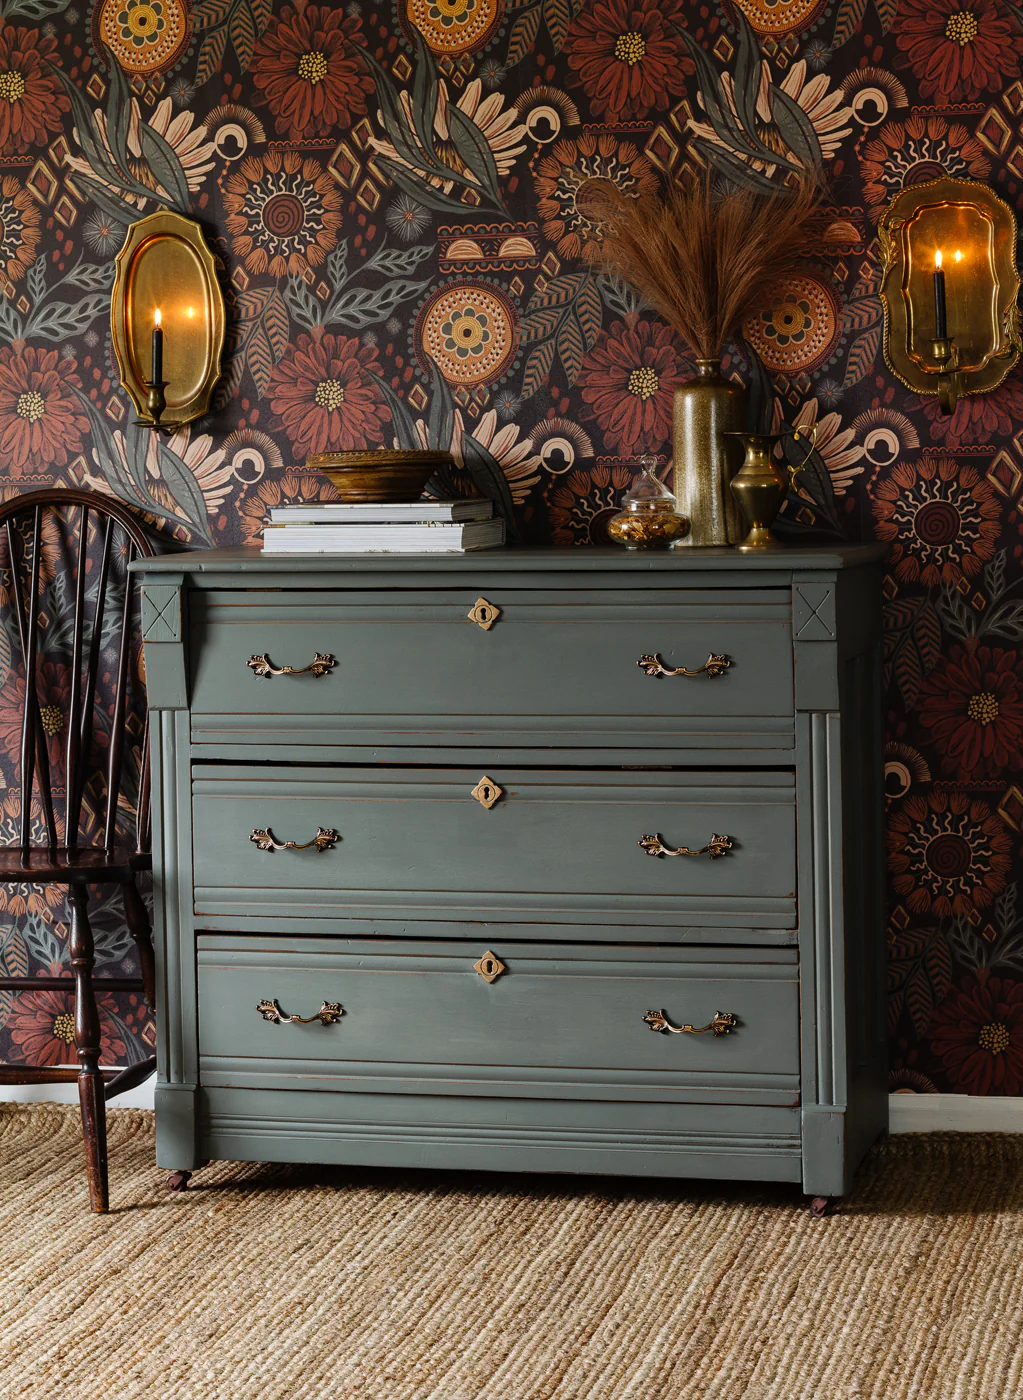
Milk paint furniture is the hot topic in trend for a new makeover to your good old furniture.
This unique way of painting is user-friendly and versatile, with many colors and finishes. The incredible look on your furniture can be quickly done for the porous surfaces of indoor and outdoor furniture.
The full coverage and safe options for kids-friendly painting make it the best choice for a DIY project. You are going to love the process and the outcome, too. There are various color choices to choose from these natural paints.
Are milk paints really made of paint? Many people have this doubt before considering this paint for their do-it-yourself furniture painting. By choosing this milk paint for your furniture, you have given your house a naturally rustic look.
Let us take you through this step-by-step procedure of how you can create milk-paint furniture in a snap!
What is Milk Paint?
Milk paint has become the first option for many DIY lovers, and these are some good reasons to cover for it. The milk paint is not like any other synthetic paint; the total combination is water as a base, pigment to give color, and curdled milk protein, the show’s topper. All the ingredients for milk paint are natural and eco-friendly. There won’t be any fumes or toxic components to pollute the environment. This makes it the perfect option for indoor furniture.
The unique feature of this paint is the unexpected awesome results. You can not predict the result with the chipping. So, you need to use the bonding agent to avoid the chip off completely. Note the point that a fake veneer top furniture can never hold on to the milk paint. Yet, in some cases, the unfinished older woods without any varnish or gloss can stay longer than you have expected. The reason behind this is the older wood gets soaked with the paint, and it won’t chip off easily.
So, what can you do? Don’t overthink about it, just go for it. Try your hands with this painting, and you won’t regret it!
Can You Give Milk Paint to the Furniture?
It’s a definite Yes! Milk paint can make a great choice for furniture. It can be given to any raw wooden surface or already painted furniture with a little bit of sanding. For getting the exact old-age look for your furniture, you can skip the sanding and use a primer. The rustic look is priceless when you create with your own hands.
Materials Required to Create a Milk Paint Furniture
Create the DIY furniture in an eco-friendly, organic way, even by painting the furniture. It’s possible with the milk paint; for this, you might need the following materials to start with your DIY milk paint furniture. Now, we will explore the materials used for the milk painting part as we are discussing the same here.
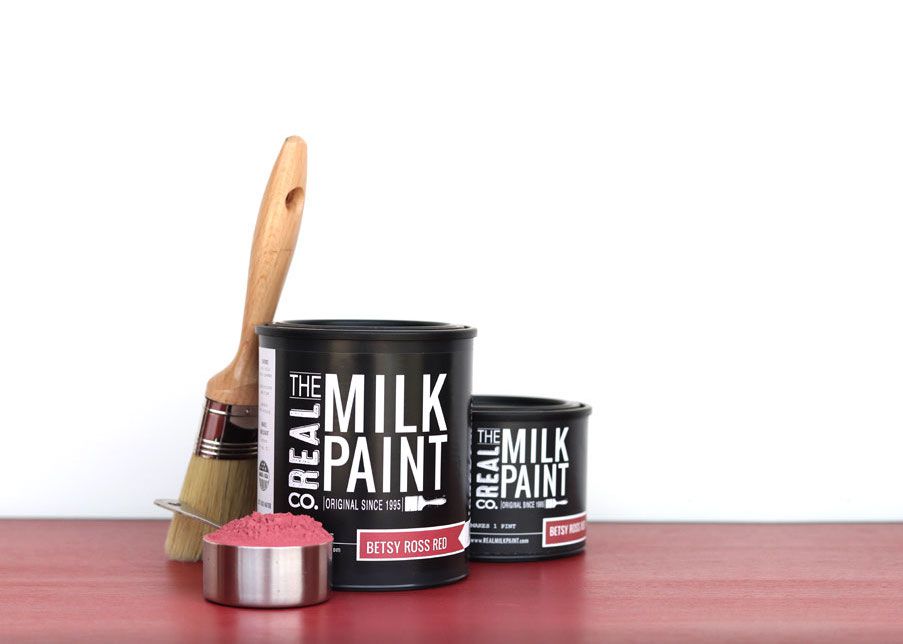
- Milk paint powder
- Water
- Mixing container
- Paintbrush
- Sanding blocks
- Sealer
Traditional paints may not require all these mixing and preparations like this, but the finish you will get with milk paint is worth the work.
Let’s begin with some beautiful paintings!
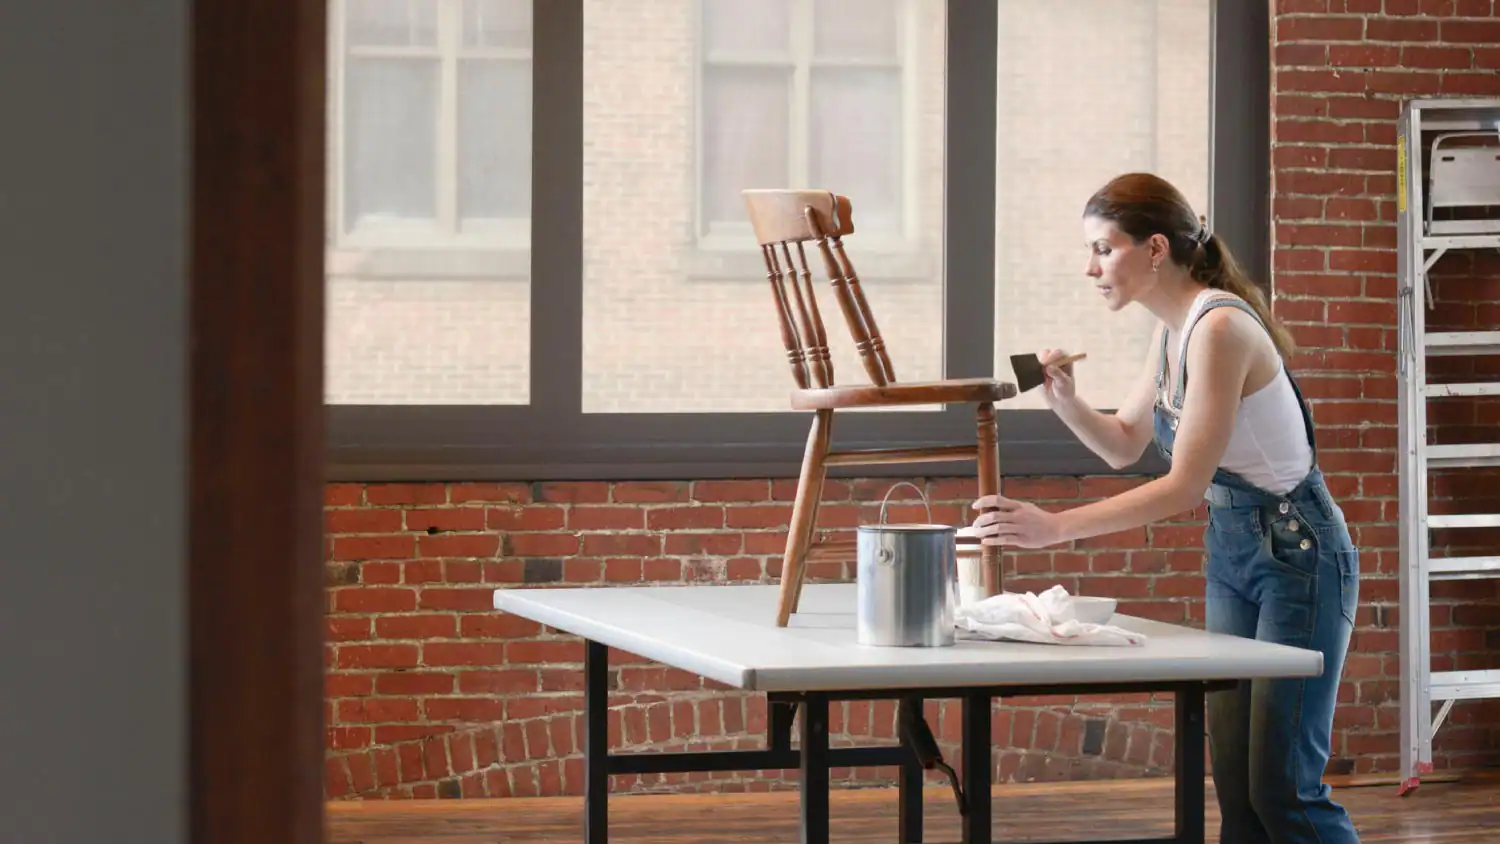
Step 1. Getting Ready with the Furniture

To get a long-lasting result, you need to prepare the furniture with utmost care. Cleaning is the first priority to remove any debris, dust, or dirt. The next is to look for any holes or cracks with imperfections which will affect the painting. If there is any, you might need to give wood putty or filler to fill the gaps.
The furniture you choose need not be antique or vintage to create a rustic look. And furniture can be turned into a wonder. But never forget to clean and conceal the cracks in the furniture for a better finish. Consider the point you are refurbishing your old furniture, as these are usually in a garage or basement before you start working on it. Sometimes, these garage types of furniture can make a great pair with the milk paint for a great makeover.
Step 2. Decoupage The Furniture

To create a better adhesion to the furniture with milk paint, you need to do some sandpapering. This is the mandatory step to smooth the corners and edges along with the entire furniture, even though it was painted previously. Light sandpaper is enough in this furniture.
Sand papering with a sponge block gives easy access to smooth any corner in your milk paint furniture. Before going to the next step, make sure of the smoothness by running your finger along it. In this way, the sanding level can be determined with ease. The shinier surface is the most complicated here, as it needs more sanding to adhere to the milk paint.
Note To Remember
Removing the sandpapering grits is equally important to achieve a classic result. So remove the dust with a wet paper towel, but be careful to not use a wet towel as it may affect the next step. If the furniture is covered in dust all over, consider giving it a water wash, but give it a good drying time to start again.
Step 3. Applying Primer
Applying a primer is not the following step in a milk-paint furniture project. The preparation and primer are not always associated with the milk painting. The primer can be used in furniture with a nonexistent finish in the furniture, which may be peeling off, or the furniture looks shinier, which will affect the adherence of the milk paint. Also, this will help in blocking the existing paint color from mixing up with the current milk paint.
Depending on the color you are going to use, the coating of the primer may vary.
Step 4. Mixing The Milk Paint
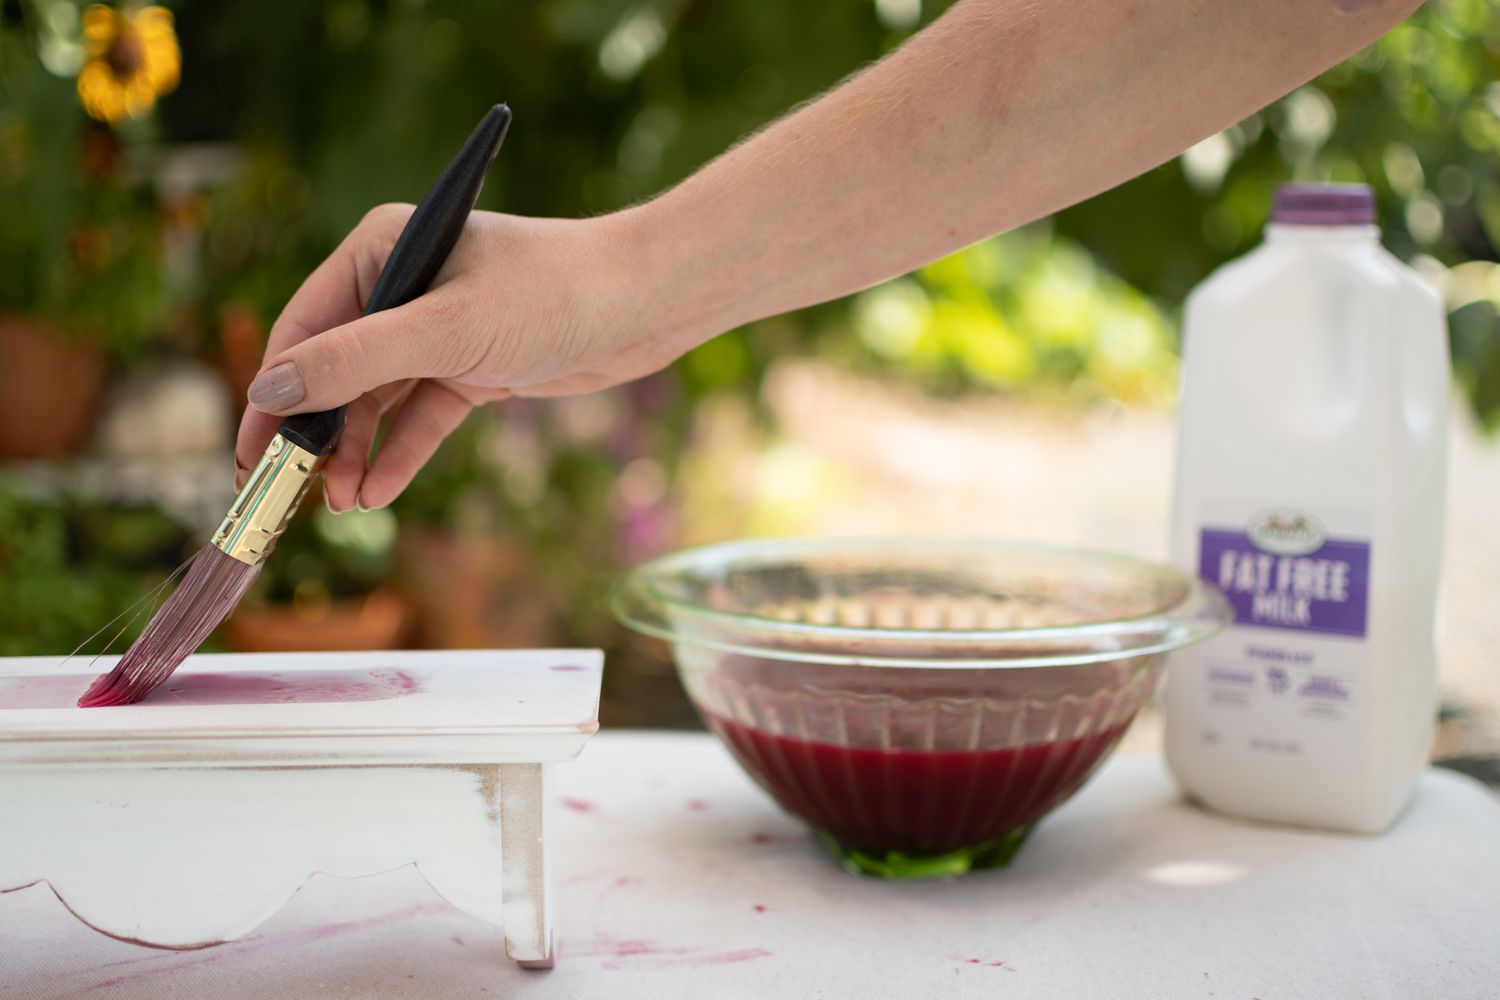
The technique used to mix the milk paint is the secret ingredient for successful milk paint furniture. Use the submersion blender for a smooth and consistent milk paint mixture, as this is the most effective way of mixing. The end product is achieved without any lumps or clumps by adding the milk paint powder and water in a quick mode. The procedure is simple, just place the blender into the mixture to start with the magic. Within just a few clicks, a fully mixed, ready-to-use milk paint is ready for you to use.
If you are not using a blender, use your hands to smooth out any lumps present in the mixture. Finally, using a submersion blender is the best option in the milk paint process.
An important fact is you need to mix the paint in between your work for a long-lasting result, as this may get separated from the water. There are many more milk paint powders available in the stores for you to explore.
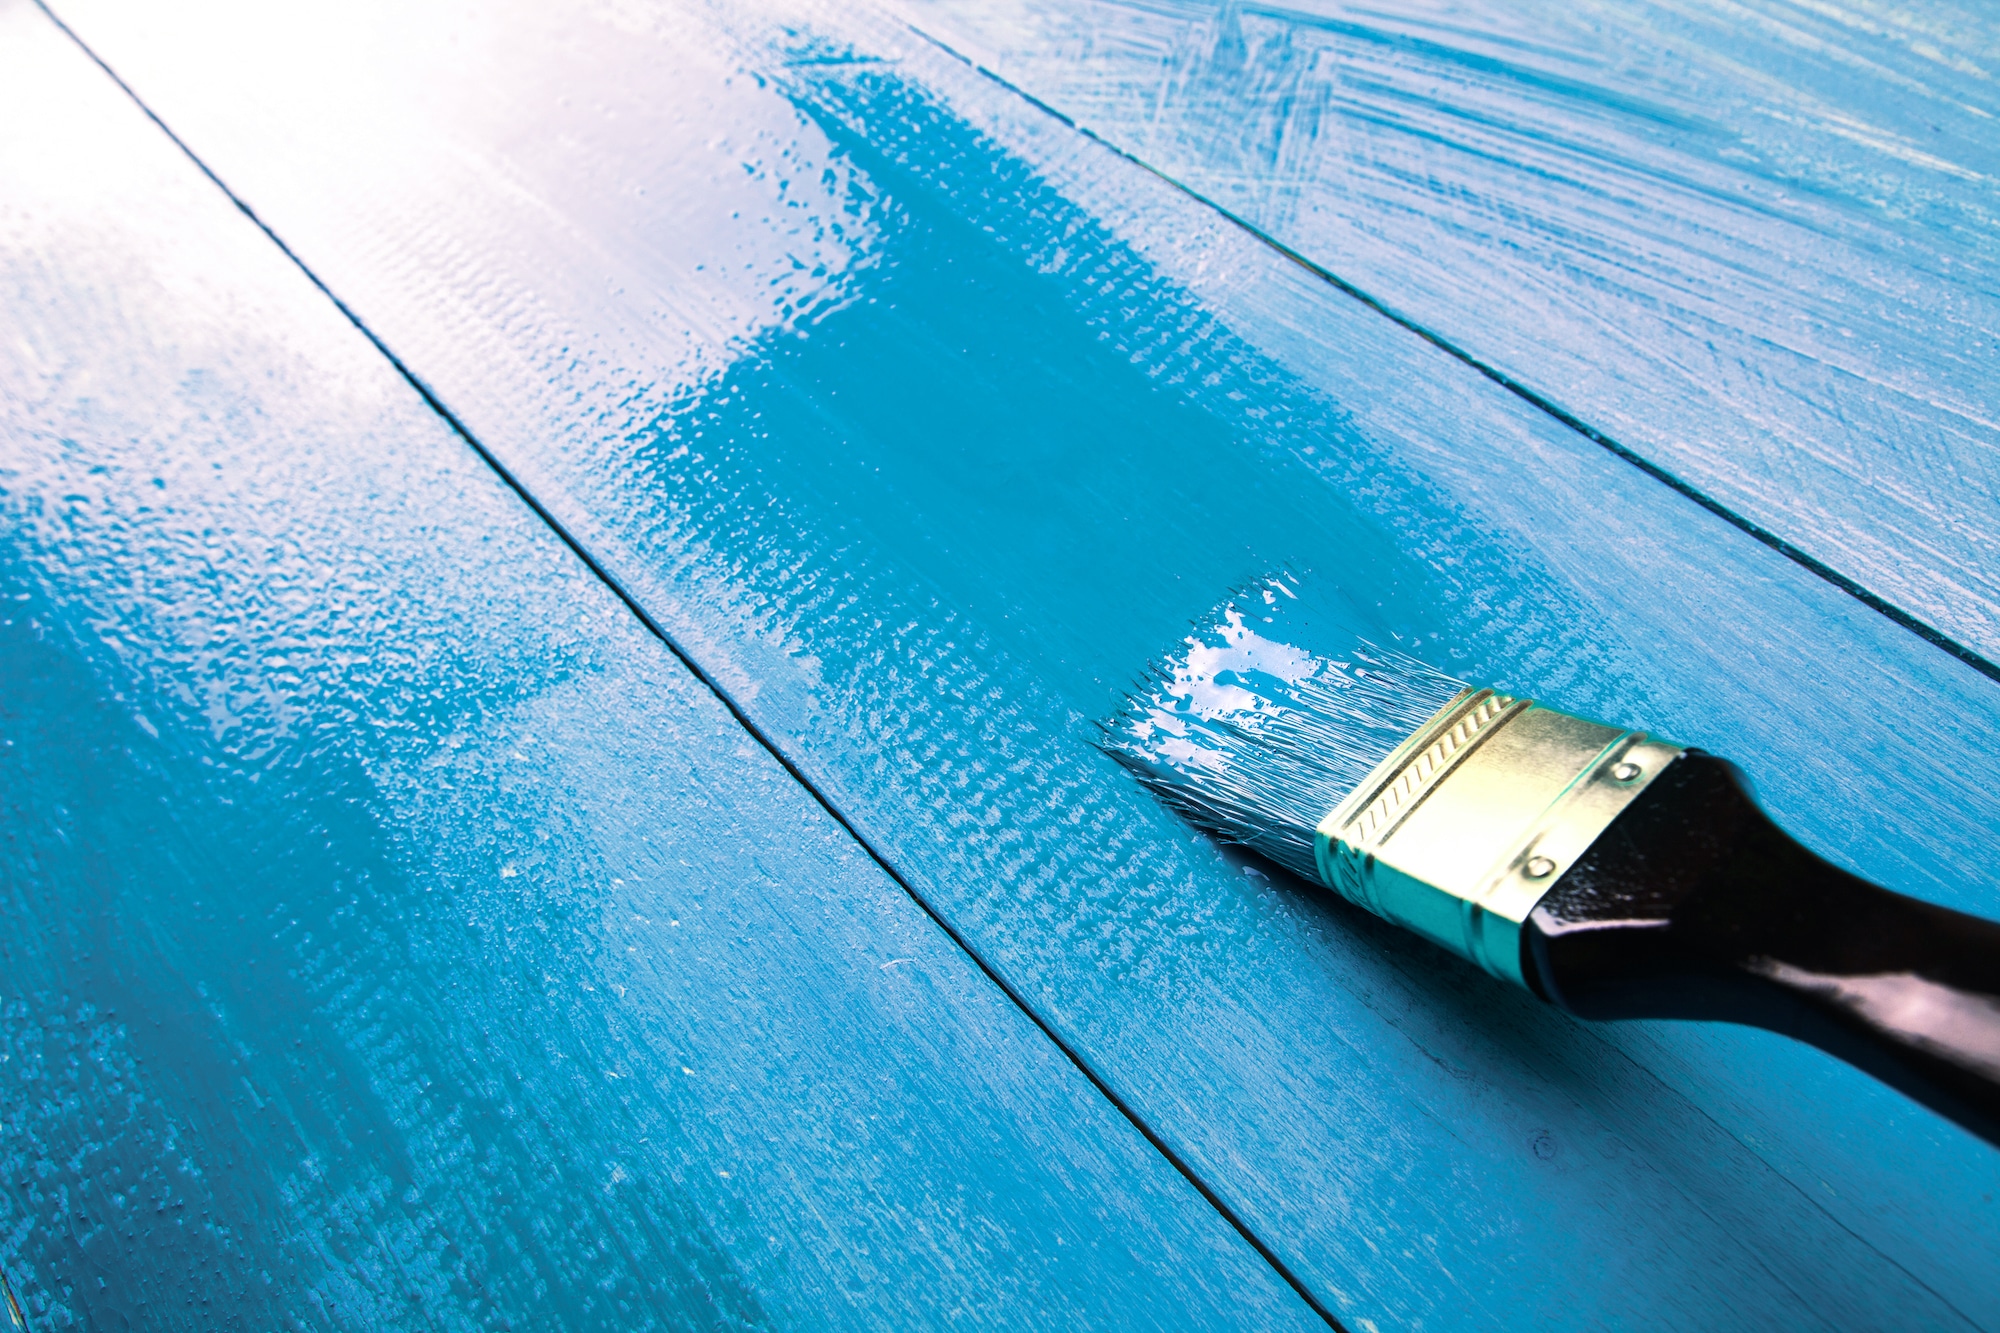
Step 5. Applying The Milk Paint
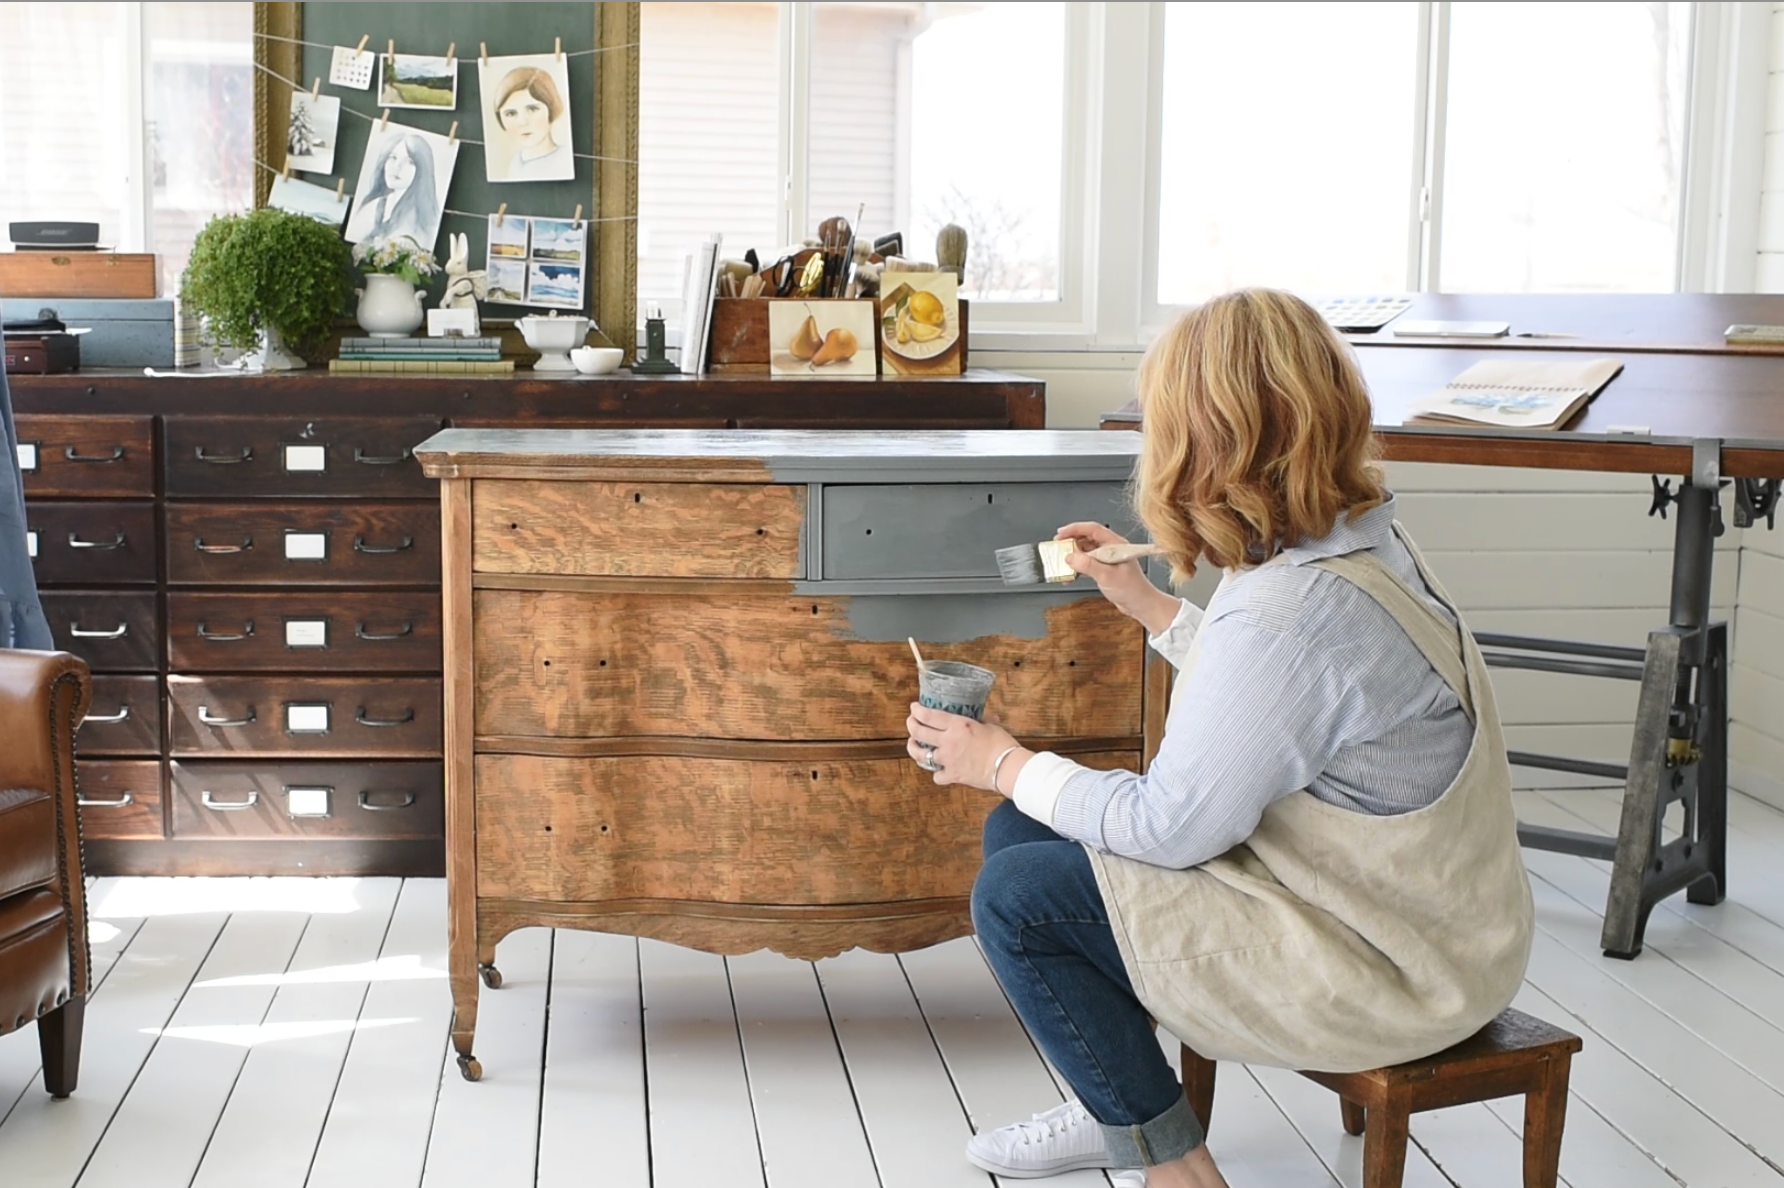
The reaction of your furniture towards the milk paint can not be predicted. Sometimes, the paint will get bonded, and sometimes, it will get chipped off while drying. This is one of the unpredictable beauties of the milk paint furniture.
The first coating is not actually calculated in the milk painting. This is a thin streak of the liner, which dries quickly and does not cover the previous finish or the paint. Use the paintbrush to apply the milk paint as fast as you can because you know it dries super fast. Long strokes and roller strokes both work well with the milk paint.
While applying the milk paint, you need to consider giving two coats of paint. Also, the second coat should be given as soon as the first one dries up. It is considered after finishing the first coat on the entire furniture, and you can start giving the second coat. Bonding agents can be mixed with the milk paint if you want to avoid excessive chipping to get your desired milk paint furniture.
Step 6. Sealing The Milk Paint
To have wear and tear furniture with more durability to withstand any circumstances, the milk paint has to be sealed to the furniture. You can use the sealers with various options like water-based, oil, or wax sealers. The property of the water-based sealer is to stay as a protective layer all around the paint to prevent any scratches or chipping in the furniture. On the other hand, the oil and wax sealers have the additional benefit of giving a subtle and soft shine to the furniture to make it look more natural and authentic.
For sealing milk paint, you can consider buying these sealers, which are the most popular and successful sealers in the market now.
- Water-based sealer by General Finishes
- Hemp Oil sealer by Country Chic Paint
- Wax sealer by Country Chic Paint
You can seal your entire furniture with a high-performance sealer to create timeless beauty in your milk paint furniture. You need to follow the instructions of which sealer you are using, as a thin layer with an even spread of coating. If you do the sealing properly, your furniture will stay for a decade.
Note To Remember
Sealing has to be done after giving sandpapering to the second coat of the milk paint. This is to achieve the velvety soft corners and surface to give the personal touch and finish to your work. After sanding, make sure to remove all the dust before giving the sealer.
Step 7. Finishing
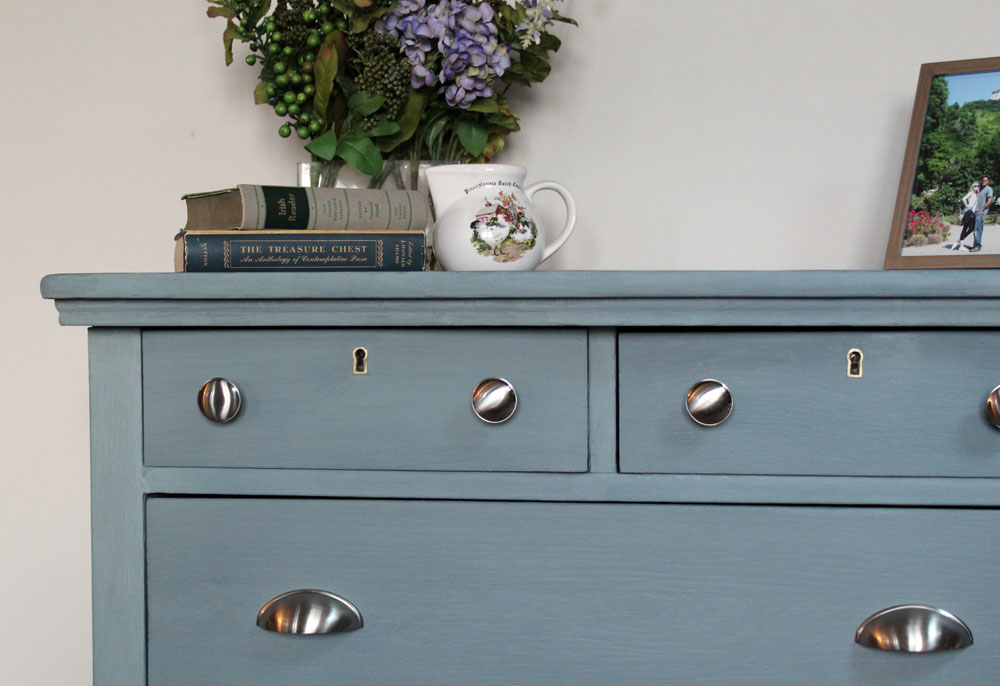
You have given your worthy time to give the painting; now is the time to make it shine to show your extra care. The finishing touches are the extra credits to get the DIY painting project into a stunning, classic piece of art to showcase your talent. The furniture design can be elevated by giving any stencil or hardware attachments to the furniture. And obviously, give the finish by viewing from various corners and beautify your piece in all possible ways.
You can refurnish the already existing hardware with a metallic glaze. You can refinish the hardware with your preferred number of times to get different looks to your furniture. The additional drawers in the furniture can be given a coordinating color to give the final and finishing touch for your art piece to stand out in any room.
Benefits of Using a Milk Paint
The goodness of the milk paint makes it more popular among DIY painting lovers to go for it. And it has many benefits, such as the following.
- This is an all-natural paint that is derived by mixing the curdled milk protein, water, and pigment to give color.
- This doesn’t produce any harmful chemicals while mixing or applying, which makes it an eco-friendly option.
- The ethnic beauty created with the milk paint finish is classy, along with having more scope for a painter to learn all the concepts of depth and light. It has the opportunity to develop anyone’s creativity skills through this.
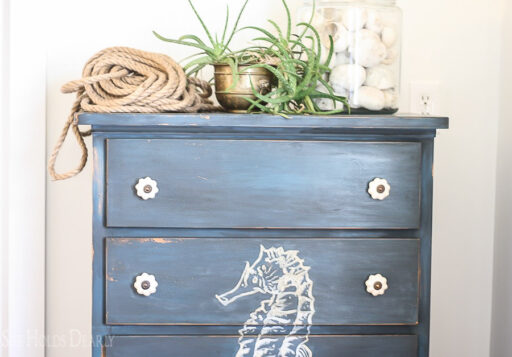
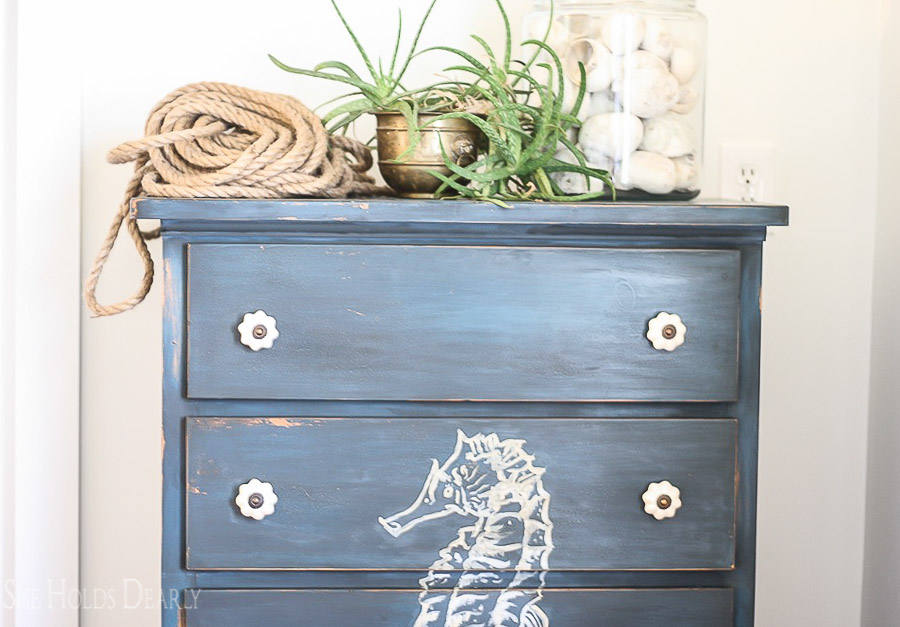
- Each piece of furniture is unique with milk paint as it gives the results and finishes according to the quality of the wood and its previous finish. You can predict the final look with milk paint. But the end result is always awesome with this versatile paint.
Final Finish!
Milk paint is the most versatile you can take for your indoor or outdoor DIY project painting. This is not the showy synthetic paint, as you can see. The chipped look is the specific beauty of this painted furniture. Doing the milk painting on your furniture starts with knowing about it thoroughly.
The all-natural paint is a mixture created by yourself to have the desired color and finish. Preparing the furniture is equally an important stage in painting for the best results. Know the proper mixing to get a consistent texture for your milk paint and the applying techniques along with the sealing methods and sealers of your milk paint furniture.
Where are you going to pick the furniture to start from the milk paint? This plays the main role in sanding. Consider sanding with a sponge block in the initial preparation and before giving the sealer to seal your painting. The sanding gives a smooth finish to your painting.
Share your experiences in creating this chipping art furniture piece for your house in the comments for our followers to get some practical ideas!

Alex Guerrero, a graduate with a Fine Arts degree from the Rhode Island School of Design, has been a visionary in the world of color and design for over 15 years. His professional journey began in the heart of the fashion industry in Milan, where he developed an acute sense for color harmonies and trends. Alex joined our team in 2018, offering fresh and innovative perspectives on color utilization in various spaces. Renowned for his ability to blend contemporary trends with timeless elegance. Outside of work, Alex is an accomplished painter and a volunteer art therapist, his artistic talents further enriching his professional insights.