Recessed lights (often called “can lights” in the U.S.) look clean and modern, but spacing mistakes are extremely common. If the lights are too far apart, you get dim patches and “tunnel” hallways. If they are too close, the ceiling looks busy, and the room can feel harsh and overlit.
This guide gives simple spacing rules that work for most U.S. homes, plus quick examples for kitchens, living rooms, hallways, and bathrooms. You do not need a lighting designer to avoid the usual problems.
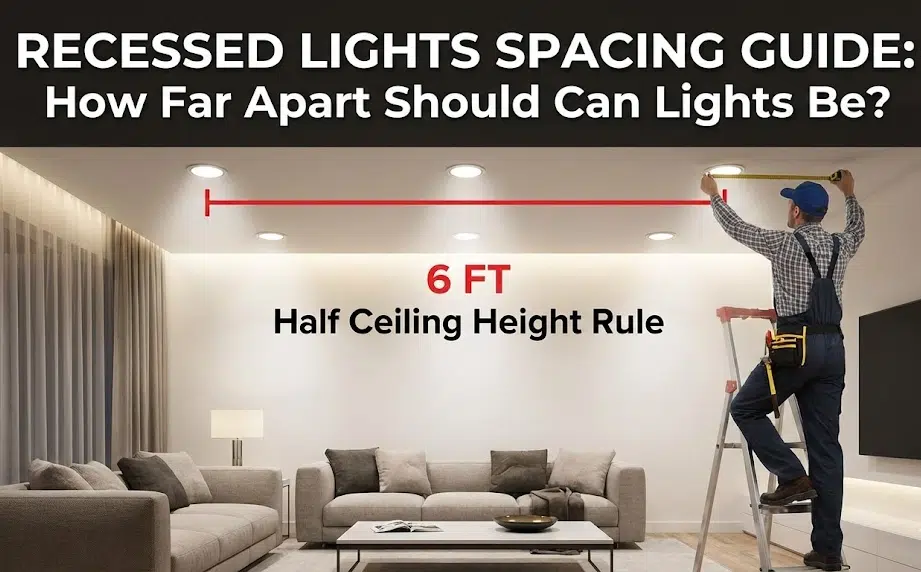
The Core Rule: Spacing Comes From Ceiling Height (Not Just the Room Size)
A reliable starting point for recessed lighting spacing is:
Space can lights about half of your ceiling height (in feet).
- 8 ft ceiling: start around 4 ft apart
- 9 ft ceiling: start around 4.5 ft apart
- 10 ft ceiling: start around 5 ft apart
This is a starting point, not a law. You will adjust based on beam spread, lumens, and what the room is used for.
Second Rule: Keep Cans Off the Walls (So You Don’t Create Harsh Scallops)
Many rooms look worse because recessed lights are placed too close to the walls. The result is bright “scallops” of light and shadows that can make walls feel uneven.
A practical wall offset
- Place recessed lights roughly 24–36 inches from the wall as a typical starting range.
- Use the larger end of that range in rooms with higher ceilings or wider beam trims.
If you want to highlight art or wash a wall evenly, that becomes a different layout (wall wash strategy), but for general lighting, keeping cans slightly away from walls looks cleaner.
Beam Angle Changes Everything (Why One Spacing Rule Doesn’t Fit All)
Recessed lights vary widely in beam spread. A narrow beam needs closer spacing; a wide beam can stretch farther. If you are choosing adjustable gimbal trims or narrow beams for accents, the general room spacing must be tighter.
Quick beam logic
- Wide beam: larger spacing possible, smoother overall coverage
- Narrow beam: smaller spacing needed, or you will see bright spots and dim gaps
If your room has dark paint, dark floors, or matte finishes that absorb light, reduce spacing slightly because the room will “eat” brightness.
Room-by-Room Spacing Examples (Common U.S. Use Cases)
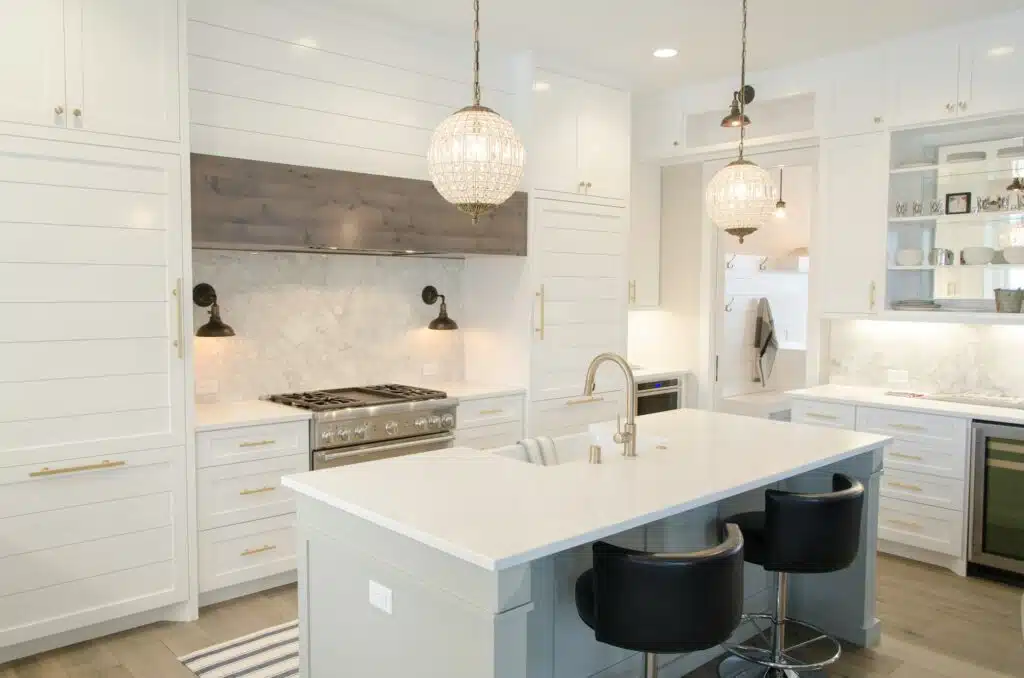
Kitchen (general ceiling cans)
Kitchens need even, shadow-free light. If cans are too far apart, counters look patchy.
- Start with the ceiling-height rule (about half the ceiling height in feet).
- Then add task-focused lights where you prep and cook, not just a perfect grid.
- Keep cans out of the “standing shadow” zone: do not place them directly behind where you stand at counters.
Living room
For living rooms, recessed lights often work best as supporting light, not the only light source. Spacing can usually be slightly wider than a kitchen if you also use lamps or a ceiling fixture.
- Start with the half-height rule, then reduce the number of cans if you plan layered lighting.
- Avoid lining cans in a tight border around the room, which can look like a runway.
Hallway
Hallways look best when cans are aligned along the centerline and evenly spaced. Too far apart creates dark gaps that feel unwelcoming at night.
- Use consistent spacing based on ceiling height.
- In long corridors, consistency matters more than “how many” lights.
- If the hallway has artwork, consider shifting placement to support what you want visible.
Bathroom
Bathrooms often fail because recessed lights are placed in the wrong relationship to the mirror and vanity. A can directly over your head can cast shadows on your face.
- Use recessed lights for general light, but do not rely on them for vanity facial lighting.
- Place cans so they support the sink area without creating harsh overhead shadows.
The “Grid vs Zones” Approach (A Better Way Than Perfect Symmetry)
A perfect grid looks satisfying on paper, but real rooms are not perfect grids: you have sofas, islands, vanities, and traffic paths. A smarter approach is to light in zones:
- Task zones: kitchen prep, sink, reading chair
- Traffic zones: hallways, paths between rooms
- Accent zones: artwork, fireplace wall, built-ins
You can still keep spacing consistent, but you place the lights where the room is used, not where the ceiling looks most symmetrical.
How Many Cans Do You Need? A Fast Estimation Trick
If you want a quick estimate without a complicated lighting plan:
- Measure room length × width to get square feet.
- Pick a brightness target: living rooms often need less than kitchens.
- Check the lumen rating per recessed light and divide your total target lumens by that number.
Then check spacing. If the count forces lights too close together, you may need fewer, brighter fixtures, or a mix of recessed lights plus a central ceiling fixture.
Common Recessed Lighting Mistakes to Avoid
- Too few cans: big dim areas, shadows, “spotlight” effect instead of smooth coverage.
- Too many cans: harsh ceiling, high glare, uncomfortable rooms at night.
- Wrong placement near walls: scalloping and ugly shadows.
- Ignoring furniture layout: lighting the ceiling grid instead of the room’s real function.
Want Recessed Lights to Look More Designed?
Recessed lights often look best when they support a room’s main fixture rather than replace it. Many U.S. homes combine cans with a chandelier, pendants, or a ceiling light so the room has a focal point and warmer ambiance.
If you are planning a lighting refresh and want statement fixtures to pair with recessed lighting in kitchens, dining rooms, foyers, and living spaces, you can browse the Seus Lighting store for chandeliers and lights. A balanced mix of recessed spacing plus one strong focal fixture is often the fastest way to make a room feel finished.

With a Master in Architectural Studies from University of Pennysylvania, Marwa Haydar has pioneered living spaces since 2005. Her expertise, initially honed in a prestigious architectural firm, is evident in her approach to creating environments. Marwa became part of our team in 2019 and has since been a driving force in our home improvement section, known for her practical yet stylish solutions. She’s been spearheading our design workshops since then, infusing her passion for teaching into her work. In her leisure time, Marwa enjoys exploring historic architecture and is an enthusiastic pottery hobbyist, further enriching her understanding of form and texture.