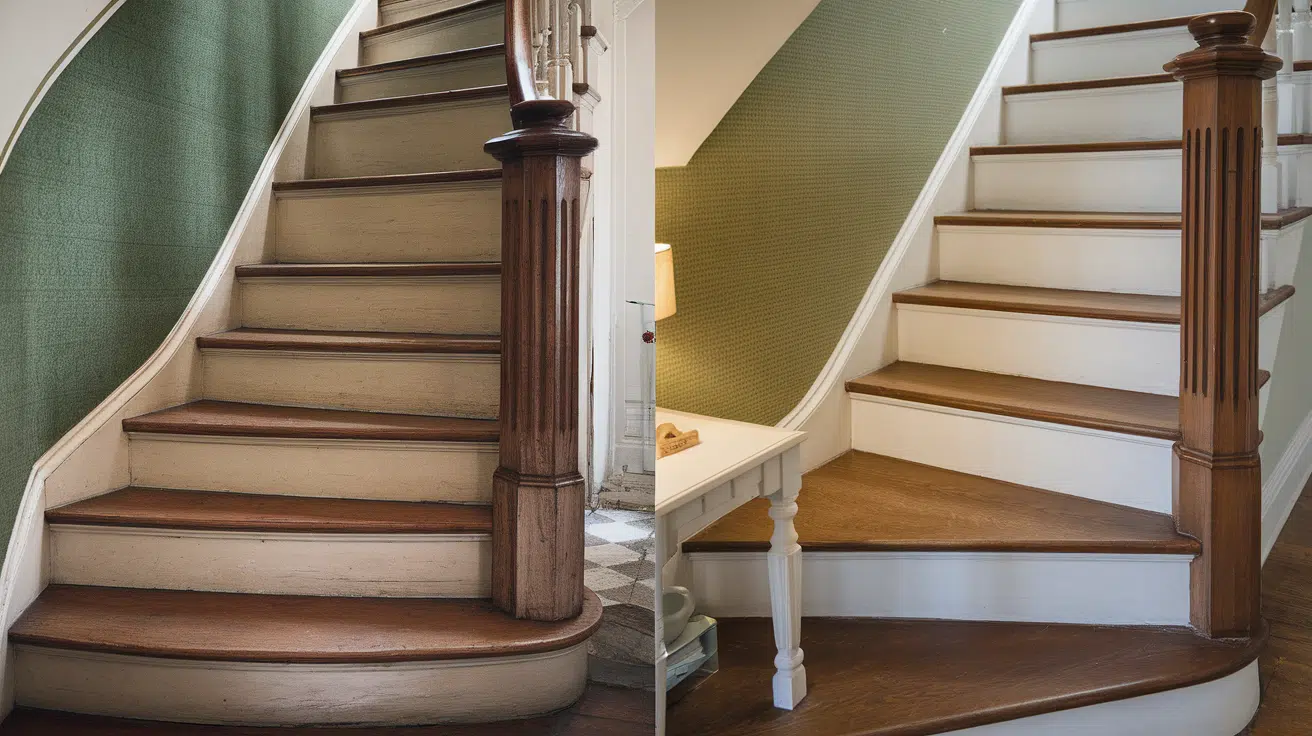
Refinishing stairs is one of those home projects that can completely change the way your space feels.
When my wood steps started looking scratched, scuffed, and outdated, I knew it was time for a refresh.
Giving them a new finish brought so much life back into my home, and it didn’t take a full renovation, just some time, effort, and the right tools.
In this guide, I’ll walk you through everything I learned along the way: how to prep your stairs, sand them down, pick the right stain or paint, and apply a protective finish that lasts.
I’ll also share common mistakes to avoid, safety tips, and how to care for your stairs once the job is done.
Ready to give your steps a fresh start? Let’s take it one stair at a time.
Why Refinish Your Stairs Instead of Replacing Them?

Refinishing your stairs is often a smarter choice than tearing them out and starting over. It’s much more affordable, especially if the wood underneath is still solid.
A full staircase replacement can cost thousands, while refinishing only requires a few basic tools, some stain or paint, and a bit of time.
Older homes often have original hardwood stairs that are full of charm and character. Instead of removing that history, you can highlight it with a fresh finish that fits your style.
Refinishing is also less disruptive to your daily life. You won’t need to tear out framing, haul in new lumber, or deal with construction dust for weeks.
In many cases, you can still use the stairs during the project with a little planning.
If your steps are structurally sound but just look worn or outdated, refinishing gives them new life, without the mess or the high cost.
Materials Needed for Refinishing Stairs
Before you begin, gather all the tools and supplies listed below. Having everything ready will help the project go smoothly from start to finish.
- Random orbital sander: For sanding large, flat areas of stair treads.
- Square palm sander: Helps reach corners and detailed edges.
- Oscillating multi-tool with sanding attachment: Ideal for tight spots and awkward angles.
- Sandpaper (60 to 220 grit): Used in stages to remove finish and smooth the wood.
- Sanding sponge: Great for hand-sanding edges and curves.
- Paint stripper (optional): Speeds up the removal of thick paint layers.
- Wood filler: Fills nail holes, gouges, and surface damage.
- Spackle knife: Applies wood filler and scrapes off paint or debris.
- Tack cloth or microfiber towel: Removes fine dust before staining.
- Vacuum: Cleans up dust between sanding and finishing steps.
- Painter’s tape and masking paper: Protects areas not being stained or painted.
- Caulking and caulking gun: Fills gaps between trim, risers, and walls.
- Nylon or nylon/polyester brush: Applies stain or polyurethane smoothly.
- Water-based polyurethane (or oil-based): Seals and protects the wood finish.
- White trim paint: Used for risers and stringers for a clean look.
- Paint strainer: Filters paint for a smooth, brush-free finish.
- Bucket: Useful for tool storage or cleaning brushes.
- Brad nailer and trim pieces: For attaching and replacing stair trim cleanly.
- General hand tools (hammer, pliers, etc.): Used to remove nails, staples, and hardware.
Step-by-Step Guide for Refinishing Stairs
Give your staircase a fresh, updated look with this comprehensive step-by-step guide. From preparing the surface to applying stain and sealer, this guide will walk you through each stage to help you achieve professional-looking results, even if you’re a beginner.
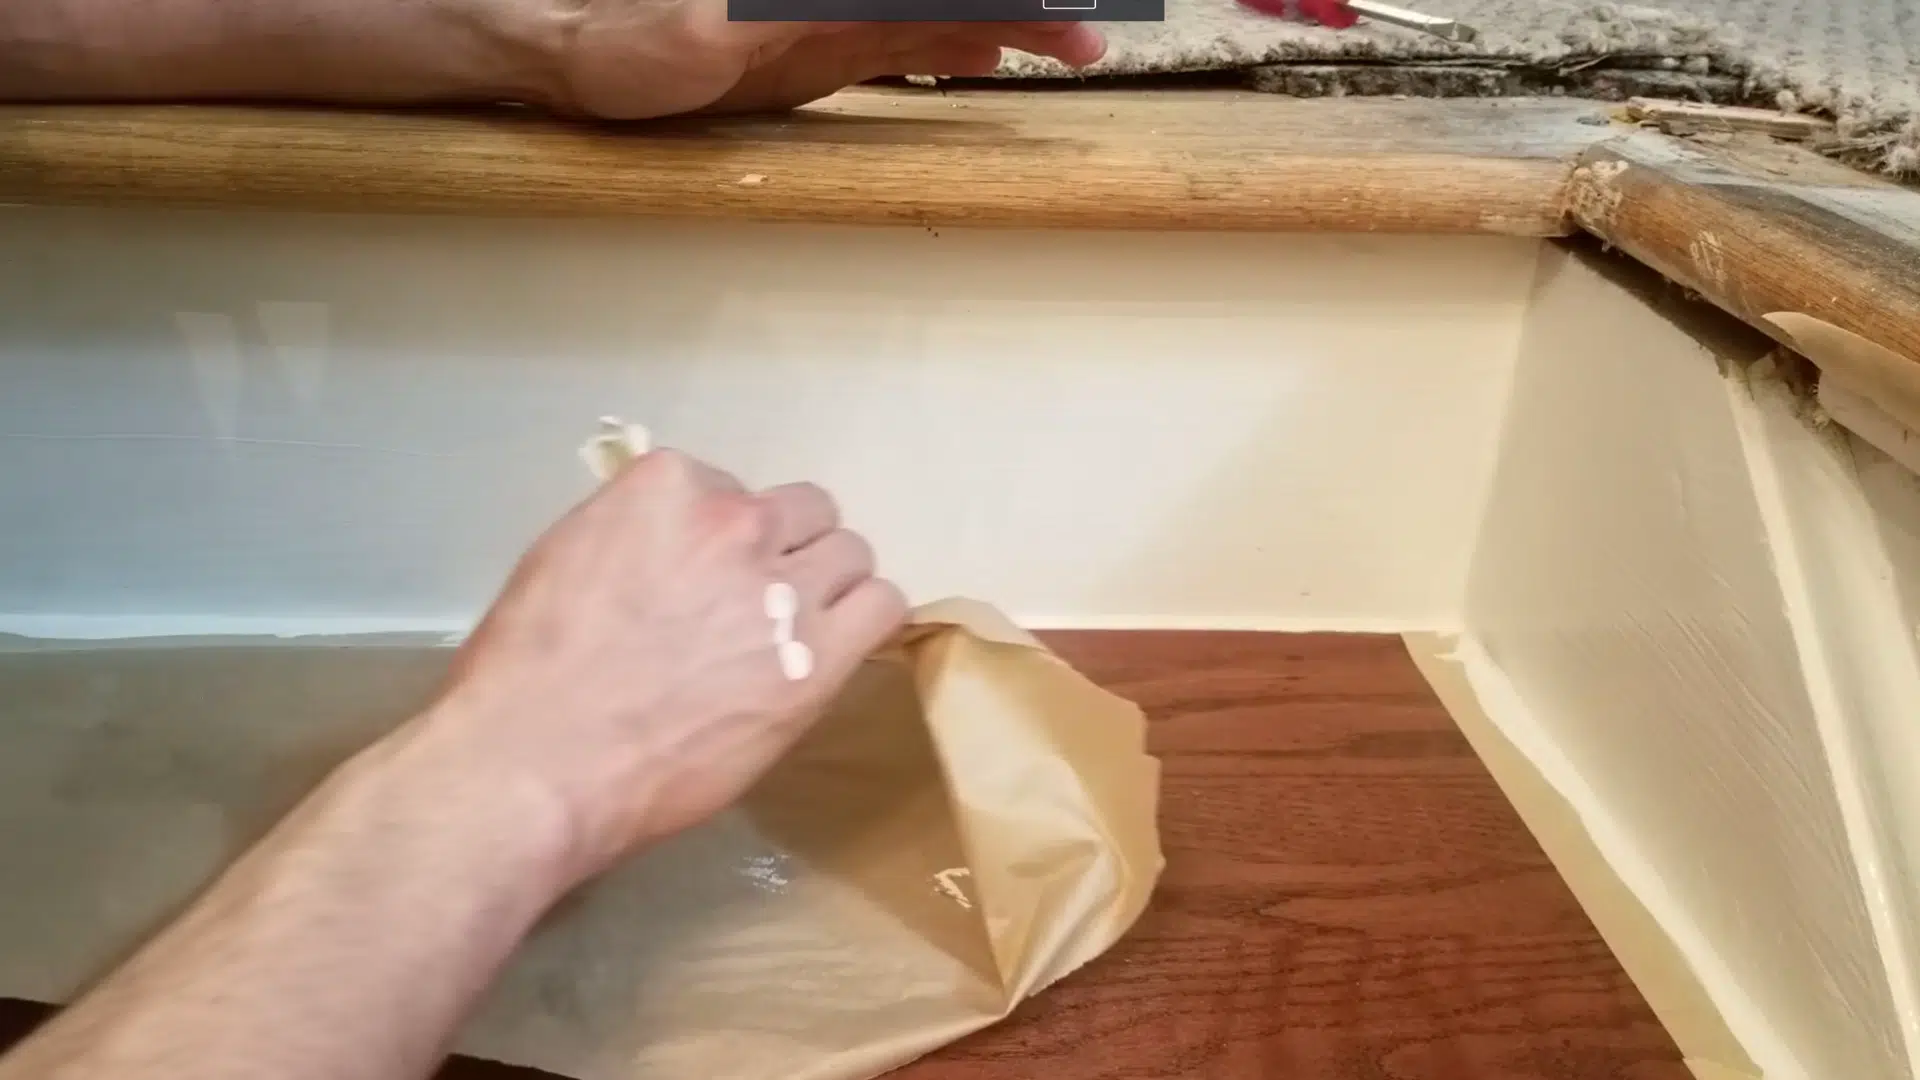
Step 1: Remove Nails, Staples, and Old Trim
Begin by clearing the stairs of old carpet, staples, nails, and any leftover trim.
Use hand tools to pull everything up, then vacuum the entire area.
This step prepares the wood for sanding and protects your tools from damage during the next phase.
Step 2: Sand the Treads and Risers
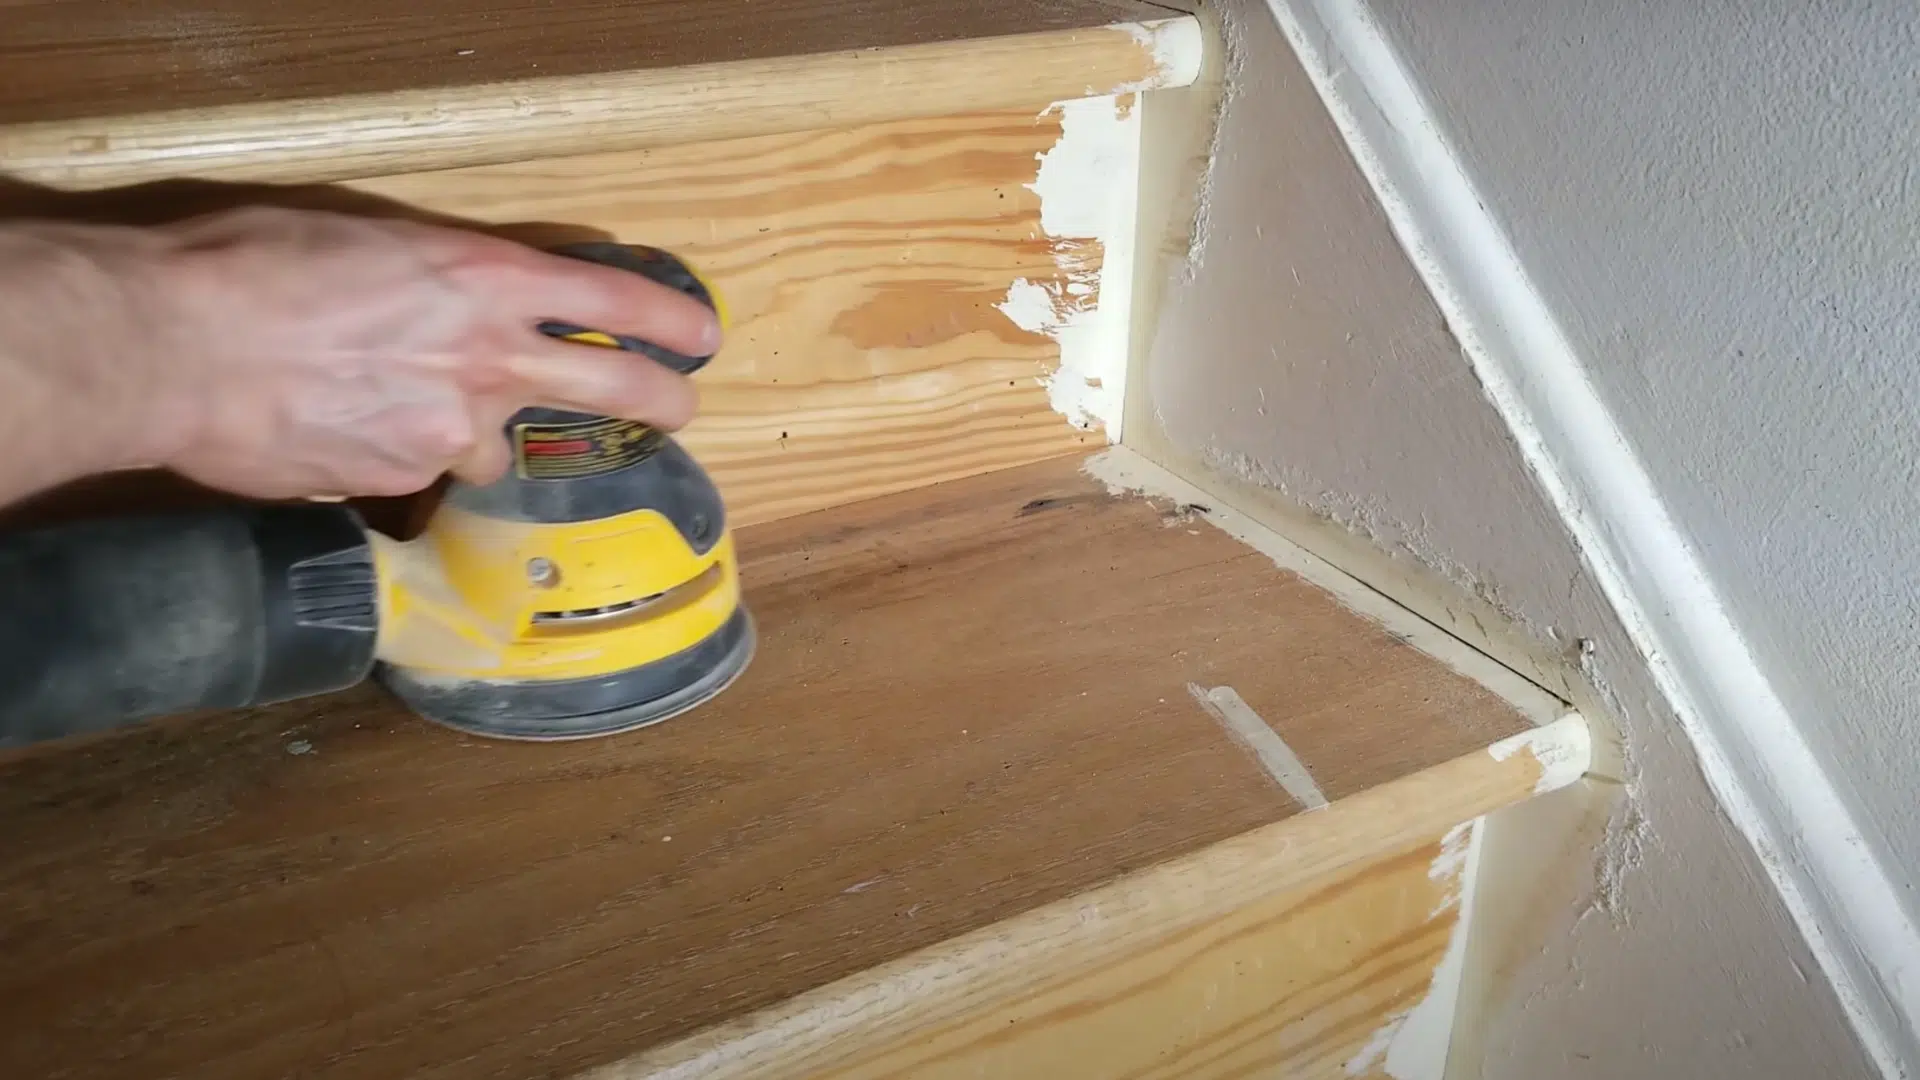
Use a random orbital or palm sander to remove the existing finish. Start with 60–100 grit sandpaper, depending on the surface condition.
Sand each tread and riser evenly, applying even pressure to ensure a smooth finish. Always move slowly with 50% overlap for smooth, consistent results.
Step 3: Sand Corners and Edges by Hand or Detail Tool
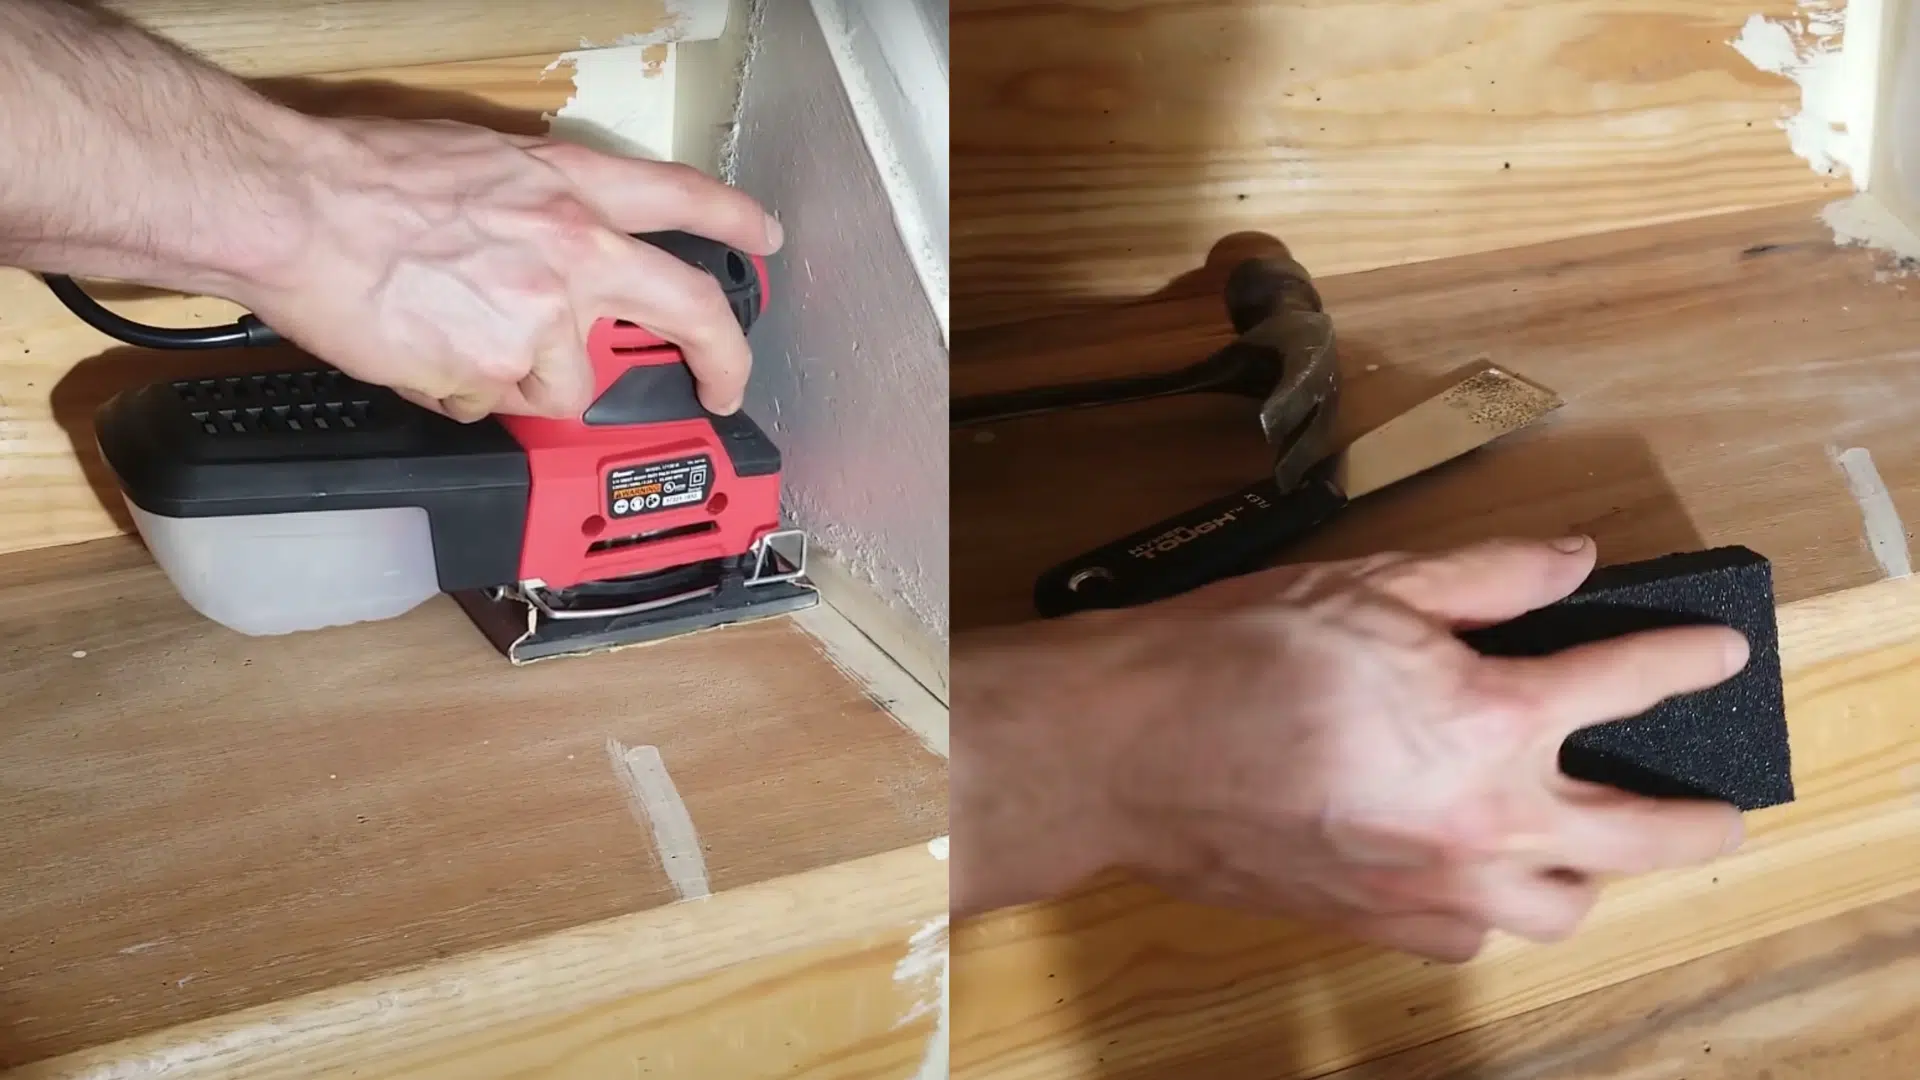
Use a square palm sander or oscillating tool to reach tight corners and stair edges.
For very narrow spots, a sanding sponge works best.
Angling your tool can help get deeper into corners without damaging the surrounding wood.
Step 4: Strip Thick Paint If Needed

If the stairs have thick layers of paint, use a paint stripper instead of just sanding.
Apply it, wait 20–30 minutes, then scrape it off carefully. Once stripped, lightly sand again to clean the surface before moving on to repairs or finer sanding.
Step 5: Fill Holes and Re-Sand Smoothly
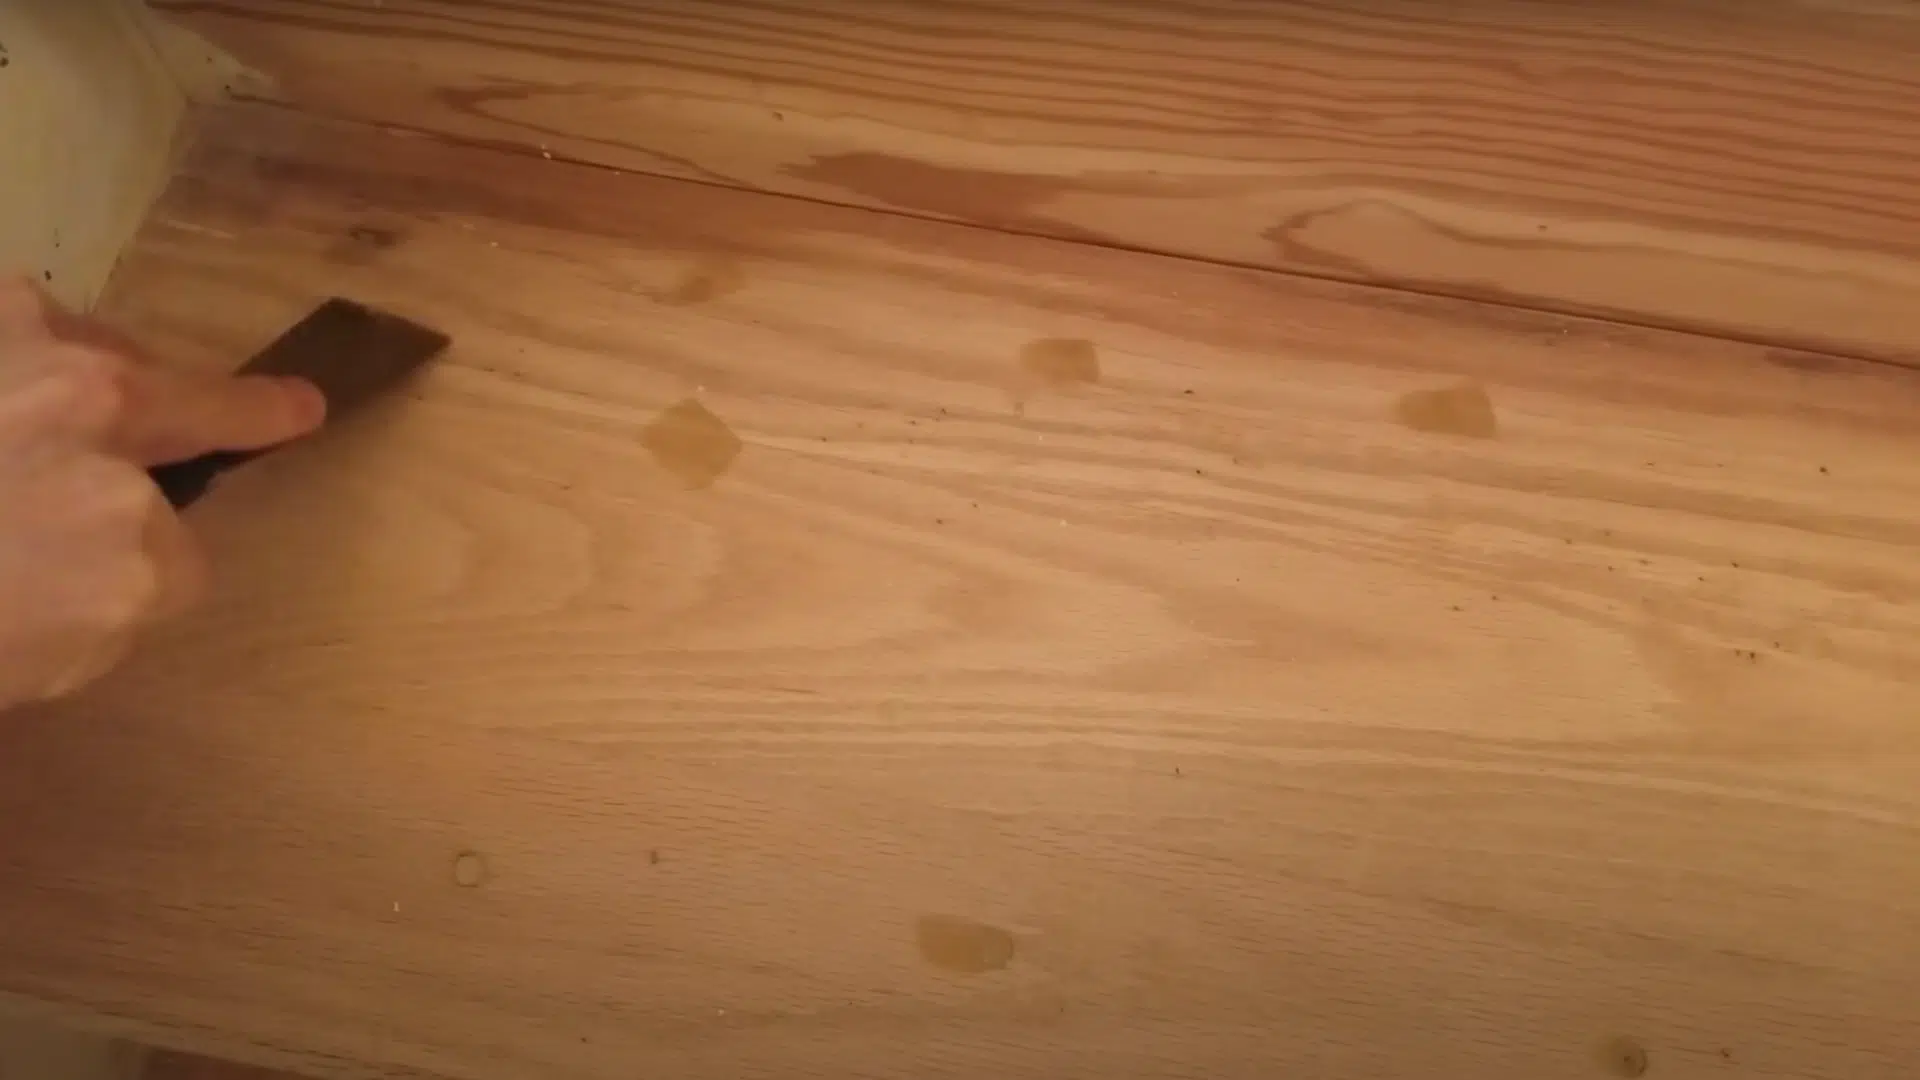
Vacuum all dust, then use wood filler to patch nail holes, gouges, or dents.
Let it dry completely, then sand the area again, progressing from medium to fine grits, such as 80, 120, and 150.
Always vacuum between grits to keep the surface clean.
Step 6: Clean and Prep for Stain
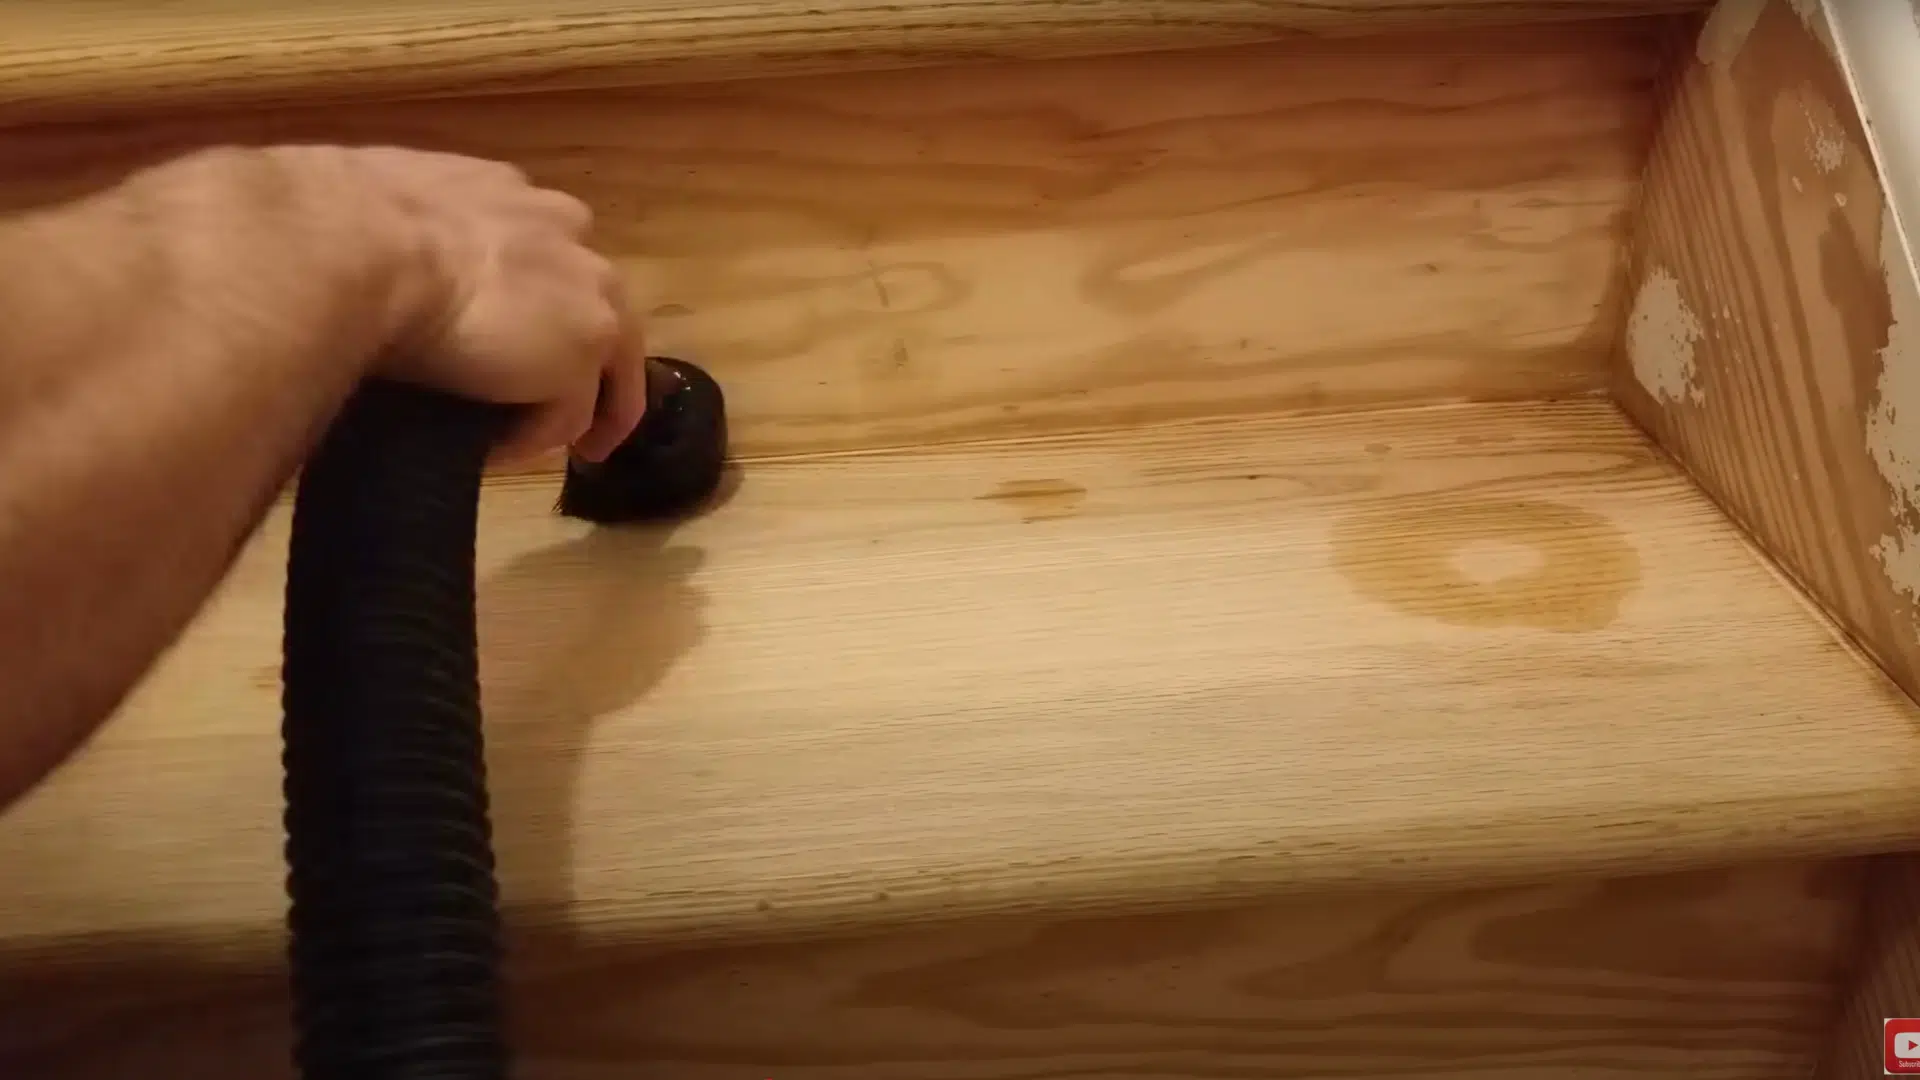
Wipe all surfaces with a tack cloth or microfiber towel to remove fine dust. Use painter’s tape to mask off areas that will be painted later.
If staining, apply wood conditioner (especially for softwoods) to raise the grain and help the stain absorb evenly.
Step 7: Apply Stain and Let It Dry Thoroughly
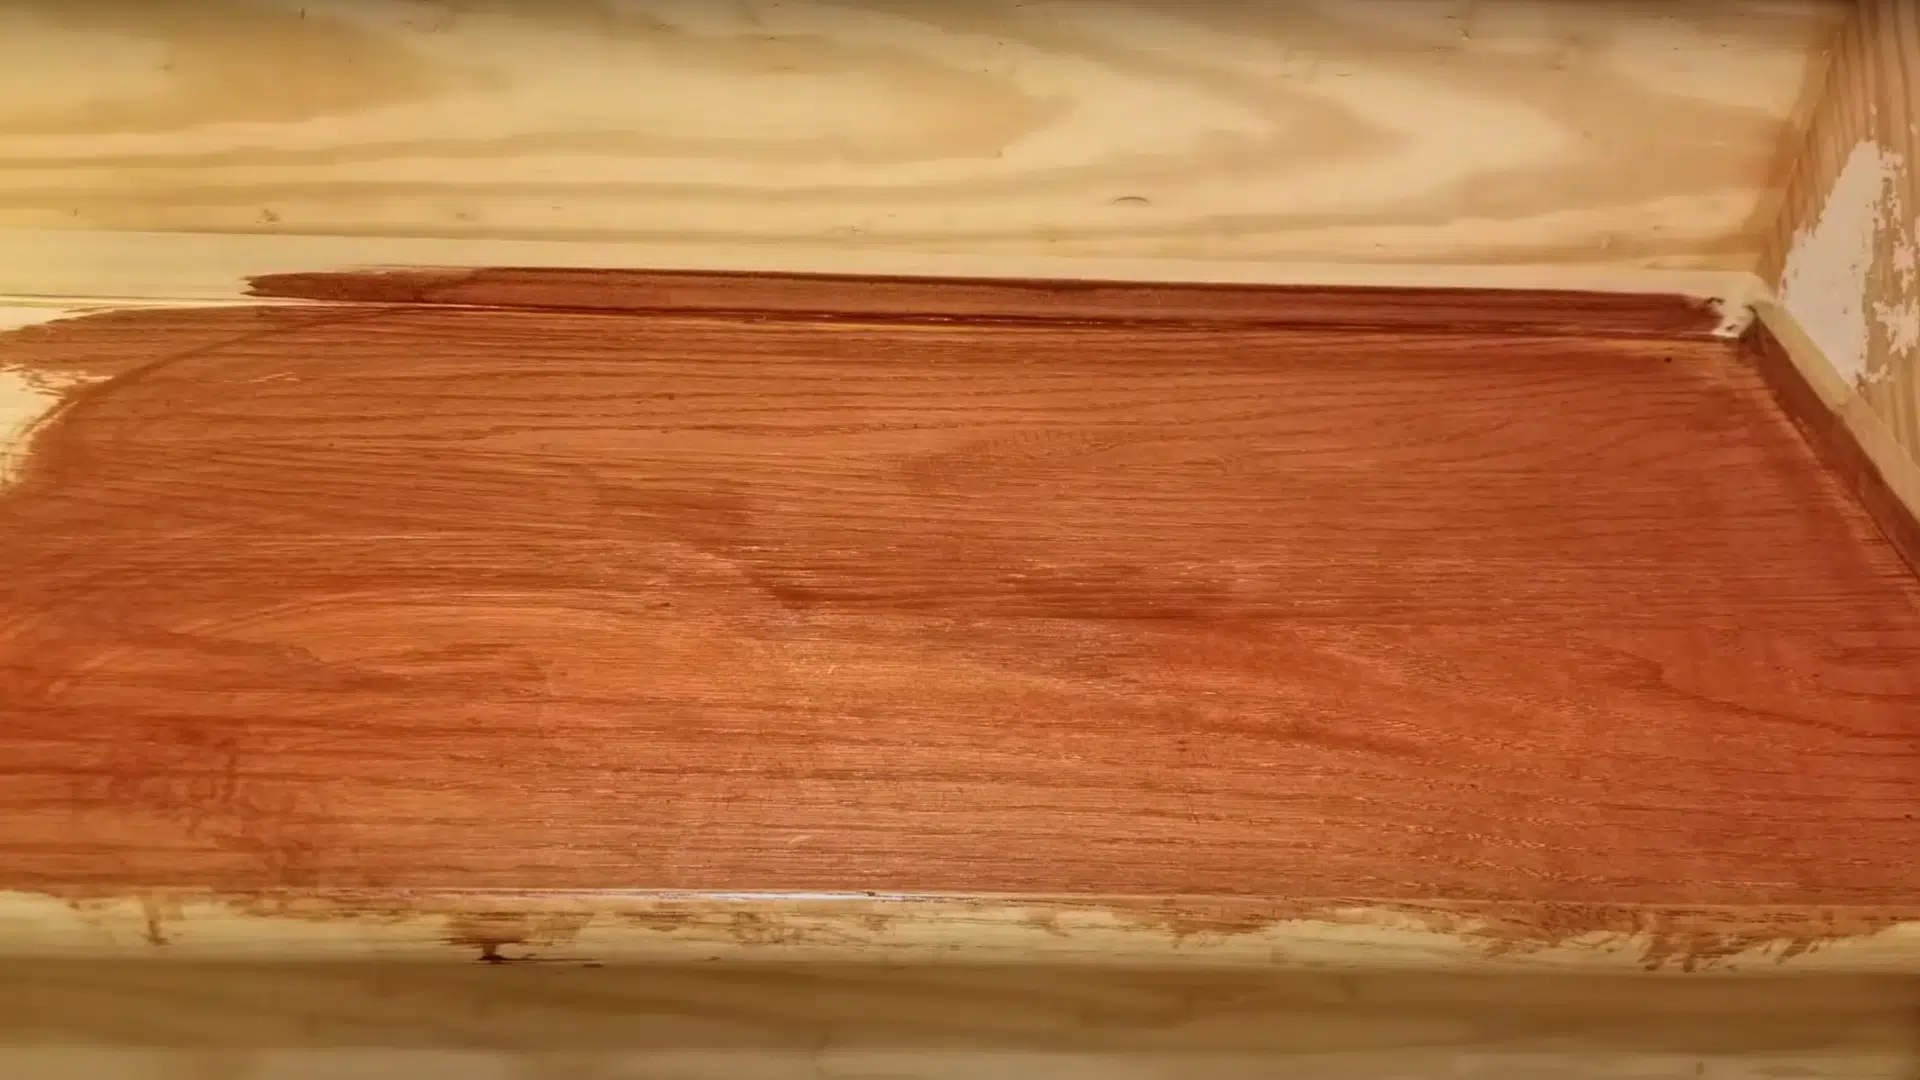
Apply your chosen stain with a brush or cloth. Wipe off the excess and let it dry completely. Red oak, for instance, can take over 24 hours to stop bleeding.
Use fans to enhance airflow and accelerate the drying process.
Step 8: Apply Polyurethane Finish
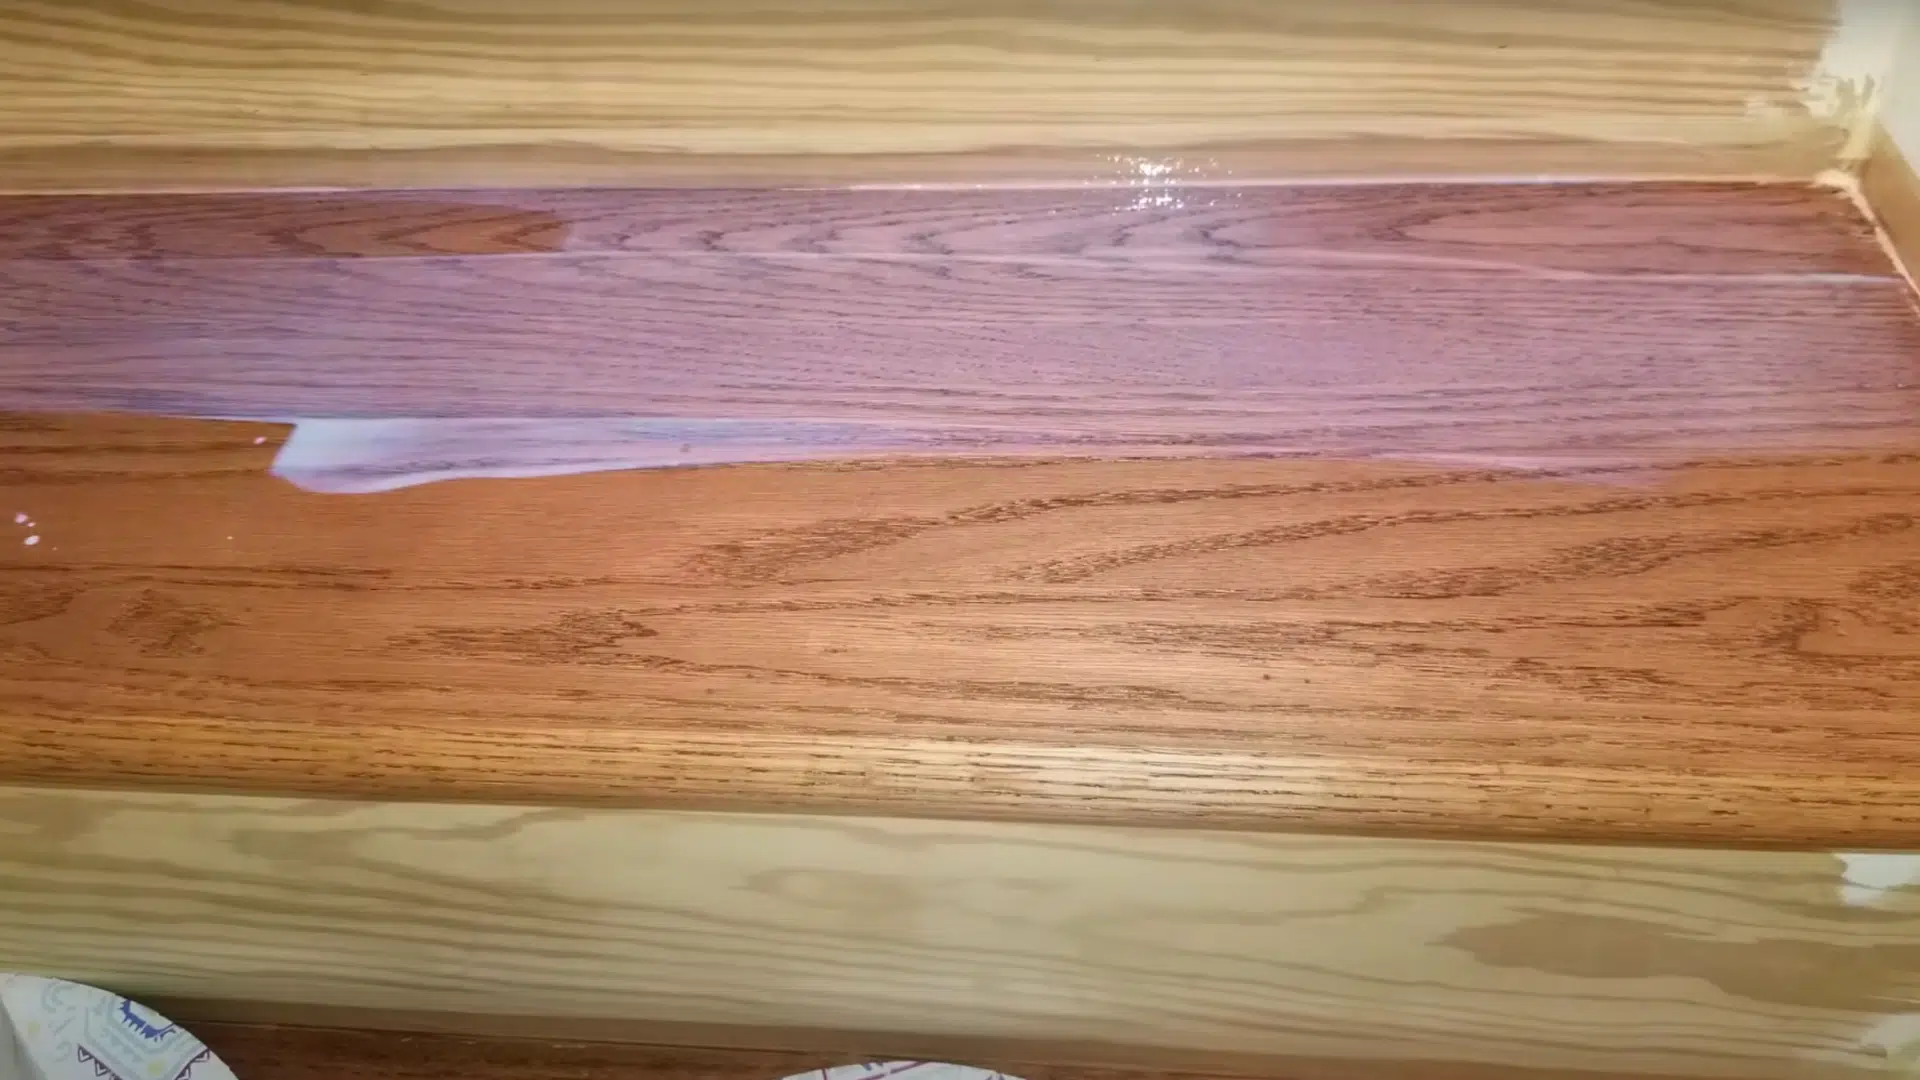
Once the stain is dry, apply a coat of polyurethane using a nylon or poly blend brush.
Let each coat dry fully. Water-based poly dries in 4–6 hours; oil-based can take 12–24 hours. Apply 2–3 coats total, sanding lightly between each one.
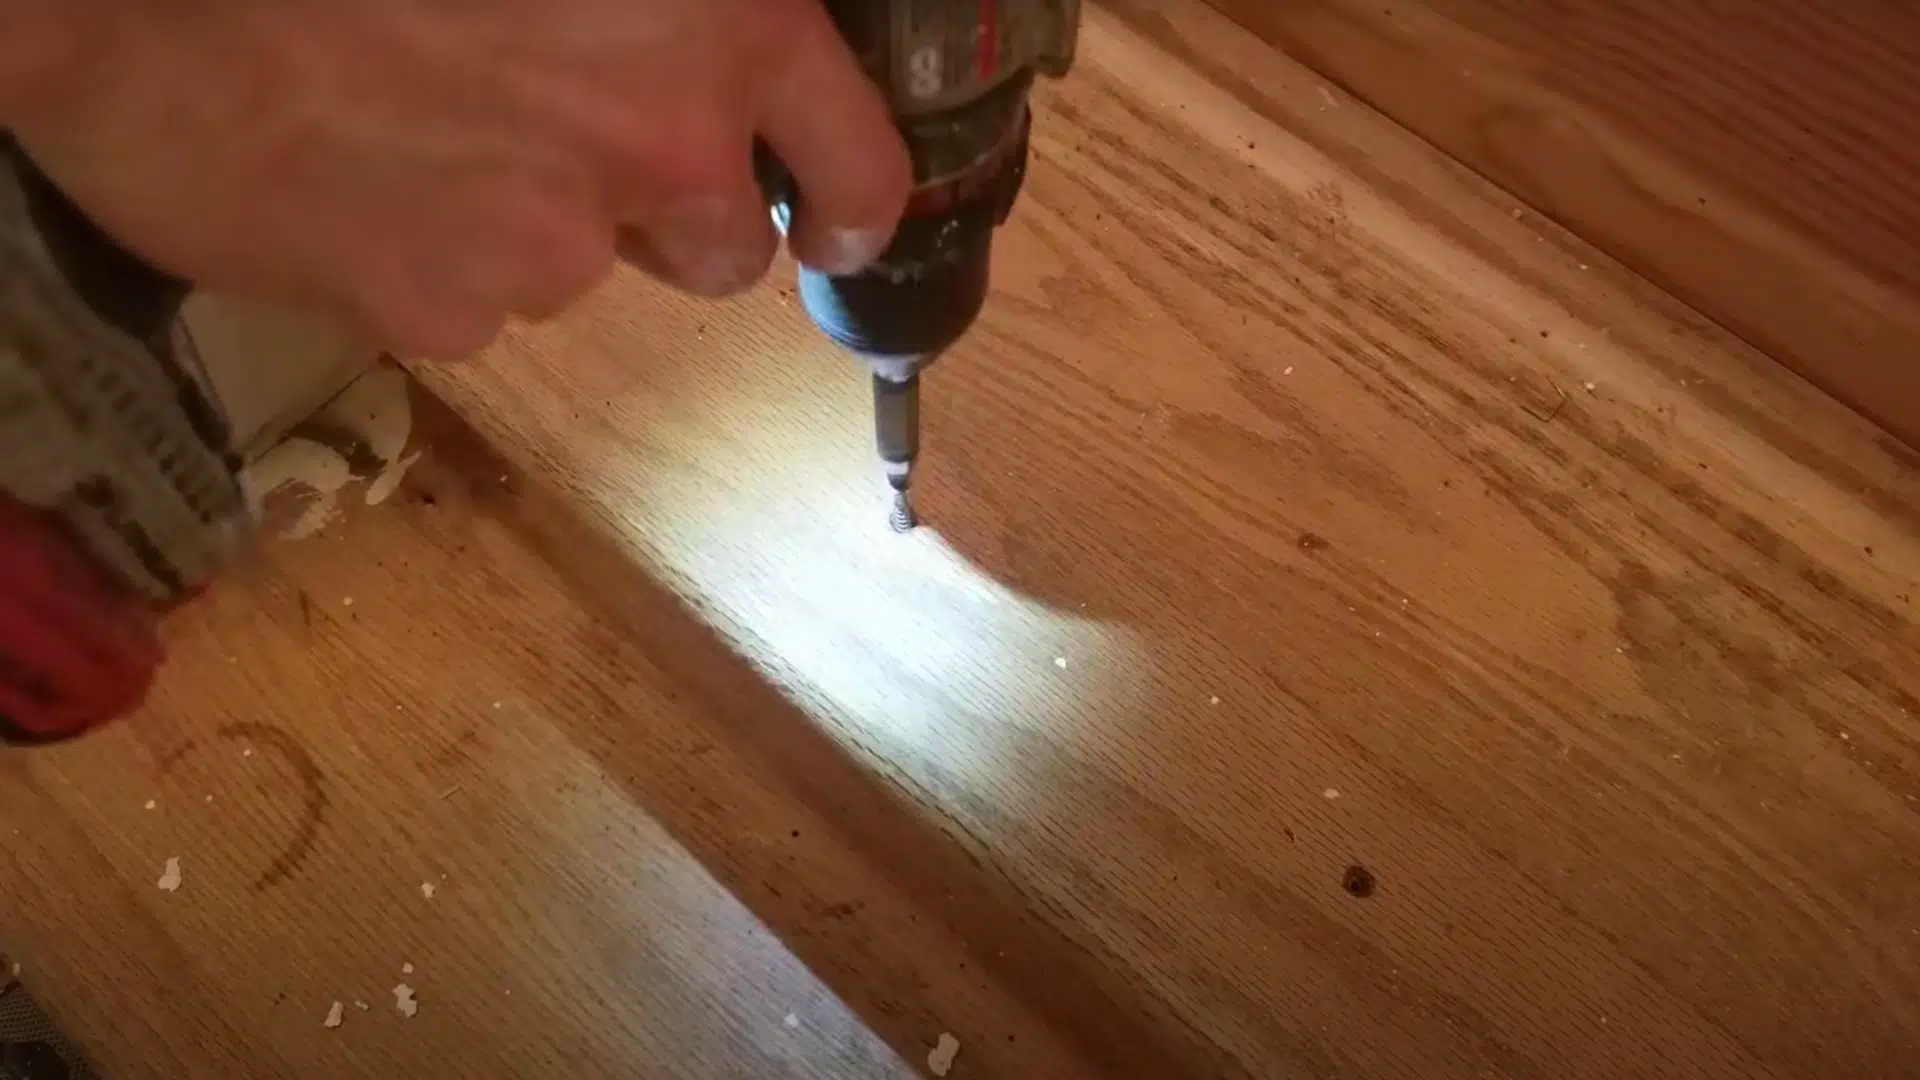
Step 9: Install Trim and Caulk Gaps
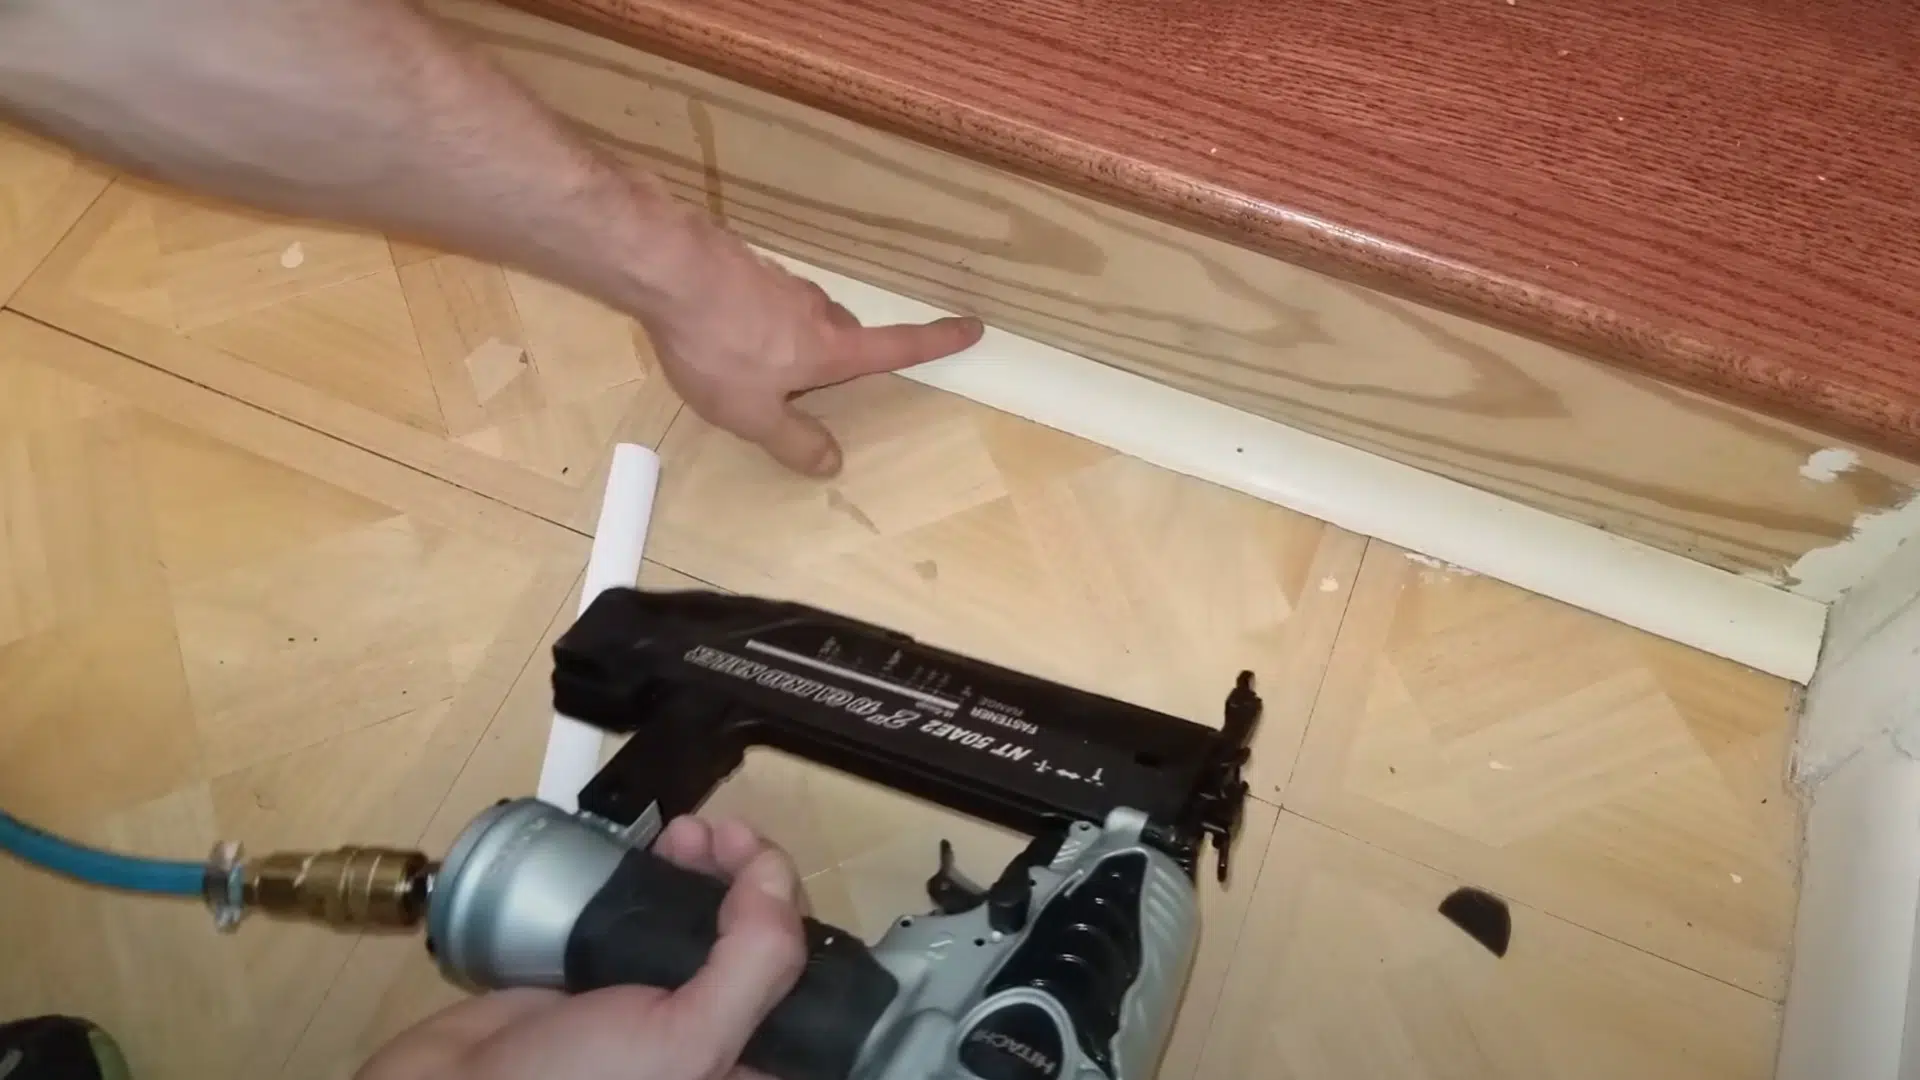
Cut new trim pieces to size and attach them with a brad nailer. Then, apply caulk between the trim and walls or stairs to fill gaps.
Use a damp finger or sponge to smooth the caulk, creating a clean, rounded edge.
Step 10: Mask and Paint the Risers and Stringers
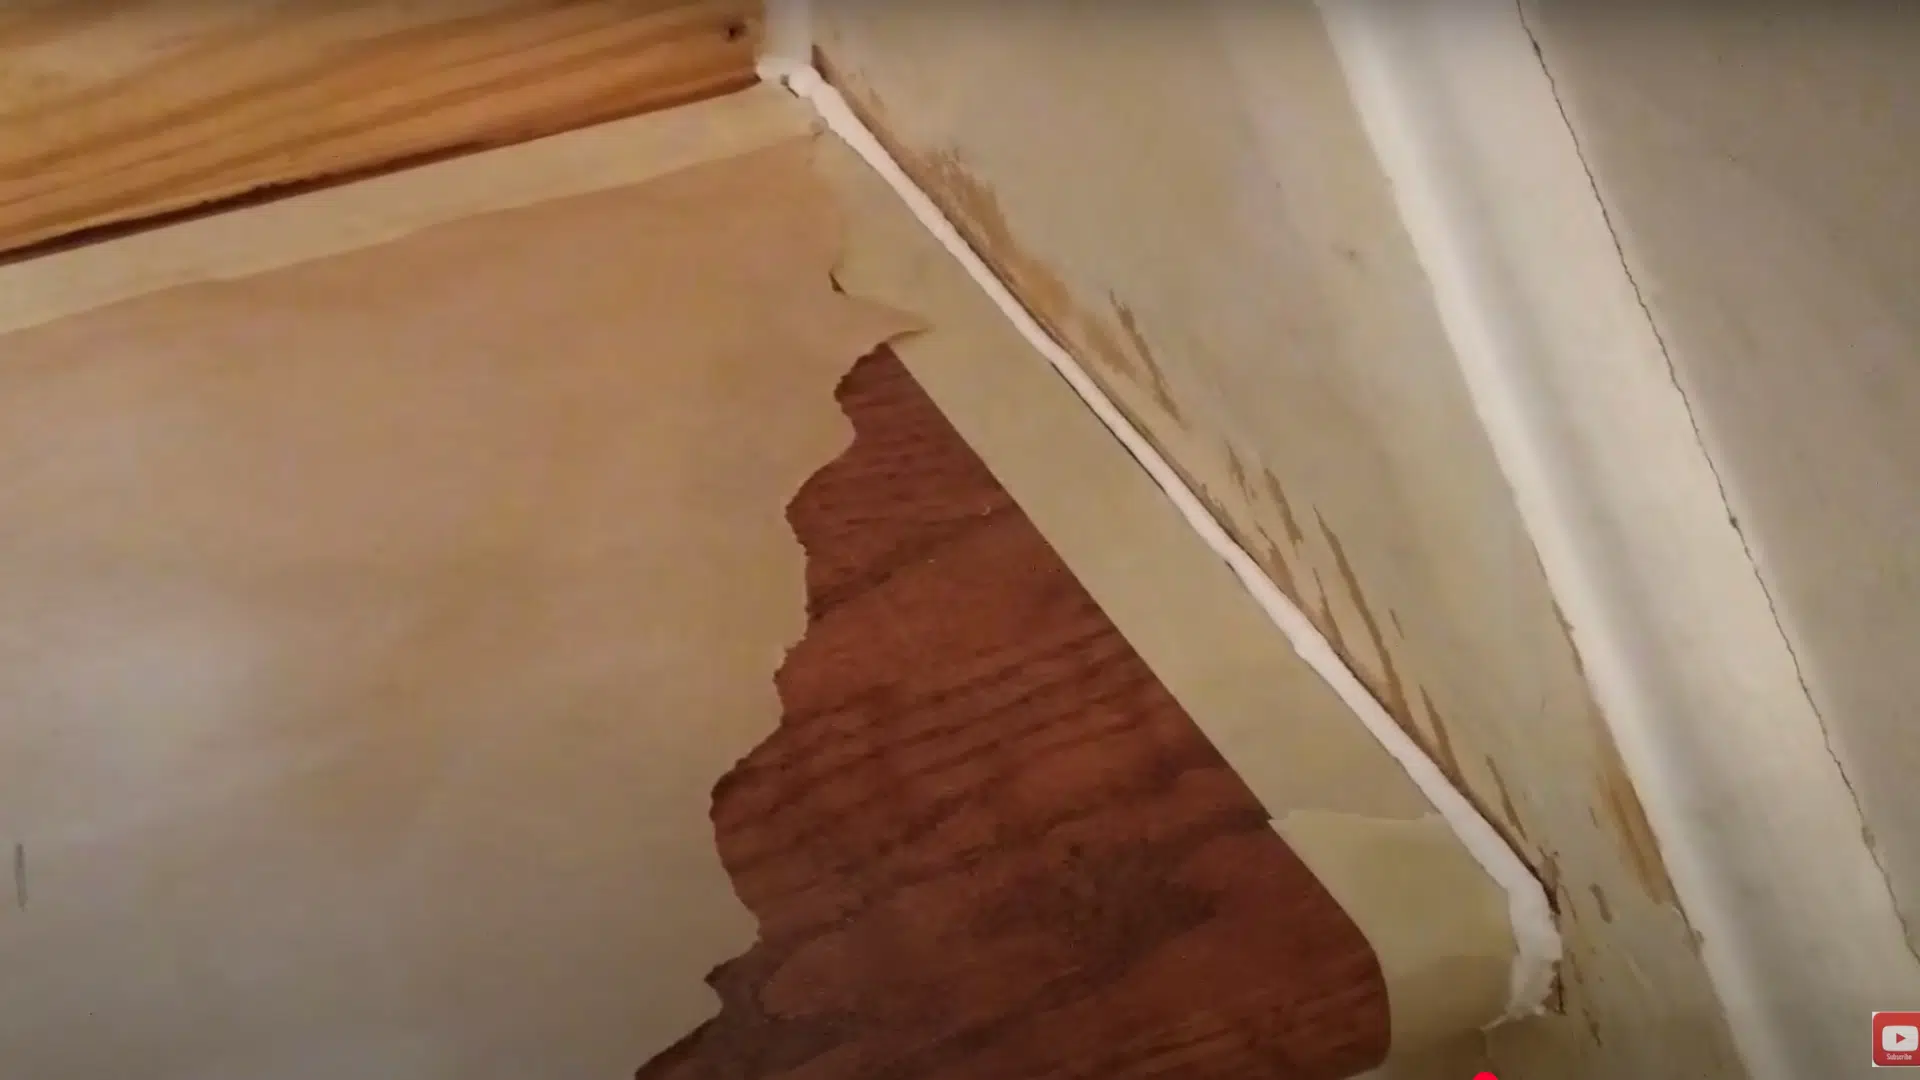
Tape off the stained treads, then caulk along the tape edge for a crisp paint line. Paint the risers and stringers using a heavy but even coat.
Use long brush strokes and adjust your grip depending on the angle to reduce visible brush marks.
Step 11: Remove Tape and Do Final Touch-Ups
Peel off the painter’s tape before the paint fully dries to avoid peeling. Touch up any missed spots and clean up dust, drips, or caulk.
Reinstall railings or hardware and inspect your finished stairs—they should now be clean, smooth, and beautifully refinished.
Recommended: Watch the full stair refinishing tutorial by @gameoflife7235 on YouTube.
How Long Does It Take to Refinish Stairs?
Refinishing stairs is a multi-day project that usually takes between 3 to 5 days to complete. The exact timeline depends on the number of steps, the condition of the wood, and the drying times for stain and sealers.
Each stage, from preparation to sanding, staining, and sealing, requires attention to detail to ensure a smooth, long-lasting, and attractive finish.
- Prep work (2–4 hours): Removing carpet, nails, and cleaning up the stairs takes a few hours.
- Sanding (4–6 hours): Sanding all treads and risers can take a full day, especially if you’re using hand tools.
- Staining (1–2 hours): Applying the stain is quick, but you’ll need to wait at least 8 hours (or overnight) before sealing.
- Sealing (2–3 coats, over 2–3 days): Each coat requires 8–24 hours to dry, depending on the product.
Plan around drying time; you may need to do every other step or work in halves so your family can still move between floors. Use ladders or alternate entries if possible to reduce interruptions.
Safety Tips for DIY Stair Refinishing
Before you start sanding or staining, it’s essential to consider safety. Working with wood, dust, and chemicals can be hazardous without the proper gear and setup.
- Not wearing safety goggles: Sanding and scraping can send dust and debris into your eyes. Always wear eye protection.
- Skipping a respirator or mask: Stain, sealers, and sanding dust can irritate your lungs. Use a proper mask or respirator, especially in tight spaces.
- Working without gloves: Many wood finishes and cleaners can irritate your skin. Gloves help protect your hands.
- Poor ventilation: Strong fumes from stain or sealer need airflow. Open windows and use fans to keep fresh air moving.
- No safe path upstairs: If you refinish all the stairs at once, you might get stuck. Work in sections so you can still access other floors safely.
- Leaving spills or dust on steps: These create slipping hazards. Clean as you go to avoid accidents.
- Ignoring product instructions: Misusing chemicals can be dangerous. Always follow directions for application, drying, and disposal.
Common Mistakes to Avoid When Refinishing Stairs
Knowing what to avoid can save you time, money, and frustration. A little extra care at each step makes all the difference in how your stairs look and last.
- Skipping proper sanding: This leads to uneven finishes and poor stain absorption. Always start with coarse grit and work your way to finer grits.
- Leaving behind dust: Dust can ruin your finish. Vacuum thoroughly and use a tack cloth before applying stain or sealer.
- Using too much stain: Over-applying stain can cause blotching and sticky surfaces. Apply thin, even coats and wipe off excess.
- Not letting each layer dry: Rushing through drying times can cause bubbling or peeling. Always follow manufacturer-recommended drying times.
- Choosing the wrong sealer: Oil- and water-based polyurethanes have different looks and dry times. Select one that suits your needs and use it properly.
- Skipping protective gear: Always wear the right safety equipment to prevent accidents or exposure to fumes.
Conclusion
Refinishing your stairs takes time and patience, but the results are well worth the effort. With the right tools and a steady approach, you can revive old, worn steps.
A fresh stain or coat of paint can turn your stairs into a beautiful focal point that lasts for years.
Whether you prefer the warmth of natural wood or a modern, painted finish, this project allows you to customize your stairs to match your style.
And the best part? You don’t need to hire a contractor to get professional-looking results.
Take your time, follow each step, and enjoy the process. Once you’re done, you’ll have a staircase that looks brand new and feels like a proud DIY win.
Let’s get those stairs looking better than ever, one step at a time.

With a Master in Architectural Studies from University of Pennysylvania, Marwa Haydar has pioneered living spaces since 2005. Her expertise, initially honed in a prestigious architectural firm, is evident in her approach to creating environments. Marwa became part of our team in 2019 and has since been a driving force in our home improvement section, known for her practical yet stylish solutions. She’s been spearheading our design workshops since then, infusing her passion for teaching into her work. In her leisure time, Marwa enjoys exploring historic architecture and is an enthusiastic pottery hobbyist, further enriching her understanding of form and texture.