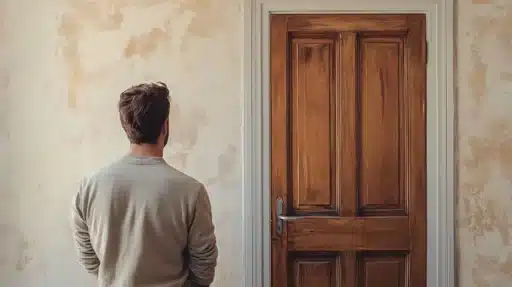
I still remember looking at my boring, plain doors and wishing I could change them.
Like many homeowners, I wanted better-looking doors but couldn’t spend thousands on replacements.
That’s when I found a budget-friendly solution that changed everything – adding trim to create panels.
I’ve tried this method on multiple doors in my house, and the results are fantastic.
The best part? You can do this over a weekend, and it costs much less than buying new doors.
In this guide, I’ll share my exact process, including two different methods – one using basic tools and another using power tools.
Whether you’re new to DIY or have some experience, I’ll walk you through each step to help you transform your doors.
Step-by-Step Guide to Give Your Door a Makeover
I want to make this project simple for you to follow.
Before starting, I recommend reading through all the steps to get comfortable with the process.
I’ve broken everything down into clear sections so you can take it one step at a time.
Materials Required
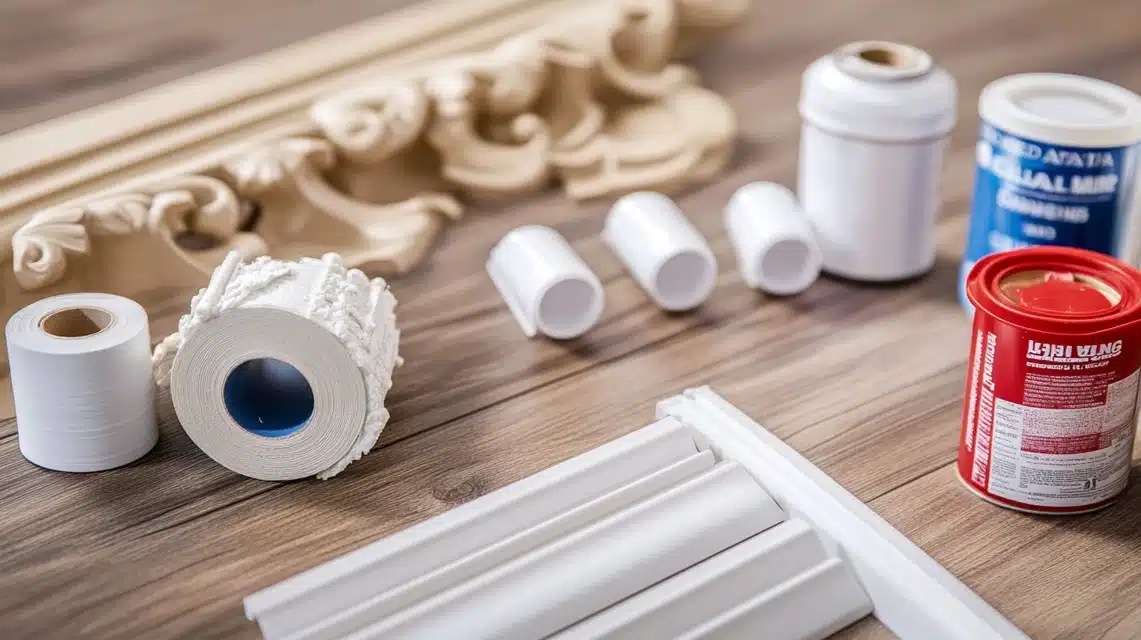
- Decorative trim (I used a simple style that matches my home)
- Liquid Nails (this keeps everything firmly in place)
- Painter’s tape (helps with marking designs and holding pieces)
- Caulk that you can paint over (fills any small gaps)
- Primer (helps paint stick better)
- Paint (matches your style)
If you’re on a tight budget, you can use basic trim from your local store – it works just as well. For paint, I’ve found that regular interior paint does the job perfectly.
1. Planning Your Design
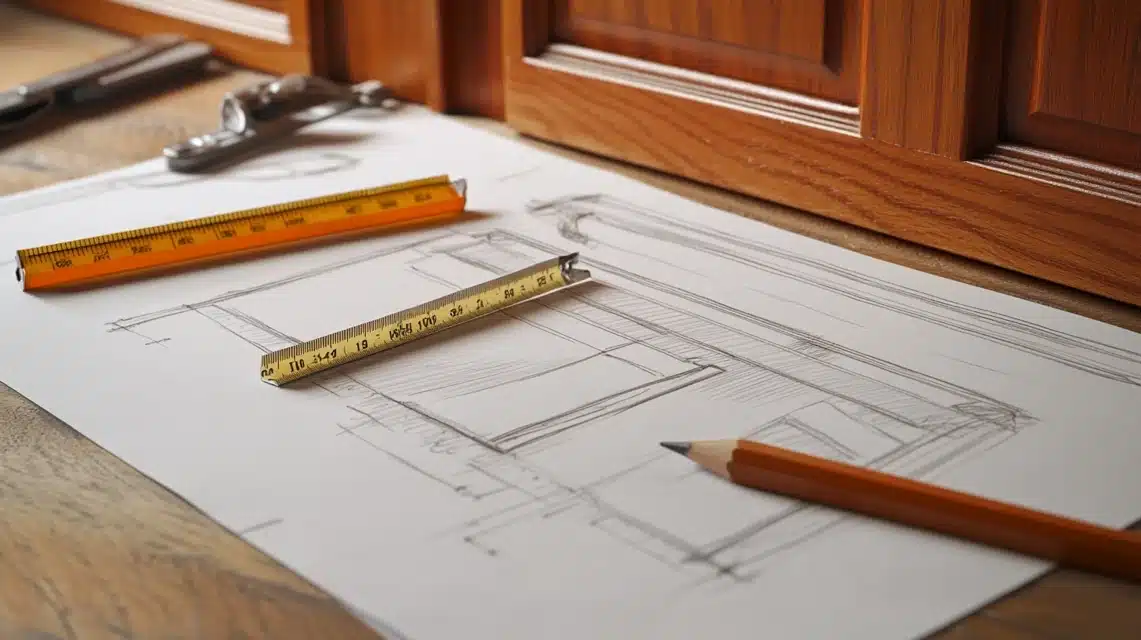
This is where I spent most of my thinking time, and I’m glad I did. You can choose from several styles:
- 6-panel design (works in most homes)
- Simple 2-panel look (good for modern spaces)
- Clean lines (fits anywhere)
- Country style with extra details
I started by drawing my design on paper first.
Then, I measured my door and marked where each piece would go.
I made sure to leave enough space (about 4 inches) between panels so I could fit my paint roller later – a lesson I learned the hard way!
2. Cutting Your Trim
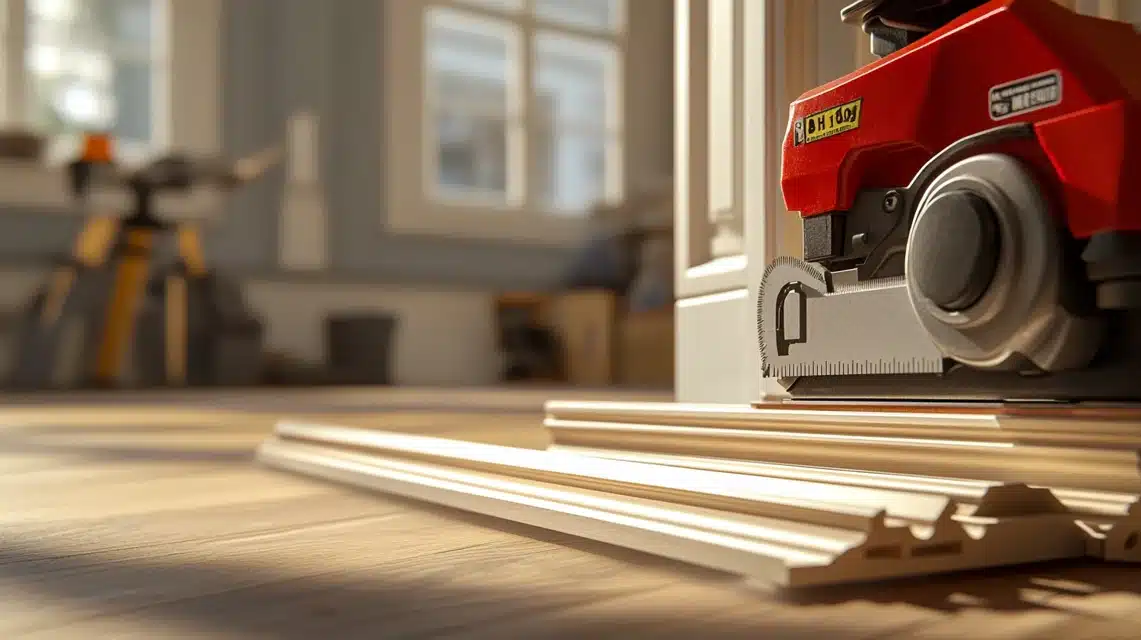
I’ve found that taking time with cuts makes a big difference in the final look. Here’s my method:
For power tool users, I use a miter saw to cut each piece at 45-degree angles.
Make sure the details match where the pieces meet – this small detail makes your door look much better.
If you’re not using power tools, a $15 manual cutting tool from the hardware store works well too. I always cut one piece first, test it, then cut the rest to match.
When cutting, I always wear safety glasses and keep my hands away from the cutting area.
I’ve learned to measure twice and cut once – it saves both time and materials.
Trust me, rushing through cuts only leads to wasted trim!
3. Fixing The Trim
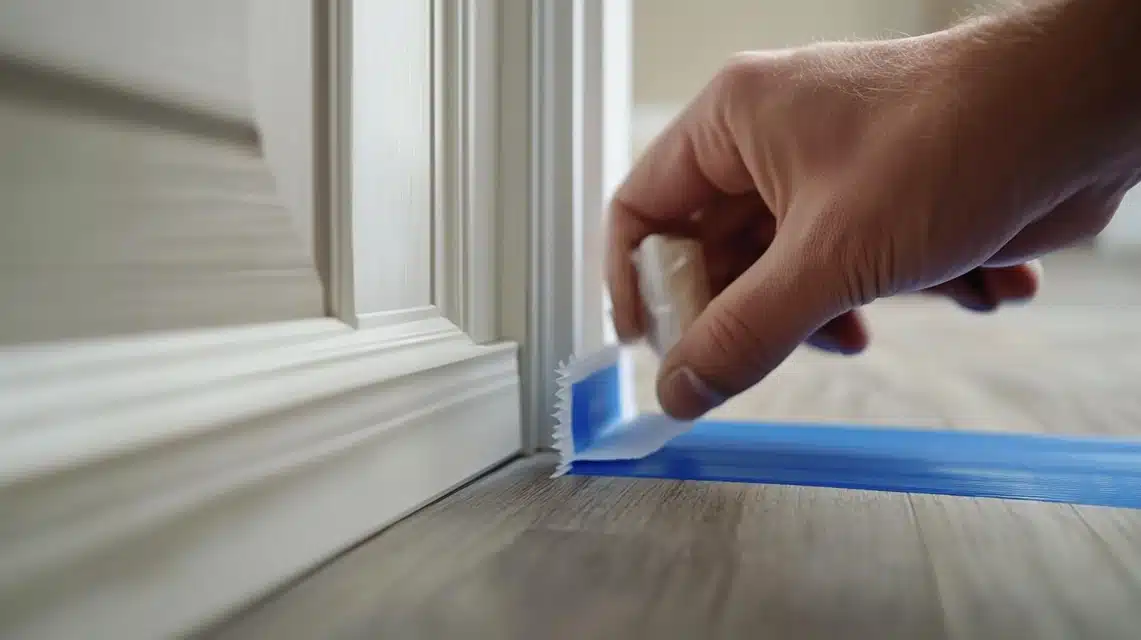
I’ve tried two ways to attach the trim, and both work well:
Using Liquid Nails: Put a line of adhesive on the back of each trim piece.
Press it firmly against the door where you marked. Hold it with painter’s tape until it dries.
This method can be messy but lets you adjust the position.
Using a nail gun: This is faster and cleaner. Place your trim exactly where you want it, then secure it with small nails.
I prefer this method now, but I started with Liquid Nails when I first tried this project.
No matter which method you pick, make sure your trim stays in place for 24 hours before moving forward.
4. Painting Your Door
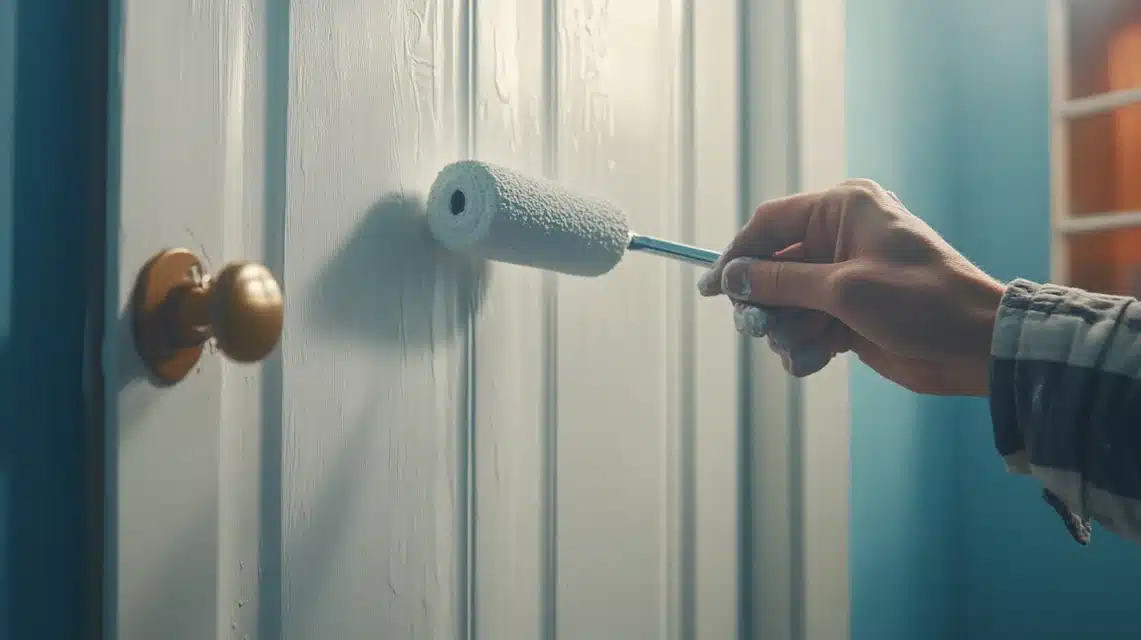
From my experience, painting makes or breaks this project. Here’s my process:
First, I clean the entire door with regular cleaners to remove dust and dirt.
Then, I apply primer – don’t skip this step! It helps your paint stick better and last longer.
I use a small roller for flat areas and a brush for trim and corners.
I like to work in thin layers instead of one thick coat.
This stops drips and gives a smoother finish. Sometimes, I lightly sand between coats with fine sandpaper – it takes extra time but looks so much better.
I usually need two coats of paint for good coverage.
5. Final Touches
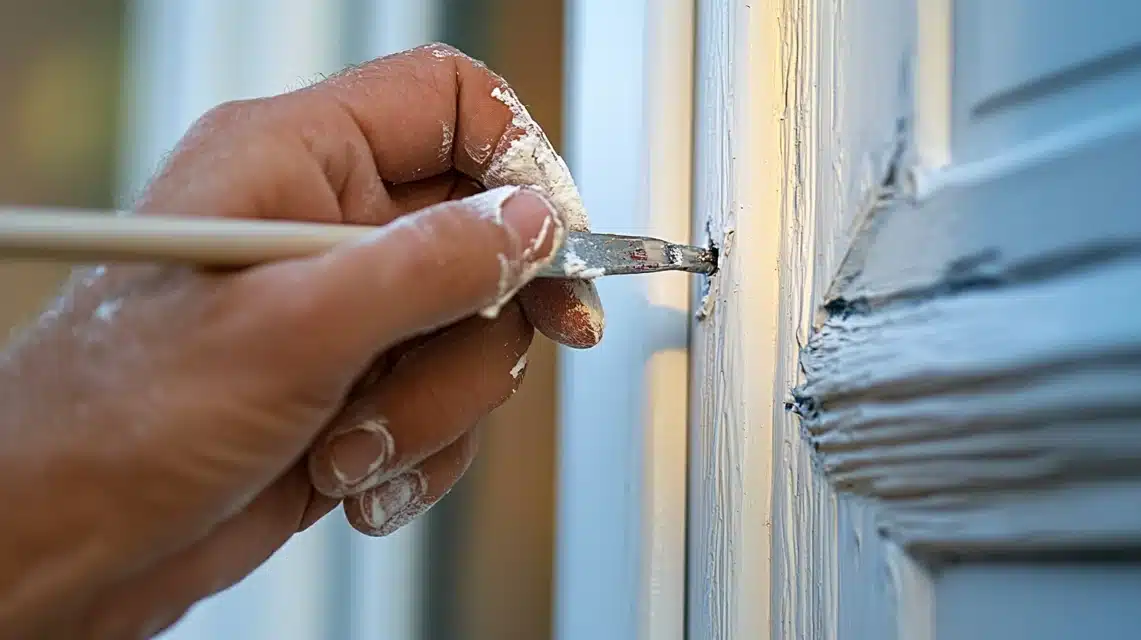
This is where I make everything look perfect:
I check all the seams where trim meets the door and fill any gaps with paintable caulk.
Small gaps are normal – don’t worry! Run your finger along the caulk to smooth it out.
Let it dry completely.
Before putting door handles back on, I make sure all paint is fully dry – usually 24 hours.
Then I check that everything looks even and touch up any spots I missed.
The small details matter here!
I’ve found these improvements make my doors look much more expensive than they are.
The whole project usually takes me a weekend, but the results last for years.
Remember, take your time – this isn’t a race.
When you’re patient with each step, your door will turn out looking great!
Essential Tips For a Successful Makeover
1. Power Tool Method
I love using power tools for this project because they make everything faster and more exact.
My miter saw lets me cut trim pieces perfectly every time – no guessing or rough edges.
The nail gun is another time-saver. I can put up trim in minutes instead of waiting hours for glue to dry.
I spent about three hours total on my playroom door using power tools.
Each cut was clean, and the trim went up quickly.
If you’re working on multiple doors or want to finish in one day, power tools are worth using.
Plus, the finish looks really clean since the nails are tiny and the cuts are straight.
2. No Power Tool Method
When I first started, I didn’t own any power tools.
I used a simple cutting tool that cost $15 from the store.
While it took longer, I still got great results. You’ll need:
- A hand-held miter box with saw
- Basic measuring tools
- Liquid Nails adhesive
- Lots of painter’s tape
This method took me about triple the time compared to power tools.
But here’s what I learned: the cuts can be just as straight, and the trim stays just as secure.
You just need more patience and careful measuring.
3. Working With Liquid Nails
Let me be honest about using Liquid Nails – it’s both good and tricky.
The good part? It holds really well, and you can move pieces around until they’re perfect.
I’ve found it works great on hollow doors where nails might not hold well.
But here’s the not-so-good part: it can get messy.
I learned to keep paper towels handy and work in small sections.
The trick is using just enough – too much squeezes out and makes cleanup harder.
Also, you need lots of painter’s tape to hold everything while it dries, which takes about 24 hours.
Wrapping Up
I started this project feeling unsure, but now I’ve done it several times – both with and without power tools.
The results always make me smile. If you’re looking at your flat doors right now, wondering if you can do this – yes, you can!
Pick the method that fits your comfort level and take it step by step.
Got questions? I’m happy to help! Share your finished doors with me – I’d love to see how yours turn out.
Remember, whether you use power tools or not, the key is patience and careful measuring.
Your doors will look fantastic!
Frequently Asked Questions
How can I Make My Flat Front Door Look Better?
Paint your front door a fresh color and add decorative trim to create panels – it’s a simple weekend project that makes a big difference.
How to Dress Up a Plain Slab Door?
Add trim pieces to create panels, then paint the entire door. You can use wood trim and glue or nails to make it look custom-made.

