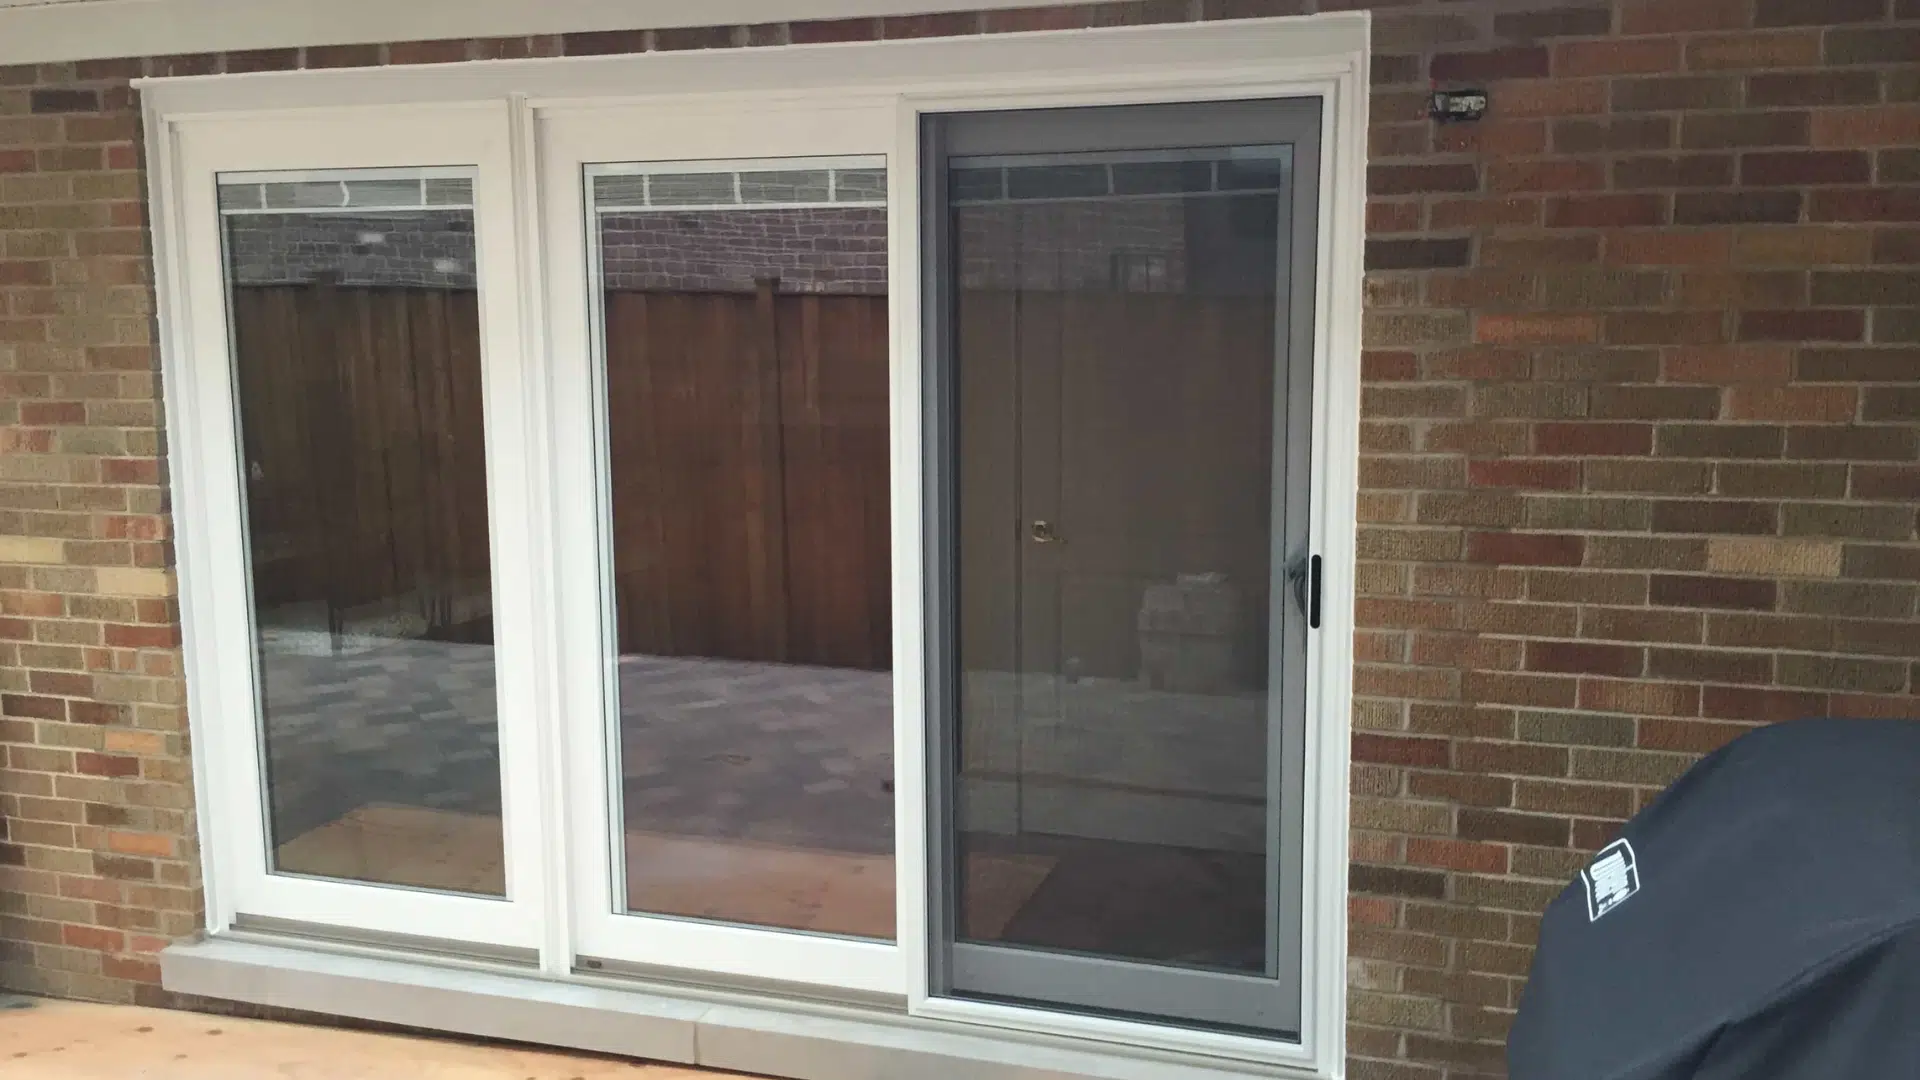
Turning a window into a door can make your home more useful and enjoyable. Maybe you want easier access to your backyard, garden, or patio.
Or maybe you want more natural light and a better view. Whatever the reason, this project can really improve your home.
In this guide, I’ll walk you through the whole process in simple, clear steps. You’ll learn how to check if your home is right for the change.
You’ll also get a full list of the tools and materials you need, plus help with permits and planning.
I’ve helped many homeowners do this exact project, and I know what mistakes to avoid. You won’t waste time or money if you follow these steps.
You’ll see how long it takes, how much it usually costs, and what to expect along the way. Ready to turn that window into a doorway? Let’s get started and do it right.
Is Converting a Window to a Door Possible for Your Home?
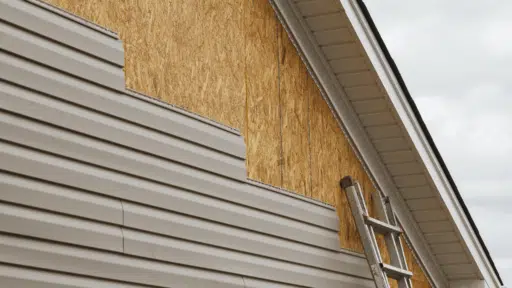
Not every window can be converted into a door, so you must check a few important things first. The most important aspect to consider is the wall itself.
If it’s a load-bearing wall, it holds up part of your house. That means it needs extra support. If it’s not load-bearing, the job is easier. But don’t guess; hire a structural expert if you’re unsure.
Next, check your floor height. Your new door needs to line up with the ground outside. If the levels don’t match, you might need to build steps or a ramp.
Windows are usually smaller than doors. Most doors are 32–36 inches wide and 80 inches tall, so you’ll probably have to cut a bigger opening.
Also, check your city’s building codes. Some places have strict rules for door placement. Always get a permit before starting the project.
Tools and Materials You’ll Need
The following are the supplies you’ll need when converting windows into doors:
- Reciprocating saw with multiple blades
- Circular saw for clean cuts
- Power drill with bits
- 4-foot level
- Measuring tape
- Hammer and pry bar
- Safety glasses and gloves
- Dust masks
- Oscillating multi-tool
- Chalk line
- Stud finder
- Caulk gun
- Utility knife
- Pre-hung exterior door unit
- Framing lumber (2×8 header, 2×4 studs)
- House wrap or building paper
- Flashing tape and materials
- Expanding foam
- Galvanized screws and nails
- Wood shims
- Interior and exterior trim
- Caulk and weatherstripping
How to Convert Windows to Exterior Doors?
This conversion requires careful planning and precise execution. You’re making major structural changes. One mistake can cost thousands to fix.
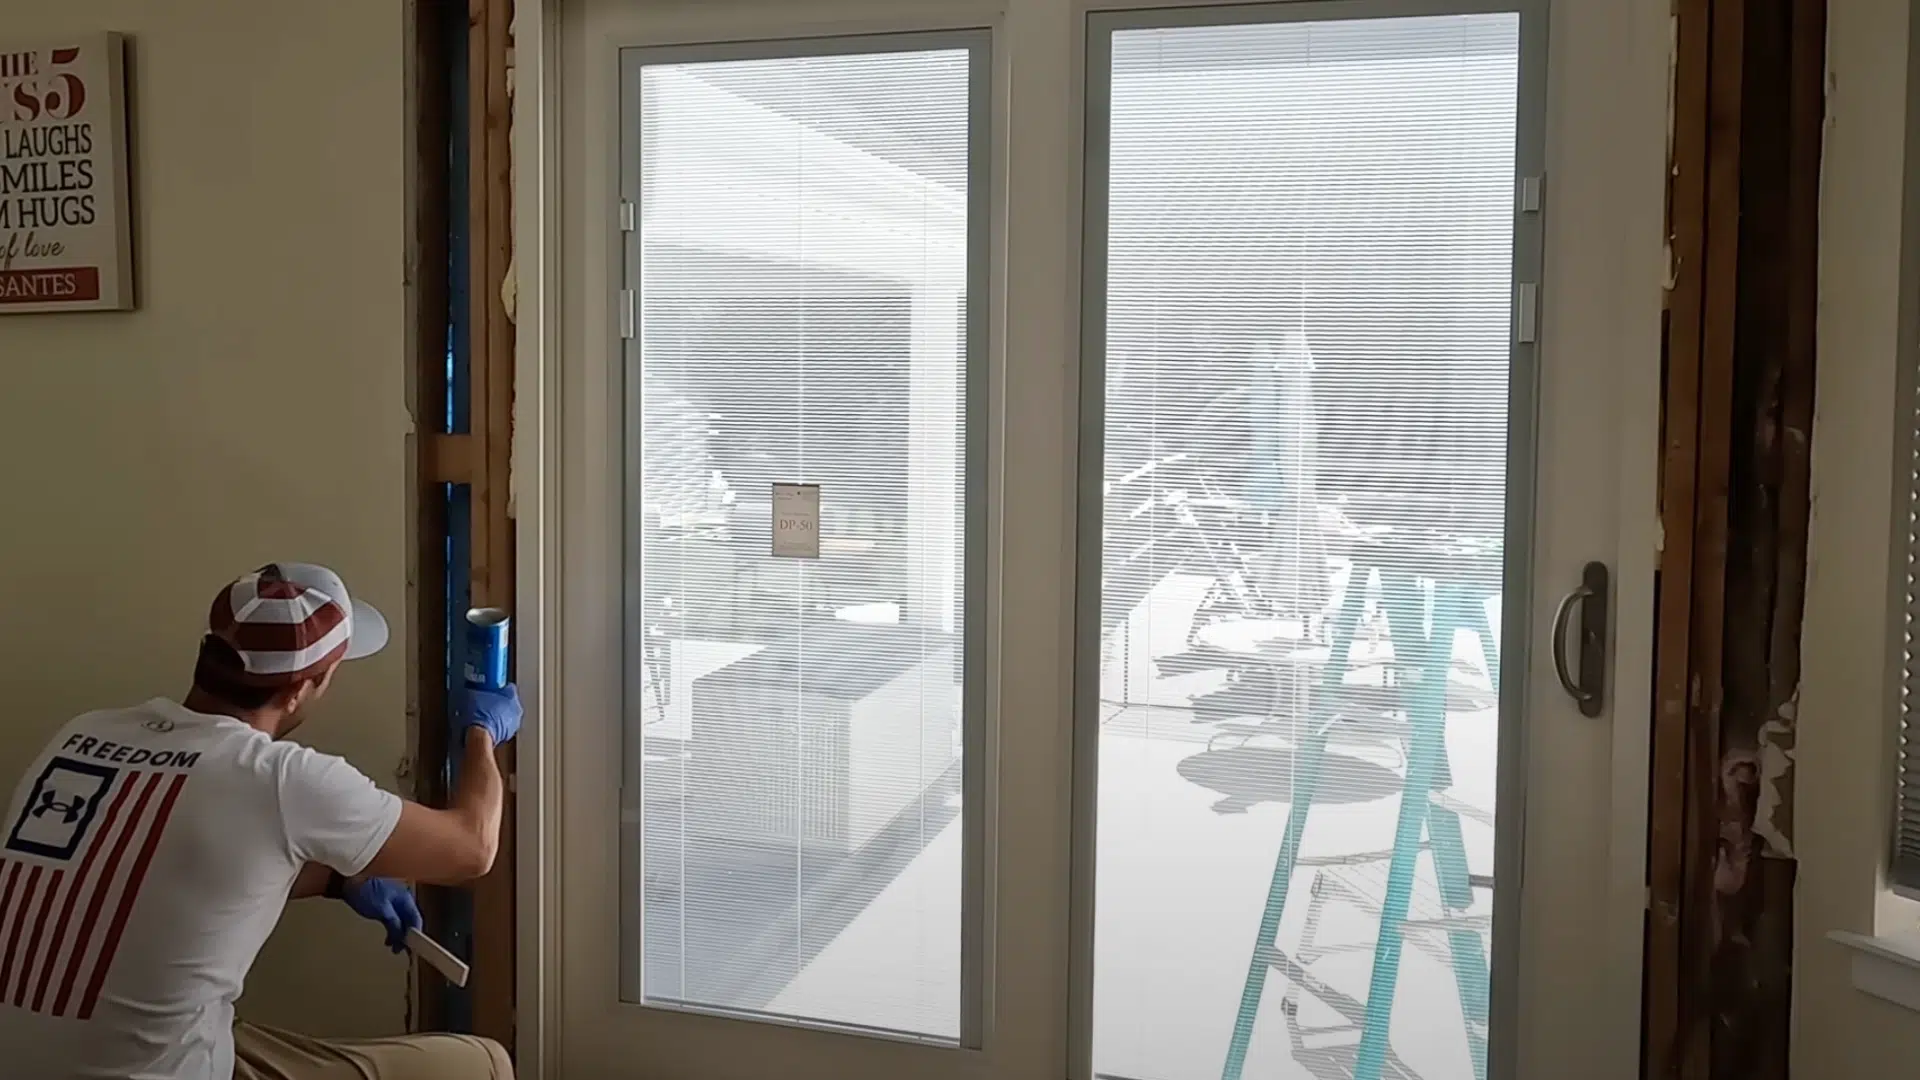
1. Window Removal
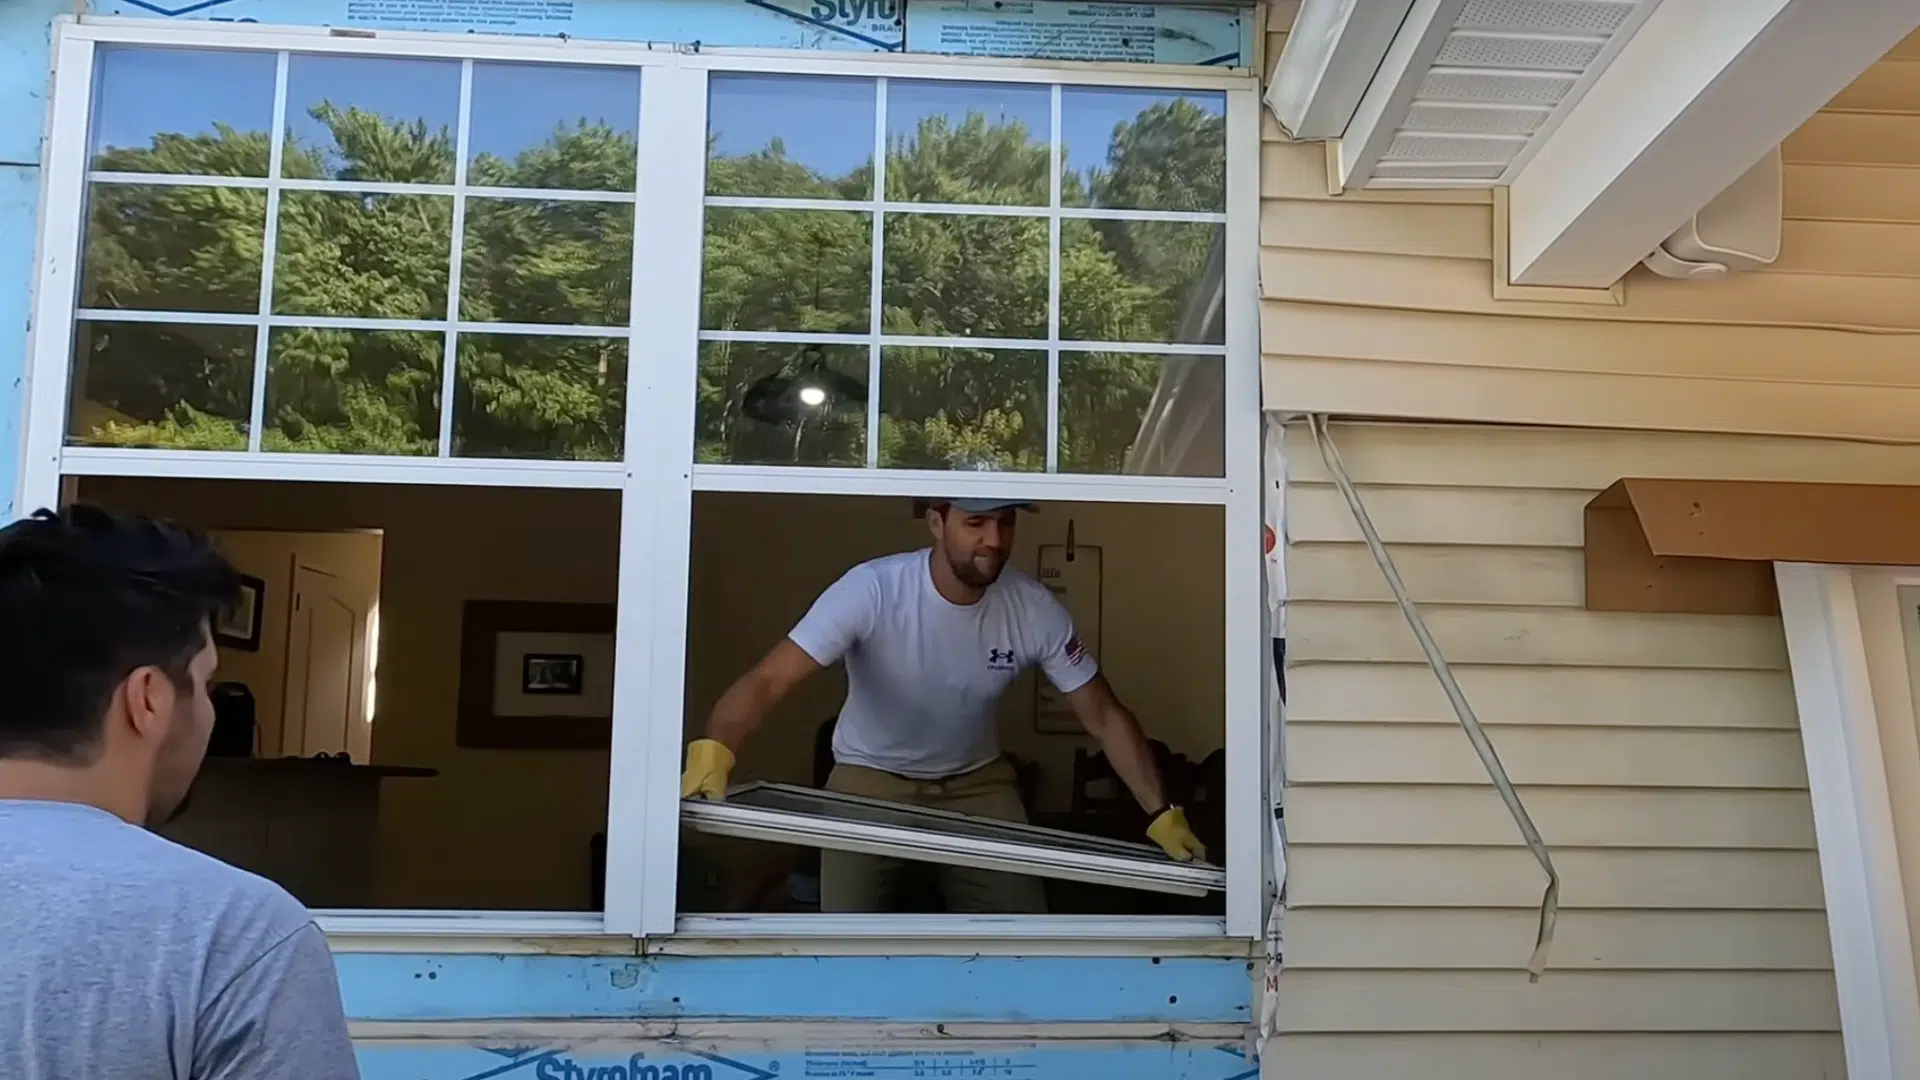
Begin by carefully removing the interior trim using a pry bar and a utility knife. Score the paint lines to prevent ripping the drywall or chipping the surrounding paint.
Cut through old caulk around the window frame. Take photos of each step, as they will be helpful later. Remove the window sashes and store any usable hardware.
Use a reciprocating saw to cut through nails that hold the frame in place.
Take your time when removing the frame to avoid damaging the wall structure. Once it’s out, clean the entire opening of dust and debris before moving on.
2. Creating the Door Rough Opening
Measure your new door unit, then add 1/2 inch to both the height and width for wiggle room. Mark the new opening clearly using a level and straight edge.
Cut out existing studs as needed, but support the structure while doing it. Install a strong header, 2×8 or larger, depending on span size.
Add jack studs under the ends of the header to carry the weight properly.
Use king studs and trimmers on both sides and double-check everything with your level. This framing will hold your door securely.
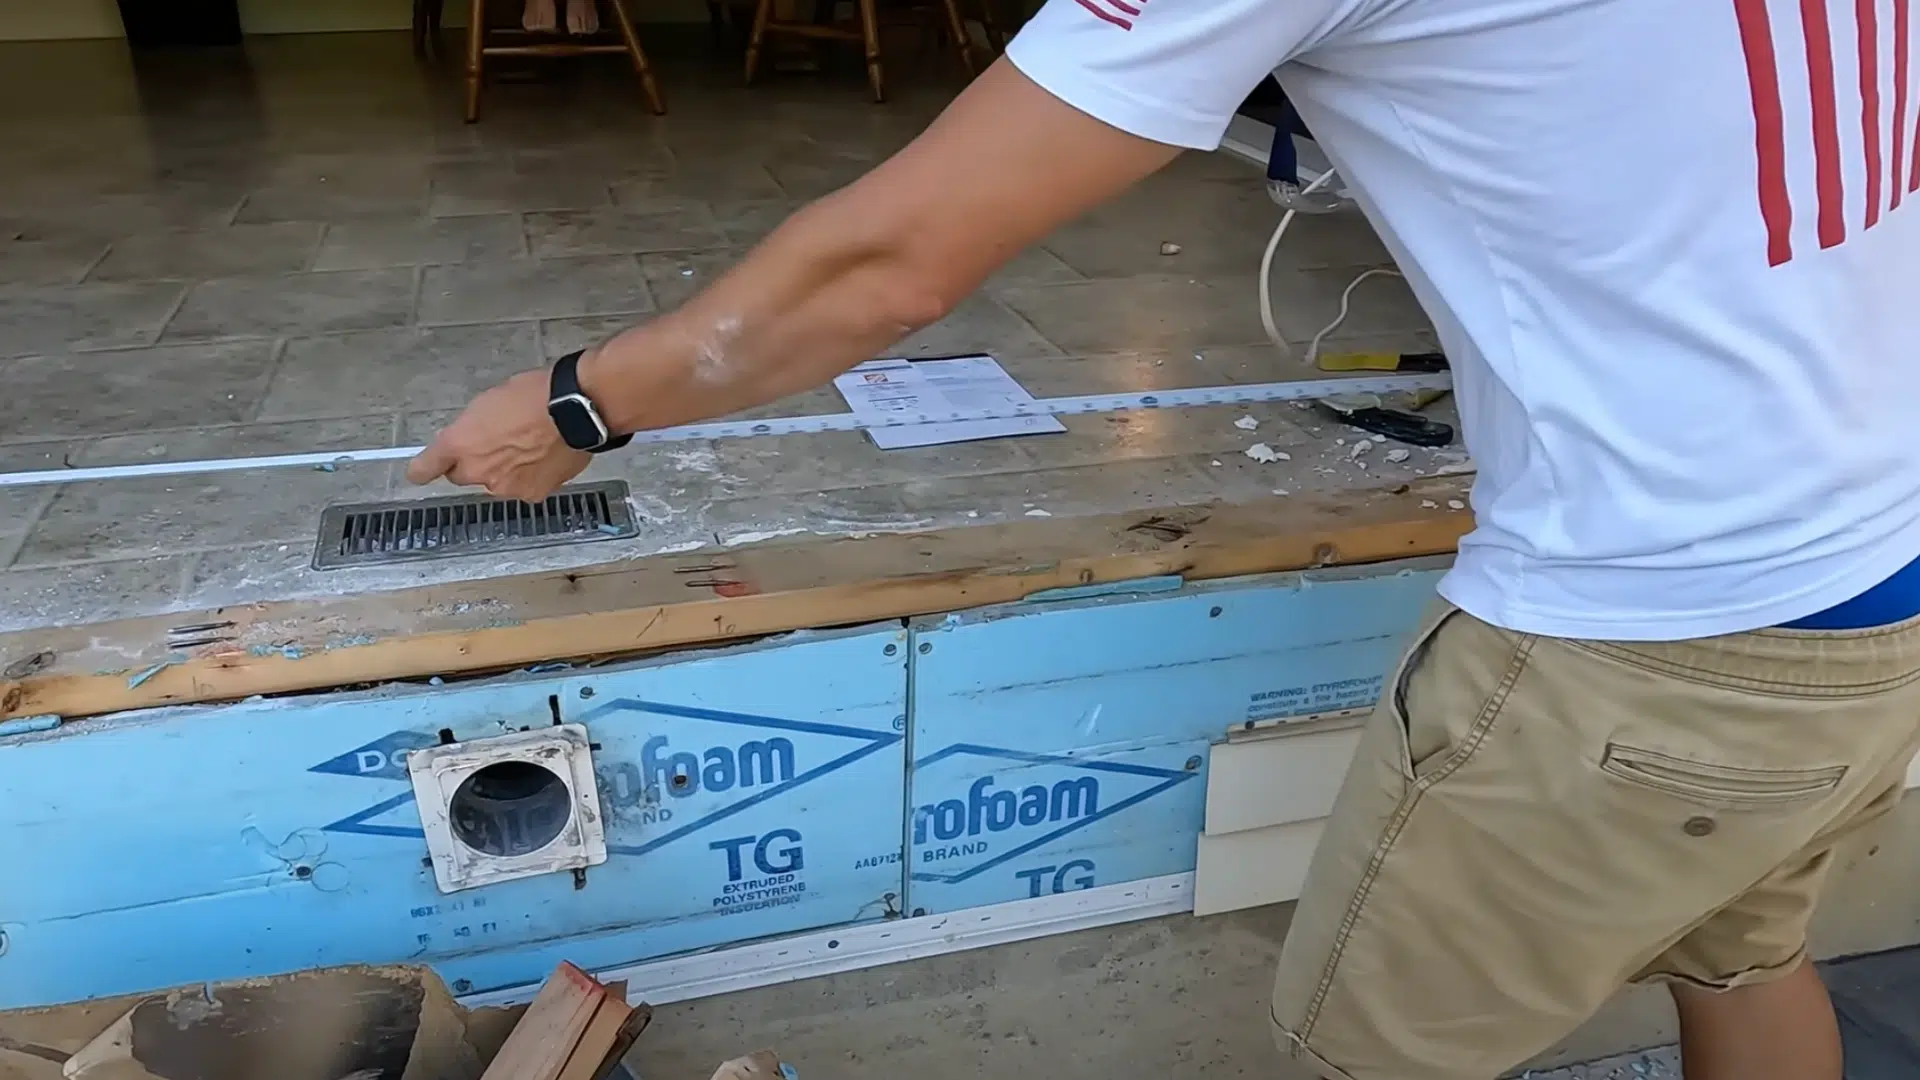
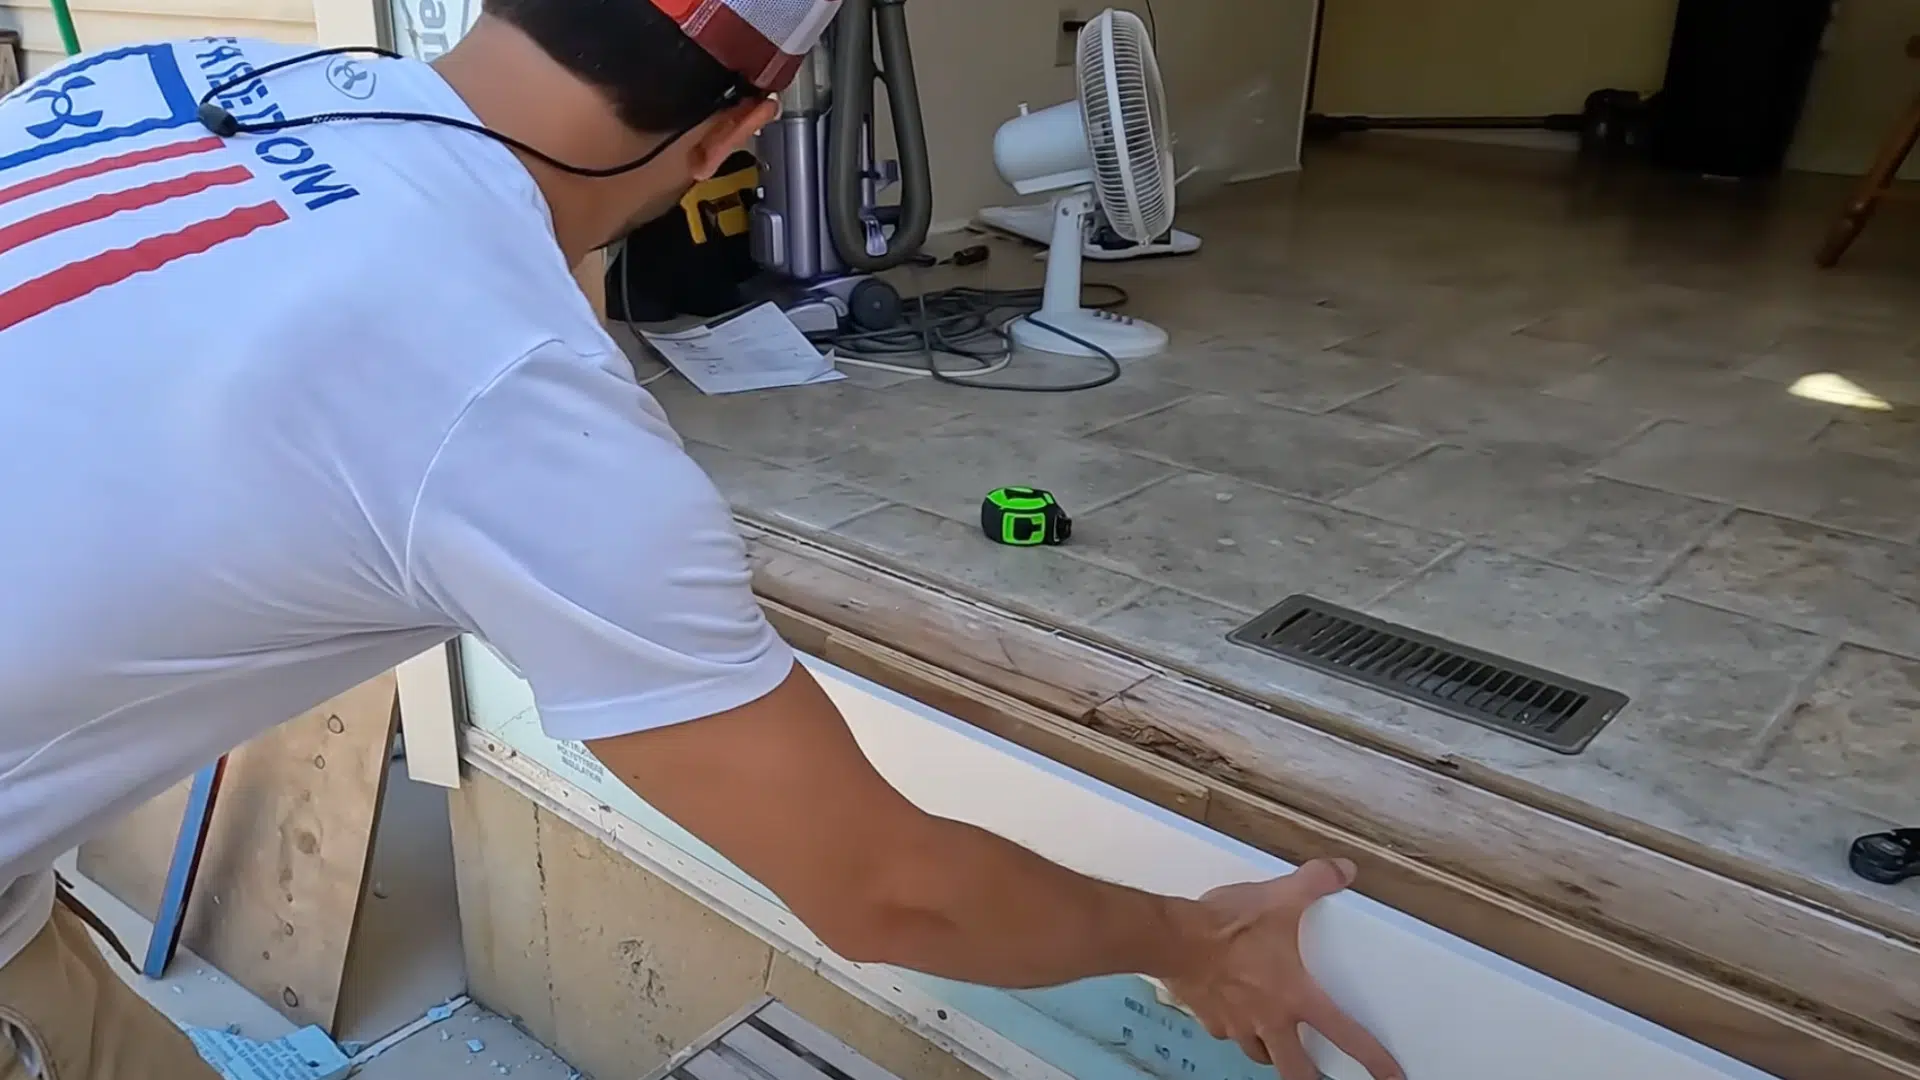
3. Preparing the Sill
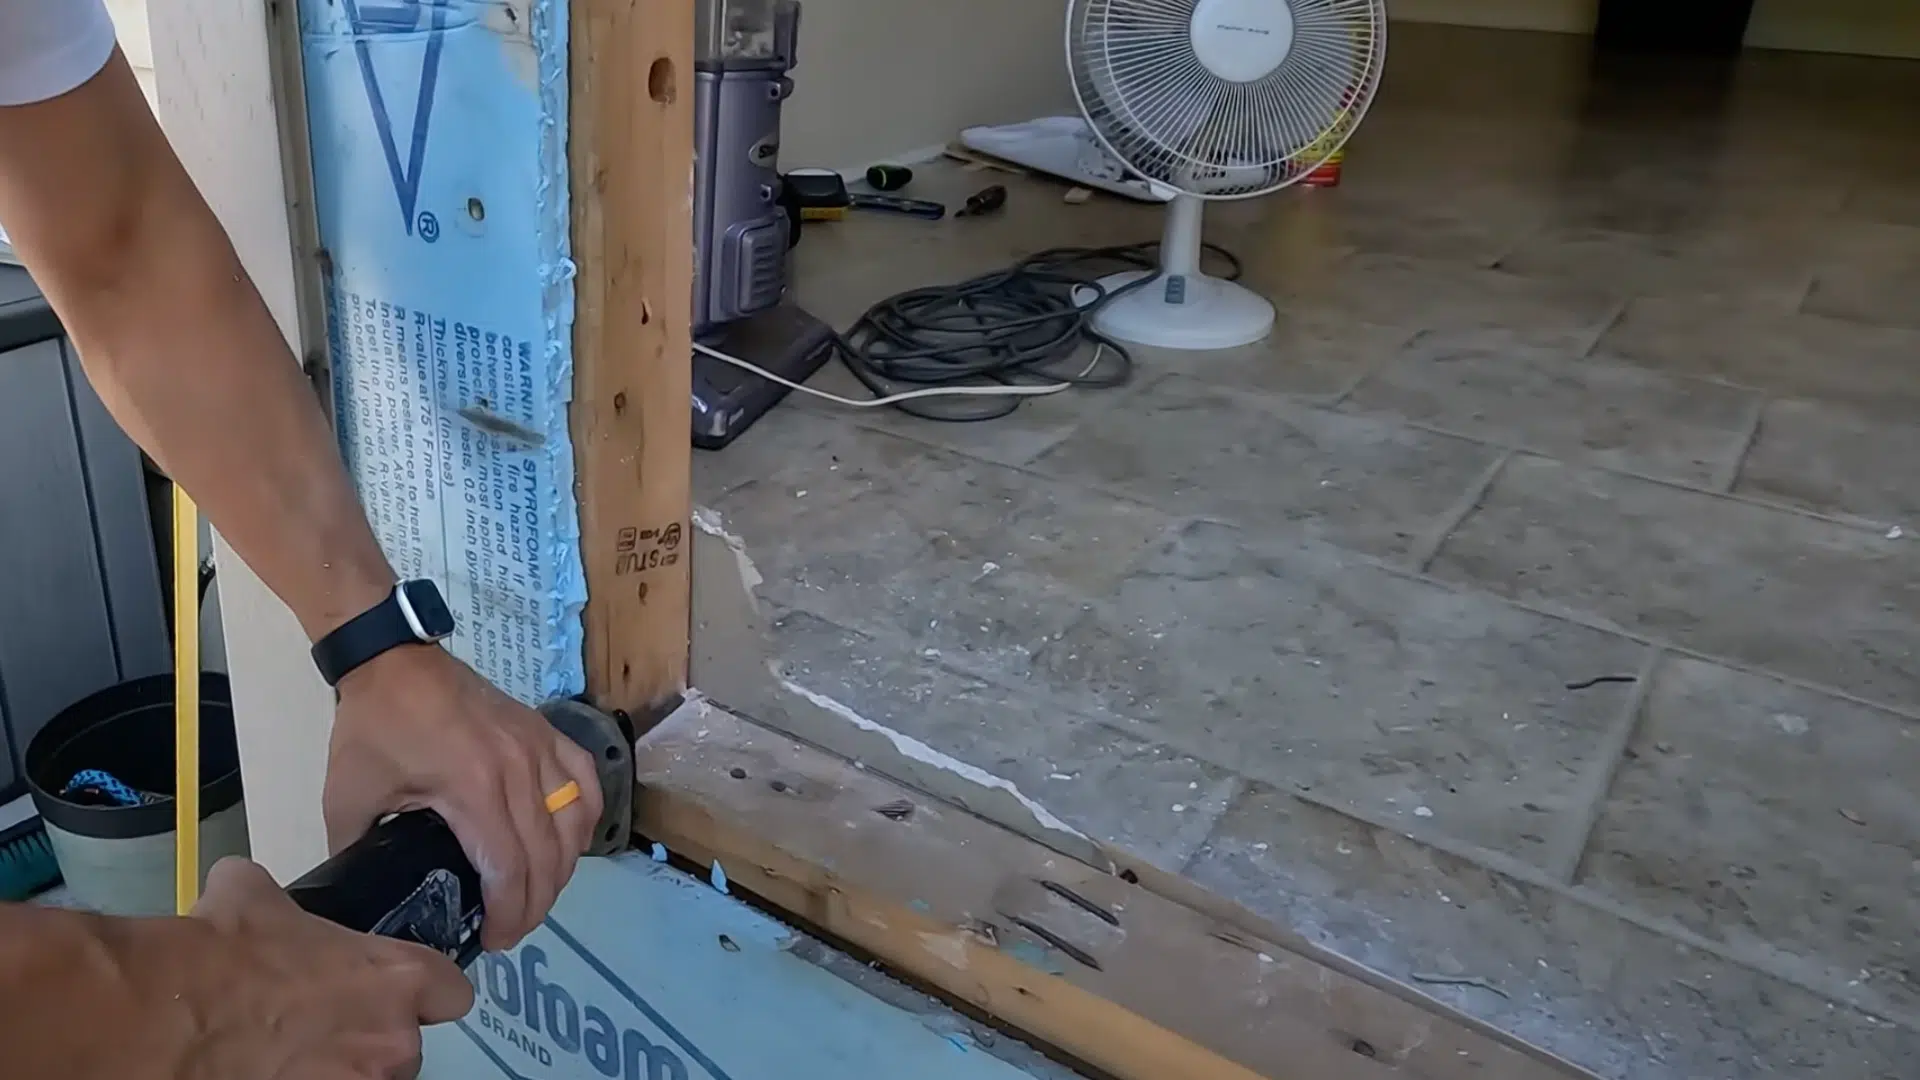
Cut the sill so it lines up with your interior floor level. It must be flat and level for the door to sit correctly.
Slope it just slightly away from the house, about 1/8 inch per foot, to help with drainage.
Coat all cut wood ends with a quality wood preservative to prevent rot. Apply at least two coats. Test-fit your door at this stage to make sure the sill supports it evenly.
Make any needed adjustments now before sealing or flashing.
4. Installing Flashing
Good flashing keeps water out and protects your home from damage.
Start with sill flashing that stretches across the bottom and rises at least 6 inches up the sides. Apply flashing tape along the sides of the frame, overlapping each layer from bottom to top.
Then install head flashing that stretches across the top and over the side pieces. Always overlap edges so water flows downward, not in.
Use only high-quality, long-lasting flashing tape or membranes.
5. Door Installation
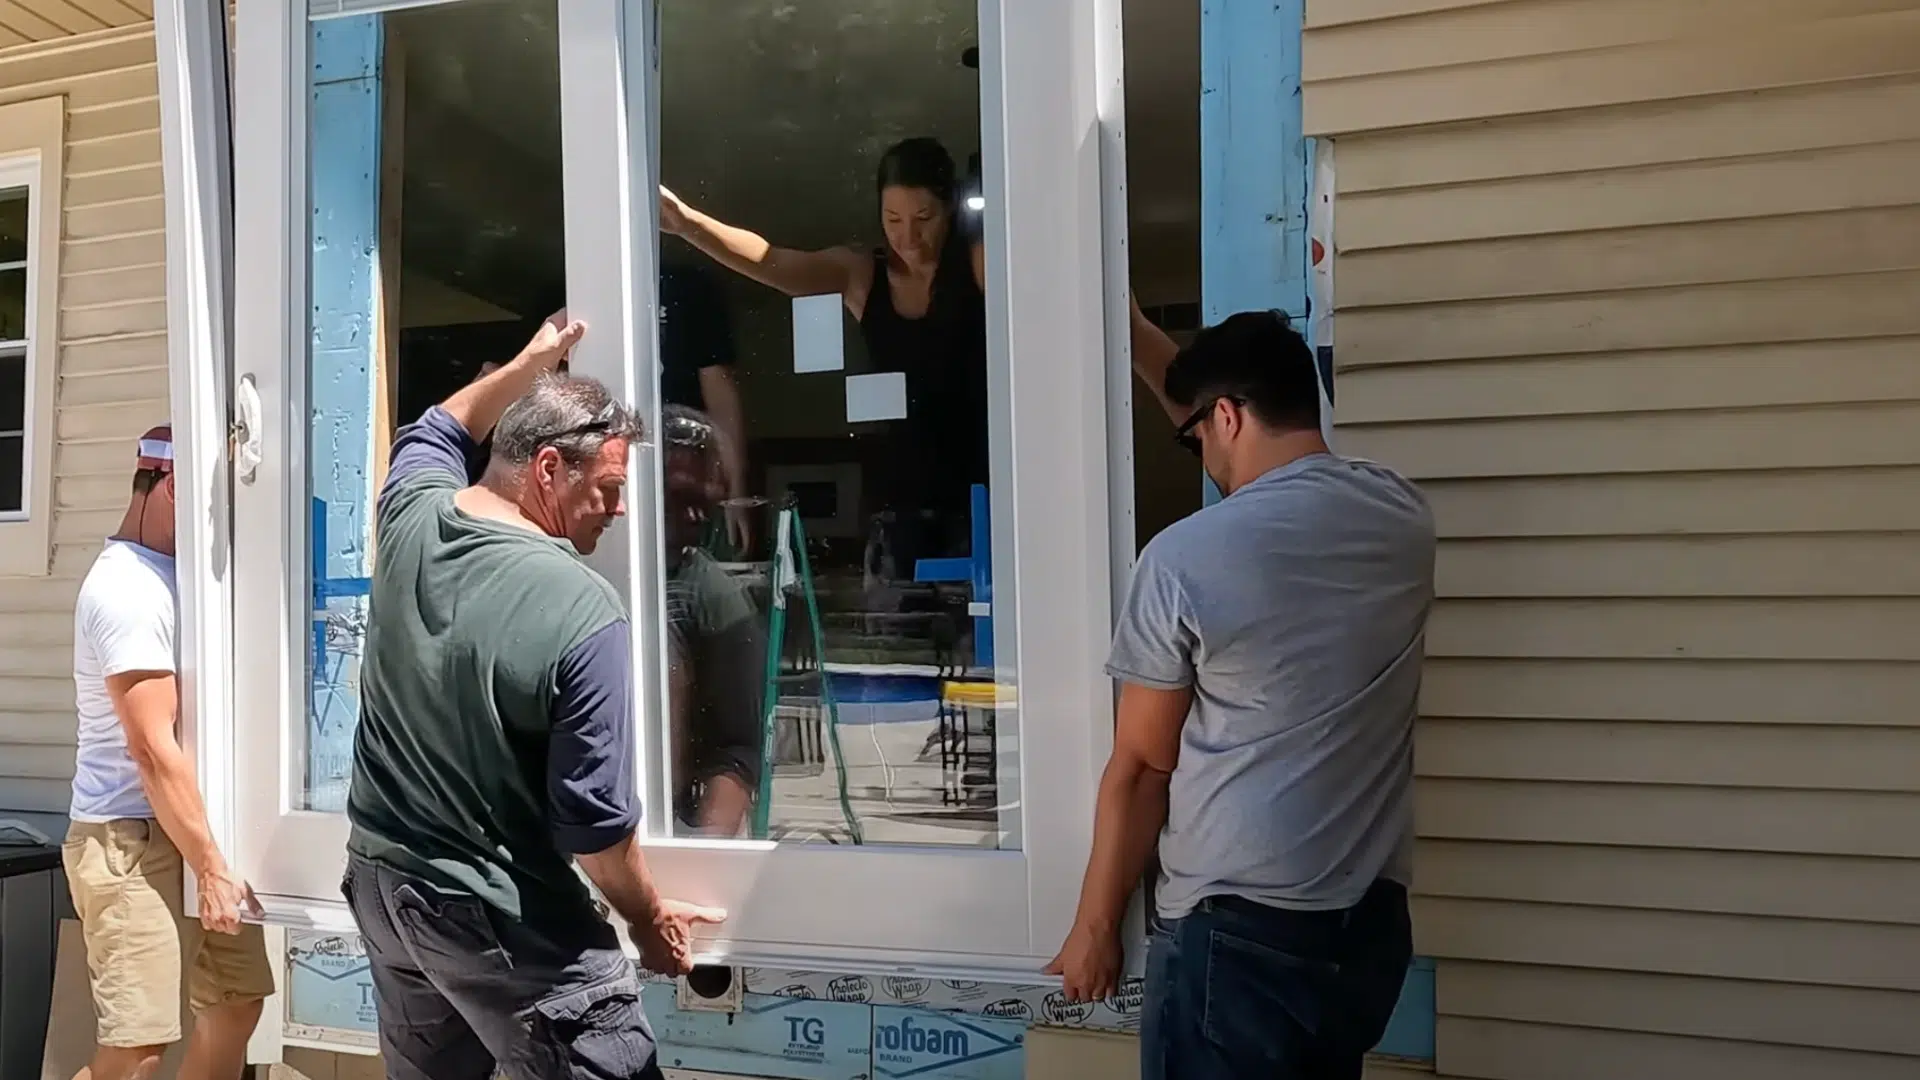
Lift the door into place with the assistance of a helper. These units can be heavy and awkward. Set it onto the sill and check if it’s level.
Adjust with shims under the sides as needed. Secure the hinge side first using long screws that reach the framing studs.
Don’t overtighten. Open and close the door to check its swing. Once it moves smoothly, secure the latch side and top using the fasteners provided by the manufacturer.
Following their guide helps prevent installation mistakes.
6. Add Protective Wrap
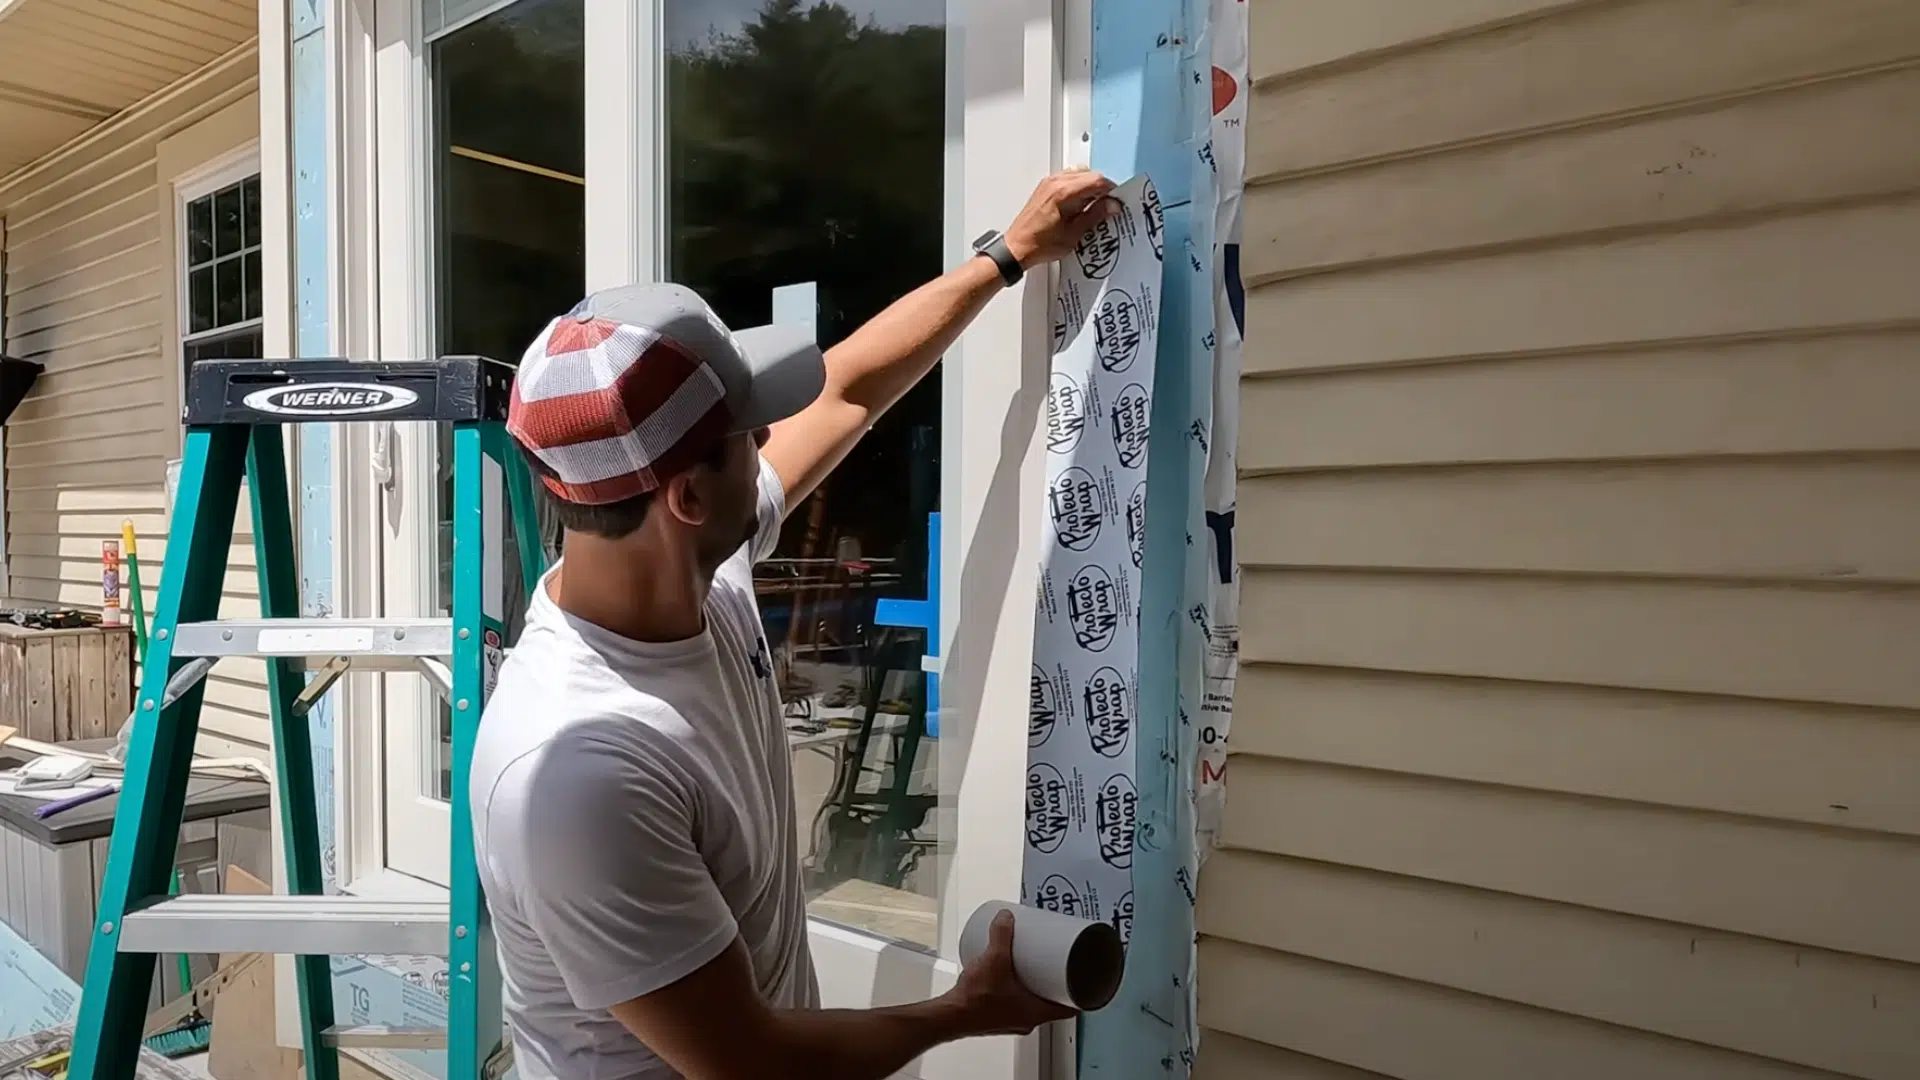
House wrap protects your home from air leaks and water infiltration.
Cut it to fit snugly around your new door. Make small corner cuts so it doesn’t bunch up. Tape all seams with building-grade tape.
Overlap the new wrap with any existing wrap already on the house.
The goal is to create a water-resistant barrier that directs rain away from the door and siding, rather than allowing it to accumulate behind them.
7. Seal the Gaps
Once your door is set and shimmed, seal the gaps with low-expansion spray foam made for windows and doors.
Avoid high-expansion foam, as it can press too hard and warp the frame, causing the door to stick or not close properly. Spray the foam slowly into the gaps.
Fill each section about halfway to leave room for it to expand. Let one side dry before doing the next. This keeps the foam under control and prevents a messy overflow.
After it has fully cured, use a sharp utility knife to trim off any excess foam. Smooth edges help your interior trim sit flat and look clean. A neat seal also keeps out drafts, moisture, and bugs.
8. Interior and Exterior Finishing
Install your exterior trim first. Use pre-primed or pre-painted boards for a neater job and time savings.
Seal all seams with paintable exterior-grade caulk to prevent moisture from entering. Then, finish the interior trim, ensuring it matches the look of the other windows and doors in your home.
Use careful cuts for tight joints and smooth transitions. Finally, add weatherstripping around the door edges.
It prevents drafts and moisture while helping the door close tightly and quietly. This last step boosts both comfort and energy efficiency.
To understand the steps better, watch this video from @FamilyDIYtv. It is helpful, entertaining, and shows you how to convert it correctly.
Community Discussions Regarding Converting Windows to Doors
Many homeowners have shared their experiences turning windows into doors. Online forums and community groups are full of helpful advice.
People talk about the challenges they faced and what made their projects easier.
One common topic is dealing with permits and local codes. Some had to wait weeks, while others got approval fast.
Floor height is another popular issue. Many had to build small decks, steps, or ramps.
Users also talk about costs. Some did it for under $1,000, while others spent over $3,000. Most agree that planning made a big difference.
These real-life stories help others know what to expect and avoid common mistakes.
Common Mistakes to Avoid
The following are the most common mistakes homeowners make during this project:
- Skipping permits and inspections
- Cutting a load-bearing wall without proper support
- Measuring the rough opening incorrectly
- Using low-quality flashing or sealants
- Failing to slope the sill for water drainage
- Installing the door out of level or plumb
- Using high-expansion foam around the frame
- Not checking exterior grade or step-down height
- Delaying material orders until mid-project
- Ignoring weather forecasts during open-wall work
Avoiding these mistakes helps make your window-to-door conversion smoother and more successful.
Conclusions
Turning a window into a door adds real function to your home. It offers improved outdoor access and provides more natural light.
However, the job requires careful planning, patience, and a certain level of skill.
Doing the work right is very important. A poorly installed system can lead to water leaks, drafts, or severe structural damage to walls.
Always follow local building codes and get the right permits. Inspections help make sure the work is safe.
Hiring a professional for the structural changes is often a smart move. You can still save money by doing the trim, painting, and finishing work yourself.
I always recommend planning every step ahead of time. Buy your materials early. If the weather turns bad, you won’t want a big hole in your wall. What’d you think? I would love to hear them in the comments.
If you liked this blog, you can also read about the best time to replace your windows. It is informative, engaging, and tells you the ideal times when to change your windows.

Tommy Hardy, an alumnus of the Georgia Institute of Technology with a degree in Mechanical Engineering, has been a go-to figure in residential upkeep and innovation for over 18 years. His career commenced in a leading home appliance manufacturing company, where he mastered the intricacies of household systems. Joining our platform in 2020, Tommy quickly became a reader favorite for his practical and easy-to-follow guides. He took the helm of our DIY section in 2019, consistently delivering content that empowers homeowners. Beyond his professional pursuits, Tommy is a passionate gardener and enjoys woodworking, skills enhancing his hands-on approach to home care.