Stripping paint from wood can be a daunting task for many DIY enthusiasts.
The process often seems messy, time-consuming, and fraught with potential mistakes.
But don’t worry – with the right techniques, you can easily restore your wooden furniture or surfaces to their natural beauty.
This guide will explain the most effective methods for paint removal, helping you avoid common pitfalls and achieve professional-looking results.
We’ll cover everything from choosing the right tools and materials to step-by-step instructions for various removal techniques.
Whether working on a small side table or a large wooden floor, this guide provides the information you need to confidently tackle your paint removal project.
The Best Method to Remove Paint from Wood

Removing paint from wood doesn’t have to be a difficult task.
There’s a method that stands out for its ease and effectiveness, making it perfect for both beginners and experienced DIYers.
Citristrip Application and Saran Wrap Technique
- You’ll need Citristrip, a paint removal product, and some plastic wrap.
- Apply a thick layer of Citristrip to the painted wood surface using an old paintbrush.
- Make sure to cover all painted areas evenly.
- Once applied, quickly wrap the entire piece in plastic wrap, ensuring it’s as airtight as possible.
- After applying Citristrip and wrapping the piece, the magic happens overnight.
- Leave your wrapped furniture or wood surface undisturbed for at least 8-12 hours.
- This waiting period allows the Citristrip to work deeply into the paint layers, making them easier to remove.
Why is this method a Game Changer?
- It greatly reduces the need for hard scrubbing and saves you valuable time and energy.
- The overnight process does most of the work for you, making it ideal for DIY projects.
- When you unwrap your piece the next day, you’ll find that much of the paint has already separated from the wood, ready to be scraped off with minimal effort.
Assessing Wood Types: A Key Step in Paint Stripping
Before diving into paint removal, it’s crucial to understand the material you’re working with.
- Wood types vary in density, grain structure, and porosity, which affects how they interact with paint strippers.
- For example, softwoods like pine or cedar might absorb strippers more readily than hardwoods like oak or maple.
- Some woods may also discolor when exposed to certain chemicals.
- It’s important to test a small, hidden area first to see how your specific wood reacts to the paint stripper you plan to use.
- Before starting, examine your wooden piece closely. Look for signs of rot, water damage, or previous repairs.
- If the wood is in poor condition, you must be extra careful during stripping to avoid further damage.
- Also, note any decorative details or intricate carving requiring special attention.
Materials You’ll Need for Paint Removal
Gathering the right tools and materials is crucial in any paint removal project.
Having everything on hand before you start will make the process smoother and more efficient.
| Item | Usage |
|---|---|
| Paint Scraper | Essential for removing loosened paint. Look for one with a comfortable grip and a sharp, flexible blade. |
| Steel Wool | Fine steel wool helps remove paint from curved surfaces and hard-to-reach areas. |
| Citristrip | The primary paint removal product. It is effective on multiple layers and less harsh than other strippers. |
| Mineral Spirits | I need to clean the wood surface after stripping the paint. |
| Gloves | Protective gloves to safeguard your hands from chemicals and paint residue. |
| Saran Wrap | A key tool in the paint removal method is used to seal the stripper onto the wood. |
| Old Paintbrush | For applying the Citristrip evenly across the wood surface. |
| Dropcloth/Newspapers | To protect your work area from spills and debris. |
| Sandpaper/Sander (Optional) | Used for smoothing the wood after paint removal. |
| Dust Mask (Optional) | Protects from dust particles if sanding is involved. |
| Safety Goggles (Optional) | Protects your eyes during the stripping or sanding process. |
These materials will set you up for a successful paint removal project.
Step-by-Step Guide: Stripping Paint from Wood
By following these steps, you can effectively remove paint from your wooden surfaces with minimal fuss.
1. Preparation

Setting up the workspace:
- Choose a well-ventilated area for your project.
- If possible, work outdoors or in a garage with open doors.
- Lay down a tarp or old sheets to protect the floor or ground.
- Make sure you have good lighting to see all areas of your piece.
Protecting surrounding surfaces:
- If you’re working on a piece of furniture, remove any hardware like knobs or hinges.
- Cover any parts of the item you don’t want stripped with plastic sheeting and tape.
- If working indoors, cover nearby furniture or floors with drop cloths.
2. Application of Paint Stripper

Detailed guide on applying Citristrip.
- Put on your gloves and safety goggles.
- Applying a thick, even layer of Citristrip to the painted surface using an old paintbrush.
- Make sure to cover all painted areas thoroughly.
- Work in small sections if you’re dealing with a large piece.
Ensuring an even layer for uniform results.
- Apply the Citristrip generously.
- A thick, even layer will work more effectively than a thin one.
- Make sure to get into all the nooks and crannies, especially on detailed or carved areas.
3. Saran Wrap Technique

Wrapping the wood tightly to ensure effective absorption:
- Immediately after applying the Citristrip, cover the treated area with saran wrap.
- Press it down gently to remove air bubbles and ensure good contact between the wrap and the stripper.
- This creates a seal that keeps the Citristrip moist and active.
Letting it sit for 24 hours:
- Once wrapped, leave the piece undisturbed for at least 24 hours.
- This waiting period allows the Citristrip to penetrate multiple layers of paint, making them easier to remove.
- Resist the urge to peek or unwrap early – patience is key for the best results.
4. Removing the Paint

After waiting patiently for the Citristrip to work its magic, it’s time to remove the loosened paint.
Scraping Off Paint:
You’ll know it’s time to start scraping when the Citristrip has turned white, and the paint looks crackly.
This usually happens after about 24 hours. If some areas still look wet or unchanged, you may need to let them sit a bit longer or reapply the Citristrip.
Using Grocery Bags to Collect Debris:
- Before scraping, have several grocery bags ready to collect the paint debris.
- This makes cleanup easier and prevents mess.
- You might also want to keep a spray bottle handy to dampen dried areas.
Remember, the goal is to remove the paint without harming the wood underneath.
If you encounter stubborn spots, it’s better to reapply Citristrip and wait longer rather than scrubbing too hard.
Post-Stripping Care of the Wood

After successfully removing the paint, your wood surface needs some final attention to ensure it’s clean, smooth, and ready for its next finish.
This section covers the important steps of cleaning and sanding your newly stripped wood.
These processes help remove any lingering paint or chemicals and prepare the surface for whatever treatment you plan next, whether staining, painting or simply sealing the natural wood.
1. Cleaning the Surface
Wiping down with mineral spirits:
- Cleaning the wood thoroughly is crucial once you’ve removed all visible paint.
- Mineral spirits are excellent for this task.
Here’s How to Do It:
- Pour some mineral spirits onto a clean cloth or rag.
- Wipe down the entire surface of the wood, paying extra attention to any areas with stubborn paint.
- The mineral spirits will remove any remaining Citristrip residue and help reveal any spots you might have missed.
- Allow the wood to dry completely before moving on to sanding.
2. Sanding
When and how to sand after stripping to remove stains and ensure a smooth finish:
Sanding is often necessary after stripping paint, especially if you notice any remaining stains or want a perfectly smooth surface. Here’s what you need to know:
When to Sand:
- After the wood is completely dry from the mineral spirits cleaning
- If you see any paint spots you missed during scraping
- If there are any raised grain or rough areas on the wood
- To remove any lingering stains that the stripper didn’t take care of
How to Sand:
- Start with a medium-grit sandpaper (around 120 grit) for initial smoothing.
- Work your way up to finer grits (180-220) for a smoother finish.
- Sand in the direction of the wood grain to avoid scratches.
- Use a sanding block on flat surfaces for even pressure.
- For curved or detailed areas, you might need to sand by hand.
- Wipe away sanding dust with a tack cloth between grits.
Remember, the goal is a smooth, clean surface ready for its new finish. Take time with this step to ensure the best results for your freshly stripped wood.
Alternative Methods of Paint Removal
While the Citristrip and saran wrap methods are highly effective, they are not the only ways to remove paint from wood.
Understanding the alternatives can help you choose the best method for your project, especially if you’re dealing with unique challenges or materials.
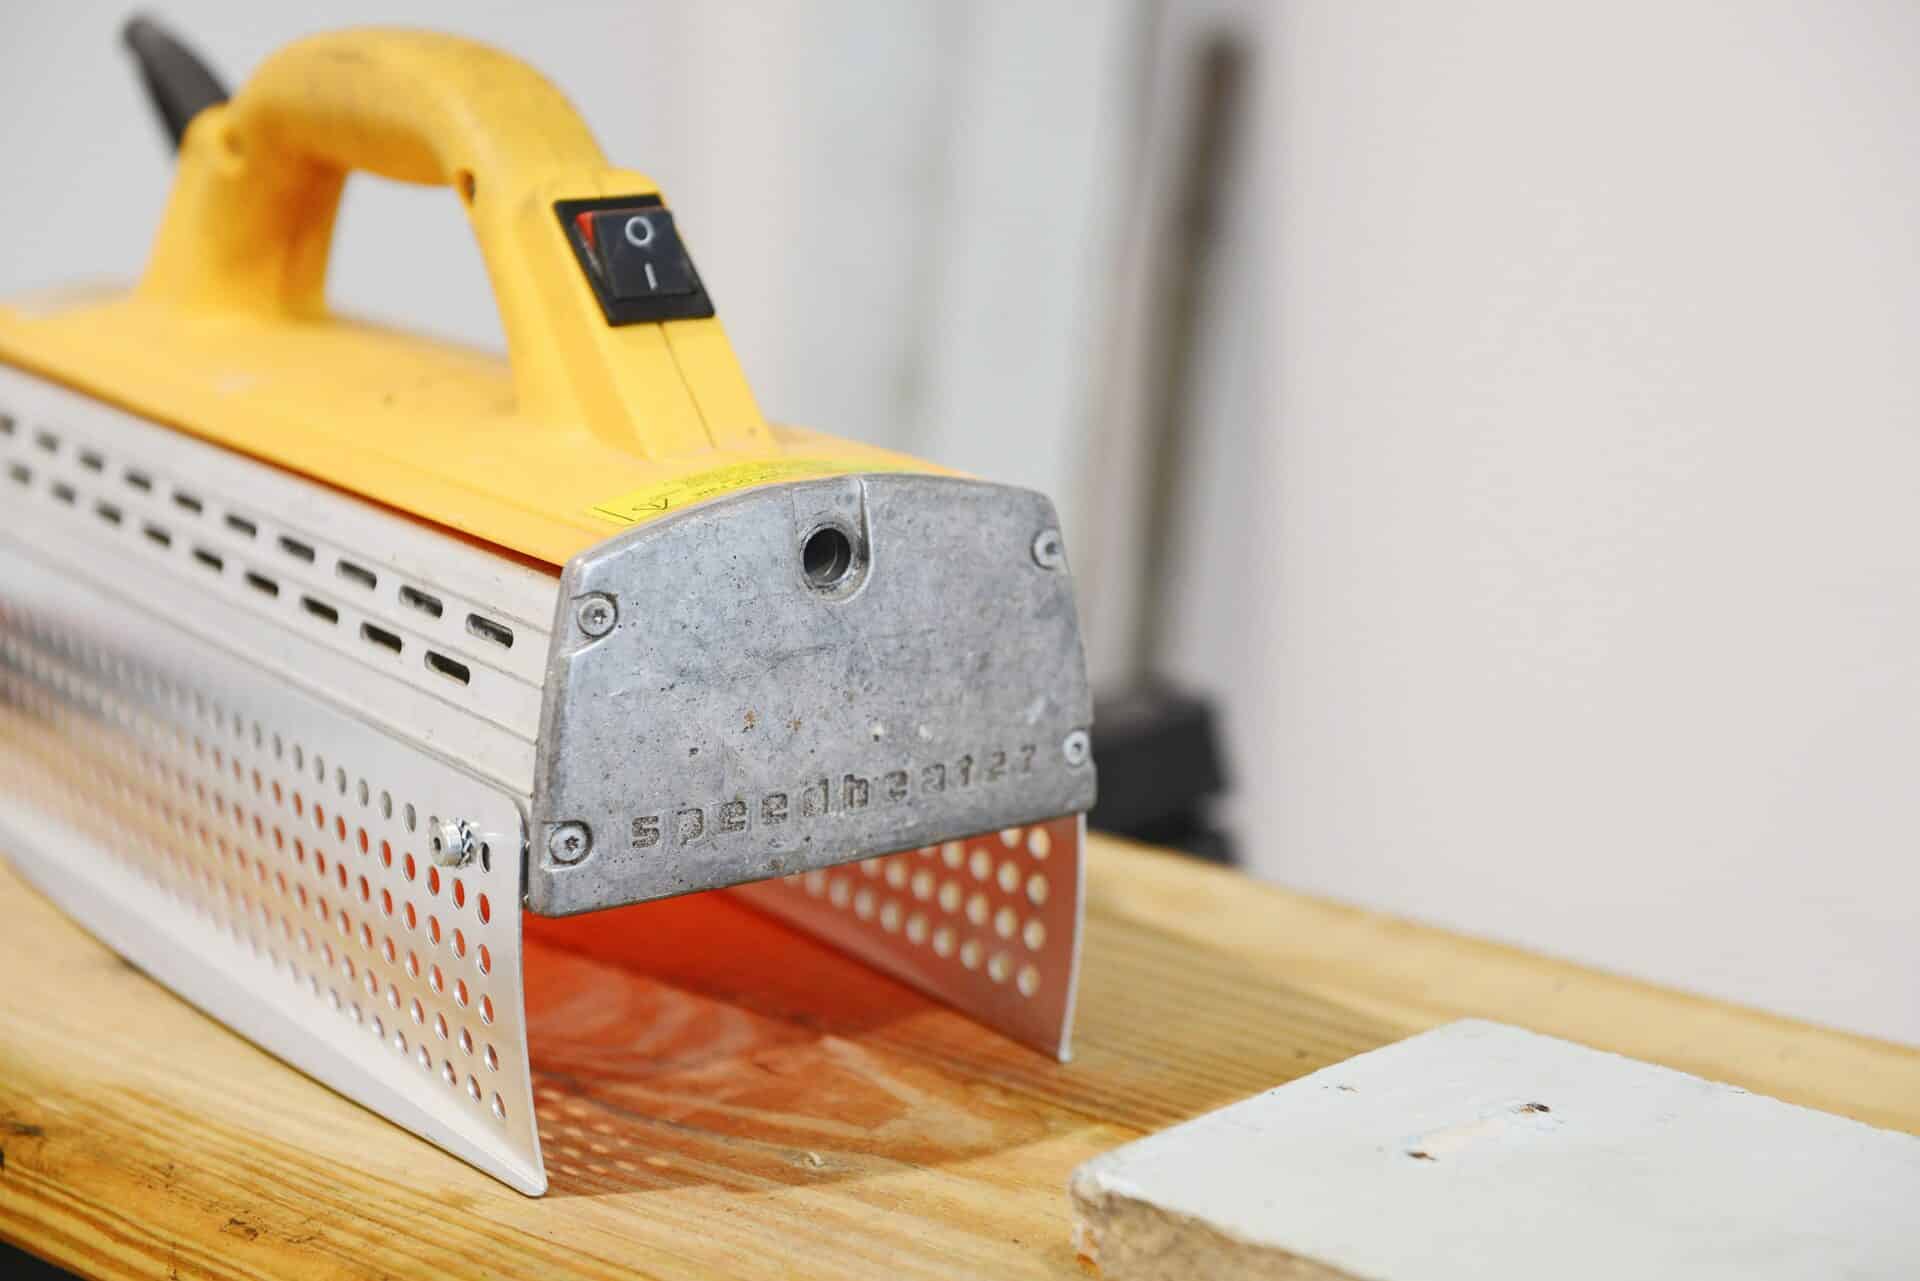
1. Heat Guns

Heat guns can be effective for removing paint, especially on flat surfaces.
They work by softening the paint, making it easier to scrape off.
However, they come with some risks:
Advantages:
- It can be faster than chemical strippers for some projects
- No chemicals involved, reducing cleanup
Risks:
- Potential for wood damage if not used carefully
- Can release toxic fumes from old paint
- Risk of fire if not handled properly
- It may not be suitable for detailed or intricate woodwork
2. Sanding

When sanding is more practical and which tools work best:
Sanding can be a good option in certain situations:
When it’s practical:
- For thin layers of paint
- On flat, even surfaces
- When you want to smooth the wood at the same time
Tools that work best:
- Electric sanders for large, flat areas
- Sanding blocks for more control on smaller surfaces
- Detail sanders for getting into corners and curved areas
Remember, each method has its place, and the best choice depends on your specific project, the condition of the wood, and your comfort level with different techniques.
Troubleshooting Common Problems
Even with careful preparation and execution, you might encounter some challenges during the paint removal.
This section addresses two common issues DIYers often face: uneven stripping and stains that appear after paint removal.
Understanding how to handle these problems will help you achieve a smooth, clean finish on your wood surface.
1. Uneven Stripping
How to address missed spots:
Sometimes, you might notice areas where paint remains after your initial stripping attempt. Here’s how to handle this:
- Reapply stripper: Focus on the stubborn areas, applying a thick layer of stripper.
- Cover with plastic wrap: This helps the stripper work more effectively.
- Wait: Give it time to work, typically a few hours to overnight.
- Scrape gently: Use a plastic scraper to avoid damaging the wood.
- Clean: Wipe the area with mineral spirits to remove residue.
- Assess: If paint remains, repeat the process or consider light sanding.
2. Stains Post-Stripping
Solutions for wood staining after paint removal:
Sometimes, you might notice discoloration or stains on the wood after stripping.
Here’s how to address this issue:
- Identify the stain: Is it from the paint, the stripper, or the wood itself?
- For chemical stains: Try wiping with mineral spirits or vinegar. If persistent, a light sanding might help
- For wood discoloration: Use wood bleach for severe stains Try oxalic acid for lighter stains (follow product instructions carefully)
- For stubborn stains: Consider using a wood cleaner or brightener
In some cases, you might need to sand the surface
Remember, some wood types naturally darken when exposed to air.
If the stain is part of the wood’s character, you might embrace it rather than try to remove it.
Conclusion
As we wrap up our guide to paint removal from wood, remember that patience and the right technique are key.
The Citristrip and saran wrap method offers an effective, less labor-intensive approach suitable for most DIY projects.
By understanding your wood, choosing the right materials, and following our step-by-step instructions, you can successfully strip paint and reveal the natural beauty of your wooden surfaces.
Remember, safety comes first. Always work in a well-ventilated area and use protective gear.
If you encounter challenges like uneven stripping or stubborn stains, don’t worry.
Our troubleshooting tips will help you overcome these common issues.
Ready to start your paint removal project? Gather your materials, set aside time, and transform your wooden pieces confidently.
Happy stripping!

