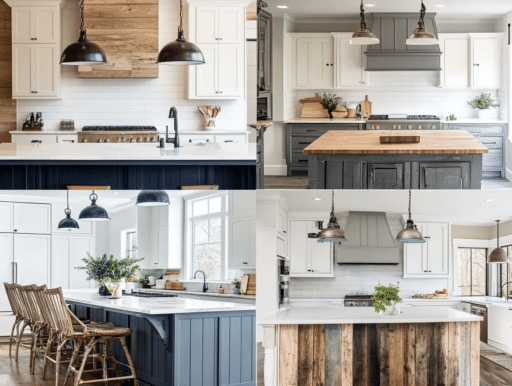
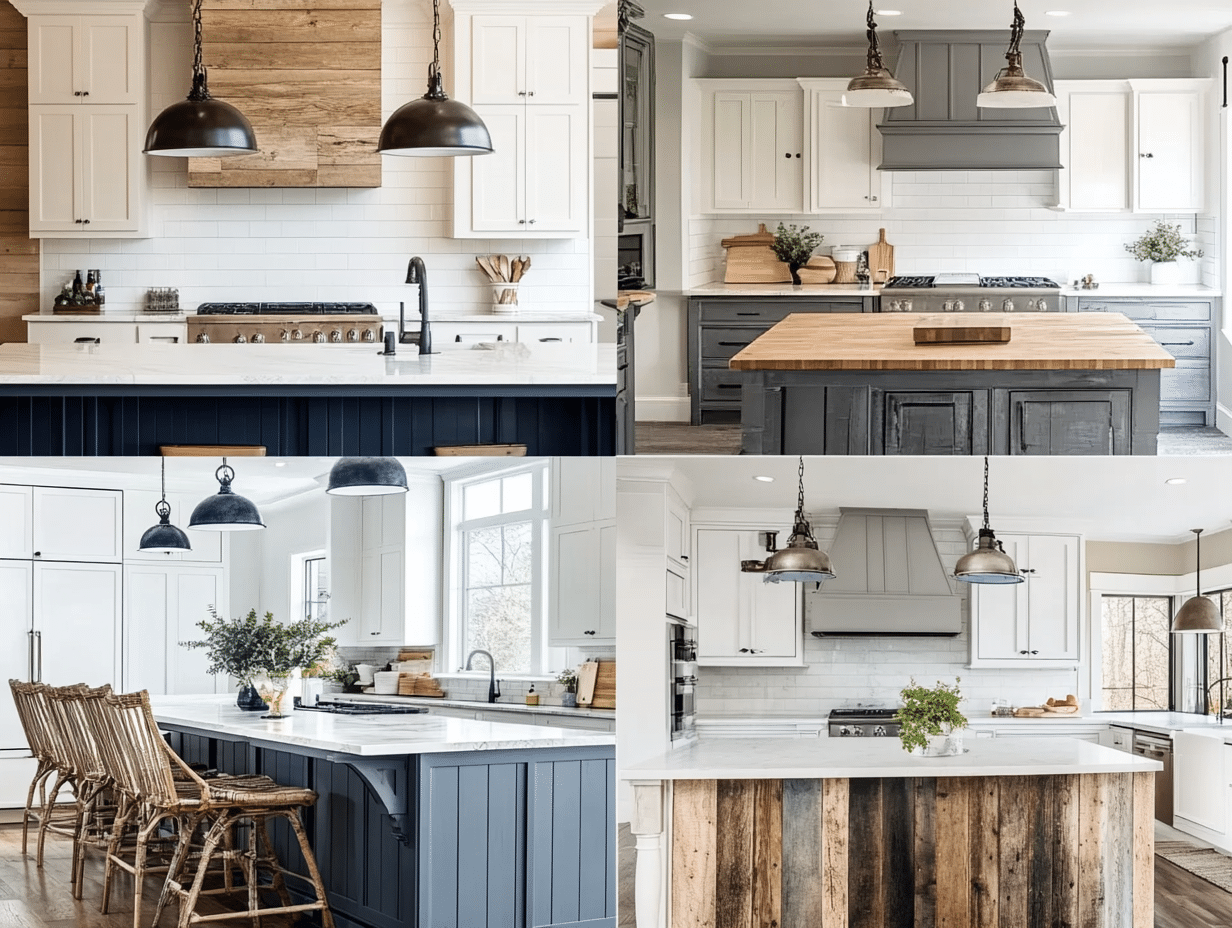
Shiplap has become a favorite choice in modern home design, especially for kitchens.
But what exactly is it?
Shiplap refers to wooden boards with grooves that fit snugly together, creating a sleek, textured look.
Originally used for barns and sheds, it’s now a go-to option for adding beauty and personality indoors.
But what makes shiplap so special? It’s versatility.
Whether you’re going for a cozy farmhouse look or a sleek contemporary style, shiplap blends seamlessly with various designs.
On a kitchen island, it adds a layer of character and transforms it into a visual focal point.
In this blog, you’ll learn:
- What shiplap is and why it’s a great choice for your kitchen island
- Step-by-step tips to install it perfectly
- Fifteen unique shiplap ideas to inspire your project and much more.
Ready to reimagine your kitchen island with a stunning shiplap makeover?
Let’s get started!
Materials You’ll Need to Shiplap a Kitchen Island

Before starting your shiplap project, you’ll need the right tools and materials.
Having everything ready makes the process smoother and faster. Let’s see what you’ll need:
Basic Tools
- Measuring tape and pencil
- Level (4-foot recommended)
- Miter saw, or circular saw
- Nail gun with 2-inch finish nails
- Sandpaper (medium and fine grit)
- Caulk gun
- Paint brushes and rollers
- Safety glasses and dust mask
Materials
- Shiplap boards (real wood or MDF)
- Construction adhesive
- Wood filler
- Caulk for gaps
- Paint or stain of your choice
- Primer (if painting)
Smart Tips for Materials
- Buy 10% extra boards to account for cuts and mistakes
- Choose boards with tongue-and-groove edges for easier fitting
- Pick moisture-resistant boards if your island sits near a sink
- Pick a finish that matches your kitchen. A semi-gloss paint is easy to clean, while a stain adds a natural, rustic look.
- Use adhesive and nails for extra strength, especially if the boards are heavy.
Step-by-Step Guide to Installing Shiplap on Your Kitchen Island
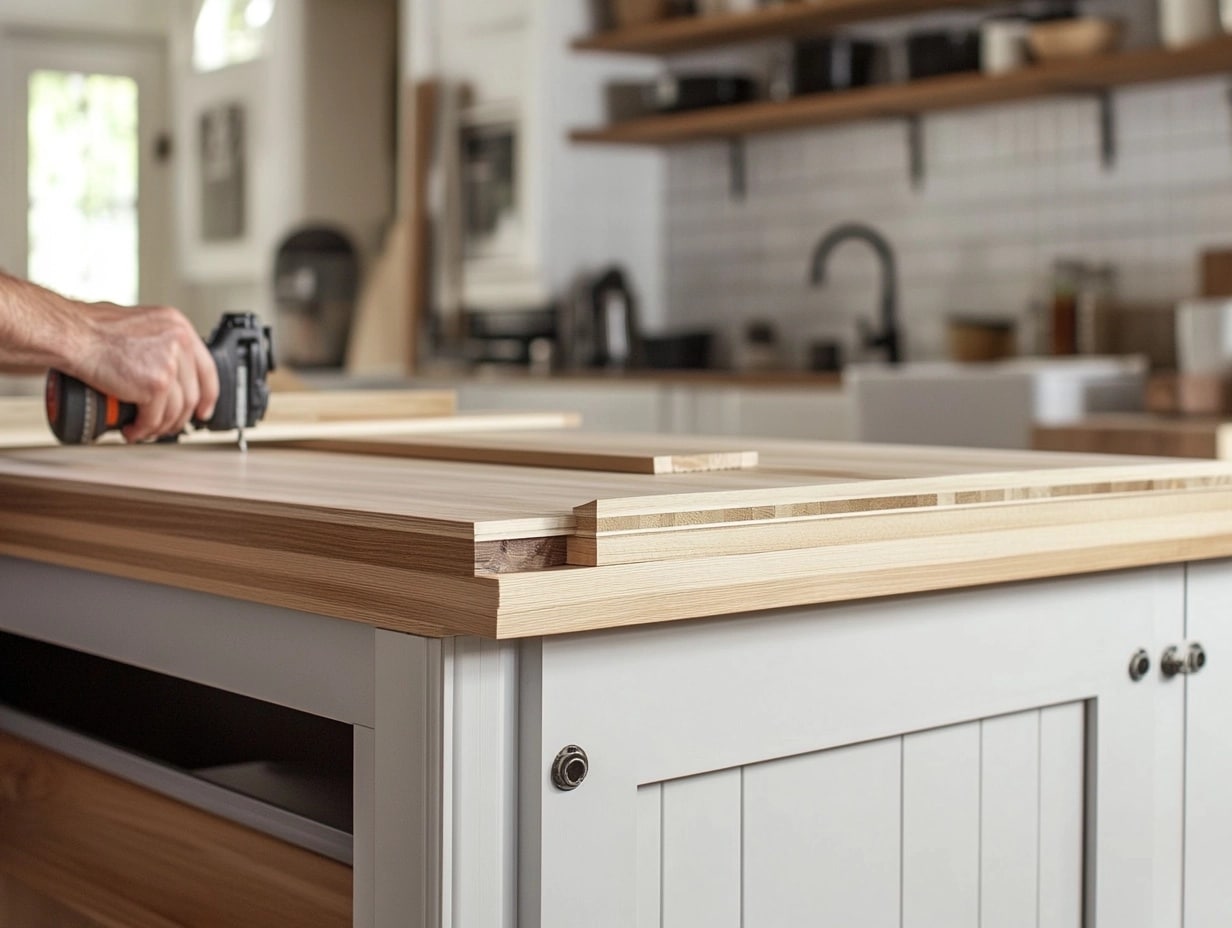
Installing shiplap on your kitchen island is simple if you take it step by step.
Here’s how to do it:
1. Measure and Prepare the Kitchen Island
- Use a measuring tape to calculate the length and height of each side of the island. Write down the dimensions to avoid mistakes.
- If there are outlets or trim, measure and note their positions for accurate cuts.
- Clean the island’s surface with a damp cloth to remove dirt or grease. Smooth any uneven areas with sandpaper.
Pro tip: Draw a sketch of your island and label all measurements. This helps you plan the board layout and calculate materials.
2. Cut and Arrange the Shiplap Boards
- Using your measurements, mark the boards where they need to be cut.
- Cut the boards with a circular saw or hand saw for clean edges.
- Lay the boards on the floor in the order they’ll be installed. This helps you plan the layout and check for gaps or uneven lengths.
Pro tip: When cutting around outlets or pipes, make paper templates first. This saves wood and prevents mistakes.
3. Attach the Shiplap Boards
- Start from the bottom and work your way up. This ensures alignment and makes adjustments easier.
- Apply adhesive to the back of each board for extra hold (optional).
- Nail or screw the boards into place, securing them to the island frame. Use a level after attaching each board to keep them straight.
Pro tip: Use spare pieces of wood as spacers between boards to keep gaps even.
4. Finishing Touches
- Fill any gaps or seams with caulk for a seamless look. Smooth the caulk with your finger or a putty knife.
- Sand the edges lightly for a smooth finish.
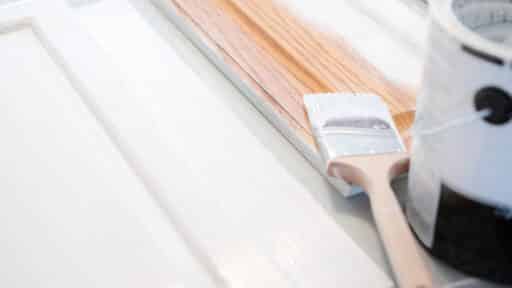
- To complete the look, apply paint or stain. Use a roller for large areas and a brush for corners.
Quick Checks Before You Finish
- Run your hand over the boards to feel for rough spots
- Look at the surface from different angles to spot gaps
- Make sure all corners are sealed
- Check that everything is level one last time
Pro tip: Take photos of your progress. They help you spot areas that need touching up.
Remember that small details make a big difference. Take time with each step, and don’t rush the finishing work.
A careful installation looks better and lasts longer.
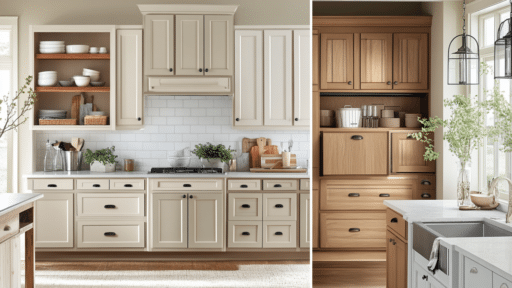
Painting or Staining Your Shiplap: What Works Best?
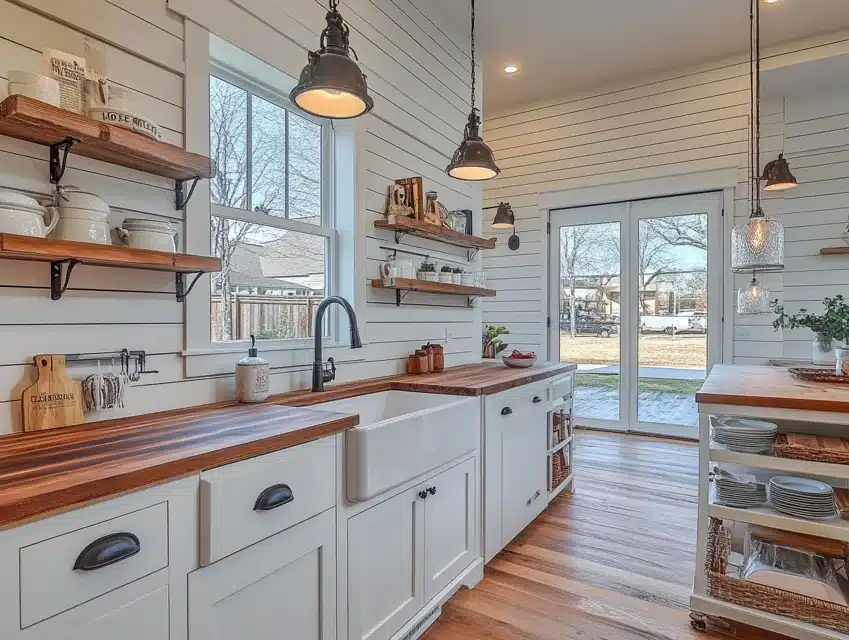
Deciding between painting or staining your shiplap depends on the style and maintenance you want.
Below is a comparison of the two options, and based on that, you can decide which one fits your kitchen design:
| Feature | Paint | Stain |
|---|---|---|
| Cost | Higher upfront cost | Lower cost per gallon |
| Durability | lasts 5-10 years | Needs reapplication every 2-4 years |
| Prep Work | Needs primer | Minimal prep needed |
| Wood Grain | Covers grain | Shows natural grain |
| Touch-ups | It can be tricky to match | Easier to blend |
| Color Options | Unlimited choices | Limited to wood tones |
| Application | Multiple thin coats | Usually 1-2 coats |
| Drying Time | 24-48 hours total | 12-24 hours total |
Steps for a Professional Paint Finish
1. Clean and Sand the Boards
Remove dust and smooth the surface with sandpaper.
2. Apply Primer
Use a primer to prevent the wood grain from showing through.
3. Paint the Shiplap
Apply 2-3 thin coats of paint with a roller or brush, allowing each coat to dry.
Steps for a Professional Stain Finish
1. Sand and Clean the Surface
Sand thoroughly to open up the wood grain, then wipe off debris.
2. Apply the Stain
Use a brush or cloth to evenly apply the stain, following the wood grain.
3. Seal the Finish
Protect the stain with a clear sealant to prevent damage.
Quick Tips for Better Results
- Work in good light
- Keep room temperature steady
- Use drop cloths everywhere
- Wear gloves
- Open windows for fresh air
- Save leftover paint or stain for touch-ups later.
Unique Trendy Shiplap Kitchen Island Themes
1. Classic White Farmhouse Shiplap
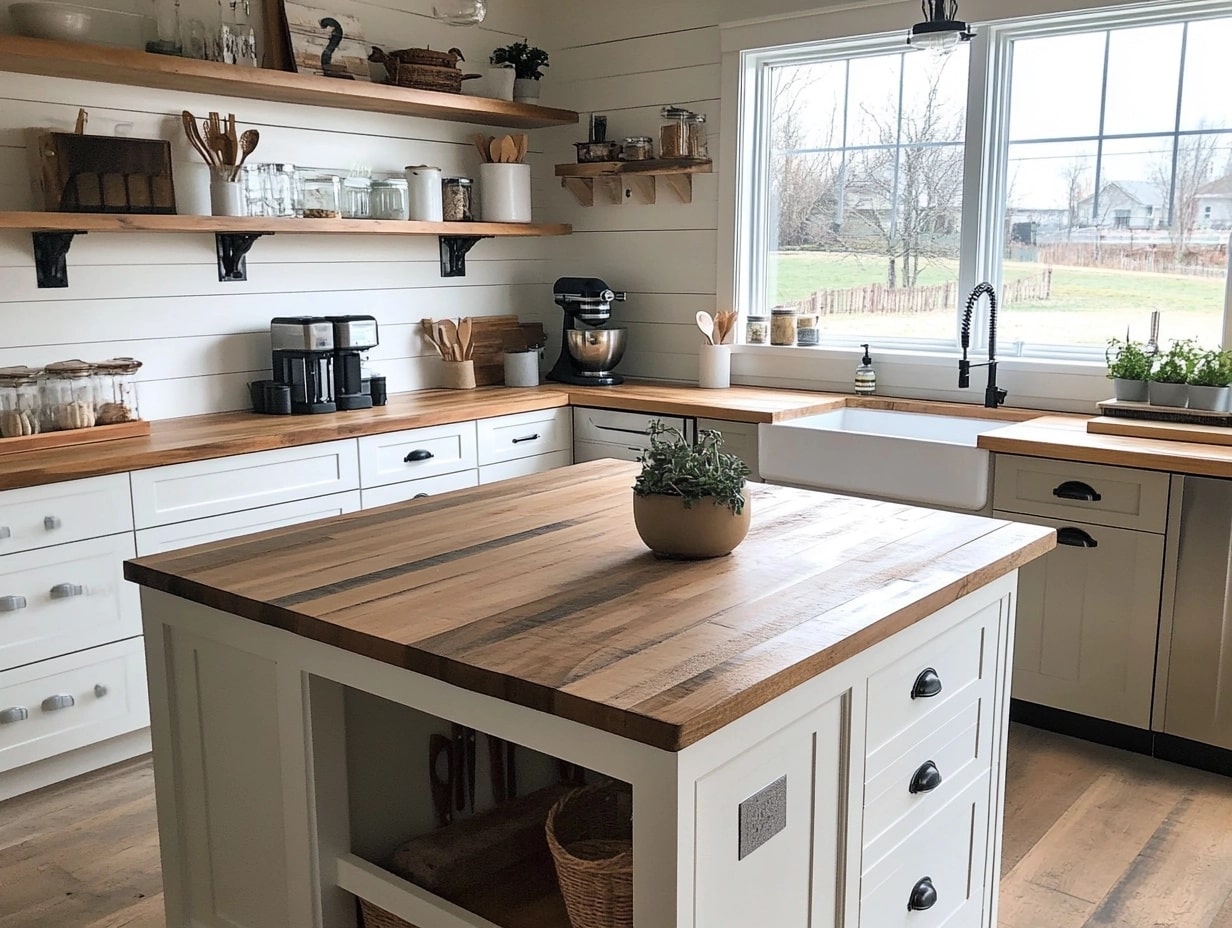
This style is a staple of farmhouse kitchens, featuring crisp white shiplap boards that add brightness and simplicity.
Pair it with warm butcher block countertops to balance the clean look with a touch of rustic beauty.
It’s timeless, easy to style, and works well in most kitchen designs.
2. Rustic Weathered Wood Shiplap
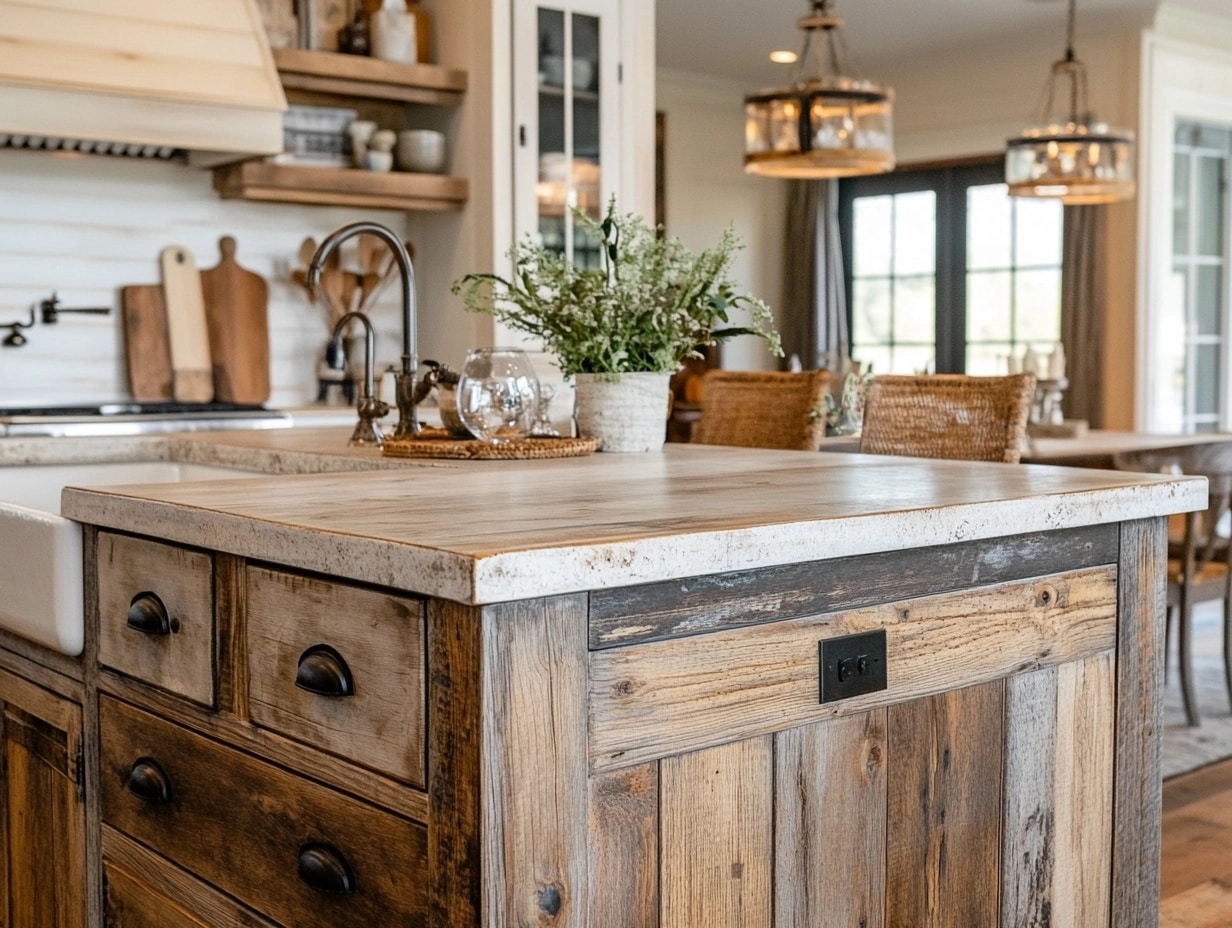
Distressed or weathered wood shiplap brings a cozy, lived-in feel to your kitchen.
The natural texture adds warmth and character, making it perfect for rustic or cottage-style homes.
Pair this look with earthy tones and vintage hardware for a cohesive design.
3. Two-Tone Shiplap Island
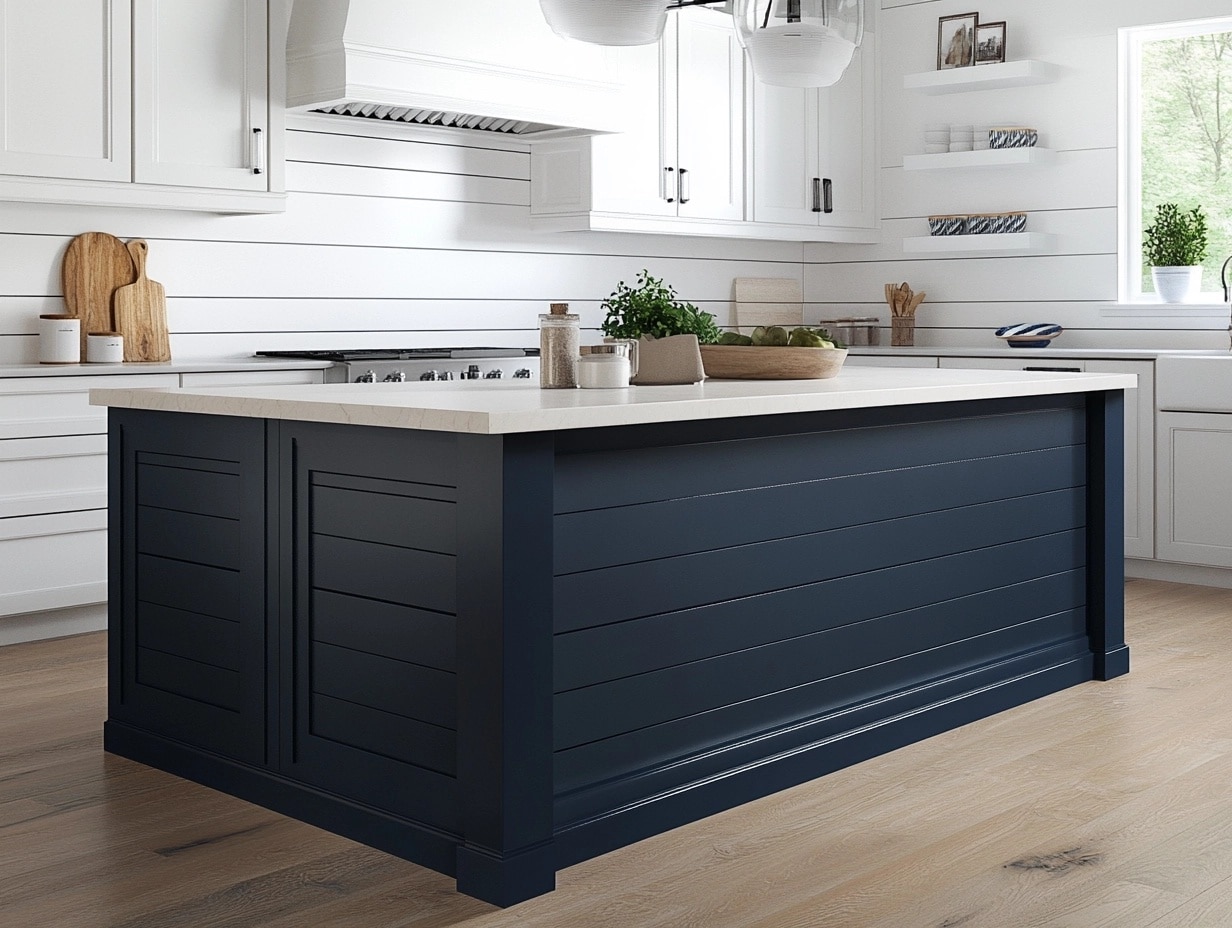
Combine two complementary colors, such as white and navy or grey and black, for a bold, modern design.
Use the lighter color on top to draw the eye upward and the darker shade below for grounding.
This technique creates depth and adds a unique touch to your kitchen island.
4. Vertical Shiplap Panels
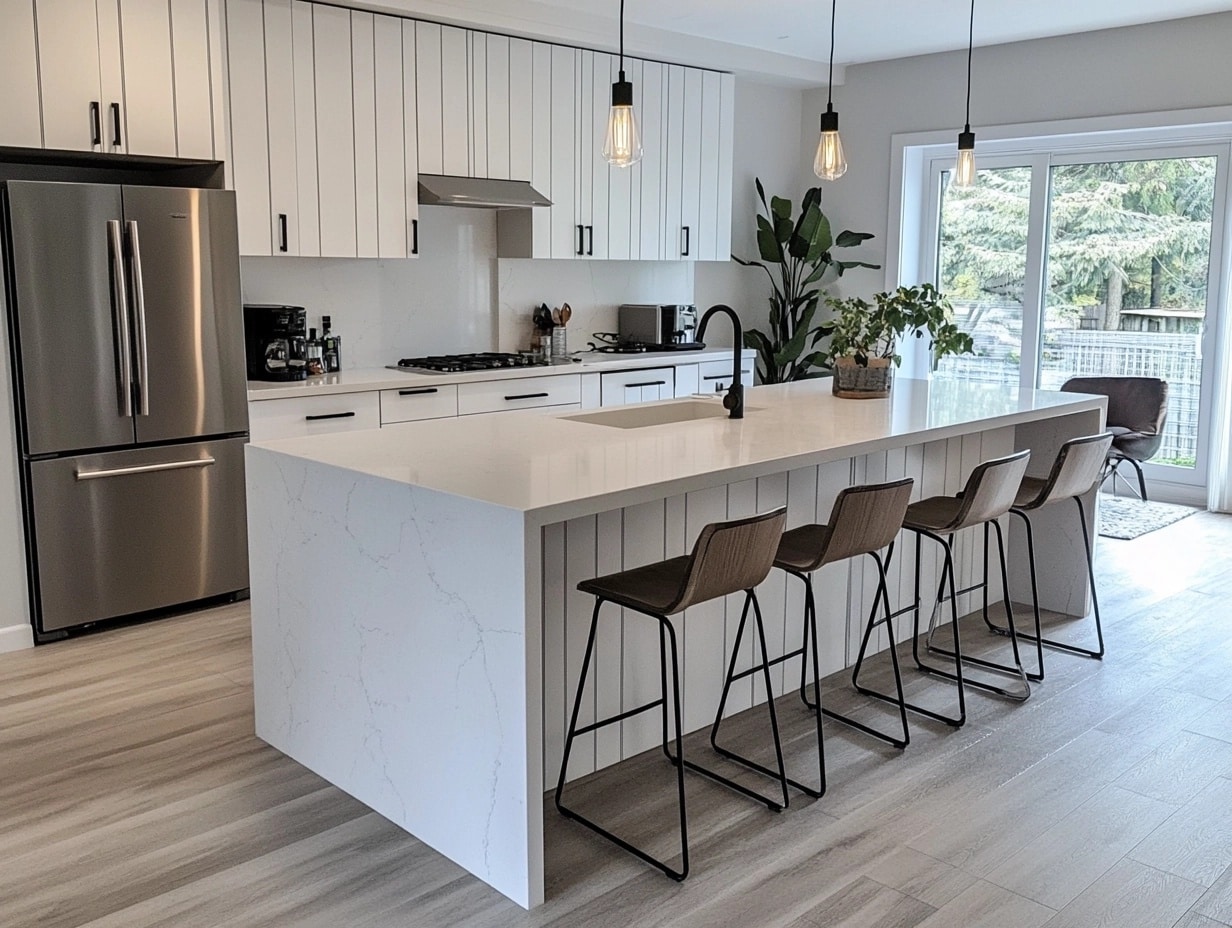
Give your kitchen island a sleek and modern vibe by arranging the shiplap boards vertically instead of horizontally.
This layout creates the illusion of height, making the island appear taller.
It’s an excellent choice for contemporary or small-space kitchens.
5. Natural Wood Shiplap
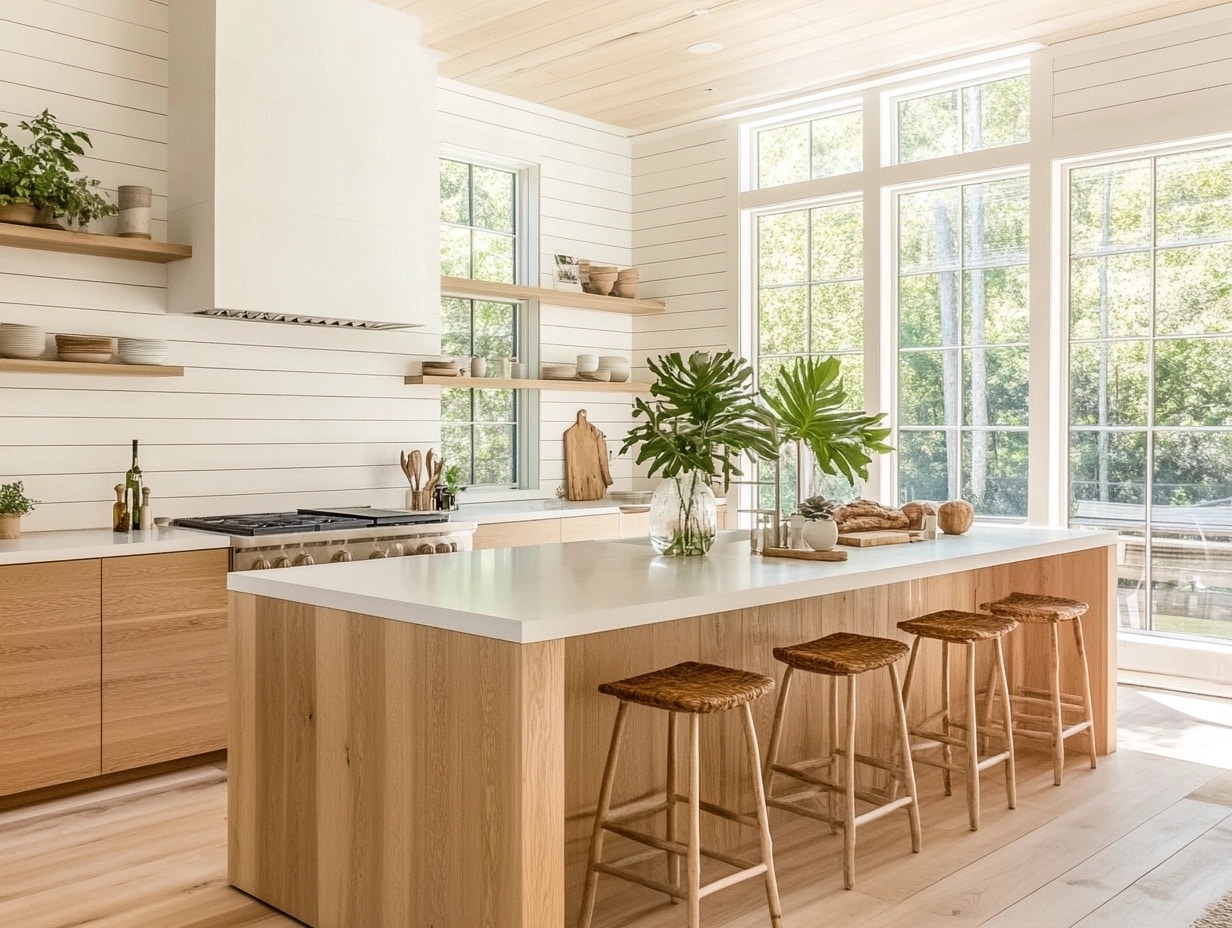
Highlight the beauty of natural wood grain by using untreated or lightly stained boards.
This style works beautifully in Scandinavian or minimalist kitchens, where simplicity and organic materials take center stage.
It’s a great way to bring a touch of the outdoors inside.
6. Dark and Moody Shiplap
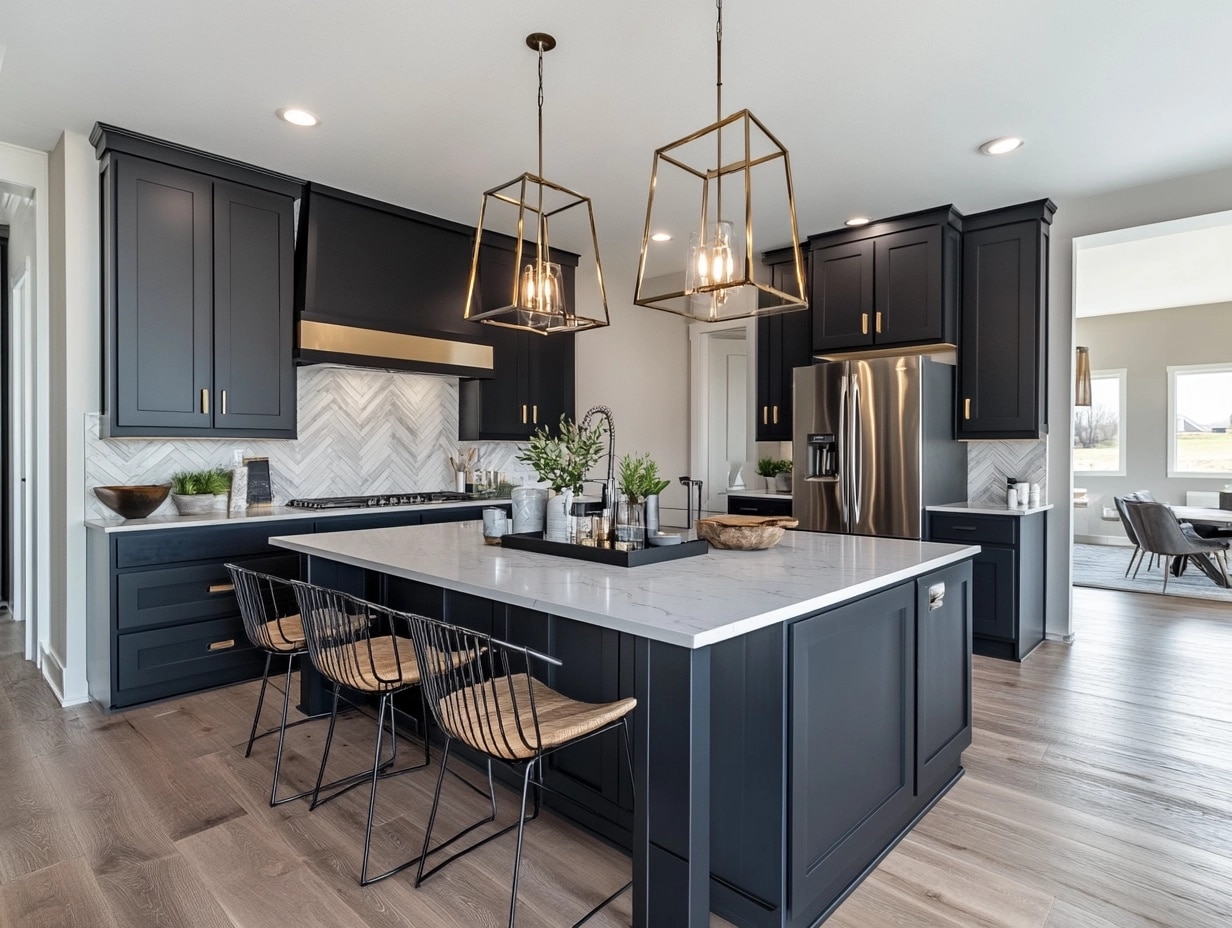
For a dramatic, modern look, choose dark-colored shiplap in shades like charcoal, deep navy, or matte black.
These colors create a bold statement and pair well with lighter countertops for a striking contrast.
It is ideal for kitchens with a modern or industrial aesthetic.
7. Coastal-Inspired Shiplap
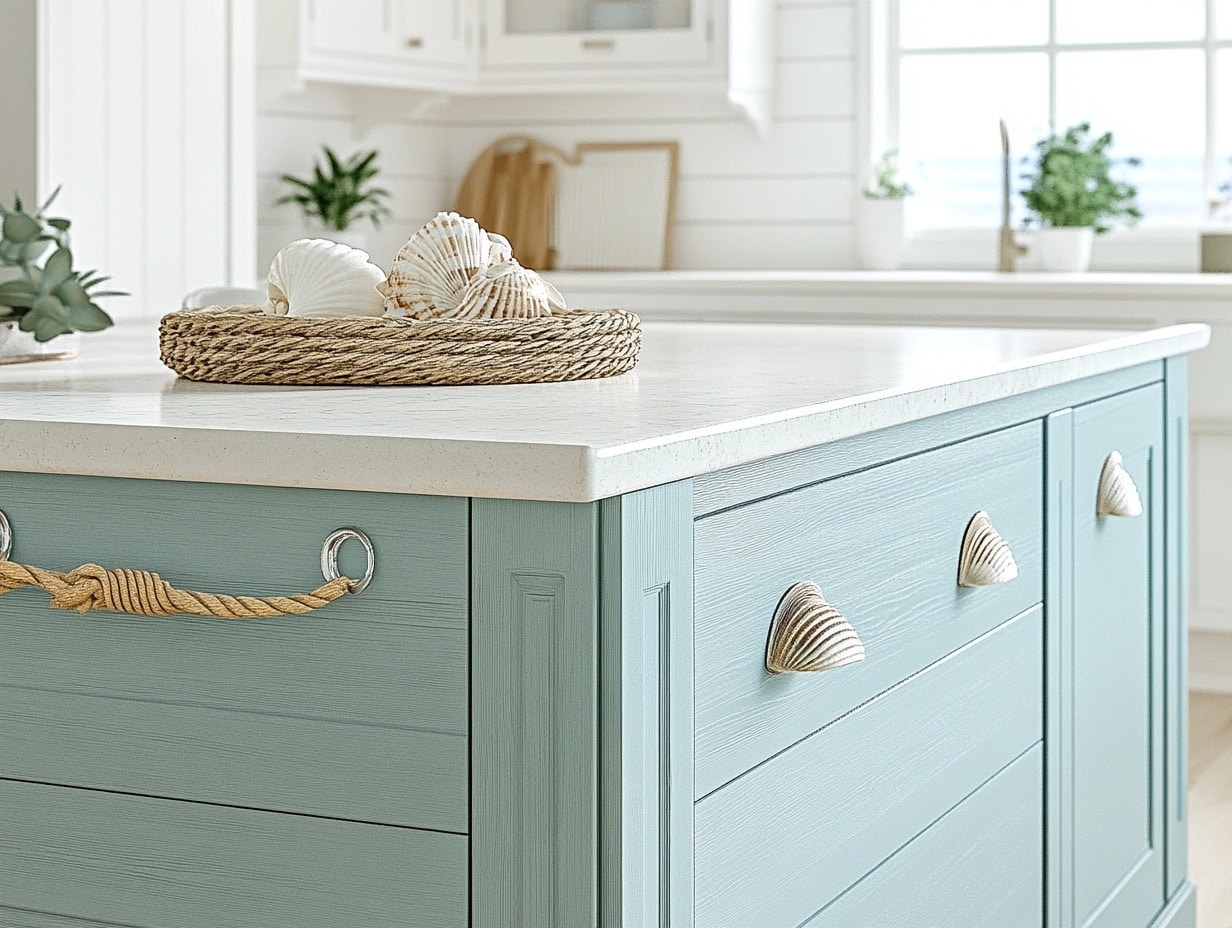
Light blue, sea foam green, or soft grey shiplap boards evoke a breezy coastal vibe.
Pair this style with natural stone or white countertops for a clean, beachy look.
Add nautical accents like rope handles or seashell decor to complete the theme.
8. Herringbone Shiplap Pattern
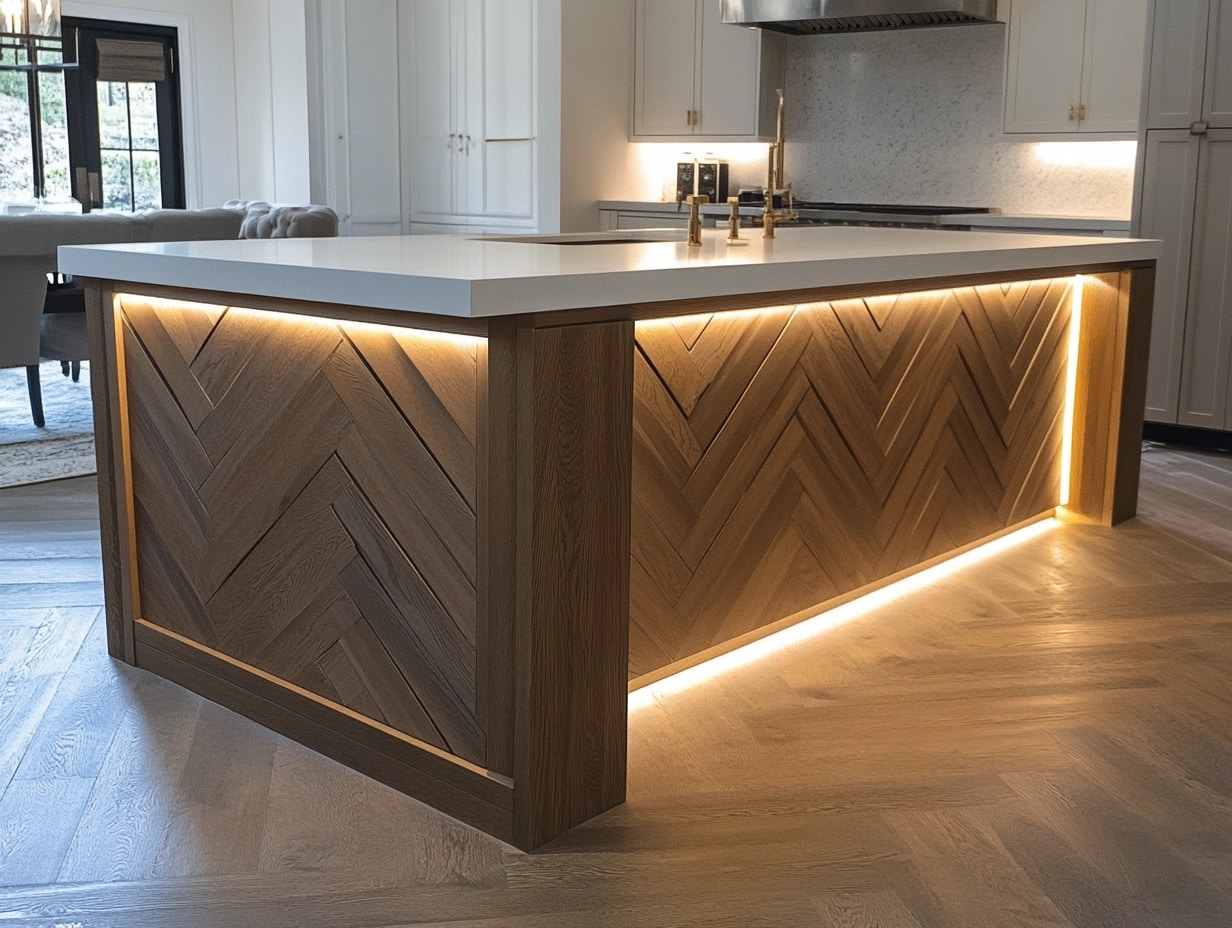
Take the shiplap to the next level by arranging the boards in a herringbone pattern.
This design adds movement and elegance to your kitchen island.
Use it as a focal point and keep the rest of your kitchen decor simple to let the pattern shine.
9. Painted Pastel Shiplap
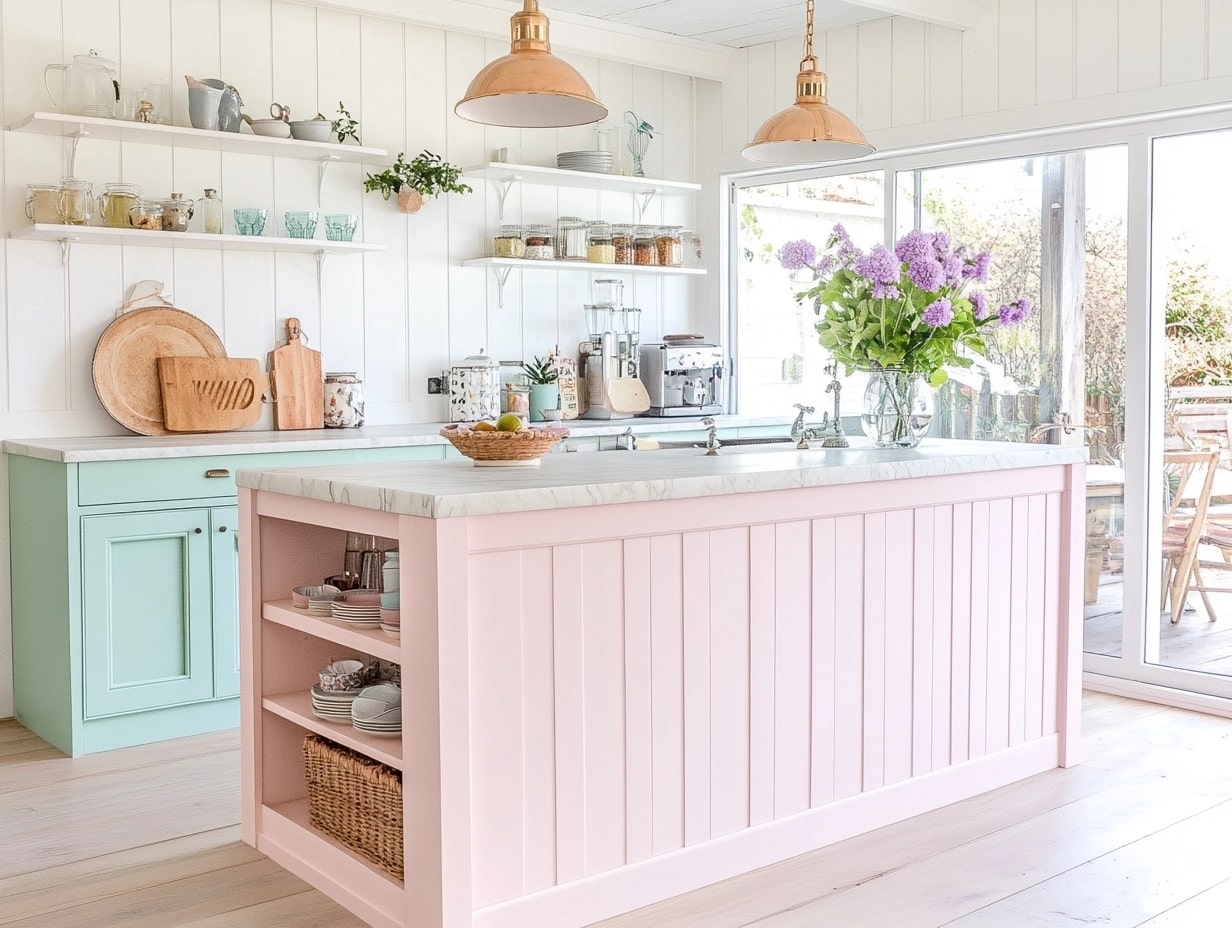
Soft pastel shades like blush pink, mint green, or lavender create a whimsical, playful feel.
These colors work well in eclectic or vintage-style kitchens and can be paired with light-colored countertops for a cheerful finish.
10. Metallic Accented Shiplap

Add a touch of glam to your kitchen island by pairing shiplap with metallic accents.
Use trim or paint in shades like gold, silver, or bronze for a luxurious twist.
This style works well in modern kitchens if you are looking for a subtle yet sophisticated upgrade.
11. Shiplap with Open Shelving Integration
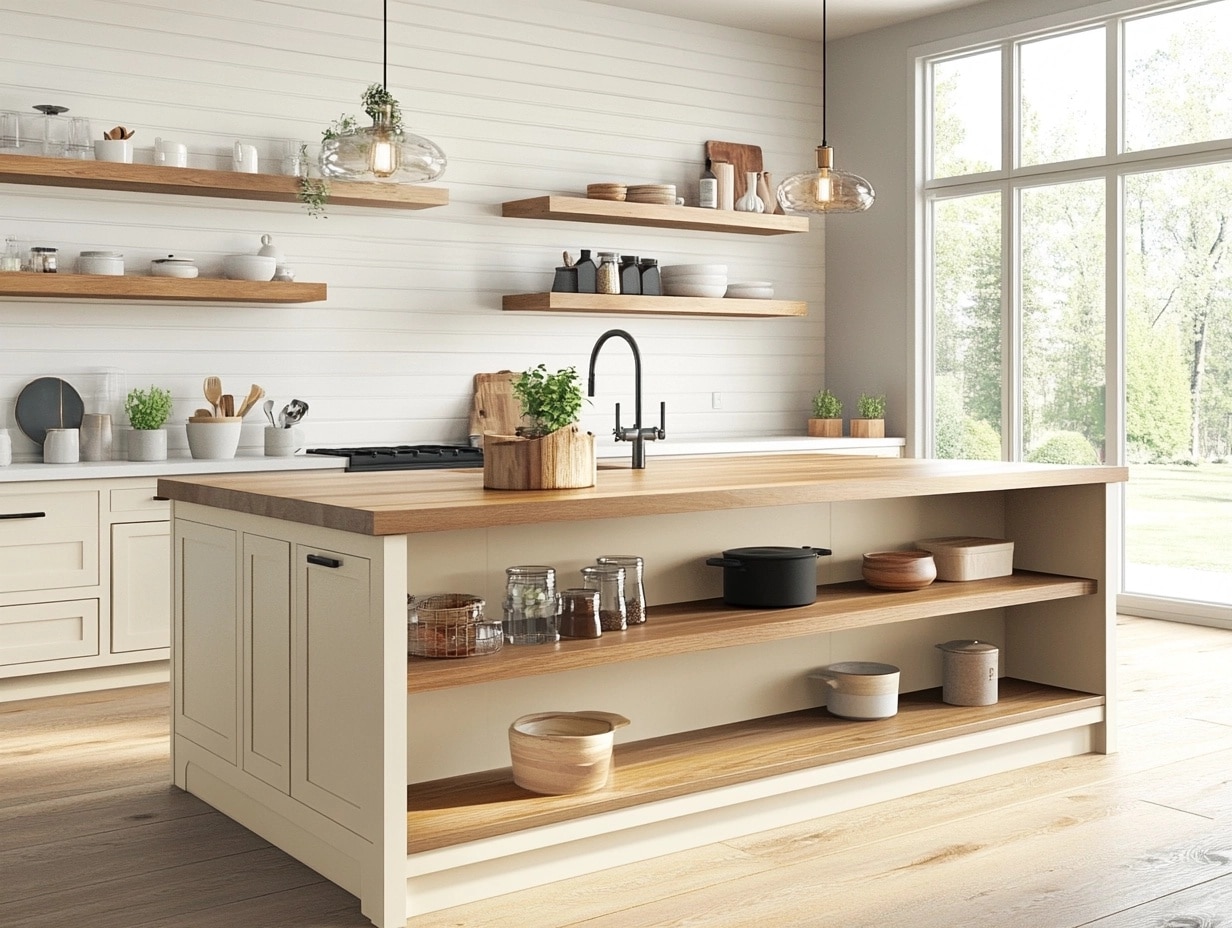
Combine functionality with design by adding open shelves built into the shiplap panels.
These shelves can be used for decorative displays or practical storage.
It’s a clever way to make your island both stylish and practical.
12. Reclaimed Wood Shiplap
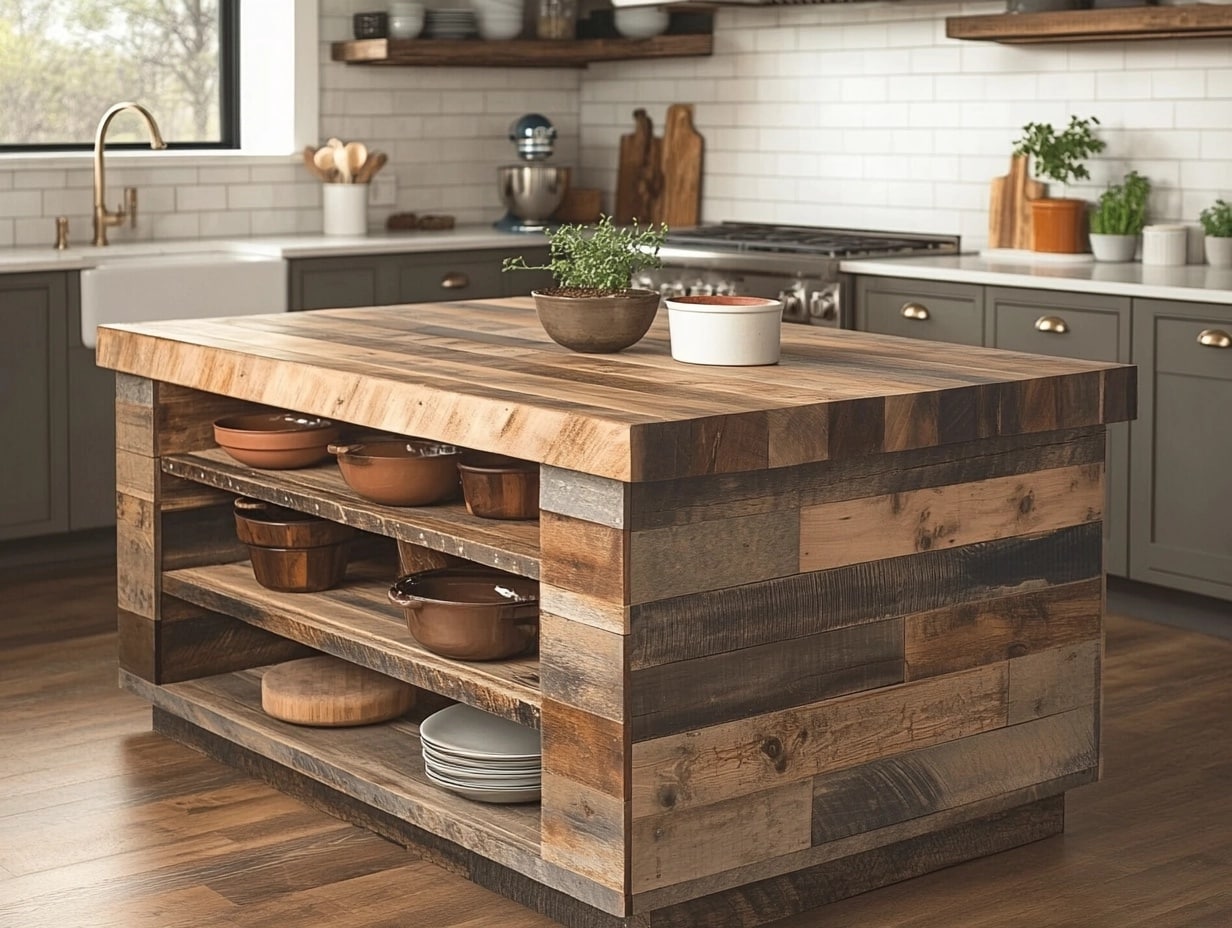
Use reclaimed or salvaged wood to create an eco-friendly and vintage-inspired design.
The wood’s natural imperfections add texture and personality, making it a perfect choice for farmhouses or rustic kitchens.
13. Modern Minimalist Shiplap
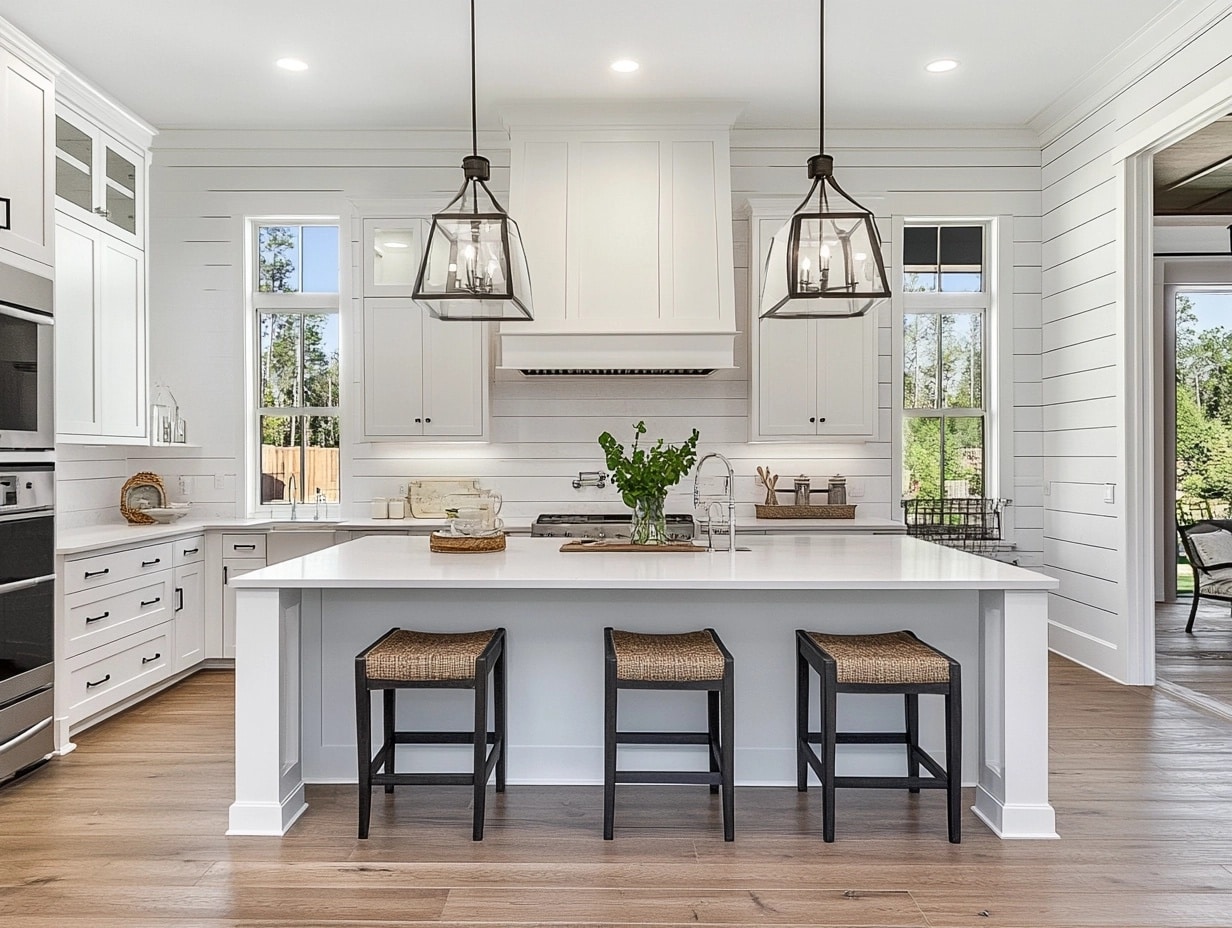
For a clean, understated look, use smooth shiplap boards with evenly spaced grooves.
Pair them with a monochromatic color scheme, such as all-white or soft grey, for a minimalist aesthetic.
This design focuses on simplicity and functionality.
14. Shiplap with Geometric Cutouts
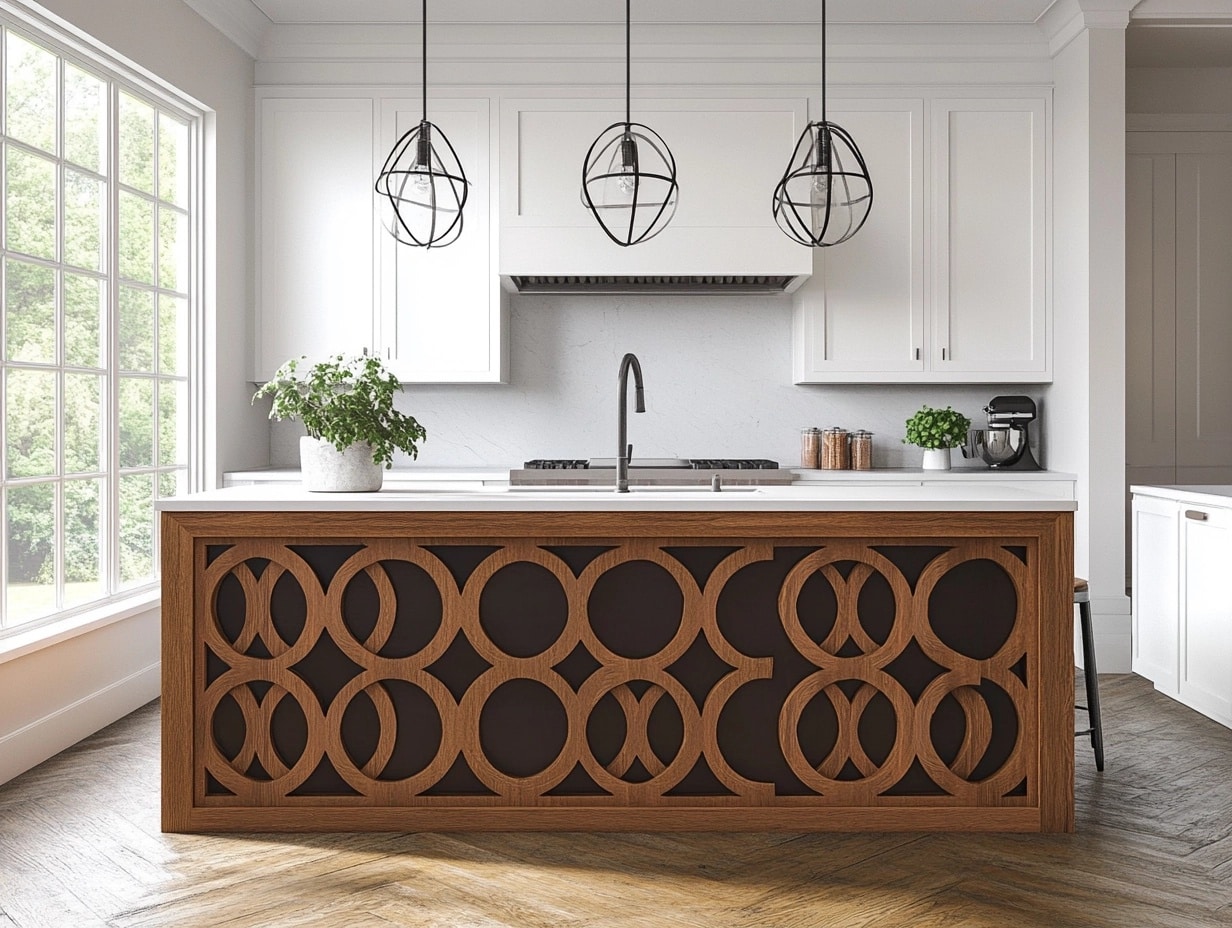
Add a unique, artistic touch by incorporating geometric cutouts into the shiplap panels.
Shapes like triangles or circles can create a striking focal point while maintaining the integrity of the shiplap design.
This style is perfect for bold, modern kitchens.
15. Bold Coloured Shiplap
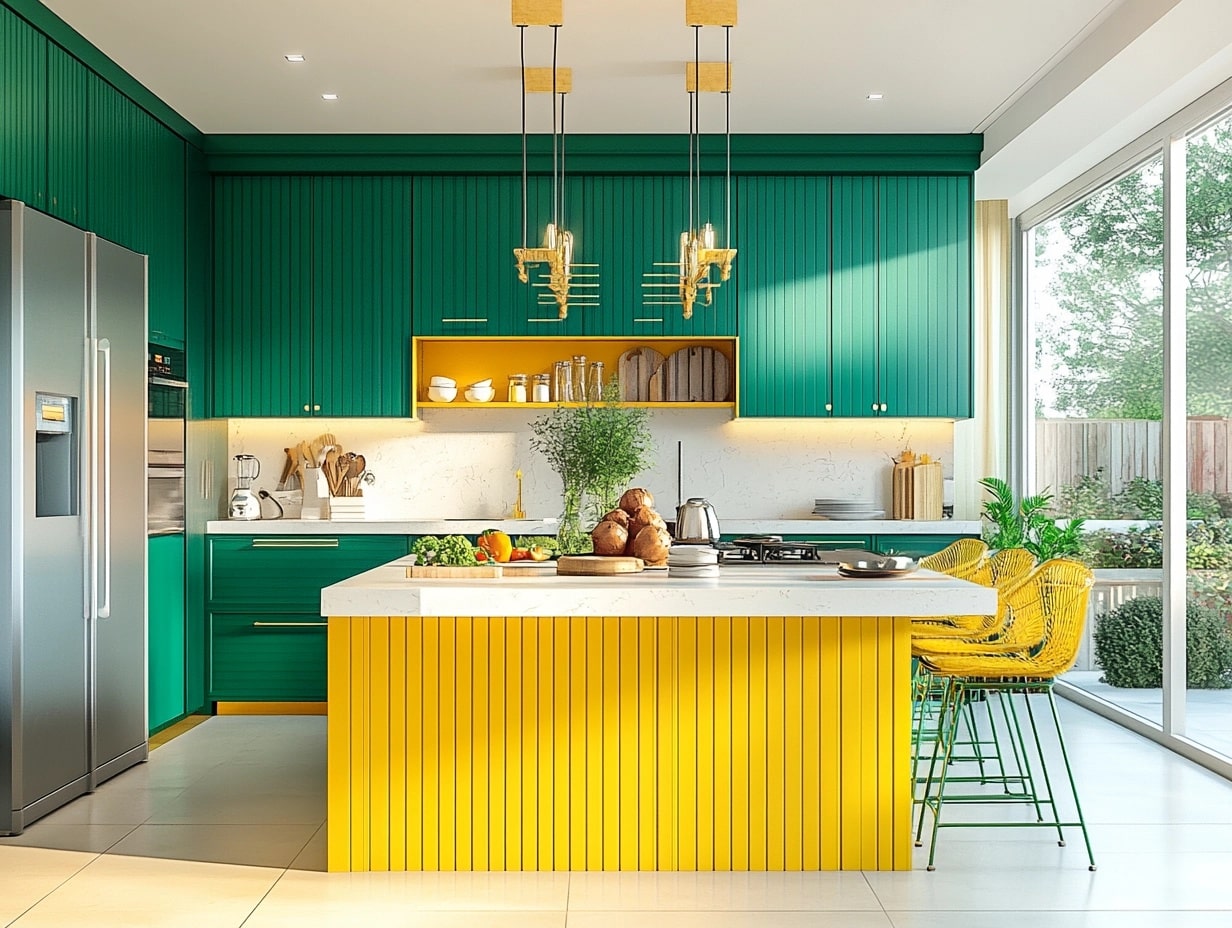
Make a statement with bright, vibrant colors like emerald green, mustard yellow, or vibrant teal.
These bold hues instantly draw attention and can make your kitchen island the centerpiece of the room.
Pair with neutral surroundings to let the color pop.
Why Shiplap is a Perfect Choice for Kitchen Islands
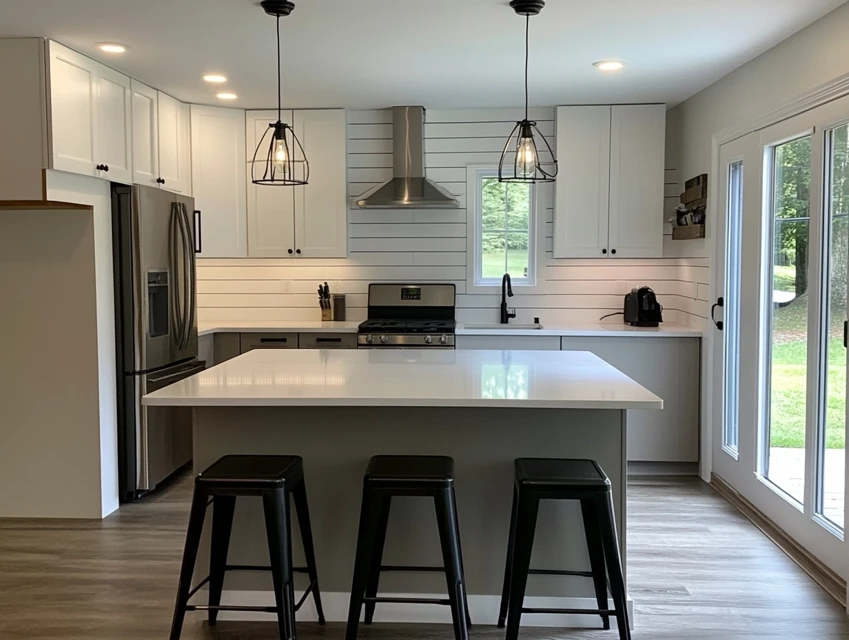
Shiplap brings clean lines and subtle patterns to your kitchen. The boards create shadows and depth that flat surfaces can’t match.
Unlike wallpaper or paint alone, shiplap adds real texture you can see and feel.
So, without wasting any time, let’s see why Shiplap is a perfect choice for kitchen islands.
1. Aesthetic Appeal
- Adds texture and charm: The clean lines and grooves of shiplap bring visual interest to an otherwise plain surface.
- Timeless design: Whether painted white for a farmhouse vibe or left natural for a rustic feel, shiplap looks great in any setting.
- Customizable patterns: Horizontal, vertical, or even diagonal layouts give your island a unique look.
2. Durability and Ease of Maintenance
- Tough and long-lasting: When made with quality materials, shiplap can withstand daily kitchen wear and tear.
- Simple to clean: A quick wipe with a damp cloth keeps it looking fresh.
- Resistant to warping: Properly treated shiplap holds up well in humid spaces like kitchens.
3. Versatility for Any Style
- Farmhouse kitchens: Classic white shiplap pairs perfectly with butcher block countertops.
- Modern spaces: Dark-stained or painted shiplap adds sleekness and depth.
- Coastal vibes: Light, airy colors like blue or soft grey enhance a beachy feel.
- Industrial designs: Reclaimed wood shiplap fits effortlessly into industrial-style kitchens.
Shiplap’s combination of style, strength, and flexibility makes it an excellent choice for kitchen islands.
Whether you want a cozy or contemporary look, shiplap can help bring your vision to life.
Common Mistakes to Avoid
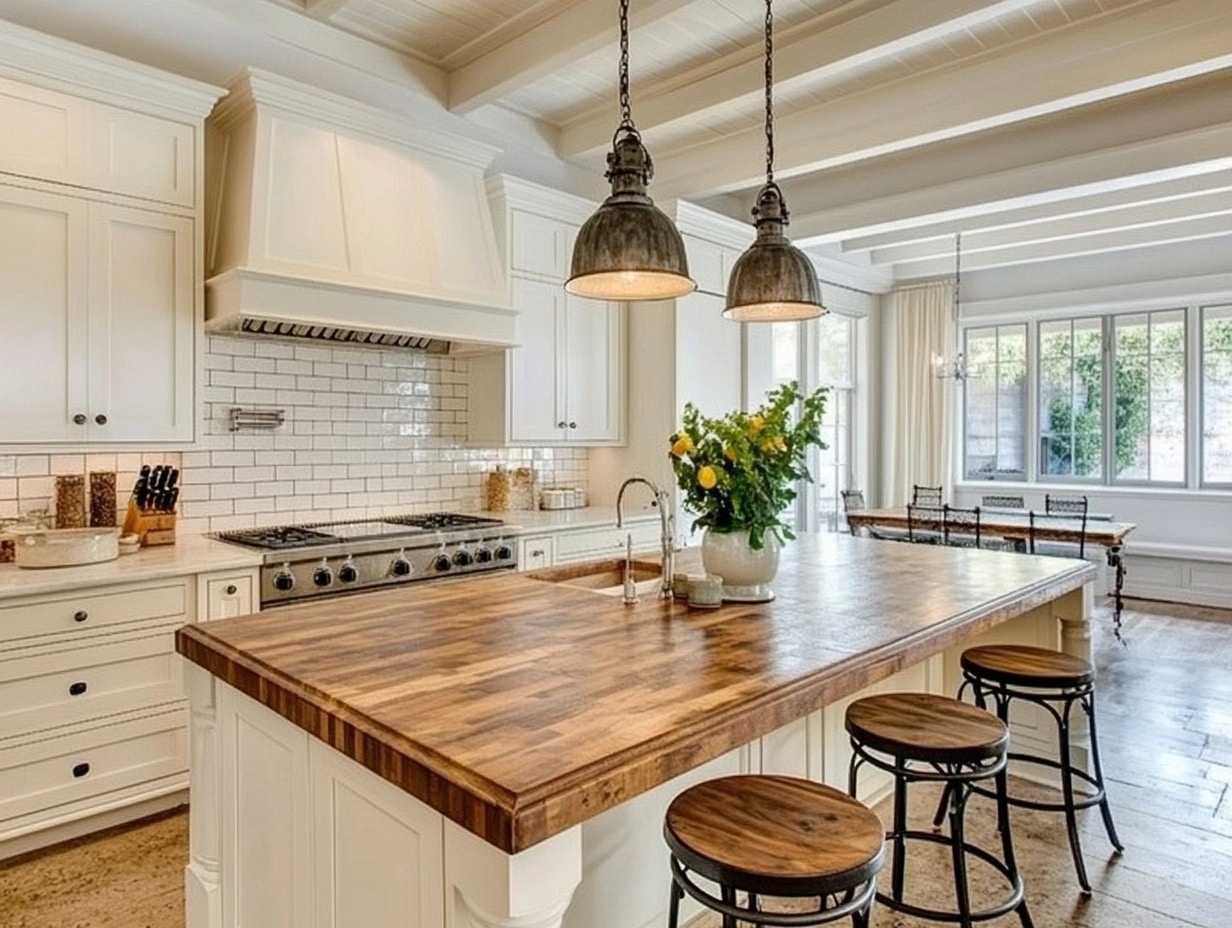
Installing shiplap on a kitchen island can go wrong if you’re not careful.
So, let’s look at some common errors and effective ways to avoid them:
1. Incorrect Measurements
- Mistake: Not measuring accurately leads to boards that are too long or too short.
- Solution: Use a measuring tape and double-check your numbers. Write down measurements to avoid forgetting or guessing.
2. Improper Alignment
- Mistake: Boards that are uneven or crooked can ruin the look of your island.
- Solution: Use a level after attaching each board to ensure straight lines. Start from the bottom and work upward to keep things even.
3. Gaps or Warping in the Boards
- Mistake: Wood can expand or shrink over time, causing gaps or warped panels.
- Solution: Leave a small gap (1-2 mm) between boards for natural expansion. Use moisture-resistant shiplap to reduce the risk of warping.
4. Choosing the Wrong Type of Wood
- Mistake: Using untreated wood in a humid kitchen environment can cause damage.
- Solution: Select moisture-resistant materials like MDF, engineered wood, or treated hardwoods. These options hold up better in kitchens.
5. Skipping Surface Preparation
- Mistake: Installing a shiplap on an unclean or uneven surface can lead to poor results.
- Solution: Sand the surface and clean it thoroughly before attaching the boards.
Avoiding these mistakes during installation will make your shiplap kitchen island look polished and last for years.
Attention to detail is key!
Conclusion
Shiplap can refresh your kitchen island.
With the right tools and planning, it’s a DIY-friendly project. Choose suitable wood, measure carefully, and work step by step.
The key to success?
Nothing but good prep work and patience. Ensure boards fit properly, use suitable nails, and apply paint or stain carefully for lasting results.
Want to make your island stand out?
These boards might be just what you need. They work in any kitchen style and can handle daily wear and tear.
Share your kitchen island photos with us! We’d love to see how you used these tips. Did you paint or stain? What style did you choose?
Please drop a comment below and tell us about your project.
Frequently Asked Questions
What Type of Wood is Best for Shiplap in a Kitchen?
Moisture-resistant wood like treated hardwood, engineered wood, or MDF works best.
These materials handle kitchen humidity and are durable enough for everyday use.
How do I Prevent Gaps in Shiplap?
To accommodate natural wood movement, leave small expansion gaps (1-2 mm) between boards.
Use caulk to seal gaps for a seamless look.
Can I Install Shiplap Over Existing Cabinets?
Yes, you can install shiplap over cabinets if the surface is smooth and even.
Clean and sand the area before attaching boards for the best results.
Should I Paint or Stain Shiplap Before or After Installation?
It’s easier to paint or stain shiplap before installation to ensure even coverage.
Touch up any visible gaps or edges after attaching the boards.
What Color Shiplap Works Best for Small Kitchens?
Light colors like white, cream, or light grey make small kitchens feel larger and brighter.
Dark colors can make the space feel smaller.

