Ghost painting combines simple art techniques and playful creativity in one enjoyable activity. This craft has caught many people’s attention because it allows you to make something special with basic materials and skills.
Parents and kids can work side by side, creating spooky friends. Whether you’re five or fifty, there’s joy in watching white paint turn into floating shapes with personality.
You can paint ghosts on fresh canvases or add them to old artwork for a fresh look. They fit perfectly into Halloween displays but can stay up as fun art pieces all year.
Some folks hide tiny ghosts in garden scenes, while others create full ghostly families floating across their walls.
Gathering Your Materials And Supplies
1. Essential Supplies
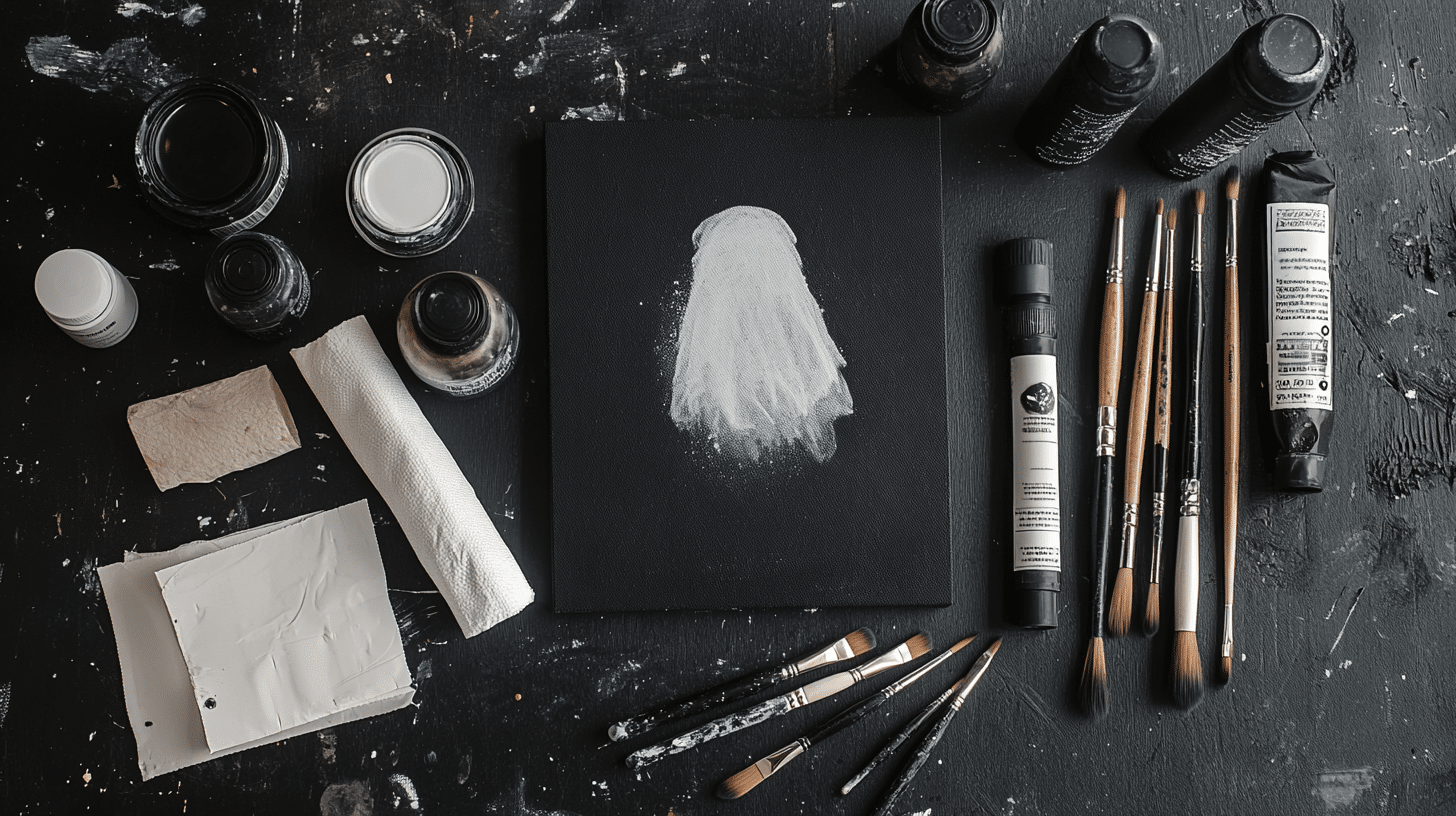
Let’s start your ghost painting project with the basic tools you’ll need. Your shopping list should include white acrylic paint for the ghosts, black paint for details, and gray paint for shading.
Grab a few brushes in different sizes—a medium flat brush for the main ghost shape and a small detail brush for the eyes. You’ll also want chalk for sketching, paper towels for blending, and a water cup for cleaning brushes.
2. Optional Tools
Some extra items can make your ghost painting more fun. A plastic card from your wallet spreads paint uniquely, while kitchen sponges create soft, cloudy edges.
Old toothbrushes can add spatter effects to your background. These common items often work just as well as fancy art tools and cost nothing extra.
3. Budget-Friendly Alternatives
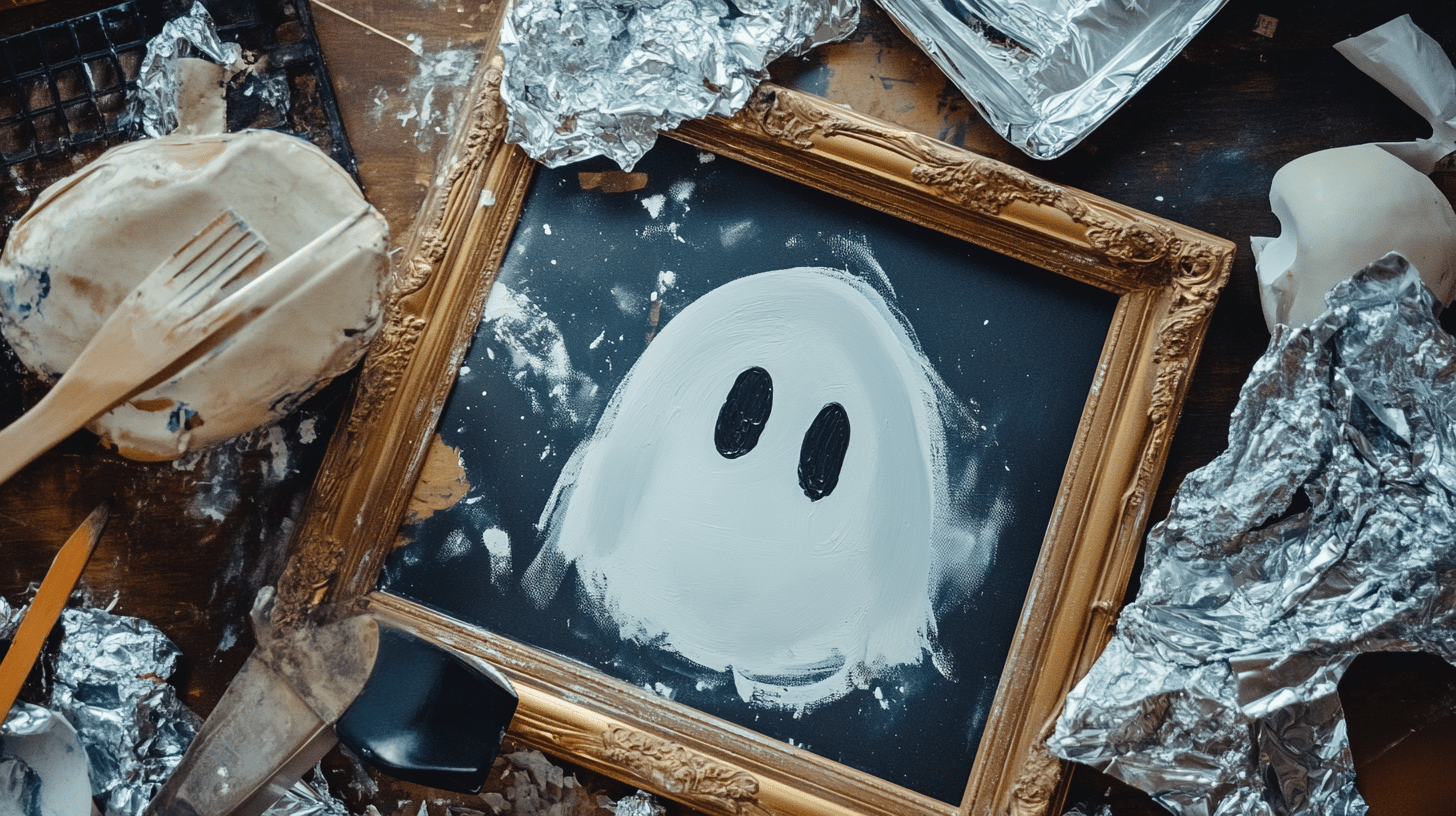
You can save money by using what you already have at home. White house paint works fine instead of art store acrylics, and old picture frames make perfect canvases.
Look around your kitchen for painting tools. Spatulas spread paint well, and crumpled aluminum foil creates interesting textures when pressed into wet paint.
4. Choosing the Right Paint
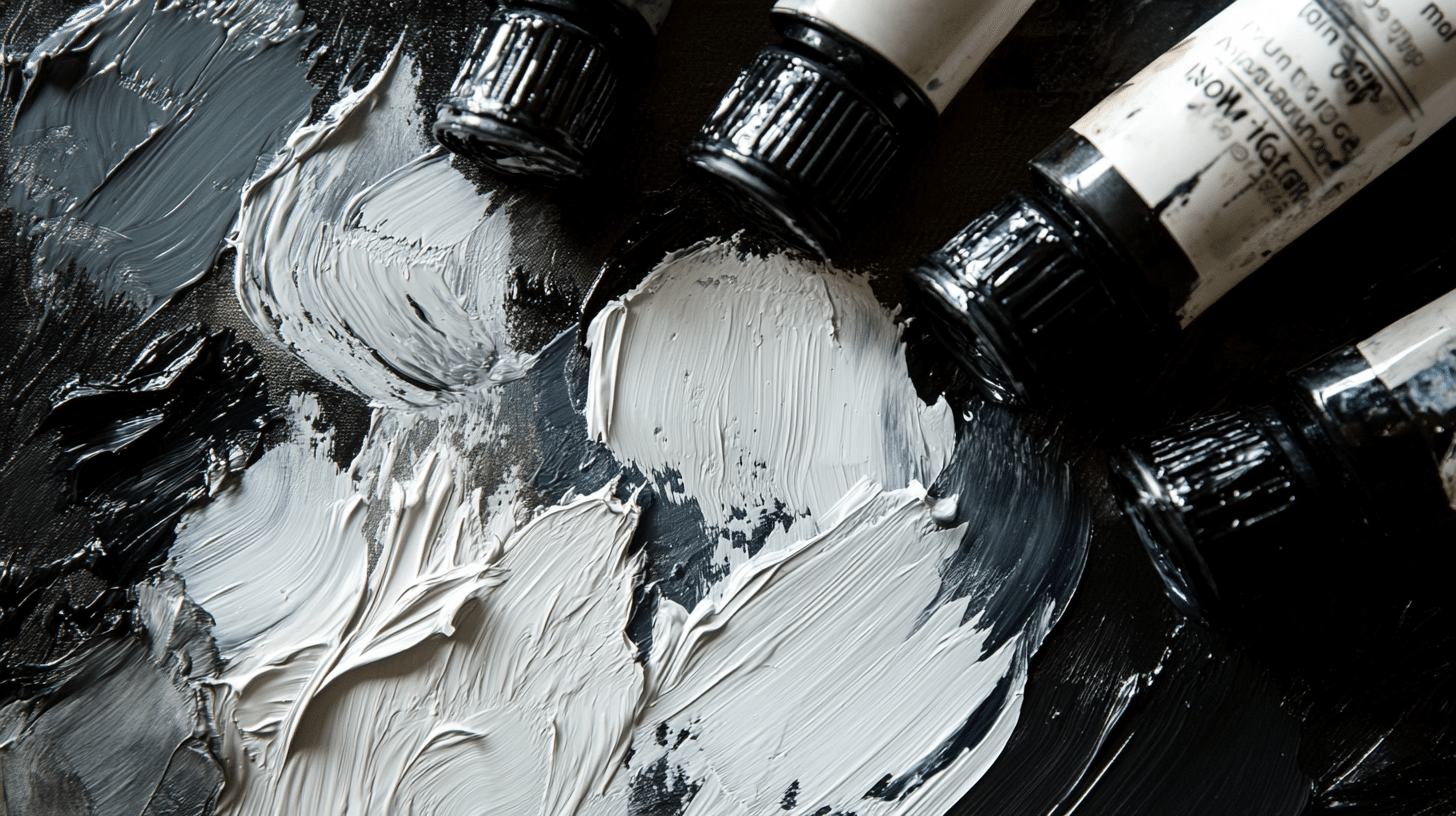
Acrylic paint is the best choice for ghost painting. It sticks well to most surfaces and dries quickly, allowing you to add layers without long waiting times.
Water-based acrylics clean up easily with soap and water. They also mix well together, so you can make shades of gray for shadows with just black and white.
5. Safety Considerations
If children help with the project, choose non-toxic paints. Cover your table with old newspapers or a plastic tablecloth to protect it from paint spills.
Keep paper towels nearby for quick cleanup. Work in a room with open windows or good airflow to stay comfortable while painting.
Basic Ghost Painting Techniques
1. Simple Ghost Silhouette
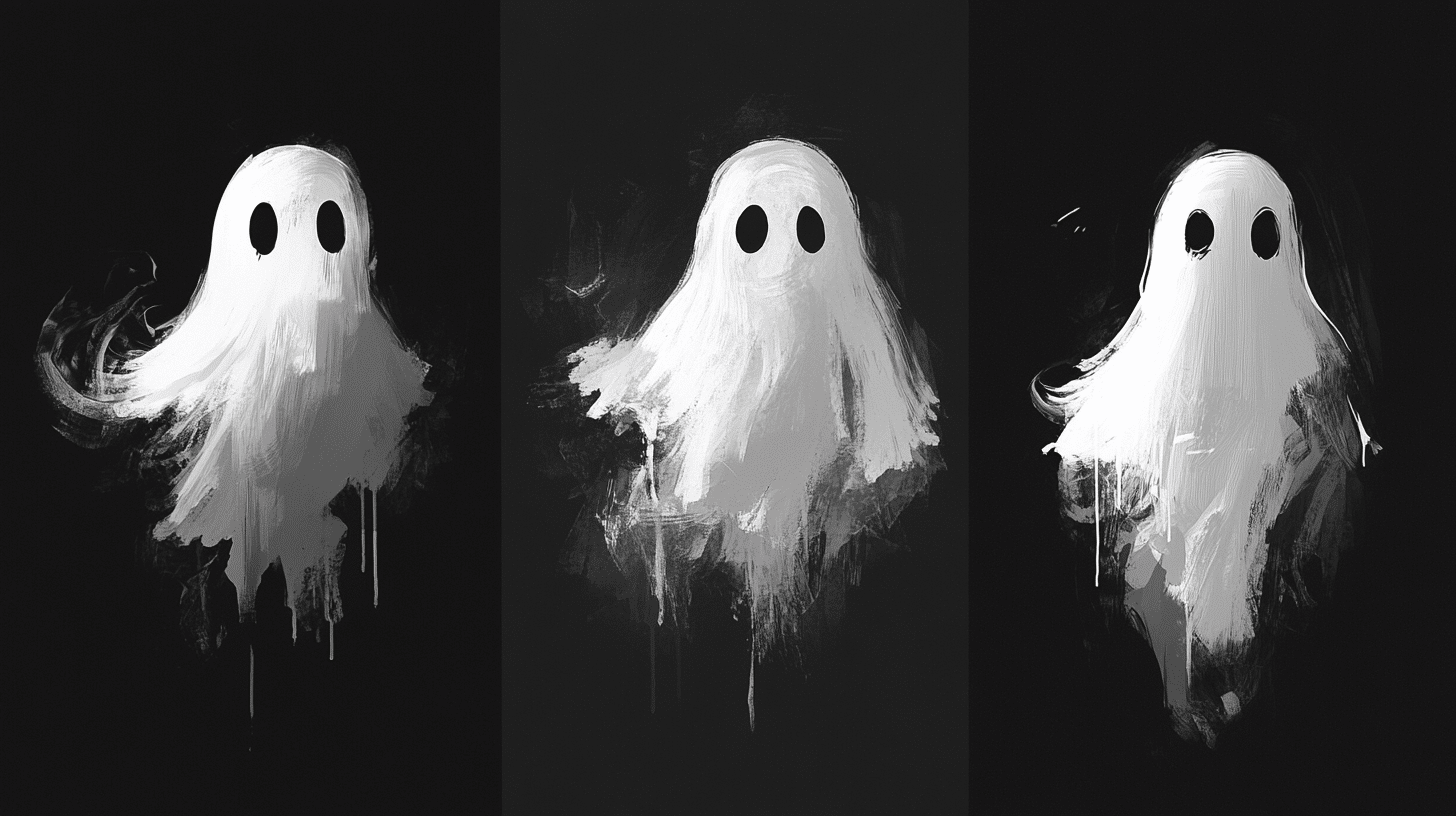
Using your brush, create a ghost shape with a basic upside-down U motion. Start at the bottom of your canvas and pull your brush up in a gentle curve to form one side of the ghost.
The key is keeping your hand steady but not too stiff. Complete the other side of the ghost with another curved line, meeting at the top to form a rounded shape.
Make the bottom edge wavy and uneven to suggest floating fabric.
This simple technique forms the base of any ghost painting, whether on fresh canvas or old artwork.
2. Finger Painting Ghosts (Kid-Friendly)
Finger painting offers a fun way for children to create ghost art. Put a small amount of white paint on a paper plate and let kids dip their fingers to make ghost shapes.
With the addition of small black dots for eyes, each fingerprint can become a tiny ghost.
This method works well for group projects and helps young artists build confidence.
Kids can blend colors with their fingers to create shadows and depth. The natural curves of small handprints make perfect ghost shapes without needing special tools.
3. Squeegee Art Ghosts
A plastic squeegee or old gift card creates interesting ghost effects on canvas. Apply white paint in a small puddle, then smoothly drag the edge across your surface.
This method produces clean lines and sharp edges for modern-looking ghosts. You can layer multiple pulls to build up ghost shapes with varying opacity levels.
The paint spreads in unique ways each time you use the squeegee.
This unpredictable element adds character to your ghost paintings and makes each piece special.
Painting Ghosts on Thrifted Art
Understanding the Trend
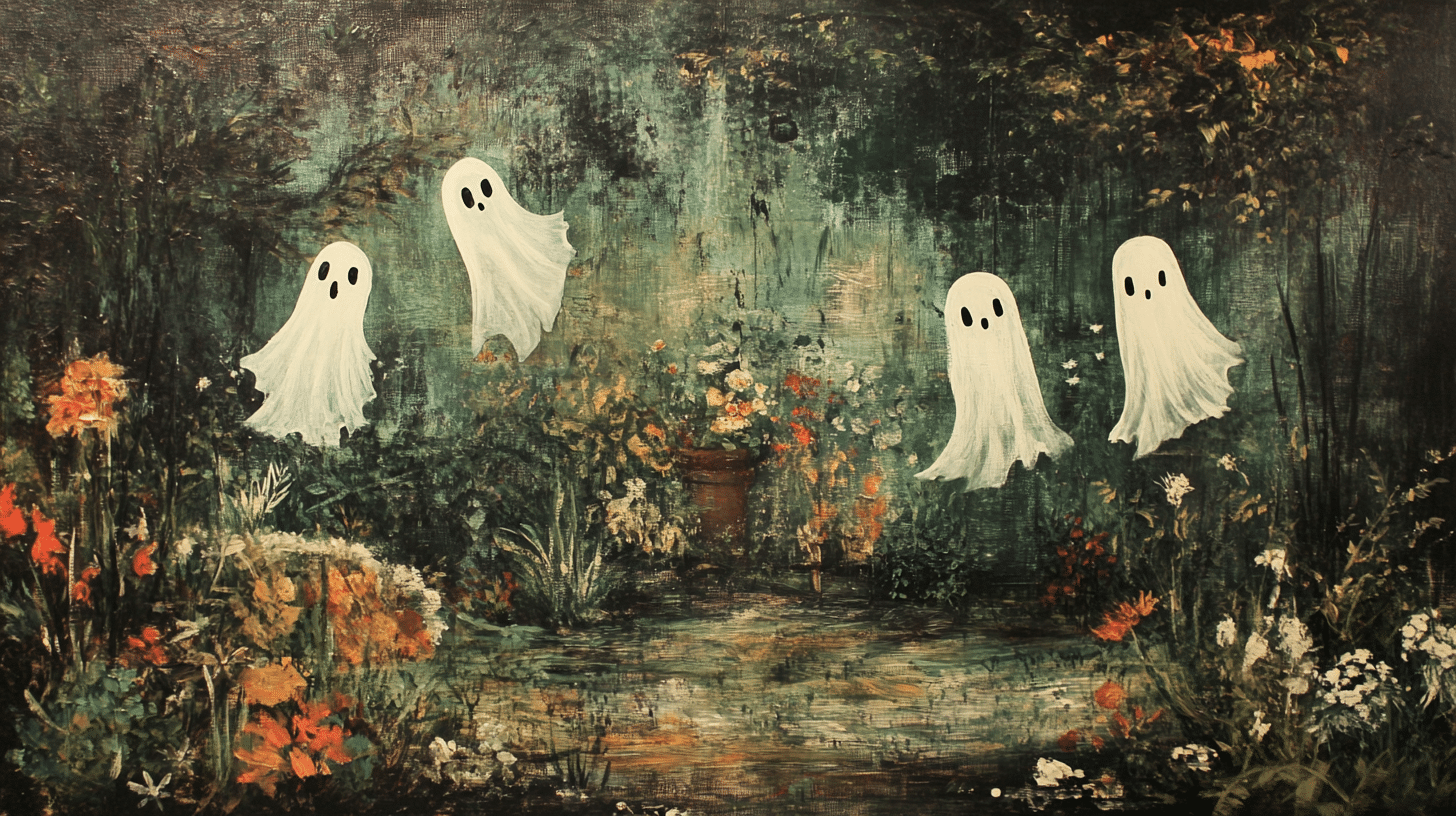
Adding ghosts to old paintings has become a popular way to create unique Halloween art. People take existing artwork from thrift stores and add white ghost figures to create something new.
This form of art gives new life to forgotten paintings. The mix of vintage scenes with playful ghosts creates an interesting contrast that catches everyone’s eye.
Selecting the Right Artwork
Look for paintings with open spaces where ghosts can float naturally.
Landscapes with trees, gardens, or old houses make perfect backgrounds for your ghostly additions.
Check the price tag and condition before buying. Most suitable pieces should cost under $10.
Look for prints rather than original paintings to avoid changing valuable artwork.
The best pieces have darker areas where ghosts can hide. Placements like doorways, behind trees, or shadowy corners work well for placing your spirits.
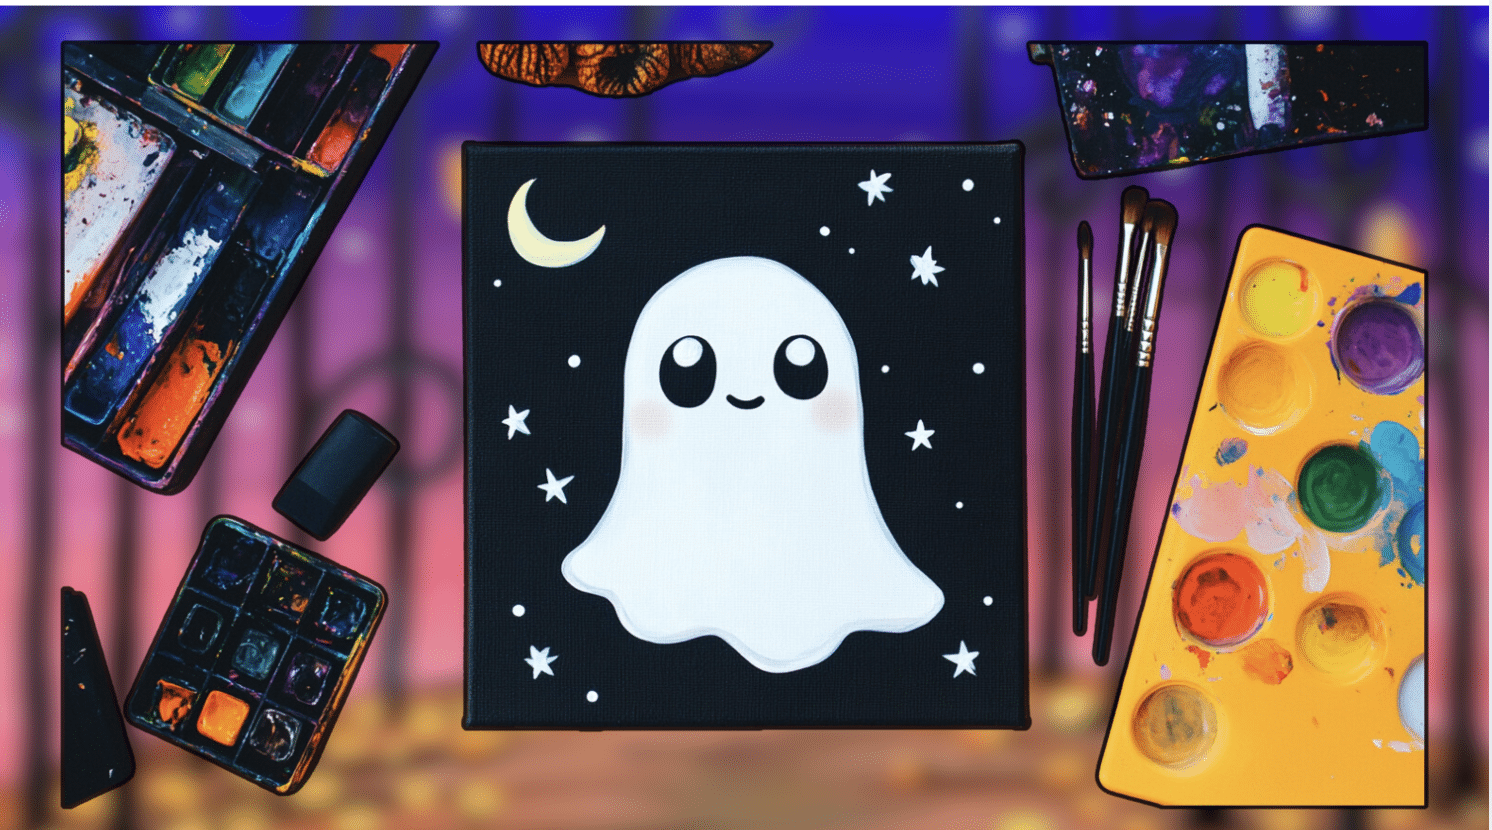
Step-by-Step Guide to Painting a Cute Little Ghost
1. Tools and Materials
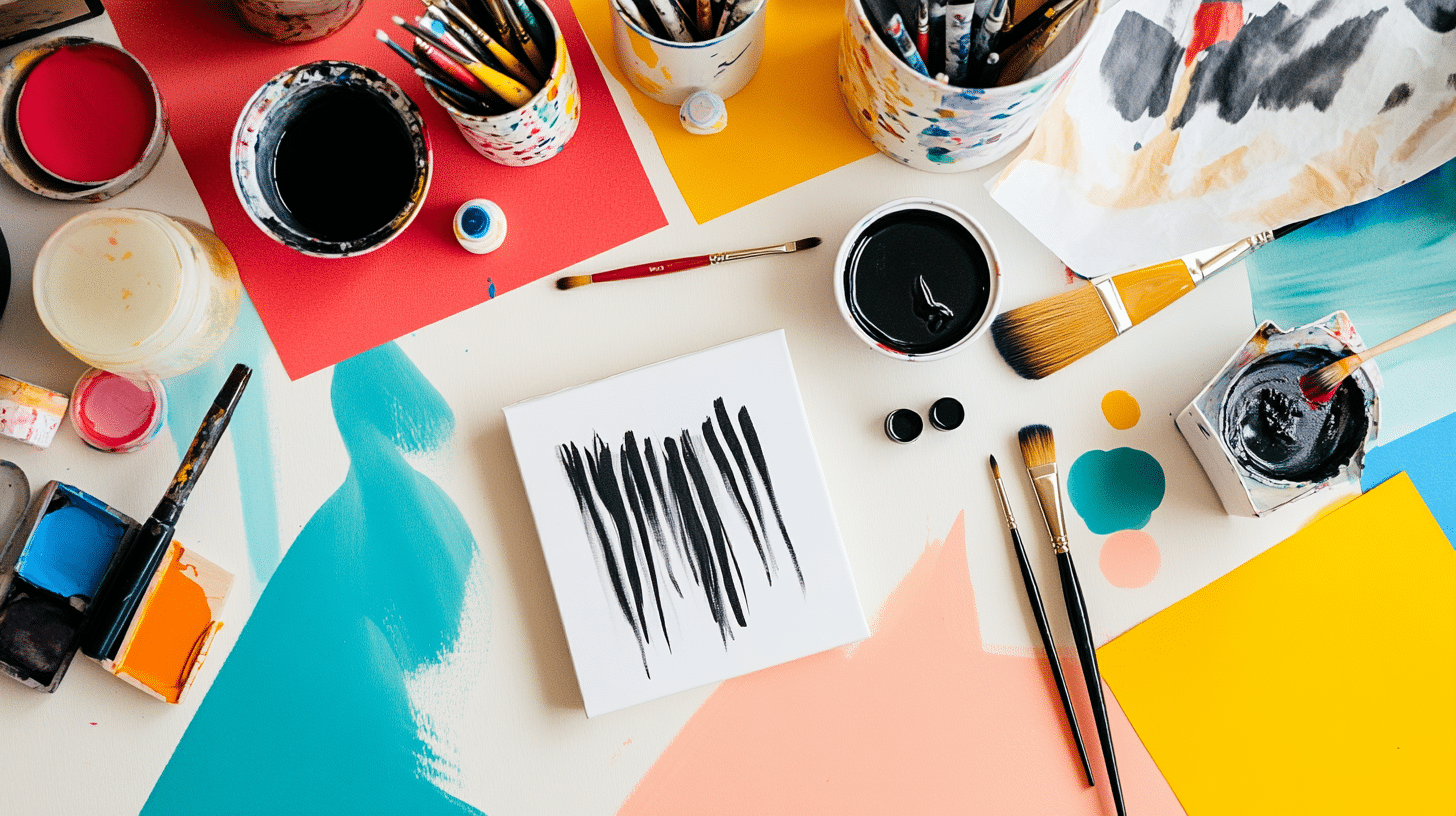
- Essential Supplies: Small brushes, black and white acrylic paint, a palette, and a small canvas (e.g., 4×4 inches).
- Optional Tools: Sponges or stencils for added effects.
- Preparation: Ensure your workspace is clean and ready for painting.
2. Paint the Background
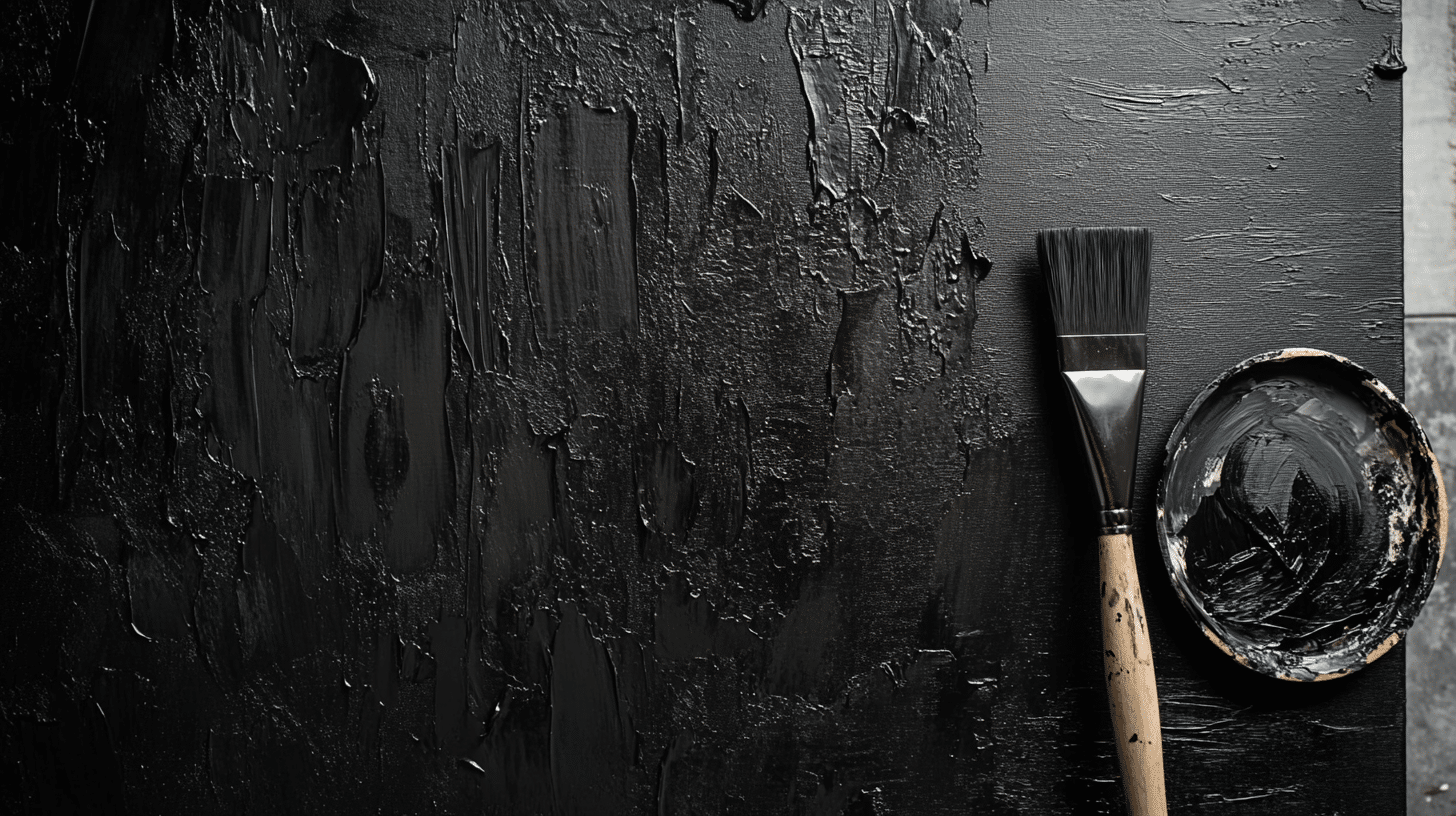
- Use a large brush to cover the entire canvas with black paint. Don’t forget the edges.
- Apply a second layer for an opaque and even finish. Let it dry slightly but not completely.
3. Outline the Ghost
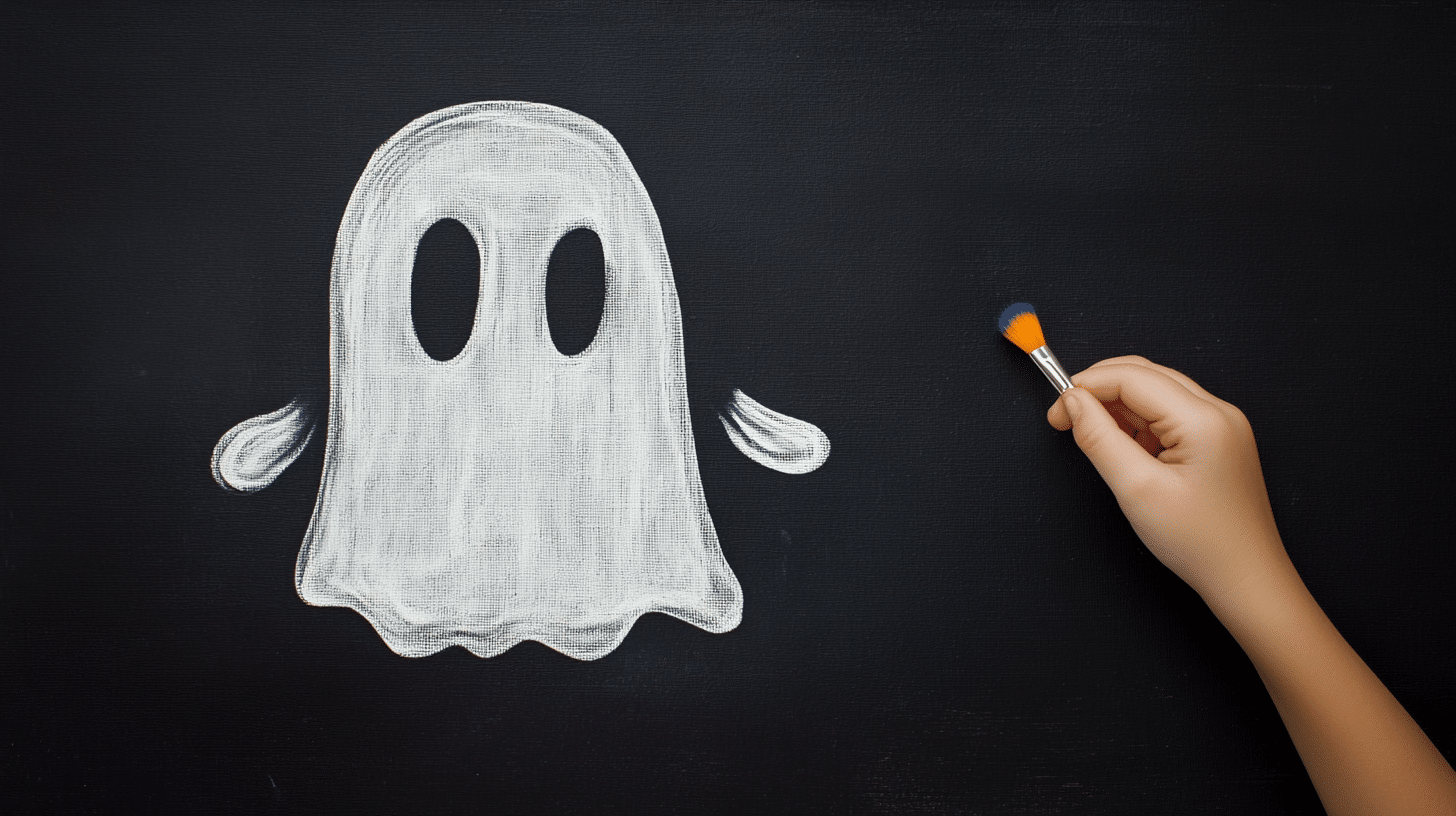
- A flat brush with white paint outlines a simple ghost shape (like a child in a bed sheet).
- Paint directly onto the wet black background for a natural blending of grays.
- Focus on creating a flowing, fabric-like shape with highlights and shadows.
4. Add the Moon and Light Source
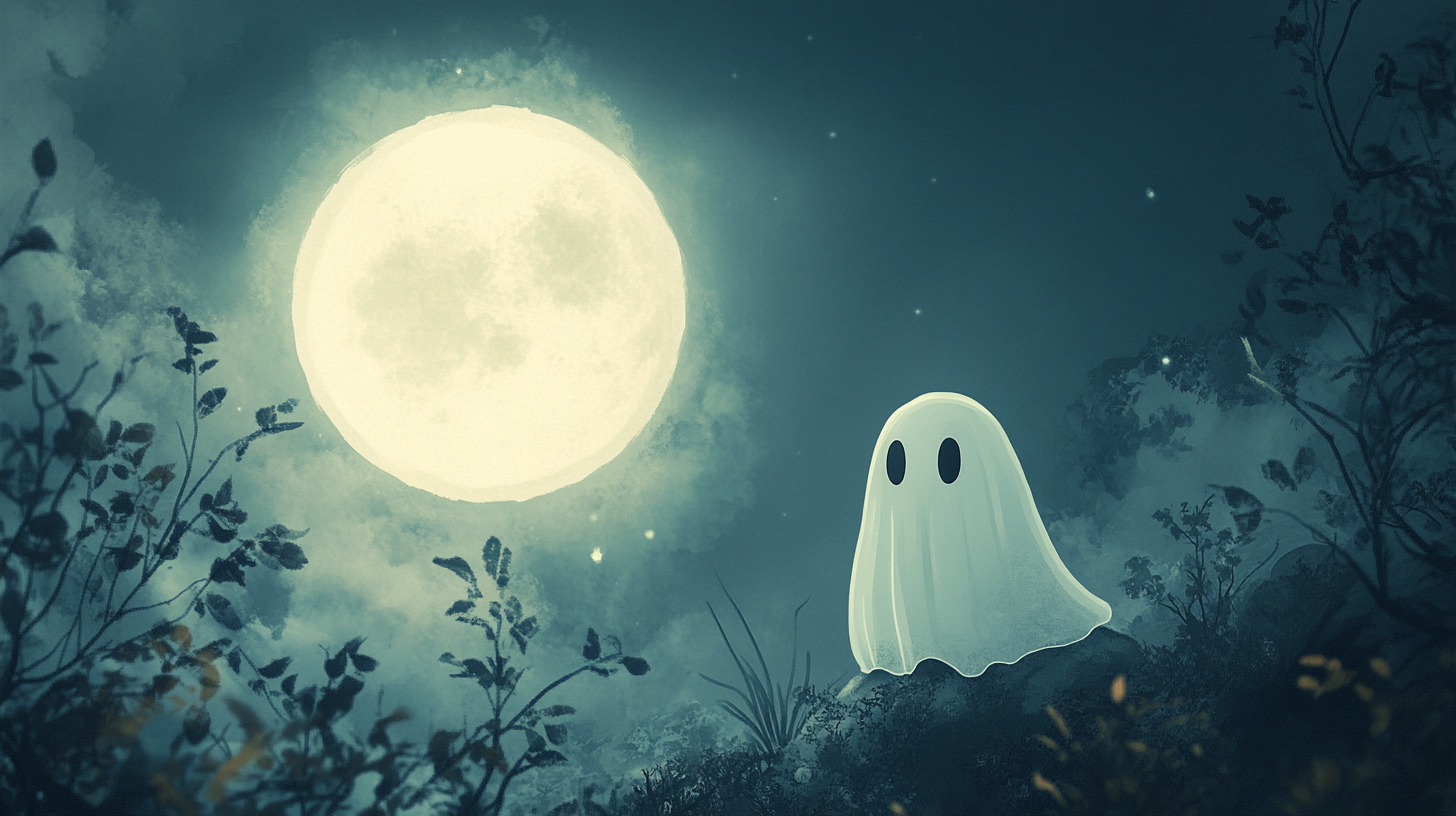
- Paint a small, imperfect moon in the top left corner using a round brush and white paint.
- Blend the edges with gray tones to create a glowing effect around the moon.
- Keep the left side of the ghost brighter to reflect the moonlight.
5. Create Depth and Highlights
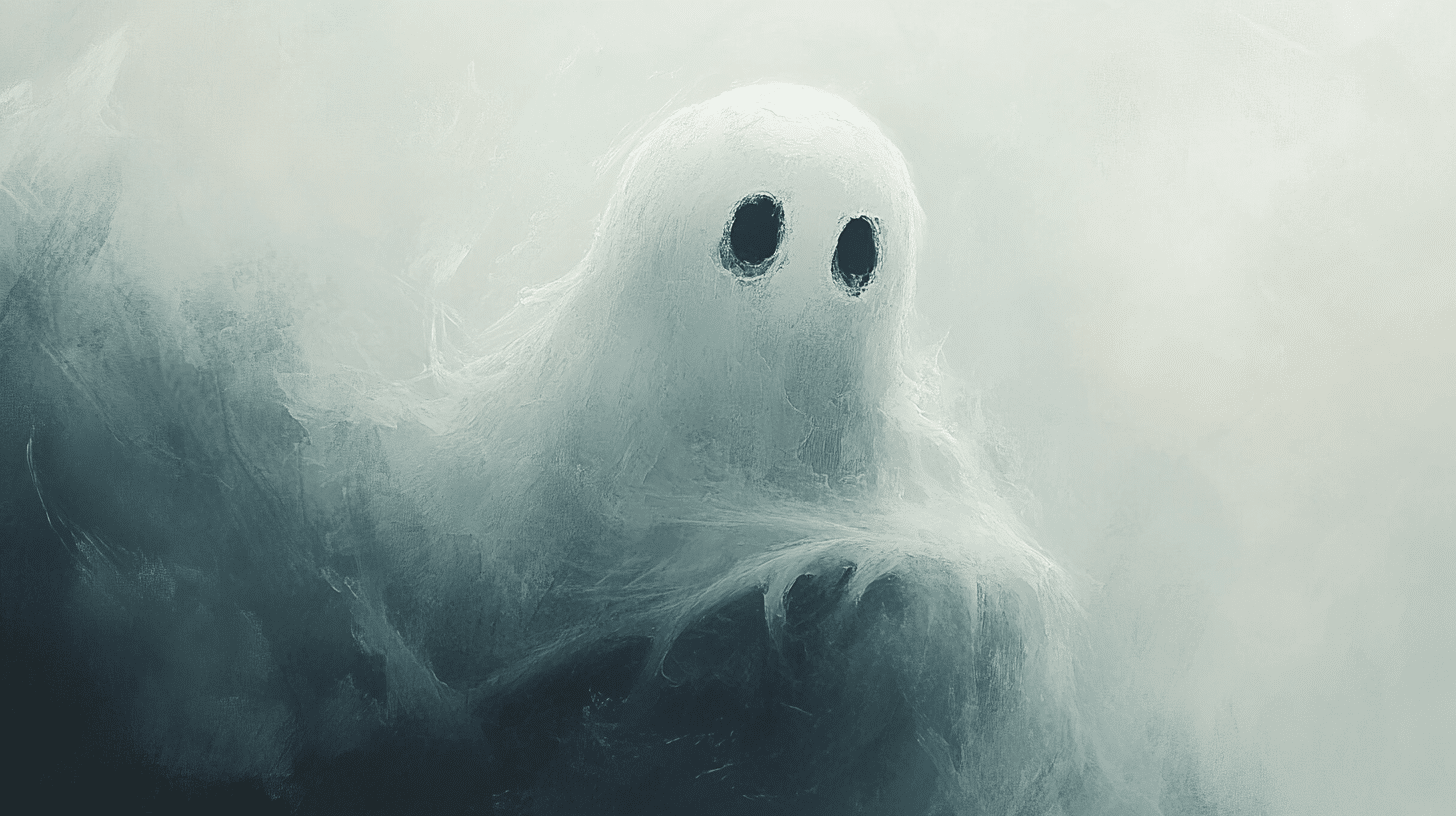
- Use a flat brush to add more layers of white to the ghost, focusing on folds and movement.
- Let some gray tones show through for a textured, painterly effect.
- Maintain contrast between highlights and shadows for a realistic fabric-like appearance.
6. Paint the Eyes
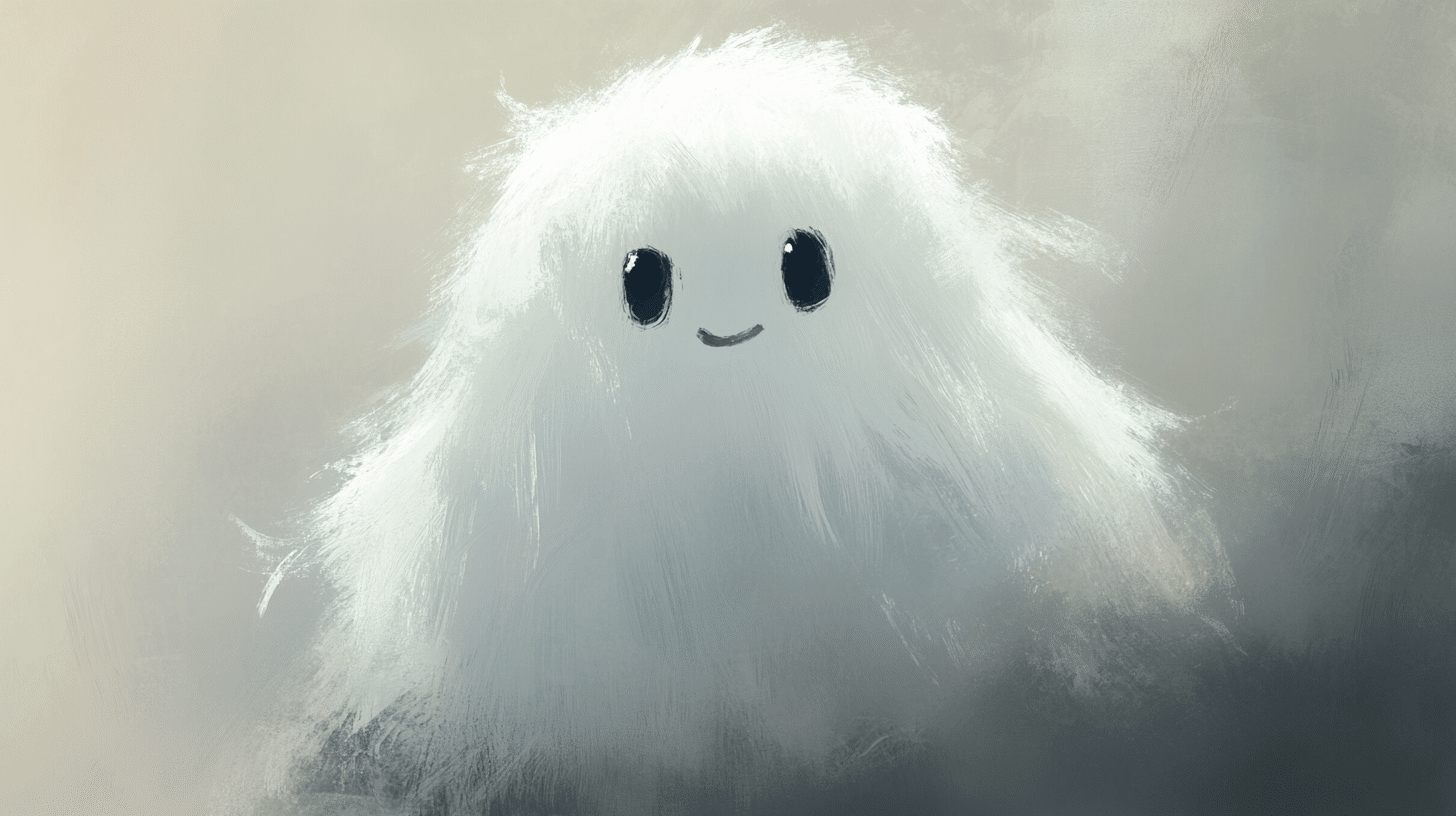
- Use black paint and a small round brush to add two eyes to the ghost.
- Adjust the shape to your liking (e.g., small eyes for a worried or cute expression).
- Add a tiny white highlight inside the eyes to bring them to life.
7. Add Stars and Final Touches
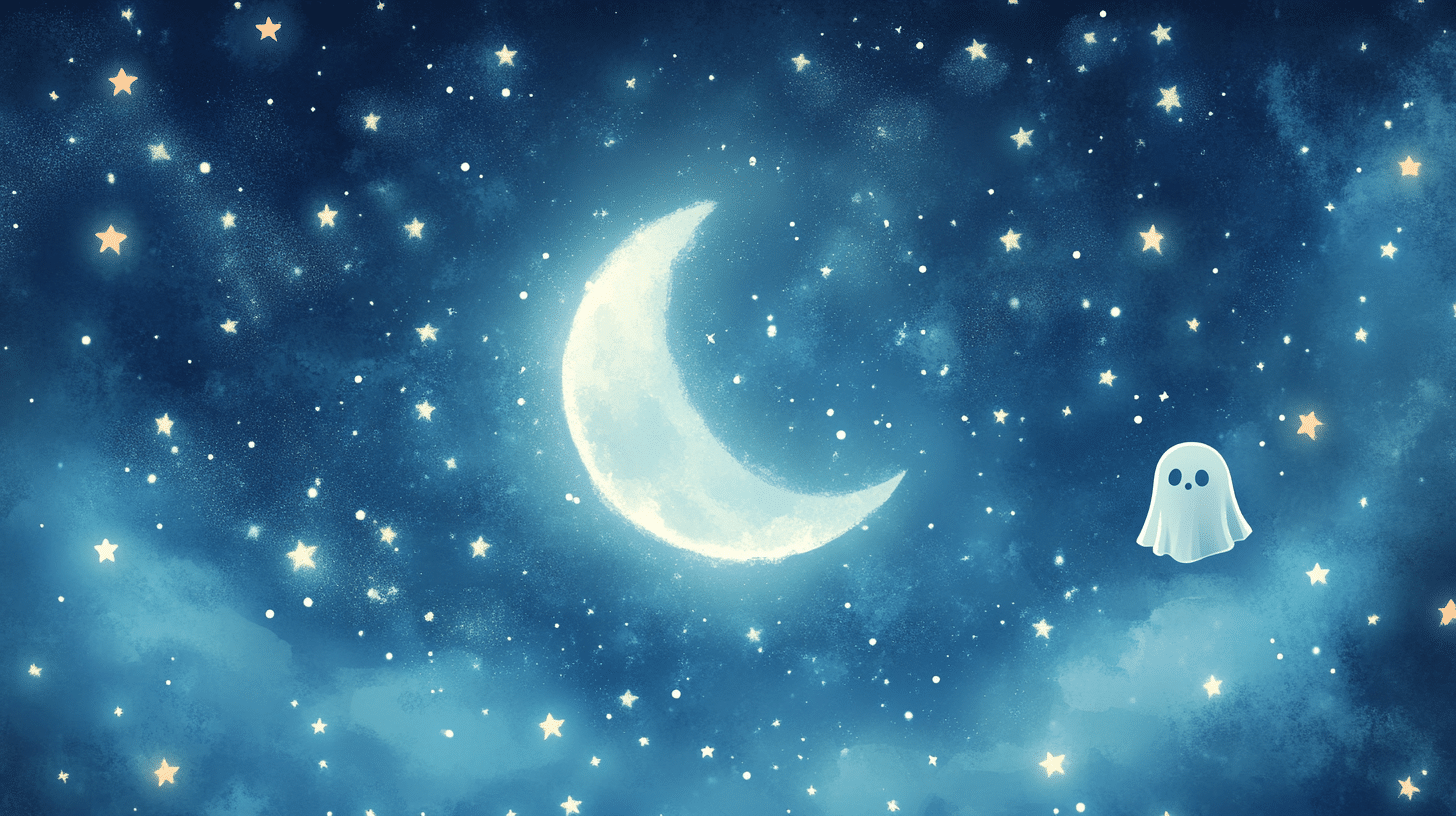
- Use white paint and a small brush to sprinkle stars around the moon, focusing on the left side.
- Vary the size of stars to create a vibrant and sparkling sky.
- Darken the right side of the canvas to enhance the contrast between light and dark.
8. Refine and Finish
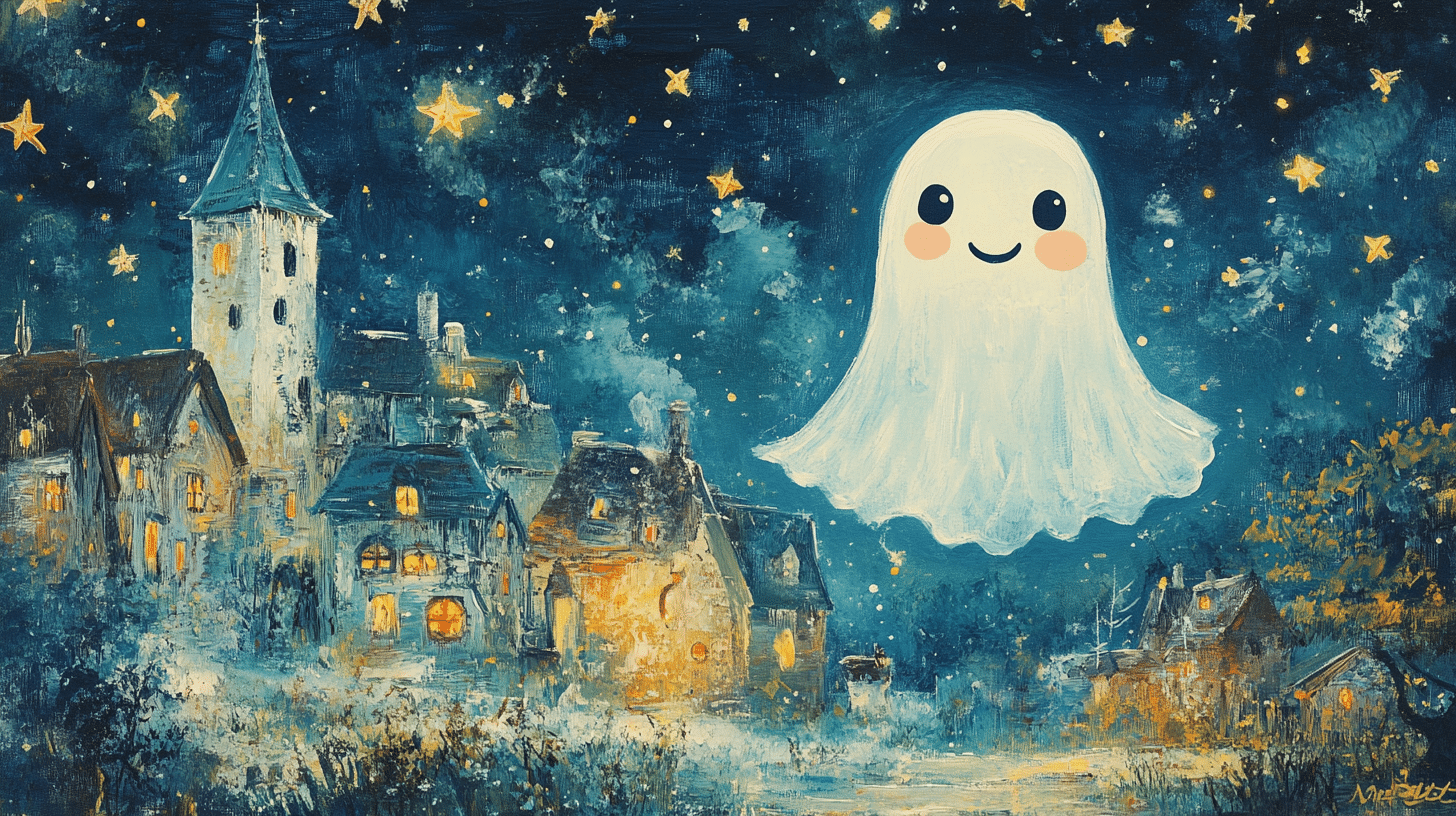
- Touch up the edges of the ghost and moon to clean up the shapes.
- Add more layers of white to the ghost if needed for brightness and depth.
- Step back and assess your painting, making small adjustments to improve balance and detail.
Tips
- Don’t worry if it looks odd initially; paintings often take shape as you add layers.
- Acrylic paint is forgiving—let it dry and repaint if you need to fix anything.
- Have fun and experiment with textures and shapes to make your ghost unique!
Here is the complete video tutorial on painting a cute little ghost!
Advanced Ghost Painting Techniques
1. Creating a Ghostly Glow
The secret to making ghosts seem to glow lies in the careful layering of white paint. Start with a thin, watery layer to mark the basic shape of your ghost on the surface.
Build up the brightness gradually with each new layer. Keep the center of the ghost the lightest while the edges blend softly into the background.
Use gentle brush strokes that move from the center outward. This method creates a soft, glowing effect that makes your ghost look like it’s floating in space.
2. Textured Ghosts
Different tools create unique ghost textures that catch light in interesting ways. A dry brush with little paint makes a scratchy, wispy look perfect for ghost edges.
Dabbing with a bunched-up paper towel adds random patterns to your ghost shape. These marks suggest how fabric might fold and move in the air.
Try mixing white paint with a tiny bit of clear gel medium. This combination helps create raised areas that look like flowing cloth when the paint dries.
3. Including Background Elements
Adding a dark background makes white ghosts stand out more clearly. Paint thin, dark washes over parts of your scene to suggest nighttime or shadows.
Create the mood with simple background touches like a full moon or misty clouds. These elements help tell the story of where your ghost exists in the scene.
Think about where light would come from in your painting. Ghosts near light sources should look brighter, while those in shadows need more gray tones.
Tips for Beginners
Overcoming Common Challenges
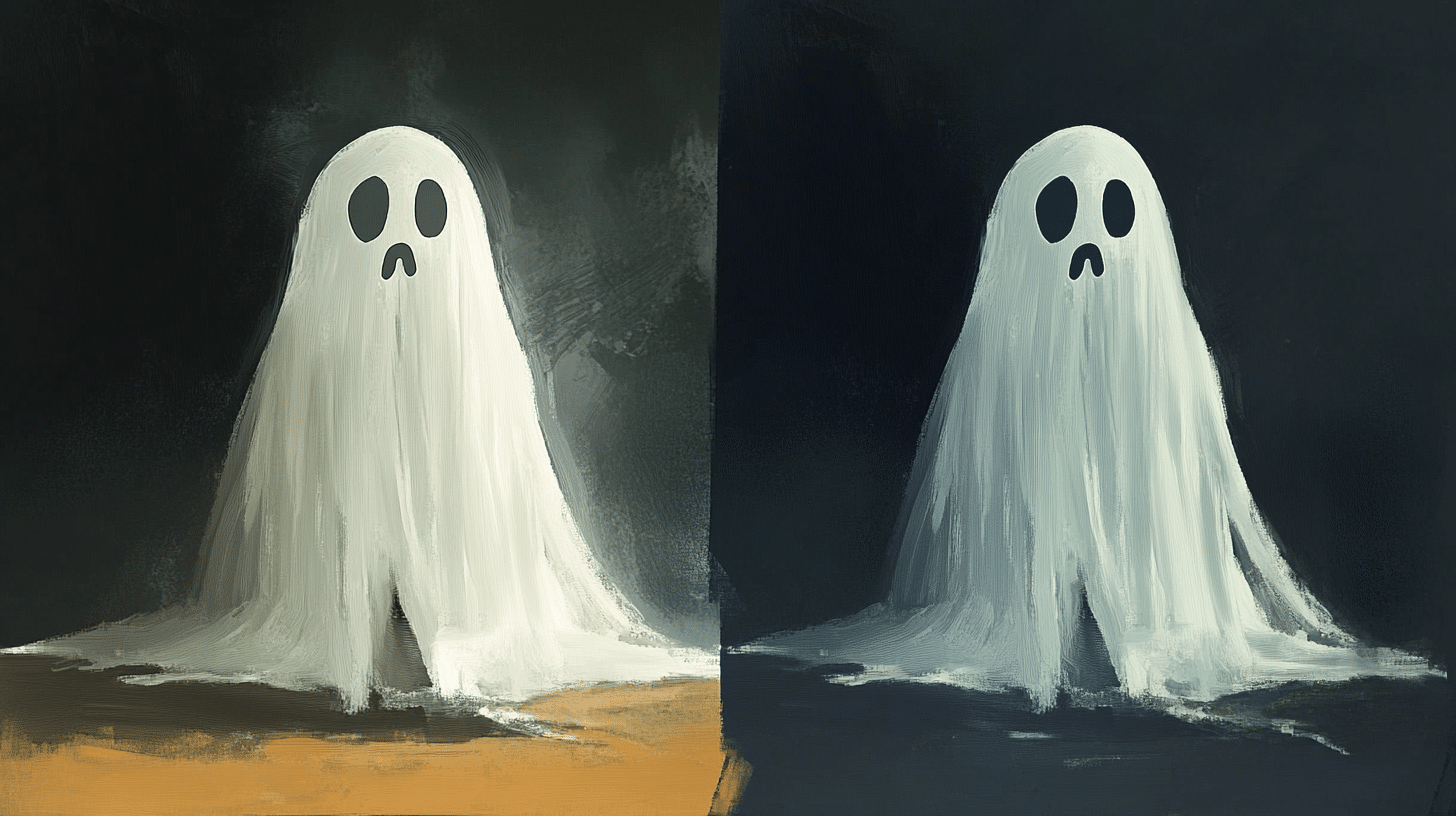
Many new painters worry about making perfect ghost shapes. Remember that ghosts can take many forms, so there’s no single way to paint them.
Start with bigger ghost shapes before trying smaller ones. Large shapes help you practice brush control and paint consistency without feeling frustrated.
When adding details, keep your brush strokes light and flowing. In your scene, a heavy hand can make ghosts look solid instead of spirit-like.
Practice Techniques
Before working on your final piece, test your ghost shapes on scrap paper. This helps you understand how much paint to use and how to move your brush.
Paint the same ghost shape several times to build muscle memory. Each try will help you feel more sure about your hand movements and paint control.
Watch how paint and water mix on your brush. The right mix helps you create clean lines and soft edges where you want them.
Maintaining Materials
Clean your brushes right after painting to keep them in good shape. Use soap and warm water, gently working out all paint from the bristles.
Store paint tubes with their caps on tight to prevent drying. Keep your supplies in a cool, dry place away from direct sun to make them last longer.
Check your painting surface before starting new work. Making sure it’s clean and dry helps your ghost paintings turn out better every time.
This simple art form opens up many ways to express yourself. With practice and patience, you’ll create spooky, sweet ghosts that charm any painting.
Conclusion
Ghost painting opens up a world of creative fun with just a few simple tools and techniques.
This art form fits every skill level, from basic white shapes to detailed scenes filled with floating spirits.
You’ve learned how to start with basic supplies, master simple ghost shapes, and build up to more detailed pieces. Remember that each ghost you paint adds charm to your art, whether on fresh canvas or old prints.
Try these methods, mix them up, and find what works best for you.
Share your creations with friends and family—you might start a ghost painting party tradition! Each brushstroke offers a new chance to create something that makes people smile.
Now, grab your brushes and let your imagination float free. Your ghostly masterpiece awaits!

