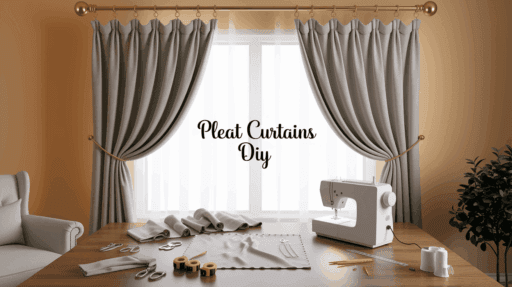

Want to add style to your windows without spending too much? Pleating curtains might be the answer you’re looking for. Many homeowners avoid this task, thinking it needs special skills or tools.
The truth is, anyone can create beautiful pleated curtains with the right steps.
Pleated curtains add depth and visual interest to any room. These neat folds help drapes hang more attractively while serving both practical and decorative purposes. They allow curtains to open and close with ease while creating texture and fullness.
This guide shows you exactly how to pleat curtains like a pro. You’ll learn which fabrics work best, what tools you need, and step-by-step methods that make the whole process simple and fun.
Why Choose Curtain Pleats?
Curtain pleats are folded fabric sections that create texture and fullness in window treatments. These neat folds help drapes hang beautifully. Pleats add a nice touch to any room. They serve both practical and decorative purposes, allowing curtains to open and close smoothly.
Pleats also create visual interest and dimension. Several popular pleat styles are available. Pinch pleats feature fabric pinched together at regular intervals for a polished look.
Box pleats form rectangular folds that create structured fullness. Knife pleats are narrow, flat folds that lie in one direction. Accordion pleats zigzag back and forth for a rippling effect. The pleat style you choose dramatically impacts your curtain’s appearance.
It also affects your room’s overall feel. Formal spaces often benefit from structured pinch or box pleats, while casual rooms might use simpler styles. Well-chosen pleats turn plain fabric into attractive window treatments, perfectly complementing your interior design.
Needed Materials for Pinch Pleat Curtains
Making pinch pleat curtains requires a few basic supplies. You’ll need to gather everything before you begin your project. Having the right tools makes the pleating process much easier.
These materials will help you create beautiful pleated curtains for your home.
- Drapery fabric (e.g., Covington Windsor Sterling fabric) – The main material for your curtains.
- Pleater tape – Special tape that creates pockets for hooks and forms the pleats.
- Pleater hooks – Metal hooks that go into the tape to create and hold pleats.
- Ruler or measuring tape – For accurate measurements of fabric and spacing.
- Scissors – Sharp fabric scissors for clean cuts.
- Fabric marker or pencil – For marking measurements and fold lines.
- Thread – Choose a color that matches your fabric.
- Hand sewing needle – For securing pleats and any hand stitching.
- Pins – To hold fabric in place while sewing.
- Iron – Essential for creating crisp folds and professional-looking pleats.
Once you have all these materials ready, you can start your pleating project. Most items can be found at local craft or fabric stores. Online retailers also carry these supplies. Be sure to select quality materials for the best results.
Total Estimated Cost Range
- Basic Small Window Setup: $90 – $120
- Attractive Large Window Setup: $200 – $350
Step-by-Step Guide to Making Pinch Pleat Curtains
Pleated curtains add a nice touch to any room. Making your own pinch pleats is not difficult. You need to follow each step carefully. With some patience, you can create beautiful curtains for your home.
Step 1: Measure and Cut the Fabric
First, measure your window to know how big to make your curtains. For width, make your fabric 2 to 2.5 times wider than your window for nice, full pleats.
For height, measure from where the rod will be to where you want the curtains to end, then add 8-12 inches extra for hems. Mark these sizes on your fabric with a pencil or chalk.
Cut carefully along your marks with sharp scissors. If you’re using lining, cut it about 2 inches shorter than your main fabric. Double-check all your measurements before cutting to avoid mistakes.
Step 2: Sew the Side and Bottom Hems
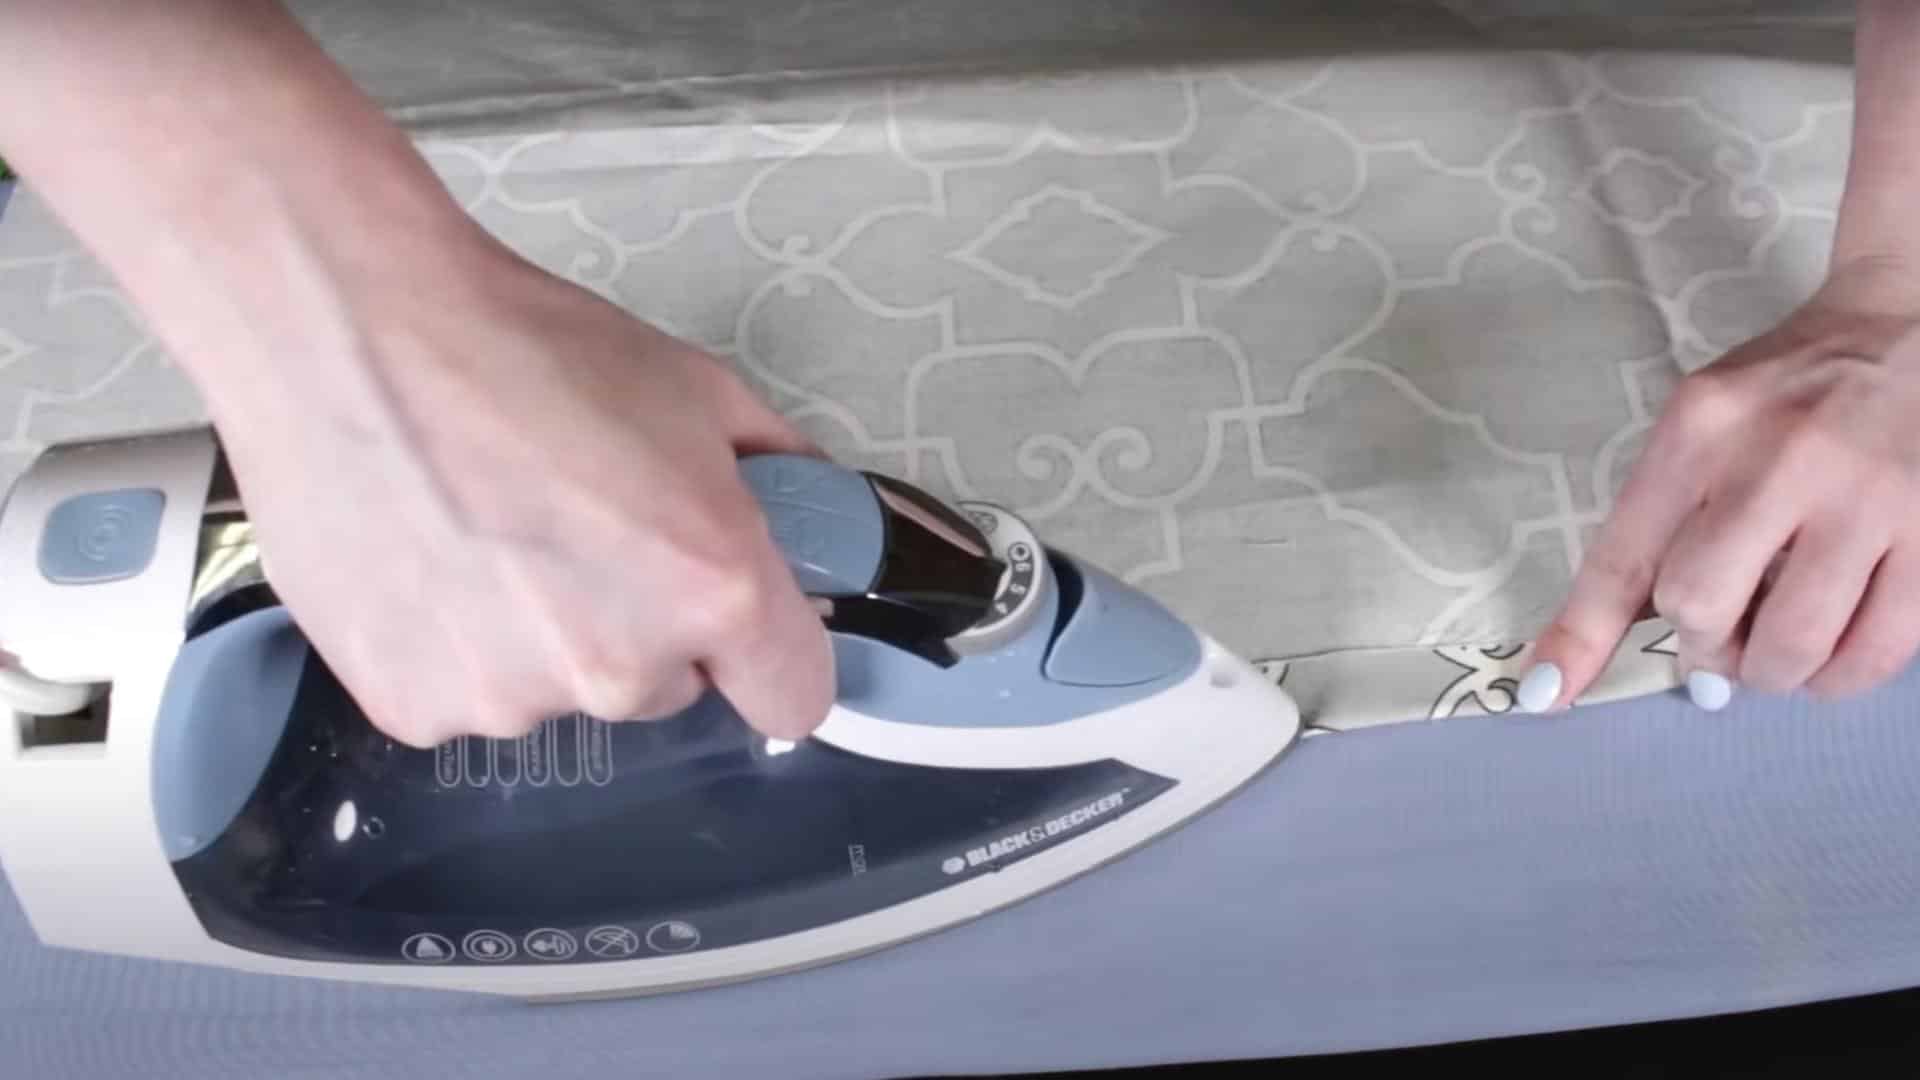
Start by folding each side edge of your fabric over by 3/4 inch. Press with an iron to make a sharp fold. Then fold over again by 3/4 inch, press, and sew along the edge to make your side hems.
For the bottom, fold up 3/4 inch and press. Then fold it up again by 3-4 inches, press well, and sew along the top of this fold. This makes a nice heavy bottom hem that helps curtains hang straight.
Use thread that matches your fabric color. Make sure your stitches are even and straight all the way across.
Step 3: Prepare the Top Hem and Attach Pleater Tape
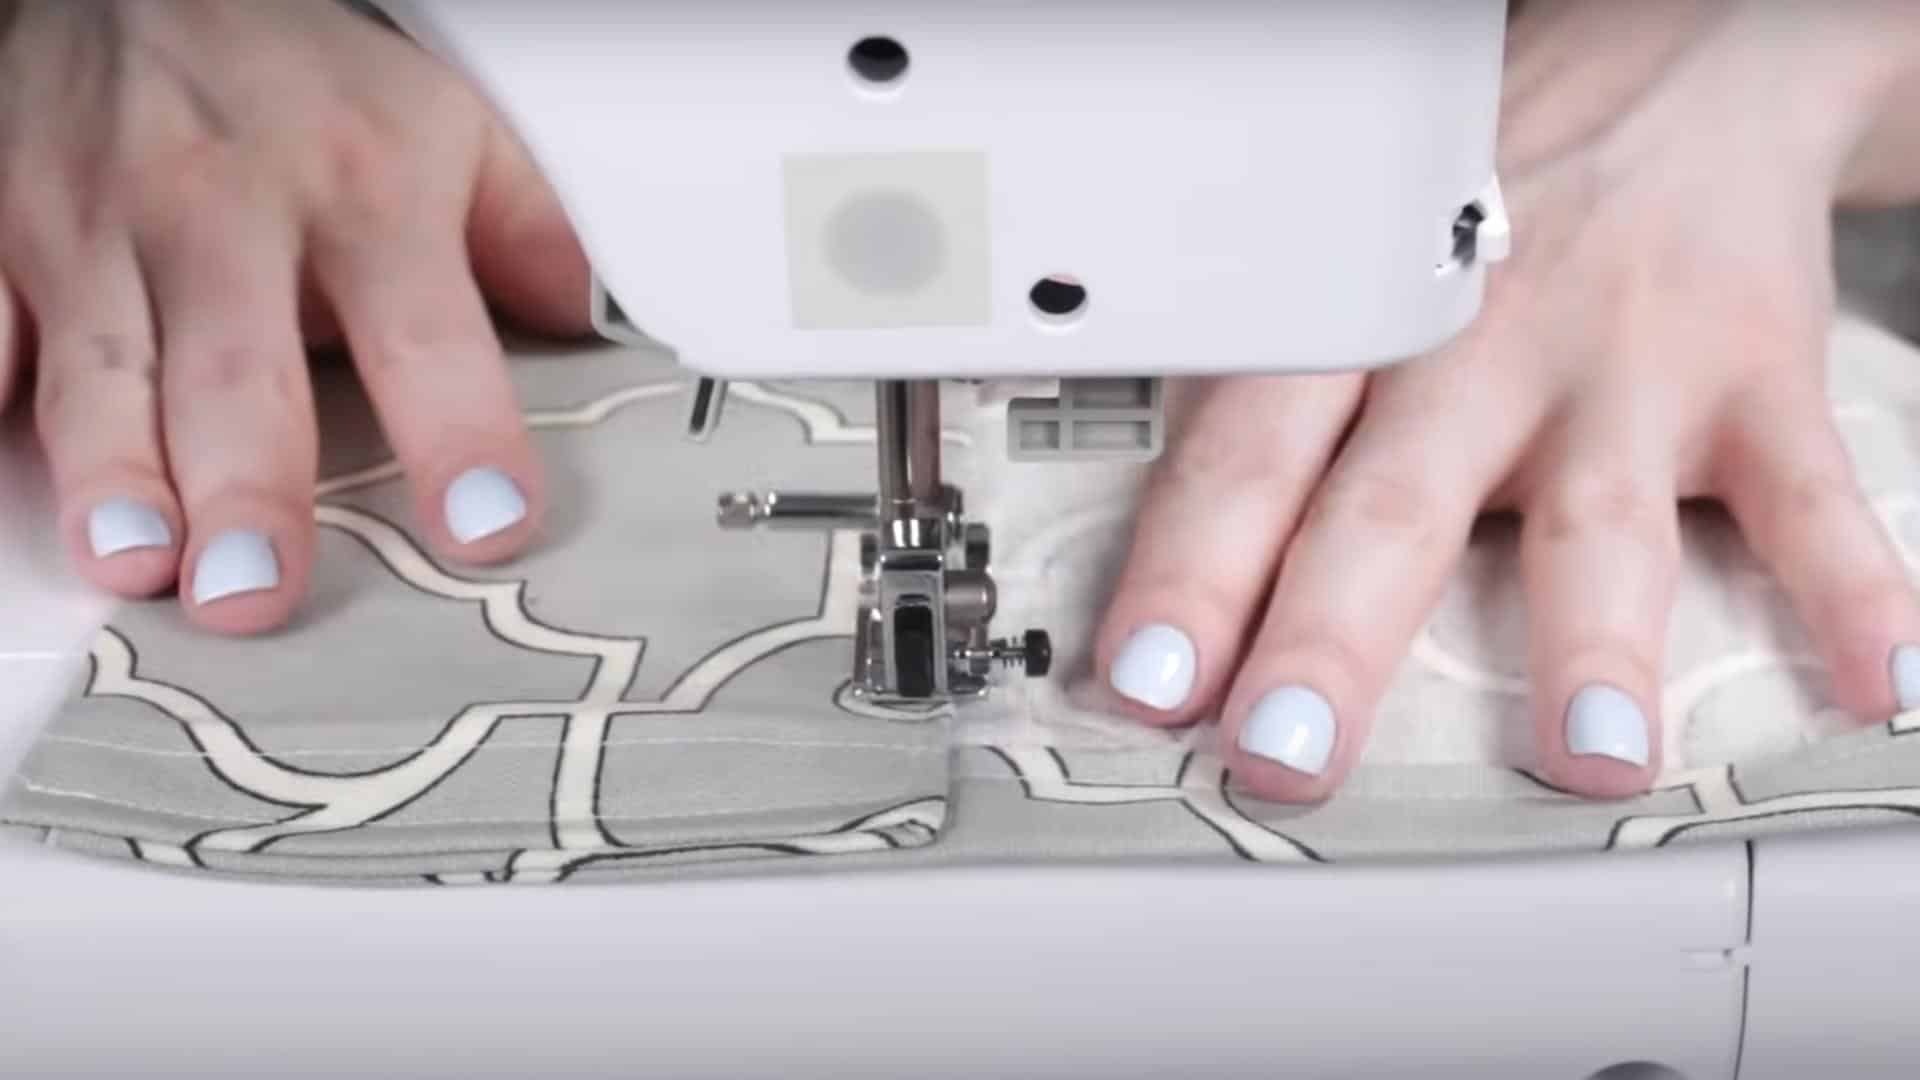
For the top hem, fold the fabric down 4 inches from the top edge. Press with an iron to make a sharp fold. Sew along the bottom of this fold to create your top hem.
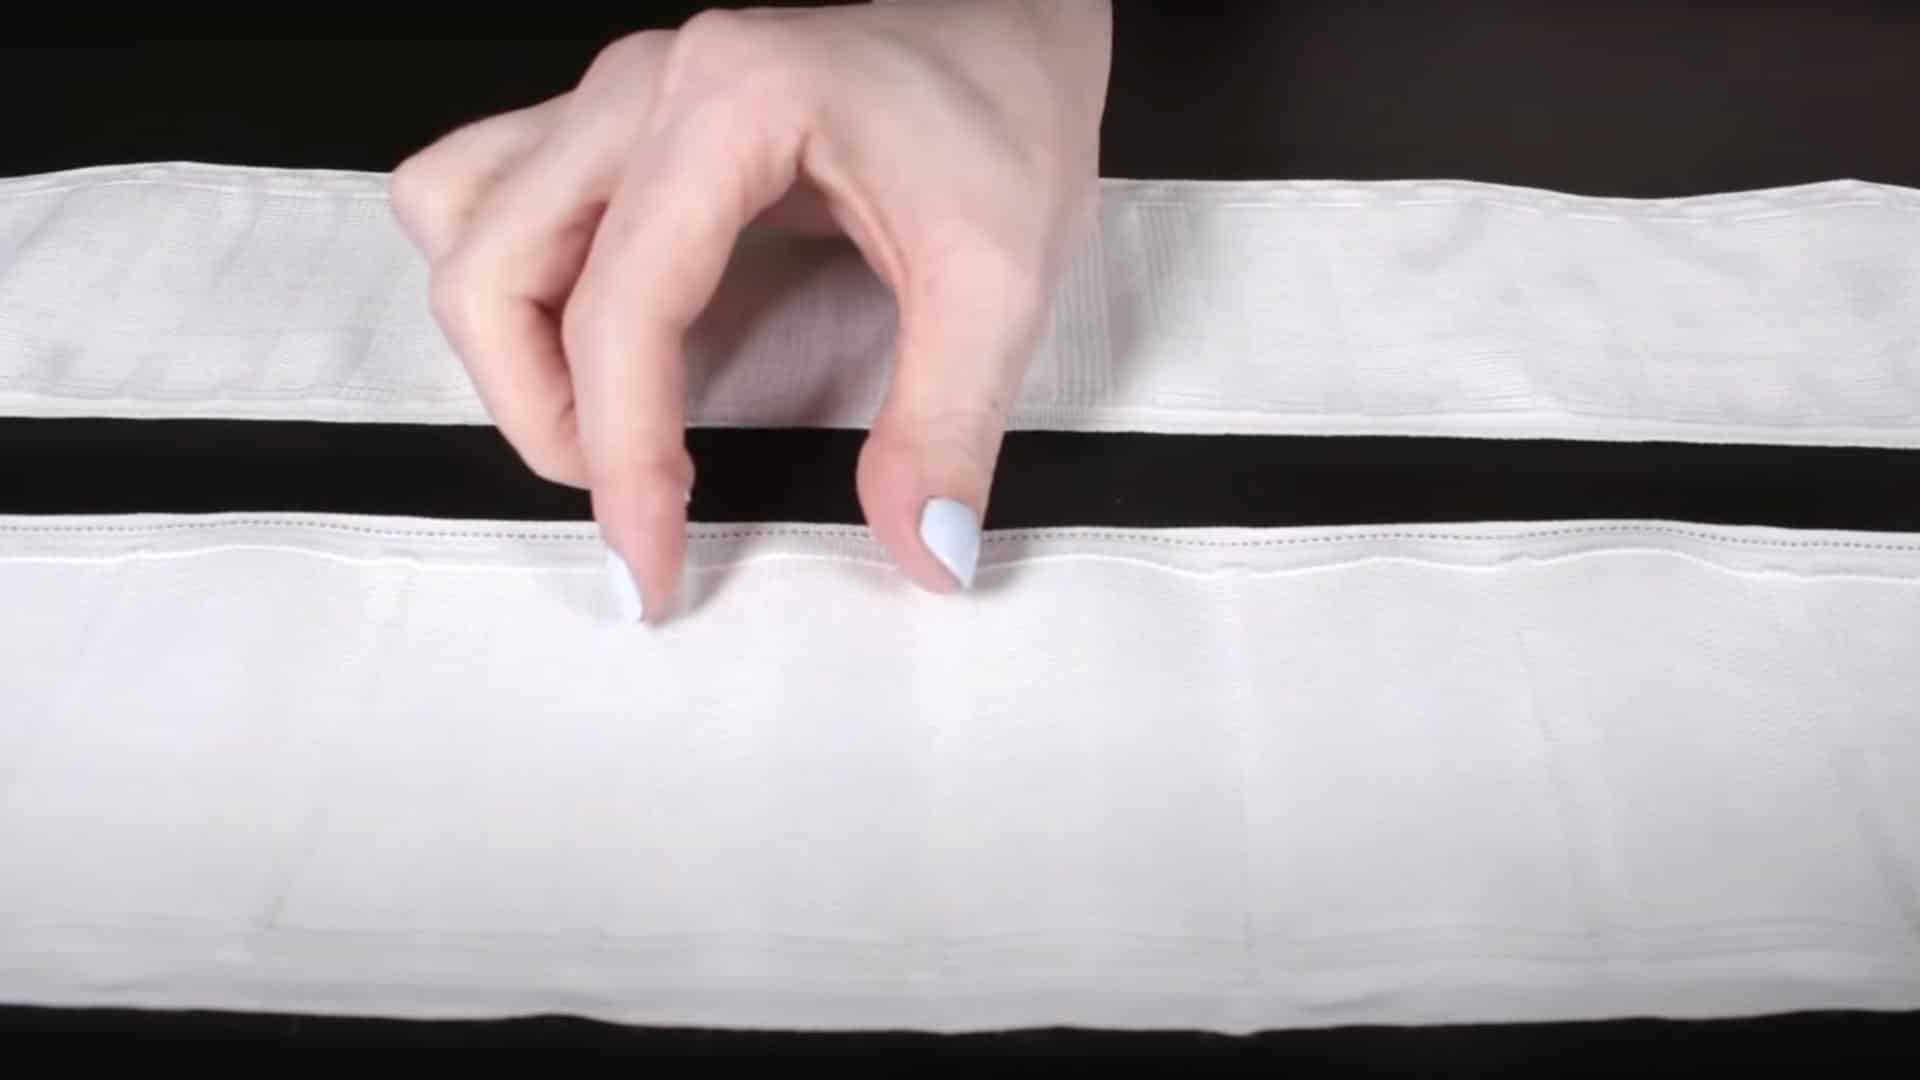
Now take your pleater tape and place it about 1/2 inch below the top edge on the back side of your curtain. The tape should run all the way across your curtain.
Fold under the ends of the tape for a clean finish. Pin the tape in place. Sew along both the top and bottom edges of the tape to attach it firmly to the fabric.
Step 4: Insert the Pleater Hooks
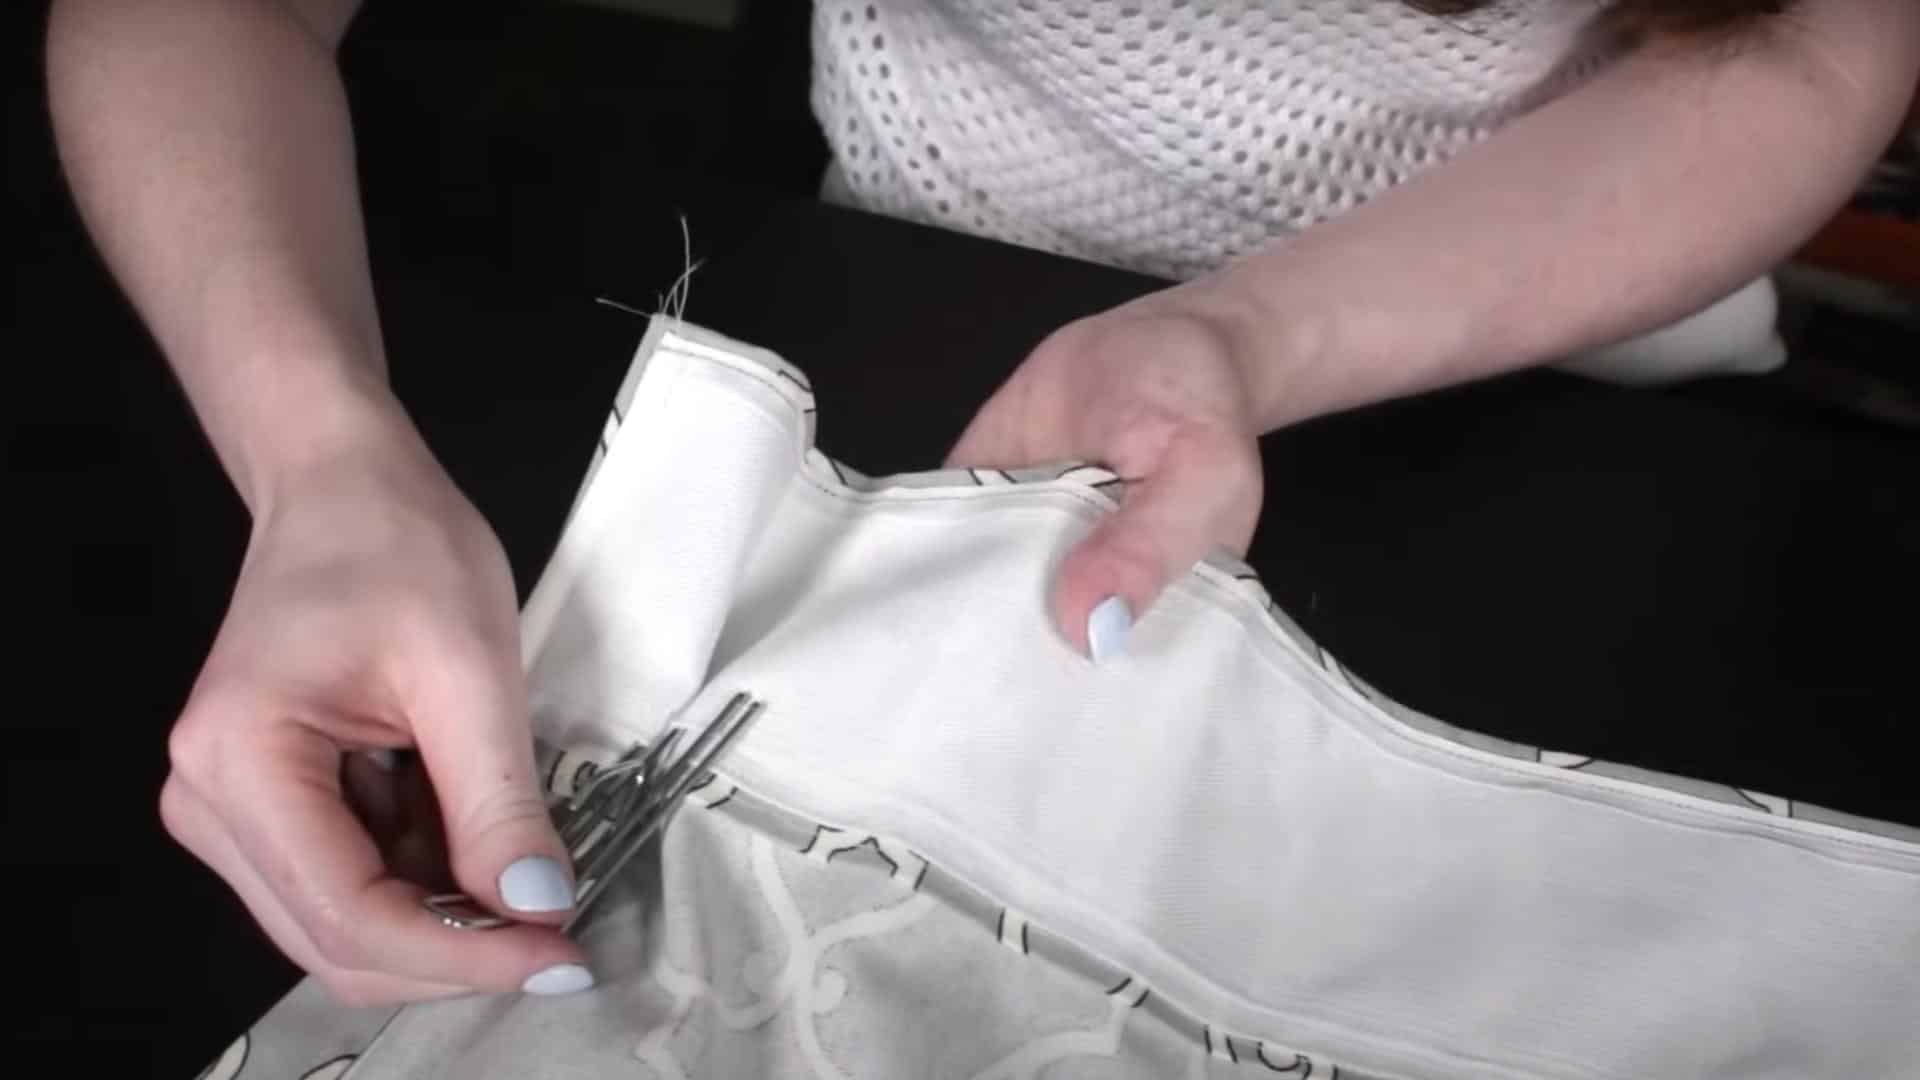
Now, take your pleater hooks and push them into the pockets on the pleater tape. These pockets are small openings spaced evenly along the tape.
For standard pinch pleats, put hooks in every third or fourth pocket. Skip more pockets if you want deeper pleats. Make sure all hooks face the same way and go in to the same depth.
Count carefully so your pleats are evenly spaced across the whole curtain. The hooks should be firm but not so tight they damage the tape.
Step 5: Pinch, Hand-Sew the Pleats, and Hang
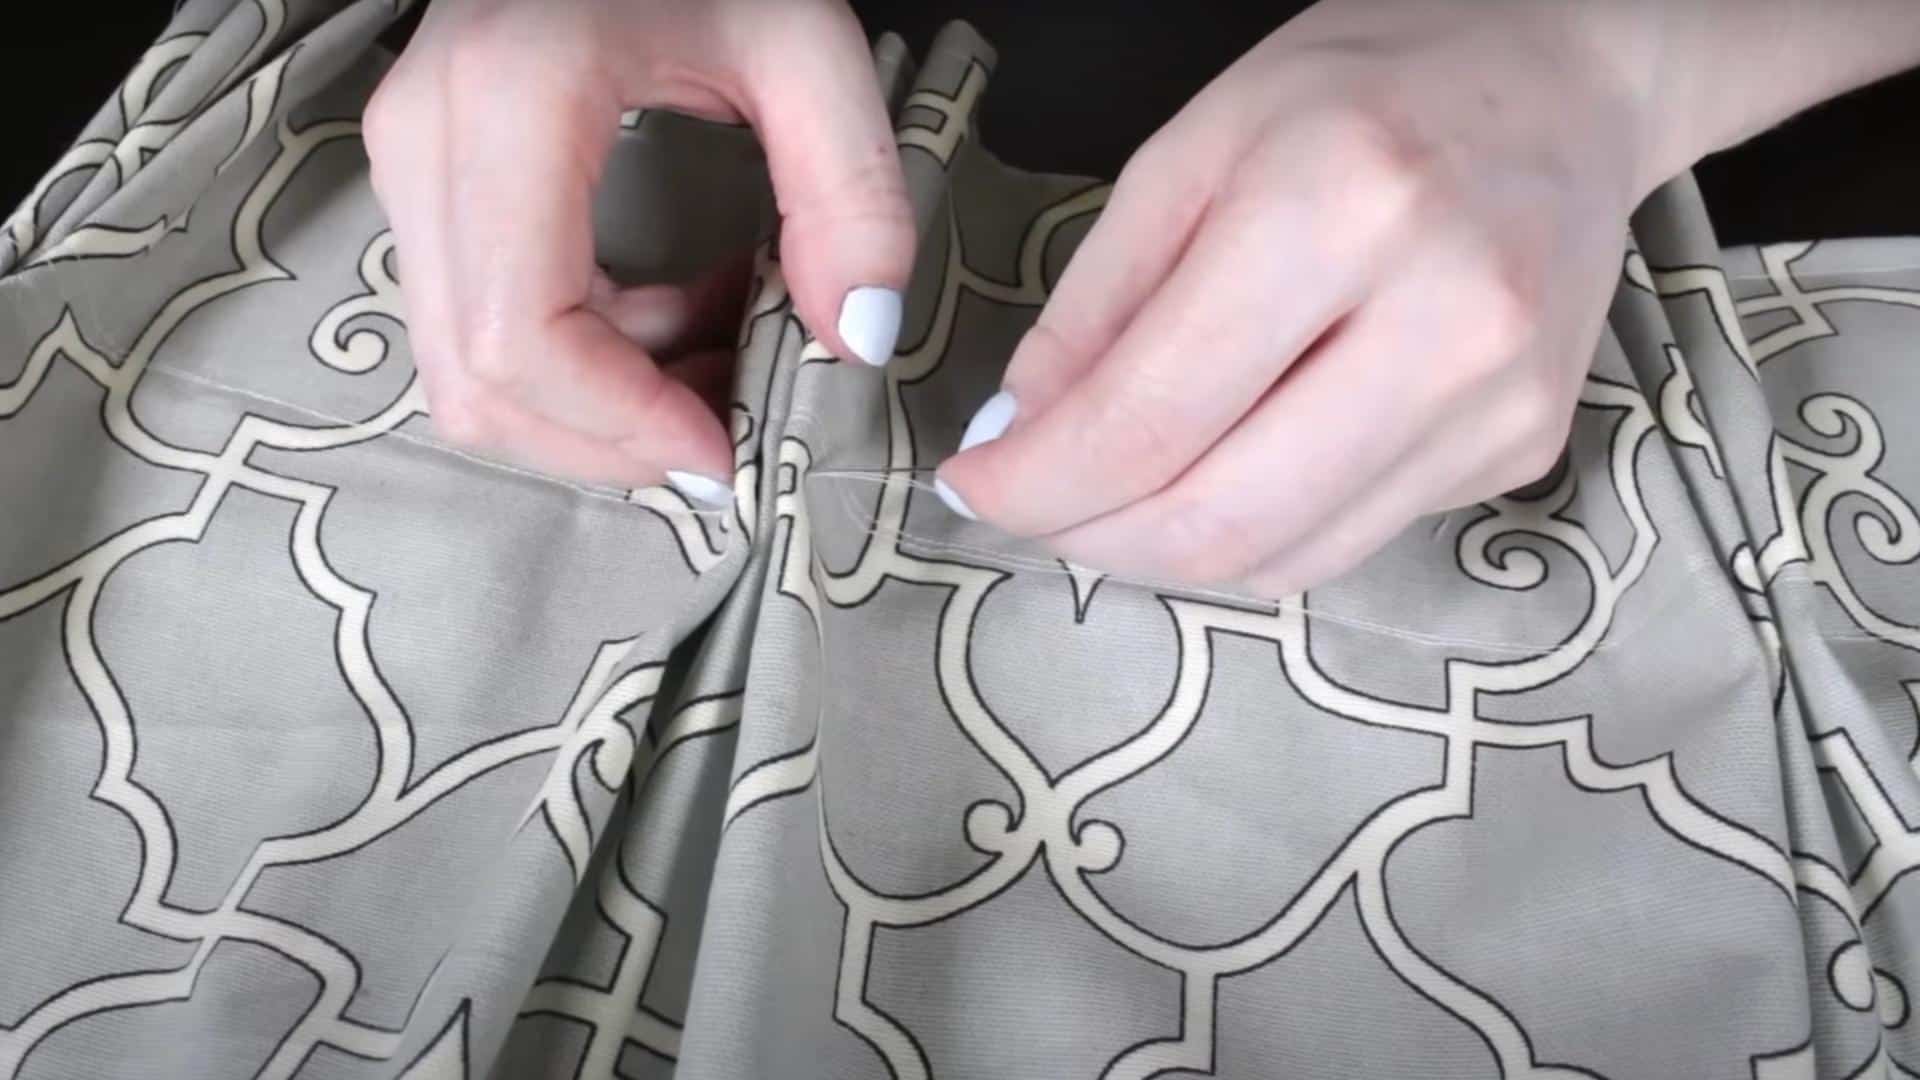
Take each section where you inserted a hook and pinch it to form three small folds. These three folds make up one pinch pleat.
Hold the folds together and sew a few stitches at the base of each pleat to keep it in shape. Use small, neat stitches and thread that matches your fabric. After all pleats are sewn, press them lightly with an iron.
Now you can hang your curtains by placing the hooks onto your curtain rod. Adjust the pleats so they’re even and all face the same way.
Video Tutorial – Watch How It’s Done
For more information, check out this video tutorial by OnlineFabricStore
Tips and Tricks for a Professional Finish
With the right techniques, getting a professional look for your pleated curtains isn’t difficult. Small details can make your homemade curtains look store-bought. These tips will help you solve common problems and add special touches to your curtain project.
- Press pleats firmly with a hot iron set for your fabric type to make them sharp.
- Use steam when ironing to help set the pleats more permanently.
- Pin pleats in place before sewing to prevent fabric from slipping.
- If pleats look uneven, remove the hooks and start again with careful counting.
- For formal rooms, use three-finger pinch pleats with deep, crisp folds.
- For casual styles, try simpler goblet or box pleats that look more relaxed.
- Add small weights inside the bottom hem to help the curtains hang straight.
- Use a ruler to measure between pleats as you work for perfect spacing.
- Press pleats once more after hanging to perfect their final shape.
Don’t rush when making pleated curtains. Take breaks if you feel frustrated with any step. Remember that even professional seamstresses make adjustments as they go. Your attention to detail will show in the beautiful finished curtains.
The Bottom Line
Learning how to pleat curtains isn’t just about saving money – it’s about bringing your personal style into your home. Now that you’ve followed these steps, you can enjoy curtains that look store-bought but have that special touch only handmade items possess.
Don’t worry if your first attempt isn’t perfect – most crafters get better with each project. The skills you’ve learned here work for any room in your house, from formal living areas to cozy bedrooms.
Take photos of your finished project to inspire your next home décor experience.
With some fabric, basic tools, and a little patience, you’ve transformed plain material into beautiful pleated curtains that will make your windows shine. Happy decorating!
If you’re interested in more DIY projects for your home, feel free to click here and explore our collection of easy weekend makeovers and step-by-step renovation tutorials.

Stephanie Grace, a graduate with a degree in Fine Arts from the Savannah College of Art and Design, has been inspiring DIY enthusiasts with her creative and practical guidance for over 14 years. Her career in design and crafting began in a small artisan workshop, where she developed a passion for transforming everyday materials into beautiful and functional items. Stephanie joined our website in 2018, rapidly gaining popularity for her easy-to-follow DIY tutorials and innovative project ideas. Since then, she has been the creative mind behind our DIY section, helping readers bring their artistic visions to life. Outside her professional pursuits, Stephanie enjoys pottery and urban gardening, hobbies that showcase her love for hands-on creativity and nature.