
Installing a shower pan might sound technical, and honestly, it can feel overwhelming at first. One wrong move and you could end up with leaks under your bathroom floor, which no one wants.
The good news is that learning how to install a shower pan isn’t as complicated as it seems when you follow the right order and take your time.
This guide will walk you through each stage, from prep work to properly setting the pan.
By the end, you’ll know exactly what to do, what to avoid, and how to get it done with confidence.
What is a Shower Pan and Why Does It Matter?
Before we get into the actual installation, it helps to understand what you’re working with.
A shower pan isn’t just the floor you stand on; it’s the foundation that keeps water where it belongs.
If this part fails, the whole shower can fail with it.
What a Shower Pan Does:
At its core, the shower pan acts as the waterproof base of your shower. It’s designed to withstand constant water exposure without allowing moisture to seep into the structure below.
- Forms the waterproof base of your shower
- Directs water toward the drain
- Supports a tile or a prefabricated shower surface
Without it, water would spread under your flooring and into the framing.
Tools and Materials You’ll Need
Before you begin installing a shower pan, take a few minutes to gather everything you need.
Having your tools and materials ready keeps the process smooth and prevents delays once the mortar is mixed or the pan is in place.
| Materials | Tools |
|---|---|
| Shower Pan | Drill |
| Drain Assembly | Screwdriver |
| PVC Pipe | Measuring Tape |
| Mortar Mix | Utility Knife |
| Silicone Caulk | Trowel |
| Waterproof Membrane | Caulking Gun |
| Screws & Shims | Adjustable Wrench |
How to Install a Shower Pan Step by Step
Once you’ve chosen your shower pan type and gathered your tools, it’s time to install it the right way. This is where patience pays off. Don’t rush, and double-check each move before moving on to the next.
Step 1– Prepare the Subfloor
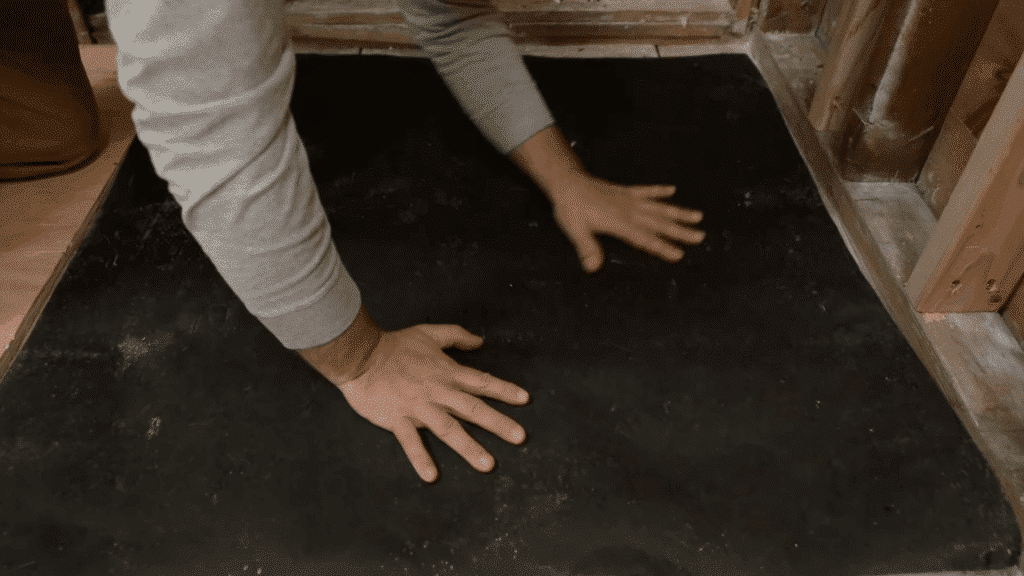
- Make sure the subfloor is clean, solid, and level.
- Remove debris and check for uneven spots before you start installation.
Step 2 – Dry‑fit the Shower Pan
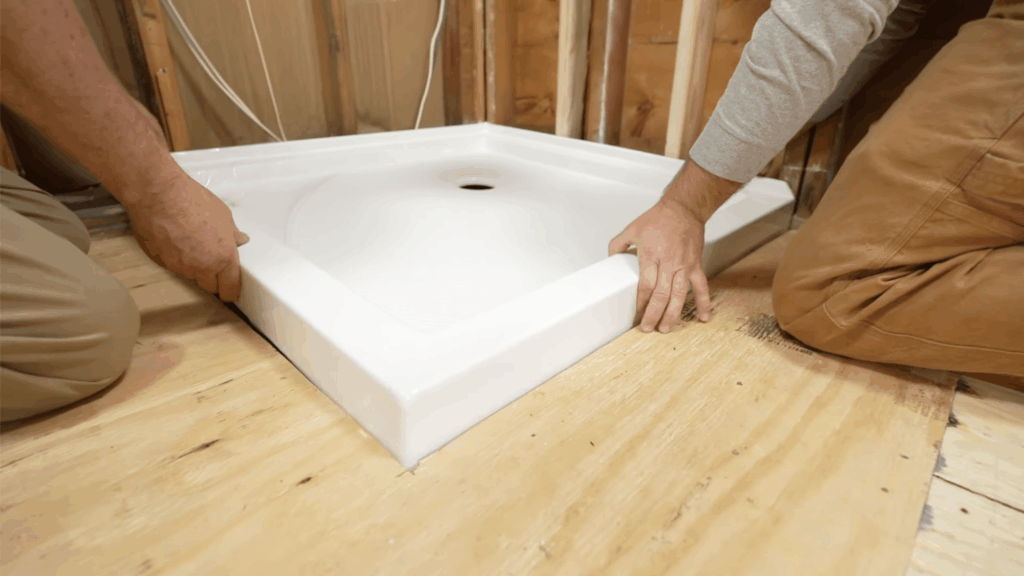
- Place the shower pan into the stall opening without fastening it.
- Check alignment with the drain pipe; the pan’s drain hole should line up with the drain stub‑out.
- Move it around until it fits properly before doing anything permanent.
Step 3 – Install the Shower Drain Flange
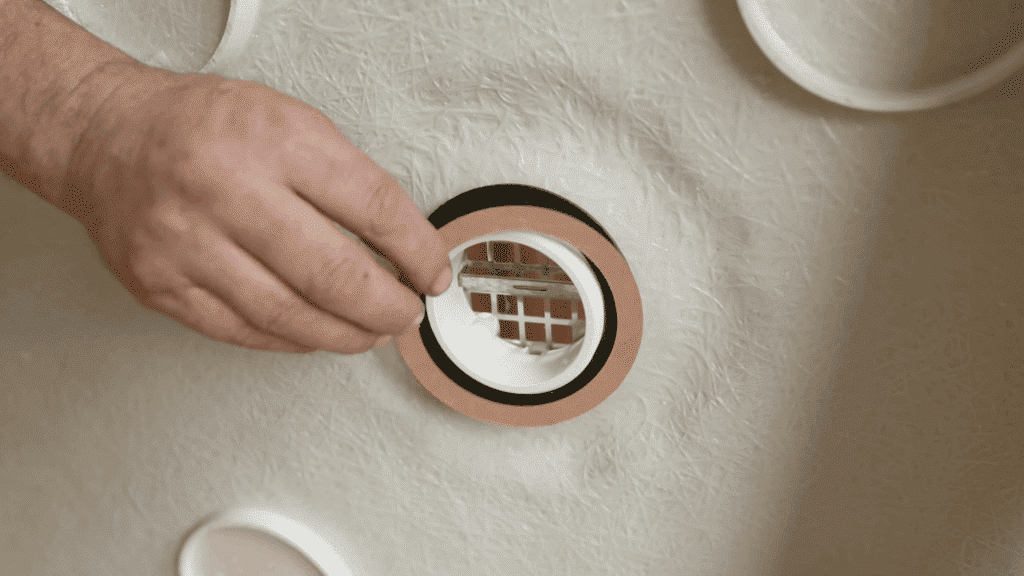
- Install the drain flange into the pan’s drain opening.
- This step forms the watertight joint between the pan and the drain.
- Apply sealant or plumber’s putty (depending on the kit) to prevent water from leaking out.
Step 4 – Secure the Shower Pan
- Once the dry‑fit and drain flange are ready, set the pan in place for final installation.
- Fasten the pan’s flange edges to the wall studs using exterior‑grade screws through the pre‑drilled holes, just snug, not over‑tightened.
Watch this step-by-step video to learn how to properly install a shower pan and ensure a durable, leak-free foundation for your shower!
Choosing the Right Type of Shower Pan
Before you start installing anything, you need to choose the right kind of shower pan.
The type you pick affects the tools, prep work, and even how long the job will take. Some pans are beginner-friendly, while others require more skill and patience. So it’s worth slowing down here and making the right call.
| Shower Pan Type | Key Features | Ideal For |
|---|---|---|
| Prefabricated Shower Pans | – Made from acrylic or fiberglass – Ready to install – Lightweight and easy to handle – Easier installation | Beginners or quick remodels |
| Tile-Ready Shower Pans | – Designed for tile finish – Built-in slope – Requires waterproofing – Allows design flexibility | A middle ground between simple and custom builds |
| Custom Mortar Shower Pans | – Built on-site with mortar – Labor-intensive – Complete control over size and shape | Experienced DIYers, custom bathroom renovations |
| Solid Surface Shower Pans | – Made from engineered stone or resin blends – Durable and long-lasting – Heavier, may require extra support | Durability without building a custom base from scratch |
Common Mistakes to Avoid During Installation
Even if you follow the general steps, small mistakes can cause big problems later.
A shower pan isn’t something you want to redo after tile and walls are finished. Let’s look at the errors that can quietly ruin your project.
- Skipping the Mortar Base: Some people assume the shower pan can sit directly on the subfloor. Technically, a few models allow that, but most require a mortar bed for proper support. Without mortar underneath, the pan can flex when you step on it. Over time, that movement can lead to cracks, loose drain connections, or leaks. It might feel solid at first, but the damage shows up later.
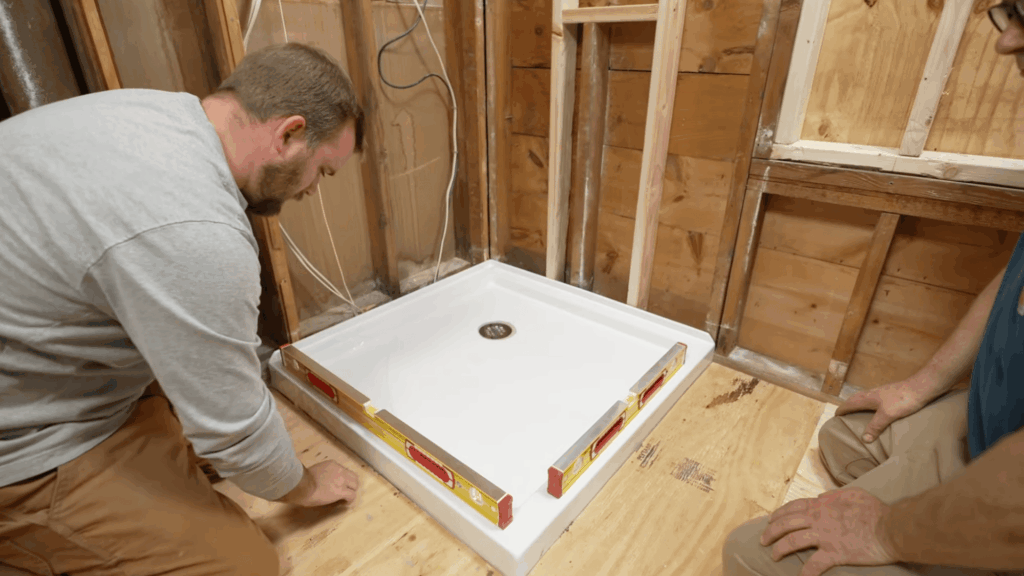
- Not Checking Level: It’s easy to assume your floor is level, but assumptions don’t work here. If the pan isn’t perfectly level, water won’t drain correctly. You could end up with standing water in the corners, which leads to soap buildup and potential mold growth. Worse, uneven pressure can stress the pan structure. Use a level before, during, and after setting the pan. It only takes a minute, and it prevents long-term issues.
- Improper Drain Sealing: The drain connection is one of the most common failure points. If the gasket isn’t seated correctly or the plumber’s putty isn’t applied evenly, water can slowly leak underneath. You might not notice it right away, but moisture can damage the subfloor over time. Tighten fittings properly, but don’t overtighten. A secure seal matters more than brute force.
- Rushing Waterproofing: Waterproofing isn’t the step to speed through. If you’re working with a tile-ready pan or adding membrane layers, every seam must be sealed carefully. Missed corners or poorly applied sealant can allow moisture to sneak behind walls.
Conclusion
Installing a shower pan isn’t about rushing through steps; it’s about getting the foundation right so everything else works the way it should.
When you prepare the subfloor, check the level carefully, secure the drain properly, and seal every edge, you’re building a base that can handle years of daily use.
If you’ve followed this guide on how to install a shower pan, you now understand where most problems happen and how to avoid them.
Take your time, follow the manufacturer’s instructions, and don’t skip the small details. A solid install today saves you from costly repairs tomorrow.

Veronica Lee holds a Master’s degree in Landscape Architecture from Cornell University and has dedicated more than 15 years to transforming outdoor areas into artistic and sustainable spaces. Her career took off in a renowned landscape design firm, where she excelled in creating visually stunning and environmentally responsible designs. In 2019, Veronica brought her expertise to our platform, quickly becoming a key contributor to our outdoor design and sustainability sections. As the lead of our landscape innovation series ever since joining, she has inspired readers with her forward-thinking and practical approach. When not drafting designs, Veronica enjoys pottery and participates in local conservation efforts, activities that complement her professional ethos of blending art with nature.