Wondering how to get the best results with acrylic paint on wood? No matter if you’re a beginner or an experienced artist, achieving a smooth, bright finish on wood surfaces can be tricky.
Acrylics are effective, but getting that perfect look requires a little know-how. From preparing the wood to choosing the right supplies, every step matters.
In this guide, you will find the essential tips and advice to make your acrylic paint projects shine. No more guesswork!
Can you Put Acrylic Paint on Wood?
Yes, you absolutely can. Acrylic paint is a popular choice because it adheres well to most wooden surfaces, providing a durable, long-lasting finish.
It offers flexibility and a smooth application, making it ideal for both DIY projects and professional work.
However, there are several considerations to keep in mind when working with wood, including the type of wood, preparation, and application techniques.
Using the right approach ensures that your paint job lasts for years and maintains its bright appearance.
With proper prep work, acrylic paint can be a great choice for improving the look of wooden furniture, crafts, and other projects.
Suitable Wood Types for Acrylic Paint
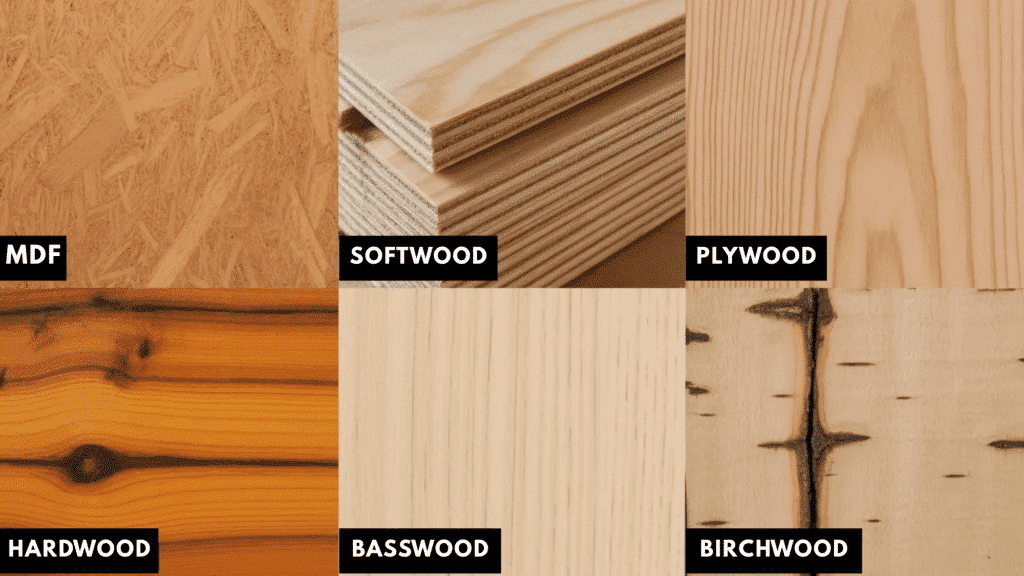
Not all wood types are created equal when it comes to painting with acrylics. Have a look at how different woods perform when painted with acrylics and how to prepare them for the best results:
- MDF (Medium Density Fiberboard): MDF is an engineered wood product that provides a smooth, even surface for acrylic paints. It is an excellent choice for projects requiring a flawless finish, as it has no visible grain.
- Hardwood: Hardwoods, such as oak or maple, hold acrylic paint well and provide a durable, sturdy base. Once properly prepared, hardwood takes paint well, resulting in a long-lasting finish that looks polished and refined.
- Basswood: A soft hardwood with a smooth surface that accepts acrylic paint easily. It’s a popular choice for artists and DIYers due to its lightweight nature and smooth finish.
- Plywood: A diverse option for acrylic painting, especially for larger projects such as furniture or outdoor pieces. The surface of plywood can vary with the quality of the wood; lower-quality plywood may have visible grain and seams that can affect the paint’s adhesion.
- Birchwood: It’s a hardwood that holds paint well and provides a smooth, durable finish. Like other hardwoods, birchwood benefits from sanding before painting to ensure smooth coverage.
- Softwood: Softwoods, such as pine and cedar, are generally easier to work with and more affordable than hardwoods. It absorbs acrylic paint well but may require additional sanding and priming to ensure smooth adhesion.
Essential Supplies for a Smooth Acrylic Paint Finish
Before you start your project, make sure to have all the necessary supplies for painting on wood. If you’re working on furniture or small wooden crafts, using the right materials ensures a smooth, long-lasting finish.
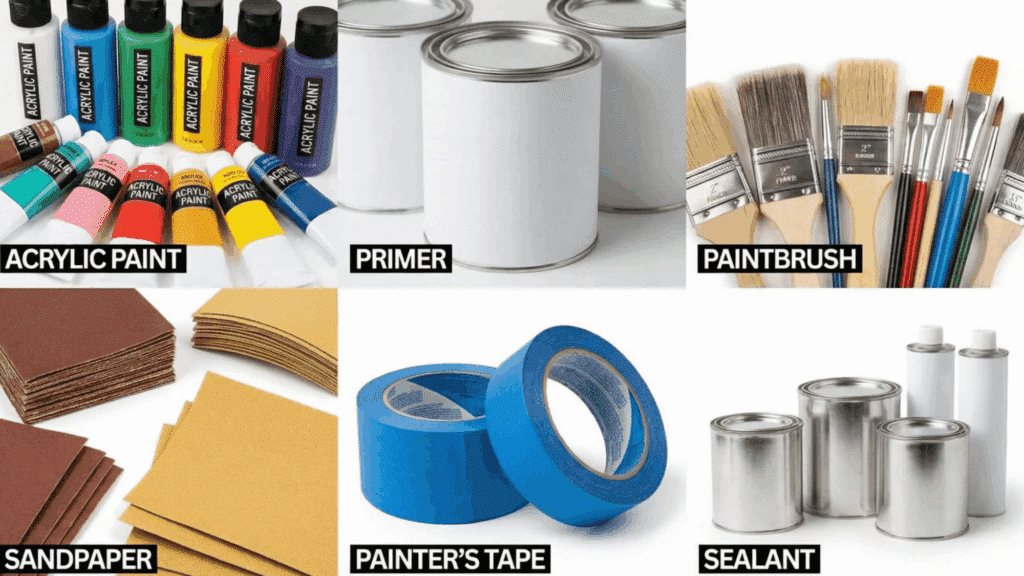
- Acrylic Paints: Choose high-quality acrylic paints that are suitable for wood surfaces. Specialized wood paints are available, but regular acrylics work well with proper preparation.
- Primer: A good primer is crucial for sealing the wood, ensuring the acrylic paint adheres properly, and providing a smooth base for your color layers.
- Paintbrushes: Use synthetic brushes designed for acrylic paint for the best finish. Having a variety of brush sizes helps with precision, especially for detailed areas.
- Sandpaper: Sanding the wood surface before painting removes rough patches and helps the paint adhere better, giving you a smoother finish.
- Painter’s Tape: Painter’s tape is essential for protecting areas you don’t want painted and for ensuring clean edges and crisp lines, especially around window frames or trim.
- Sealant: A clear acrylic sealer protects your painted surface from wear and tear, preserving your design’s longevity and adding a glossy or matte finish, depending on preference.
Simplified Steps for Painting on Wood with Acrylics
Achieving the perfect finish with acrylic paint on wood is easy when you follow these steps. Here’s a simple guide to clear all your doubts and get the best results:
Step 1: Prep the Wood Surface
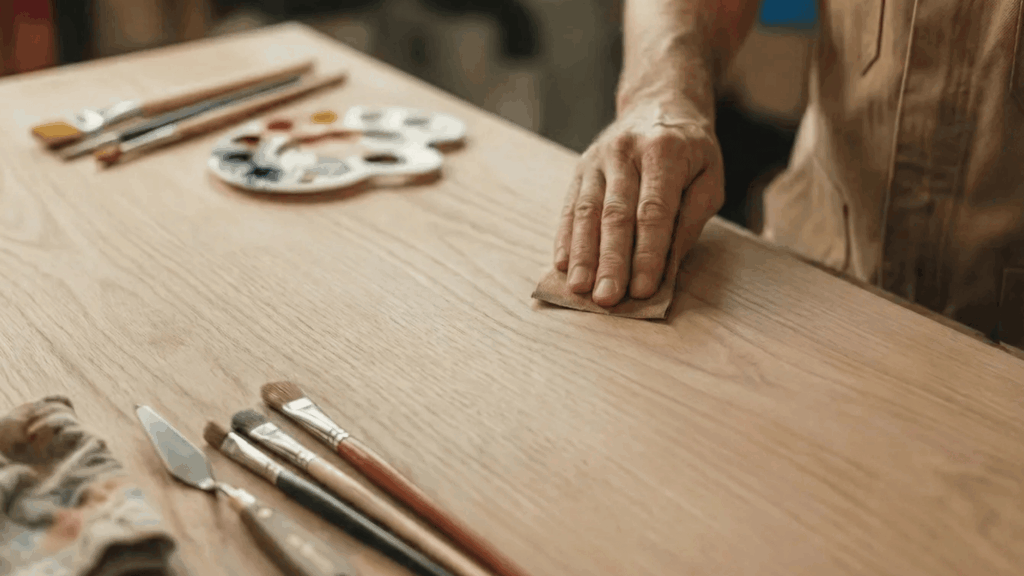
Before you begin painting, it’s essential to prep the wood properly for the best results. Start by sanding the wood to remove any rough patches, scratches, or imperfections.
Sanding also opens up the grain of the wood, allowing the paint to adhere more effectively. Once you’ve sanded, always wipe down the surface with a clean cloth to remove any dust, debris, or particles left behind.
This step ensures the wood is clean and smooth, which is vital to achieving an even, flawless paint finish.
Step 2: Apply Primer
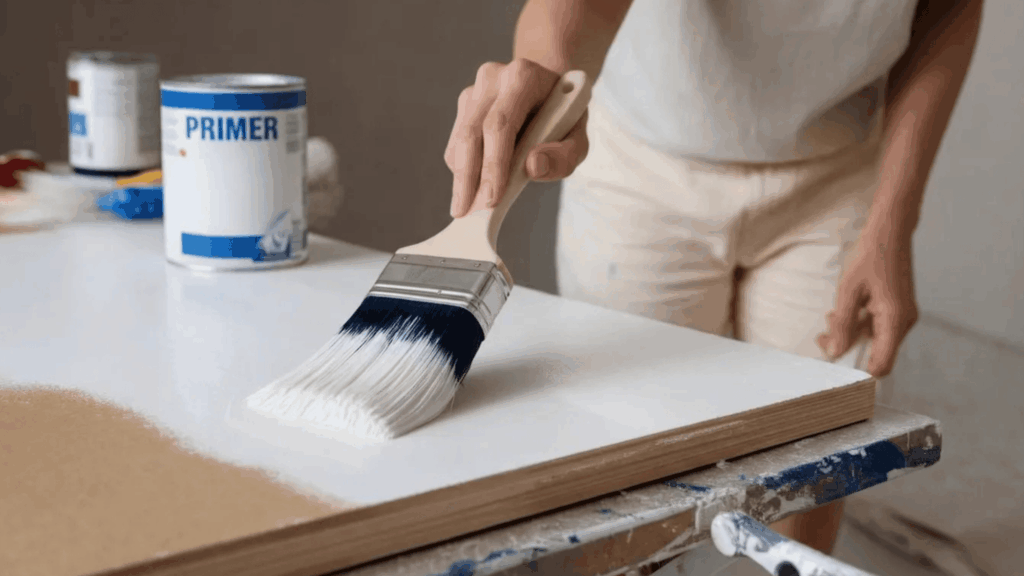
Primer is crucial for creating an ideal surface for your acrylic paint to adhere to. Coat the wood with a thin, even layer of primer.
Not only does the primer help the paint adhere better, but it also prevents the wood from absorbing too much paint, which can lead to a blotchy or uneven finish.
Using a primer will also ensure that the wood’s natural color or grain doesn’t show through the paint.
Step 3: Start Painting
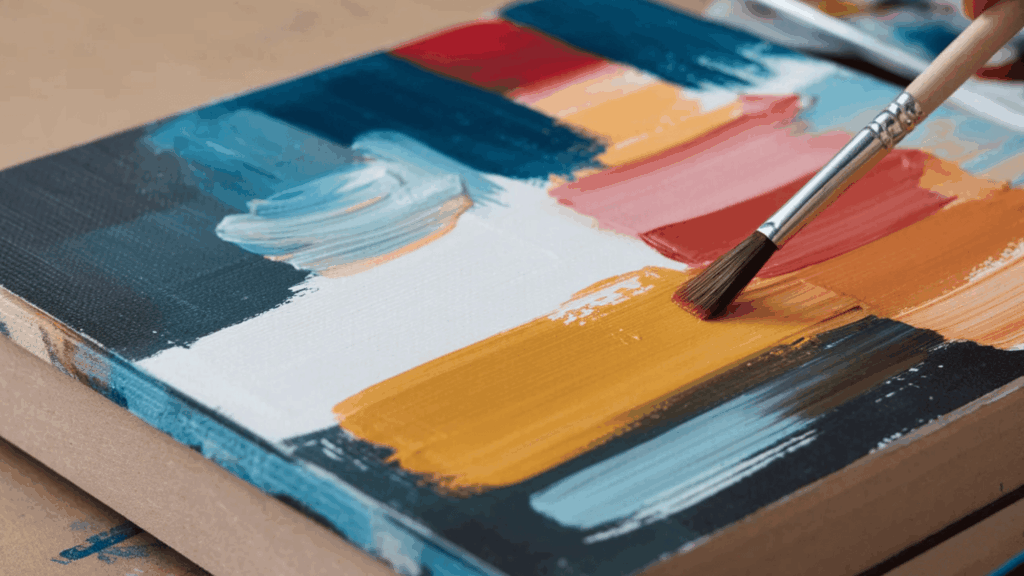
When you’re ready to paint, begin by applying thin layers of acrylic paint. Thin coats are essential because they dry faster and reduce the chances of streaking or uneven coverage.
Use a high-quality brush and apply the paint in smooth, even strokes.
Avoid overloading the brush with too much paint to prevent drips and streaks. Allow each layer to dry before adding another one.
4. Dry and Recoat
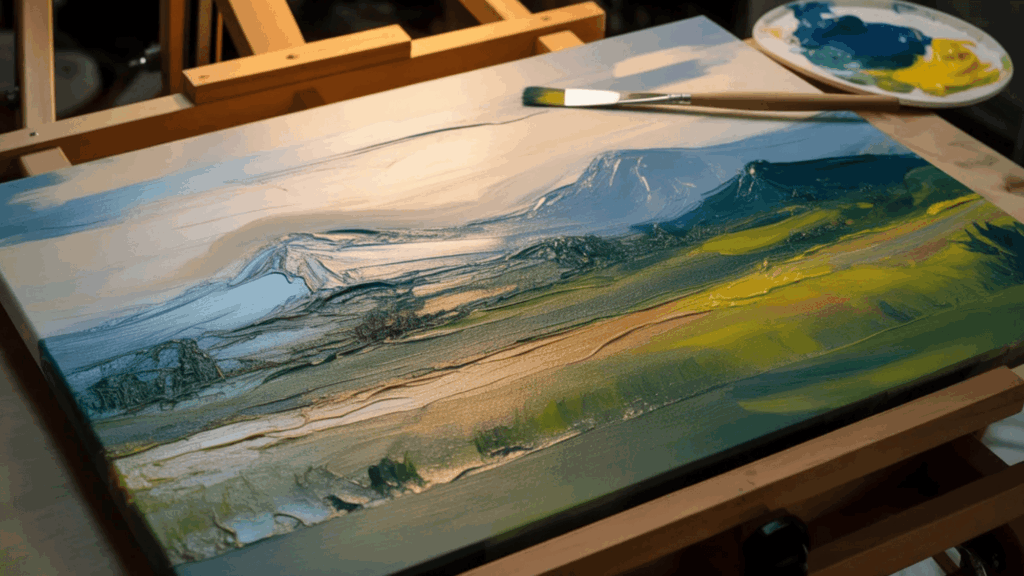
After applying the first layer of paint, allow it to dry completely. This step is crucial for achieving a smooth and even finish, as painting over a wet layer can cause streaks and smudges.
Once dry, inspect the coverage and, if necessary, apply additional coats of paint to achieve full opacity and add to the vibrancy of the color. While it might take extra time, patience here really helps produce better results.
5. Seal the Paint
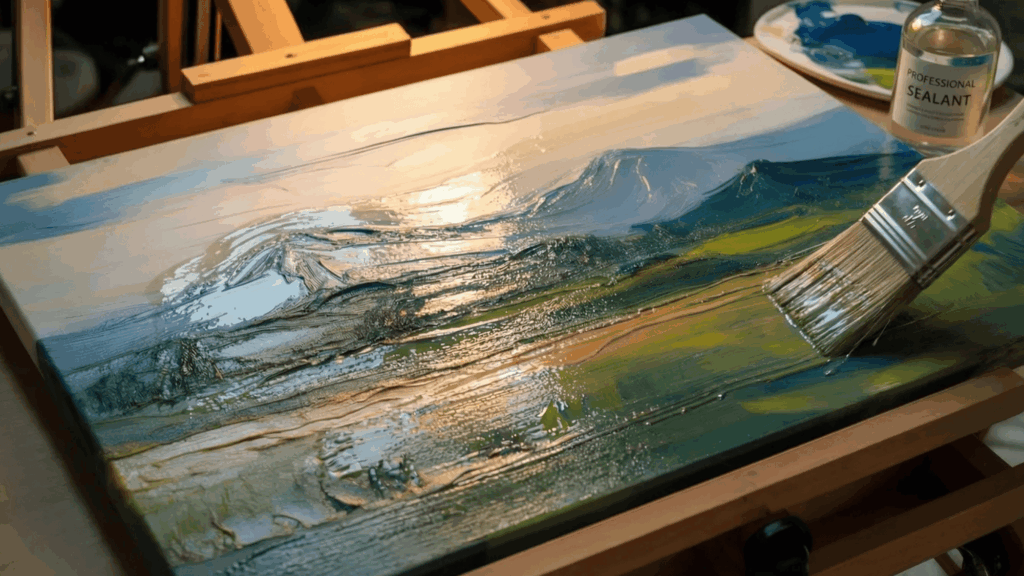
Once the paint is completely dry, apply a clear acrylic sealant to protect the surface. This final coat will keep the paint from chipping or fading, ensuring your design lasts longer and looks polished.
Choose a matte or glossy sealant depending on the desired final appearance and the type of project.
Common Problems of Painting on Wood and How to Fix Them
While acrylic paint on wood is generally a great option, there are a few challenges that can come up during the process. Here are some common issues and solutions to help you achieve the perfect finish:
| Issue | Description | Solution |
|---|---|---|
| Uneven Coverage | Sometimes the paint may not go on smoothly, leaving streaks or areas where the wood shows through. | Apply thin, even coats of paint and use a high-quality synthetic brush for a smoother finish and better coverage. |
| Peeling or Cracking | If the paint isn’t applied properly or the wood surface isn’t prepped, peeling or cracking may occur over time. | Sand the wood thoroughly and apply a high-quality primer before painting for a strong bond. |
| Wood Absorption | Some woods, like raw or untreated wood, absorb too much paint, resulting in a dull or uneven finish. | Apply a coat of primer before painting to seal the wood and create an even surface for paint. |
| Drying Issues | Acrylic paint can dry too quickly or too slowly, depending on environmental factors like humidity and temperature. | Work in a well-ventilated room with controlled temperature and humidity. Use a slow-drying medium if needed. |
Additional Tips for a Perfect Paint Finish
You’ve already learned the basics of painting on wood, but these additional tips will help you achieve a flawless acrylic paint finish. From craft projects to furniture, these pointers will ensure great results:
- Work in a Controlled Environment: Ensure your workspace is at a stable temperature and humidity to avoid issues such as paint drying too quickly or unevenly.
- Use a Slow-Drying Medium: If you need more working time, mix a slow-drying medium into your acrylic paint. This allows you to blend and work more easily.
- Test Paint on Scraps First: Before painting your project, test your acrylic paint on a scrap piece of wood to see how it behaves.
- Avoid Overworking the Paint: Once the paint is on the surface, avoid overworking it with the brush to prevent streaks or lifting of previous layers.
- Choose the Right Brush for Detail: Use smaller brushes for detailed areas and larger brushes for flat surfaces to ensure precision and smooth application.
- Maintain Consistency in Technique: Stick to a consistent technique for brush strokes or rolling to avoid uneven coverage.
Conclusion
Getting great results with acrylic paint on wood really comes down to prep, patience, and the right tools.
Sand well, prime properly, and build color in thin layers. Let each coat dry, then seal everything to lock in that smooth finish.
If something goes wrong, don’t stress. Most issues, like streaks or peeling, can be fixed with better prep or lighter coats.
With a little practice, acrylic paint becomes easy to work with and super trustworthy. Take your time, test first, and enjoy turning plain wood into something you’re proud to show off.

James McLaren, with a rich background in architecture from the University of Manchester, has been contributing his expertise to the world of creative construction and home innovation for over 20 years. His journey began as a project manager for a leading construction firm, where he honed his skills in bringing complex designs to life. James joined our platform as a freelancer in 2019, quickly becoming a favorite for his insightful and practical advice. He has been a pivotal force to our wing ever since, bringing our readers a blend of technical know-how and creative flair. Beyond his professional life, James is an avid woodworker and enjoys restoring vintage furniture, a hobby that complements his professional insights beautifully.