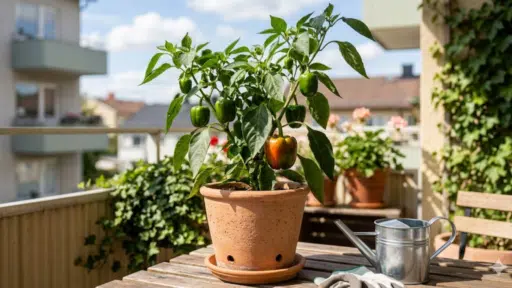

Producing your own bell peppers at home is easier than most people think, even without a garden. A small balcony, terrace, or sunny corner is all you need to get started with healthy, homegrown peppers.
Growing bell peppers in pots is a simple, practical way to enjoy fresh vegetables right from your own space. It gives you more control over soil, sunlight, and care, making it perfect for beginners.
This guide takes you through everything step by step, from choosing the right pot to harvesting your peppers. With the right approach, you can grow strong, productive plants without any hassle.
Why Pots Make Growing Bell Peppers so Easy?
Growing bell peppers in pots is a practical option for people with limited outdoor space, making the process easier to manage and more efficient.
Using pots also gives better control over soil quality, enabling the use of the right potting mix for stronger, healthier plants.
It also makes watering easier, as you can monitor moisture levels without affecting nearby plants.
Another advantage is the lower risk of pests and diseases, since container plants are easier to inspect and protect. Plus, pots can be moved around to ensure the plant gets enough sunlight throughout the day.
For these reasons, it is often more convenient, especially for beginners looking for a simple and manageable way to grow fresh vegetables at home.
Tools and Materials Required
Before you begin growing bell peppers in pots, having the right tools and materials makes the process smoother and more efficient. Major materials and tools required are:
| Tool / Material | Purpose | Use Case |
|---|---|---|
| Pepper seeds/seedlings | Starting the plant | Begin growth from seeds or young plants |
| Potting mix | Healthy root growth | Provides nutrients and proper drainage |
| Seed trays or small pots | Initial planting | Used for the germination stage |
| 5-gallon containers | Final plant growth | Supports full plant development |
| Watering can | Controlled watering | Helps manage water flow evenly |
| Mulch (straw/leaves) | Moisture retention | Keeps soil from drying out quickly |
| Small tool (spoon/screwdriver) | Transplanting help | Assists in moving seedlings safely |
| Warm water | Soil preparation | Helps settle soil and support early growth |
| Drainage tools (drill if needed) | Prevent waterlogging | Ensures excess water can drain out |
How to Plant Bell Peppers in Pots
Growing bell peppers in pots is simple and rewarding. With the right setup and a little care, healthy plants can grow even in small spaces. Follow these steps to get strong plants and a good harvest.
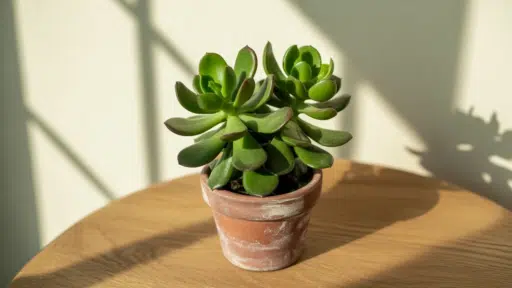
Step 1: Choose the Right Container and Soil
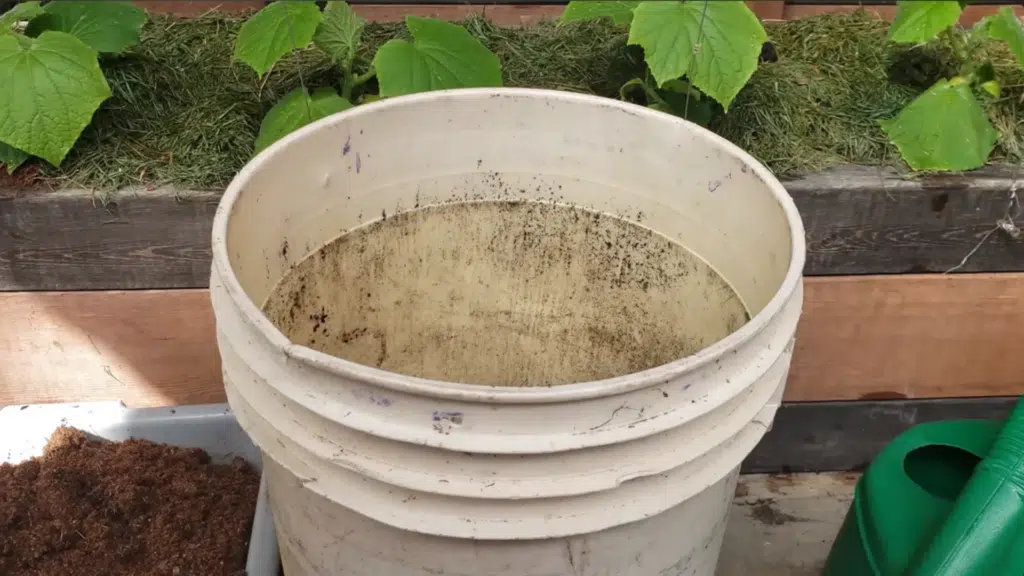
Start by selecting a container that is at least 5 gallons. This gives the roots enough space to grow freely. Make sure the pot has proper drainage holes at the bottom, as peppers do not like standing water.
Fill the container with a light, airy potting mix instead of garden soil. A good mix helps roots spread easily and prevents compacting. This step lays the foundation for strong, healthy plant growth.
Step 2: Plant the Seedling Correctly
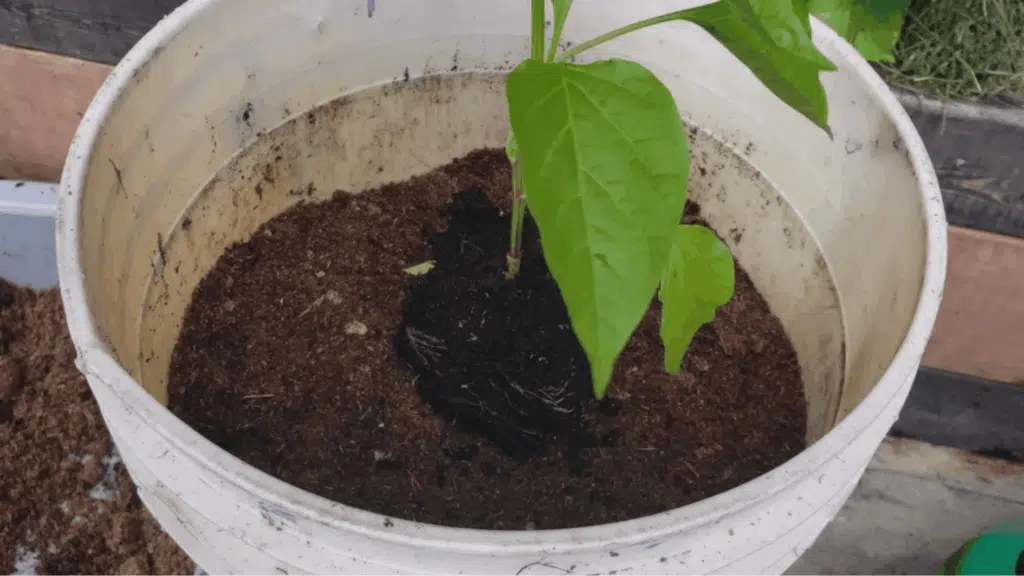
Gently remove the pepper seedling from its smaller pot without pulling on the stem. Place it in the center of the container and adjust the depth so that the soil covers the roots well.
You can plant slightly deeper up to the first set of leaves for better support. Fill around the plant with soil and press it lightly to remove air pockets.
Proper planting helps the plant settle quickly and reduces stress.
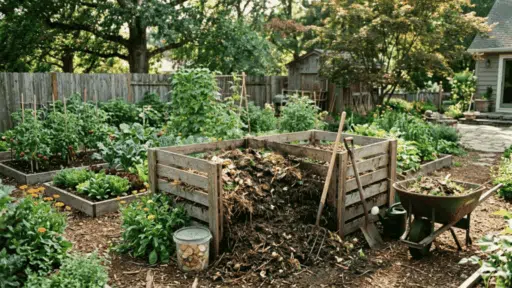
Step 3: Add Mulch for Better Growth
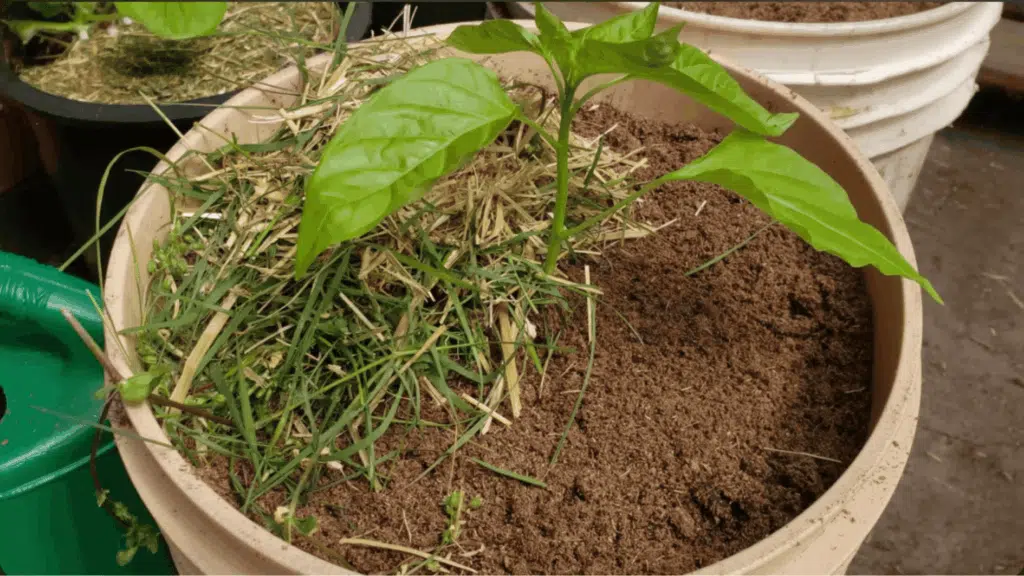
Before watering, apply a layer of mulch over the soil. Use materials like straw, dry leaves, or grass clippings. Spread at least 2–3 inches evenly around the plant.
Mulch helps keep the soil cool and reduces water loss during hot days. It also prevents soil from splashing during watering.
This simple step plays a big role in maintaining consistent moisture levels.
Step 4: Water and Place in Sunlight
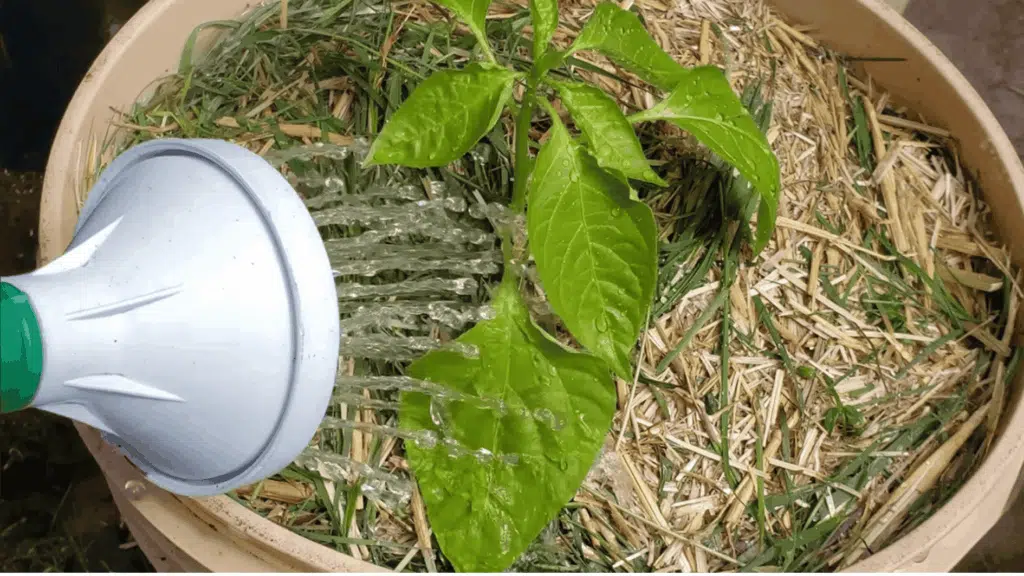
After mulching, water the plant gently until the soil is evenly moist. Avoid overwatering, as peppers prefer slightly moist soil rather than soggy conditions.
Place the pot in a sunny location that receives at least 6–8 hours of sunlight daily. Regular sunlight supports strong growth and better fruit production.
Keep checking the soil moisture and water when the top layer feels dry.
Step 5: Care and Monitor Plant Growth
As the plant grows, check for signs of healthy leaves and steady development. Remove any weak or damaged leaves if needed. Ensure the plant continues to receive enough sunlight and consistent watering.
Over time, the roots will spread through the container and the plant will grow stronger. With proper care, bell peppers will begin to flower and produce fruit, making the effort worthwhile.
Watch the video for visual guidance:
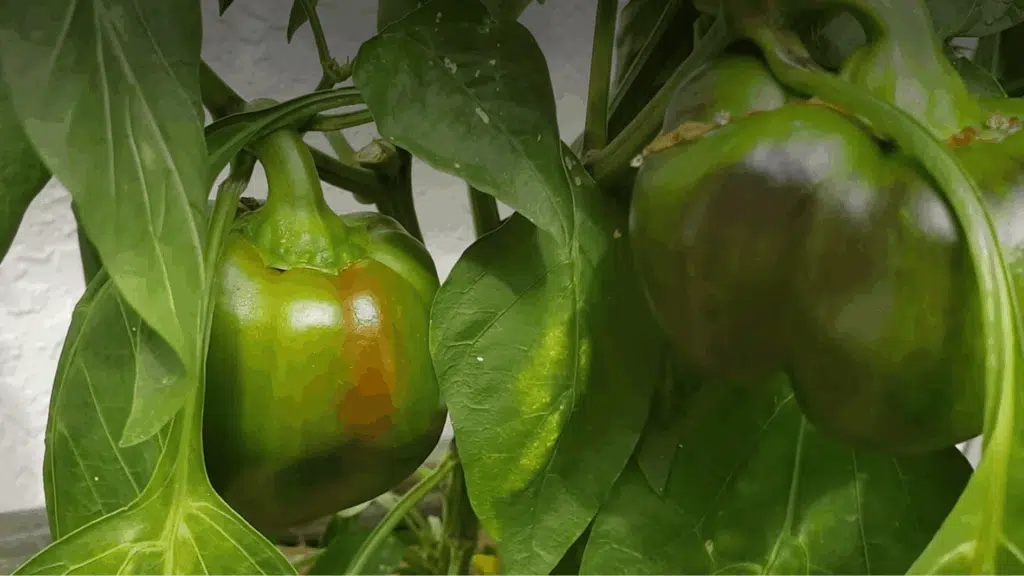
When and How to Harvest Bell Peppers?
Harvesting at the right time makes a big difference in taste and yield; regular picking also helps the plant produce more fruits.
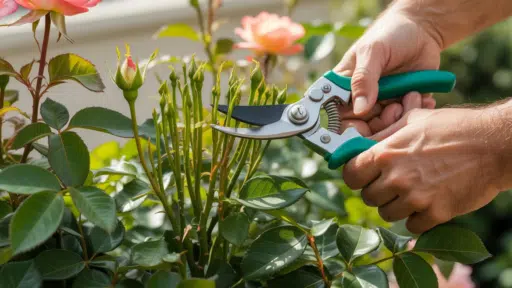
- Check the Size and Firmness: Bell peppers are ready when they feel firm and reach full size for their variety.
- Use Scissors or Pruners: Cut the pepper instead of pulling it off to avoid damaging the plant.
- Harvest Regularly: Frequent picking encourages the plant to grow more peppers.
- Look for Healthy Skin: Avoid harvesting peppers with soft spots or wrinkles.
- Timing Matters: Most bell peppers are ready 60–90 days after planting, depending on the variety.
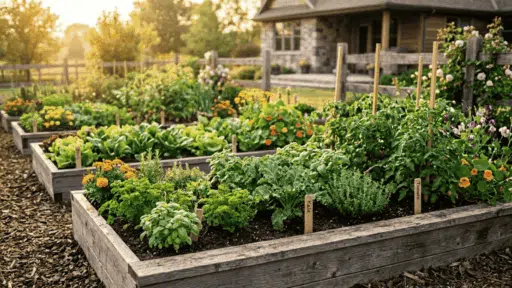
Best Bell Pepper Varieties for Pots
The right variety can make growing bell peppers in pots much easier and more productive. Compact plants, steady fruit set, and good container performance usually give the best results.
| Variety | Pot Size | Pepper Type | Maturity |
|---|---|---|---|
| Mini Bell Mix | 12–18 inches | Small, colorful (red/yellow/orange) | 60–75 days |
| California Wonder | 18–24 inches | Large green – red peppers | 70–85 days |
| Red Knight | 18–24 inches | Thick red peppers | 65–75 days |
| Ace | 18–24 inches | Sweet green – red peppers | 50–70 days |
| Gypsy | 18–24 inches | Long peppers (yellow – orange-red) | 60–70 days |
Tips to Increase Your Pepper Yield
Getting more peppers from each plant comes down to small, consistent habits. With the right approach, growing bell peppers in pots can yield a steady, healthy harvest.
- Place Pots In a Spot with Maximum Sunlight: Rotate the pots every few days so all sides of the plant receive equal light.
- Avoid Overcrowding: Give each plant enough space so roots and leaves can grow without competition.
- Stick to a Feeding Routine: Regular fertilizer helps the plant stay strong and supports better fruit production.
- Harvest Peppers Often: Picking mature peppers encourages the plant to produce more flowers and fruits.
- Support the Plant Properly: Use stakes or small cages to keep branches from bending under the weight of peppers.
- Keep an Eye on The Temperature: Very high heat can affect flowering, so moving pots slightly during peak heat can help.
- Maintain Consistent Watering: Sudden changes in watering can stress the plant and reduce yield.
Conclusion
Growing bell peppers in pots is a simple way to enjoy fresh vegetables at home, even with limited space. With the right pot, healthy soil, and consistent care, the plant can grow well and produce a steady harvest.
Paying attention to sunlight, watering, and feeding makes a big difference over time. From planting to picking, each step becomes easier with practice.
Starting with one or two plants is often enough to see good results. Over time, it becomes a rewarding routine, especially when fresh peppers are ready to be used right from the plant.

With a Master’s in Landscape Architecture from the University of Virginia, Sophia Stephenson has dedicated the last 20 years to creating and maintaining vibrant outdoor spaces. Her professional journey started in landscape design, where she gained a reputation for innovative and sustainable approaches. Sophia became a part of our editorial team as a freelancer in 2019, offering a fresh perspective on outdoor living. Since 2020, she has been the chief for our outdoor design content, blending aesthetic appeal with environmental stewardship. In her leisure time, Sophia is a keen photographer, capturing the beauty of natural landscapes, a hobby that complements her professional expertise.