A closet is one of those spaces in a home that affects daily life more than most people realize. When the storage does not work, everything around it tends to feel disorganized and harder to manage.
Building one from scratch has become a popular option for people who want a setup that fits their actual space and lifestyle.
The process is more accessible than it looks, and most projects require only basic tools and materials that are easy to source.
This blog covers the full process of building a closet, from the initial planning stage through to the finishing details.
How Building a Closet Gives You Full Control Over the Layout?
Building a closet independently is a practical decision that pays off in more ways than one. The most immediate benefit is that a DIY build typically costs far less than hiring someone or buying a pre-made system.
Beyond the budget, a self-built closetfits the exact dimensions of the space, avoiding compromises with standard sizes.
Every shelf, rod, and section can be planned around what actually needs to be stored, making the result far more functionalday to day.
Having full control over the design also means the finished closet matches the room rather than standing out as an afterthought.
Planning Your Closet Before Building
Planning is the most important step in building a closet that works well long after the last nail is in place.
- Measure Carefully: Check the full height, width, and depth of the space, and note any doors, windows, or outlets that will affect the layout.
- Visualize First: Use tape or markings on the floor and walls to map out the layout before committing to any cuts or installations.
- Pick Type: Decide between a reach-in closet, a walk-in closet, or a built-in wardrobe based on the available space and storage goals.
- List Items: Write down everything that needs to be stored, including clothes, shoes, and accessories, so nothing is left without a designated spot.
- Think Ahead: Consider future storage needs as well, since a closet built with some flexibility will serve the space far better over time.
Tools and Materials Required for DIY Closet
Before starting, gather all the basic tools and materials so the closet build goes more smoothly from start to finish.
| Tools | Materials | Purpose |
|---|---|---|
| Tape measure | Wood studs | Measuring and framing structure |
| Laser level | Top and bottom plates | Ensuring straight alignment |
| Drill | Drywall sheets | Installing wall panels |
| Screwdriver | Screws and nails | Fastening materials securely |
| Saw | Joint compound | Cutting wood and finishing joints |
| Utility knife | Paper tape | Trimming and reinforcing seams |
| Sanding block | Trim boards | Smoothing surfaces and finishing edges |
| Caulk gun | Caulk | Sealing gaps and joints |
| Paint brush | Primer and paint | Finishing and surface protection |
| Ladder | Shelves, rods, and doors | Installation and access support |
How to Build a Closet from Scratch?
Building a closet from scratch may seem like a big task, but with the right steps, tools, and materials, it becomes simple and manageable. Follow these steps carefully and build the closet one stage at a time.
Step 1: Mark the Closet Layout
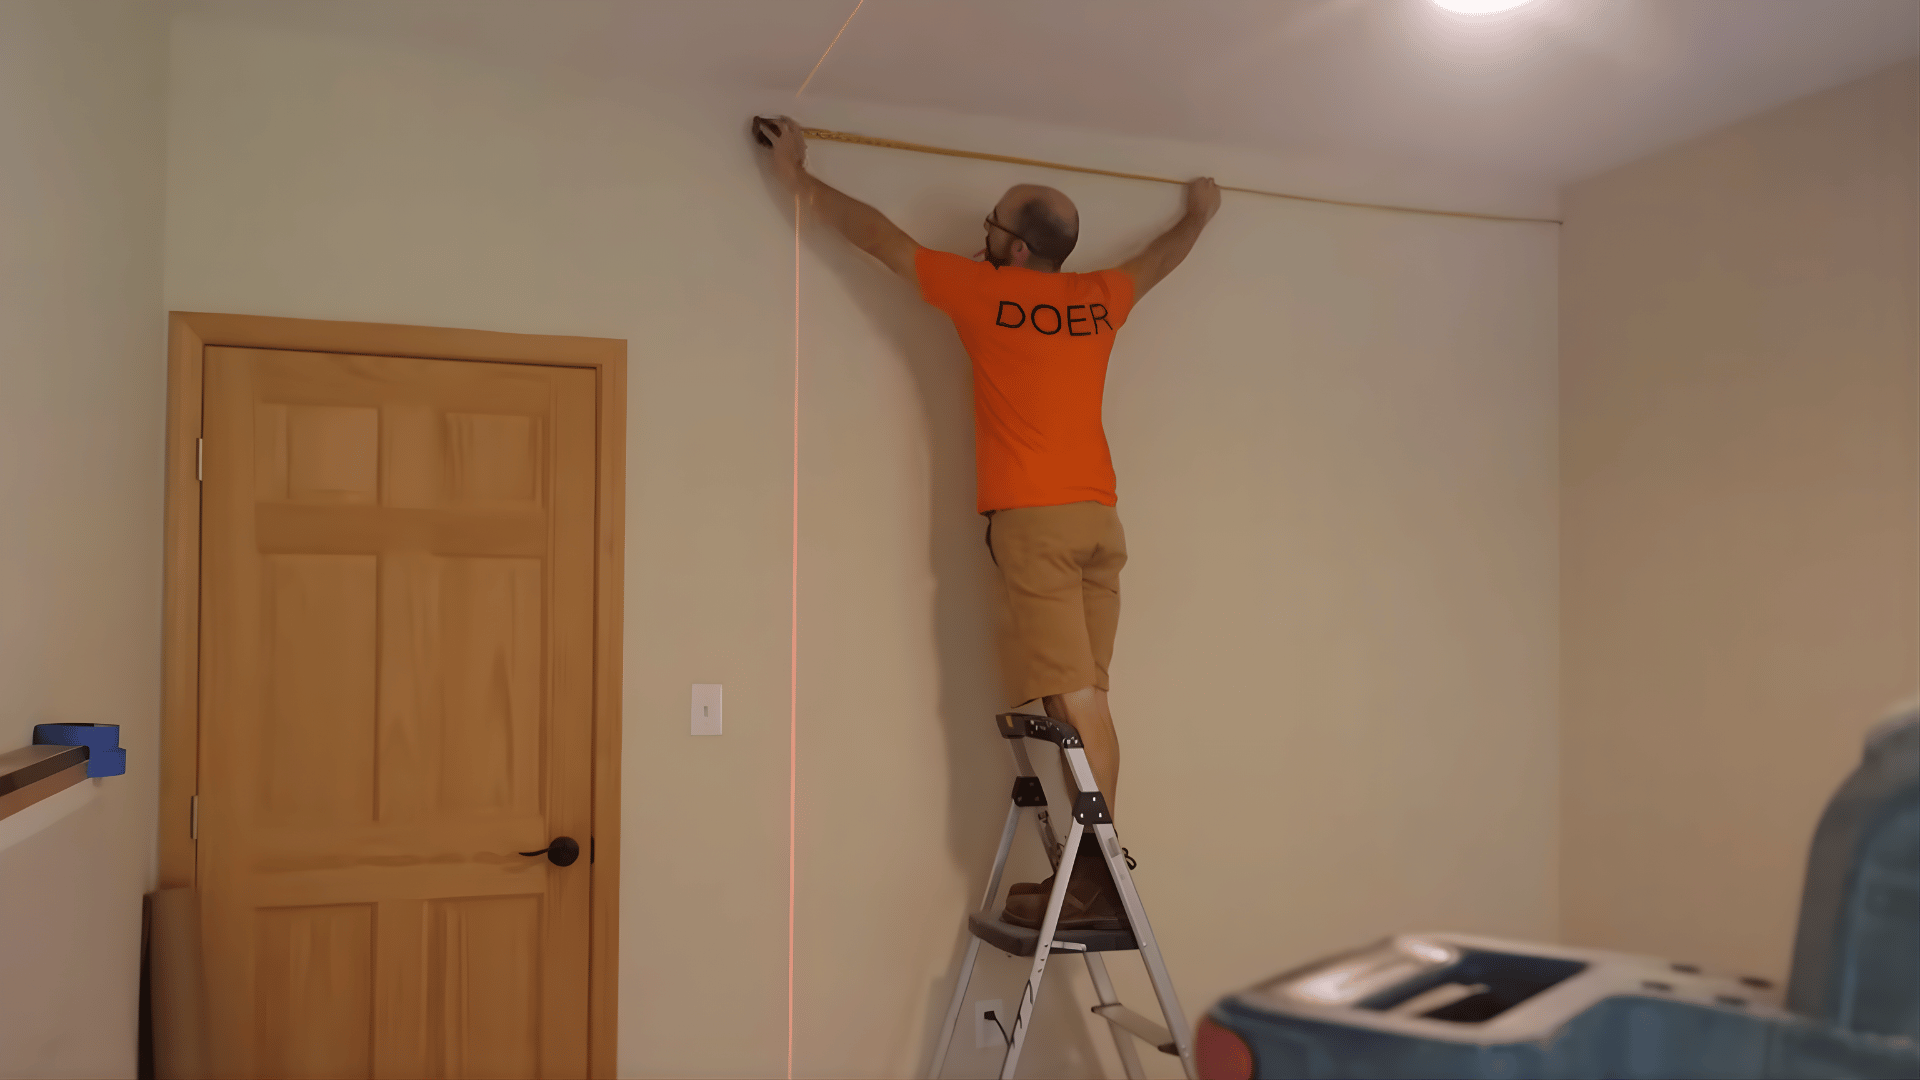
Start by deciding exactly where the closet will go in the room. Measure the footprint on the floor carefully and make sure the dimensions match your plan.
Transfer those lines onto the walls and ceiling so everything lines up properly. Double-check all measurements before moving forward, since this step sets the base for everything else.
Step 2: Build the Frame Structure
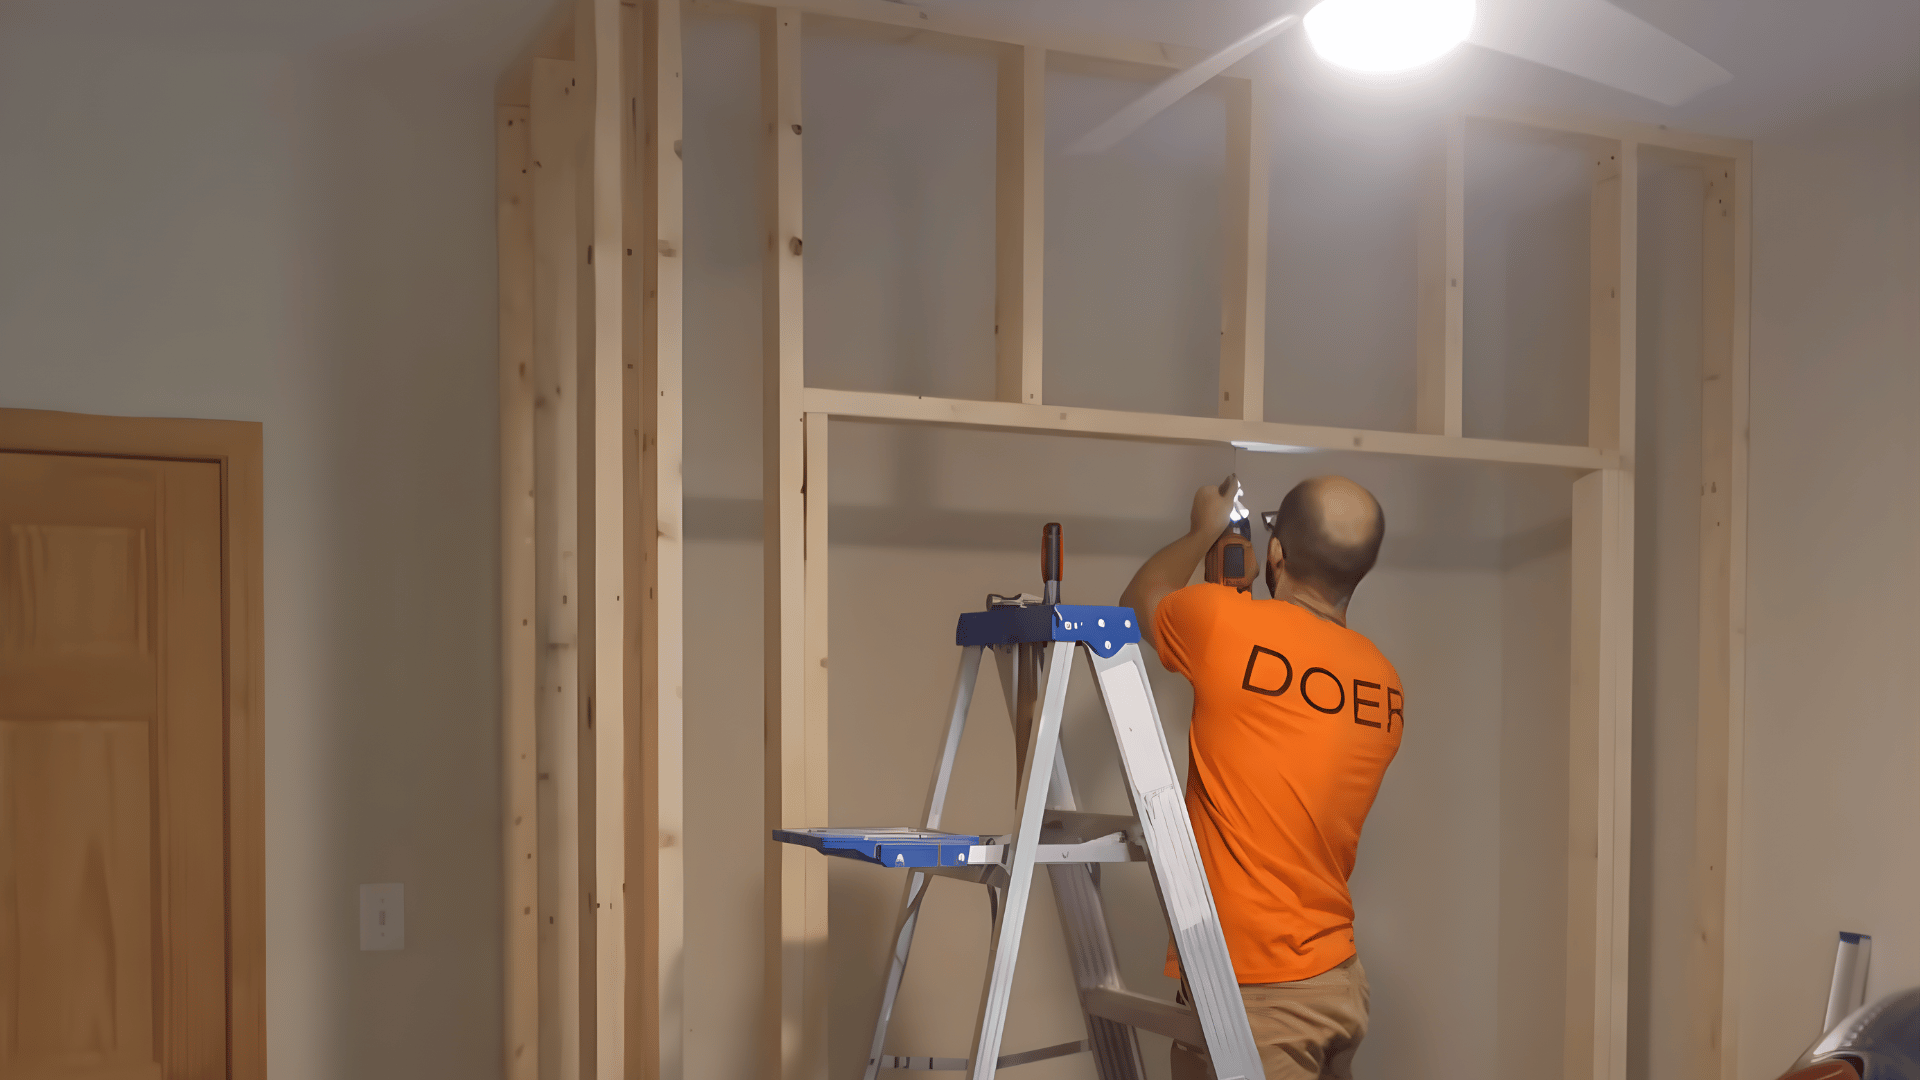
Begin creating the frame by attaching the top plate to the ceiling joists and securing the bottom plate to the floor and subfloor.
Add vertical studs along the layout to form the structure of the closet. For the door opening, install the king studs and jack studs first, then place the header on top.
Make sure everything is level and straight as you go, since this will affect how well the rest fits.
Step 3: Install Electricals
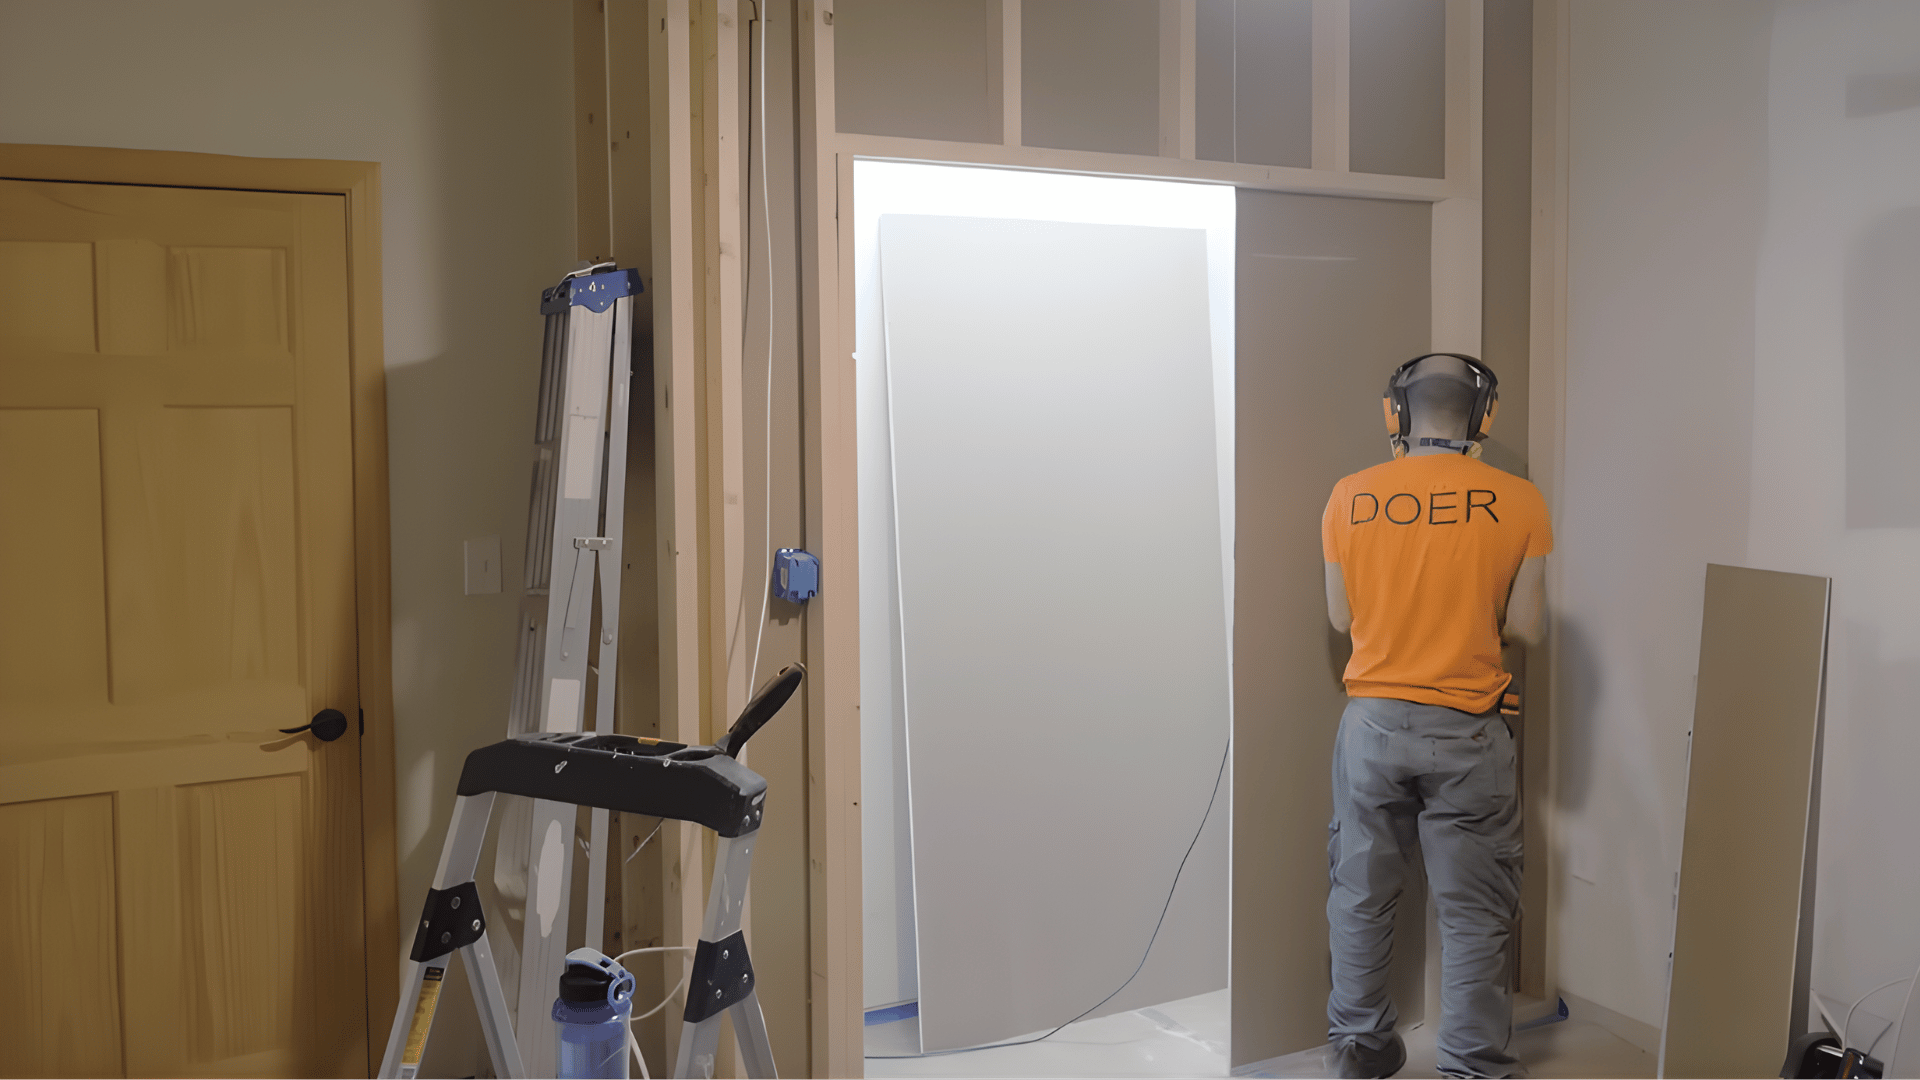
If lighting is needed inside the closet, install a tubelight before closing up the frame. Plan the placement so the light spreads evenly and is easy to access with a switch or sensor.
Run the wiring carefully and cut openings. Secure everything properly so the setup is safe and ready before moving on to the next stage, and add drywall.
Step 4: Smooth the Surface
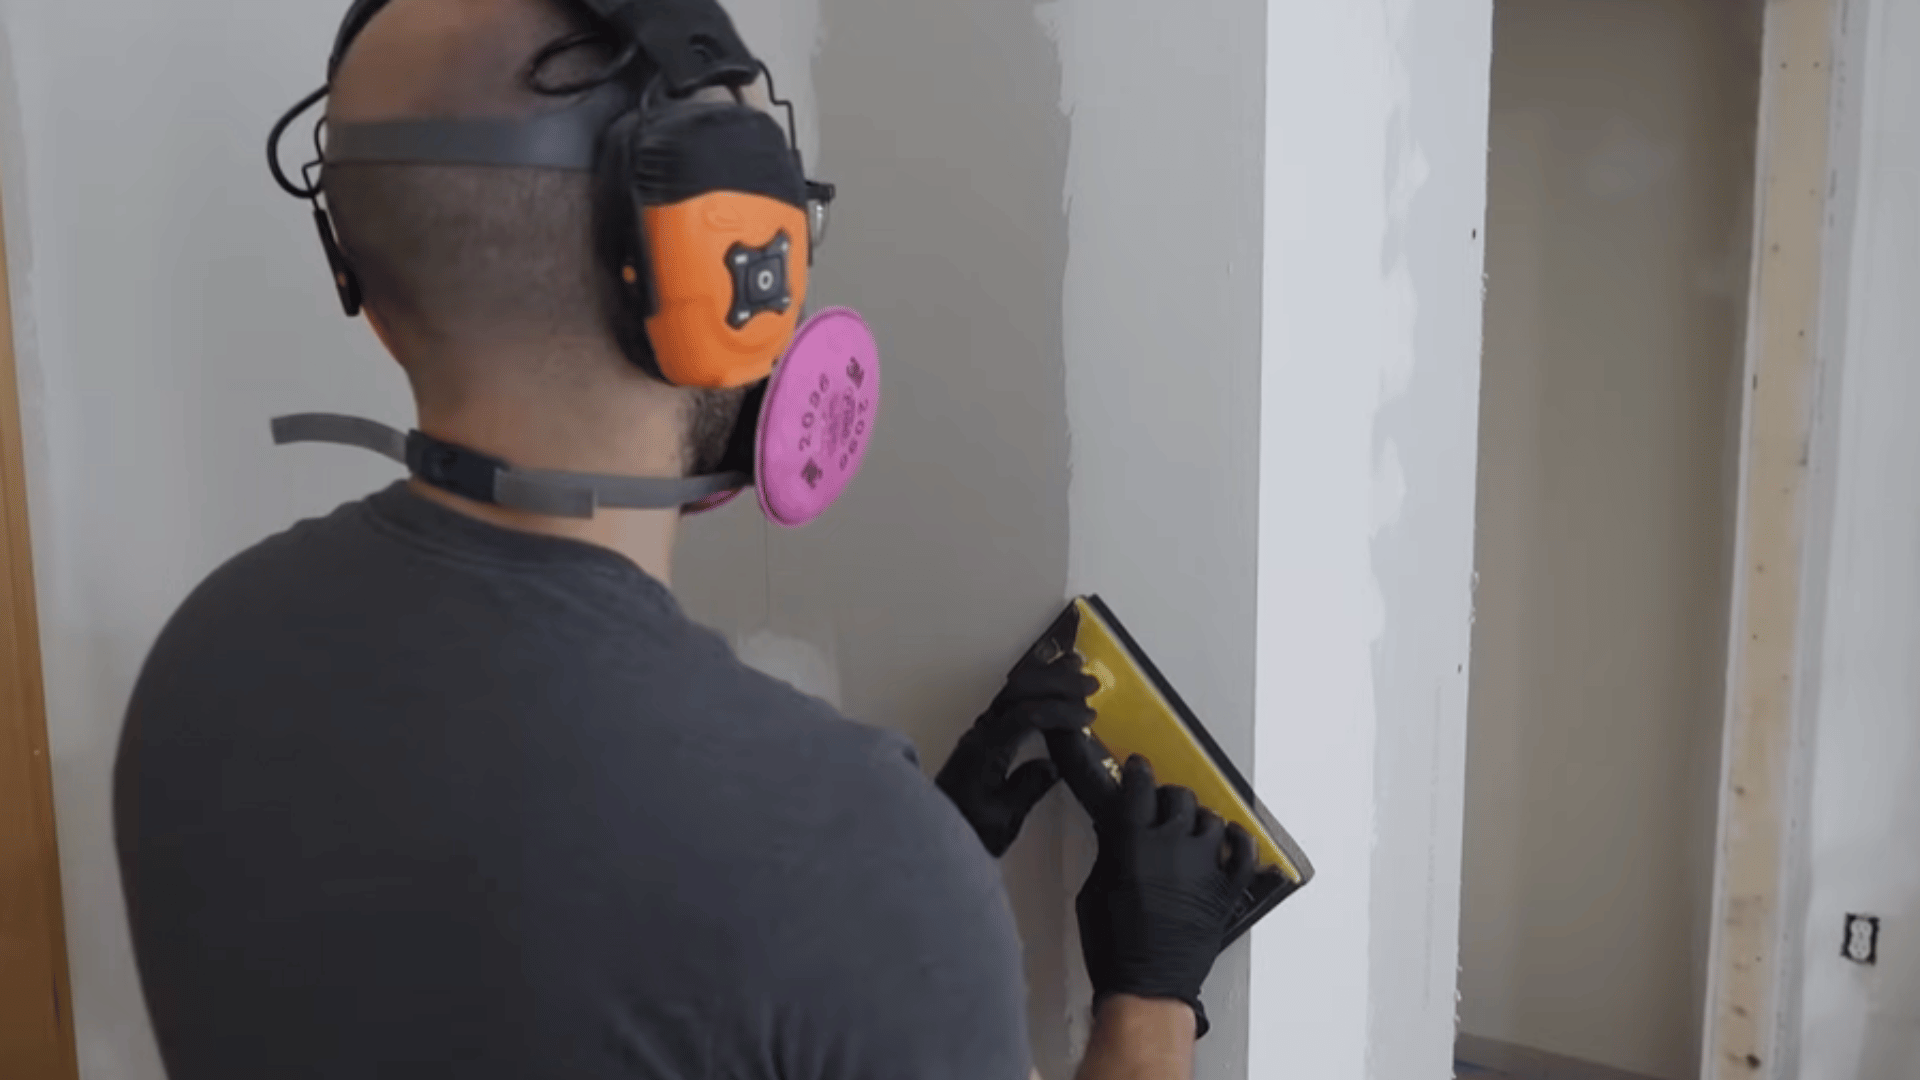
Once the drywall is installed, focus on making the surface even and clean. Apply joint compound over all seams and joints to cover gaps.
Use paper tape on the corners to help keep them neat and strong. Allow the compound to dry completely before lightly sanding the surface.
Step 5: Add Trim
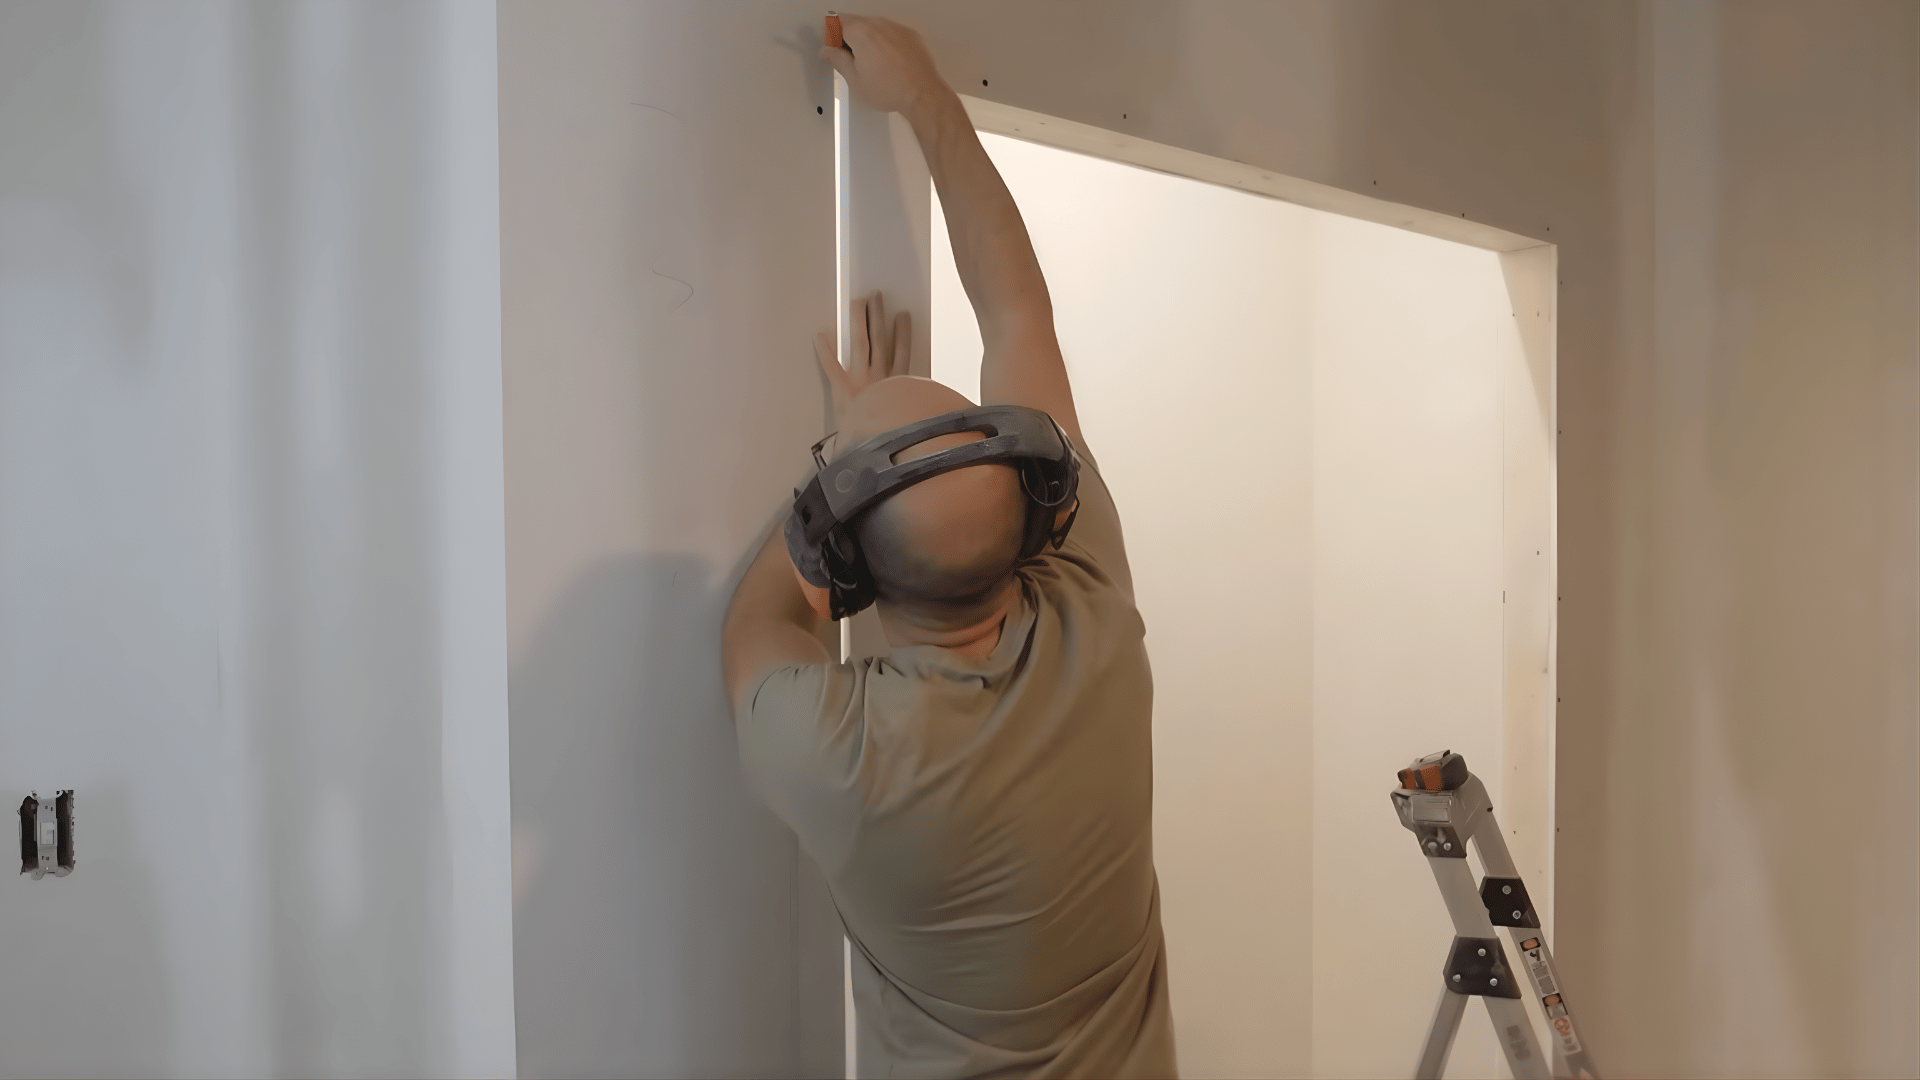
Install trim around the door opening, baseboards, and edges to give the closet a finished look. Cut each piece carefully so it fits well and aligns properly with the structure.
Once everything is in place, secure the trim using nails. Fill any nail holes and apply caulk along the edges to smooth out gaps. This helps create clean lines and prepares the surface for painting.
Step 6: Paint Finishes
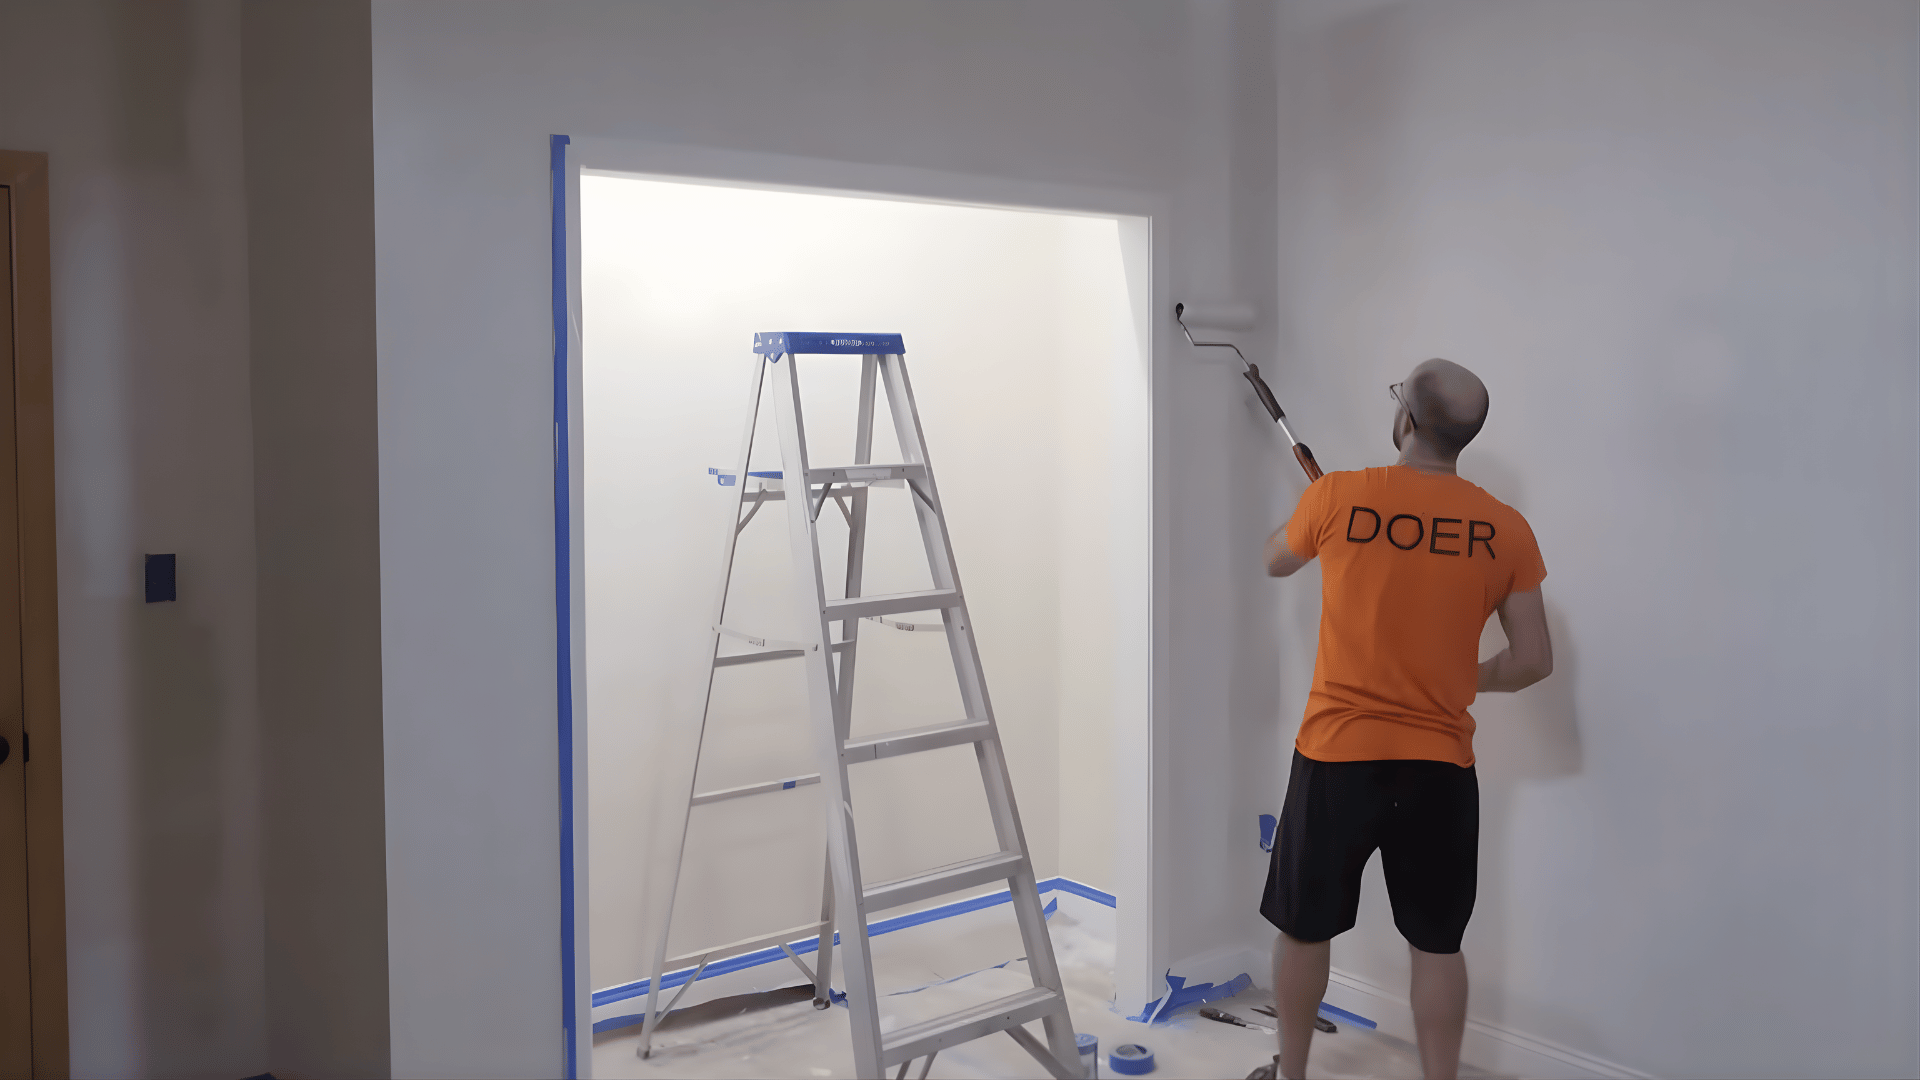
Before applying paint, use a drywall primer to ensure the surface absorbs the paint evenly. This step is important because fresh drywall can soak up paint if not primed.
Once the primer dries, paint the walls and trim in your chosen color. If both are the same color, painting them together can make the process easier. Allow sufficient drying time between coats to achieve a smooth, even finish.
Step 7: Install Closet Features
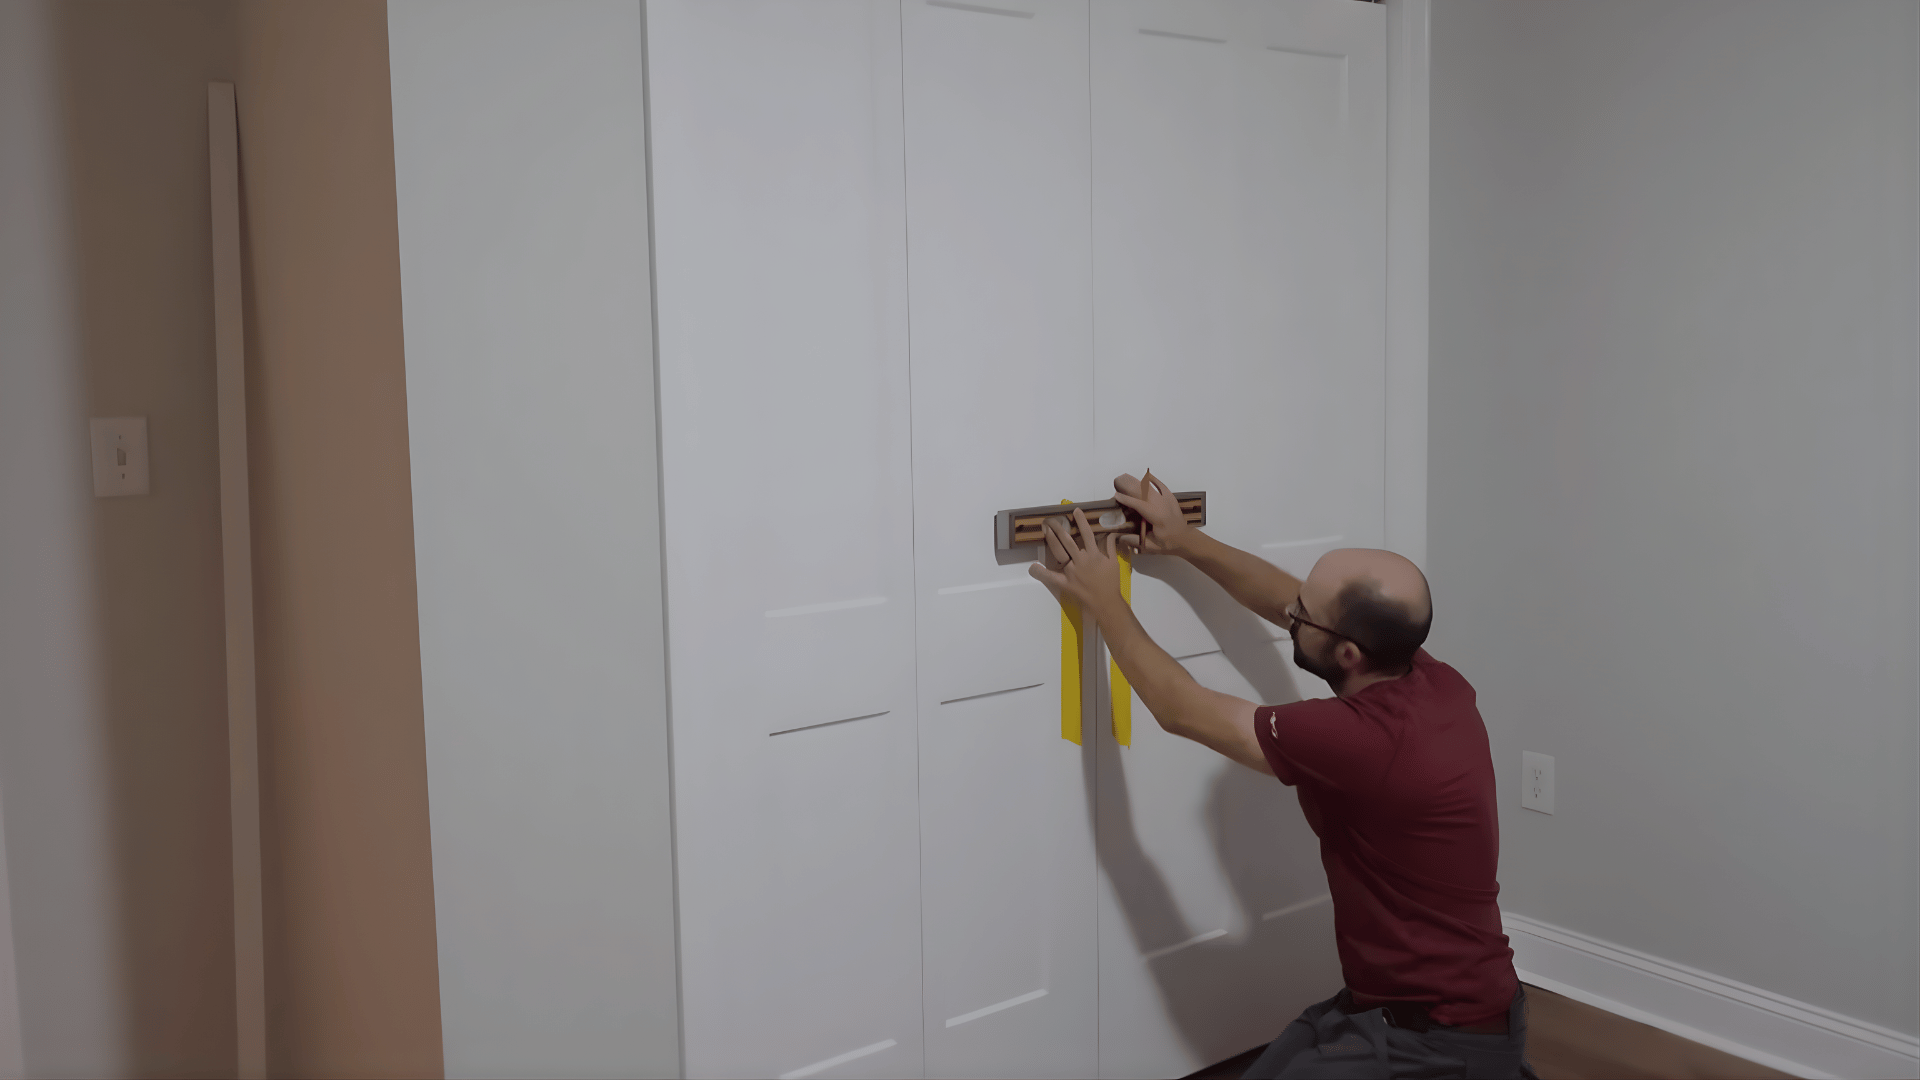
Finish the closet by adding shelves, rods, and doors to make it functional. Install shelf brackets carefully and check that they are level before securing them.
Add a hanging rod so clothes can be organized properly. Fit and adjust the closet doors so they open and close smoothly.
For a hands-on walkthrough, watch the full tutorial below:
Other Smart Closet Design Ideas that Actually Work
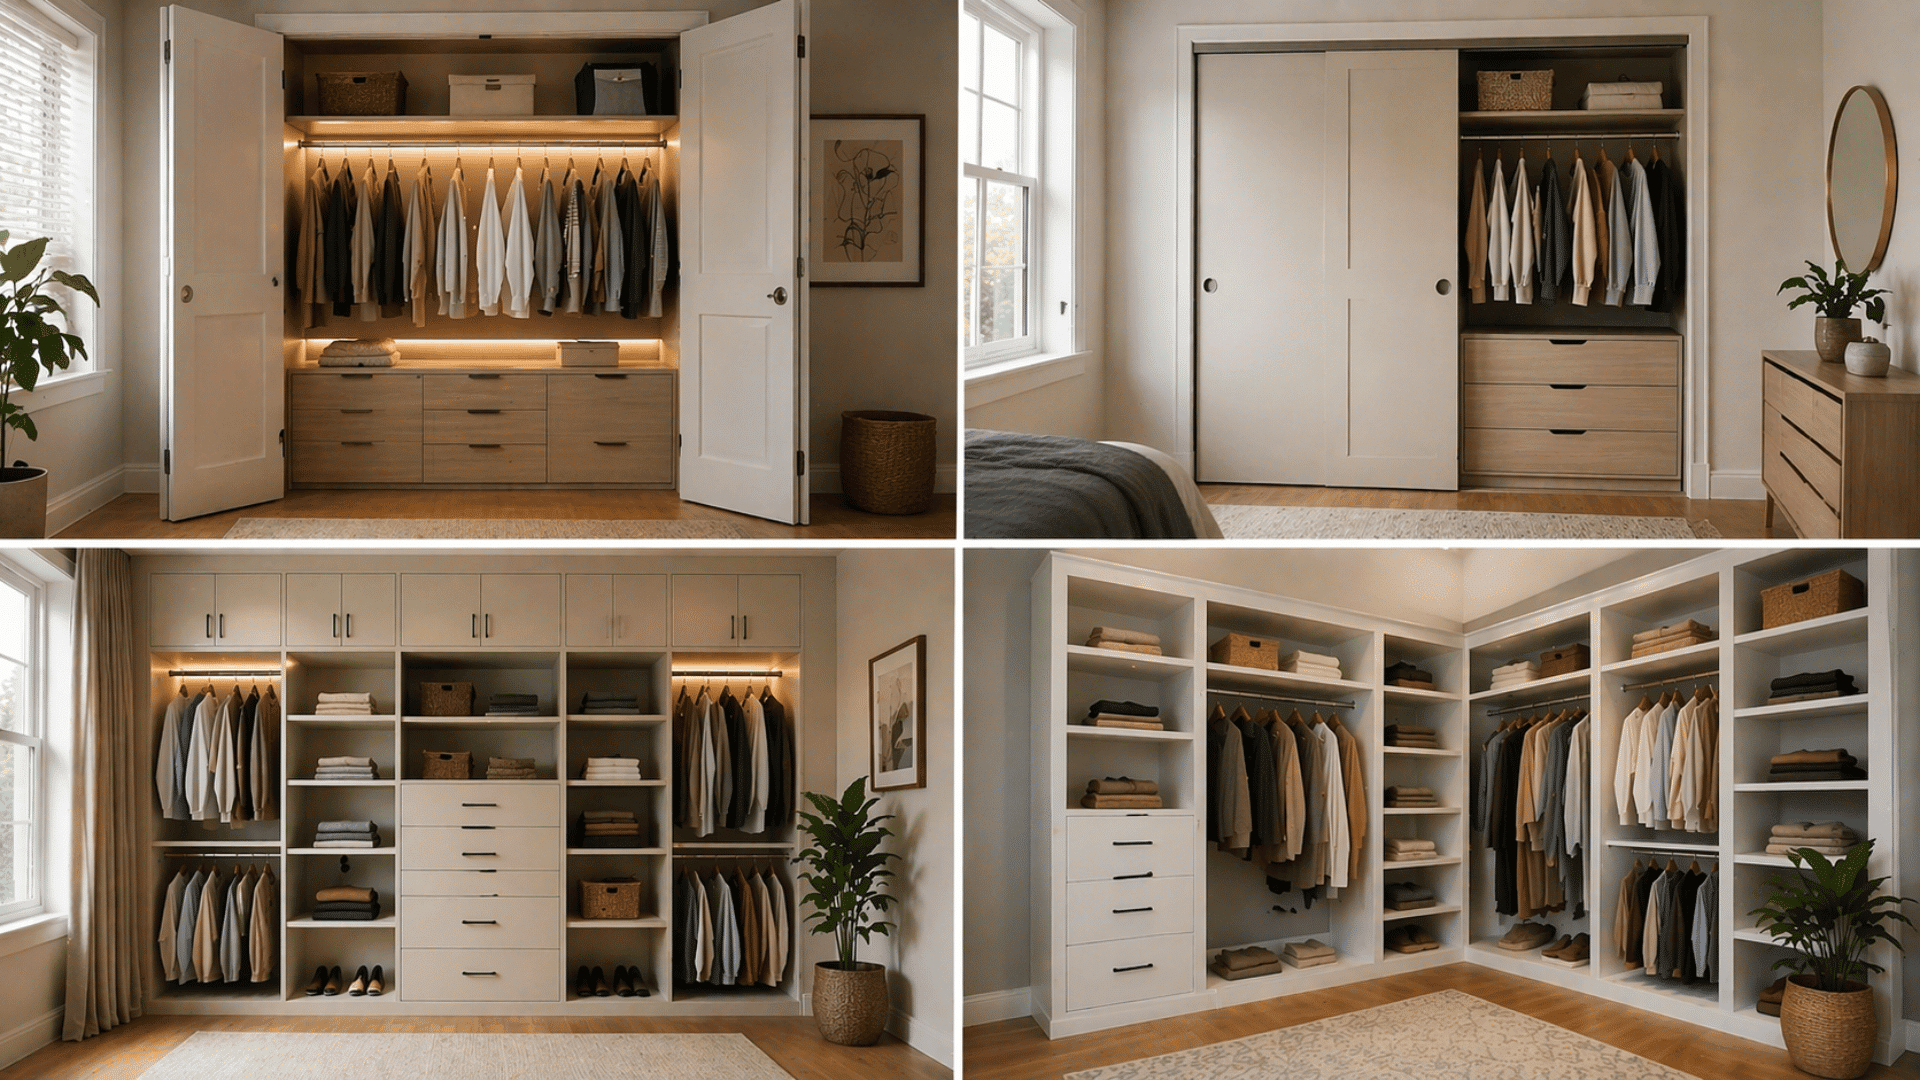
From compact reach-in builds to full corner-closet setups, these DIY closet ideas give every space a practical, well-organized storage solution worth building.
1. Small Reach-In Closet
A small reach-in closet with sliding doors makes practical use of tight spaces without requiring a large footprint or an entire room.
The key to making a compact closet feel functional is using every inch of the available height, from a top shelf for rarely used items down to a lower section for shoes or drawers.
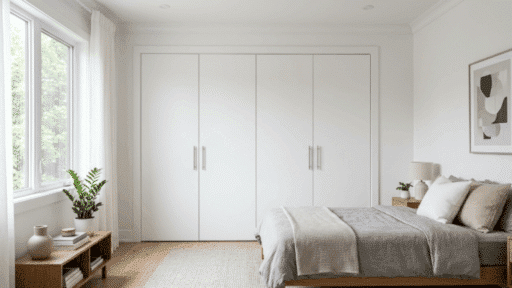
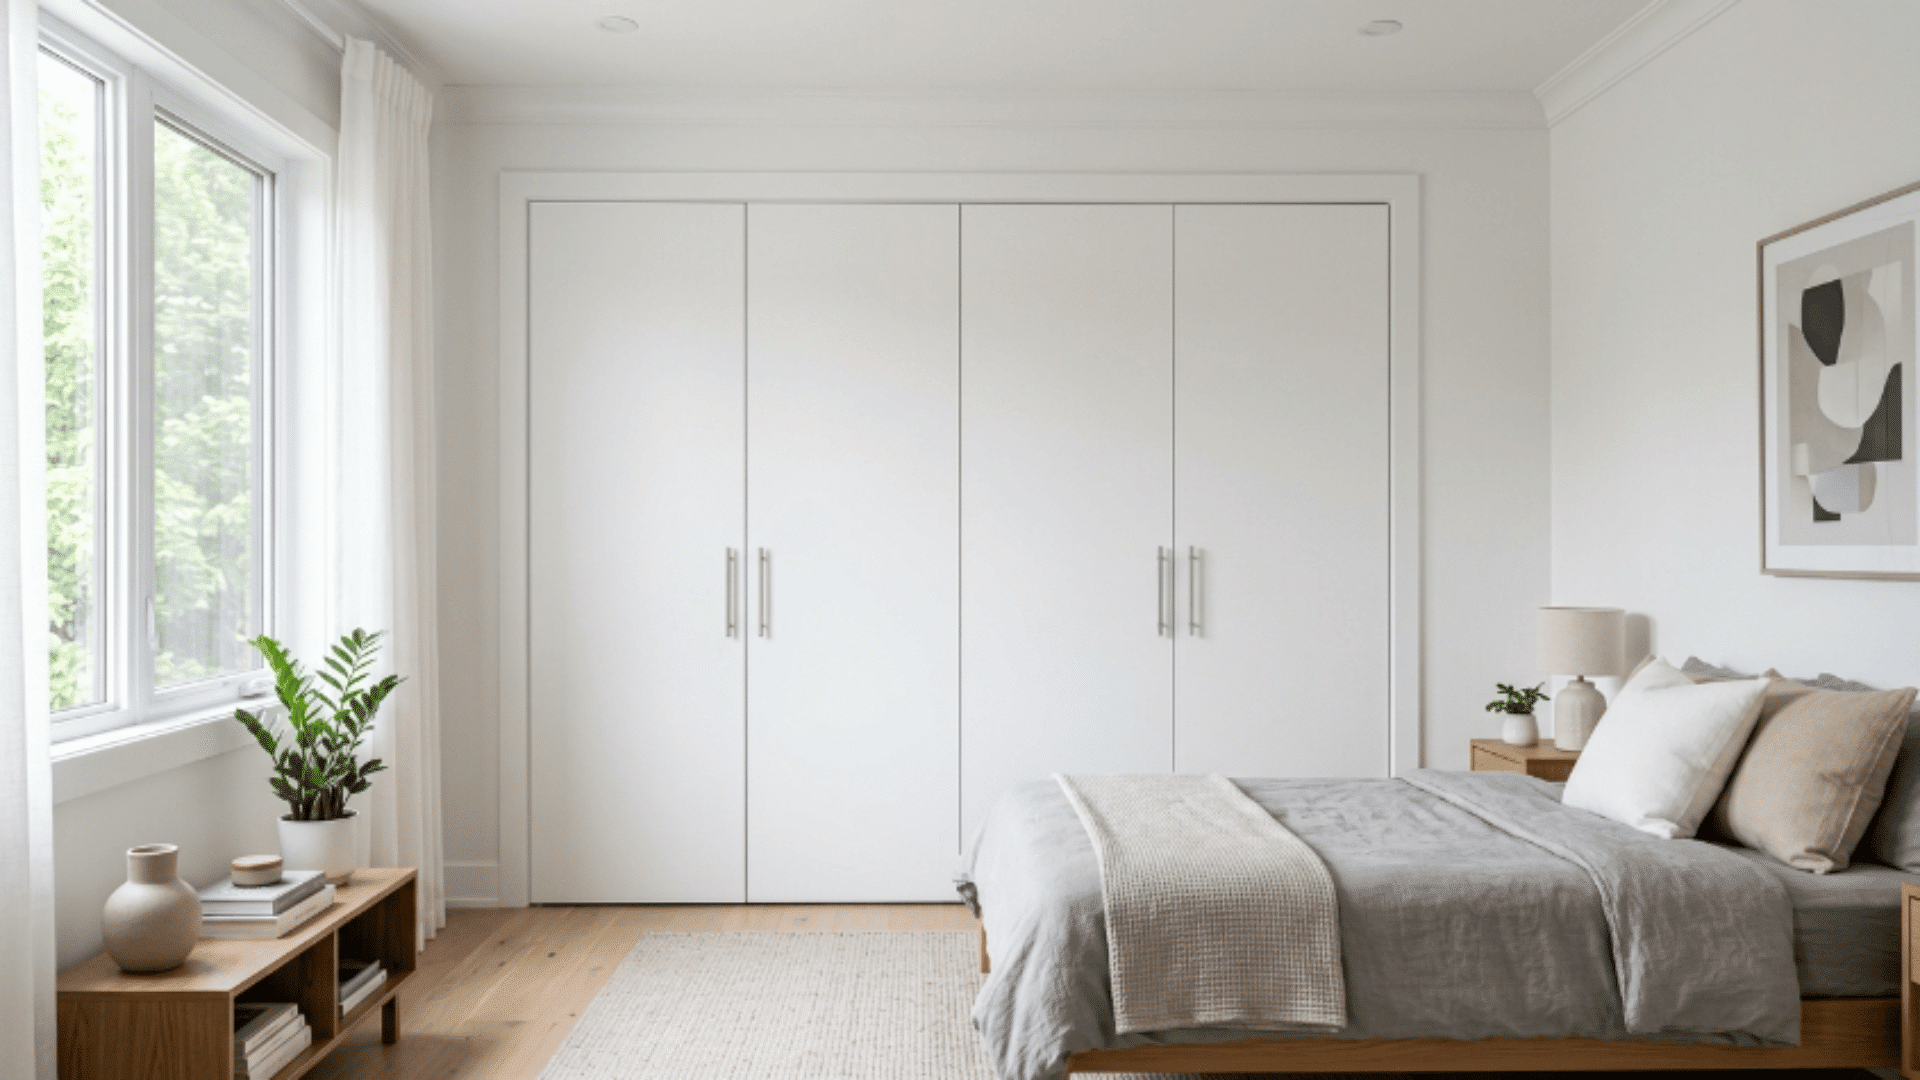
2. Built-In Storage Closet
A built-in closet with floor-to-ceiling storage makes the most of the available wall height and gives the room a fitted, considered finish that freestanding units cannot match.
Framing the structure directly against the wall so it sits flush with the surrounding surfaces is what separates a true built-in from a piece of furniture pushed into a corner.
3. Corner Closet Setup
A corner-closet setup makes productive use of the awkward space most rooms leave empty, turning what is usually a dead zone into a genuinely useful storage area.
The layout needs to account for both walls of the corner so the shelving fits flush on each side without leaving wasted space behind the structure.
4. Adjustable Shelf Closet
A closet built with adjustable shelving can be reconfigured over time to suit changing storage needs without requiring any significant rebuild or additional investment.
Wall-mounted track systems are the most practical approach because they allow shelf brackets and rod holders to be moved up or down the track as needed without any tools or fasteners.
5. Hidden Storage Closet
A closet built with hidden compartments keeps the overall look clean and uncluttered while still providing organized storage that is not immediately visible when the doors are open.
False back panels, pull-out drawers that sit flush with the frame, and mirror panels that open to reveal shelving behind them are all practical ways to add hidden capacity without changing the outward appearance of the closet.
6. Closet With Lighting
Adding built-in lighting to a closet transforms the entire space from a dark and difficult-to-use storage area into one that is genuinely easy to navigate at any time of day.
LED strip lights installed along the underside of each shelf cast even light across every section without creating shadows or dark spots that make finding items harder.
7. Minimalist Open Closet
A minimalist open closet built with simple wood frames and open racks keeps the design clean and the contents easy to access without the need for doors, panels, or complex hardware.
The success of an open closet depends entirely on how well the contents are organized, since everything inside is visible at all times, and a tidy arrangement is what makes the design look considered rather than unfinished.
Common Mistakes to Avoid
Knowing what to avoid beforebuilding a closet saves both time and money before a single cut is made.
- Skipping Proper Measurements: Rushing through the measuring stage results in misaligned shelves, uneven frames, and wasted materials that cannot be reused.
- Using Weak Materials: Choosing low-quality boards or thin plywood often results in shelves that bow under weight and do not hold up over time.
- Adding Too Many Fixed Shelves: Installing too many permanent shelves removes the flexibility needed to adjust the layout as storage needs change.
- Ignoring Lighting: A closet without proper lighting makes it difficult to find items and gives the space a cramped, unfinished feel.
- Not Planning Storage Needs First: Starting the build without knowing what needs to be stored often results in a closet that looks good but functions poorly.
Wrapping It Up
A finished closet does more than just add storage; it improves how your entire space works. When building a closet, the final result often depends on the planning and choices you make before starting.
The difference between a closet that works and one that falls short almost always comes down to the decisions made before the building even starts.
Take your time and follow each stage carefully.
None of the steps covered in this blog require advanced skills, just patience and a willingness to take each stage at the right pace.

James McLaren, with a rich background in architecture from the University of Manchester, has been contributing his expertise to the world of creative construction and home innovation for over 20 years. His journey began as a project manager for a leading construction firm, where he honed his skills in bringing complex designs to life. James joined our platform as a freelancer in 2019, quickly becoming a favorite for his insightful and practical advice. He has been a pivotal force to our wing ever since, bringing our readers a blend of technical know-how and creative flair. Beyond his professional life, James is an avid woodworker and enjoys restoring vintage furniture, a hobby that complements his professional insights beautifully.