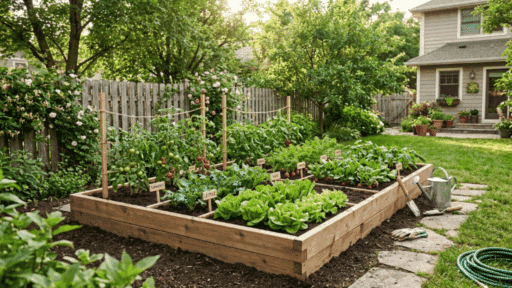
Raised garden beds have become a popular choice for home gardening, especially for those who want a simple and organized setup.
Starting from scratch can feel confusing at first, especially without proper guidance. Having a clear layout, the right materials, and a simple process makes everything easier to manage.
This blog shares easy-to-follow raised garden bed plans along with the tools, materials, and step-by-step instructions needed to build your own.
Why Raised Garden Beds are Worth Building
Raised garden beds make gardening easier to manage and more organized. They give better control over soil, drainage, and overall plant health.
- Better Soil Control: You can choose the right soil mix, helping plants grow stronger from the start.
- Improved Drainage: Excess water drains well, preventing root damage and soggy soil.
- Easy Maintenance: Weeds are easier to handle, and daily care feels less time-consuming.
- Works In Any Space: Even poor or compact soil areas can be used effectively.
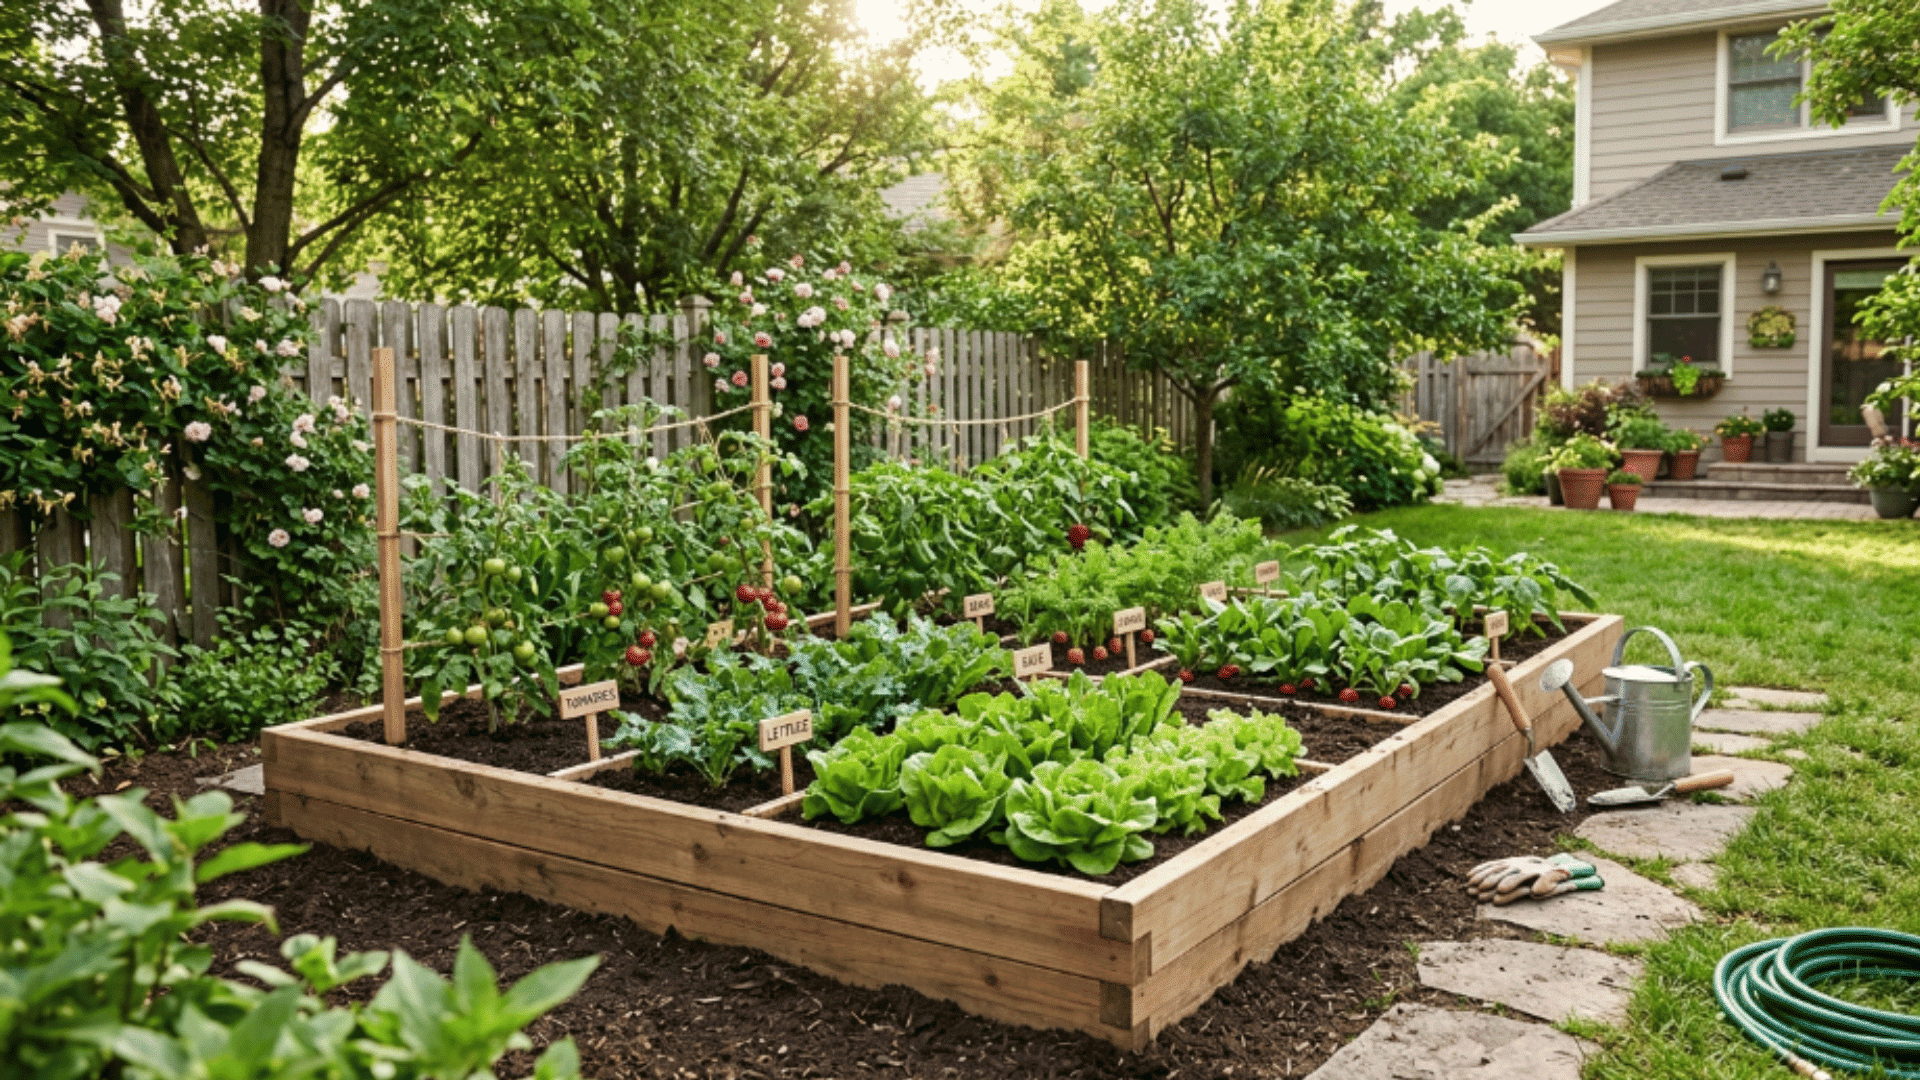
- Neat and Organized Look: The defined structure keeps your garden clean and easy to manage.
How to Build Raised Garden Bed Plans
Building your own garden setup gets much easier and clearer with solid raised garden bed plans that help guide you through each step and stage.
Tools and Materials
Before you begin building, go through the tools and materials listed below so everything is ready and within reach.
| Material / Tool | Purpose |
|---|---|
| 2×8 Boards | Build main bed walls |
| 3-inch Wood Screws | Fasten wood pieces together |
| Drill | Pre-drill holes |
| Impact Driver | Drive screws faster |
| Circular / Hand Saw | Cut wood to size |
| Measuring Tape | Measure wood accurately |
| Speed Square | Mark straight lines and corners |
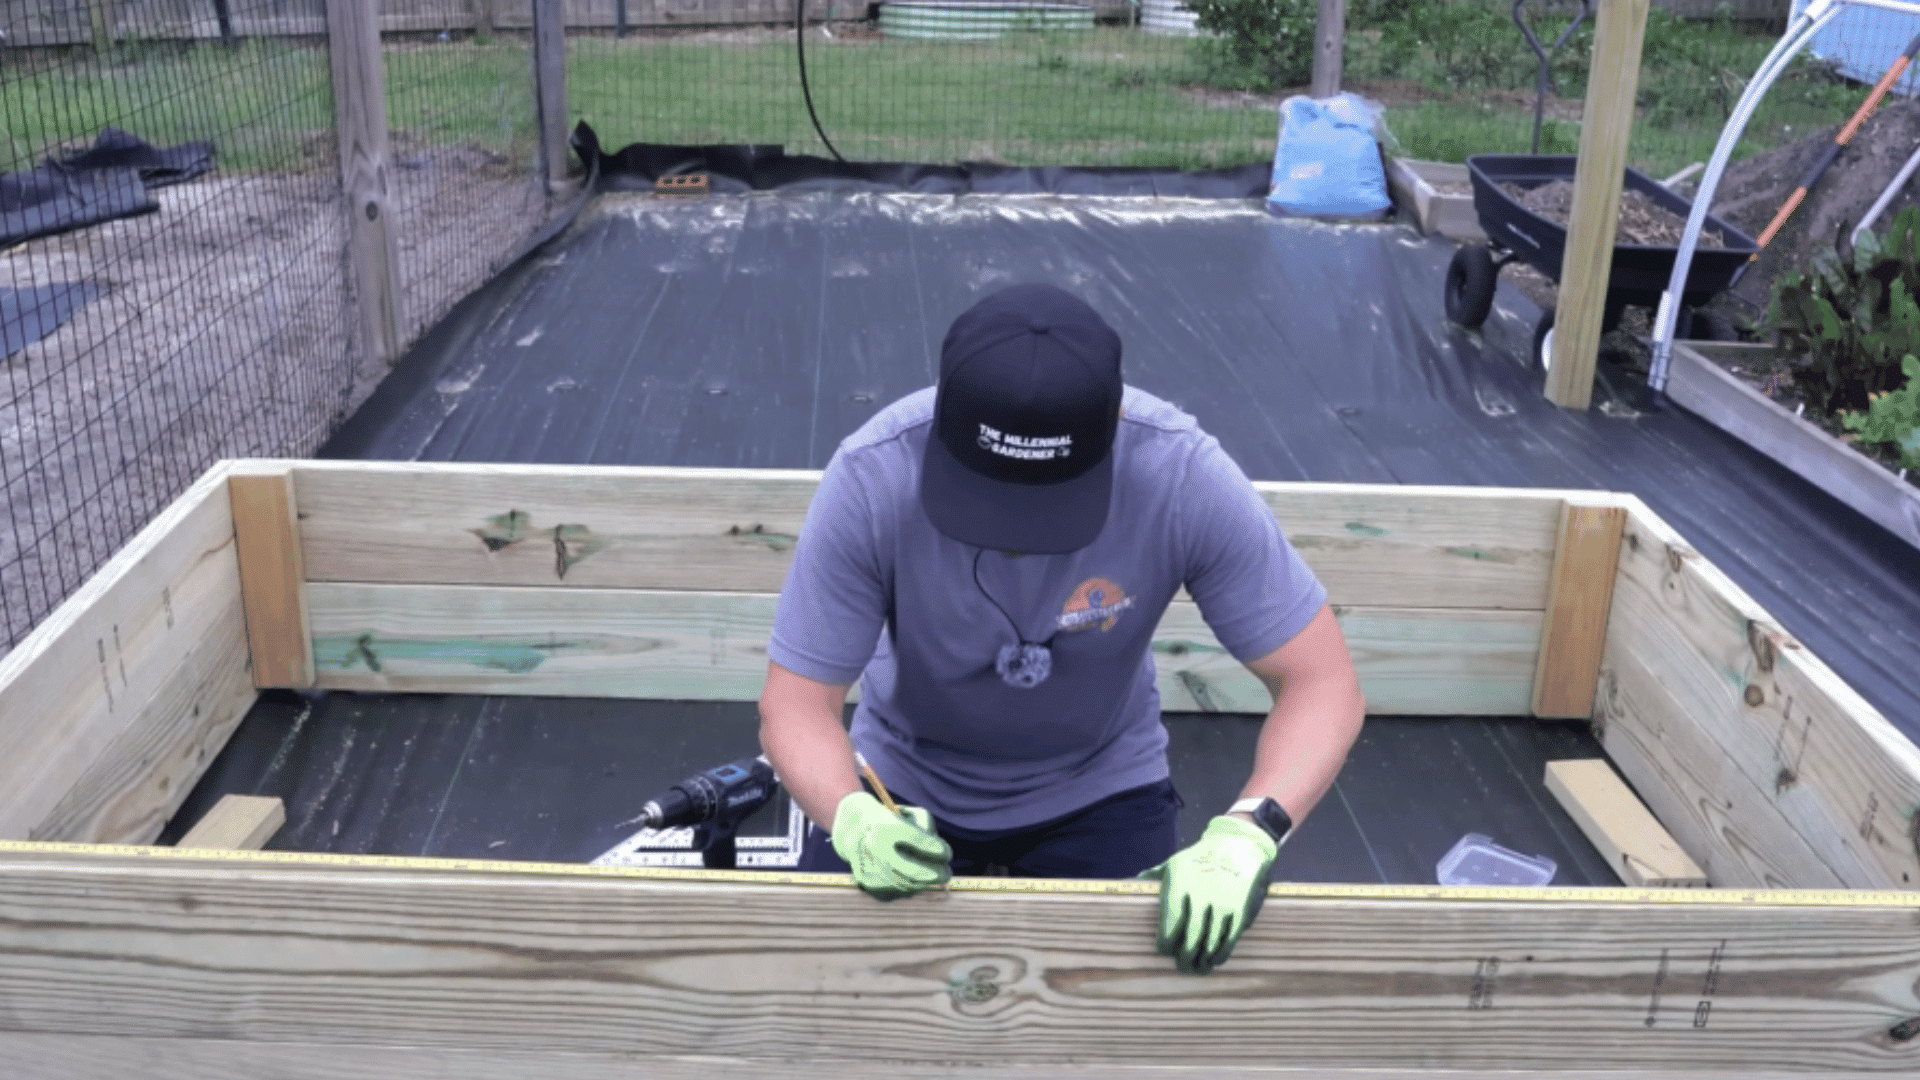
Step 1: Plan the Layout
Begin by deciding the size of your raised garden bed before cutting any wood. A practical example is a bed that measures 7 feet long, 4 feet wide, and 16 inches deep.
It is best not to make the width more than 4 feet, since people can only comfortably reach about 2 feet from the side. Choosing the dimensions first makes the rest of the build smoother.
Step 2: Prepare the Wood
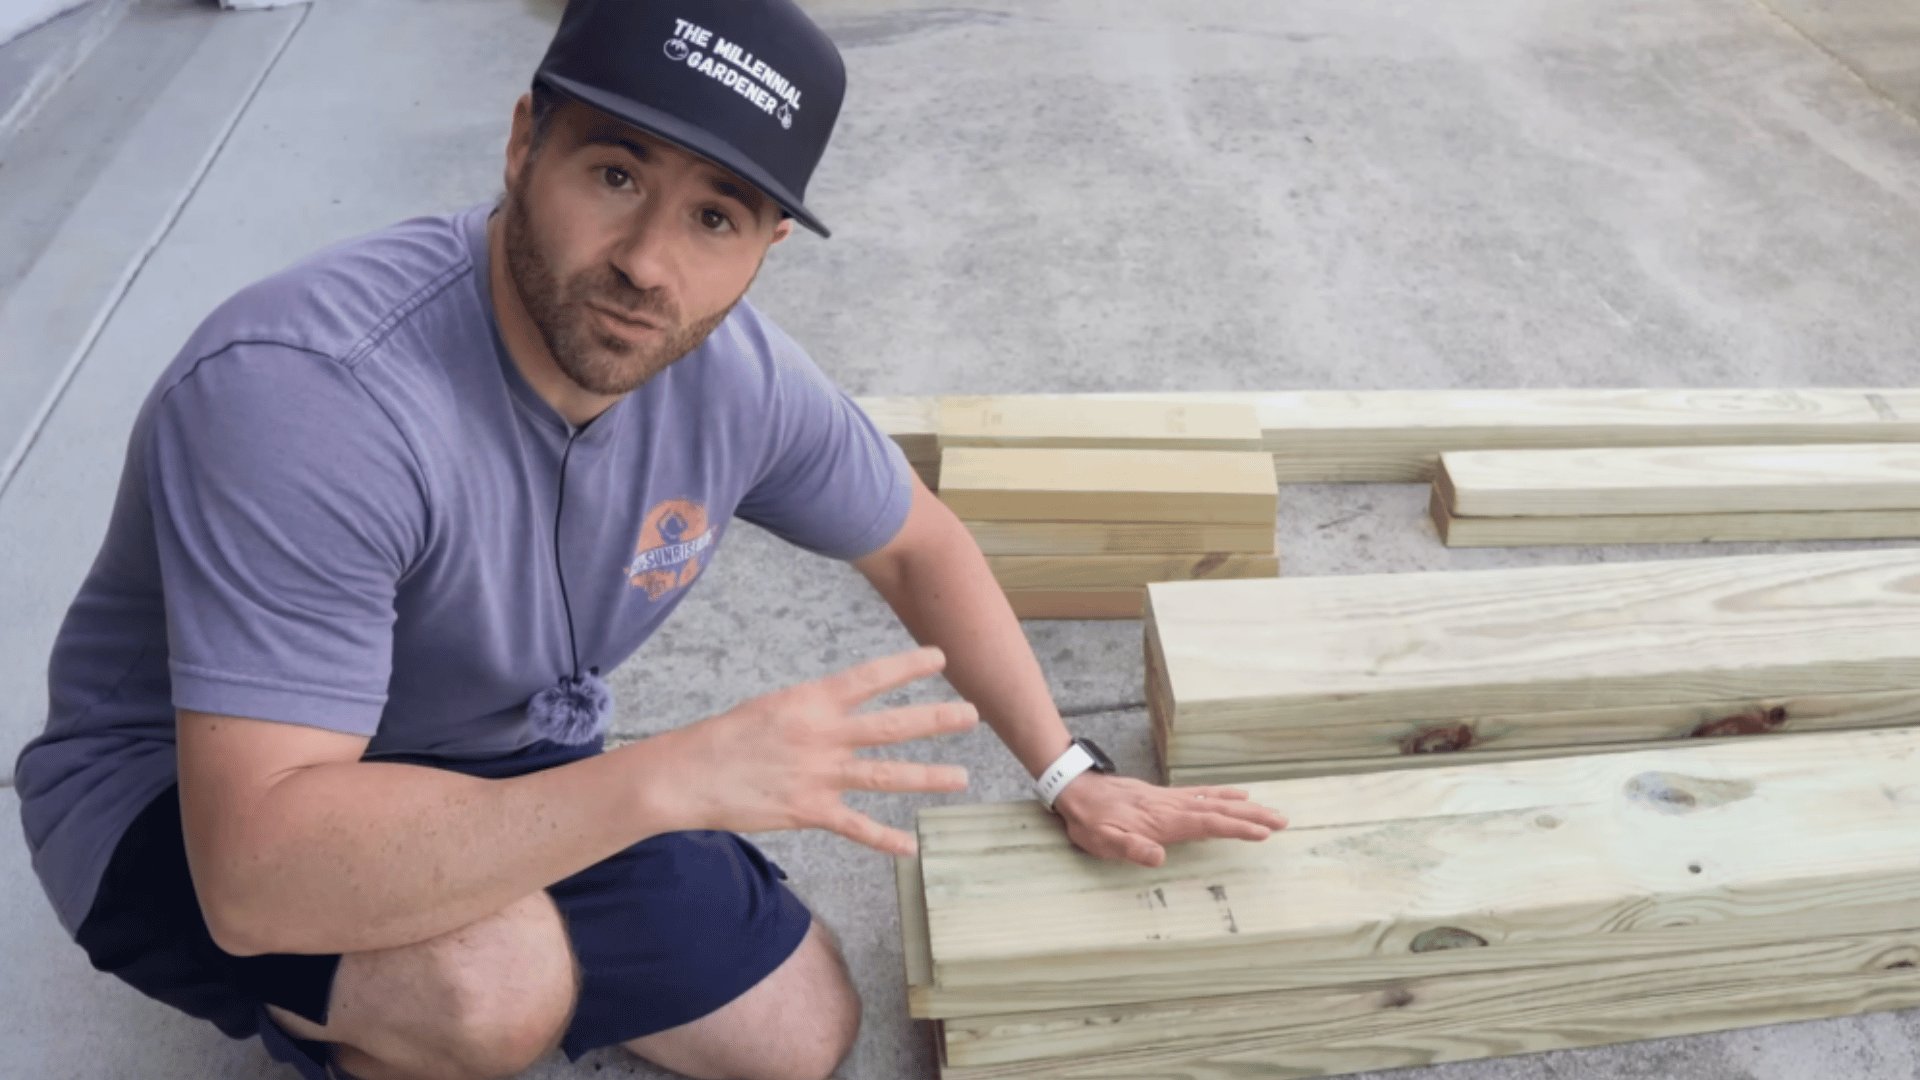
Once your measurements are set, prepare the lumber pieces before starting assembly. Use pressure-treated wood that is rated for ground contact so the bed will hold up well over time.
As you sort the boards, place the smoother, better-looking sides outward since they will be most visible. Having all pieces ready before assembly keeps the process clean and efficient.
Step 3: Build the First Frame Layer
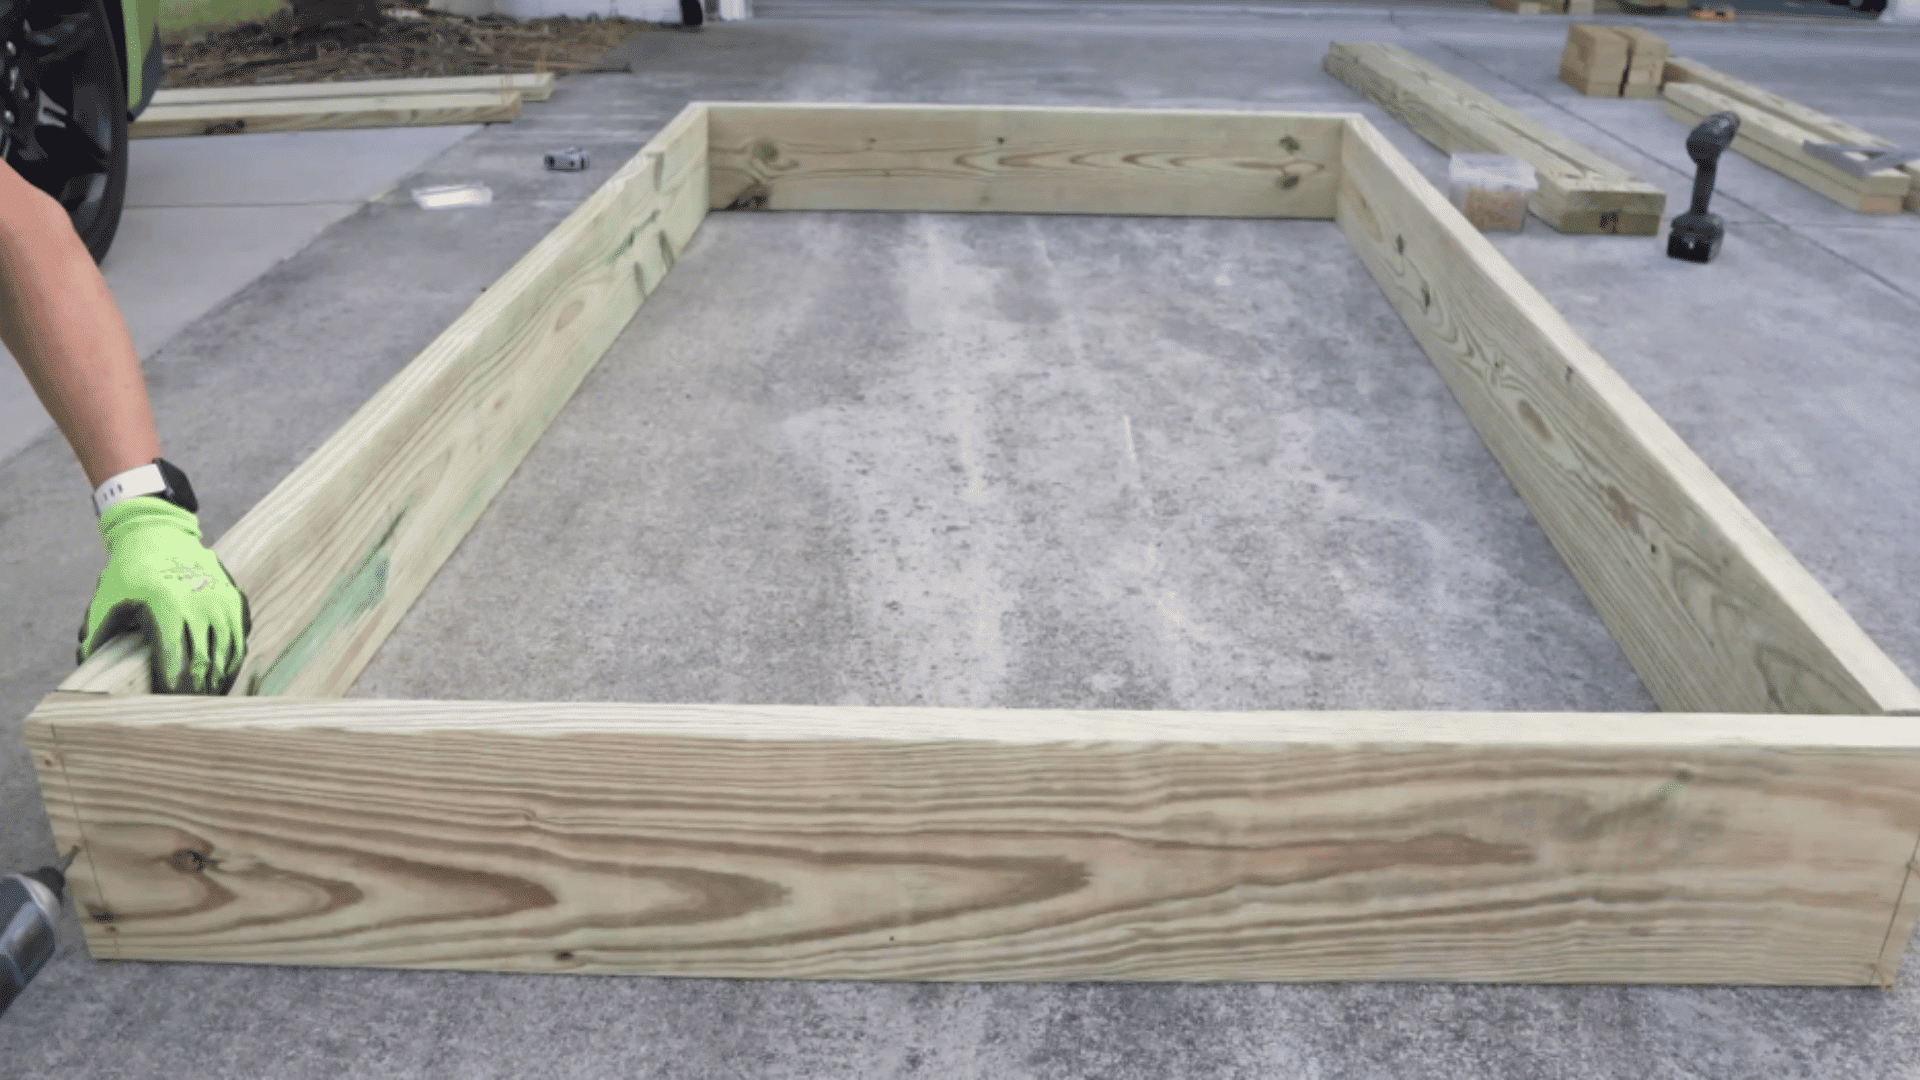
Lay the first set of boards out on a flat surface and arrange them. Screw locations are about ¾ inch in from the board ends, so the screws land near the center of each connecting piece.
Before driving screws, pre-drill the holes to reduce the risk of splitting the wood. Double-check that the corners stay square before fully fastening everything in place.
Step 4: Build the Second Layer
After the first frame is complete, repeat the same process to build a second identical layer. Make sure the measurements match the first frame so the two sections stack evenly later.
Keep checking that the corners stay square and that the edges sit flush as you work. When both frame layers are finished, move them to the final garden location before joining them together.
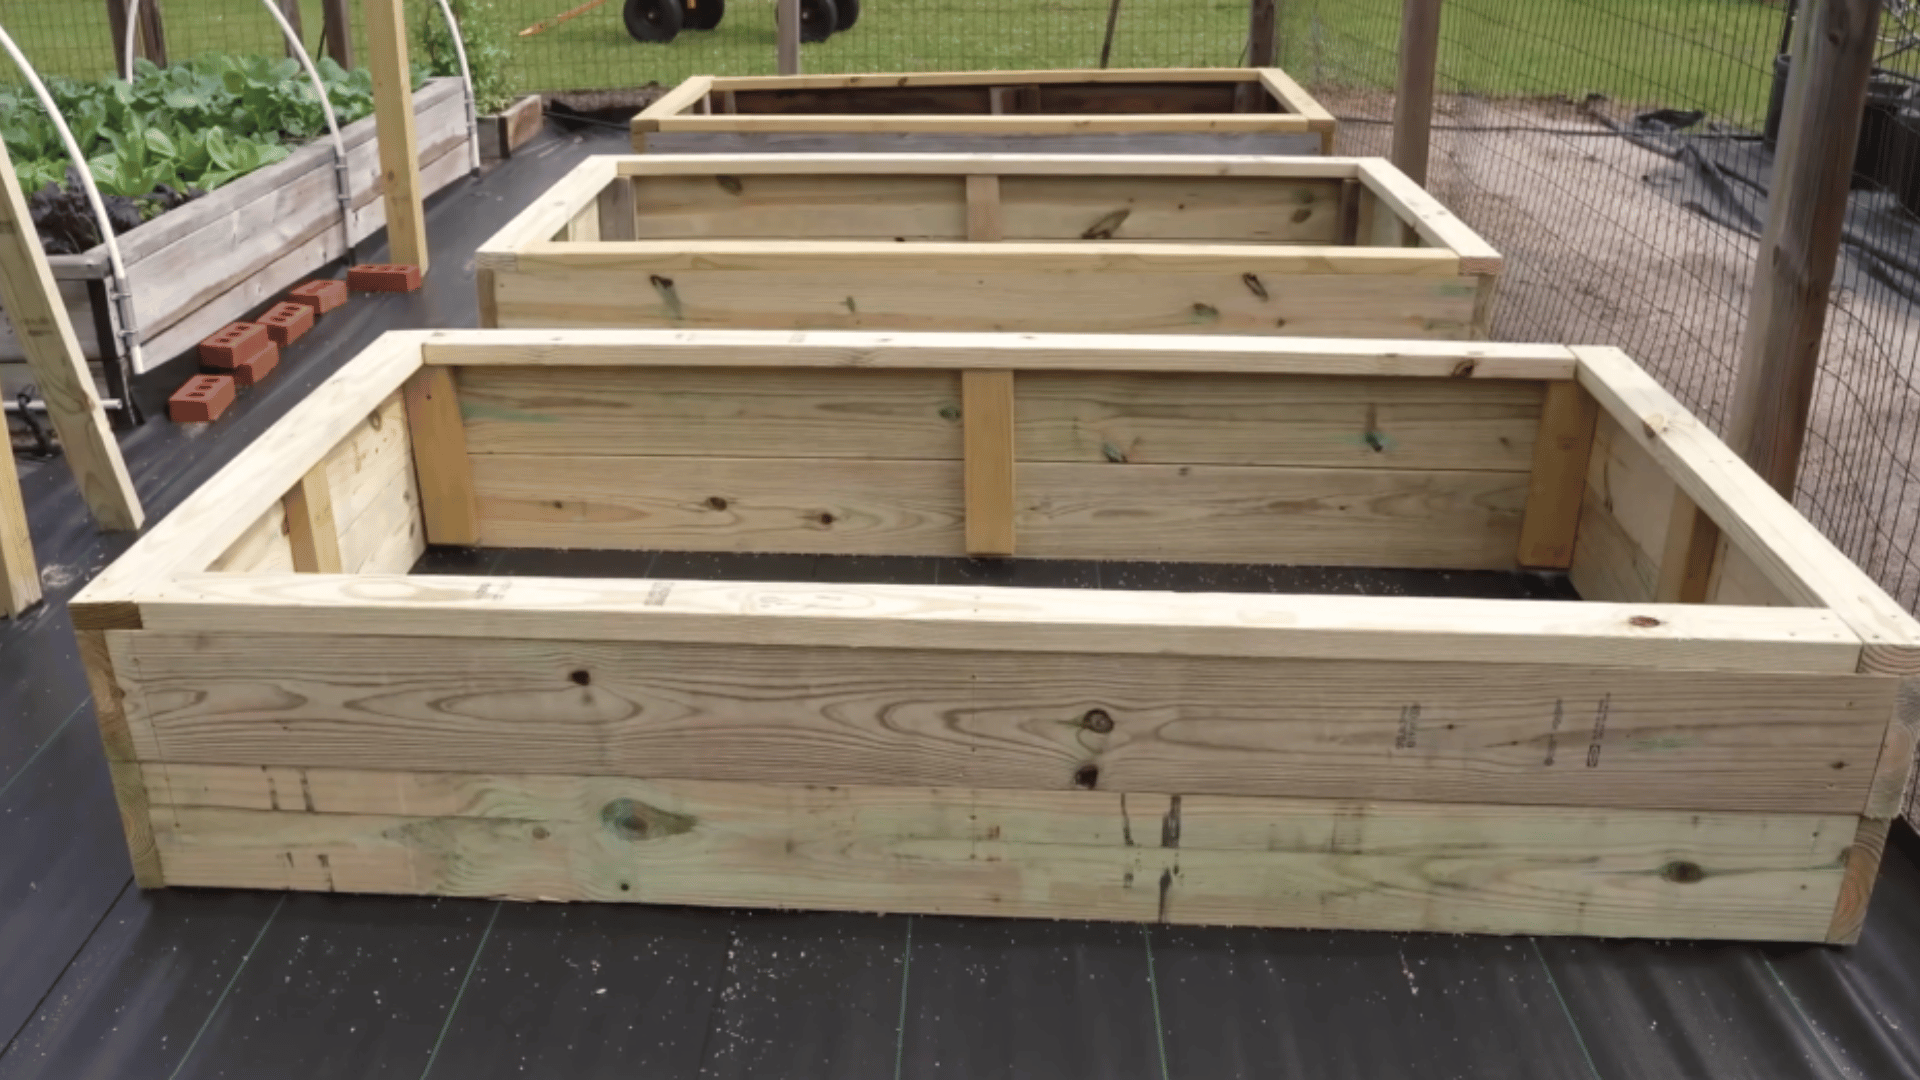
Step 5: Stack and Secure the Frames
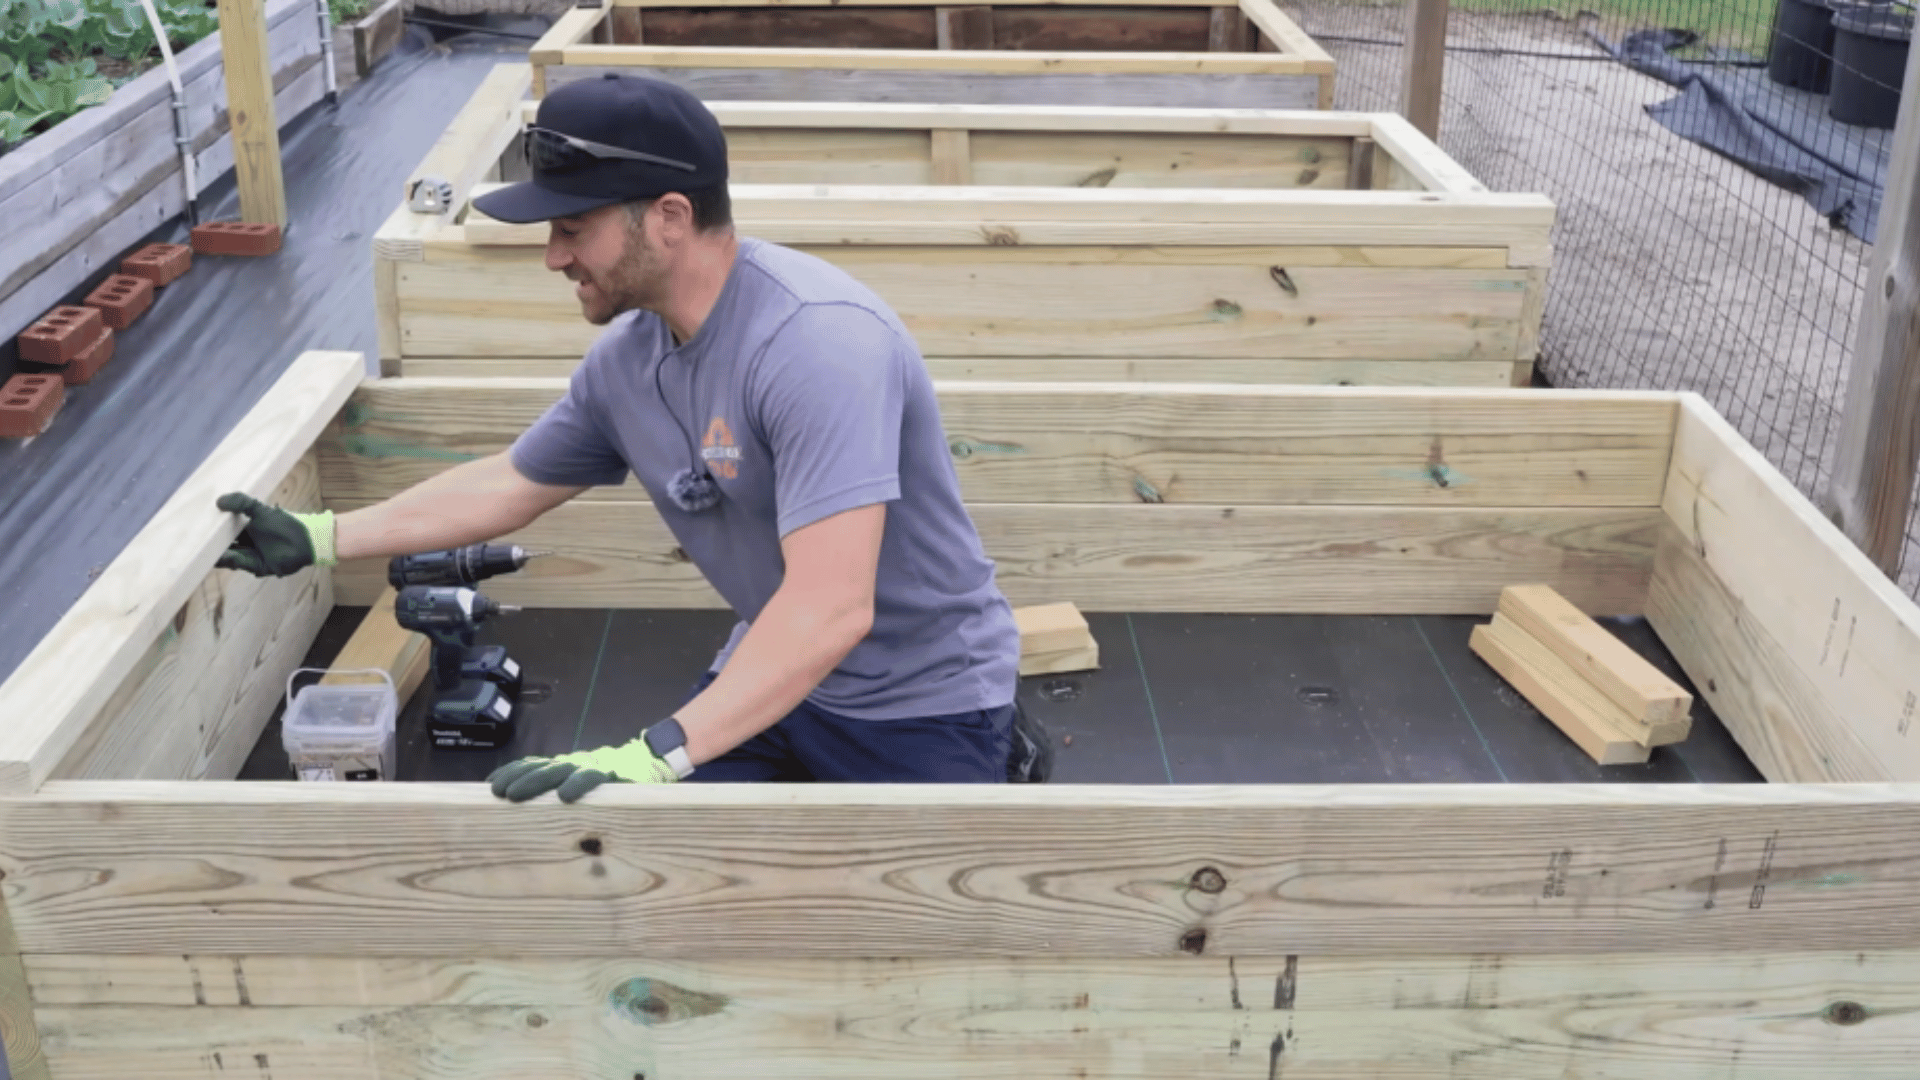
Place the second frame directly on top of the first and line up the edges carefully so the bed looks even on all sides. Once the layers are stacked, use 2×4 braces to secure them.
These braces should be installed at all four corners and also at the center of each side. A well-braced bed will stay straighter and feel much more solid once filled with soil.
Step 6: Add Internal Bracing
Next, install the inner support braces that help hold the shape of the bed and support the railings on top. These braces should run parallel to the sides and sit below the upper edge.
Position them evenly, including both corner areas and the center sections, so the support is balanced across the whole frame. These internal pieces do a lot of work behind the scenes.
Step 7: Install Top Railings
To finish your raised garden bed plans, attach the top rail boards along the upper edges. Start with the shorter sides first, making sure each piece sits flush before securing it.
Pre-drill the screw holes here as well, then fasten the rails in place and follow with the longer side pieces. These top rails do more than make the bed look finished.
Kindly check out this video for more information and a deeper understanding of the topic discussed.
Tips to Keep in Mind
Getting the most out of your raised garden bed plans comes down to the decisions you make before building. Keeping these points in mind will help your setup stay functional for years.
- Choose the right wood: Opt for rot-resistant options like cedar, and avoid treated wood that may contain chemicals unsuitable for growing vegetables.
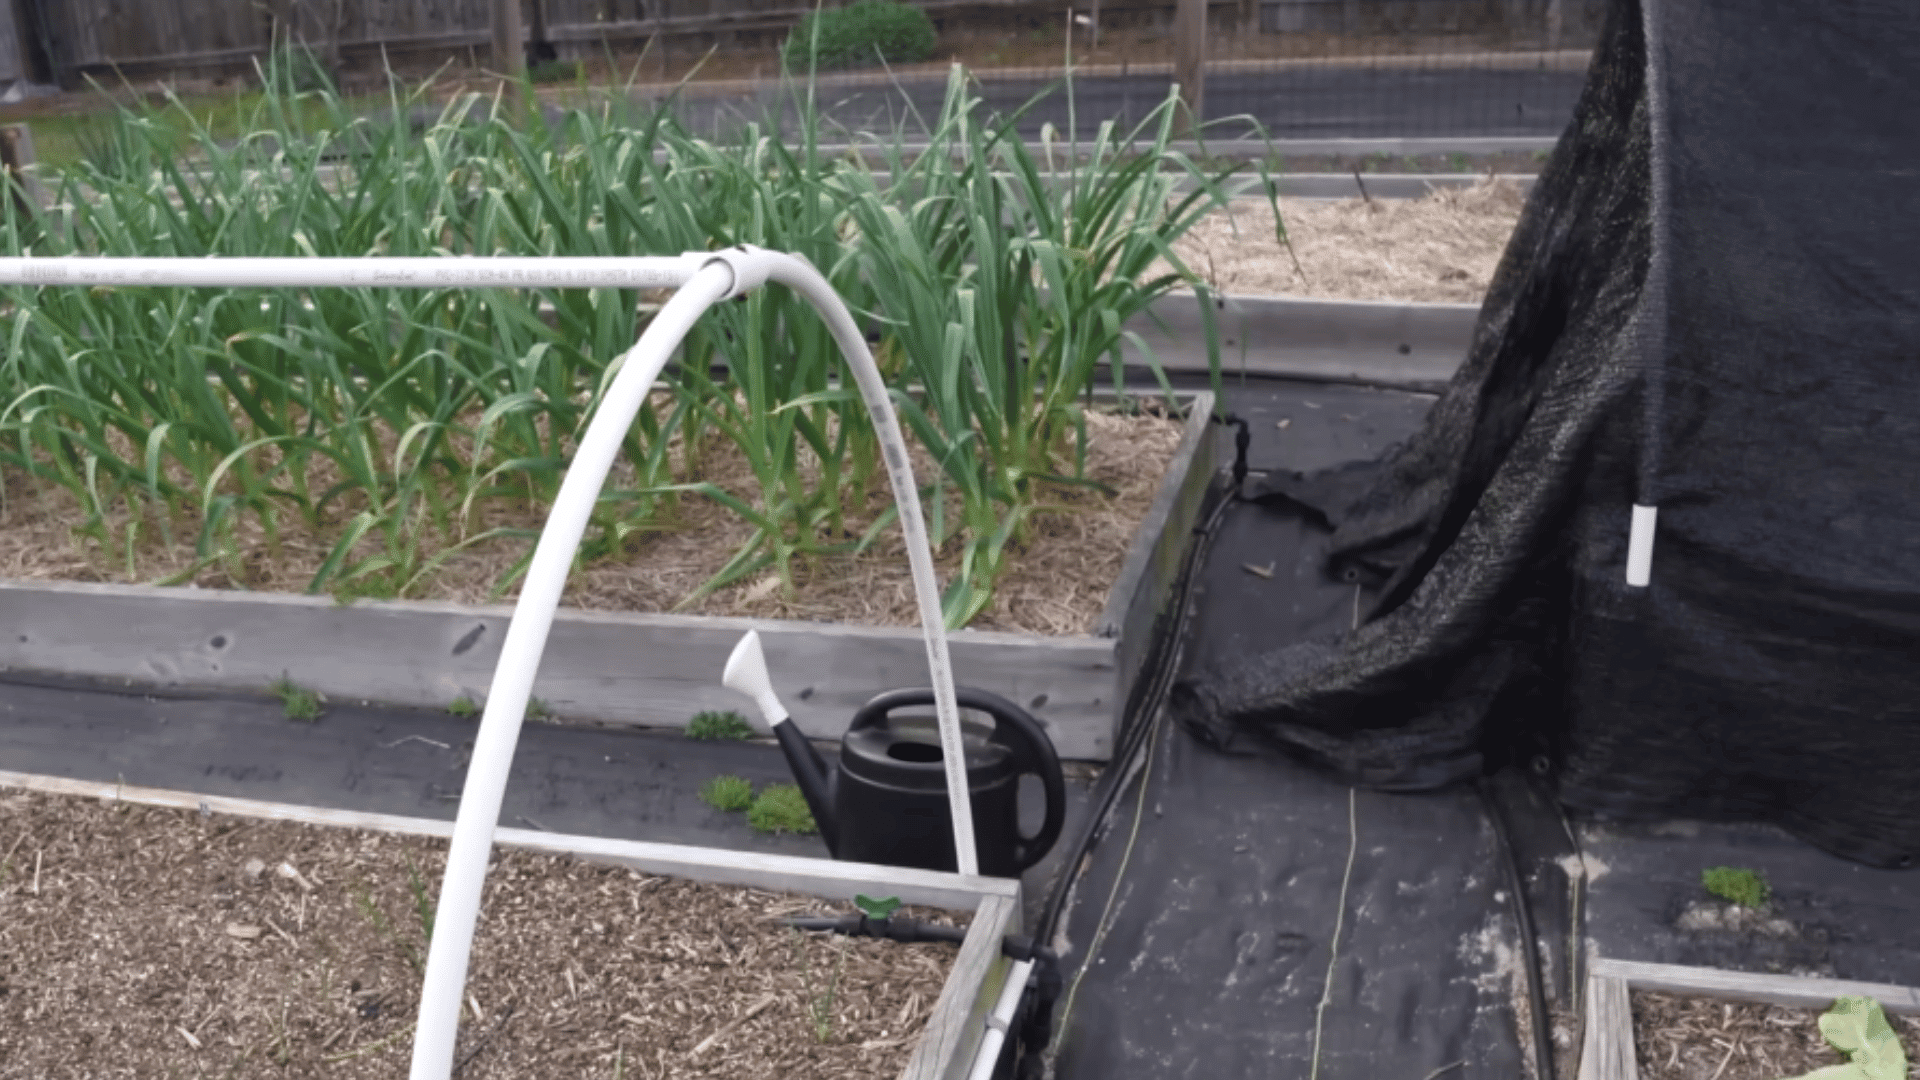
- Add a liner: Placing a liner inside the bed reduces direct contact between soil and wood, slowing down wear and keeping the structure in better shape over time.
- Ensure proper drainage: Good drainage prevents water from pooling at the base, helping avoid wood damage and keeping the soil in better condition for planting.
- Pick a sunny spot: Most vegetables need several hours of sunlight, so avoid placing your bed in shaded or low-light areas.
- Keep the width manageable: A bed that is too wide makes it difficult to reach the center without stepping inside, which can disturb the soil and damage plants.
- Use quality soil: A good mix of compost and nutrient-rich soil supports stronger, healthier plant growth from the start.
- Plan the layout: Deciding on the layout, size, and materials in advance makes the building process smoother and helps you avoid costly mistakes later.
Conclusion
Starting your first build with simple raised garden bed plans is a great way to keep things easy and manageable. A basic design helps you focus on getting the structure right without feeling overwhelmed.
As you complete your first bed, you’ll get a better idea of what works for your space and what you might want to change next time.
If this blog helped, save it for later and share it with someone who’s planning their own garden project.

Veronica Lee holds a Master’s degree in Landscape Architecture from Cornell University and has dedicated more than 15 years to transforming outdoor areas into artistic and sustainable spaces. Her career took off in a renowned landscape design firm, where she excelled in creating visually stunning and environmentally responsible designs. In 2019, Veronica brought her expertise to our platform, quickly becoming a key contributor to our outdoor design and sustainability sections. As the lead of our landscape innovation series ever since joining, she has inspired readers with her forward-thinking and practical approach. When not drafting designs, Veronica enjoys pottery and participates in local conservation efforts, activities that complement her professional ethos of blending art with nature.