
That thin line between your bathtub and the wall does more work than most people realize, and when it fails, the damage often goes unnoticed.
Understanding how to caulk a bathtub properly is one of the most useful and cost-effective home maintenance skills.
With the right approach, learning how to caulk a bathtub can deliver professional-looking results even for beginners.
Why Proper Caulking Matters
Proper caulking helps protect your bathroom from hidden water damage. It also improves the overall look while making maintenance easier.
- Prevents Water Damage: A tight seal stops water from seeping into gaps and causing long-term issues.
- Reduces Mold Growth: Blocking moisture buildup helps prevent mold and mildew.
- Enhances Bathroom Look: Smooth, clean lines give your bathtub area a neat and finished appearance.
- Improves Durability: Good caulking helps surfaces last longer without damage.
- Saves Future Costs: Doing it right reduces the need for frequent repairs or replacements.
Tools and Materials Required
| Category | Items Needed |
|---|---|
| Tools | Caulk gun, Utility knife or scraper, Caulking tool (optional) |
| Materials | Silicone caulk (kitchen & bath), Painter’s tape (optional) |
| Cleaning Items | Rubbing alcohol or mild cleaner, Cloth or sponge, Paper towels |
| Optional Items | Gloves, Small bucket of water (for smoothing) |
How to Caulk a Bathtub
Caulking a bathtub may seem like a small task, but it plays a big role in keeping your bathroom clean and damage-free. A neat seal prevents water from slipping into hidden gaps.
Step 1: Prepare the Caulk Tube Properly
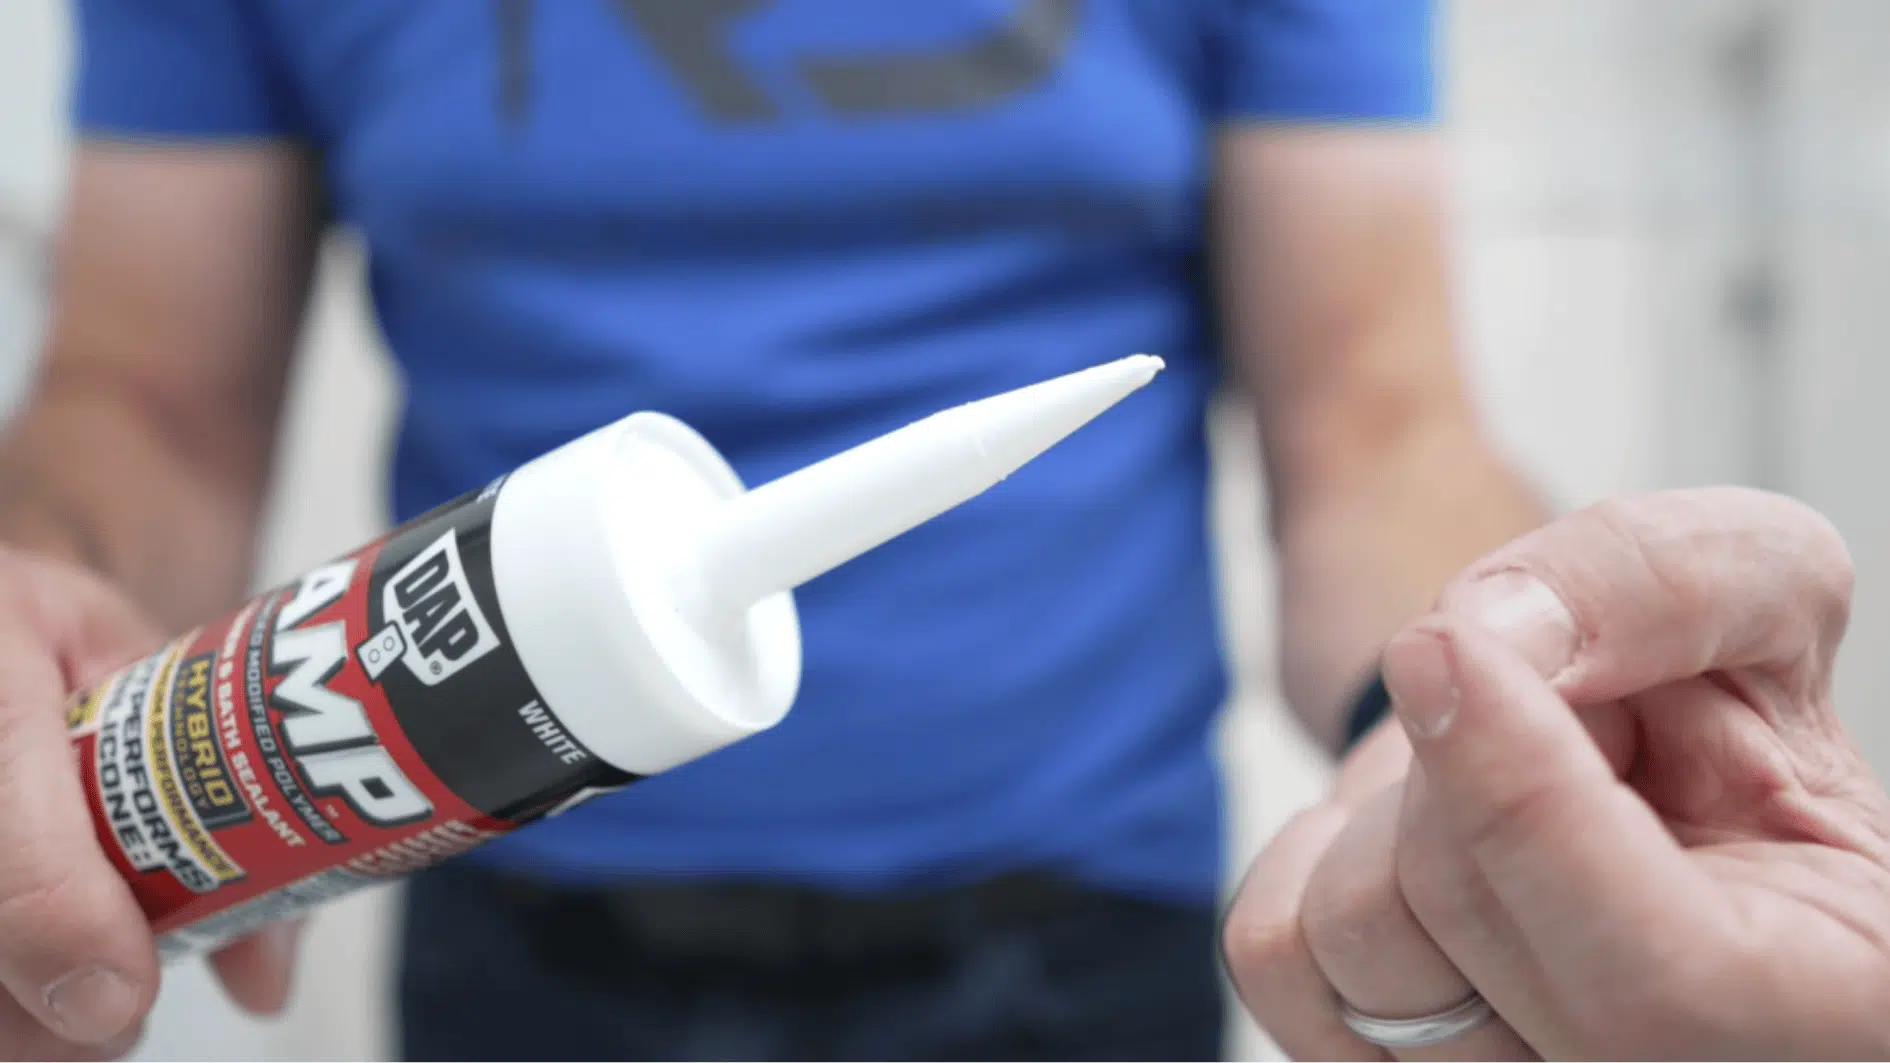
Choose a caulk that is specifically made for kitchen and bath use, as it resists mold and handles moisture better. To prepare the tube, cut the tip at a 45-degree angle, starting with a small opening for better control.
If needed, you can make the hole slightly larger later. After cutting, puncture the inner seal using the tool attached to the caulk gun, then place the tube securely into the gun.
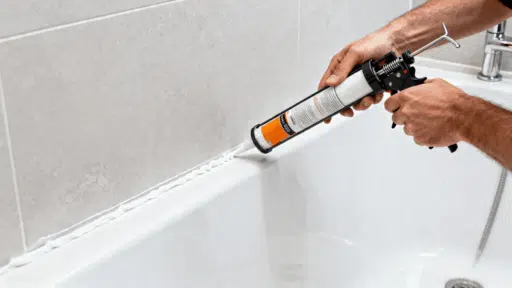
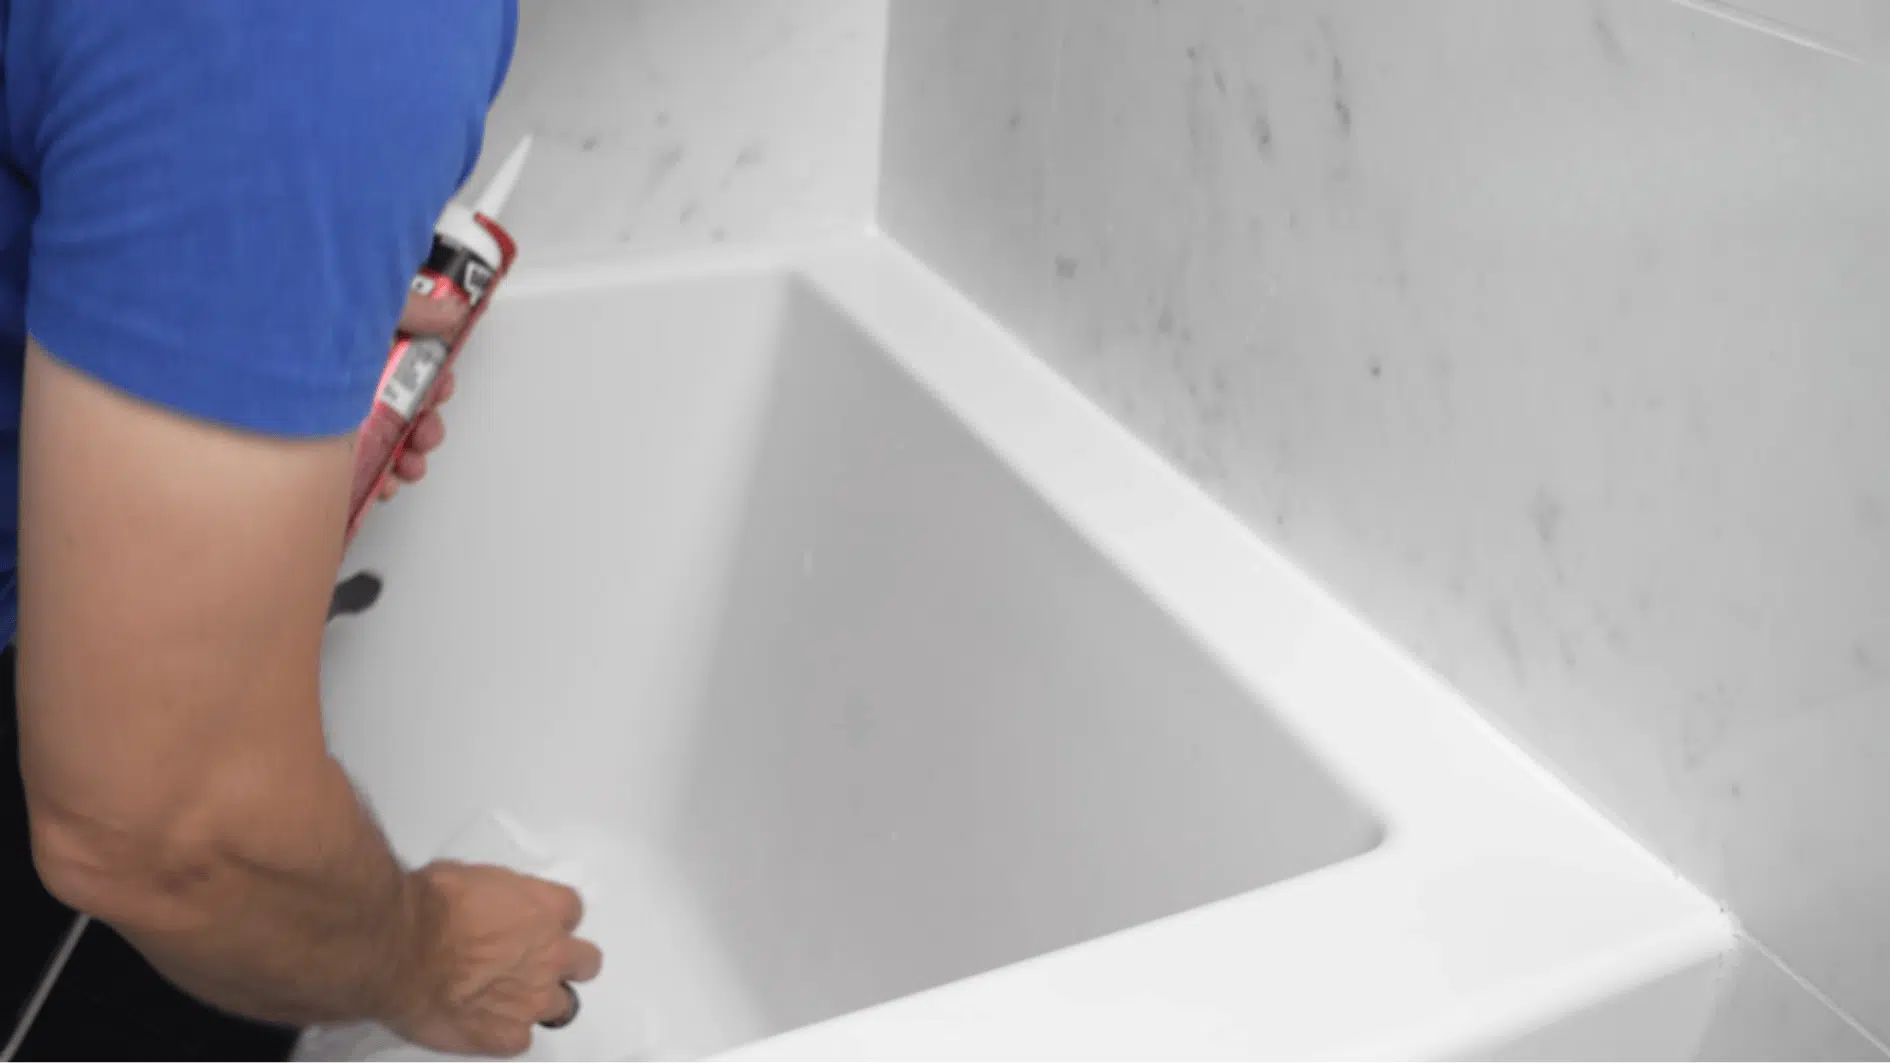
Step 2: Apply the Caulk Evenly
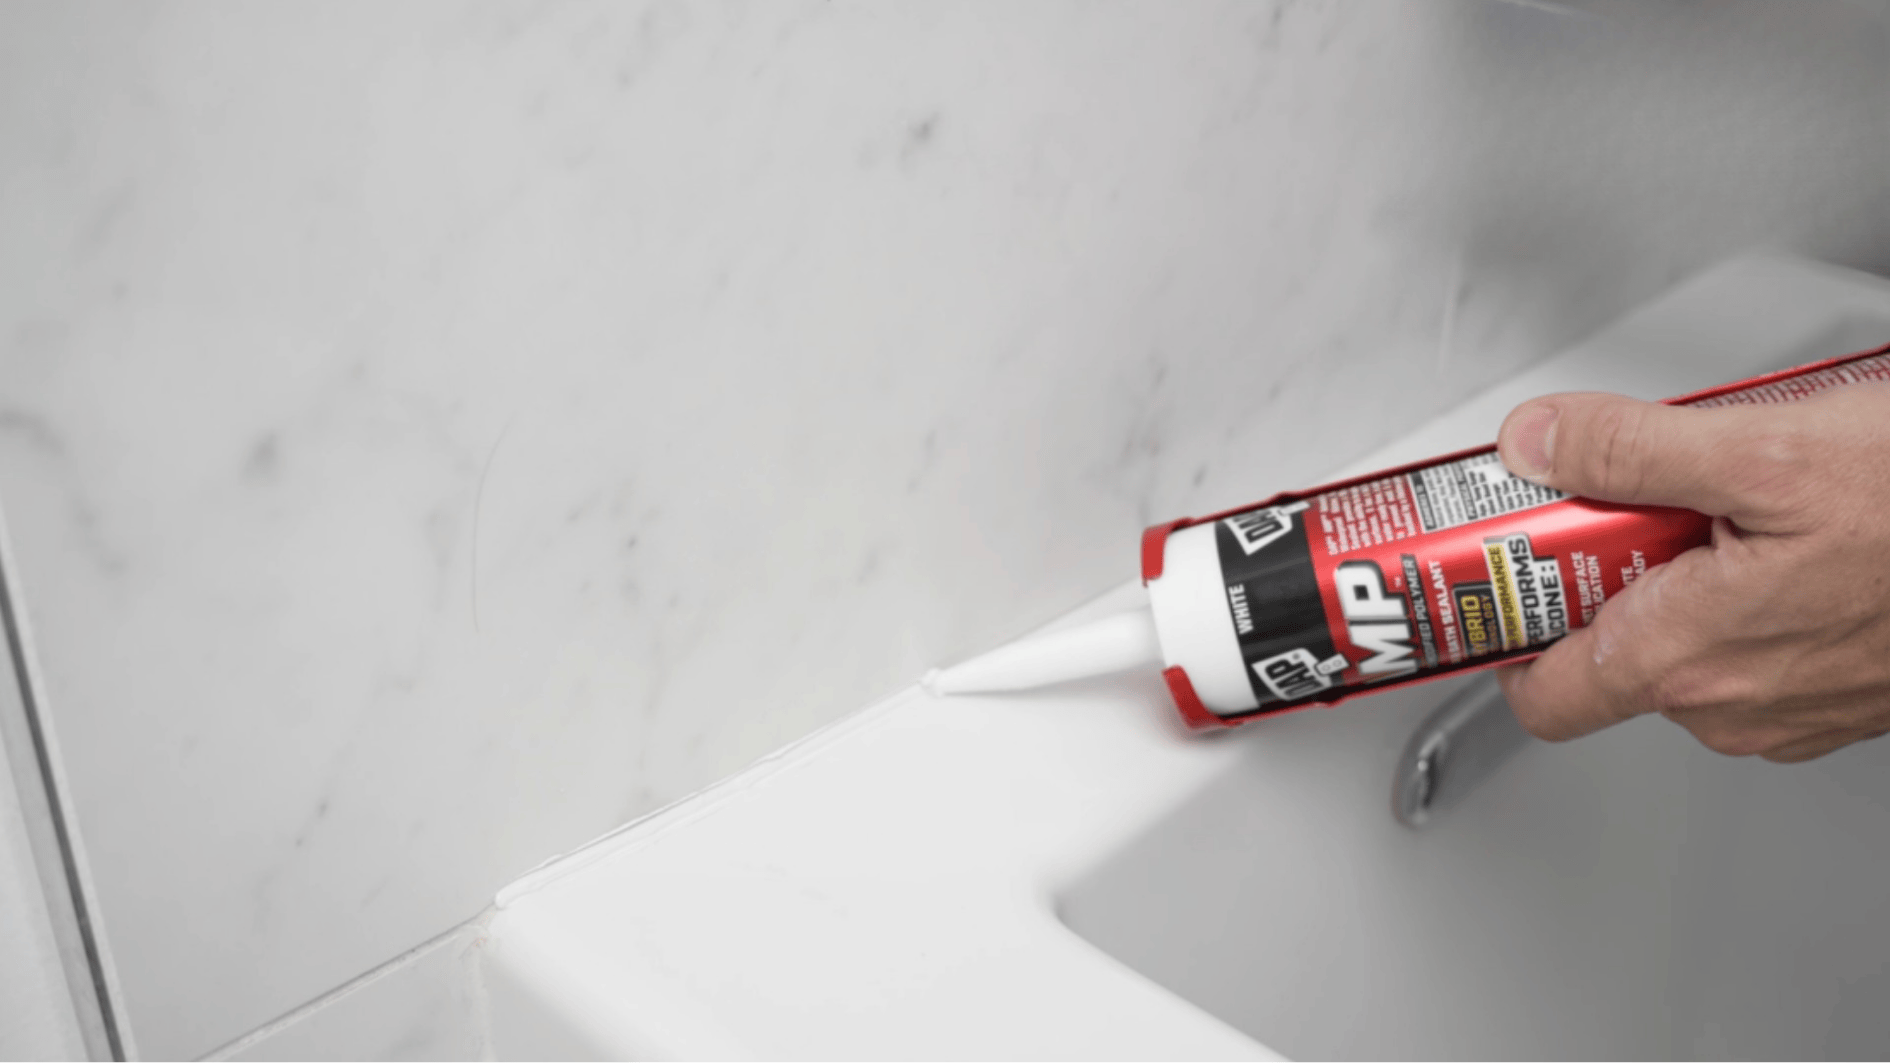
Hold the caulk gun at a steady 45-degree angle and begin applying the caulk along the joint. Move slowly and maintain consistent pressure on the trigger to create an even bead. It helps to work in one direction and keep your hand steady throughout.
Starting from the corners and moving outward makes the process easier and helps avoid uneven lines. If you make a mistake, wipe the caulk away and try again.
Step 3: Cover All Areas Carefully
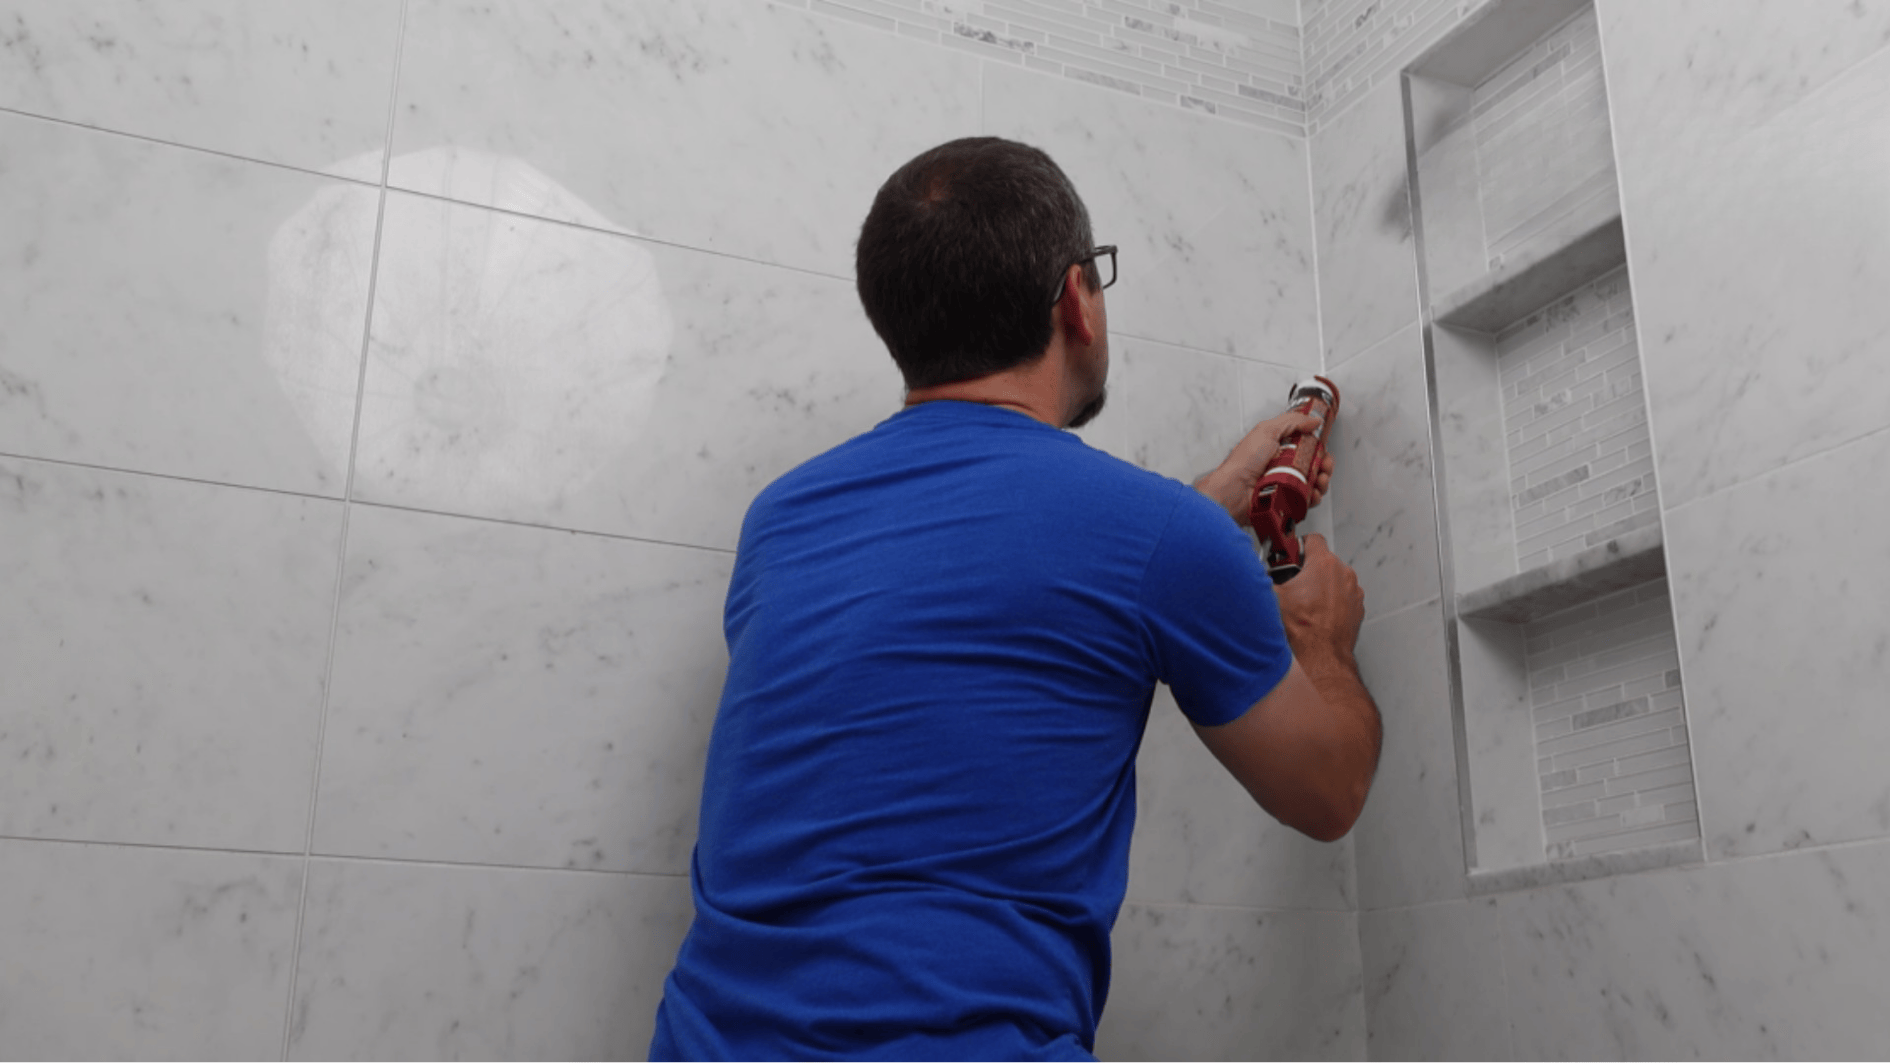
Make sure all necessary areas around the bathtub are sealed properly. This includes the back edge of the tub, vertical corners, and any place where the tile meets the tub. If needed, also apply caulk along the front edge.
Take a moment to check for small gaps or missed spots before moving on, as even tiny openings can let water seep in over time.
Applying caulk evenly across all joints helps create a complete seal and improves durability. Choosing the right color matters, too.
Step 4: Smooth the Caulk Line
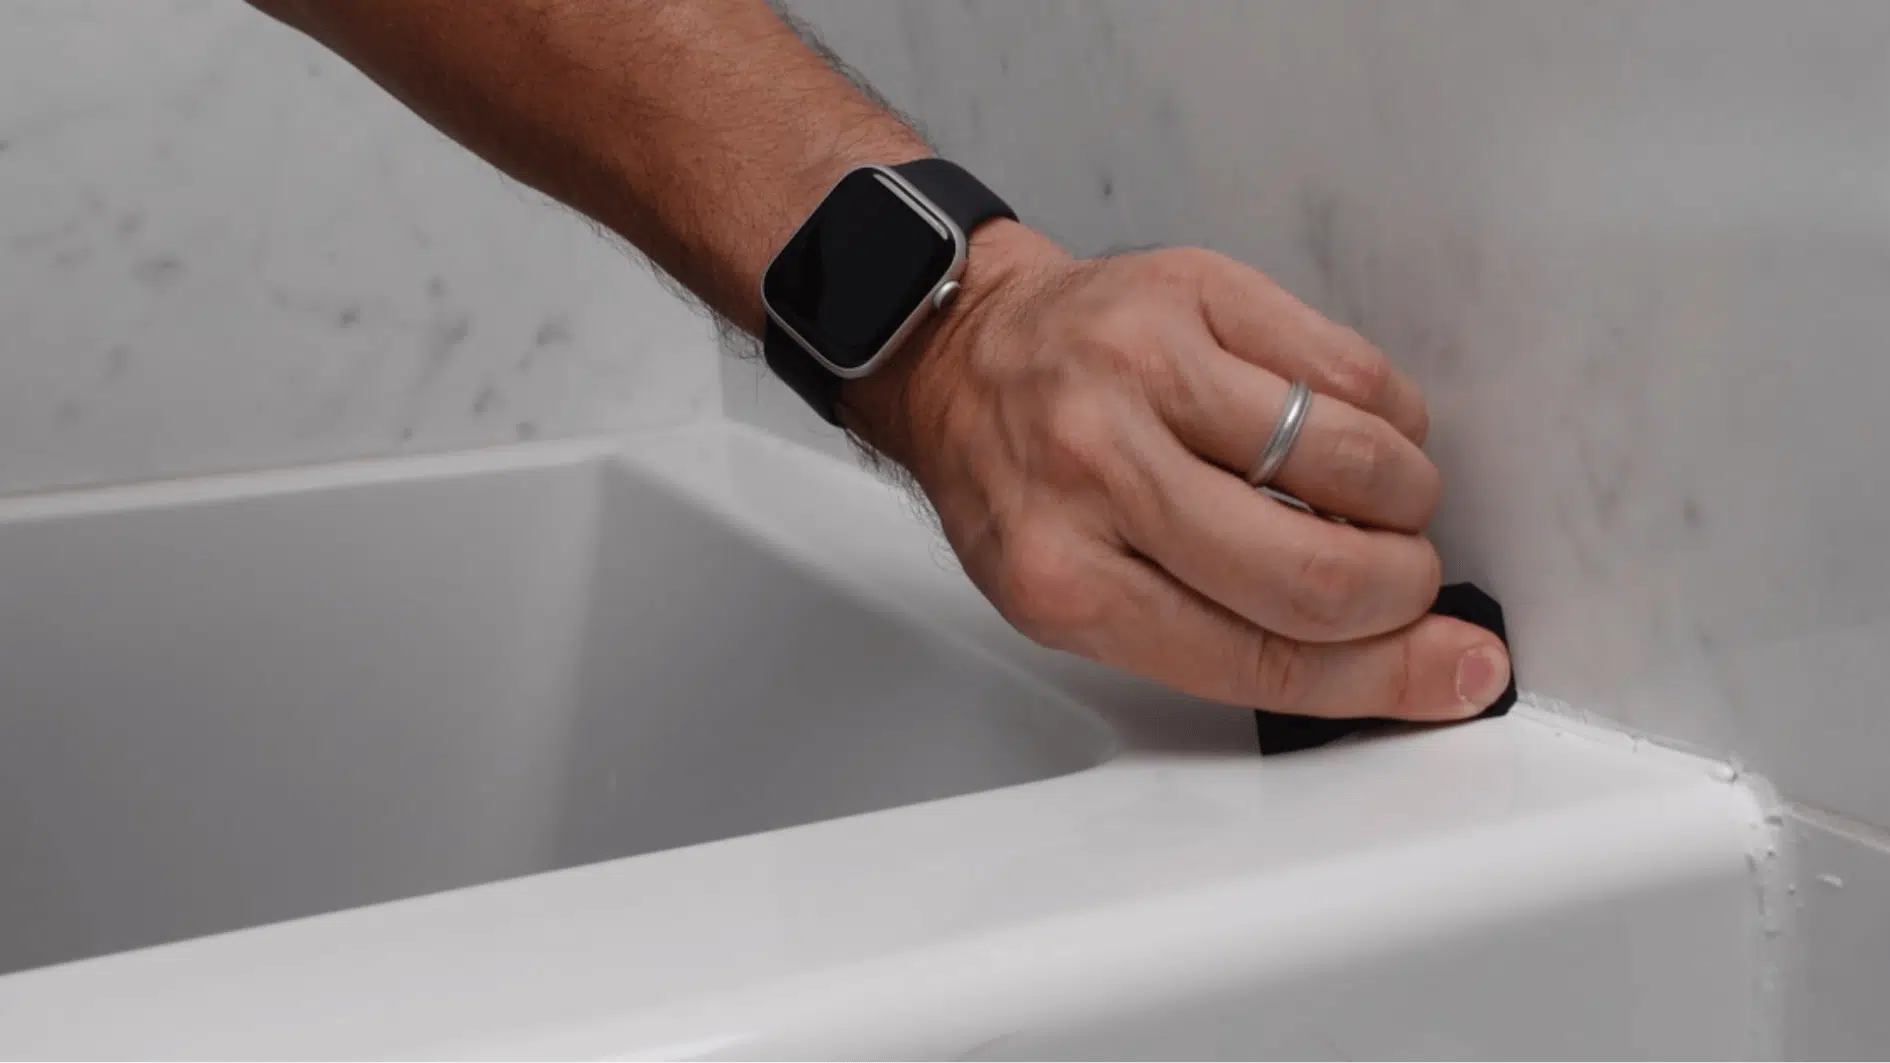
After applying the caulk, smooth it out right away before it dries. You can use a caulking tool or your finger to gently glide along the bead, pressing it lightly into the gap while removing extra product.
Work slowly and keep your pressure even to maintain a clean line. It also helps to keep a paper towel nearby to wipe off buildup as you go. This simple step makes a big difference in how neat and uniform the final finish looks.
Step 5: Let It Dry and Finish Up
Once everything is in place, allow the caulk to dry completely according to the instructions on the product. Most caulks need around 24 hours before the bathtub can be used.
Avoid touching or exposing the area to water during this time. If there is leftover caulk in the tube, seal the tip so it can be used again later.
Check out this video for visual guidance:
How Long Does Bathtub Caulk Last?
A properly completed bathtub caulk job typically lasts between 3 and 5 years. The actual lifespan depends on how frequently the tub is used, bathroom humidity levels, and the quality of the product applied.
Make it a habit to visually inspect the caulk line every 6 months. Catching small cracks or peeling edges early means a simple recaulk job rather than a full removal and surface repair.
Signs It Needs Replacement:
| Sign | What It Means |
|---|---|
| Cracks or gaps along the line | The seal has broken water is getting through |
| Edges pulling away from the tile or tub | Adhesion has failed; recaulking is needed |
| Mold spots are returning quickly after cleaning | Moisture is trapped beneath the surface |
Common Caulking Mistakes to Avoid
Knowing what goes wrong most often saves time and avoids having to redo the work:
- Skipping old caulk removal, new caulk applied over damaged sealant fails quickly; full removal is the only reliable foundation (see the removal steps above)
- Using the wrong type of caulk, Latex or acrylic caulk breaks down in high-humidity areas far faster than silicone
- Applying too much product. Excess caulk is harder to smooth and more prone to surface cracking
- Rushing the smoothing step. Skipping this leads to gaps and weak bonding along the joint
- Water contact before full cure. Moisture exposure for 24 hours or less significantly weakens the seal.
- Not cleaning the surface properly, dirt, soap residue, or moisture, prevents proper adhesion and leads to early failure
- Cutting the nozzle too wide, a large opening makes it difficult to control the bead and results in messy, uneven lines
Conclusion
A properly sealed bathtub edge protects your bathroom from hidden water damage while keeping the space looking clean and well-maintained. Learning how to caulk a bathtub is a small task that delivers long-term value with minimal effort
The key to a lasting result lies in proper preparation, the right materials, and careful application of the caulk. Once you understand this, a bathtub step-by-step, achieving a smooth, professional finish, becomes much more manageable.
You don’t need advanced skills, just patience and attention to detail at each stage. With a little time and the right approach, how to caulk a bathtub becomes an easy DIY upgrade that helps prevent costly repairs later on.

Tommy Hardy, an alumnus of the Georgia Institute of Technology with a degree in Mechanical Engineering, has been a go-to figure in residential upkeep and innovation for over 18 years. His career commenced in a leading home appliance manufacturing company, where he mastered the intricacies of household systems. Joining our platform in 2020, Tommy quickly became a reader favorite for his practical and easy-to-follow guides. He took the helm of our DIY section in 2019, consistently delivering content that empowers homeowners. Beyond his professional pursuits, Tommy is a passionate gardener and enjoys woodworking, skills enhancing his hands-on approach to home care.