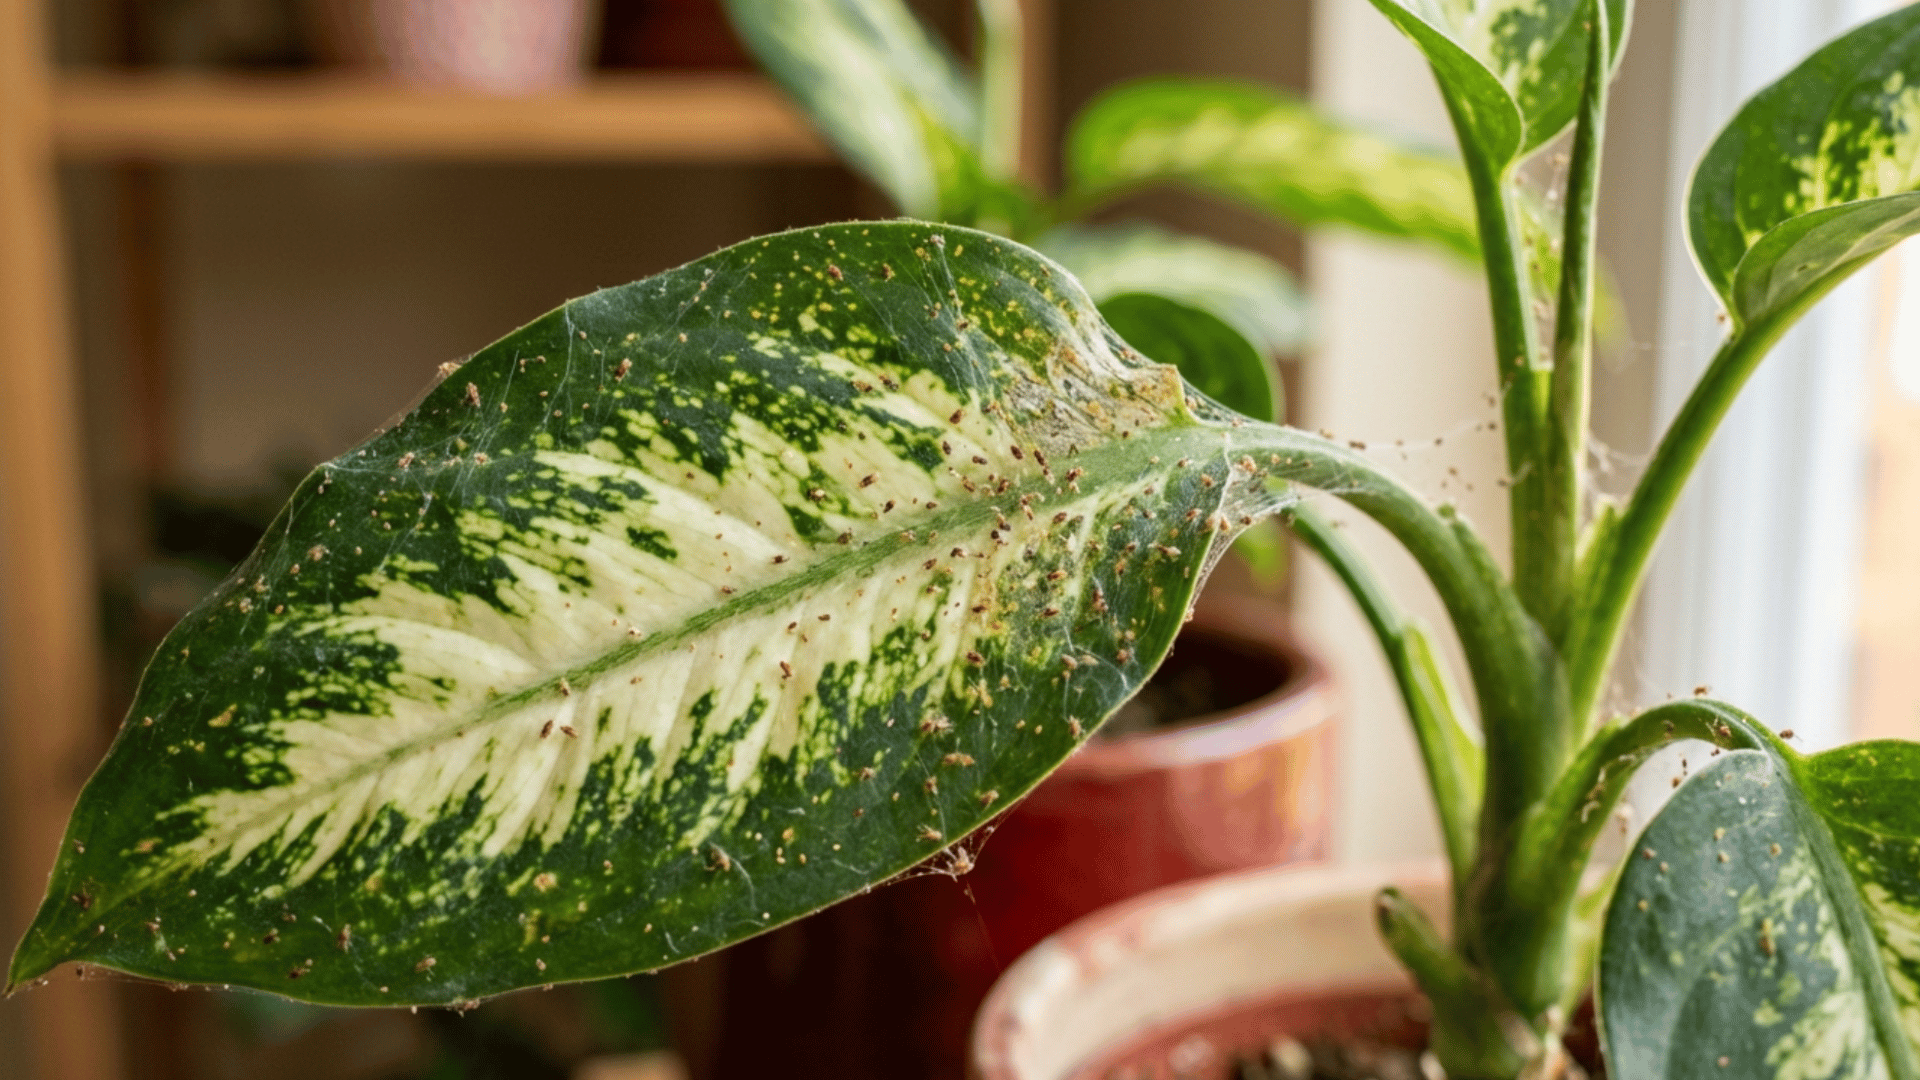
You notice your plant looking a little off. The leaves are pale, maybe dotted with tiny yellow specks, and then you spot it. That’s fine, ghostly webbing tucked between the stems.
Yep, you’ve got spider mites on plants, and honestly, I’ve been there too. It’s not a great feeling.
These microscopic pests are sneaky, fast-moving, and absolutely relentless. But here’s the good news, they’re beatable. With the right knowledge and a little consistency, you can get your plant back to its happy, growing self.
In this guide, we’re taking you through exactly how to spot the problem early and what to do about it, so let’s jump in.
Spider Mites: The Tiny Pests Doing Big Damage
Spider mites are tiny pests that belong to the arachnid family, similar to spiders. They can be found on both indoor and outdoor plants and can cause serious damage if not detected and treated early.
Since they are so small (roughly 1/50th of an inch), they can be difficult to spot. You’re likely to notice the signs of these pests rather than the pests themselves.
The hard-to-see spider mites use their sharp, piercing mouthparts to feed on the sap of leaves and stems. When they suck the sap from a plant, it causes a tiny spot of discoloration.
These tiny spots add up quickly as a spider mite population grows and grows on your plant, eventually weakening the plant.
What Causes Spider Mites on Indoor Plants?
These pests grow in warm, dry indoor conditions, making many homes ideal places for them to grow. Here’s what usually triggers them:
- Low Humidity: One of the biggest reasons they appear, especially during winter, is when indoor air becomes dry.
- Poor Air Circulation: Makes it easier for them to settle and spread across plants.
- Infected New Plants: Bringing home a plant that is already infected without noticing the early signs is a very common cause.
- Fast Multiplication: Spider mites multiply rapidly, so even a small issue can escalate into a larger infestation.
Signs of Spider Mites on Plants
Spotting spider mites early can save your plant from serious damage. These pests multiply fast, so small signs should never be ignored. Most of the time, the damage shows up before you actually see the mites.
- Tiny white or yellow specks on leaves
- Fine webbing under leaves or between stems
- Leaves turning dry, dull, or starting to drop
- A dusty or slightly sticky look on the plant surface
- Mottled, bleached, or bronzed leaf color
Always check the underside of leaves first; that’s their favorite hiding spot and where you’ll almost always find them before anywhere else.
How to Get Rid of Spider Mites on Indoor Plants?
Here are effective treatments so you can get your plant back on track. Follow the steps below to treat your plant for spider mites:
1. Isolate the Affected Plant
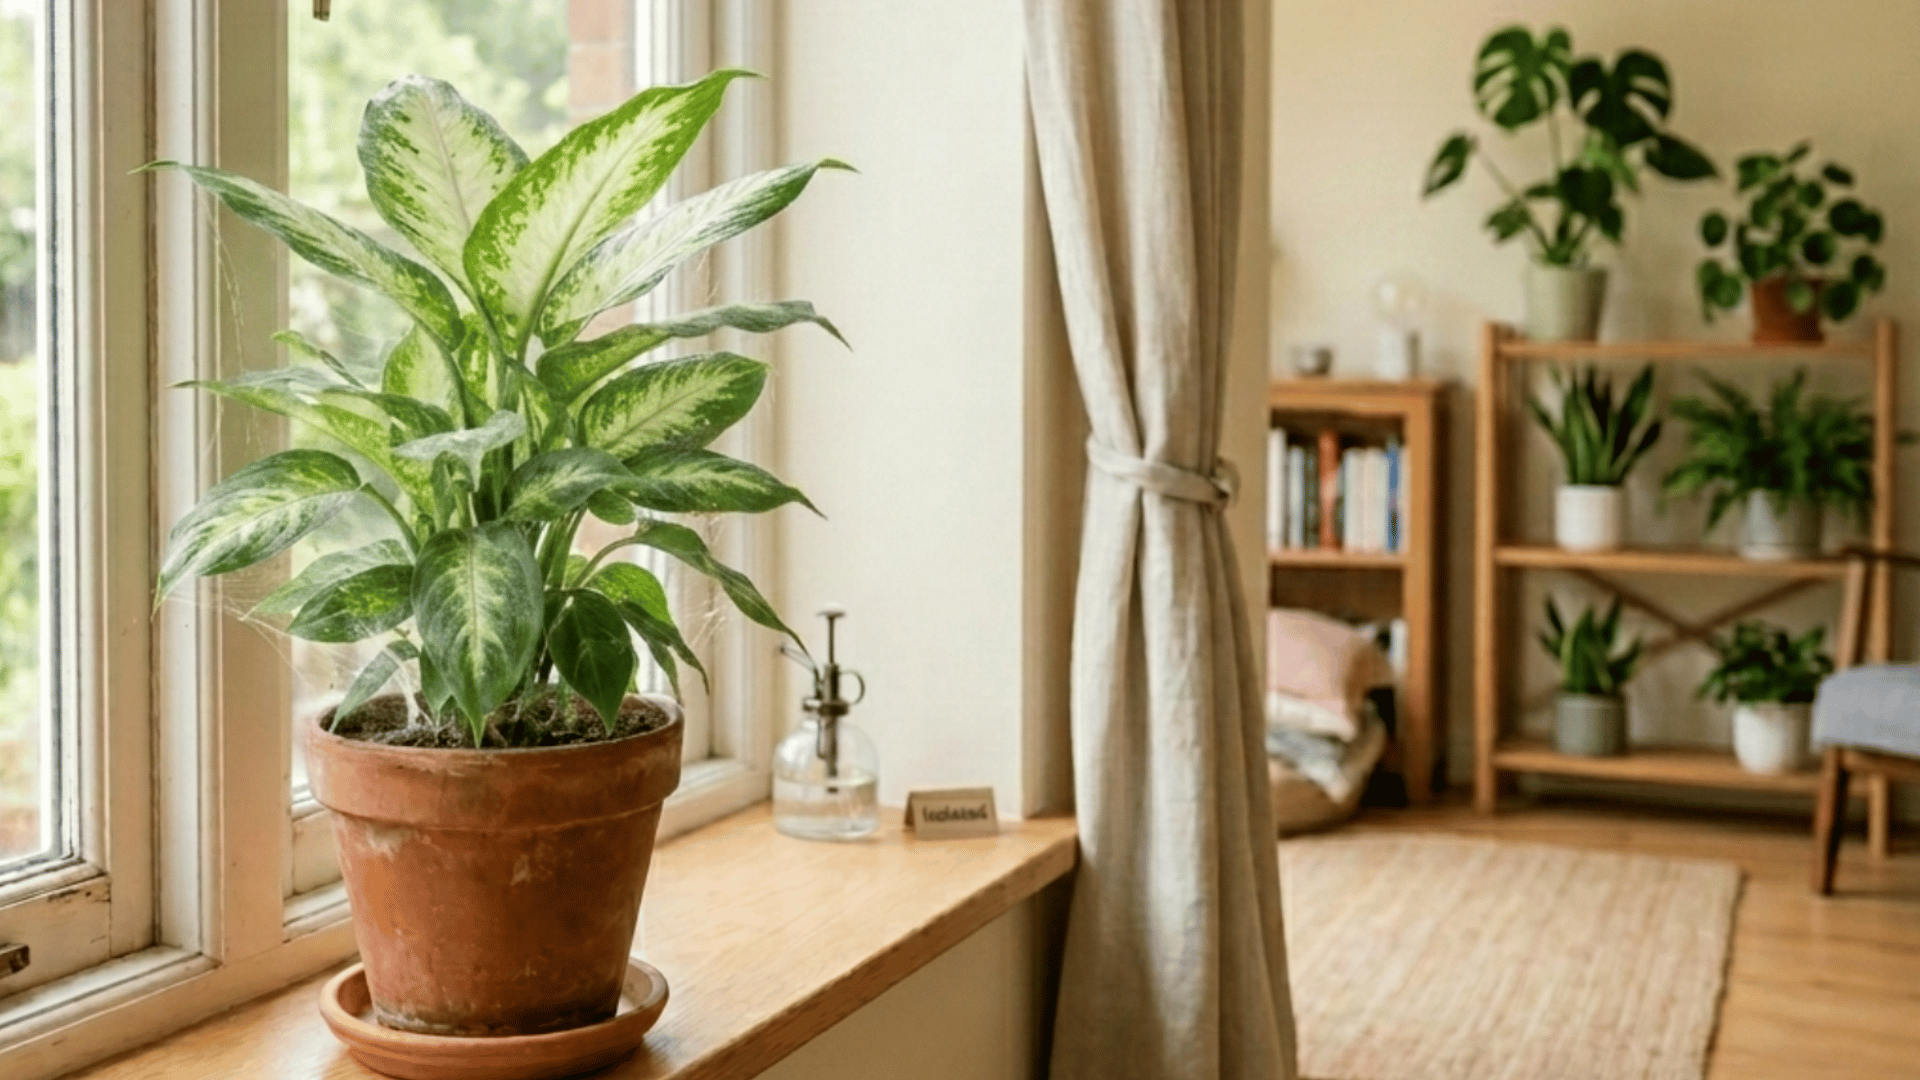
As soon as you notice spider mites on plants, move the affected plant away from others. These pests spread quickly, so early isolation helps protect nearby healthy plants.
Place it in a separate spot with good light and airflow. This step also makes treatment easier since you can focus on one plant at a time.
Acting fast here can prevent a small issue from turning into a larger infestation.
2. Prune Heavily Infested Leaves
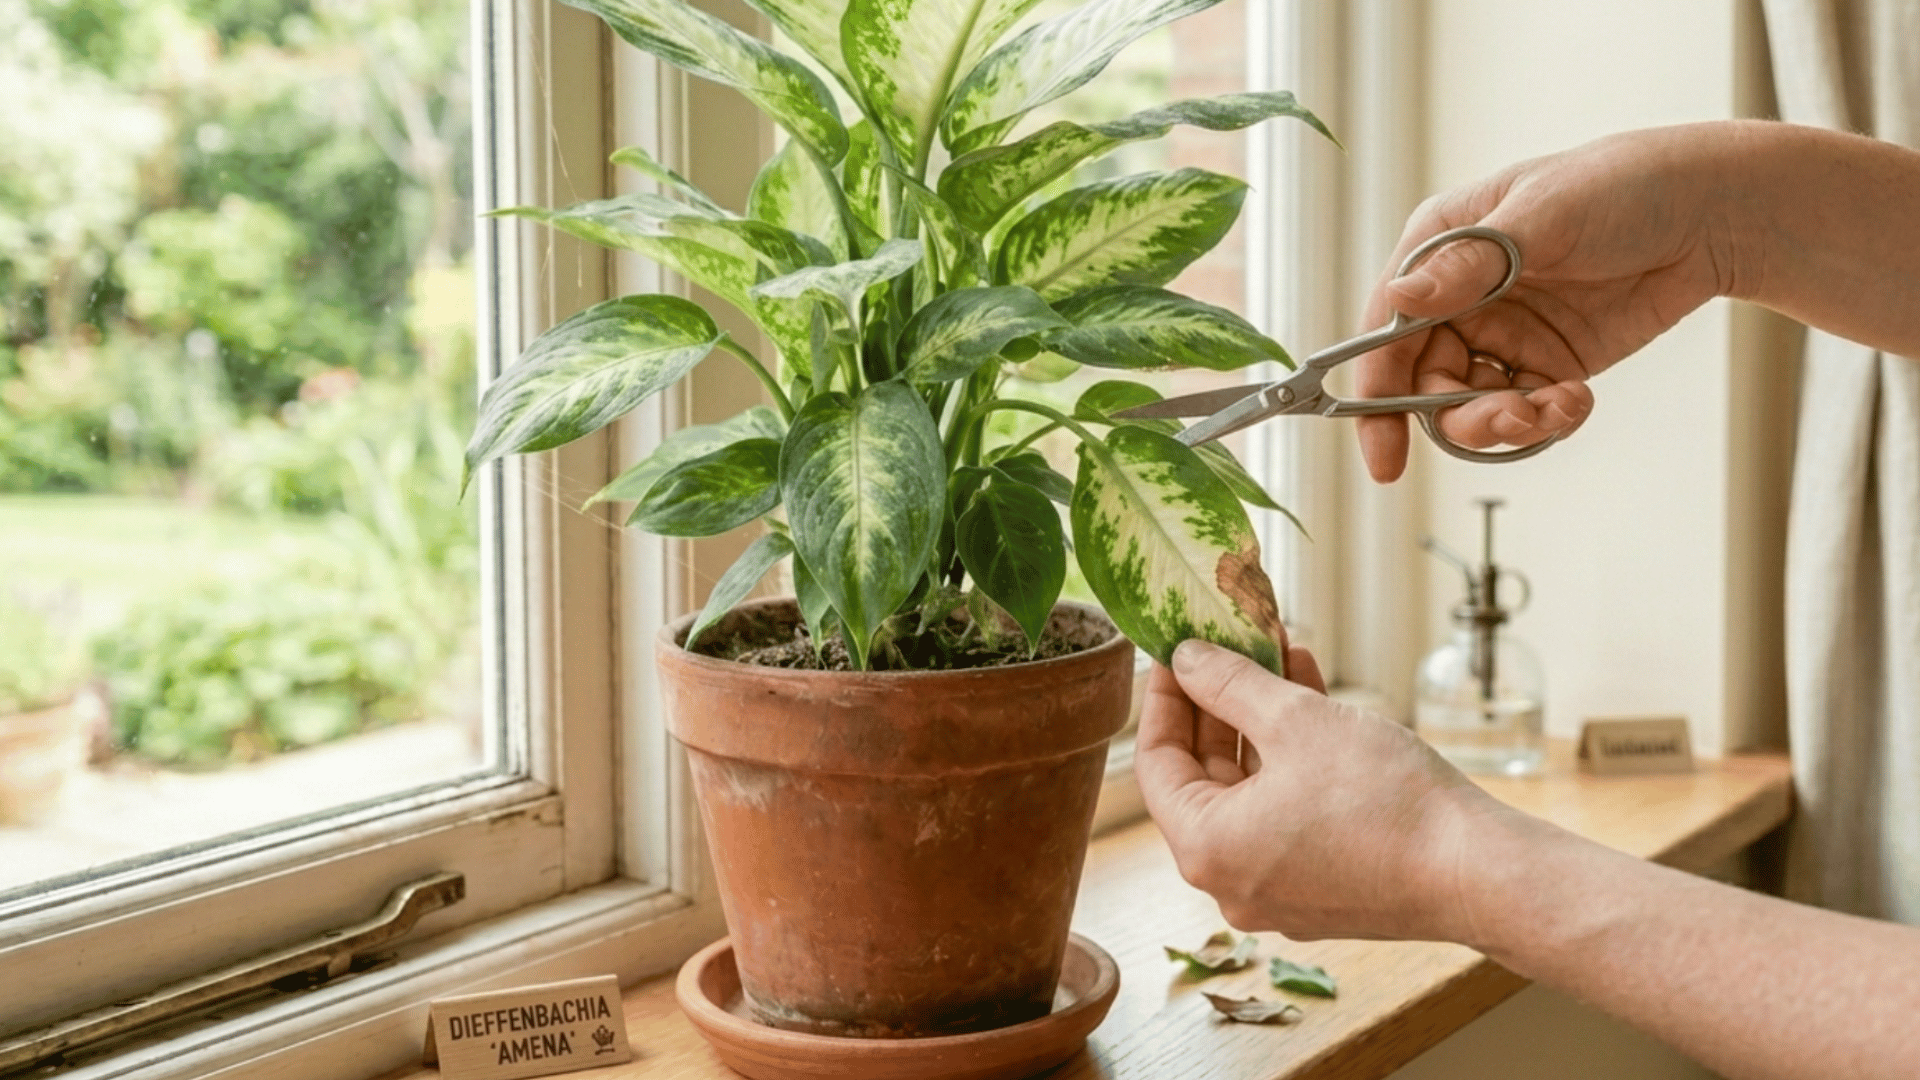
If some leaves are badly damaged, it is best to remove them. Pruning helps reduce the number of spider mites quickly and prevents them from spreading further.
Use clean scissors or pruning shears to cut off affected leaves. Dispose of them properly and do not leave them near other plants.
3. Wash the Leaves Thoroughly
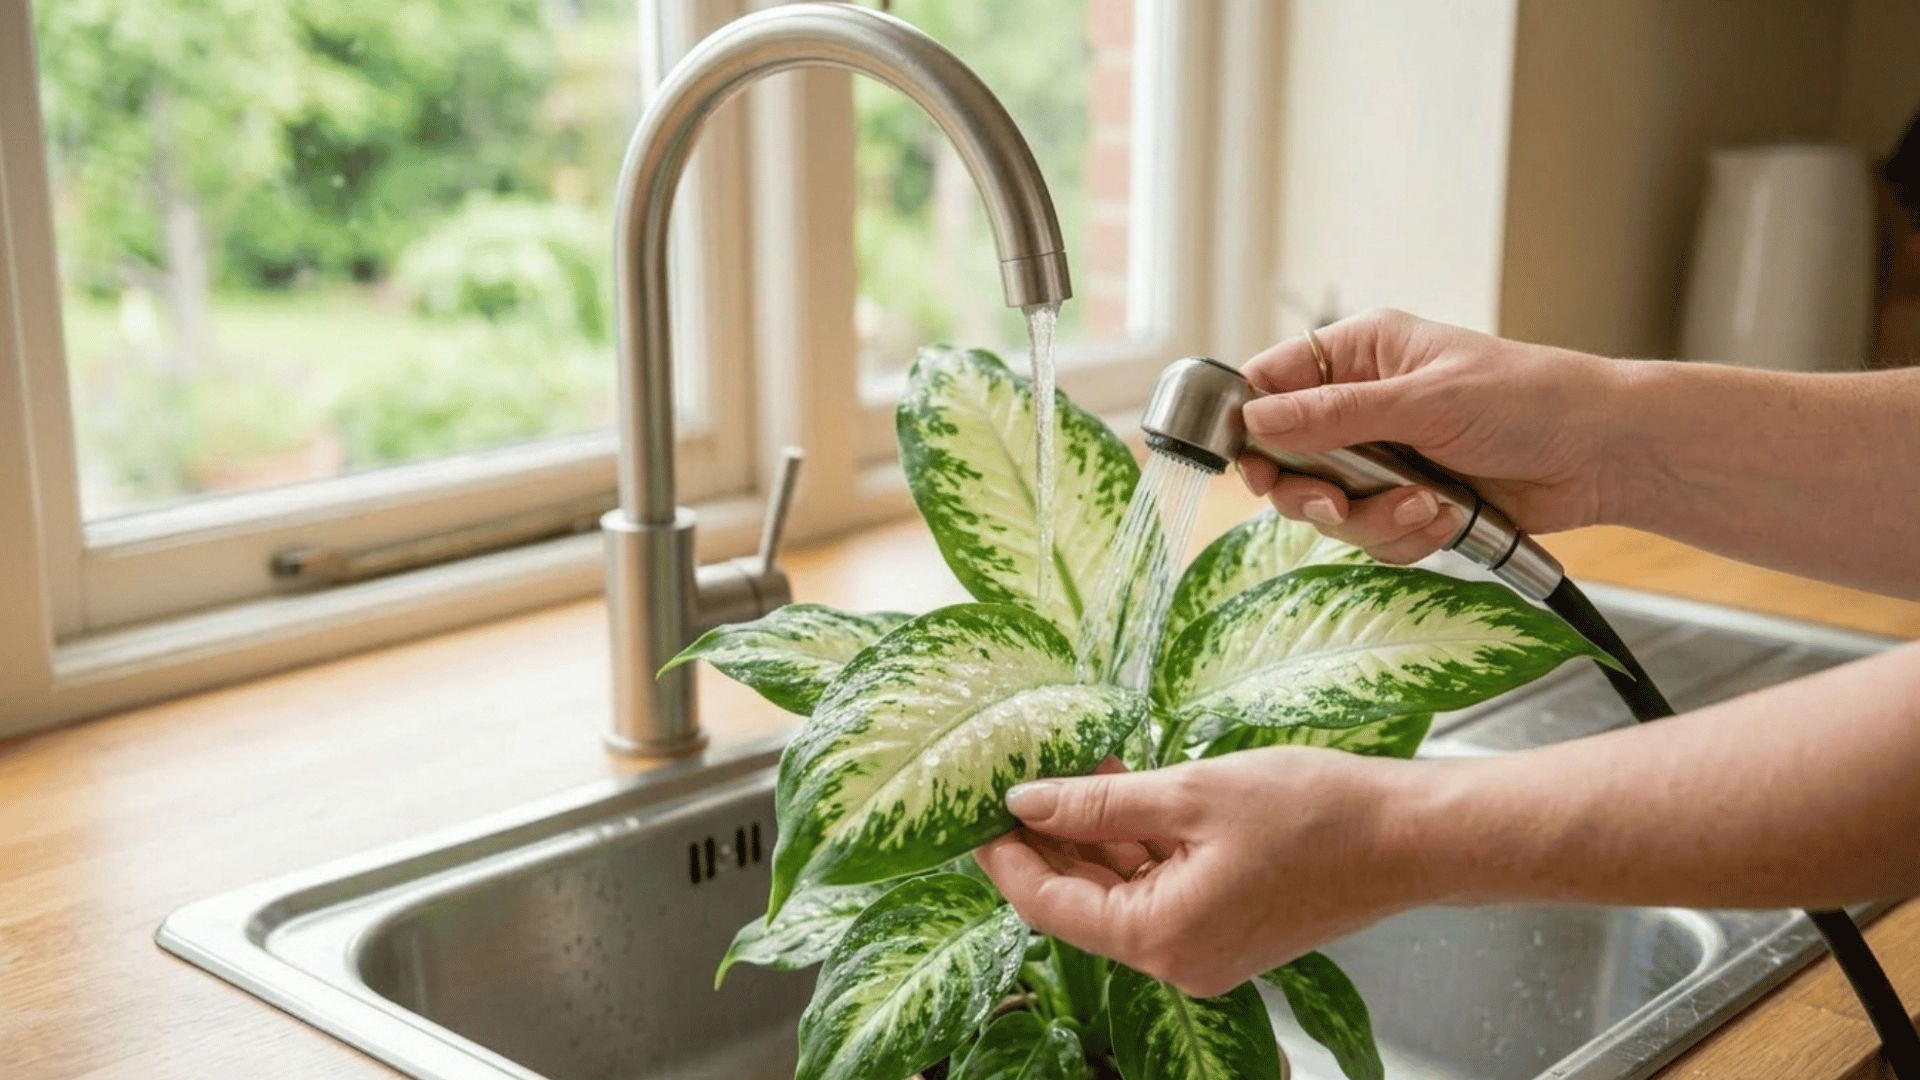
Start by rinsing the plant with lukewarm water to remove as many spider mites as possible. Focus on both sides of the leaves, especially the underside, where mites hide and lay eggs.
A steady stream works better than light misting. Repeat this process every 2 to 3 days to keep reducing their numbers. This step gives a strong base before using other treatments.
4. Wipe Leaves With Soapy Water
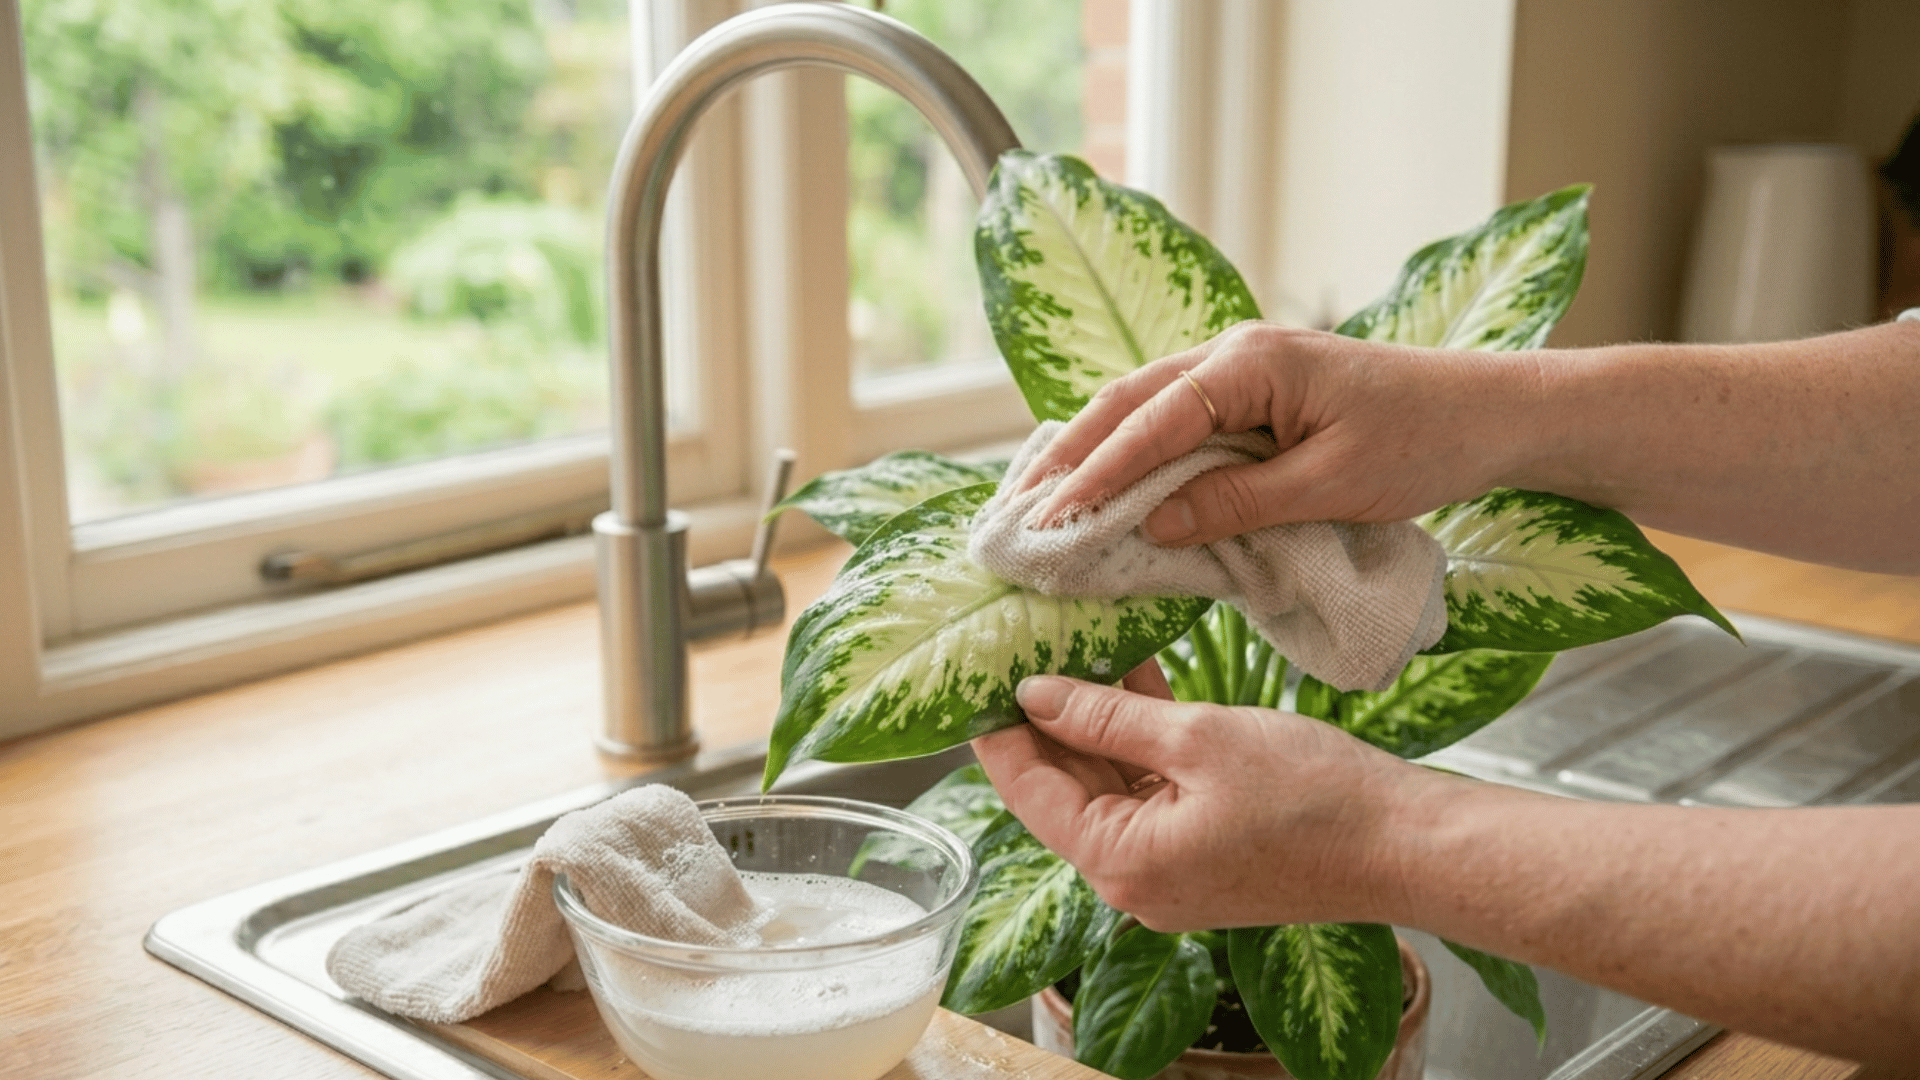
A mild soap solution helps remove mites and clean the plant surface. Mix a few drops of dish soap with water, then gently wipe the leaves with a soft cloth.
Focus on stems and leaf undersides. This method works well for light infestations and smaller plants. Avoid using strong soap mixtures, as they can harm the plant. Repeat this every few days for better control.
5. Use Rubbing Alcohol for Stubborn Areas
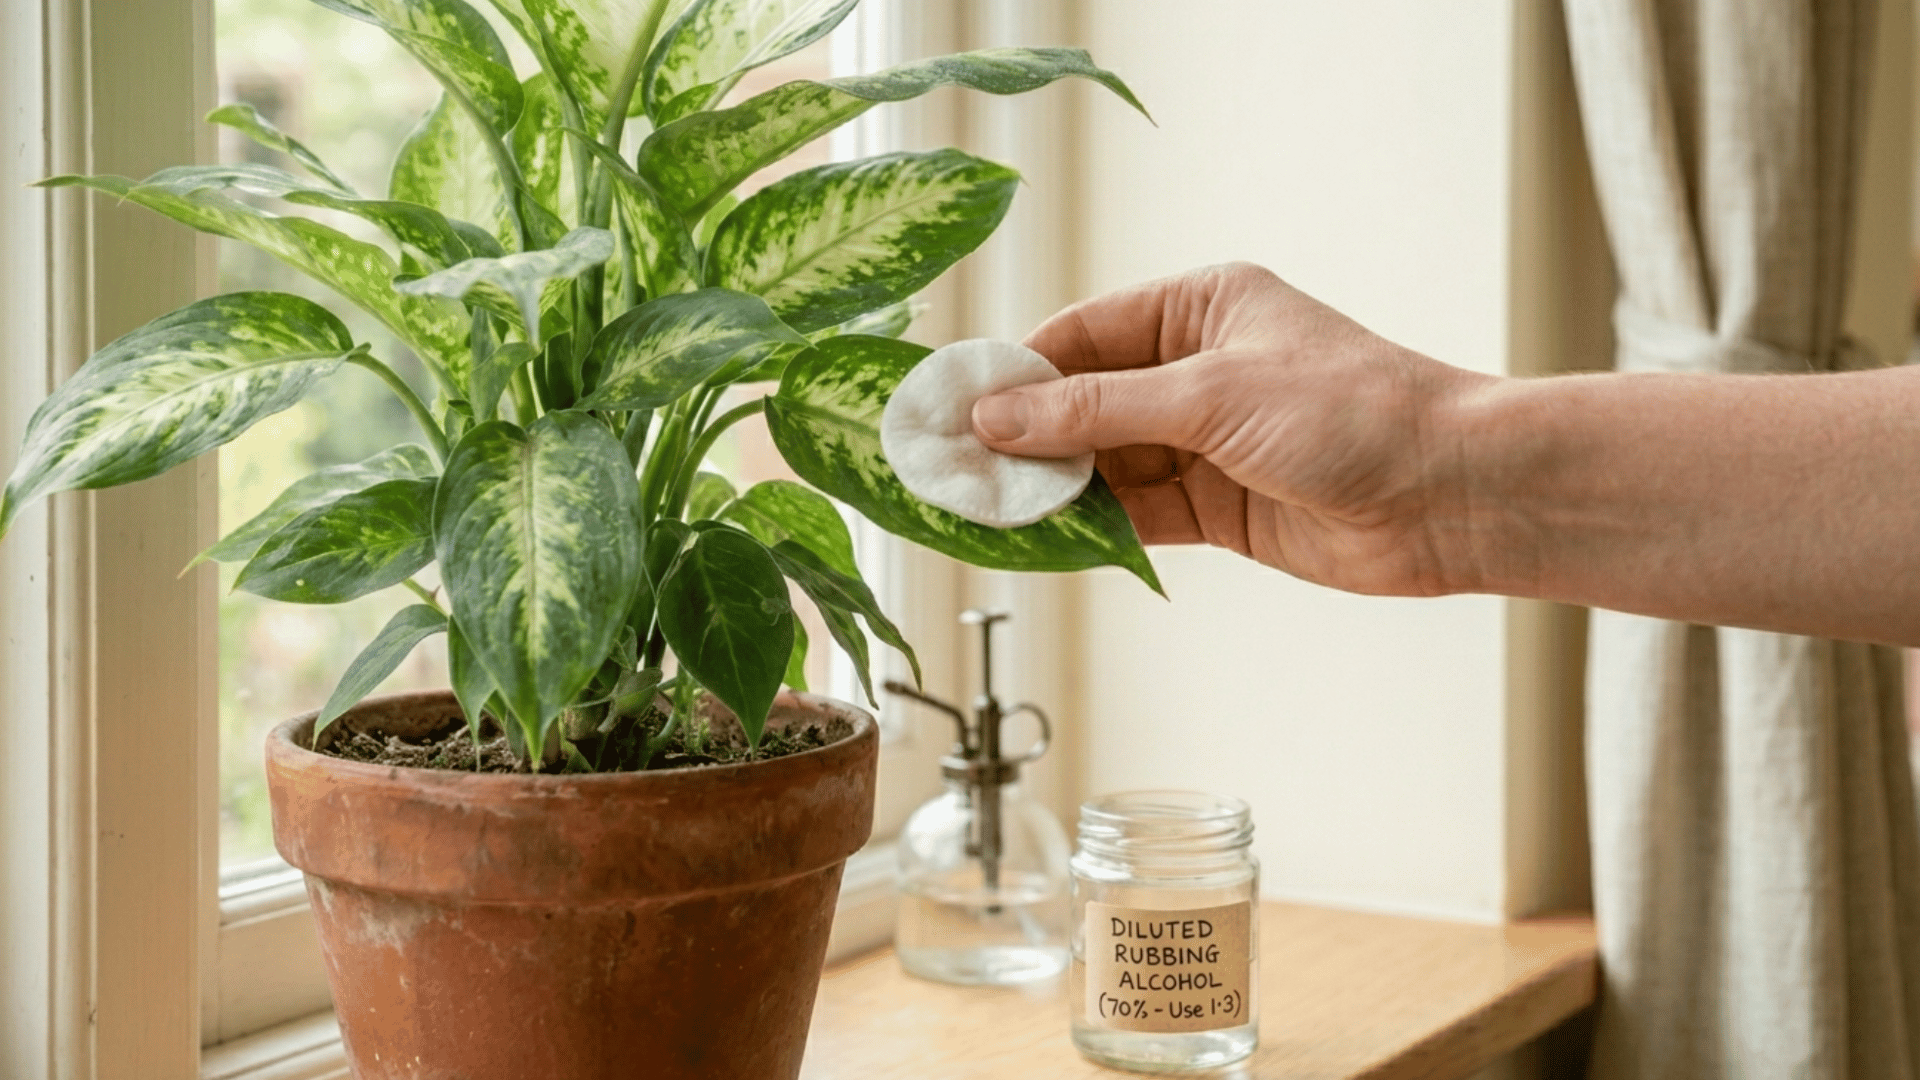
For areas where spider mites still remain, use diluted rubbing alcohol. Mix it with water, then apply it with a cotton pad to the affected spots.
This works well for visible clusters and hidden areas. Always test a small section first to avoid damaging the plant.
Avoid frequent use, as too much alcohol can stress the plant. Use this as a targeted solution rather than a full treatment.
6. Treat The Plant With a Control Product

Using proper treatment is key to fully eliminating spider mites on indoor plants. You can pick one of the following:
- Spinosad Treatment uses a natural bacterium that kills spider mites when consumed. Most pests die within 48 hours after feeding.
- Neem Oil is made from neem seeds and works on contact. It kills mites, eggs, and larvae while helping prevent them from coming back.
Neem oil can make plants sensitive to sunlight, so avoid direct light for a few days after use. Also, remember to always follow label instructions and spray the entire plant, especially the underside of leaves. Repeat treatment every 5 to 7 days.
7. Increase Humidity Around the Plant

Spider mites grow in dry conditions, so raising humidity early helps slow their growth. Indoor plants often face dry air, especially during colder months. You can improve humidity in simple ways:
- Use a humidifier near your plants
- Lightly mist leaves when needed
- Place a tray of water nearby
8. Repeat and Closely Monitor Regularly
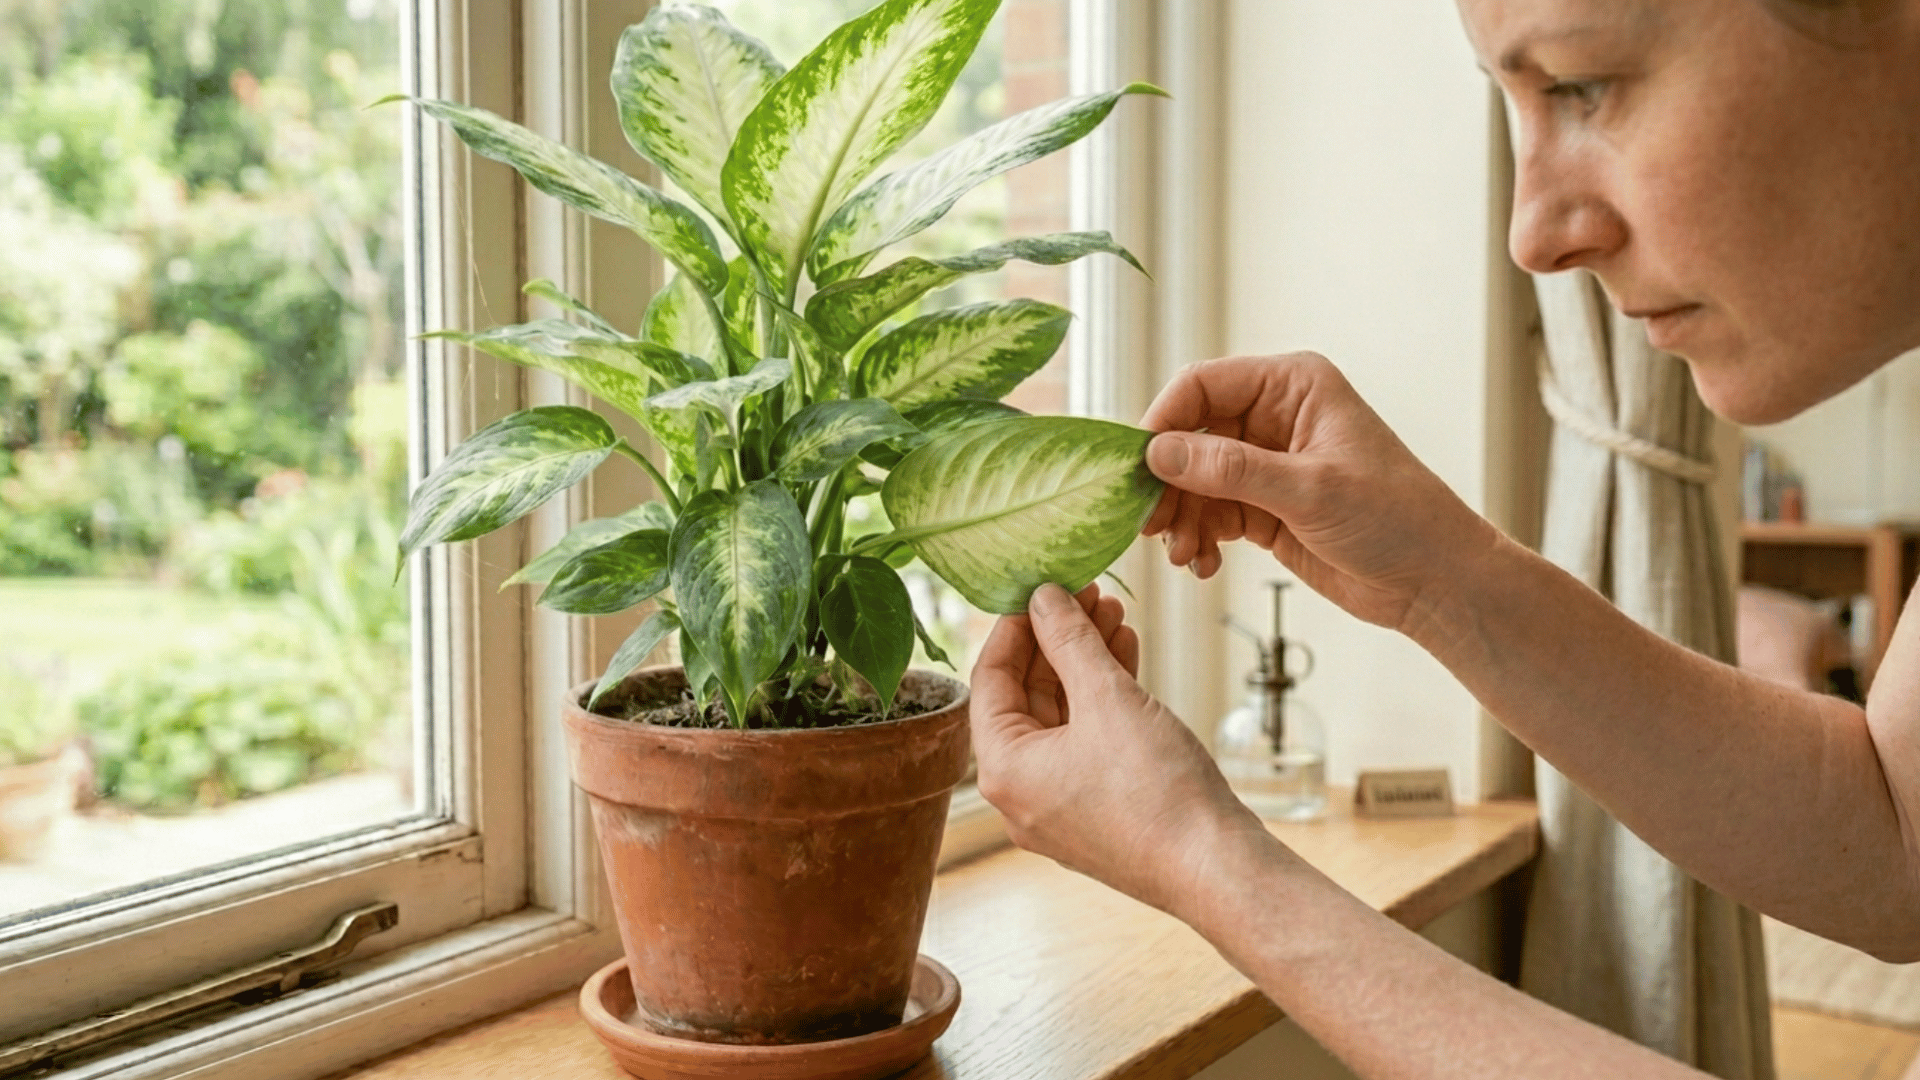
Spider mites can return if not fully removed, so regular monitoring is important.
Check your plants every 2 to 3 days, especially the underside of leaves. Repeat cleaning and treatments as needed until all signs are gone.
Keeping a routine helps catch early issues before they spread again. Consistent care is the best way to keep spider mites on plants under control.
Plants that Attract Spider Mites
Some indoor plants are more likely to attract spider mites due to their leaf type and growing conditions. These plants need extra attention and regular checks.
Plant | Why It Attracts Spider Mites |
Calathea | Thin leaves show damage quickly and are sensitive to dry air |
Fiddle Leaf Fig | Large leaves make it easier for mites to spread |
Alocasia | Reacts quickly to low humidity and stress |
Ivy | Dense growth gives mites more hiding spots |
Roses (Indoors) | Soft leaves are more prone to pest damage |
How to Prevent Spider Mites From Coming Back?
Keeping spider mites away is all about consistent care and the right environment. Small habits can make a big difference in protecting indoor plants over time.
- Quarantine New Plants: Keep new plants separate for a few days before placing them near others to avoid hidden infestations.
- Avoid Dry Conditions: Avoid letting the air around plants become too dry, especially during colder months.
- Check Plants Weekly: Regularly inspect leaves, especially the underside, to catch early signs.
- Increase Humidity: Use misting, pebble trays, or humidifiers to create a less favorable environment for spider mites.
- Maintain Proper Watering: Healthy, well-watered plants are less likely to attract pests.
- Clean Leaves Regularly: Wipe leaves to remove dust and any possible mite eggs before they spread.
Final Thoughts
Spider mites are frustrating. But here’s what most people miss: learning how to get rid of spider mites on indoor plants also makes you a sharper, more attentive plant parent.
You start noticing the small things: a leaf that’s slightly off, a stem that doesn’t look right. And that awareness changes everything.
Your indoor plants work hard to bring life into your space. A little regular care and observation goes a long way in keeping them healthy and pest-free. Don’t wait for the damage to pile up.
Start with one plant today. Inspect it, show it some love, and keep showing up for it.

With a Master’s in Landscape Architecture from the University of Virginia, Sophia Stephenson has dedicated the last 20 years to creating and maintaining vibrant outdoor spaces. Her professional journey started in landscape design, where she gained a reputation for innovative and sustainable approaches. Sophia became a part of our editorial team as a freelancer in 2019, offering a fresh perspective on outdoor living. Since 2020, she has been the chief for our outdoor design content, blending aesthetic appeal with environmental stewardship. In her leisure time, Sophia is a keen photographer, capturing the beauty of natural landscapes, a hobby that complements her professional expertise.