Those who say wallpaper is hard have never primed a wall, and those who say it is easy have only used peel-and-stick. The truth is somewhere in the middle. Modern wallpaper is about as hard as laying a sheet of vinyl plank floor. A first-timer can finish an eight-by-ten accent wall in an afternoon, if the wall is smooth and the paper is forgiving.
This guide covers what makes a wallpaper job easy or hard. It ranks the three main types of wallpaper by how hard they are to hang. It lists the tools and primer you need. It walks through the seven moves every install boils down to. It names the mistakes beginners make. And it says when to call a pro instead.
What Makes Wallpaper Easy or Hard
Three things decide how hard a job will be.
The first is the wall. Smooth, painted drywall in good shape is the easiest wall in the world for wallpaper. Lightly textured drywall is fine too. Orange-peel and knockdown texture must be skimmed flat first. Old plaster, glossy paint, melamine, stucco, and bare joint compound each need their own prep. That prep is where most jobs go wrong. If you have not primed the wall, you will be in for a hard time later on.
The second thing is the paper itself. Peel-and-stick vinyl is the friendliest paper there is. There is no paste. You can lift and re-stick it for the first few minutes. It is kind to small wall flaws. Prepasted paper sits in the middle. You wet the back and hang it. Unpasted paste-the-wall paper is the hardest of the three. It is also the best. It is the paper most high-end homes actually use. It sits flatter. It lasts longer. It pulls down clean years later when you redecorate.
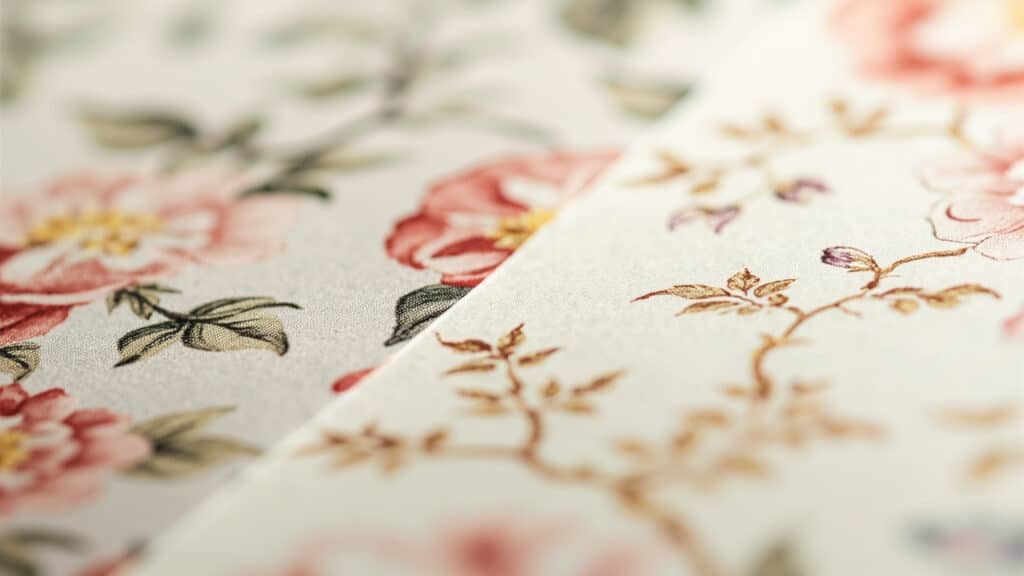
The third thing is the pattern repeat. A random match needs no lining up. It is almost as easy as solid color. A straight match with a short repeat, like 7 inches, wastes very little paper. A drop match with a long repeat, like 21 inches or more, doubles or triples your waste. It also makes you do pattern math before every cut. Big florals and big damasks are drop-match patterns. Those scare first-timers most.
The Three Types of Wallpaper, Ranked by Install Difficulty
Easiest is peel-and-stick. The vinyl face has a sticky back. You peel the backing and press it on the wall. The install is more like a giant sticker. It is the right pick for renters. It is good for kids’ rooms. It is good for powder rooms. It is good for anyone hanging wallpaper for the first time. The trade-off is finish and life. Peel-and-stick does not hold up in a steamy bathroom. It does not hold up on a sun-blasted south wall. The seams show more. And it costs more per square foot over the long run.
In the middle is prepasted paper. The back has a dried glue layer. You wet it in a water tray or with a sponge. Then you “book” the strip for a few minutes to let the paste wake up. Then you hang it. This is how most off-the-shelf US wallpaper from the late twentieth century went up. Many big prepasted murals still ship this way. The method is kind. You can slide the strip into place for the first thirty seconds after it touches the wall.
Hardest, and best, is unpasted paste-the-wall paper. This is the method European decorators have used for decades. It is the default for non-woven paper. You roll paste onto the wall with a paint roller. Then you hang the dry strip into the wet paste. According to a step-by-step hanging guide from William Morris Wallpaper, the paste-the-wall method breaks down into seven moves. It works on any wall that the primer has sealed. That includes a fresh skim coat and old painted plaster. Why do pros prefer it? Non-woven paper does not stretch when wet or shrink when dry. So the seams stay tight. And the pattern does not drift across a long wall.
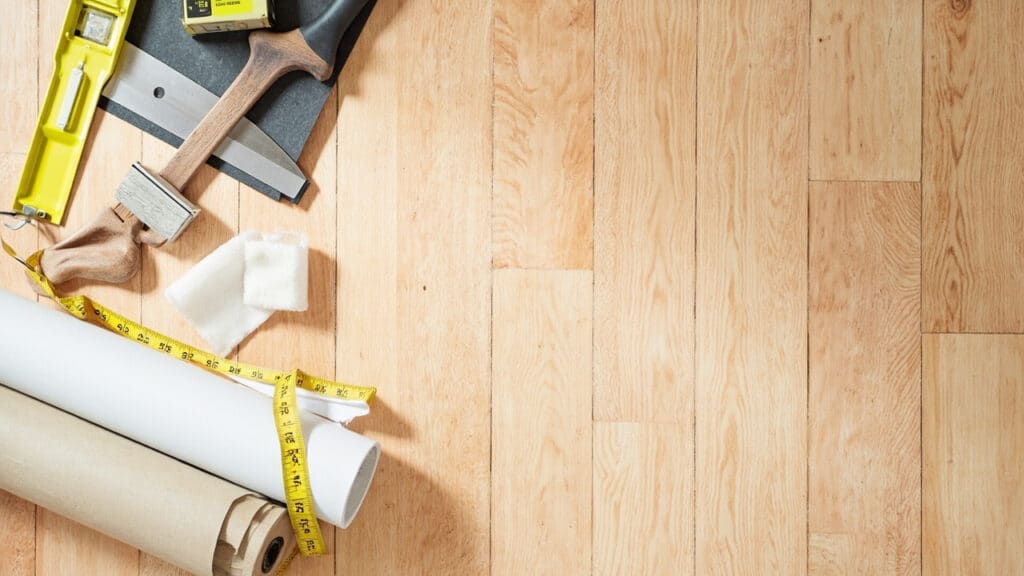
What You Need Before You Start
You need a smoothing tool. A plastic smoother works for peel-and-stick. A soft hanging brush works for paste. You need a sharp knife with lots of fresh blades. A dull blade is the top cause of torn paper. You need a six-inch broad knife. You hold its edge against the ceiling and trim along it. You need a tape measure. You need a level or a laser plumb line. You need a pencil. You need a damp sponge to wipe the paste off the paper. And you need a step stool tall enough to reach the ceiling.
The primer is a must. A bonding primer like Zinsser Gardz seals drywall, joint compound, and old plaster. That way the paste can grip. A wallpaper-specific primer like Roman Pro 977 adds slip. That lets you slide a strip into place for thirty seconds before it locks. Skip the primer and you will see seams peel in six months. Or worse. You may tear the face of your drywall when you try to remove the paper years later.
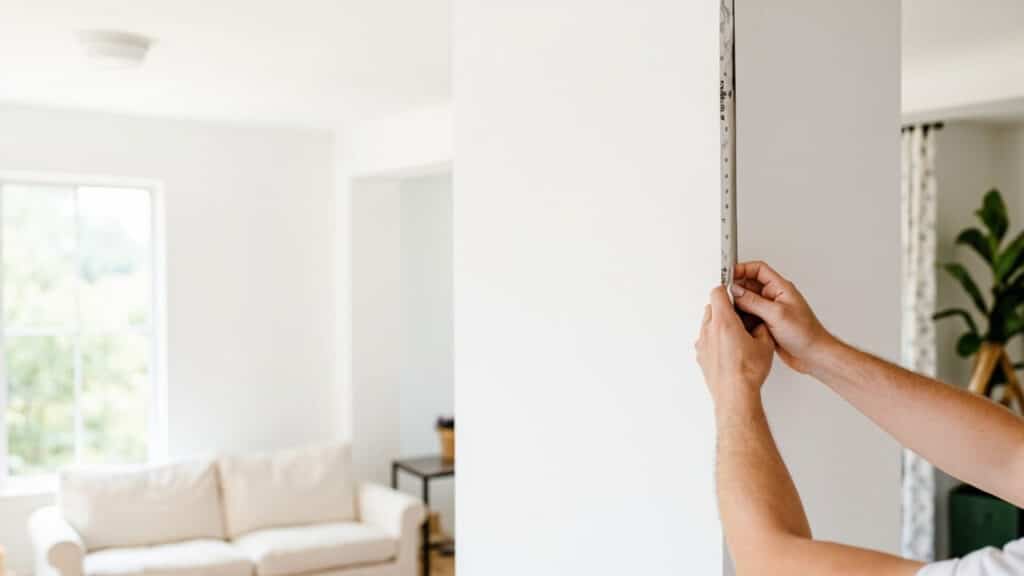
Before you cut, do the pattern math. Measure the wall height. Add four inches at the top and four inches at the bottom for trim. Then check the pattern repeat on the roll label. For a straight match, every drop is the wall height plus the trim plus one repeat. For a drop match, every other drop shifts by half the repeat. Your waste roughly doubles. Order ten to fifteen percent more paper than the math says you need. The per-roll cost there makes wasted yardage hurt.
The Seven Moves Every Install Boils Down To
Step one: prep the wall. Fill nail holes with spackle. Sand any rough spots flat. Wipe the wall with a damp cloth. Let it dry. Glossy paint gets a light sand so the primer can grip. Texture gets skimmed flat with joint compound, then sanded smooth.
Step two: prime. Roll a coat of wallcovering primer on the wall with a paint roller. Cut in the edges with a brush. Let it dry for the time the can says. That is usually two to four hours.
Step three: snap a plumb line. Measure out from the corner. Use the width of your paper, minus half an inch. That way the first strip wraps a bit into the corner. Drop a level vertical pencil line down the wall. Corners are never plumb. So this line is your reference for the whole wall.
Step four: cut the first strip. Roll out the paper. Measure the wall height plus eight inches of trim. Line up the pattern if it is a straight or drop match. Cut with a sharp blade against a straightedge.
Step five: paste and hang. Roll paste onto the wall for paste-the-wall paper. Wet the back for prepasted. Peel the backing for peel-and-stick. Line the strip up with the pattern at the ceiling. Leave a few inches over at top and bottom. Then smooth from the center out with your brush or smoother. Push air bubbles toward the edges.
Step six: trim. Press your broad knife into the corner where the wall meets the ceiling. Slice along its edge with the utility knife. Change the blade. Do the baseboard the same way. A fresh blade matters here more than anywhere else.
Step seven: hang the next drop. Butt the second strip tight against the first. No overlap. Line up the pattern at the ceiling. Smooth. Trim. Repeat. Wipe paste off the seam with a damp sponge before it dries.
The Mistakes Beginners Reliably Make
Skipping the primer ruins more jobs than any other. Cutting the trim too tight is second. If a strip falls a sixteenth of an inch short of the ceiling, you cannot stretch it back. Working into a corner instead of out from a plumb line is third. Corners are out of square in almost every house. Every drop after that one will lean.
Pattern math is the fourth common slip. People forget that drop-match paper wastes more than straight-match. They order too few rolls. They run out before the wall is done. By the time they reorder, the dye lot has changed. Always order at least one extra roll. Check that every roll has the same dye lot number on the label. Keep one unopened roll for repairs.
The fifth mistake is rushing the smoothing pass. Trapped air bubbles do not vanish. They harden into permanent dimples. Work the smoother from the center of each strip outward. Use firm, overlapping strokes. Do this before you trim. And wipe paste off the seam with a damp sponge while it is still wet.
When to Hire a Paperhanger Instead
Tall stairwells are the top reason to hire out. Working above eight feet on a stepladder over a flight of stairs is its own skill. It is the wrong place to learn paperhanging.
Grasscloth and silk papers belong to pros. They show every paste mark on the face. The seams are meant to show. A botched seam stays botched forever.
Hand-printed murals where the design must match across panels are another reason to hire out. A quarter-inch drift across six panels is the difference between a hero wall and an obvious mistake.
Old houses with old plaster need a pro too. Any wall that has had layers of wallpaper removed often needs a pro. The substrate prep is the real job. The hanging is the easy part.
Most US pros charge between four and twelve dollars per square foot installed. The price depends on region and paper. Most will tell you which primer and paste to buy before they show up.
Is Wallpaper Hard to Install Questions
Will Wallpaper Stick to Stucco?
Not on its own. Indoor stucco and rough plaster have to be skimmed flat first. Use setting-type joint compound. Sand it smooth. Prime with a bonding primer. Skip that prep and the paper bridges the high spots and tears at the seams.
Will Wallpaper Stick to Melamine?
Yes, but only with the right primer. Melamine, laminate, and other slick surfaces are too glossy for regular wallpaper paste to grip. Sand the surface lightly with 150-grit sandpaper to dull the gloss. Then prime with a high-grip bonding primer. Zinsser Gardz, BIN, or a melamine-rated primer all work.
Can You Use Zinsser on Wallpaper?
Yes, in two ways. Zinsser Gardz is the most common bonding primer used under new wallpaper. It seals porous joint compound and old plaster well. It is the primer most install guides start with. Zinsser also makes a clear primer called Shieldz. That one goes over old wallpaper if you want to paint over the paper instead of removing it. Painting over wallpaper is rarely a real fix. The seams almost always show through the paint.
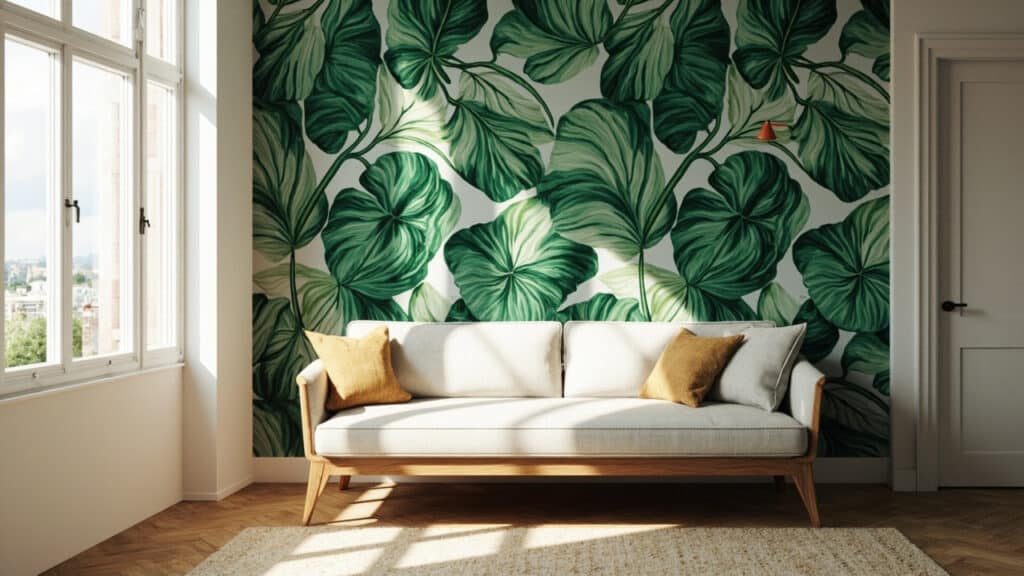
Is Wallpaper Out of Style in 2026?
No. Wallpaper has been on a comeback for several years. It has hit high mainstream visibility lately. Maximalist florals, moody dark grounds, and large-scale botanical murals are leading the trend. The peel-and-stick category has sped up the revival. It makes the install reversible enough for renters and short-ter

Holding a Master’s in Architecture from the University of Texas at Austin, Emily Rodriguez has dedicated more than two decades to the art and science of building renovation. Starting her journey in historic preservation, she developed a profound respect for blending old with new in building design. Emily became a vital part of our team in 2019, renowned for her insightful and innovative renovation tips. She has been leading our DIY home improvement series since ever since, where she shares her wealth of knowledge in turning outdated spaces into modern havens. When not engaged in writing or consulting, Emily is a passionate advocate for heritage conservation and enjoys exploring vintage architecture, a hobby that complements her professional expertise.