
A malfunctioning garage door is more than just an inconvenience – it’s a slow drain on your home’s value and a real safety hazard if you try to tinker with the wrong things. The garage door is usually the largest moving component of a house, and because it’s so street-facing, its condition directly affects how your property looks from the outside. The difference between a quick Saturday morning repair and a trip to the emergency room is knowing what you can do and what you absolutely shouldn’t touch.
The Garage Door and Property Curb Appeal: More Connected Than You Think
Many homeowners will consider their front lawn, garden or perhaps their front door as those elements that are essential for a good first impression, maintaining their curb appeal and privacy. In truth, most will not even consider that their garage door needs to be maintained at all. It just goes up and down as needed, and you likely don’t give it a second thought.
This is not a recommended approach however, given that it is such a large feature on the face of a home, it is important to maintain a garage door properly, this includes making sure it continues to function properly as well as looking well maintained.
Your first thought after reading that will likely be “How do I Maintain A Garage Door?” and you’re in luck because this article will cover that for you. Some homeowners might think they have a “do it yourself” job on their hands with this, but maintenance of garage doors and openers is truly something that needs to be handled with care and more often than not, a professional touch.
Safety First: Where DIY Ends and Danger Begins
First and foremost, let’s get this straight. Playing around with torsion springs and lifting cables is not something you should be doing yourself. End of story.
Torsion springs are wound very tightly. So tightly that if they release unexpectedly they can easily cause deep cuts, break bones, and even worse. Since those springs are mounted right over your head in the door frame, which in your garage is very hard concrete, this means your face. Lifting cables are just as dangerous, and the bottom brackets to which they connect are under constant force whenever the door is closed.
Both of these parts are designed to work for around a dozen years and then break before they can explode. So if you’re having problems, it’s time to call in a pro. Nothing else on this list, from sensors to tracks to lubrication to weather-stripping to basic adjustment, poses the same kind of risks. This is a job for someone who knows that a “spring bar” isn’t what you’ll find in the Yellow Pages under “great drinks.”
Troubleshooting a Door That Won’t Close: Sensor Alignment
If your garage door starts to close and then immediately reverses, the photo-eye safety sensors are the first thing to check. These are the two small infrared units mounted a few inches off the ground on either side of the door opening. They create an invisible beam; if anything breaks that beam – or if the units are misaligned – the opener interprets it as an obstacle and reverses the door.
Start by inspecting both sensor housings for dirt, cobwebs, or grime on the lenses. Wipe them down with a clean, dry cloth. Even a thin film of dust can interrupt the signal.
Next, check the alignment. Both units should have a small LED indicator light. Most systems show a solid light when the sensors are properly aligned and a blinking or dimmed light when they’re not. The sensors are mounted on adjustable brackets held by wing nuts – you can loosen these by hand and gently reposition each unit until both indicators glow solid.
Once you’ve cleaned and realigned them, test the door with a cardboard box in the path. The door should reverse when it contacts or approaches the obstruction. If the light stays blinking after adjustment, the bracket itself may be bent and need replacement, which is inexpensive and straightforward.
Running the Manual Balance Test
The balance test will let you know if your springs are properly calibrated and retain enough tension. It’s one of the best tests you can do, and you don’t need anything more than five minutes of your time and the emergency release cord.
Shut the door, then carefully pull the red emergency release cord to disengage the door from the motor. This puts your door in manual mode. Lift the door by hand to about waist height – roughly halfway up the opening – and let go.
A balanced door will hold its position, or at least close very slowly. If it immediately slams to the floor, your springs aren’t tense enough. If it shoots up toward the ceiling, they’re overtightened. In either case, your springs are either worn out or incorrectly set.
Any further work should be left to the pros. If your door fails the balance test, call a qualified mechanic. Companies such as Supreme Garage Door Repair will have the proper winder bars needed to safely replace torsion springs and lift-spooled cables. The DIY removal or installation of these components can be dangerous. And remember, just because the test is easy doesn’t mean the repair is.
Once you’re done, reengage the door by pulling the release cord toward the door until you hear it click against the trolley. Or better yet, just open your door.
Diagnosing Track Misalignment
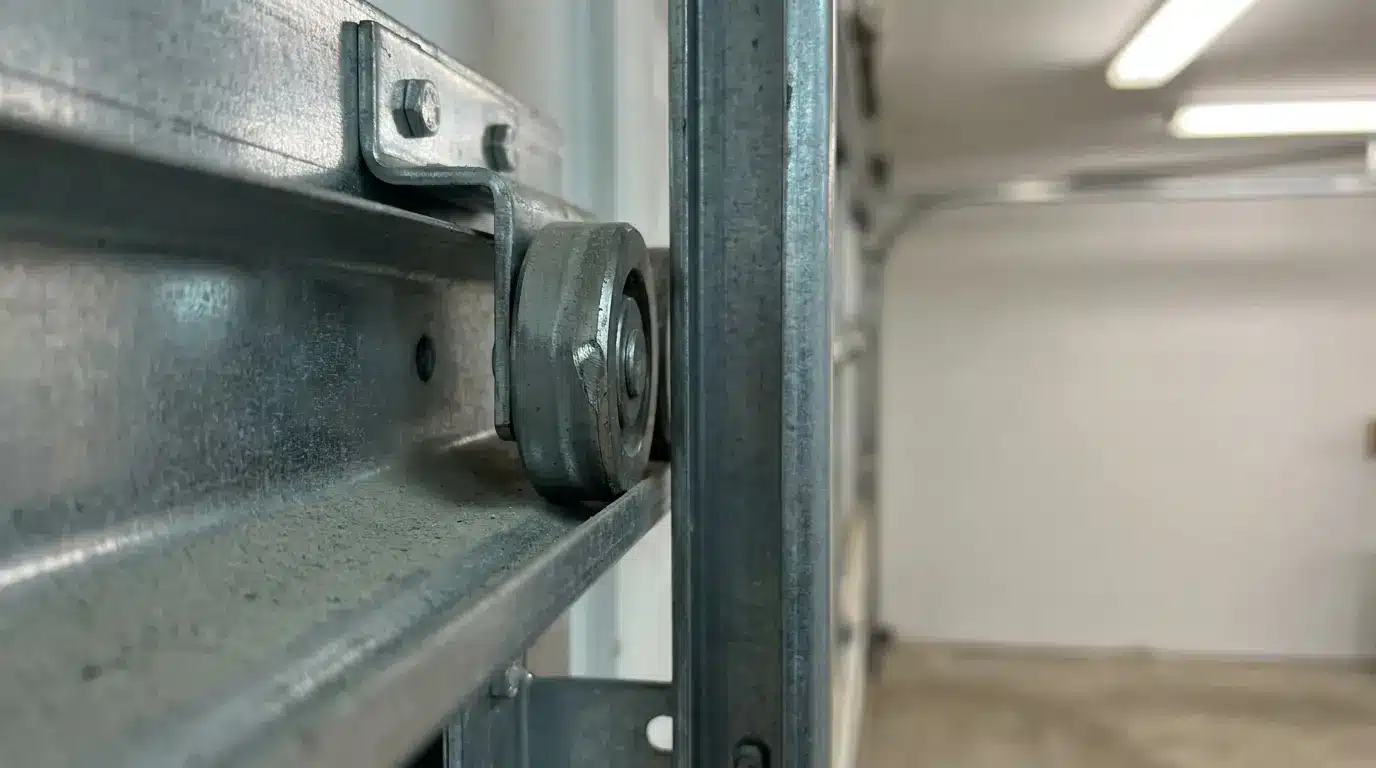
Garage doors can weigh 200 pounds or more, and tracks are used to guide rollers from the vertical run near the doorframe to the horizontal run along the ceiling. The rubbing or scraping on operation, gaps between the rollers and the track, or the door moving unevenly or sticking at certain points indicate the track is out of alignment.
To check if the track is in alignment, close the door and look at the vertical tracks on both sides. They should run parallel to the door’s edge, with a quarter-inch gap between the track and the door frame. Use a level to confirm that each vertical section is plumb.
If a section is out of position, the mounting brackets must be loosened with a screwdriver or socket wrench – don’t remove them fully. Tap the track gently into position with a rubber mallet, confirm alignment with the level, and re-tighten the brackets. Work your way down the track section rather than trying the bracket in isolation. Horizontal tracks should very slightly slope downward toward the back of the garage, which helps keep the door seated when it’s open.
Do not force the severely bent track back into shape. A bent or cracked track needs to be replaced, not coaxed into adjusting.
Lubrication: What to Use and What to Avoid
A noisy garage door isn’t a problem with the structure. In most cases, it’s just the hardware being dry. Hinges, rollers, and the spring assembly all like a drink now and then – but what you’re giving them matters more than you might know.
Don’t give them WD-40. It’s a degreaser and moisture displacer, not a lubricant, and it’s a magnet for the dust and the dirt that will wear everything out. Instead, give them a silicone-based spray or white lithium grease. You can find either at any hardware store, and neither will introduce grit the way petroleum-based products will.
Give a squirt to the hinges where they pivot, the rollers at the stem and bearing area (not the wheel itself if you have nylon rollers), and the length of the torsion spring. A very little bit goes a long way. If you drip onto the tracks while you’re working, which you probably will, wipe off the excess. You want the roller turning, not sliding.
If you’ve got steel rollers and your door is loud all the time, think about swapping in nylon rollers instead. They’re quieter, need less frequent lubrication, and they’re easier on the tracks in the long run. It’s a tiny upgrade that makes a big difference.
Replacing Damaged Weatherstripping
Weatherstripping surrounds the exterior of a door to seal gaps against air infiltration, moisture, insects, and dirt, and also helps reduce noise. It comprises a bottom sweep, which fills a space under the door, and side and top pieces, which tightly seal gaps around the sides and top. Worn weatherstripping may be allowing things like road dust, moisture, or bugs inside, and it’s likely costing you on your energy bill by making your heating or cooling system work harder.
To install weatherstripping you’ll need to remove old seals with a hammer and pry bar, then likely sand, caulk, wood fill, and paint the resulting damage or exposed raw wood. On some doors, the bottom sweep may be held in place by screws, requiring you to simply reverse that installation process. New side and top stripping is often affixed with a line of small staples that’s simply pried up and off with that same pry bar. New stripping is then nailed into place and the flange of the stripping should be flush with the door once it’s closed for a proper seal.
Fortunately, new weatherstripping is generally inexpensive and can be found at any hardware store in a variety of colors and materials, such as bronze or foam, for an immediate, noticeable reduction in drafts and energy loss. For instance, foam weatherstripping can even be painted the same color as the door after installation so that it blends in with almost any existing finish.
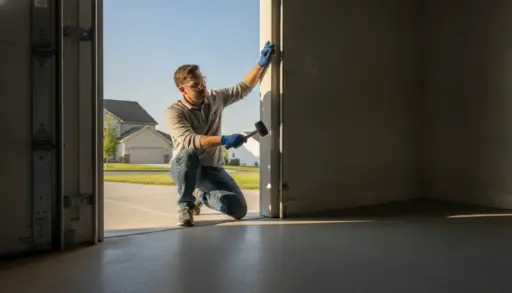
When to Call a Professional
The difference between regular maintenance that you can do as a homeowner and repairs that should be handled by a professional is pretty clear. Lubrication, sensor cleaning and alignment, minor track adjustment, and weatherstripping are all examples of work that can be done by a reasonably handy homeowner with time and patience, in addition to a few basic tools.
Cables, springs, the bottom bracket, or any repairs that require the removal of the door from the track are not. Nor are motor problems on the opener that involve the electric mechanisms, limit switches, or any lifting or lowering mechanicals beyond the screws that adjust their limits. Similarly, any scenario where you are not able to keep the door in the track during adjustment is a pro repair.
Regular maintenance done properly will prolong the life of the door, keep things running quietly and reliably, and help to maintain the door’s look and thus the value of your property. Repairs that are outside the realm of occasional DIY are not suggested as weekend projects. These are potential-to-definitely-hurt-yourself issues best left to the pros.

Holding a Master’s in Architecture from the University of Texas at Austin, Emily Rodriguez has dedicated more than two decades to the art and science of building renovation. Starting her journey in historic preservation, she developed a profound respect for blending old with new in building design. Emily became a vital part of our team in 2019, renowned for her insightful and innovative renovation tips. She has been leading our DIY home improvement series since ever since, where she shares her wealth of knowledge in turning outdated spaces into modern havens. When not engaged in writing or consulting, Emily is a passionate advocate for heritage conservation and enjoys exploring vintage architecture, a hobby that complements her professional expertise.