

In any commercial kitchen, the ice maker operates as a silent workhorse—quietly producing hundreds of pounds of ice daily to keep beverages cold, preserve food, and support service operations. Yet this essential piece of equipment is often installed as an afterthought, tucked into whatever corner happens to be available.
The consequences of improper placement are far from trivial: reduced ice production capacity, skyrocketing energy bills, excessive noise that disrupts kitchen staff, and a dramatically shortened machine lifespan that leads to costly replacements. For facility managers juggling multiple operational priorities, a poorly placed ice maker becomes a recurring source of service calls and complaints.
This guide provides a comprehensive framework for positioning commercial ice makers to maximize performance and longevity. We’ll cover the critical factors that influence placement decisions—from ventilation clearances and drainage configurations to noise reduction strategies and maintenance accessibility—giving you the practical knowledge needed to get this decision right the first time.
The Critical Role of Proper Commercial Ice Maker Placement
Where you position a commercial ice maker determines far more than convenience—it fundamentally shapes the machine’s daily output, operating costs, and useful life. An ice maker generates significant heat during the refrigeration cycle, and when that heat cannot dissipate effectively due to cramped quarters or poor airflow, the compressor works harder and longer to produce each batch of ice.
This translates directly into reduced production capacity, sometimes by as much as 15 to 30 percent below the manufacturer’s rated output. Energy consumption climbs in parallel, as the system struggles against elevated ambient temperatures that proper placement would have prevented.
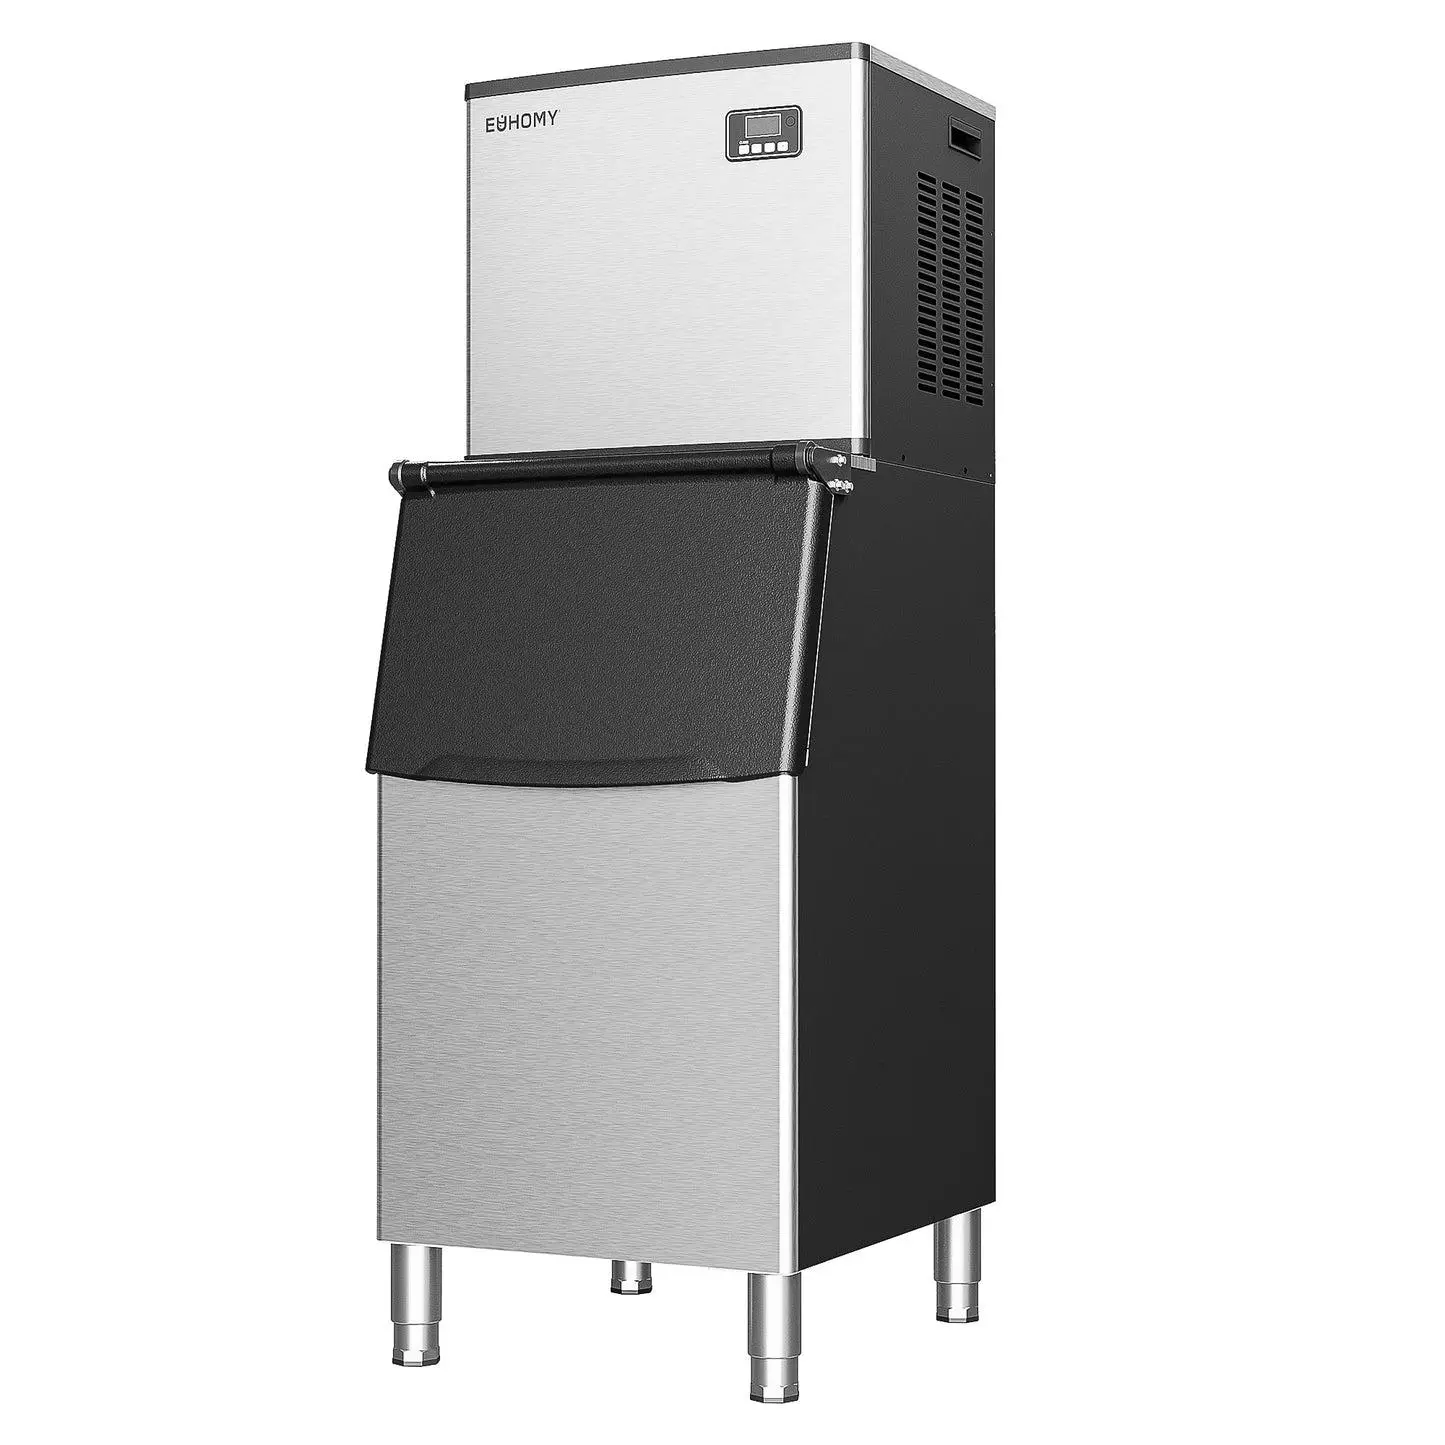
Poor placement also accelerates mechanical wear. Compressors running at elevated temperatures degrade faster, condenser coils clog more quickly in dusty or grease-laden areas, and water components corrode when drainage backs up due to inadequate slope or routing.
The result is a cycle of frequent repairs that disrupts kitchen operations precisely when demand peaks. For facility managers, each service call represents not just a repair bill but lost productivity, staff frustration, and potentially compromised food safety when ice runs short during busy shifts.
Getting placement right from the start eliminates these cascading problems and protects your capital investment over the full expected lifespan of the equipment.
Essential Factors for Optimal Ice Maker Placement
Successful ice maker placement requires balancing three interconnected factors: physical space, ventilation capacity, and drainage infrastructure. Each element influences the others, and overlooking any one of them creates problems that compound over time. Before committing to a location, facility managers should evaluate these core considerations together rather than in isolation.
Space and Accessibility for Ice Machine Maintenance
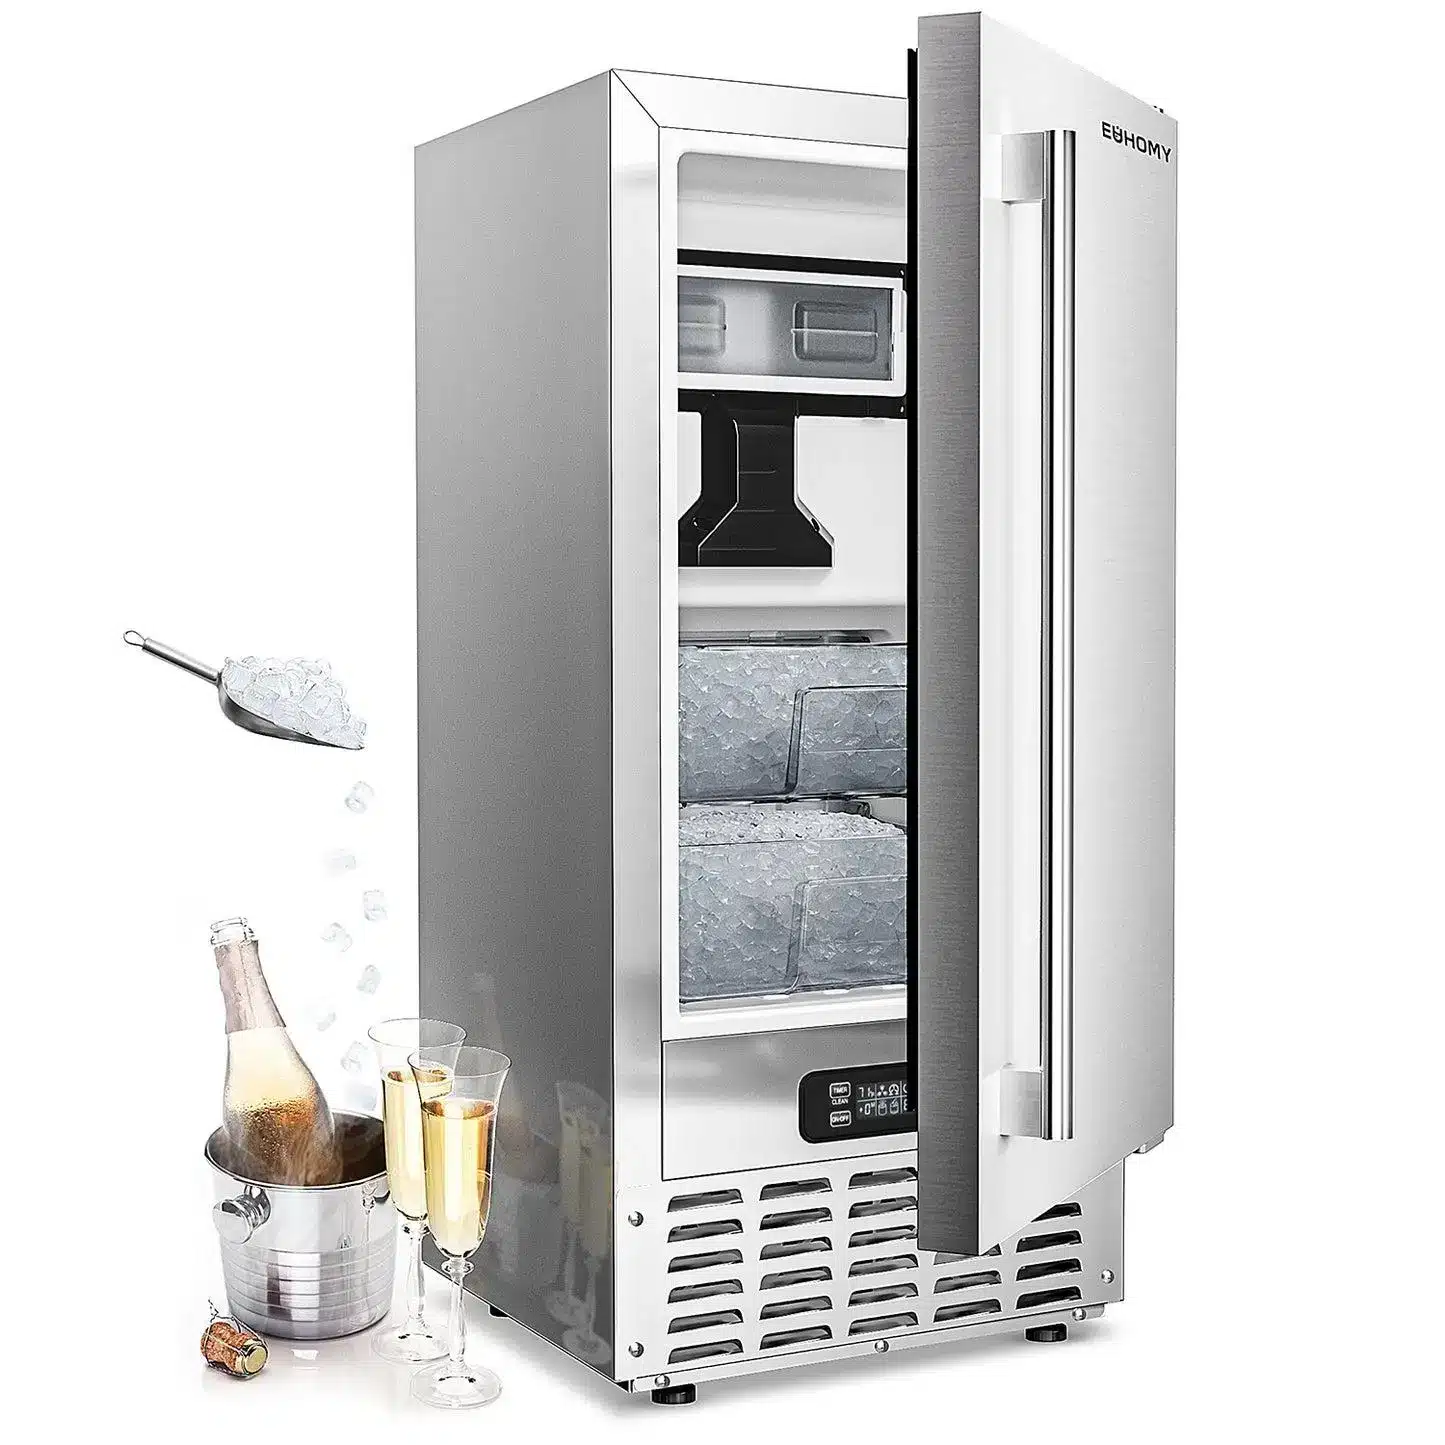
Commercial ice makers need breathing room—not just for airflow, but for the technicians who service them. Most manufacturers specify a minimum of six inches of clearance on sides with ventilation openings, though twelve inches or more is preferable for air-cooled units.
Rear clearance should accommodate water supply lines, electrical connections, and enough space for a technician to reach condenser coils without pulling the unit completely out of position.
Front access matters equally; filter changes, bin cleaning, and sanitization cycles all require unobstructed entry to internal components. When planning your layout, consider that a machine wedged tightly between a wall and a prep station will inevitably be neglected during routine maintenance simply because accessing it becomes a burden. Position the unit where staff can perform weekly wipe-downs and monthly deep cleans without rearranging the kitchen.
Ventilation Requirements to Ensure Efficiency
Every commercial ice maker expels heat as a byproduct of the refrigeration process, and that heat must go somewhere. Air-cooled models pull ambient air across the condenser, raise its temperature, and exhaust it back into the surrounding space.
If the exhaust air recirculates back to the intake—a common problem in tight alcoves or enclosed cabinets—the machine effectively tries to cool itself with its own waste heat. Ambient temperatures above 90°F can reduce ice production by 20 percent or more while forcing the compressor into extended run cycles.
Ensure the installation location provides a clear path for heated air to escape, ideally into a well-ventilated area rather than toward other heat-producing equipment like ovens or dishwashers. Water-cooled units avoid this airflow concern but introduce their own requirements for adequate water supply and discharge capacity.
Drainage Solutions: Integrating Gravity Drain Ice Makers
Ice makers produce meltwater continuously, and that water needs a reliable exit path. Gravity drain systems remain the most common and dependable solution for commercial installations, relying on a slight downward slope—typically a quarter inch per foot—from the machine’s drain port to the nearest floor drain or waste line.
The key advantage of gravity drainage is simplicity: no pumps to fail, no electrical components to maintain, and no noise from mechanical drainage systems. When selecting a placement location, verify that the floor drain sits at a lower elevation than the machine’s drain outlet.
If the nearest drain is across the room or at the same level, you may need a condensate pump, which adds a maintenance point and a potential failure mode. Keep drain lines as short and straight as possible, avoid dips that trap standing water, and use smooth-bore tubing that resists biofilm buildup to prevent clogs and odors.
Addressing Facility Manager Needs: Low-Noise and Easy Maintenance
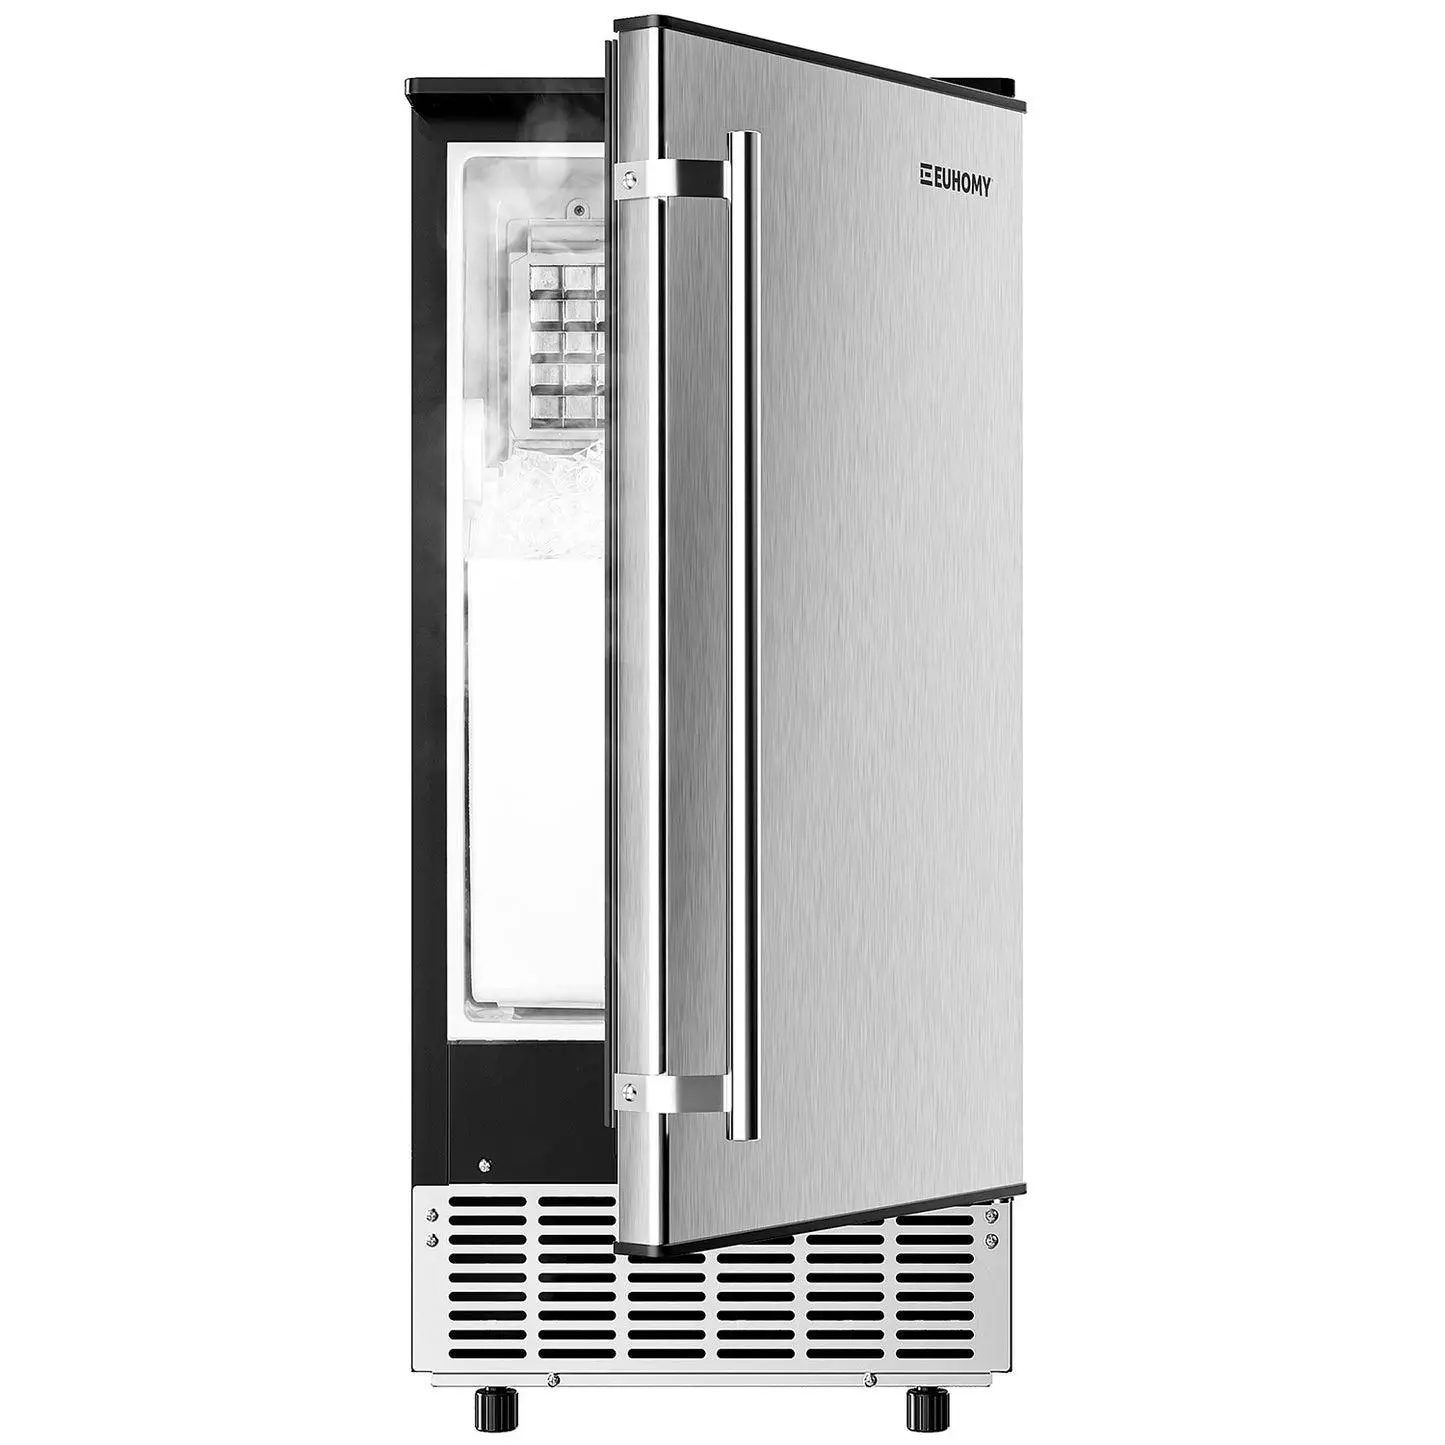
For facility managers overseeing busy commercial kitchens, two concerns consistently rise above others when it comes to ice maker placement: keeping noise levels manageable and ensuring the machine remains easy to maintain without disrupting daily operations. These priorities aren’t merely preferences—they directly affect staff retention, health code compliance, and long-term equipment reliability.
Selecting and Placing Low-Noise Ice Machines
Noise from commercial ice makers stems primarily from compressor vibration, fan operation, and the ice harvesting cycle when frozen sheets drop into the bin. While equipment selection plays a role—models with scroll compressors and insulated panels, such as those offered by Euhomy, tend to run quieter—placement decisions have an equally significant impact on perceived noise levels. Position ice makers away from open service windows, dining room walls, and communication-heavy zones like expediting stations where staff call out orders.
Solid walls absorb less sound than they reflect, so placing a unit in a corner can actually amplify operational noise. Instead, locate the machine near soft surfaces or in areas with ambient background noise that masks the compressor hum.
Anti-vibration pads beneath the unit reduce transmitted noise through flooring, and maintaining a gap between the machine and adjacent walls prevents resonance effects that amplify sound. If the ice maker must sit near a service area, consider installing a sound-dampening partition that still allows adequate airflow around the condenser.
Facilitating Ice Machine Maintenance Through Strategic Placement
The best maintenance schedule in the world fails when the equipment is physically difficult to reach. Strategic placement means thinking ahead to every routine task: filter swaps every six months, condenser coil brushing every quarter, bin sanitization every two weeks, and occasional water system descaling.
Position the ice maker so the front panel faces an open aisle with at least three feet of unobstructed space—enough for a technician to kneel, open access doors fully, and use cleaning tools without contortion. Water shut-off valves should be visible and reachable without moving the machine. Electrical disconnects need to be accessible for lockout-tagout procedures during service.
When placement supports easy maintenance, staff actually perform it on schedule rather than deferring tasks that feel burdensome. This consistency prevents the mineral buildup, mold growth, and mechanical strain that lead to emergency breakdowns during peak service hours.
Step-by-Step Placement Guide for Commercial Ice Makers
Moving from principles to practice, this section walks through the sequential process of placing a commercial ice maker correctly. Each phase builds on the previous one, ensuring nothing gets overlooked during installation.
Pre-Installation Assessment and Planning
Begin by measuring the candidate location thoroughly—record ceiling height, floor-to-wall dimensions, and distances to the nearest floor drain, water supply, and electrical outlet. Compare these measurements against the manufacturer’s specified clearance requirements, adding extra space where possible. Check that the electrical circuit can handle the unit’s amperage without sharing loads with other heavy-draw equipment.
Verify water pressure falls within the machine’s operating range, typically between 20 and 80 psi, and confirm the water supply line diameter matches the inlet fitting.
Assess ambient conditions at the proposed site during peak kitchen operation: measure temperature near cooking equipment, note airflow patterns from HVAC vents or exhaust hoods, and identify potential grease or dust sources that could foul the condenser. Finally, map the drainage path from the machine’s outlet to the floor drain, confirming adequate slope exists or identifying where modifications are needed.
Installation Best Practices for Durability
Once the site passes assessment, prepare the area before moving the unit into position. Level the floor surface or use adjustable legs to achieve a perfectly plumb installation—an unlevel machine causes uneven water distribution during the freeze cycle and premature wear on moving parts. Connect water supply lines using braided stainless steel hoses rather than plastic tubing, which degrades over time and becomes a leak risk.
Install a dedicated water shut-off valve within arm’s reach of the machine. Route the drain line with consistent downward slope, securing it with clips to prevent sagging that traps water. Anchor the unit to prevent shifting from vibration, particularly for stacked configurations where a machine sits atop a storage bin. Ensure all connections are tight but not over-torqued, and leave service panels unobstructed by adjacent shelving or equipment.
Post-Installation Verification and Adjustments
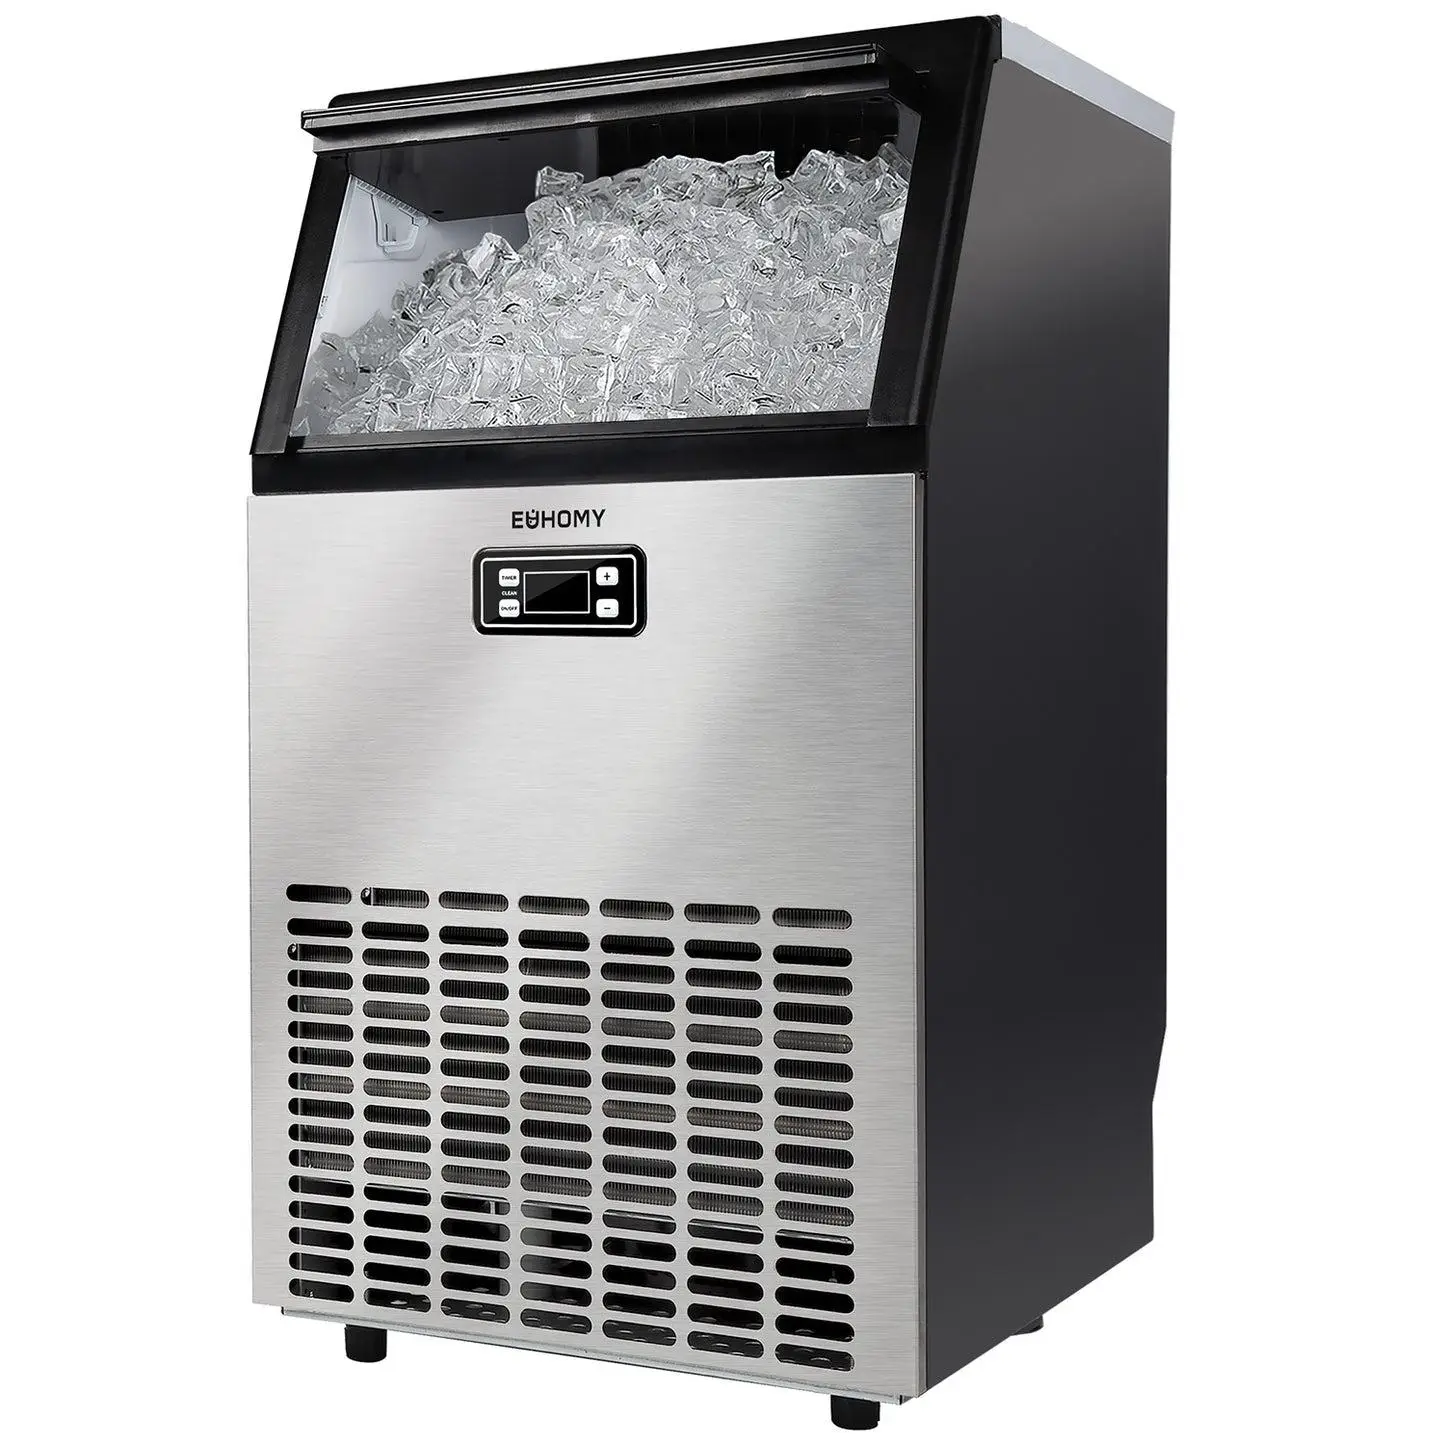
After installation, run the machine through two complete harvest cycles before evaluating performance. Listen for unusual vibrations, rattling, or compressor strain that might indicate an unlevel installation or restricted airflow.
Check that exhaust air flows freely away from the condenser without recirculating—hold a tissue near the intake to confirm air draws inward rather than stagnating. Inspect all water connections for drips under operating pressure, and verify the drain line carries meltwater away without pooling or backing up.
Measure ice production from the initial cycles against the manufacturer’s rated output for your ambient temperature range. If production falls short, recheck ventilation clearances and ambient temperature at the condenser intake. Document baseline noise levels, water pressure readings, and production rates so future maintenance visits have a reference point for detecting gradual performance decline.
Maximizing Long-Term Performance Through Strategic Placement
Proper placement of a commercial ice maker is not a minor installation detail—it’s a foundational decision that determines whether your equipment delivers reliable performance for years or becomes a persistent source of inefficiency and repair costs.
The principles covered in this guide work together as a system: adequate ventilation prevents overheating and protects compressor longevity, strategic positioning minimizes noise disruption to kitchen operations, gravity drainage eliminates unnecessary mechanical complexity, and accessible placement ensures maintenance actually gets done on schedule rather than being perpetually deferred.
For facility managers, following the step-by-step process—from thorough pre-installation assessment through post-installation verification—removes guesswork and prevents the costly mistakes that come from treating ice maker placement as an afterthought. Document your baseline measurements after installation so you can detect performance degradation early, before minor issues escalate into emergency breakdowns during peak service.
Commit to the recommended maintenance intervals, and revisit your placement conditions seasonally as kitchen configurations and ambient temperatures change. A well-placed, well-maintained ice maker operates quietly in the background, doing exactly what your operation needs without demanding constant attention or budget-draining repairs.

NKBA-certified designer Harper Williams holds a degree in Interior Architecture from Auburn University and has specialized in high-function kitchens and spa-inspired baths since 2011. She joined us in 2024 to simplify layout planning, fixture selection, and budget tricks for remodelers. Away from CAD files, Harper restores vintage cookstoves and crafts small-batch soaps.