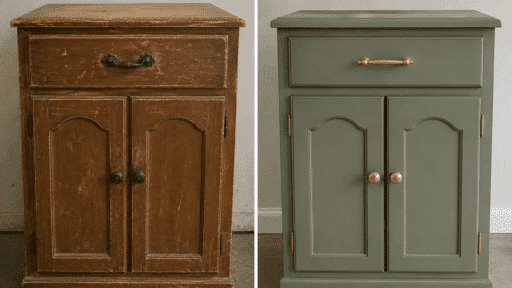
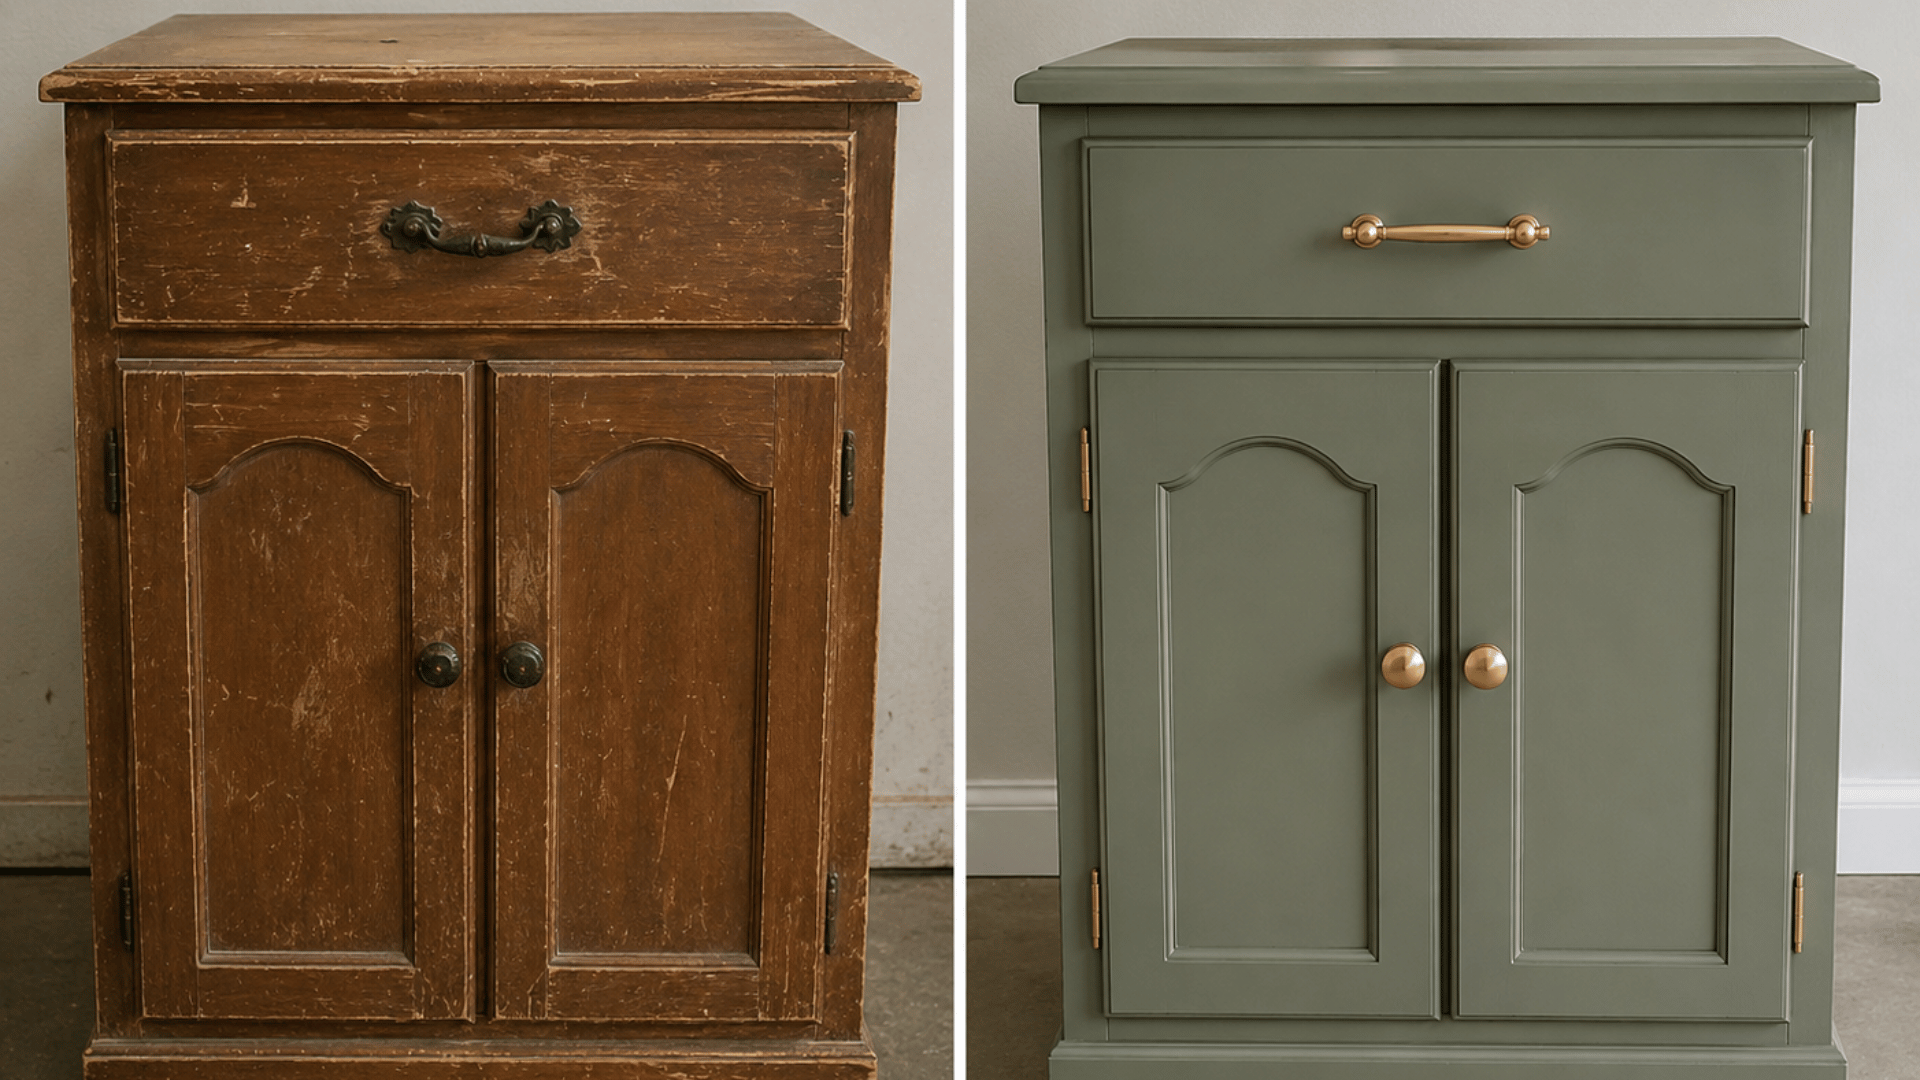

People walk past old furniture. Smart people flip it for profit.
Furniture flipping is the art of buying used or discarded furniture at a low price, giving it a fresh new look, and reselling it for a profit.
It is one of the most beginner-friendly side hustles out there. No fancy degree, no expensive equipment, and no big startup budget required.
In this post, you will find dozens of furniture flipping tips covering everything from sourcing your first piece and prepping it properly to painting like a pro and selling it fast.
Let’s flip your first piece.
What is Furniture Flipping?
Furniture flipping is the process of buying used, old, or discarded furniture at a low price, restoring or refinishing it, and selling it for a profit.
It is a creative side hustle that turns overlooked pieces into desirable, sellable items. People source furniture from thrift stores, garage sales, Facebook Marketplace, and even the curb.
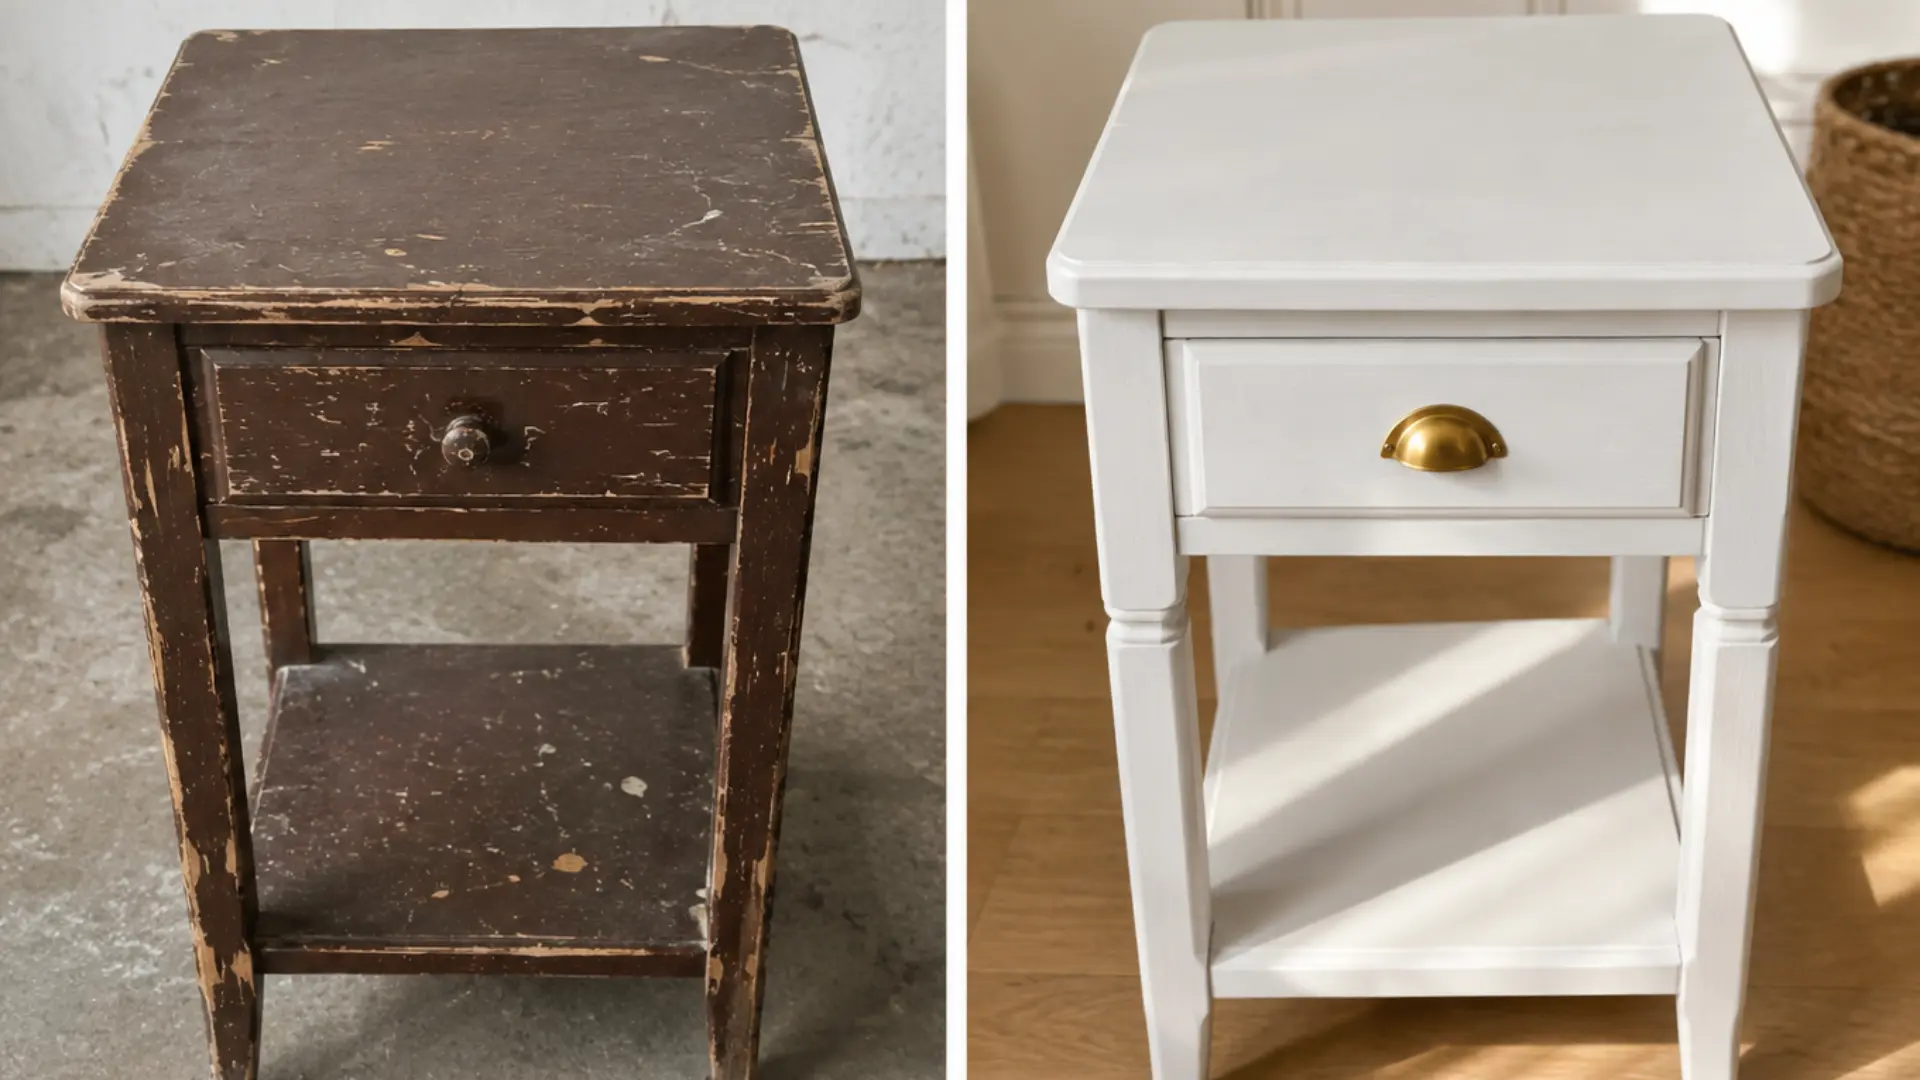
A fresh coat of paint, new hardware, and a little elbow grease can turn a worn-out dresser into something someone is happy to pay good money for.
It is beginner-friendly, low-cost to start, and can grow into a steady income stream over time.
Foundation and Setup Before Spending a Single Dollar
Setting clear expectations early can help you avoid overspending and make smarter decisions from the start.
Tip 1: Get Clear on What Furniture Flipping is
Furniture flipping is not a get-rich-quick scheme, but it is a genuinely profitable side hustle when approached with the right expectations.
A beginner can make a decent return on a single piece with just a little time and effort.
Start by understanding your local market, knowing which pieces sell well, and accepting that your first flip may not be your most profitable.
Patience and consistency are what separate successful flippers from those who quit early.
Tip 2: Start With a Small Budget and Prove the Concept First
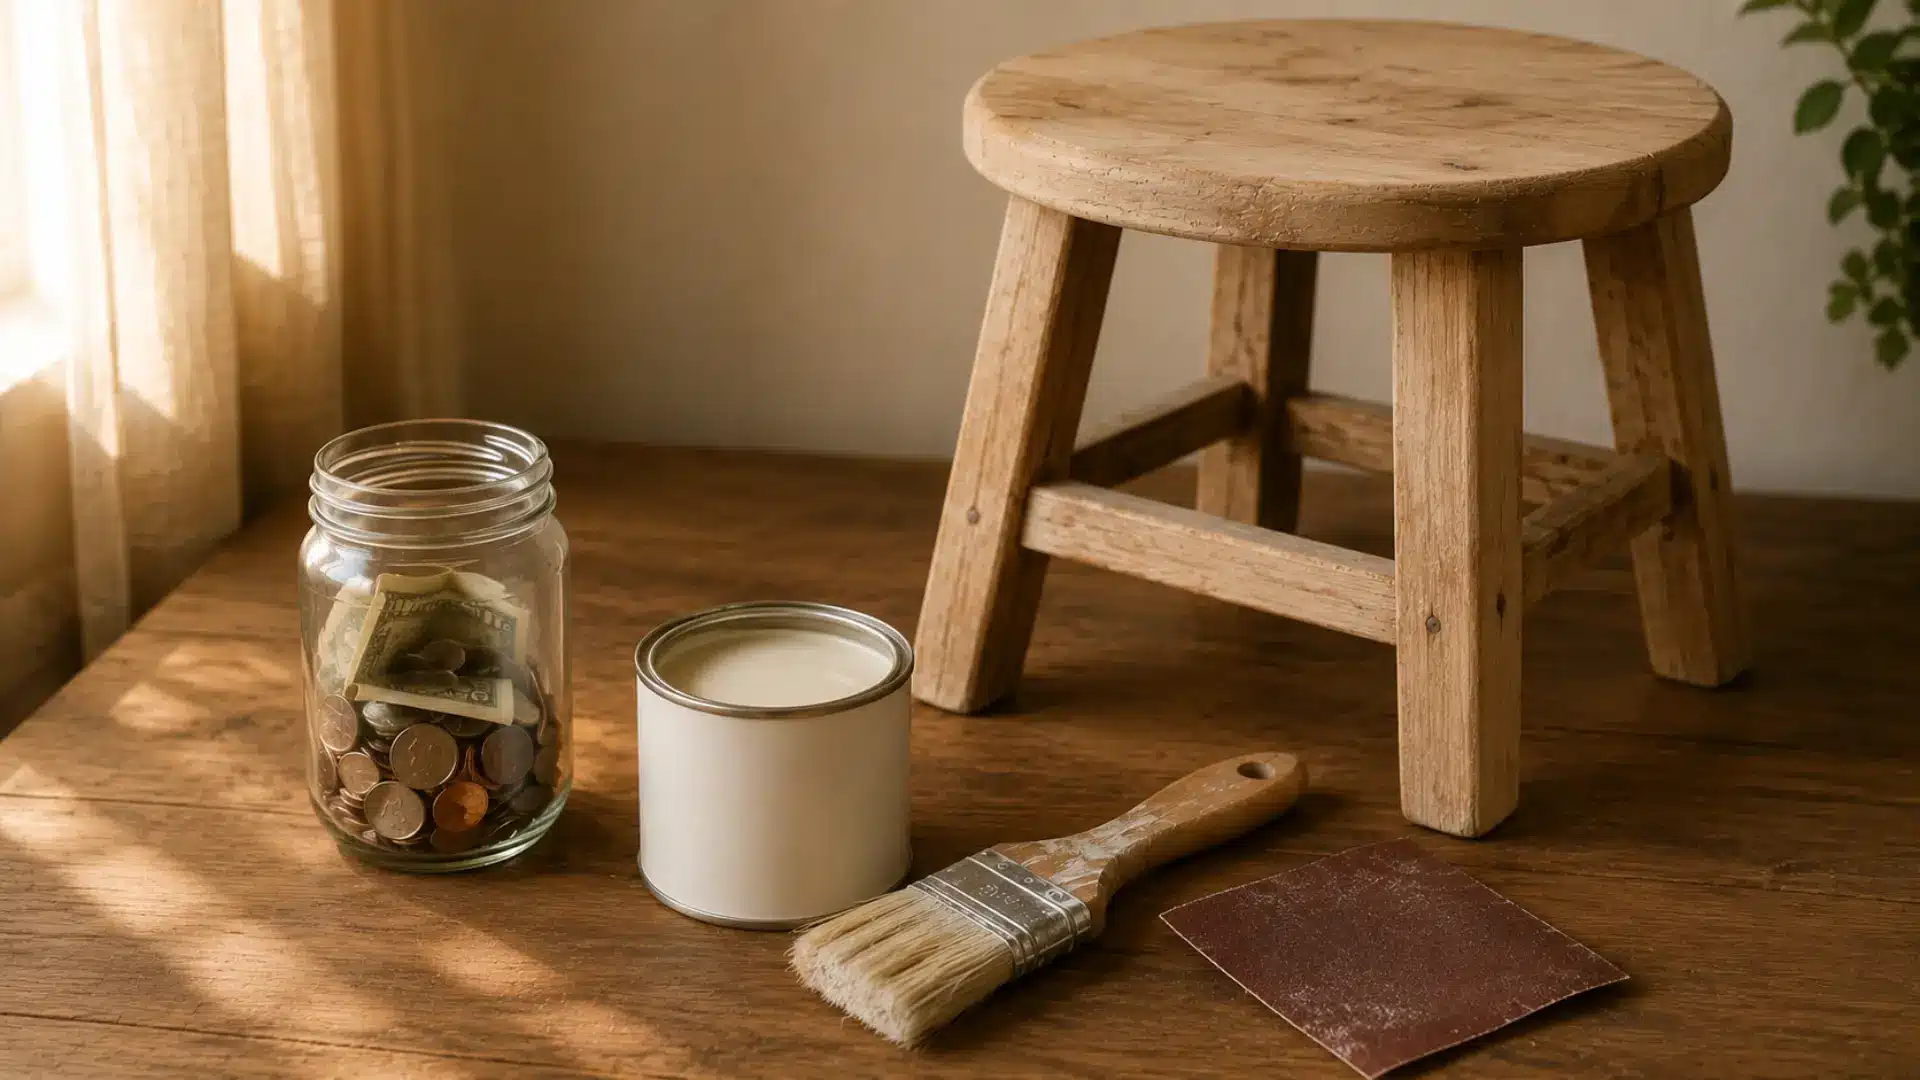
You do not need a large budget to get started with furniture flipping. Many successful flippers began with under fifty dollars total, sourcing a cheap piece and spending the rest on basic supplies.
The goal at the start is not to maximize profit but to learn the process, build confidence, and understand what sells in your area.
Once you land your first successful flip, reinvest that money and scale up gradually from there.
Tip 3: Set Up a Dedicated Workspace with Proper Ventilation
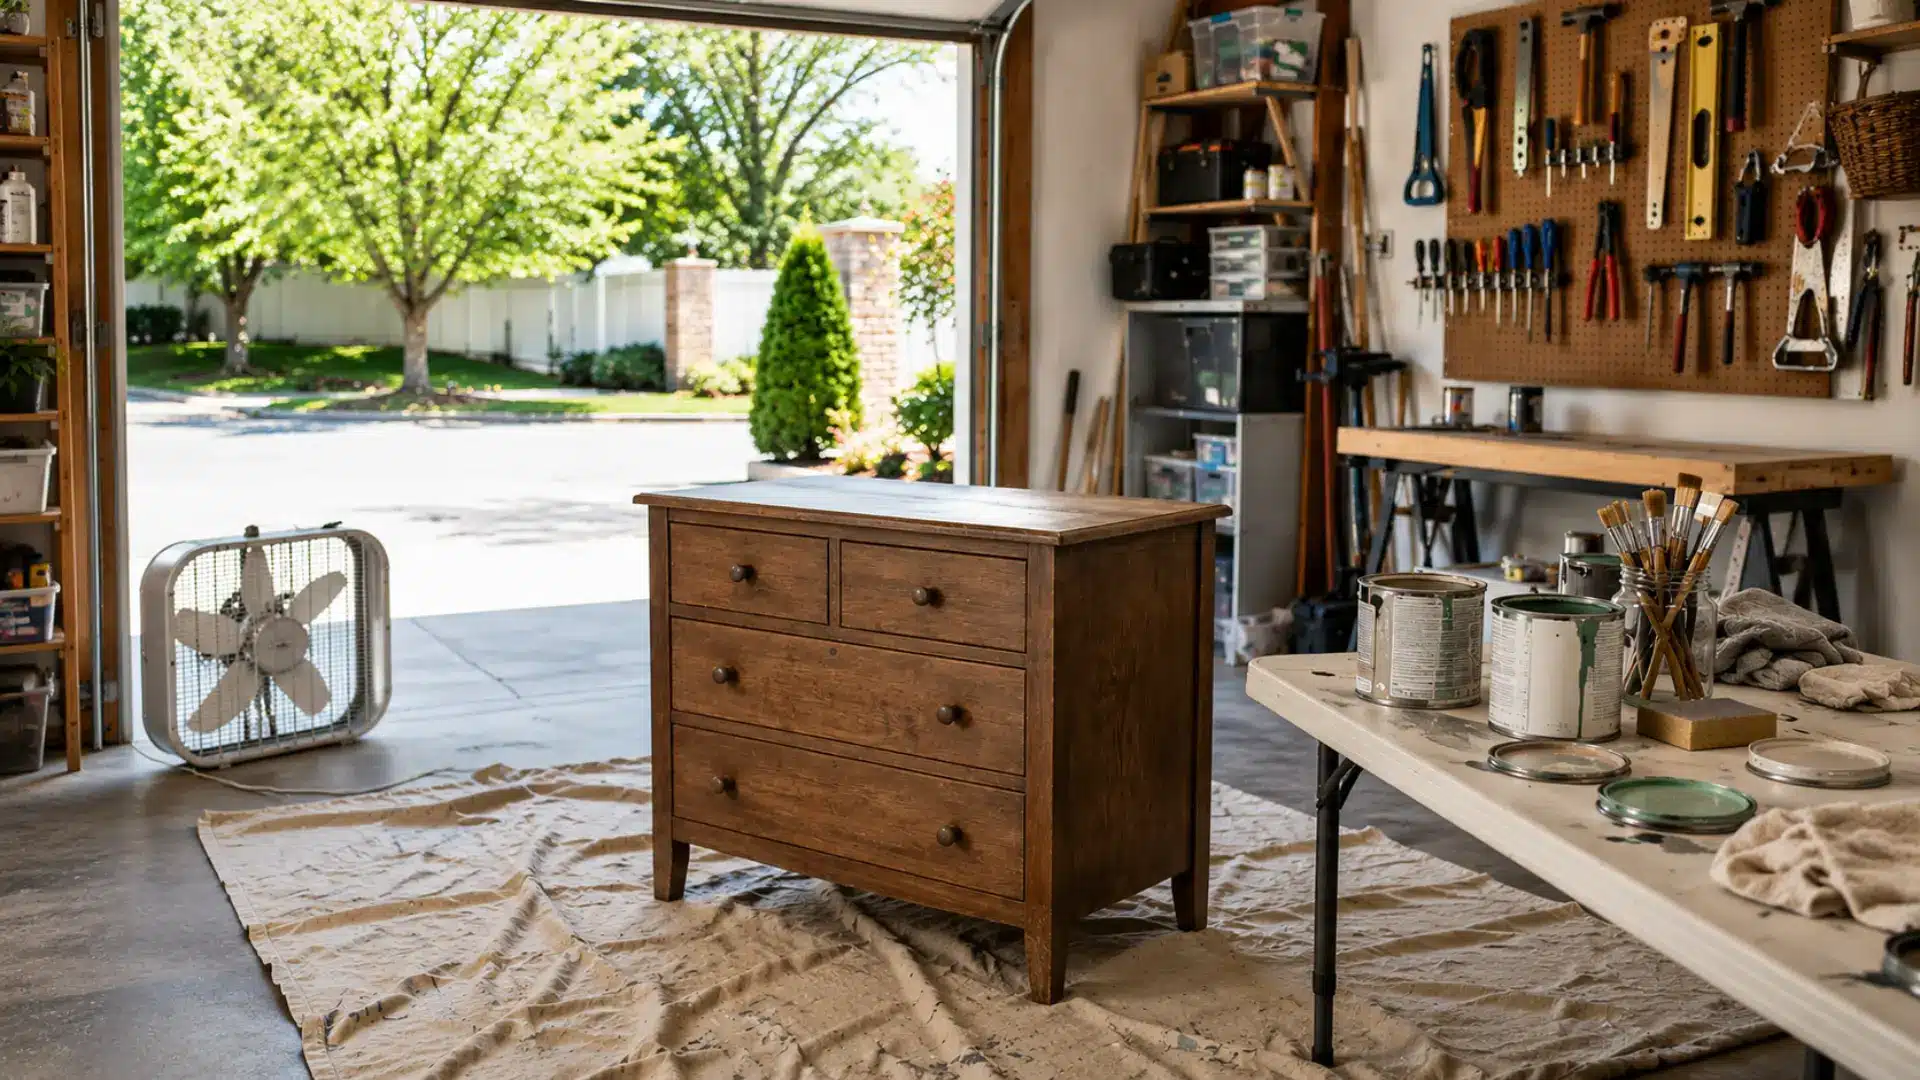
Having a proper workspace before you start your first project saves you time, frustration, and money. A garage, driveway, or even a backyard works well for most beginners.
The most important factor is ventilation, especially when working with paint, primer, or chemical strippers.
Lay down drop cloths to protect the floor, keep your tools organized and within reach, and make sure there is enough light to spot drips and uneven coverage before they dry.
Tip 4: Build Your Beginner Toolkit with These Essential Supplies
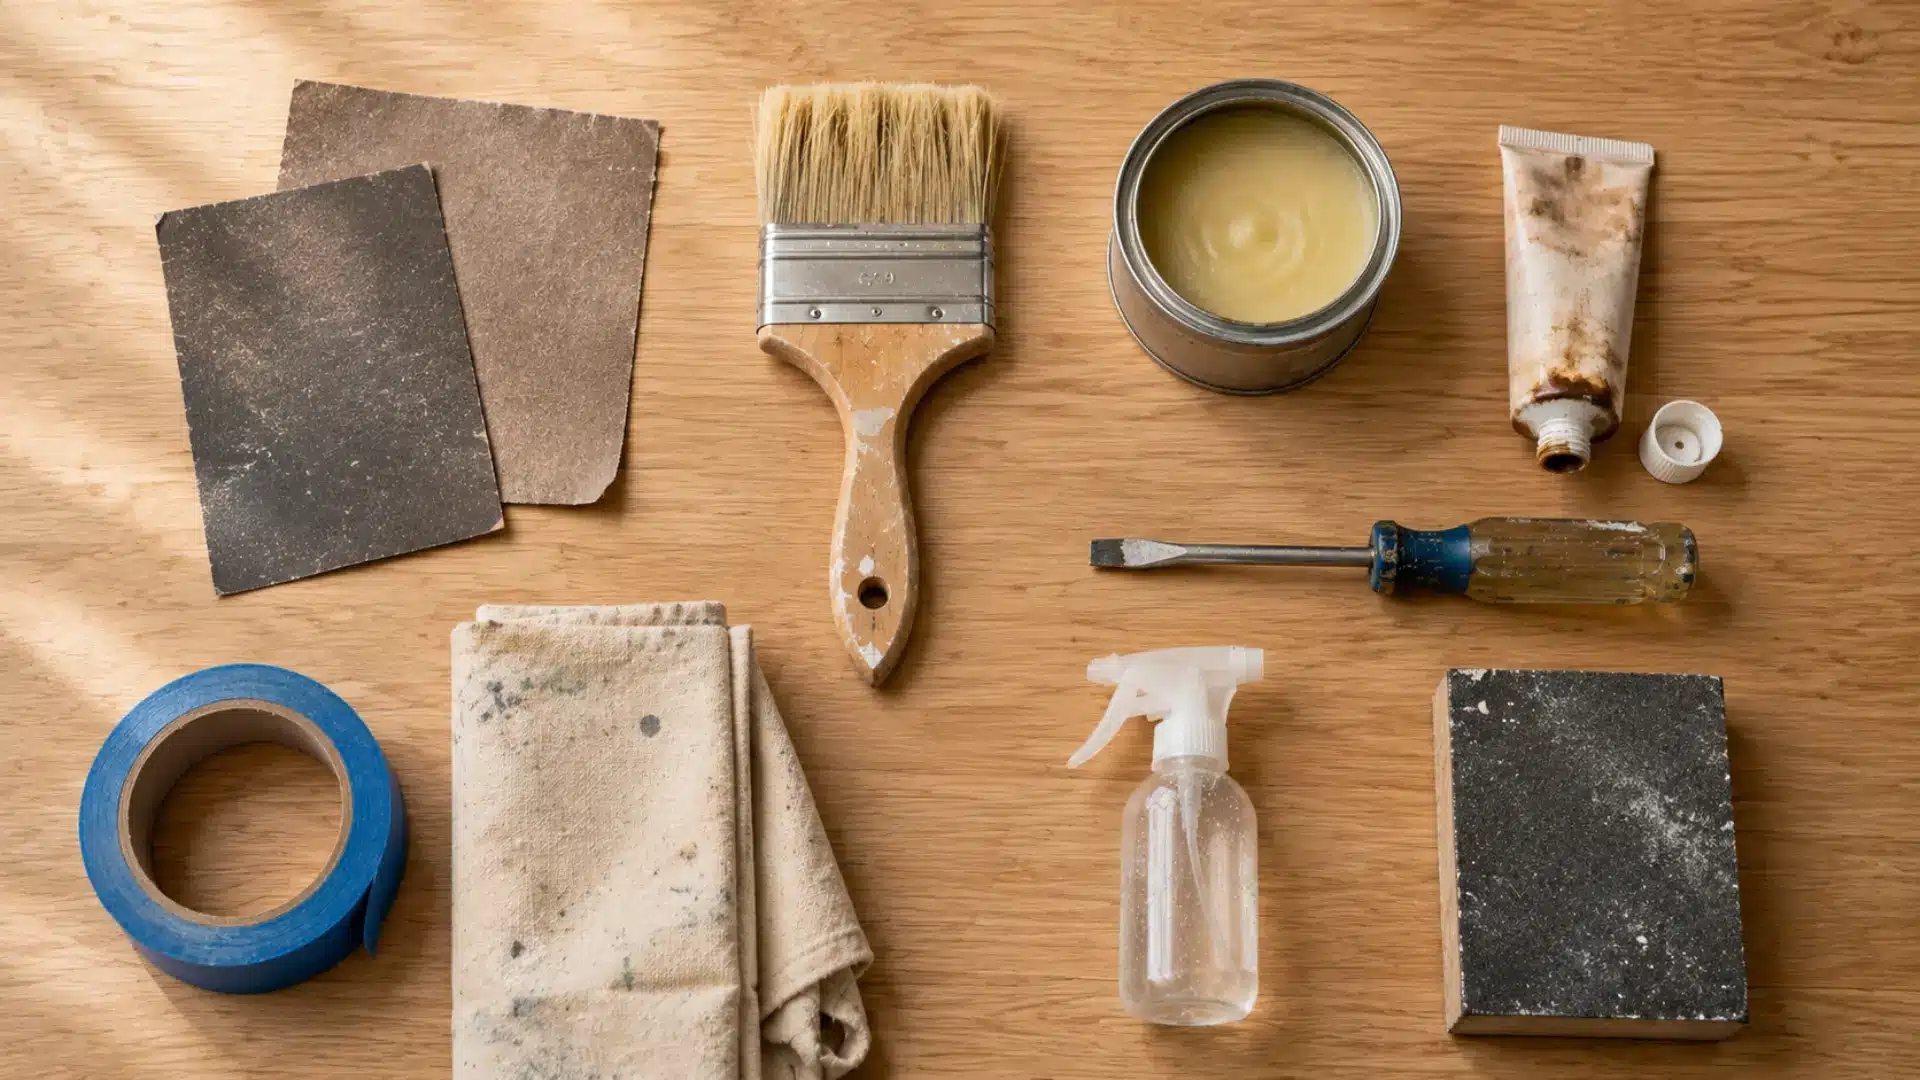
Before buying your first piece, put together a basic toolkit so you are ready to work the moment it arrives home.
You will need sandpaper in multiple grits, a good quality brush, chalk or latex paint, primer, a topcoat sealer, wood filler, a screwdriver, painter’s tape, a drop cloth, and a cleaning solution like TSP substitute.
Most of these are inexpensive and reusable across many projects, making them a smart upfront investment that pays off quickly.
Tip 5: Research Your Local Resale Market Before Buying Your First Piece

One of the biggest mistakes beginners make is buying furniture without knowing what it will sell for in their area.
Spend time browsing Facebook Marketplace, Craigslist, and local buy-and-sell groups to see what types of pieces are in demand, what colors are trending, and what price points buyers are comfortable with.
This research takes less than an hour but can save you from buying the wrong piece and sitting on it for months without a single inquiry.
Different Sourcing Furniture to Check Out
Finding the right furniture at the right price is one of the biggest parts of making a profit.
Learning where experienced flippers source affordable pieces can help you save money and spot good opportunities faster.
Tip 6: Learn the Best Places to Source Furniture for Flipping
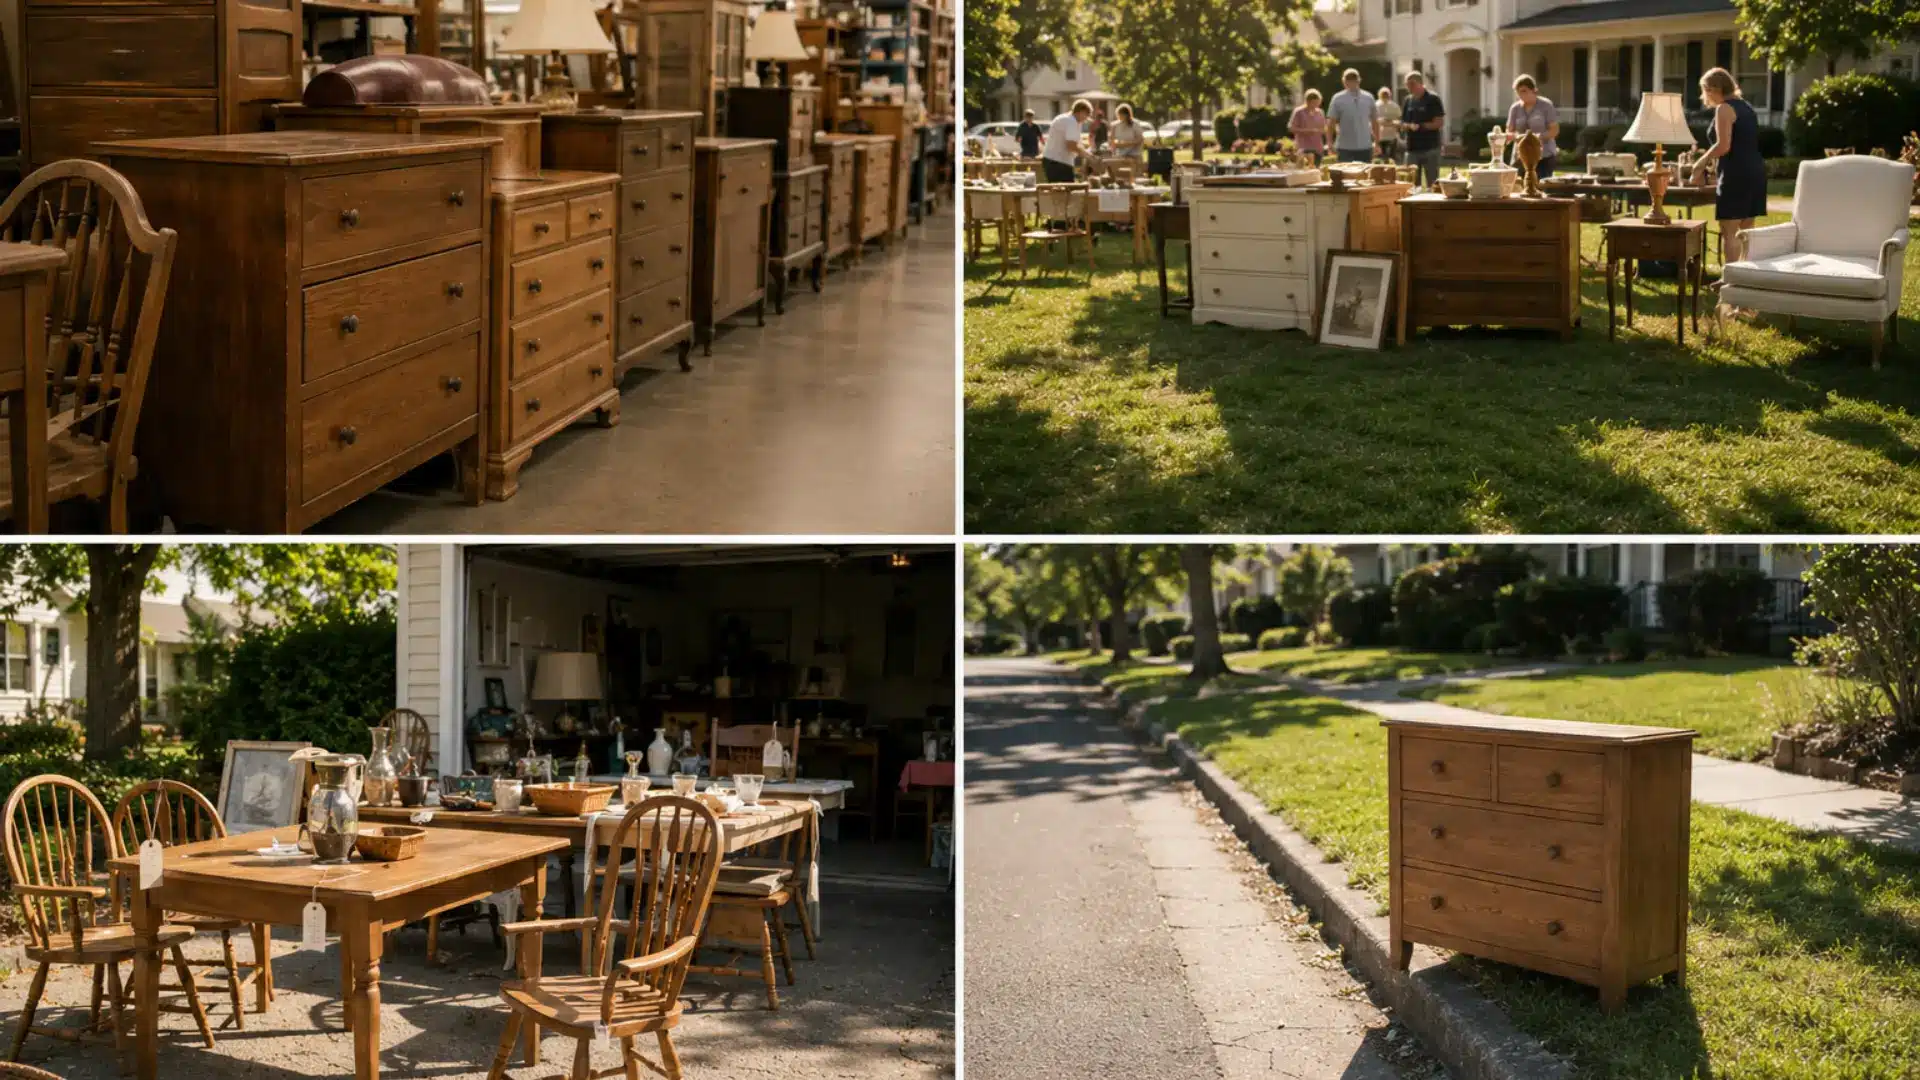
Not all sourcing spots are created equal. Thrift stores are reliable but competitive. Estate sales and garage sales often have higher-quality pieces at lower prices because sellers want everything gone quickly.
Facebook Marketplace and Craigslist are goldmines for free or dirt-cheap furniture from people who just want it out of their home.
Curb alerts, where people leave furniture on the sidewalk for free pickup, are also worth monitoring regularly. Diversifying your sourcing across multiple channels keeps your pipeline full and your costs low.
Tip 7: Learn How to Evaluate a Piece Before You Buy It
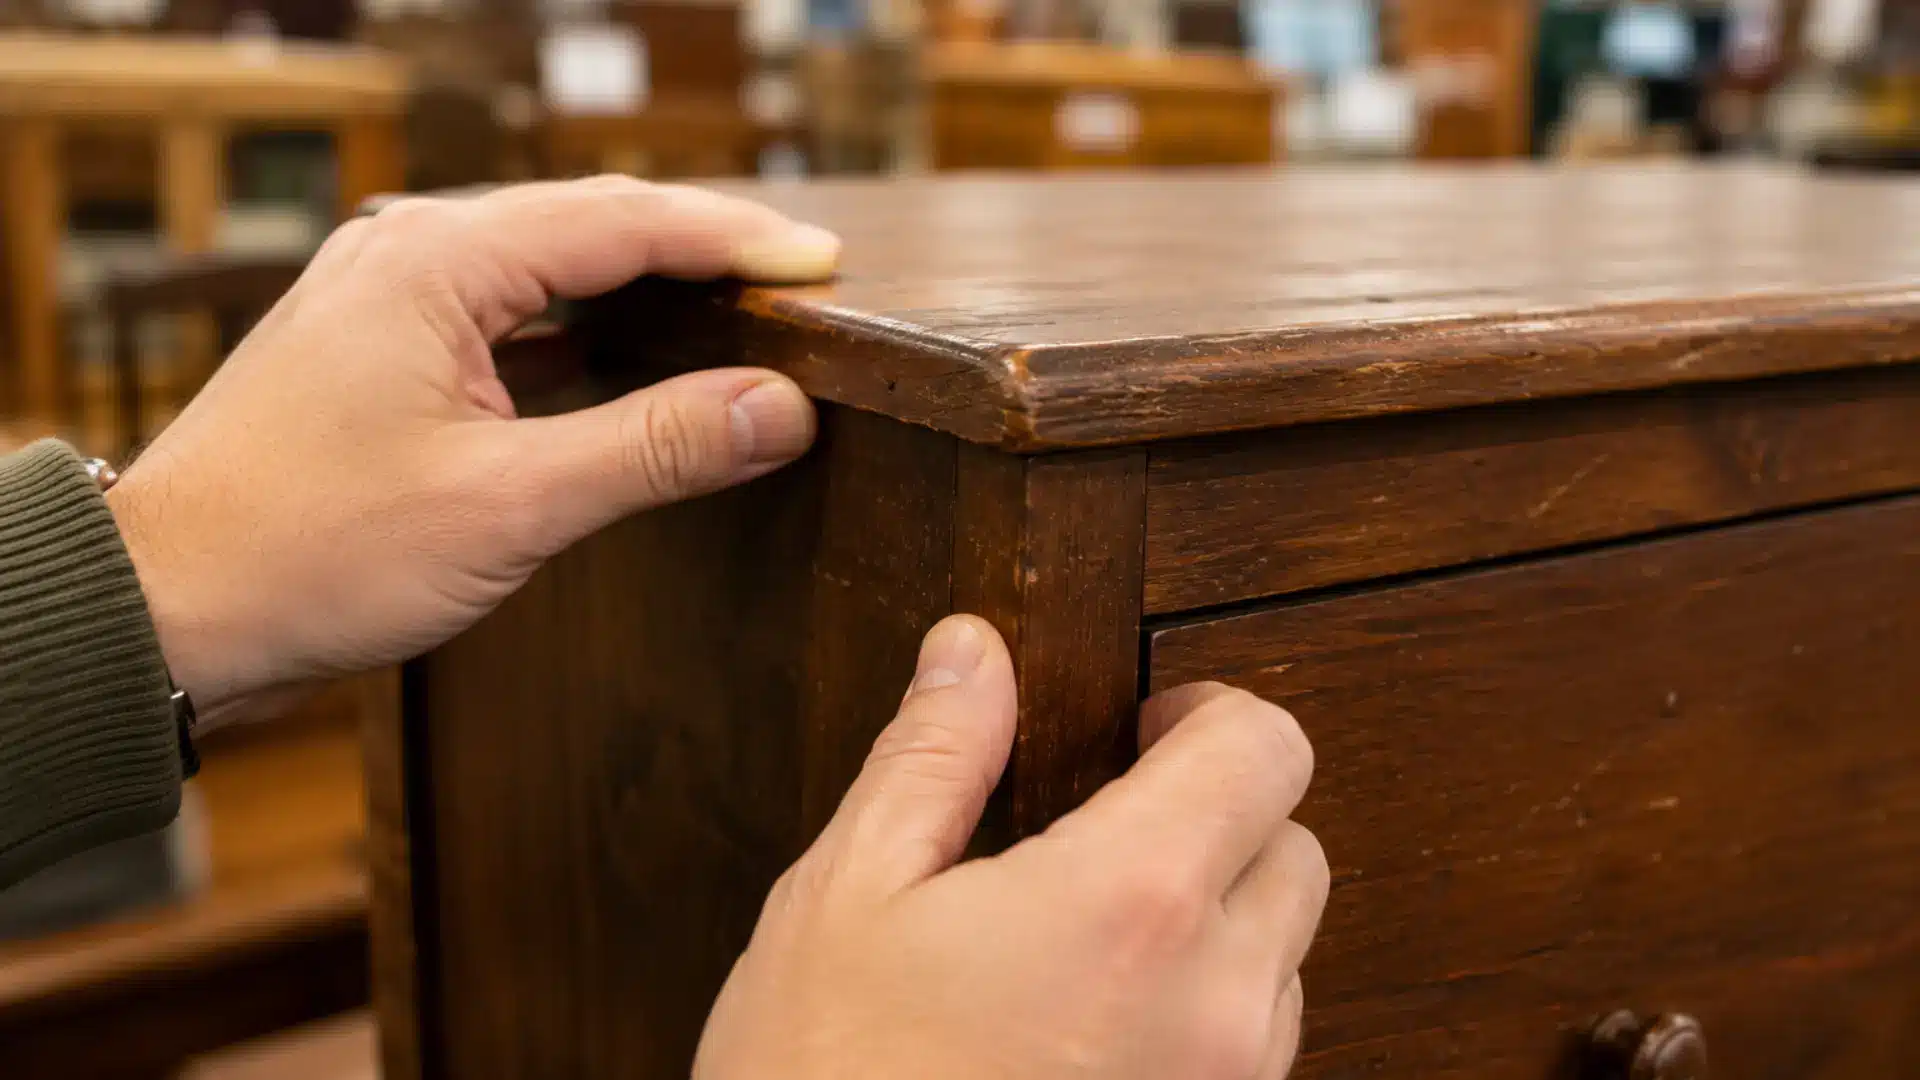
The real skill in furniture flipping is not the painting, it is the buying. A piece with strong bones, meaning solid joints, a sturdy frame, and no structural damage, is worth far more than a pretty piece that wobbles or smells of mold.
Always open every drawer, press down on every corner, check the underside, and look for signs of water damage or wood rot.
A piece that needs only cosmetic work is your ideal target. Structural repairs eat into your time and profit margin fast.
Tip 8: Know Which Pieces to Avoid as a Beginner
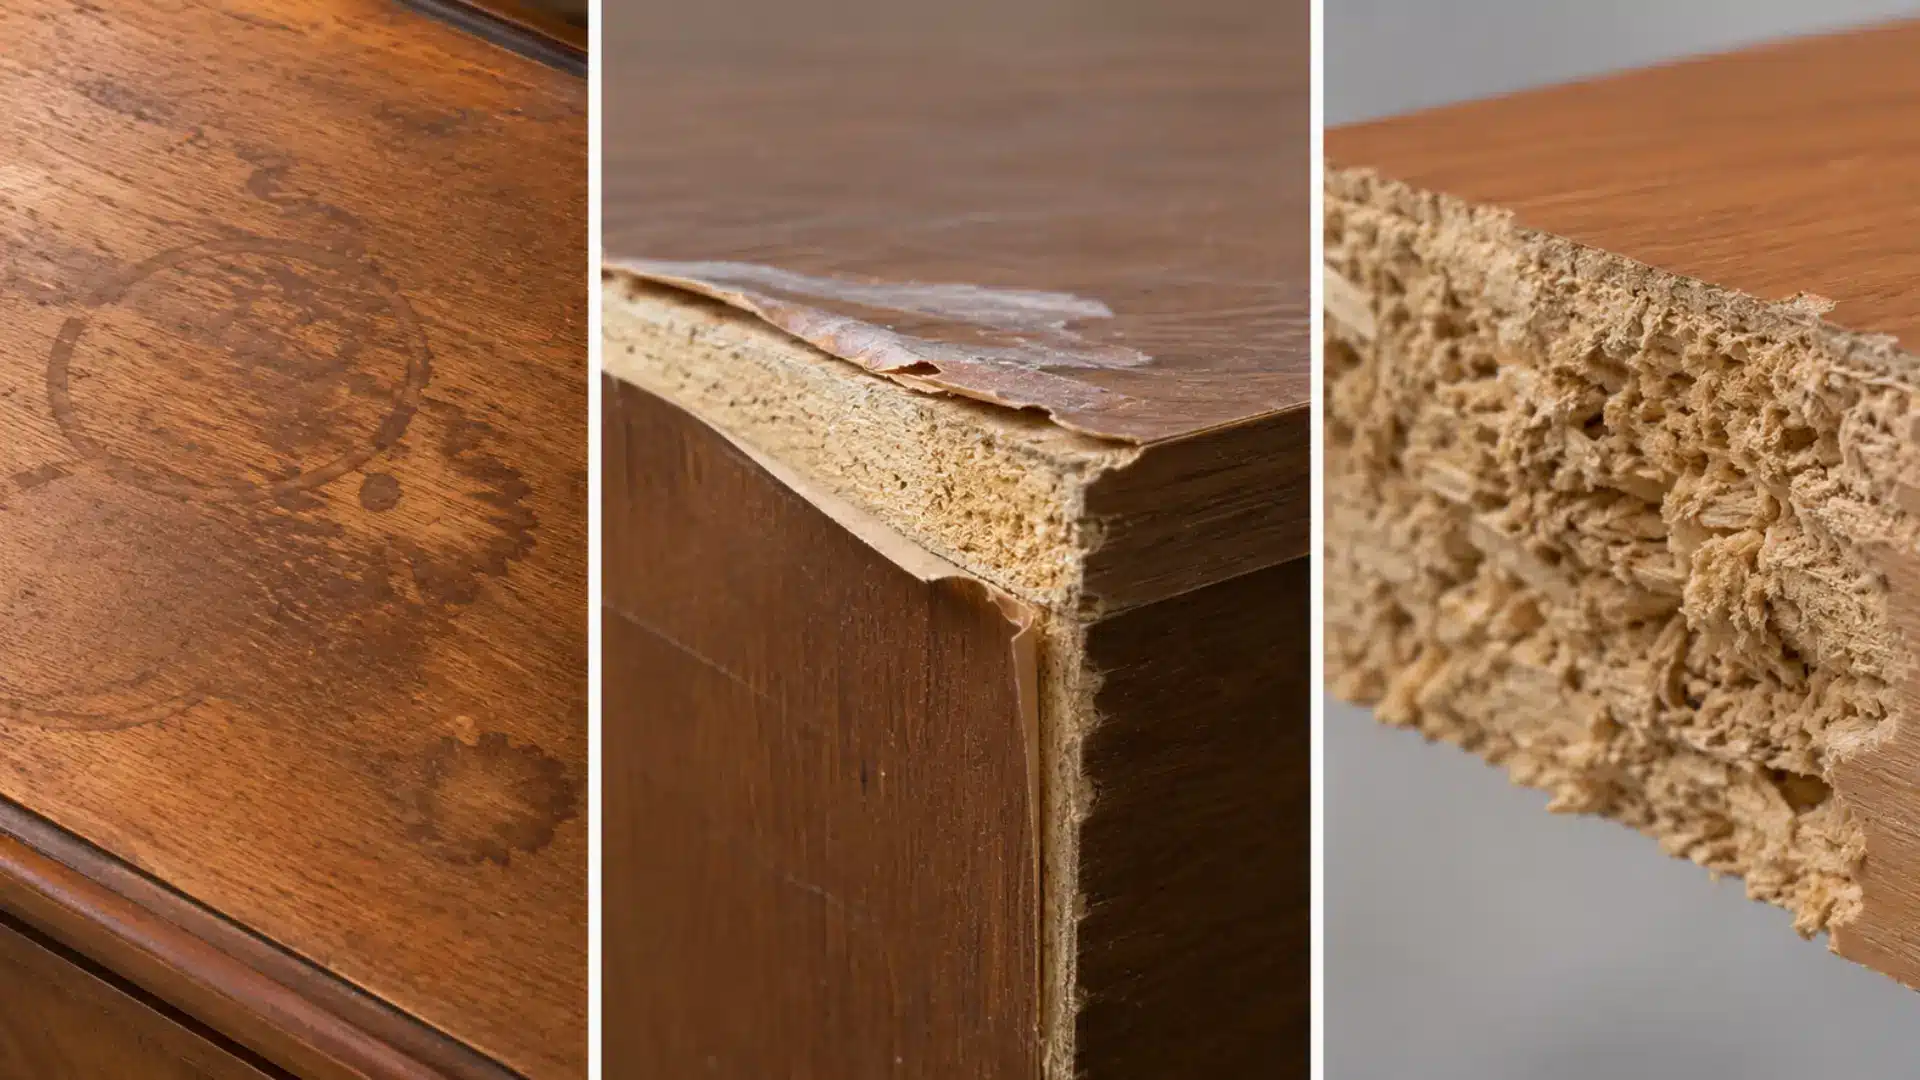
Some furniture looks like a deal, but it will cost you more in time and supplies than you will ever recover in the sale price.
As a beginner, avoid anything with severe water stains, swollen or warped wood, strong odors, or extensive veneer peeling. Particle board furniture rarely responds well to refinishing and tends to look cheap, no matter how good your paint job is.
Upholstered pieces with torn fabric or broken frames are also best left alone until you have more experience under your belt.
Tip 9: Always Apply the 3-Times Rule Before Every Purchase
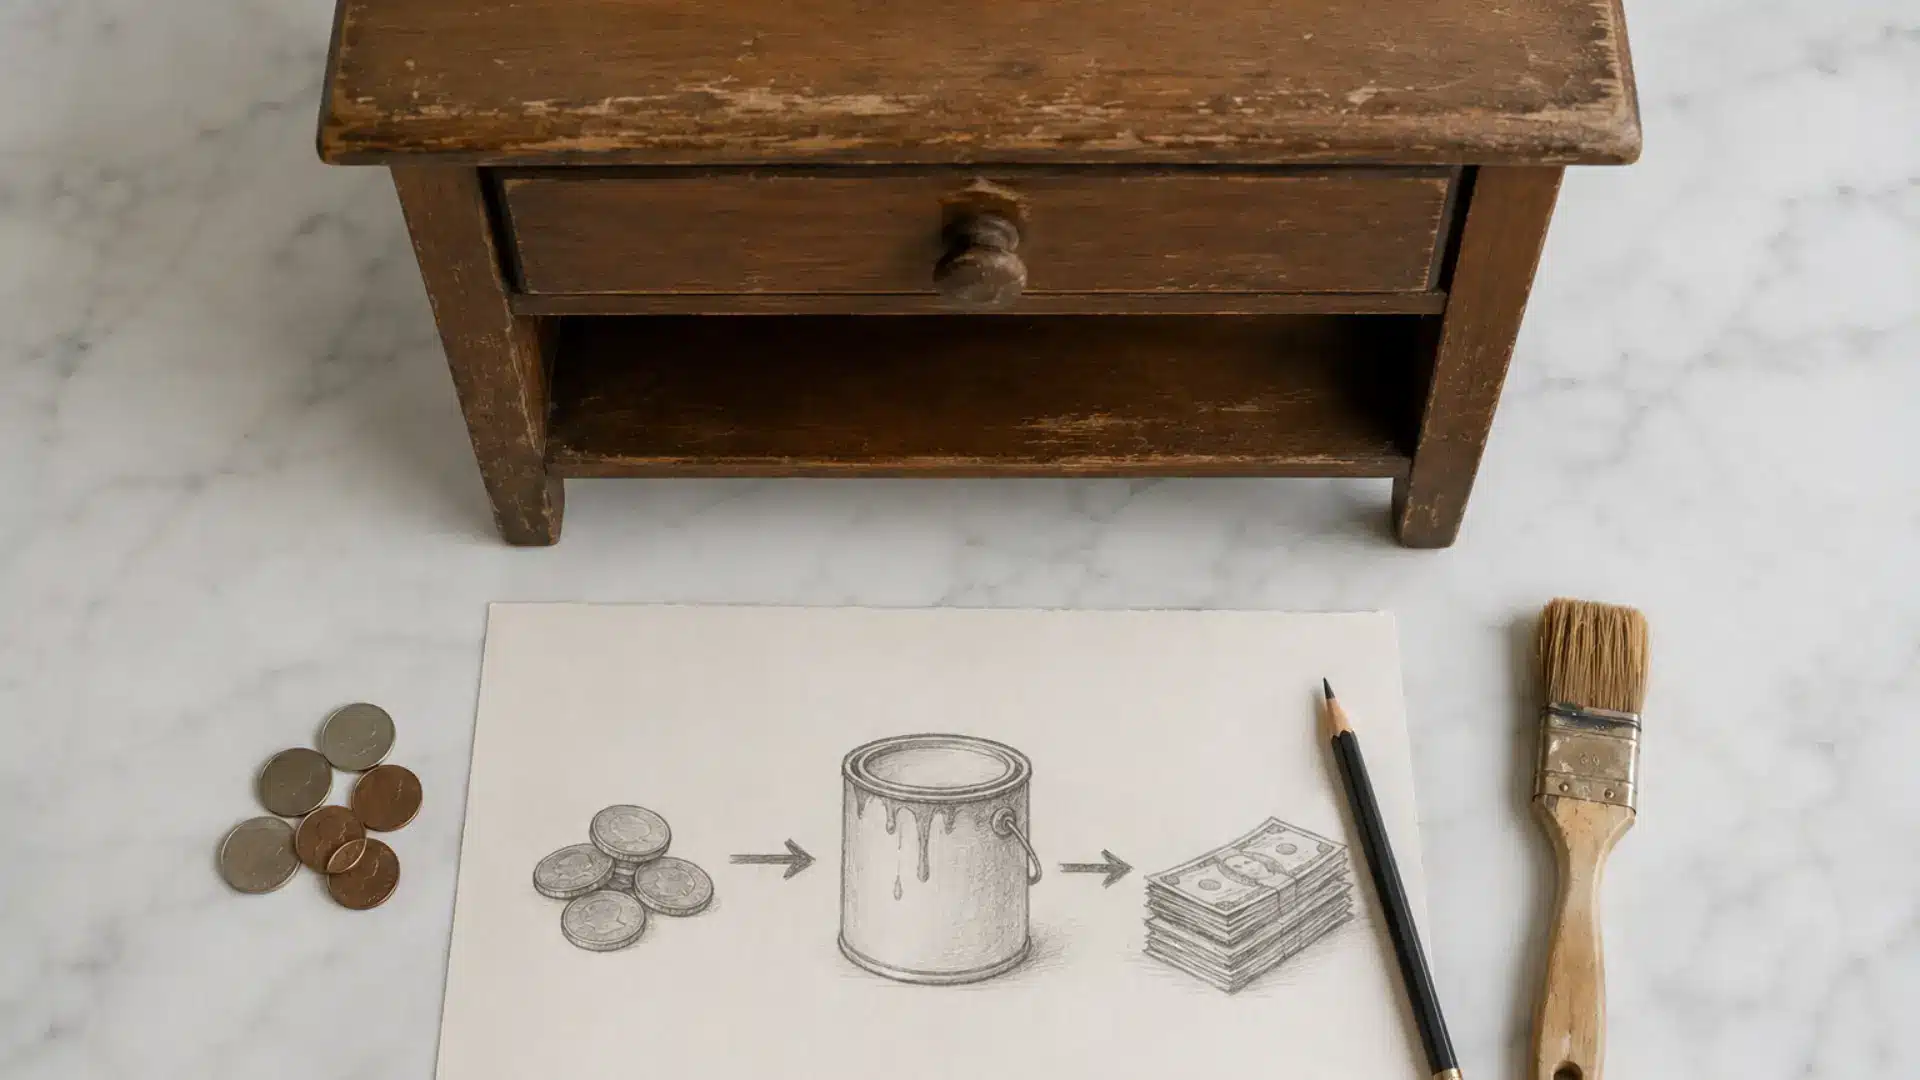
Before buying any piece, run a quick mental calculation. If you cannot realistically sell it for at least three times what you paid, including supplies, walk away.
This simple rule protects your profit margin and keeps your hustle financially healthy from the very beginning.
For example, if a dresser costs you a certain amount and supplies add another portion on top, your sale price needs to comfortably cover both and still leave a meaningful return.
Discipline at the buying stage is what makes the selling stage rewarding.
Tip 10: Negotiate Confidently to Lower Your Sourcing Costs
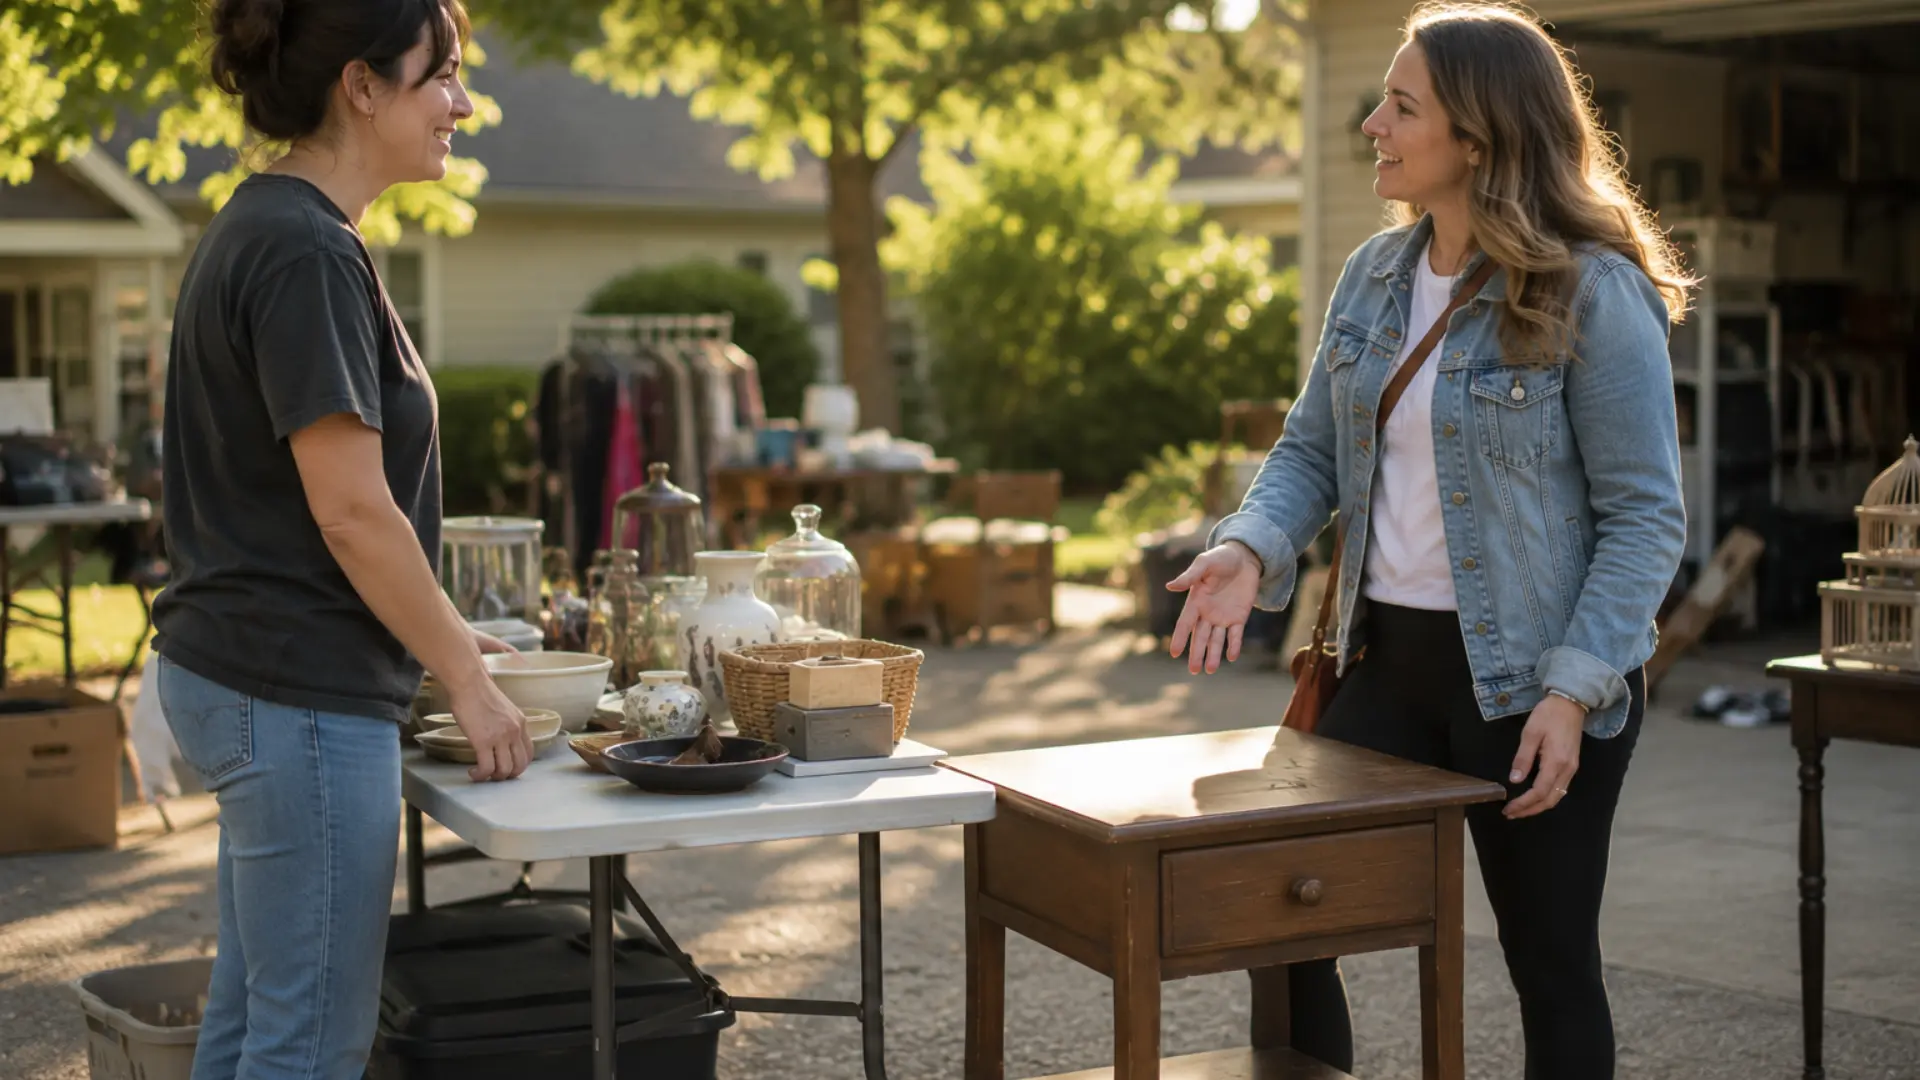
Most sellers at garage sales, estate sales, and on Facebook Marketplace expect some negotiation. Being polite but direct about your offer is completely acceptable and often welcomed.
Point out minor flaws in the piece as a reason for a lower price.
Offering to pick up immediately also gives you leverage since sellers value convenience. Even saving a small amount on each piece adds up significantly over dozens of flips throughout the year.
Getting comfortable with negotiation is one of the fastest ways for a beginner to improve their overall profit margins.
Tip 11: Start with Solid Wood Pieces for the Best Beginner Results
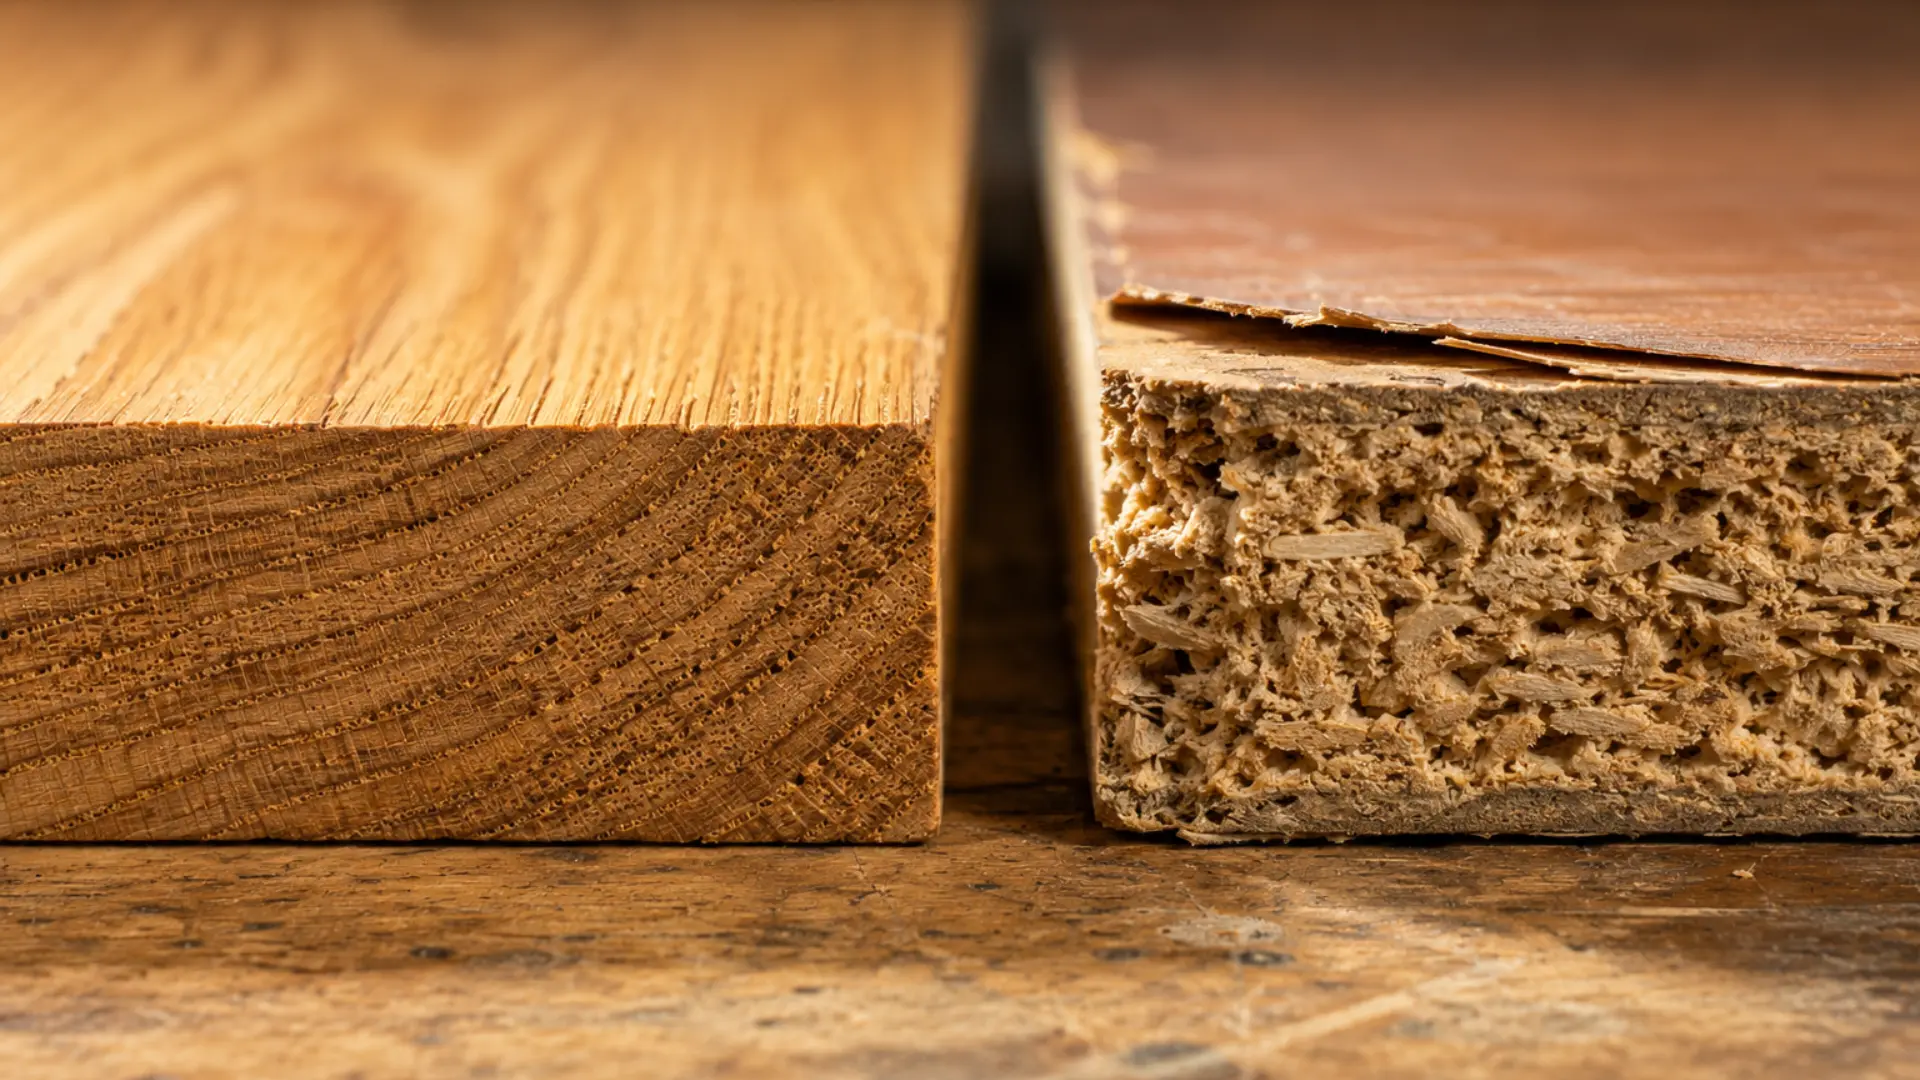
Solid wood is the best material to work with as a beginner because it sands cleanly, holds paint well, and looks genuinely high quality after refinishing.
It is also far more durable than particleboard or MDF, which means buyers are willing to pay significantly more for it. Learning to identify solid wood from composite materials is a skill that will save you from making repeated bad purchases.
Tap the surface, check the edges, and look at any exposed corners or drawer sides to confirm what you are working with before you buy.
Prep and Repair Considerations
Good prep work makes painting easier and helps your finish last longer.
Properly cleaning and repairing furniture before painting can prevent peeling paint, rough texture, and other common beginner mistakes.
Tip 12: Always Clean Your Furniture Thoroughly Before You Paint
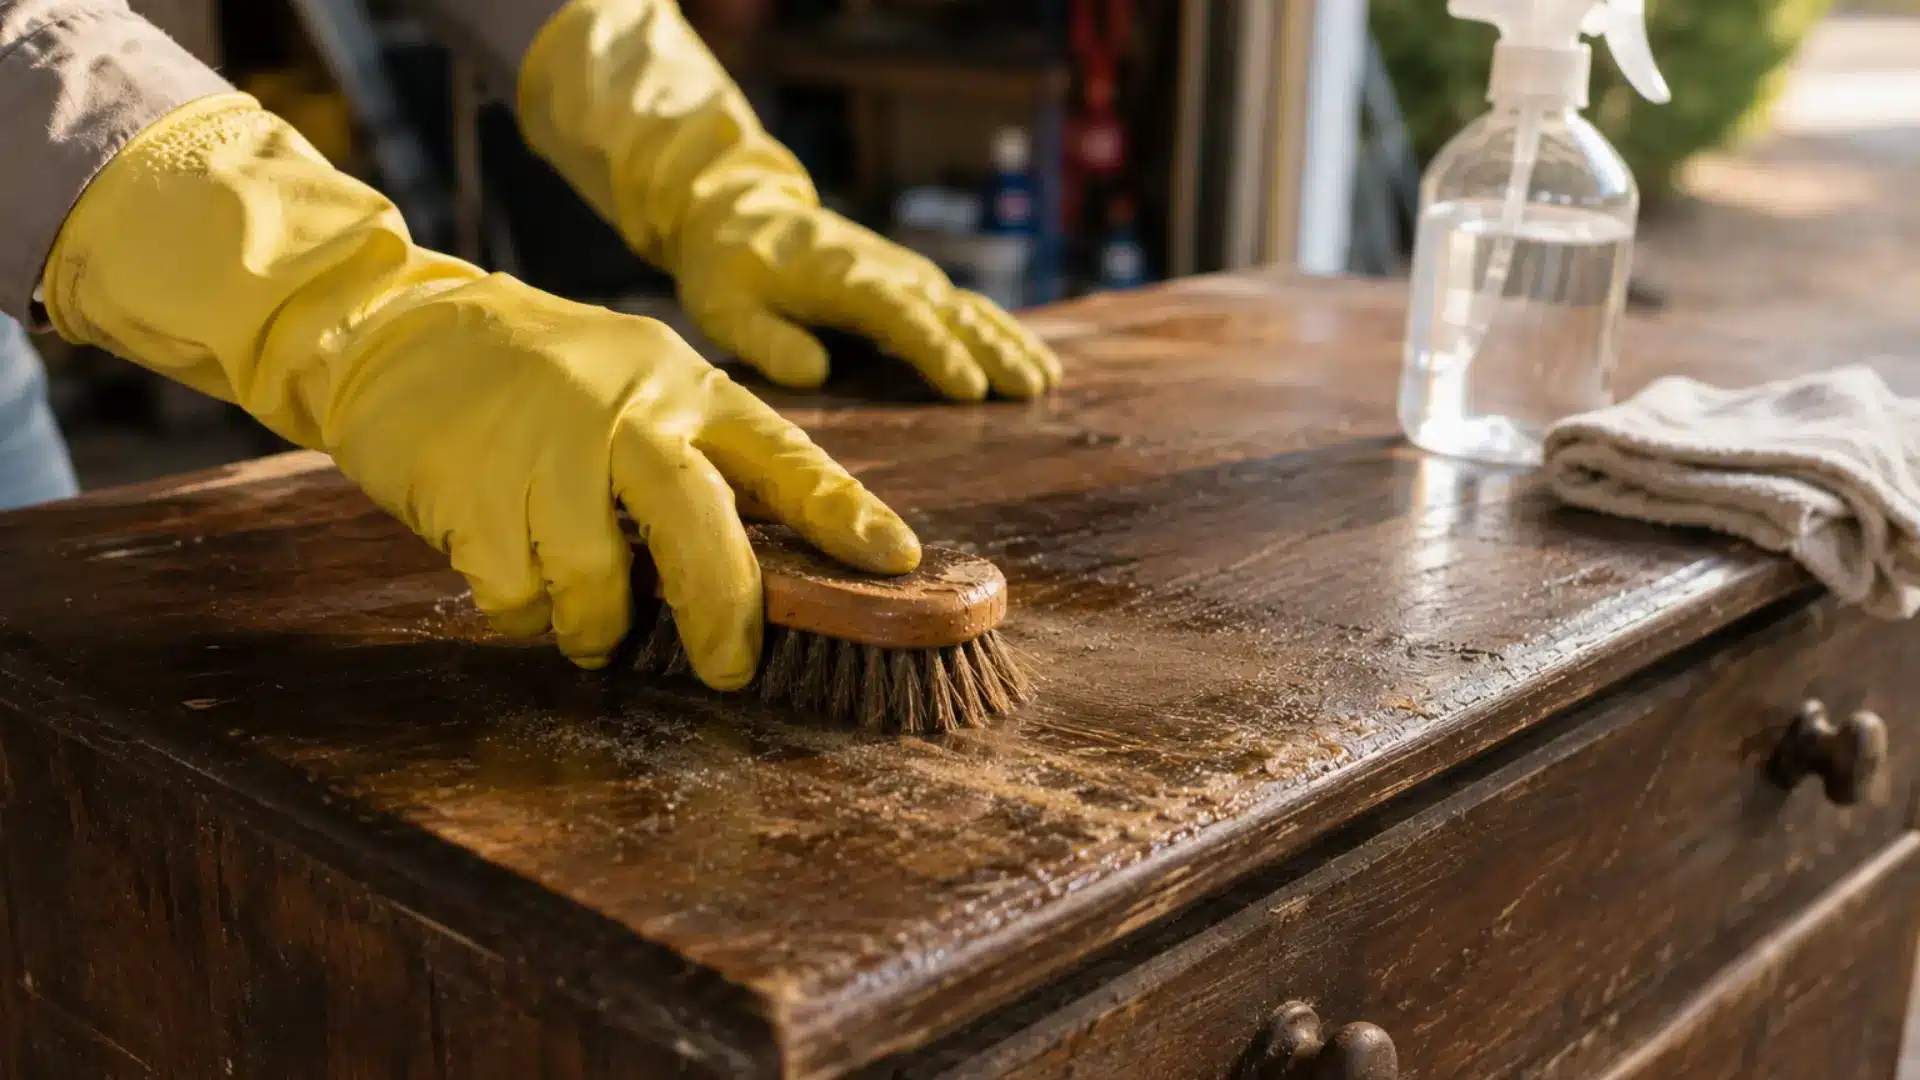
Cleaning is the most skipped step in furniture flipping and the one that causes the most paint jobs to fail.
Grease, wax buildup, and grime prevent paint from bonding properly to the surface, leading to peeling and chipping within weeks of the sale.
Use a degreaser or TSP substitute with a scrub brush to clean every surface, including the sides, back, and inside of drawers. Let the piece dry completely before moving on. A clean surface is the foundation of a finish that lasts.
Tip 13: Sand Smart
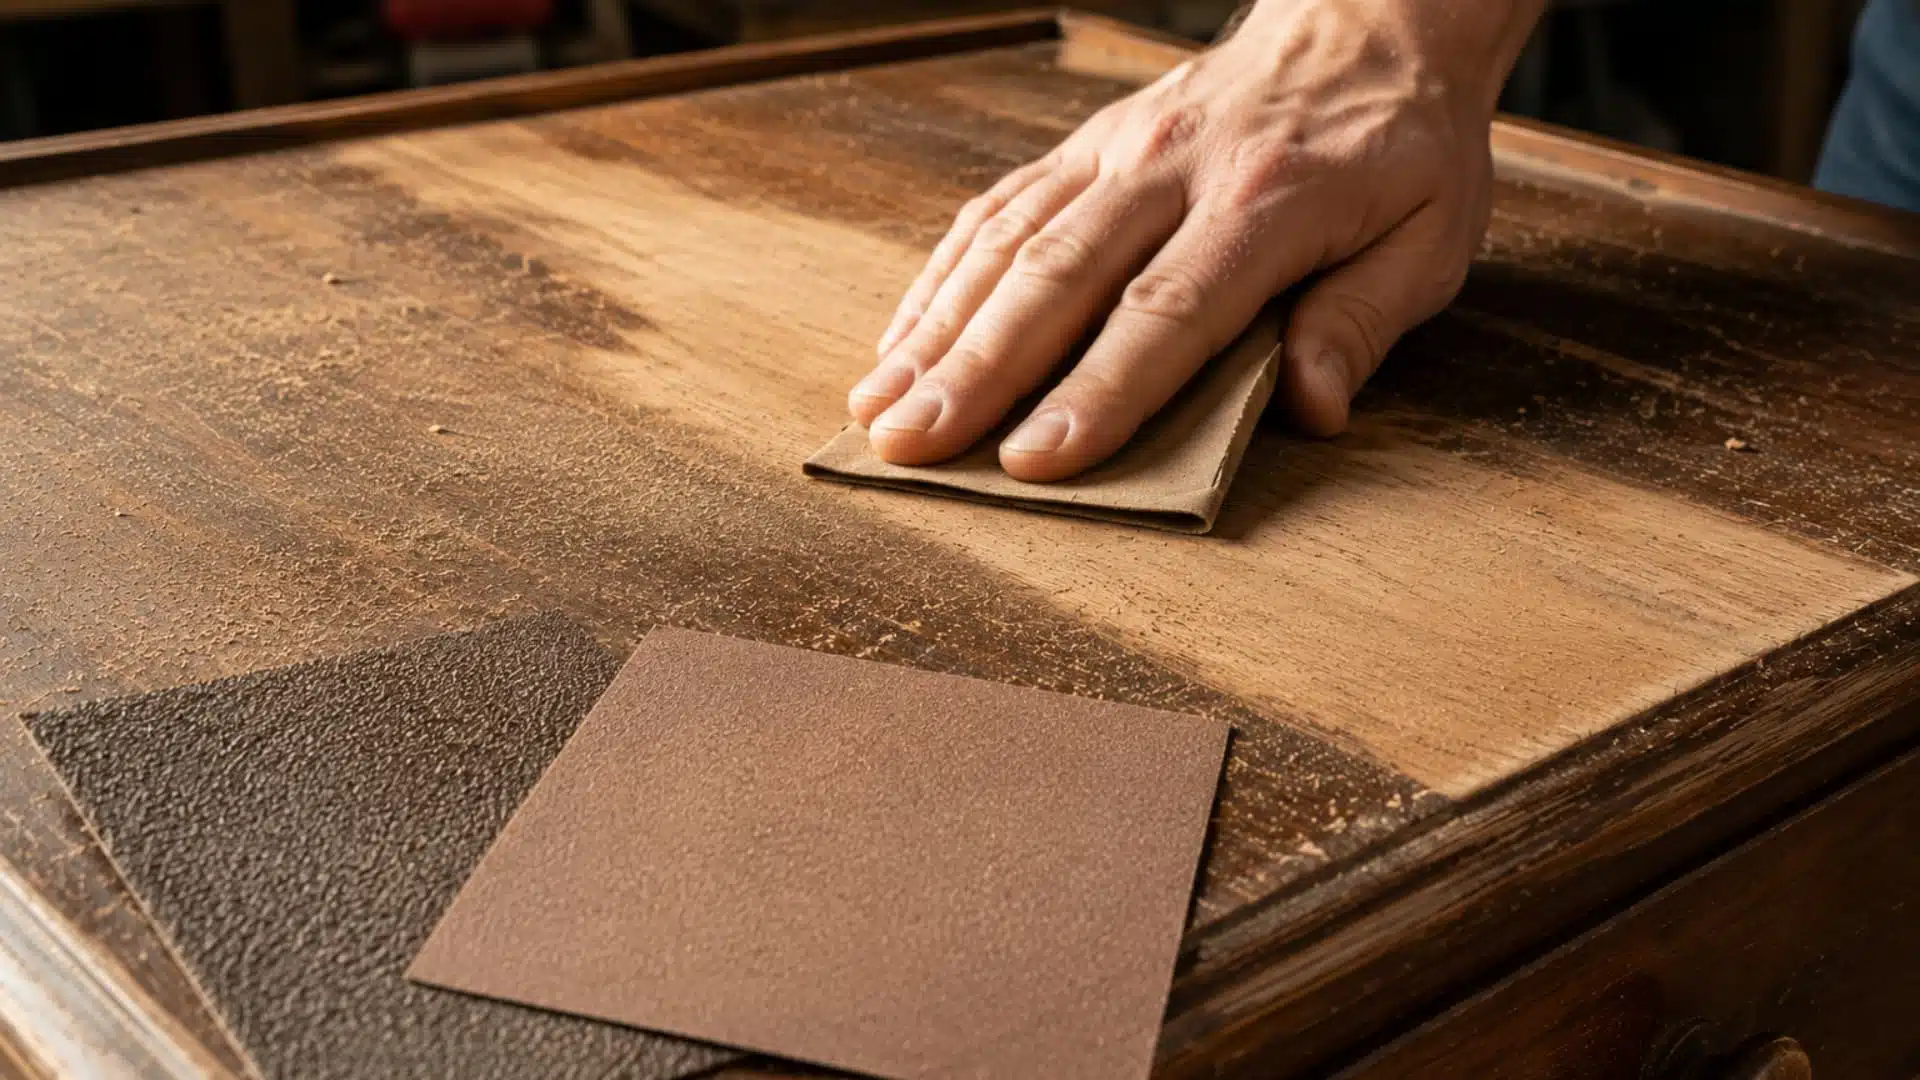
Sanding is not just about roughing up a surface. It is about creating the right texture for paint to grip onto. Start with a coarser grit to remove the old finish, smooth out deep scratches, and level uneven areas.
Then move to a finer grit to create a silky smooth surface that takes paint evenly. Skipping straight to a fine grit on a heavily finished piece will leave you with a patchy surface once painted.
Always sand in the direction of the wood grain to avoid visible scratch marks.
Tip 14: Fix Minor Damage with Wood Filler Before You Paint
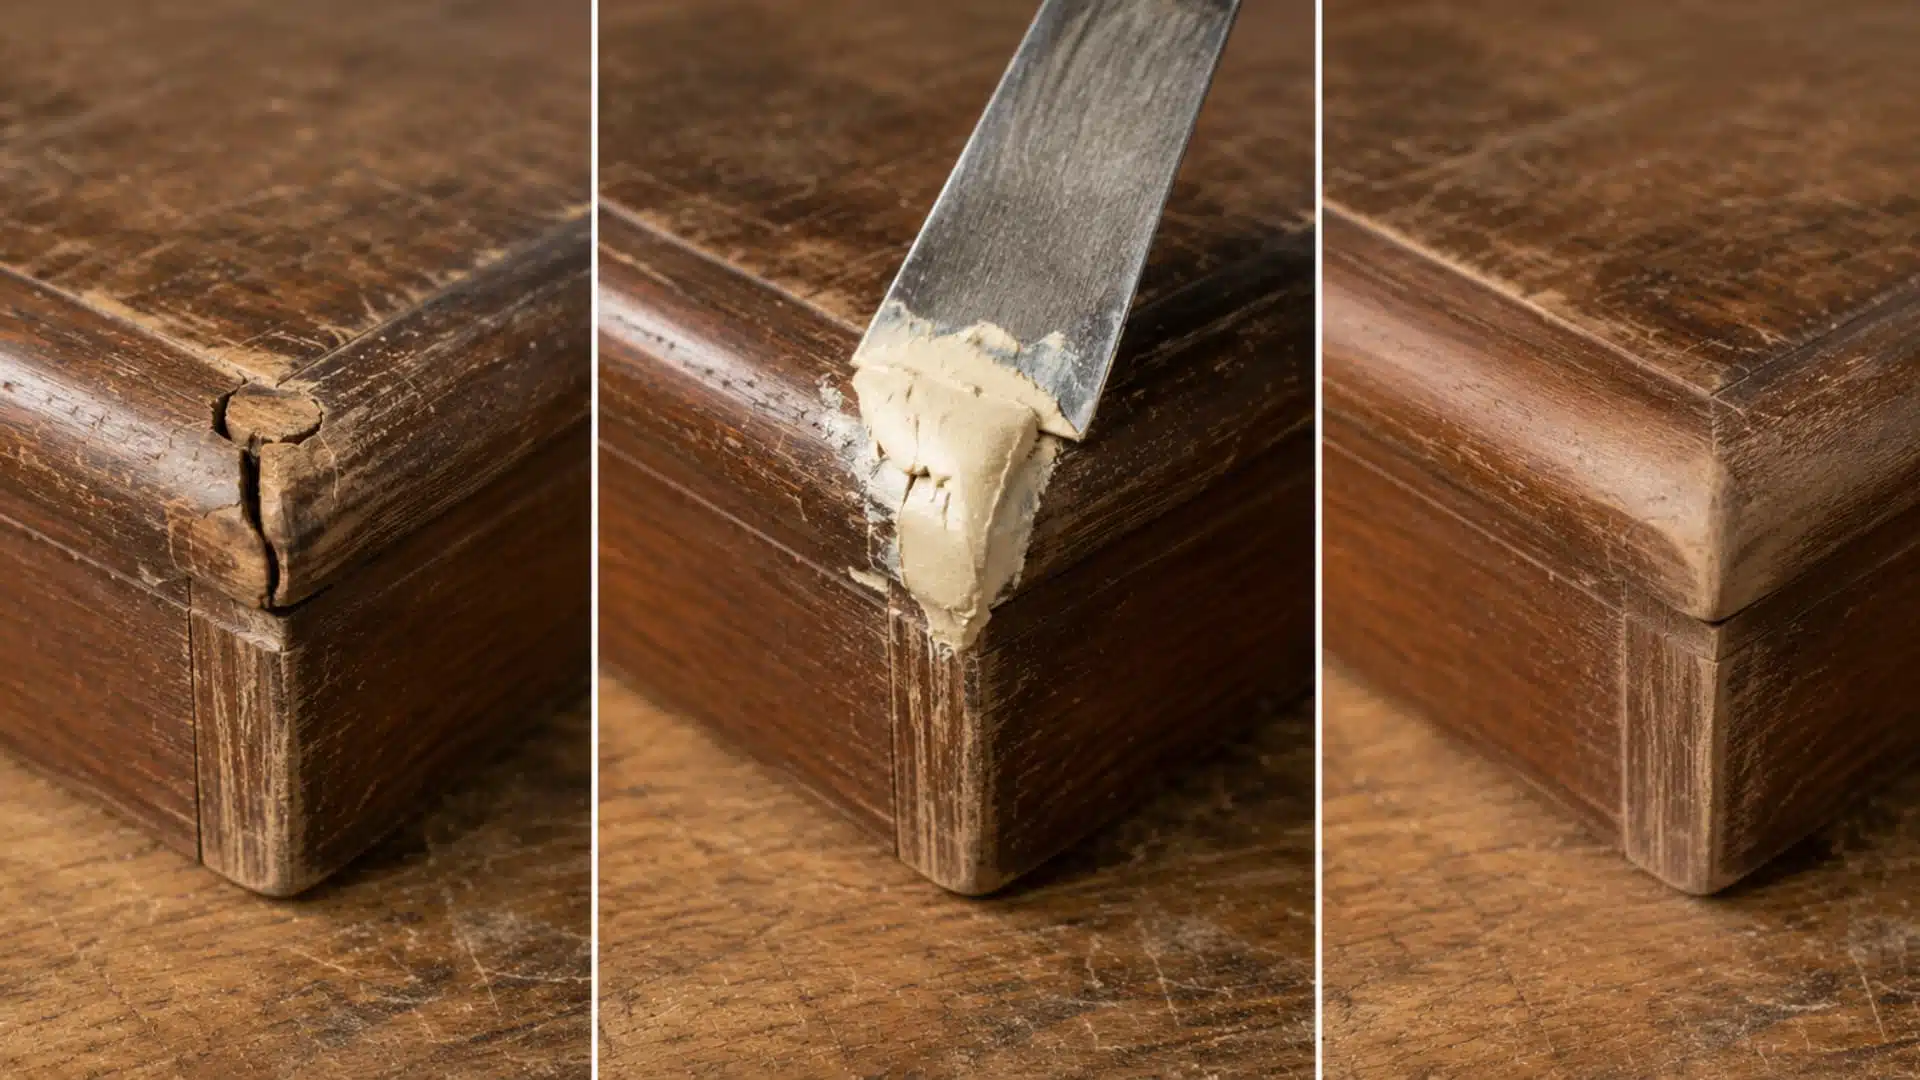
Wood filler is one of the most underused tools in a beginner’s kit and one of the most valuable.
Small cracks, nail holes, deep gouges, and chipped corners can all be filled, sanded smooth, and painted over to look completely invisible.
Apply the filler slightly overfilled, let it dry completely, then sand it flush with the surrounding surface. A properly filled and sanded repair is often completely undetectable once paint is applied.
Taking the time to do this step well can add real perceived value to a finished piece.
Tip 15: Prime Properly and Never Skip This Step
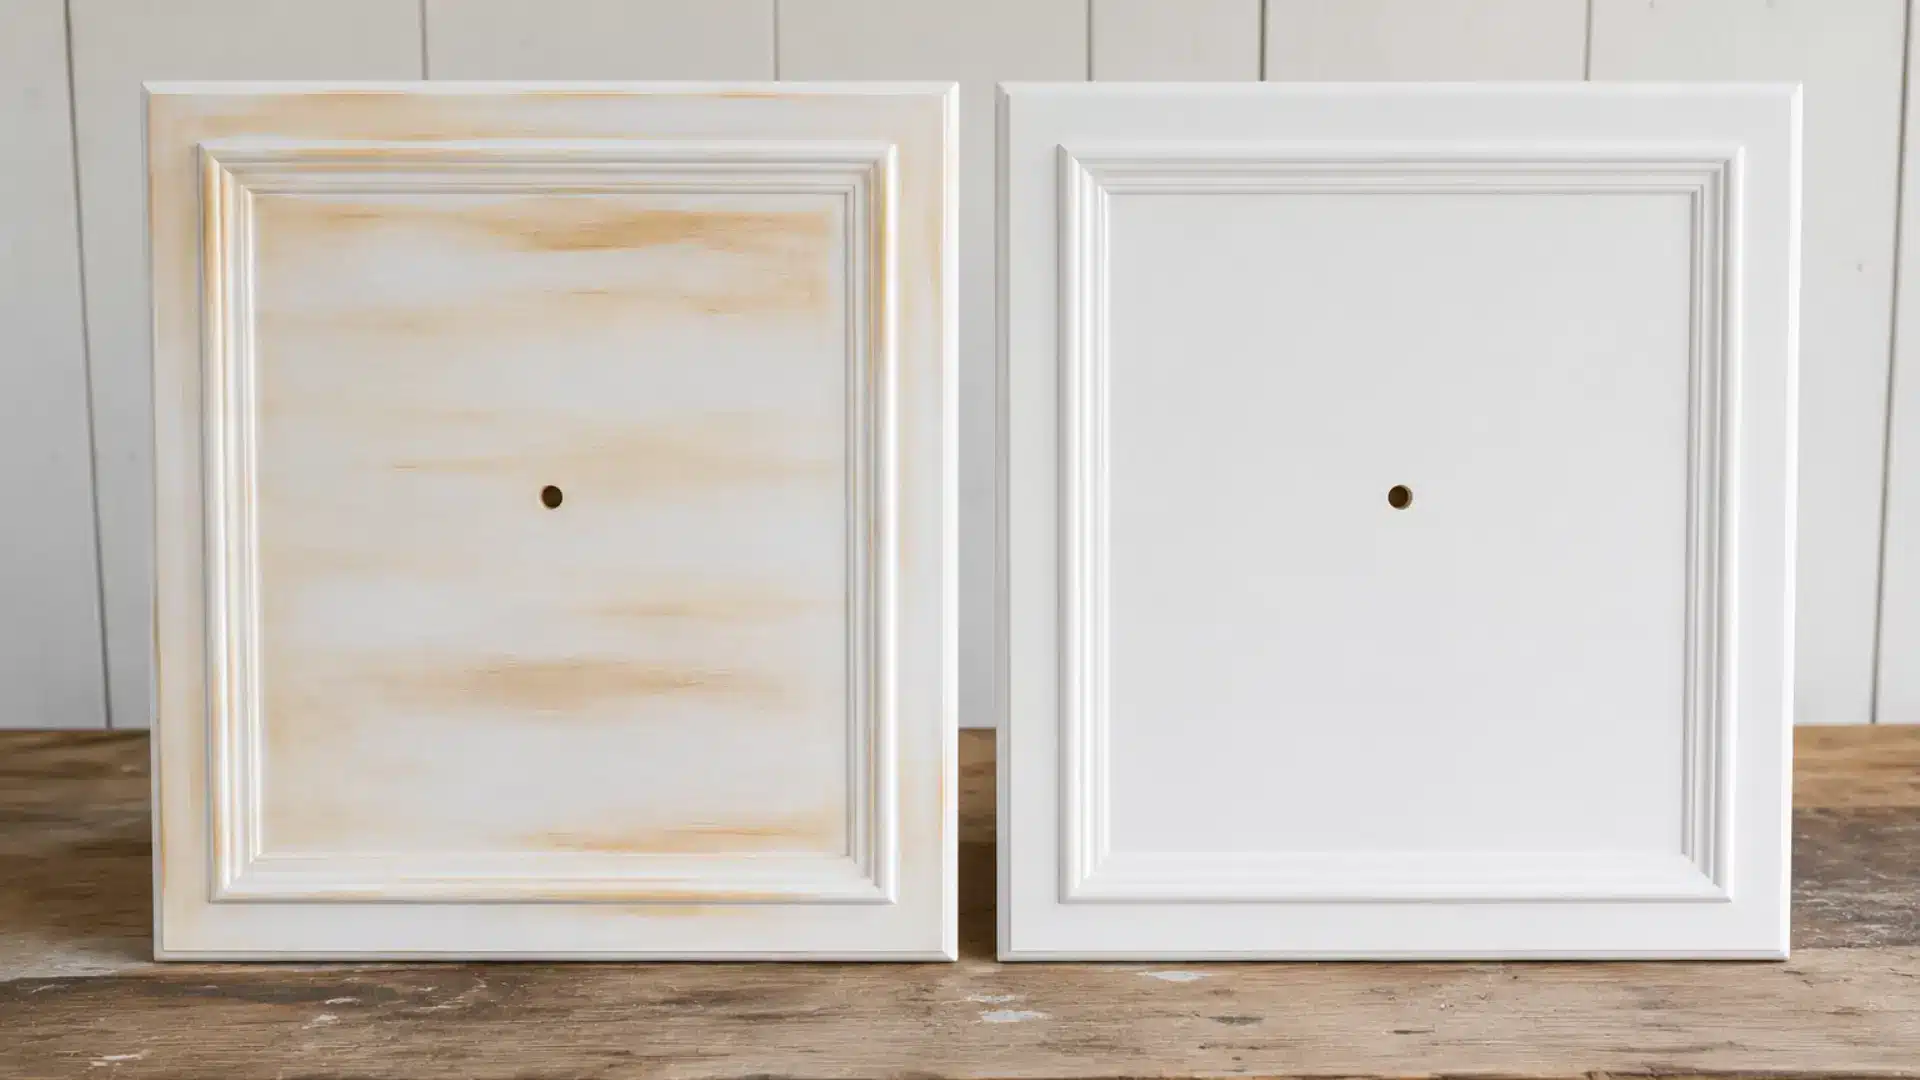
Primer is not optional. It seals the wood, blocks stains from bleeding through your topcoat, and provides a consistent surface for paint to bond to.
Without primer, dark wood tones can bleed through light paint colors even after multiple coats. Tannin-rich woods like oak are especially prone to this.
A single coat of a good-quality bonding primer will save you from applying four or five coats of paint to cover bleed-through. It adds one short step to your process but dramatically improves your final result every single time.
Tip 16: Replace Old Hardware to Instantly Refurbish Your Piece
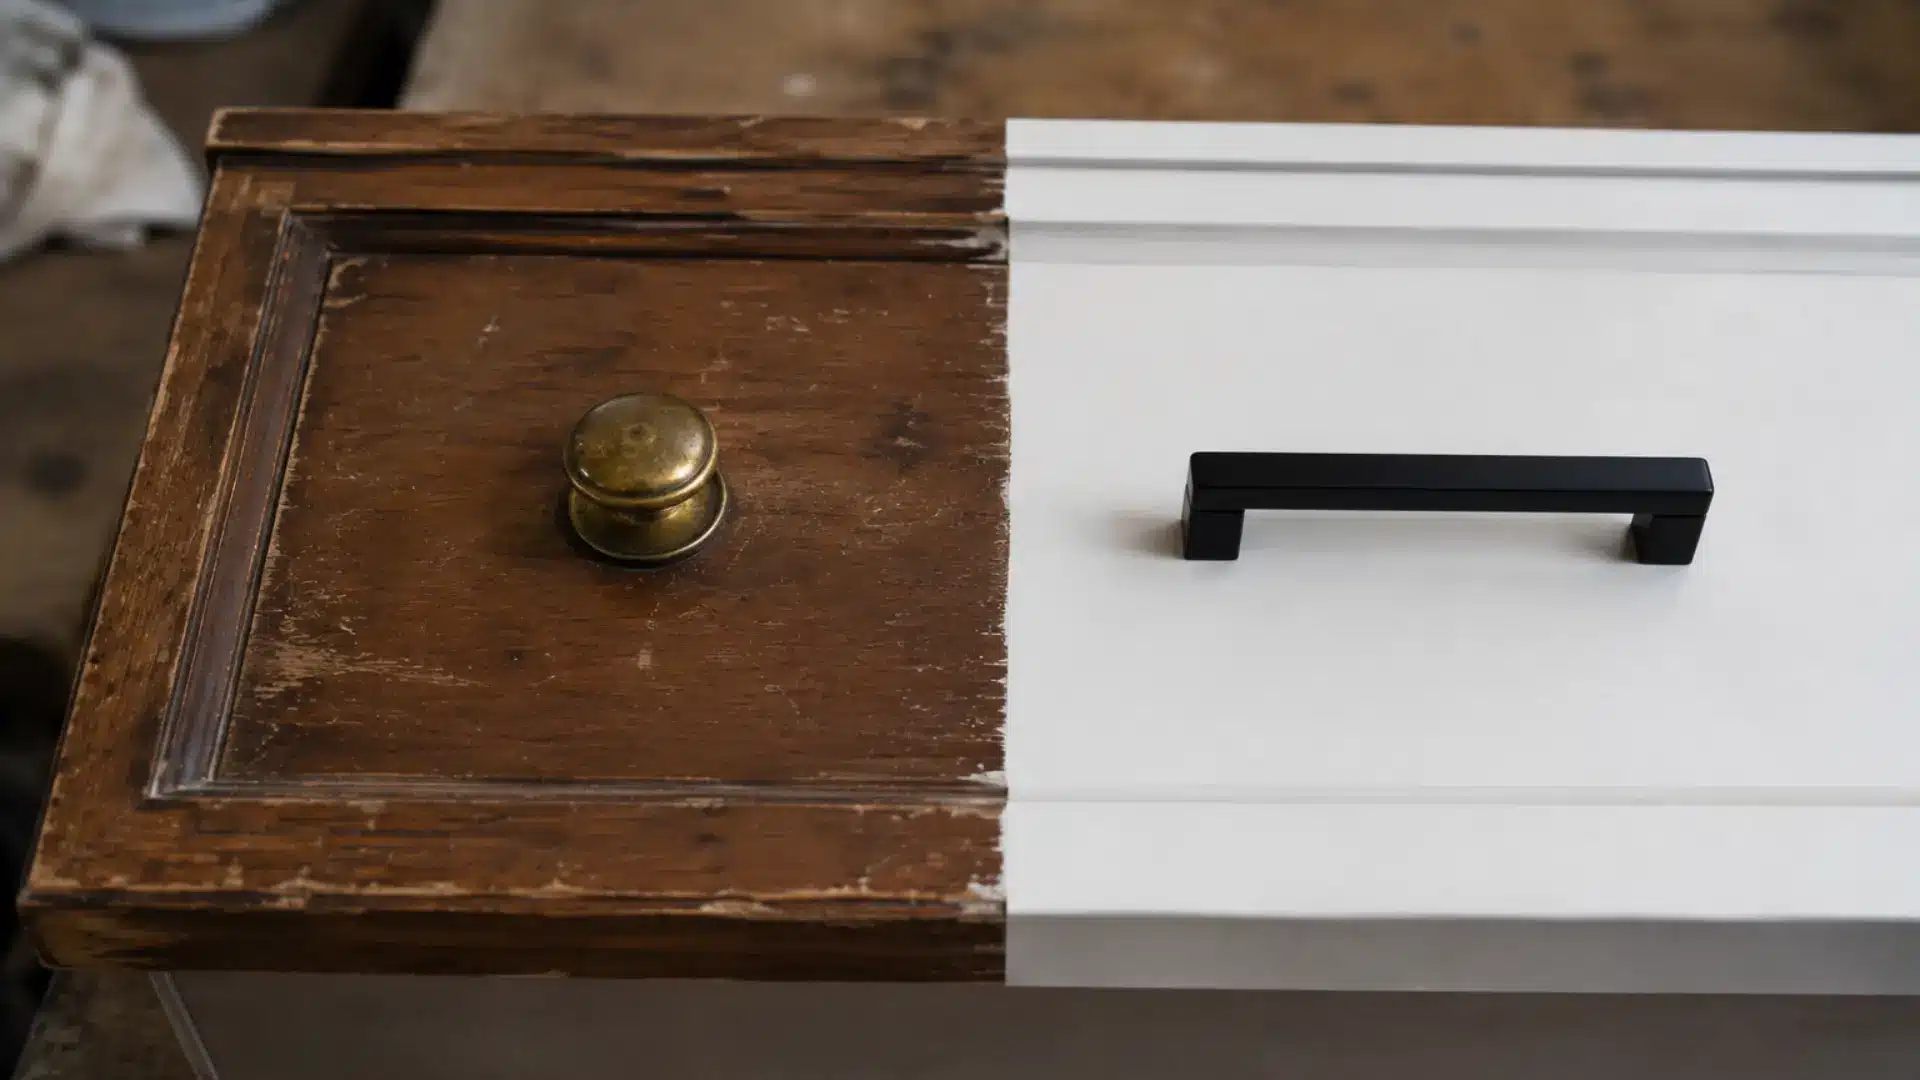
Hardware is one of the smallest investments you can make in a flip and one of the highest-return ones.
A set of new drawer pulls or cabinet knobs can completely transform the look and feel of a piece, shifting it from dated to modern or from plain to boutique in minutes.
Old brass hardware on a freshly painted dresser creates a visual mismatch that buyers notice immediately. Budget a small amount for hardware on every project.
The cost is minimal, and the impact on your selling price can be significant.
Painting and Finishing
The paint and finish you choose can completely change how your furniture looks and how well it holds up over time.
Understanding the differences between common paint types helps you pick the best option for your project and skill level.
Tip 17: Choose the Right Paint Type for Your Project
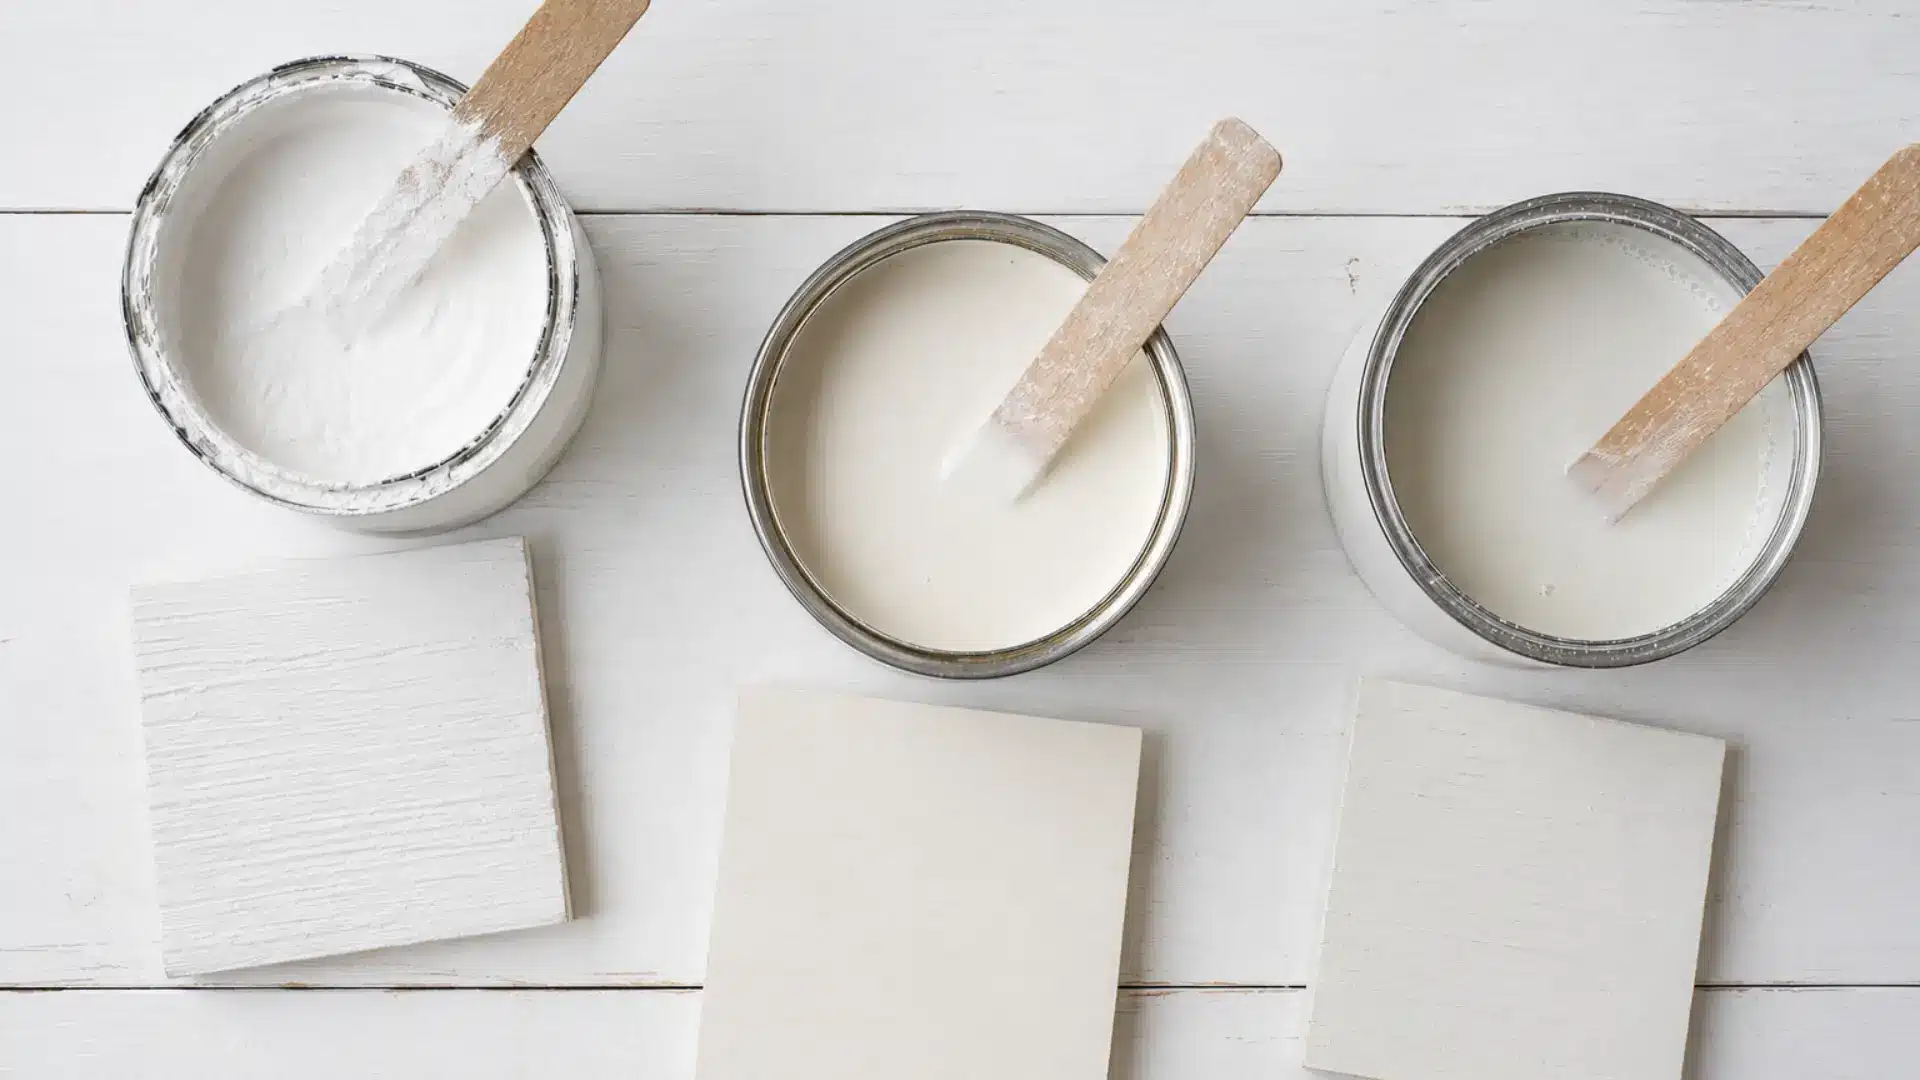
Not all paints are created equal, and choosing the wrong one can ruin an otherwise great flip.
Chalk paint is the most beginner-friendly option because it requires minimal prep, adheres to most surfaces without priming, and gives a beautiful matte finish.
Latex paint is more durable and widely available, but requires proper prep and priming. Milk paint gives a gorgeous, aged, chippy look, but has a steeper learning curve.
Start with chalk paint for your first few projects and experiment with other types as your confidence grows.
Tip 18: Stick to Neutral and Trending Colors That Sell Fast
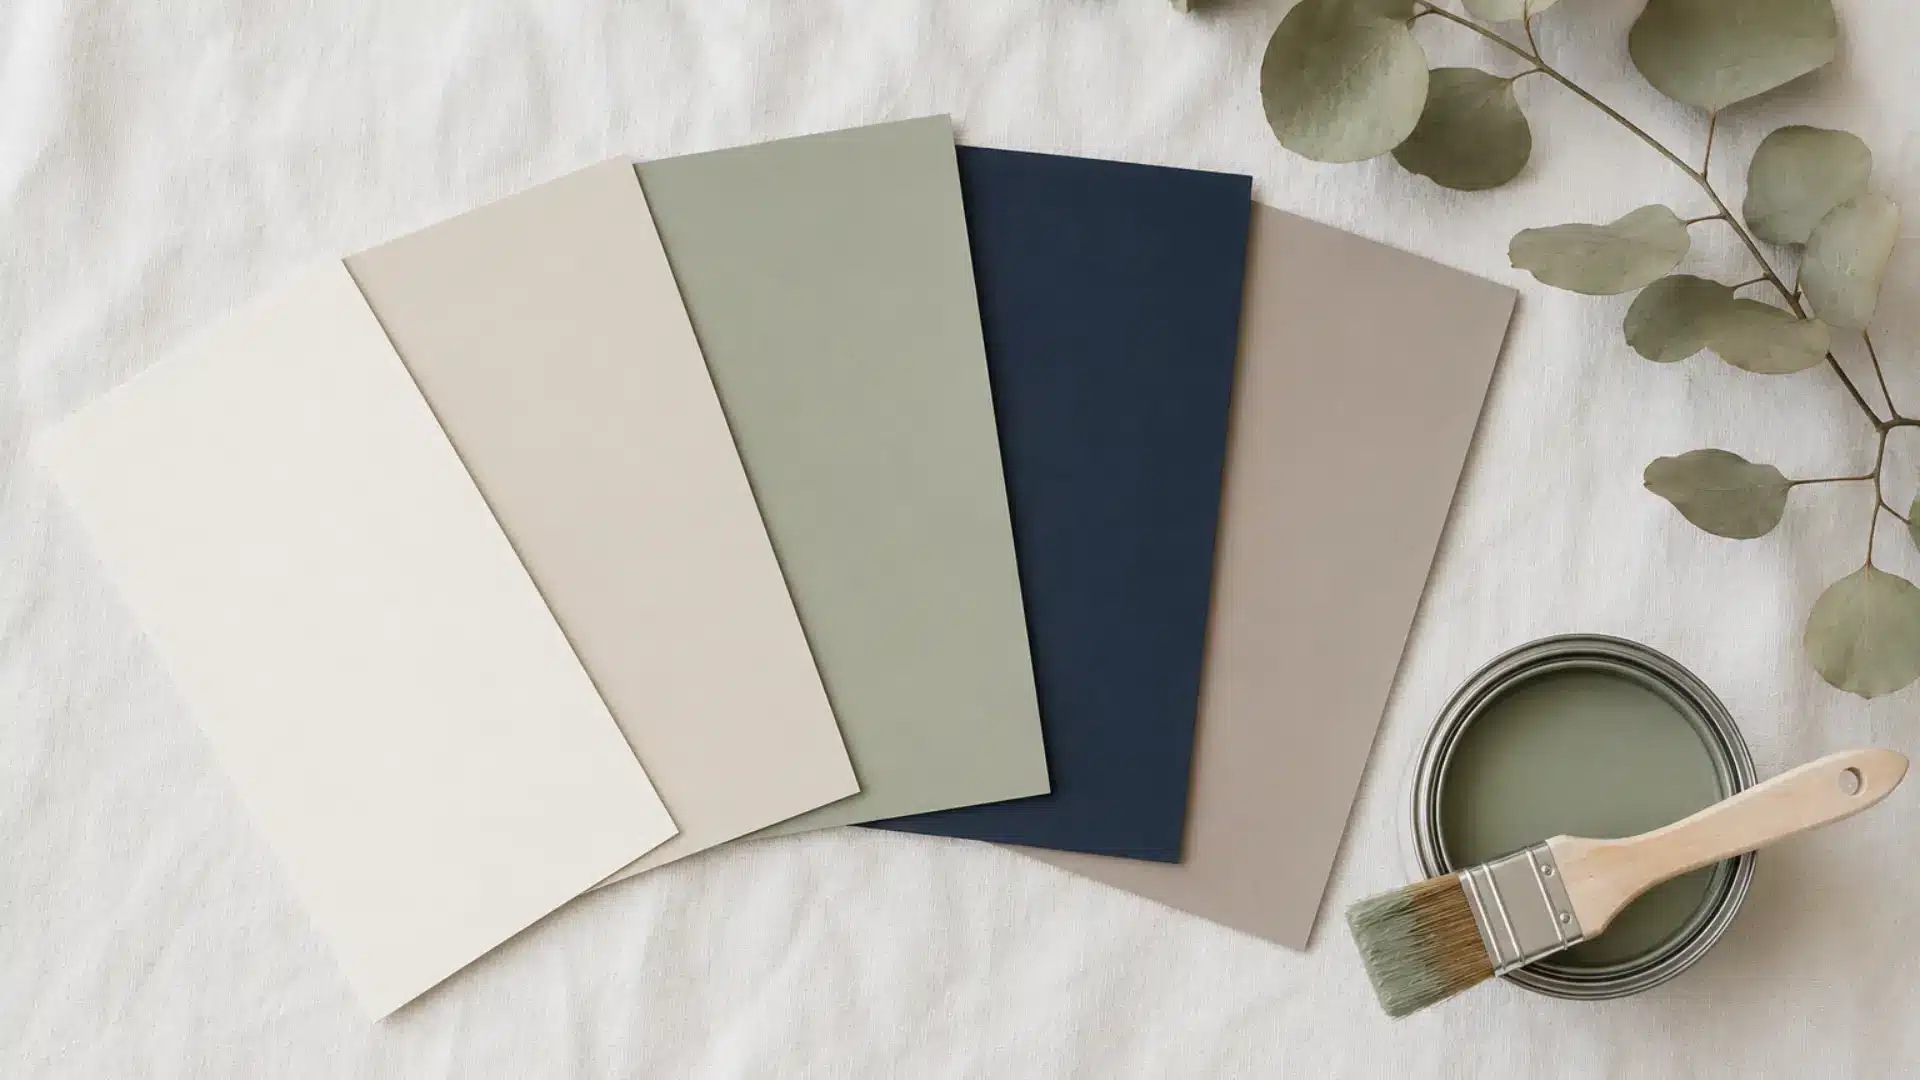
Color choice can make or break a sale. Bold and unusual colors may appeal to you personally, but severely limit your pool of potential buyers.
Neutral tones like white, off-white, warm greige, soft sage green, and navy consistently sell faster and at higher prices because they appeal to the widest range of home styles and tastes.
Before choosing a color, spend time browsing sold listings on Facebook Marketplace and Pinterest to see what is currently moving in your local market and match your palette to buyer demand.
Tip 19: Choosing the Right Application Method
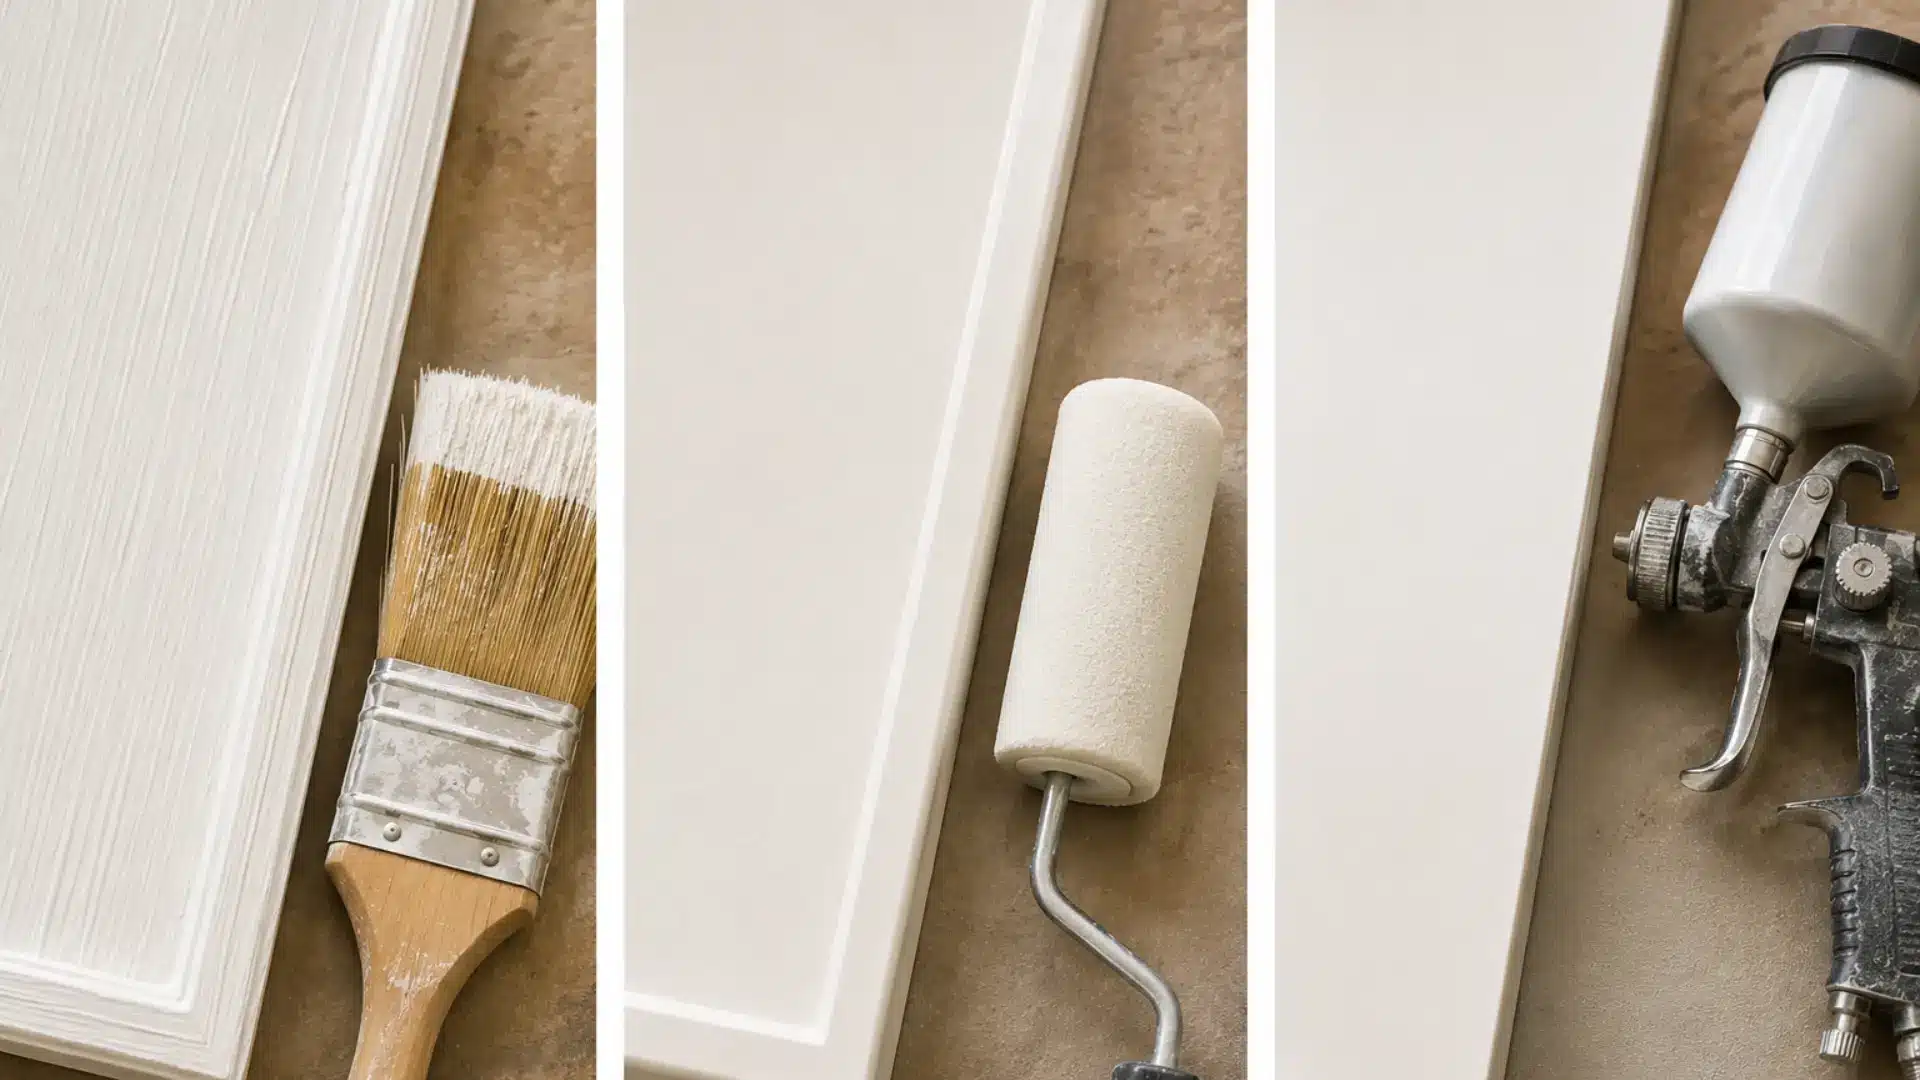
Each application method produces a different finish and suits different types of projects. A good-quality brush gives you control and works well on detailed or carved pieces, but can leave visible brushstrokes if not applied carefully.
A small foam roller produces a smoother finish on flat surfaces like drawer fronts and tabletops. A paint sprayer delivers the most professional and flawless result, but requires more setup, cleanup, and practice.
As a beginner, start with a brush-and-roller combination and invest in a sprayer once you are regularly flipping pieces.
Tip 20: Apply Thin Coats and Build Up Gradually for a Professional Finish
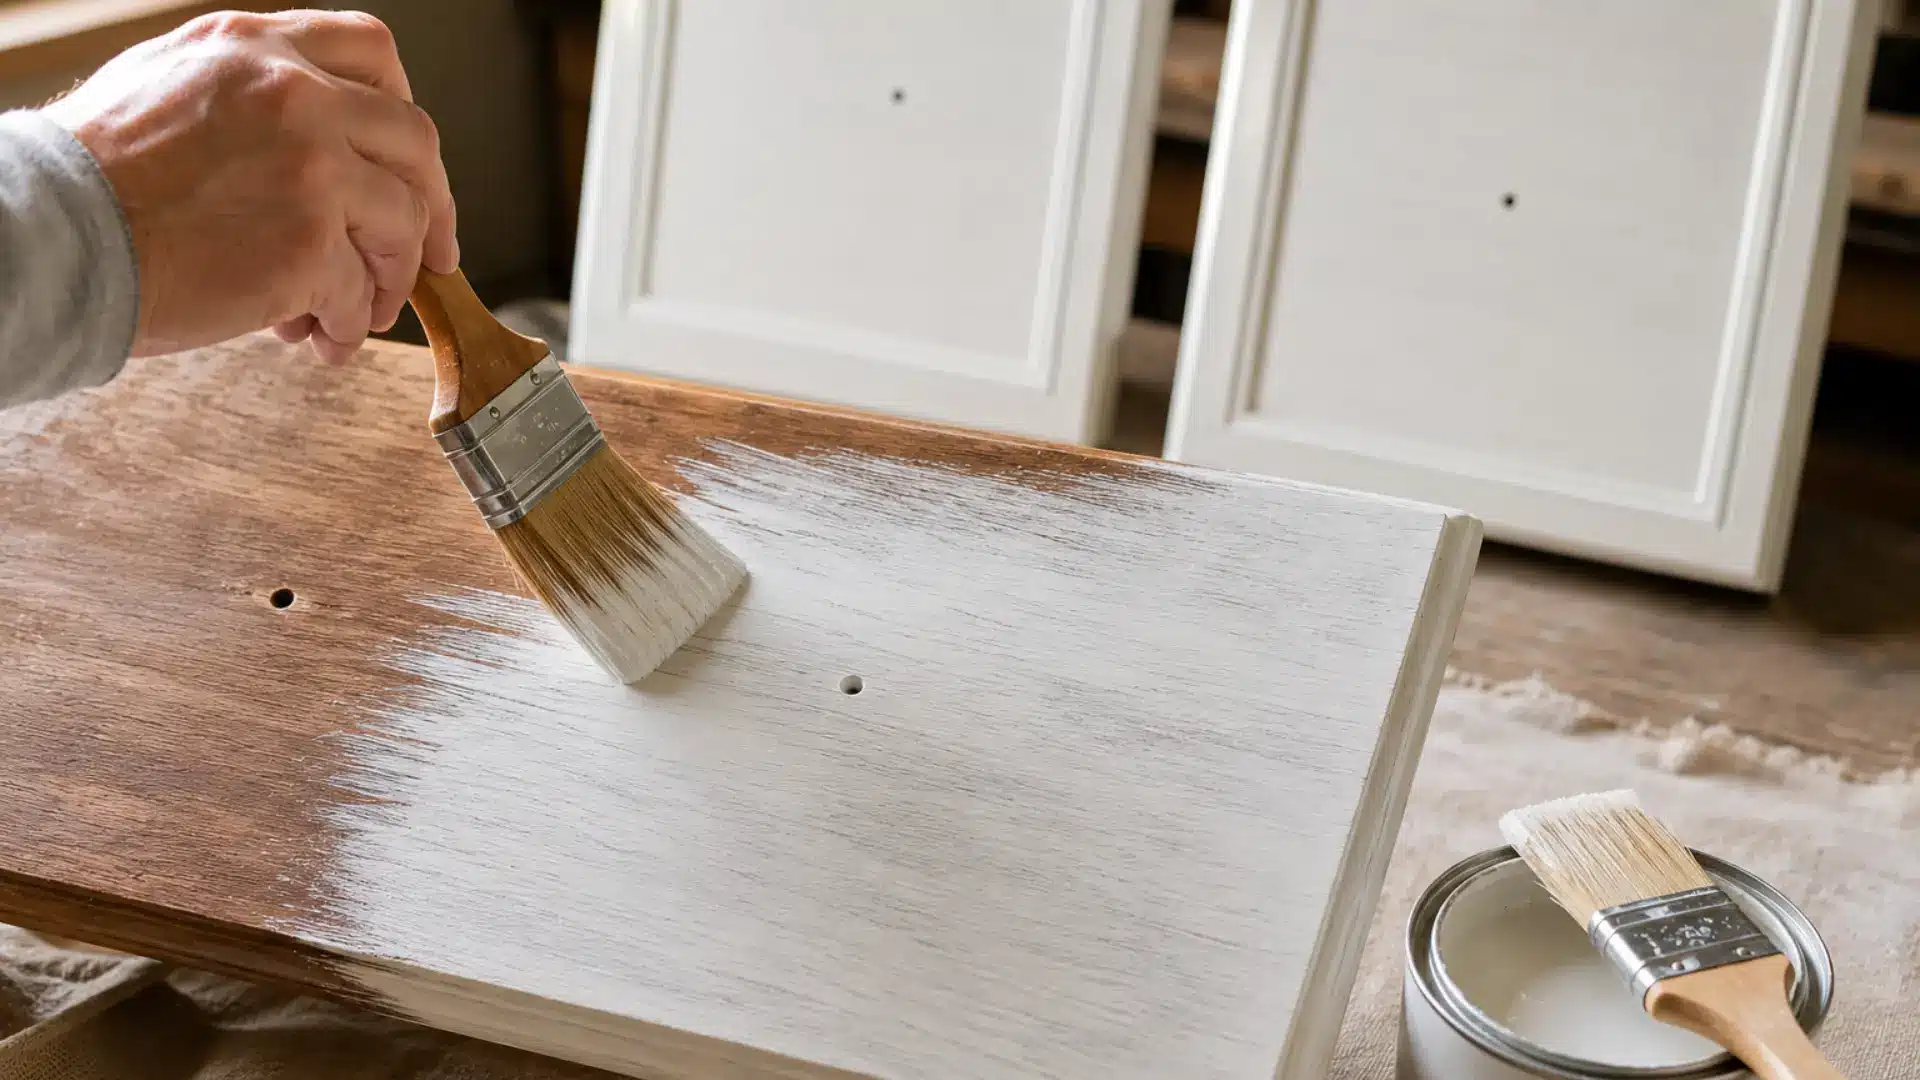
One of the most common beginner mistakes is applying paint too thickly in an attempt to finish faster. Thick coats take longer to dry, drip easily, and often crack or peel over time.
Thin coats dry faster, layer more smoothly, and produce a far more durable and professional-looking result. Two to three thin coats will always outperform one heavy coat.
Lightly sand between coats with a very fine grit for an ultra-smooth finish. Patience during the painting stage directly translates into a higher selling price at the end.
Tip 21: Seal and Protect Your Finished Piece with the Right Topcoat
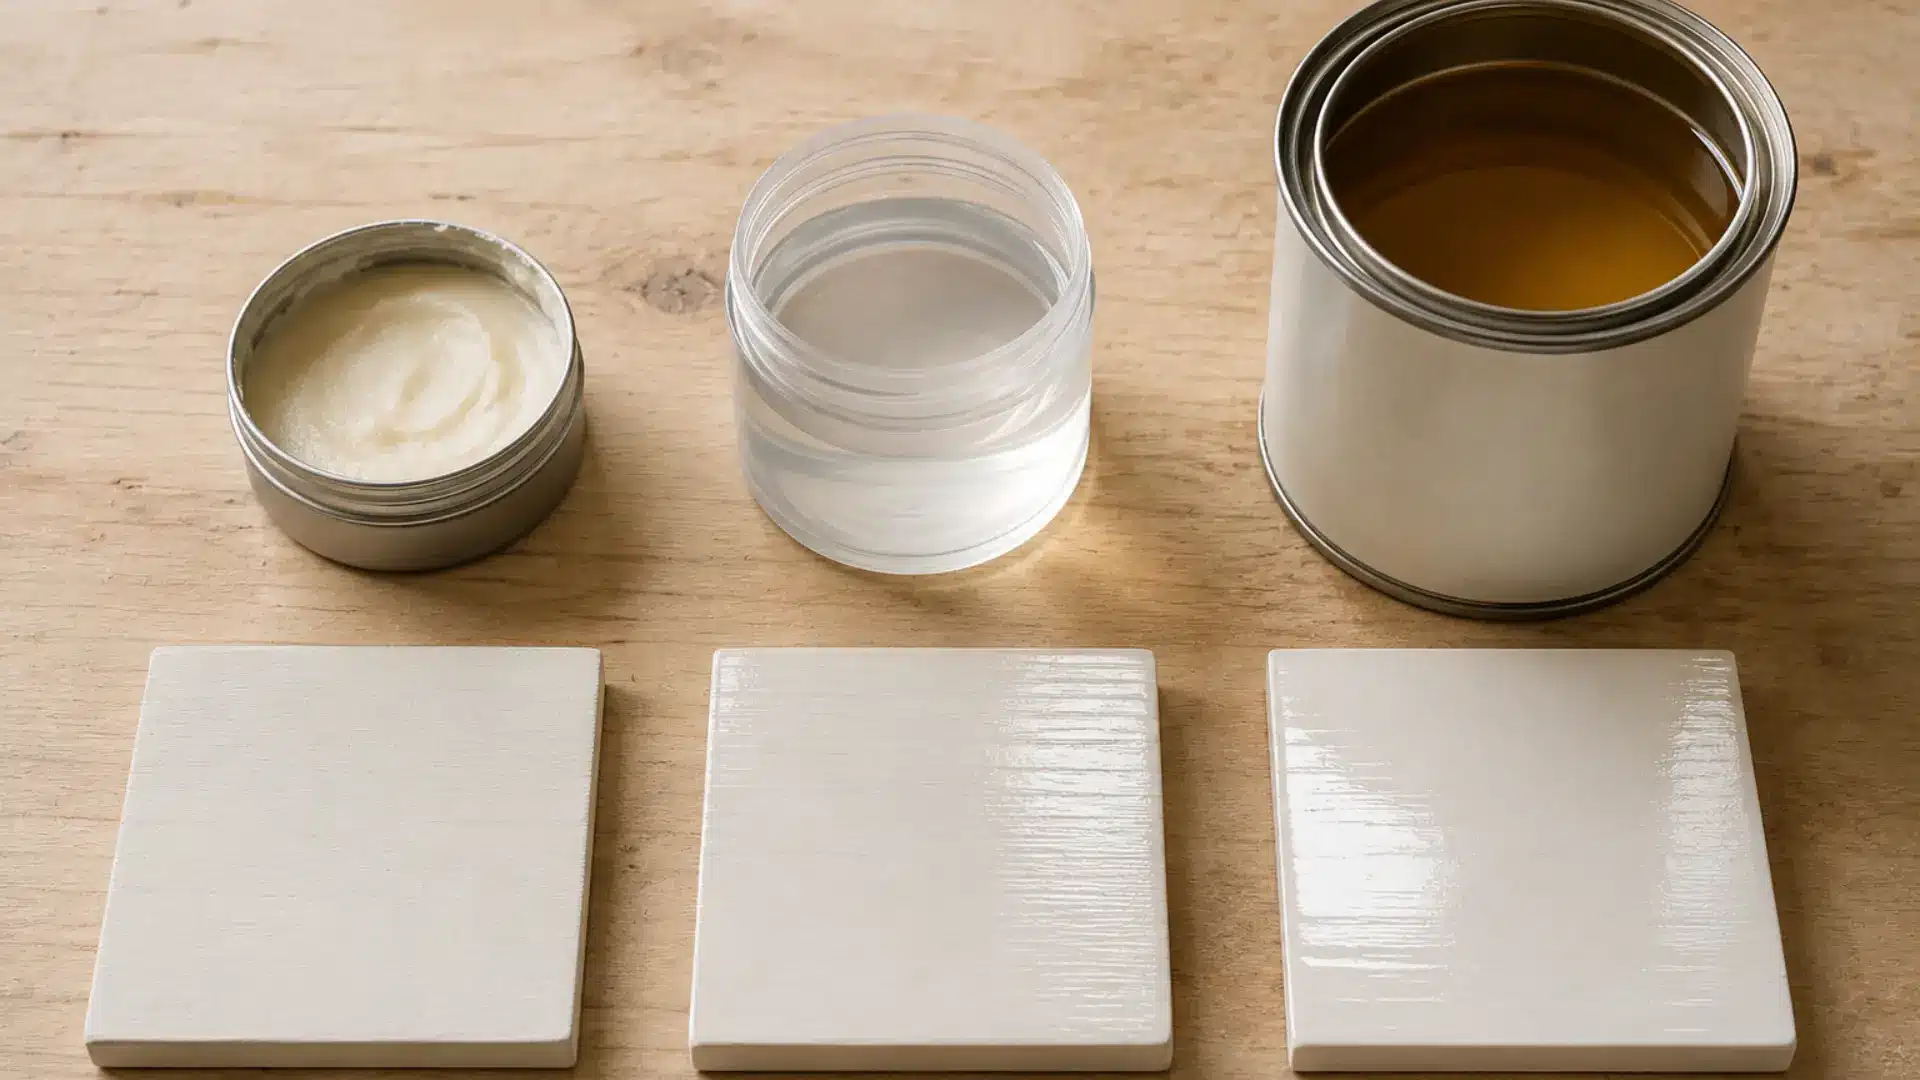
A topcoat is what protects all your hard work from daily wear, scratches, and moisture once the piece is in someone’s home.
Without it, even the most beautiful paint job will chip and scuff quickly, leading to unhappy buyers and damage to your reputation as a seller.
Wax gives a soft and natural finish ideal for decorative pieces. Polycrylic is water-based, dries clear, and works well on painted surfaces. Polyurethane is the most durable option and is best for high-use pieces like dining tables and dressers.
Match your topcoat to the function of the piece.
Pricing and Selling
Making a profit is not just about buying furniture cheaply. Learning how to price based on the piece’s condition, style, quality, and local demand can help you sell faster and earn more from your work.
Tip 22: Price Based on Value, Not Just What You Paid

Most beginners make the mistake of pricing based only on what they spent rather than what the market will bear.
Research comparable sold listings on Facebook Marketplace, Craigslist, and OfferUp to understand what similar pieces in similar condition are actually selling for in your area.
A beautifully refinished solid-wood dresser in a trending color can command a significantly higher price than its raw material cost would suggest.
Price with confidence based on the transformation you delivered and the current demand in your local market.
Tip 23: Stage and Style Your Piece Before You Photograph It
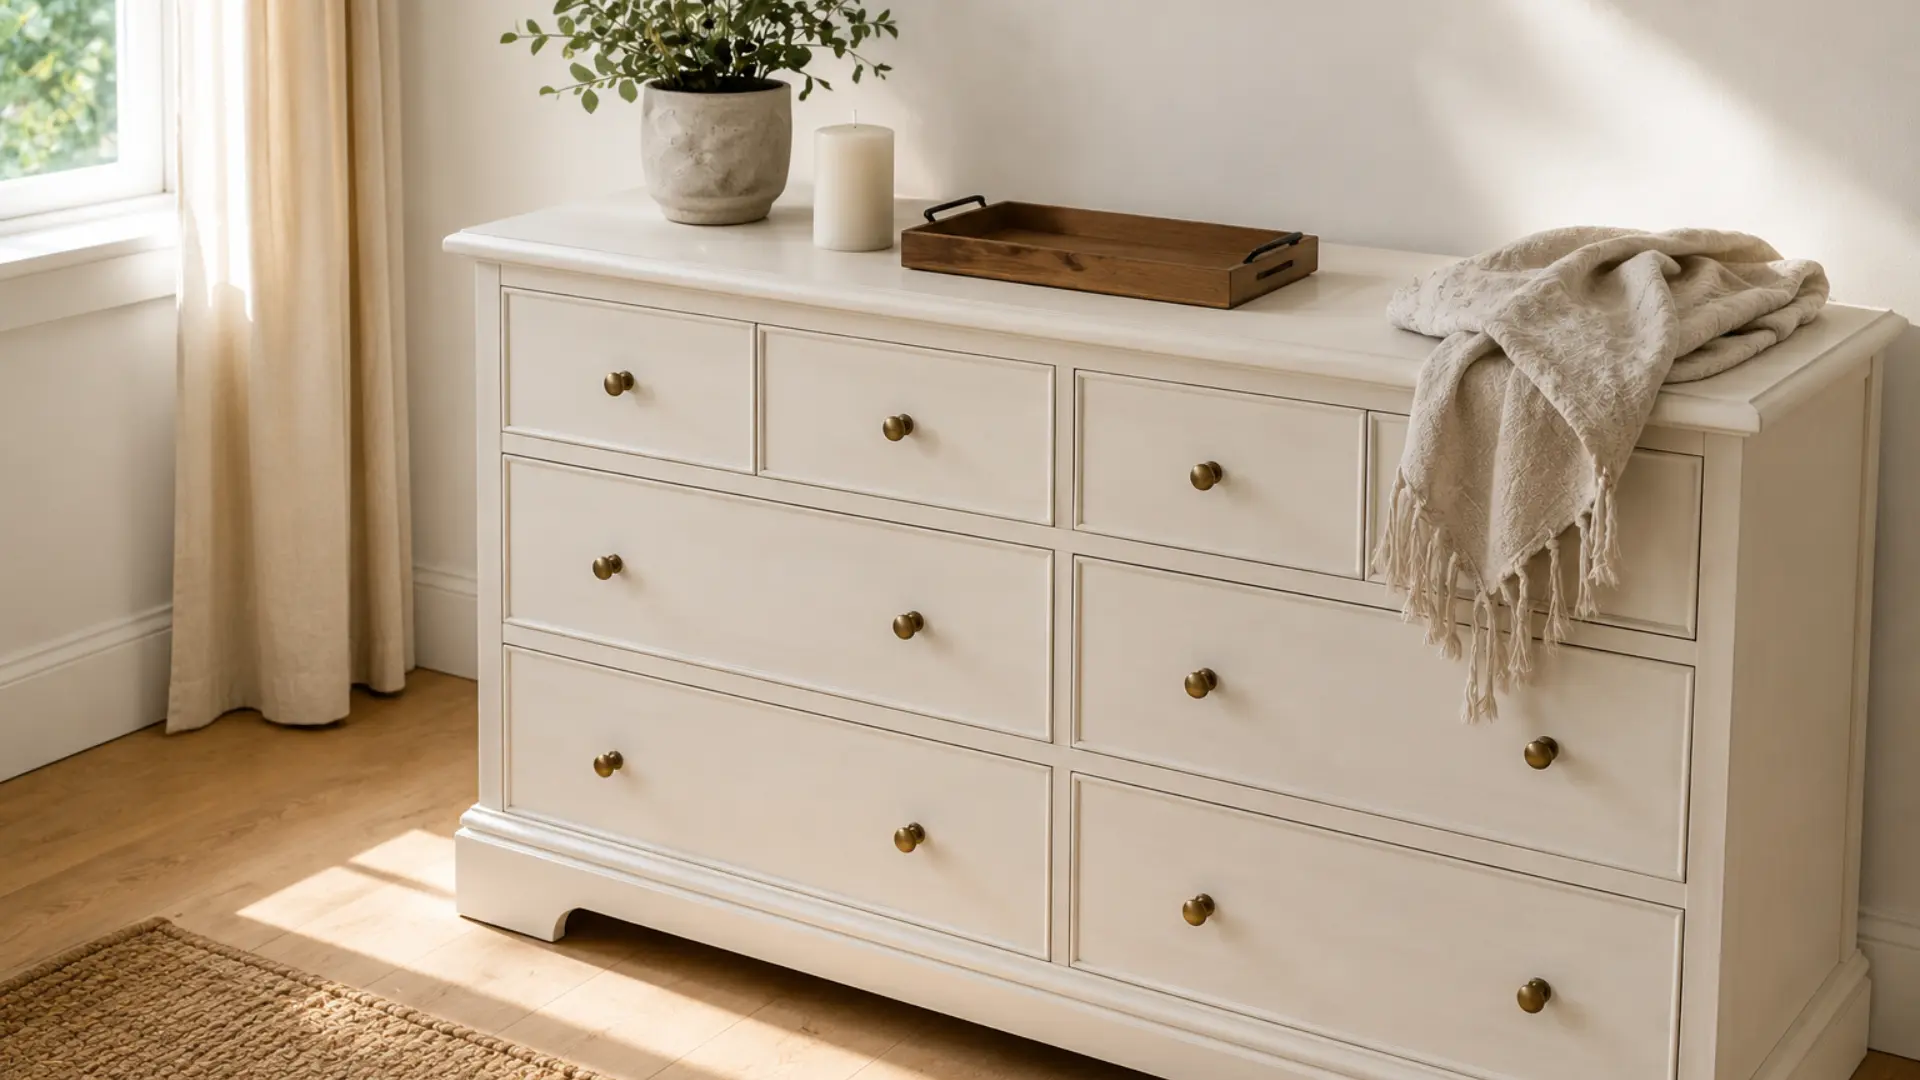
A piece that is photographed bare on a garage floor will always sell for less than the same piece styled thoughtfully in a warm, inviting setting.
Staging does not require expensive props or a decorated home. A small plant, a candle, a folded throw, or a simple tray placed on a dresser instantly conveys lifestyle and perceived value to potential buyers.
Move the piece to the best lit area of your home, add a few simple accessories, and take a moment to style it before you pick up your phone or camera.
Tip 24: Take High Quality Photos with Natural Light
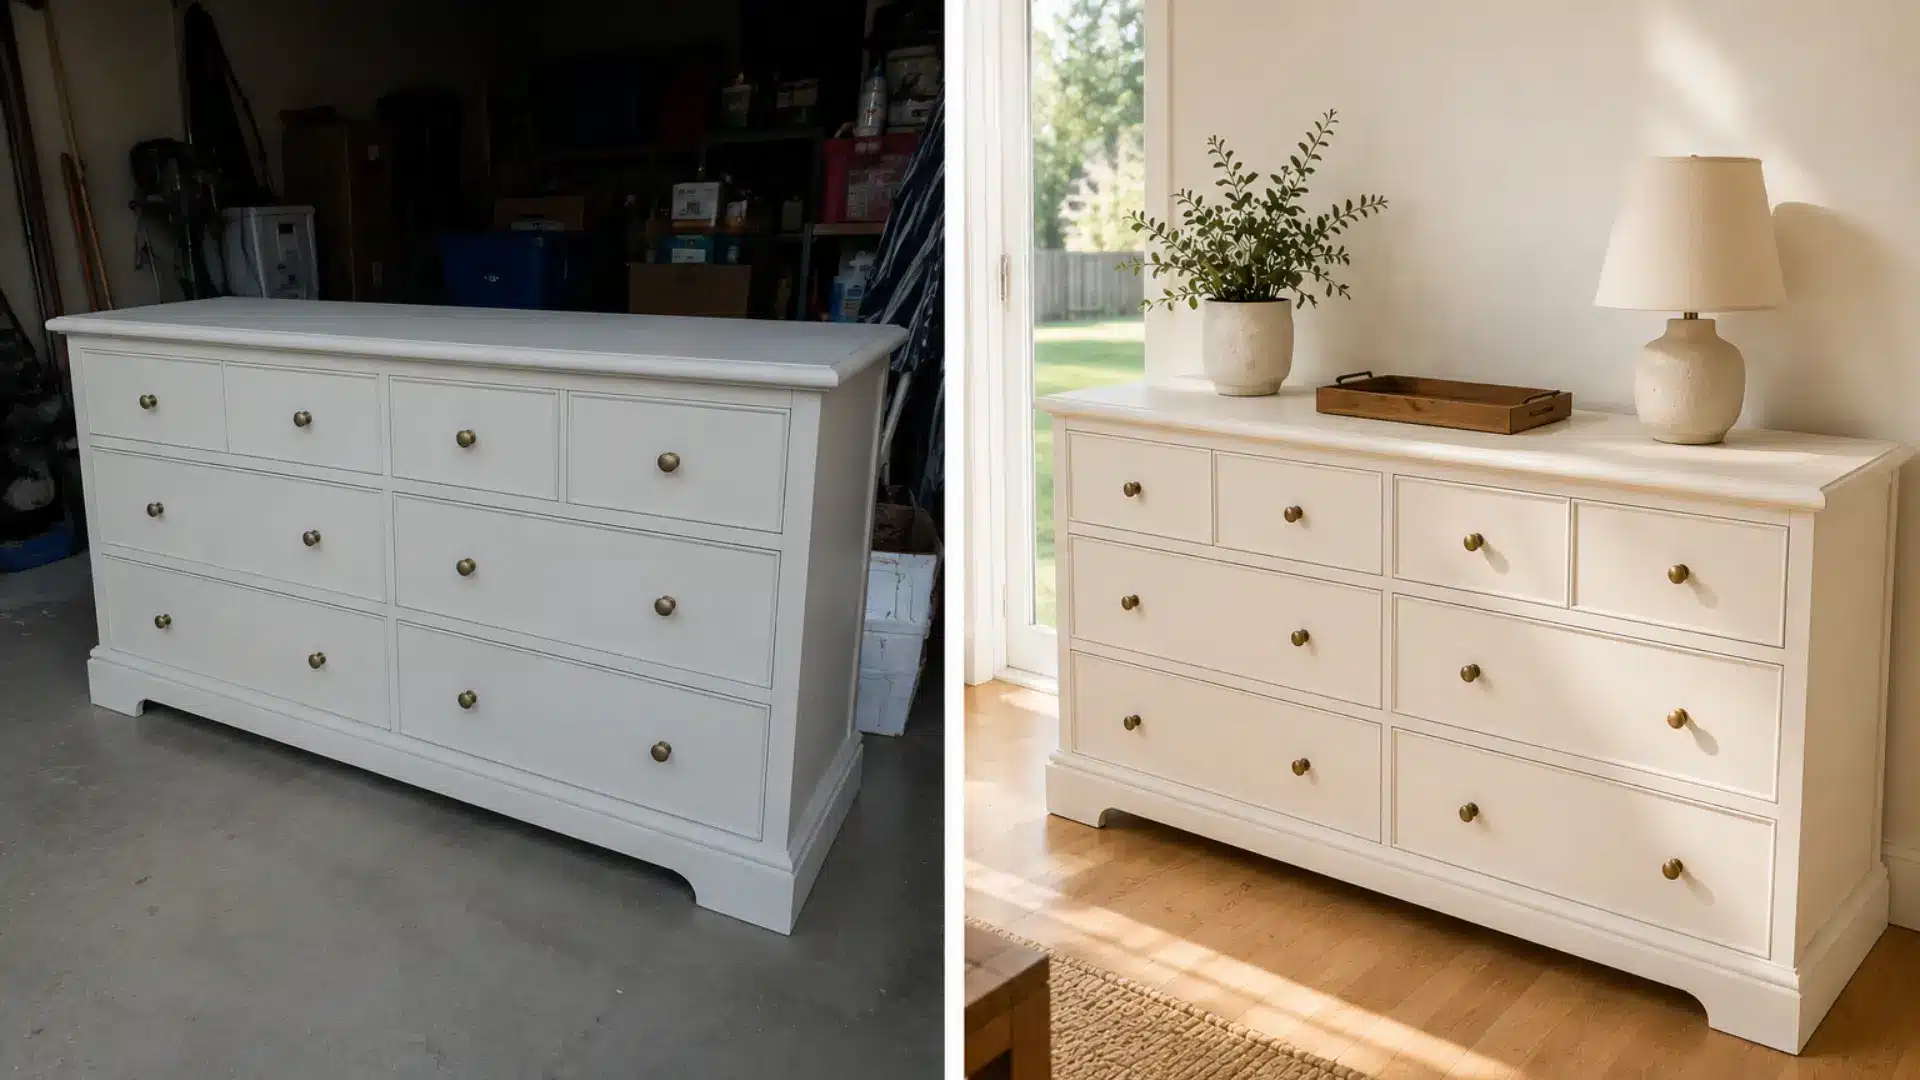
Photography is your most powerful selling tool when flipping furniture online. Poor lighting, cluttered backgrounds, and blurry images will kill buyer interest no matter how good the piece looks in person.
Natural light is free, flattering, and available to everyone. Position your piece near an open door or large window during the late morning or early afternoon for the best results.
Take multiple angles, including straight-on, diagonal, close-up detail shots, and, if possible, a full-room context shot. Clean, simple backgrounds let the piece speak for itself.
Tip 25: Write Listings That Answer Every Buyer Question Upfront

A well-written listing reduces back-and-forth messaging and attracts more serious buyers from the start.
Include the exact dimensions, the material, the paint color used, the type of finish applied, the condition of the piece, and whether it has any minor imperfections.
Buyers want to know if it will fit in their space and whether it matches what they already have at home.
The more information you provide upfront, the more trust you build with a buyer who has never seen the piece in person and is deciding whether to reach out.
Tip 26: Sell Across Multiple Platforms to Move Pieces Faster
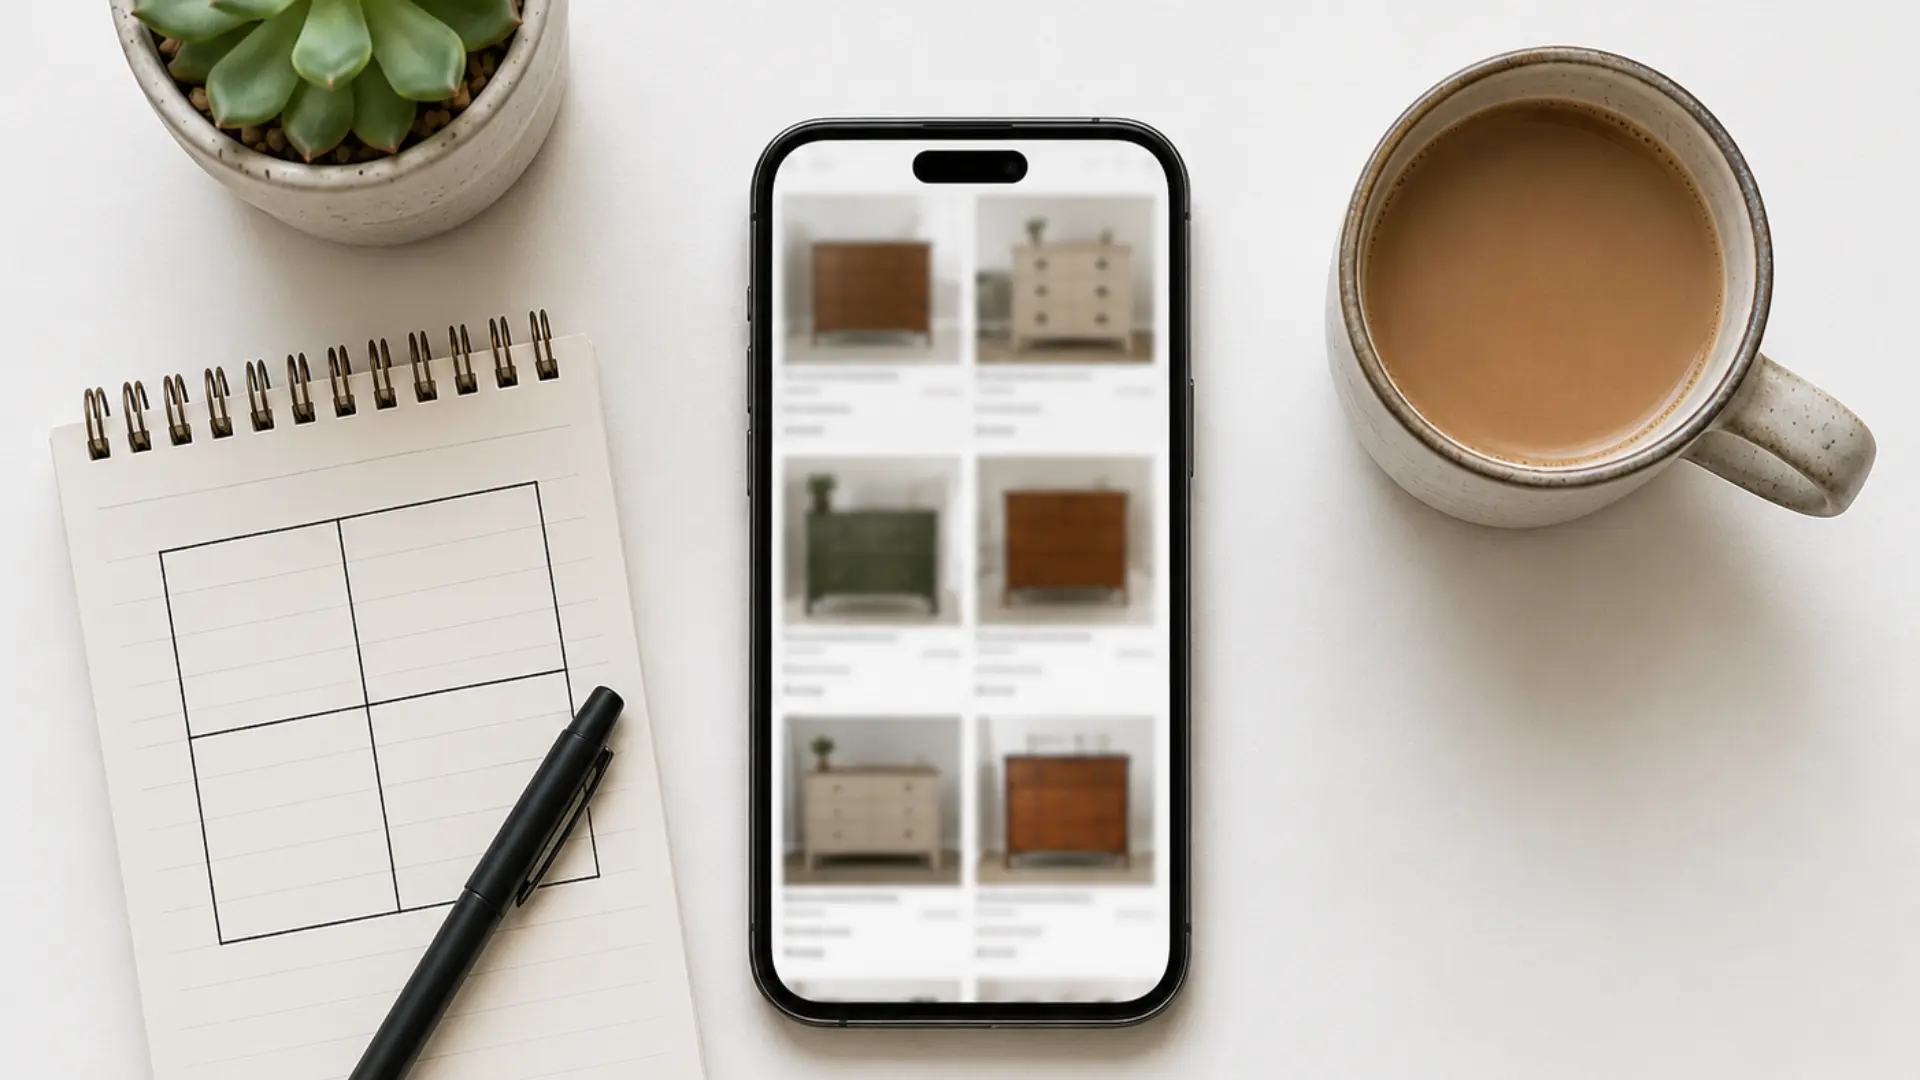
Relying on a single platform to sell your flips means leaving money and speed on the table. Facebook Marketplace is the most popular and highest traffic option for local furniture sales.
Craigslist still has an active user base in many cities.
Etsy works well for pieces with a vintage or artisan aesthetic that attract buyers willing to pay a premium. Local consignment shops are a great option if you prefer a hands-off selling experience.
Listing the same piece across multiple platforms simultaneously maximizes your exposure and dramatically reduces the time it sits unsold.
Tip 27: Track Every Cost and Every Sale from Your Very First Flip
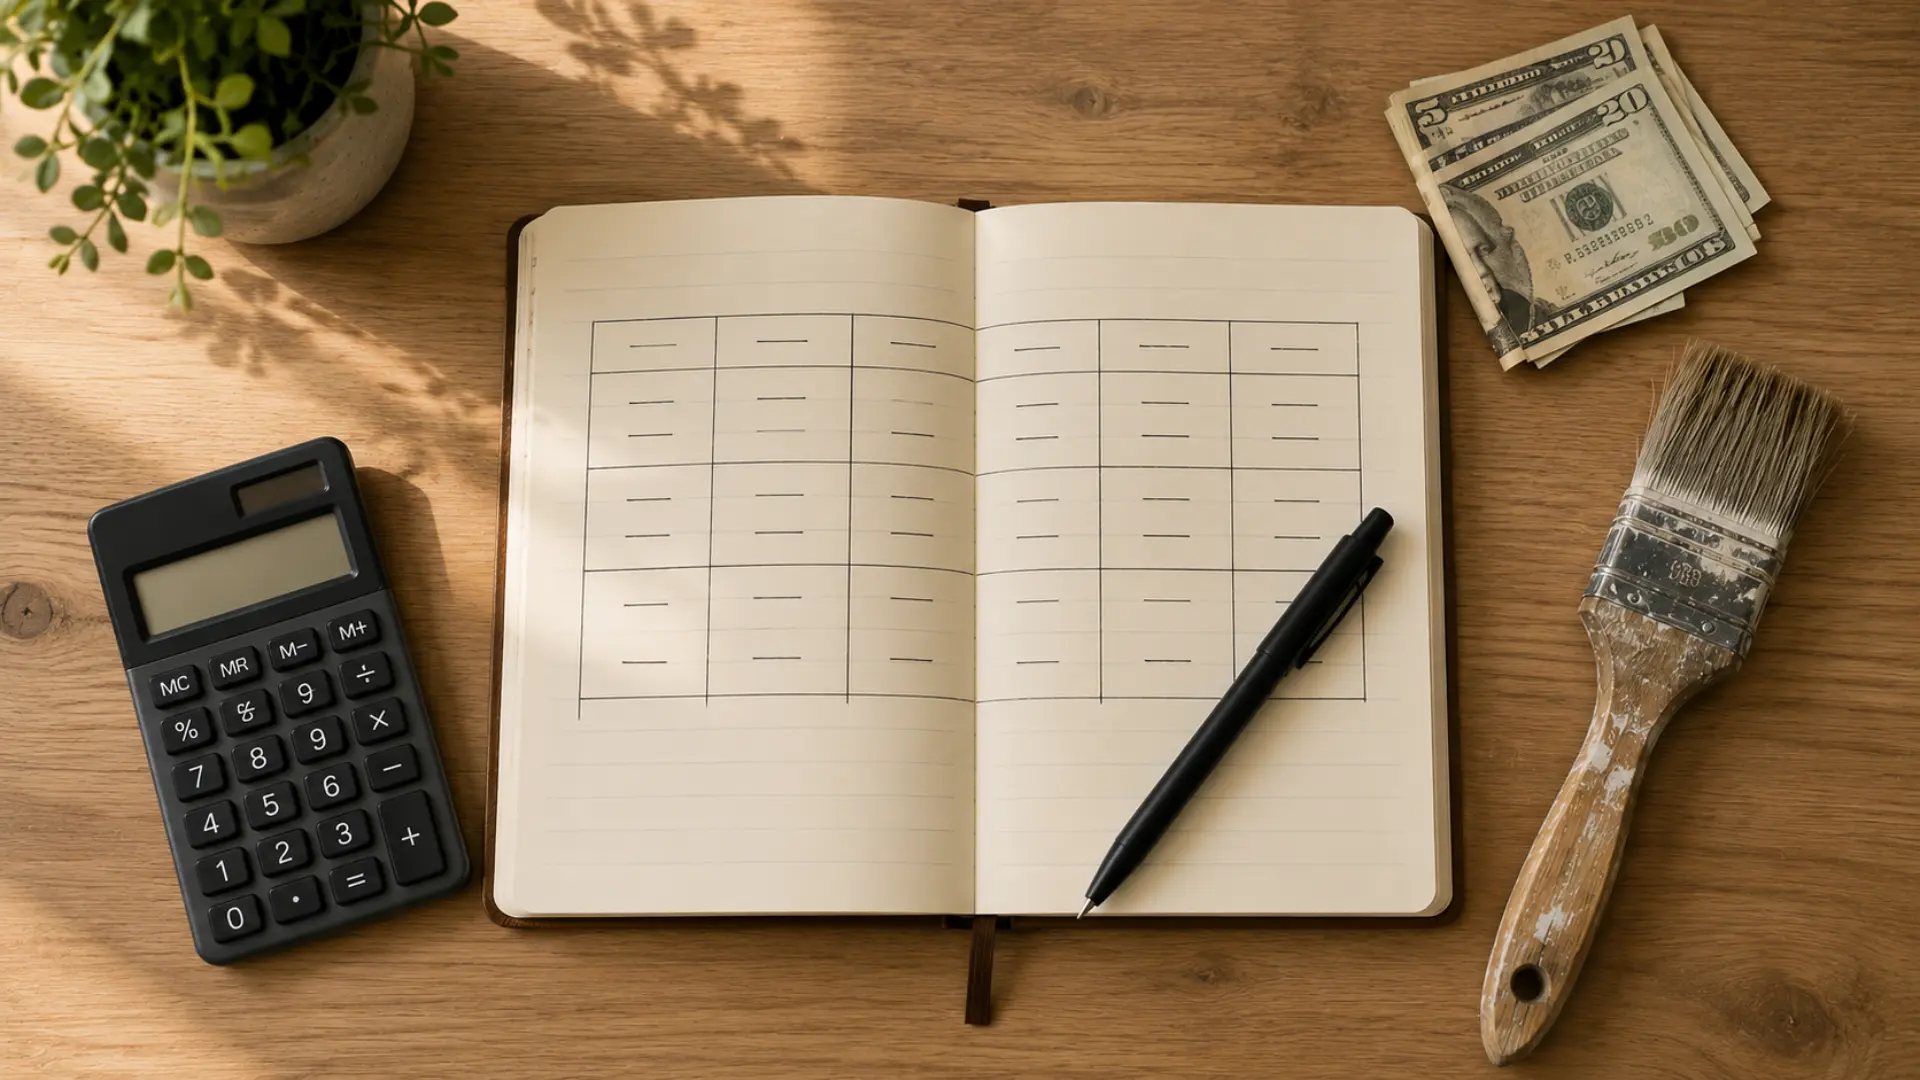
Treating furniture flipping like a real business from day one is what separates people who build consistent income from those who stay stuck, wondering why they are not making more money.
Keep a simple record of every purchase price, every supply cost, every platform fee, and every sale price for each piece you flip.
This gives you a clear picture of your actual profit per flip, helps you identify which types of pieces are most profitable, and builds the financial habit that makes scaling your flipping business significantly easier over time.
Is Furniture Flipping Worth It?
Furniture flipping can be genuinely profitable, but getting there takes honesty about what the work actually involves.
The income is flexible, the creative process is satisfying, and giving worn pieces a second life carries real appeal. The physical labor is consistent, storage needs grow quickly, and sales slow during certain seasons.
People who do well here tend to have a sharp eye for undervalued finds, a tolerance for inconsistent income, and enough space to work comfortably.
Match those qualities, and the venture tends to pay off. Miss them, and the enthusiasm fades faster than the paint dries.
That’s a Wrap
Furniture flipping is one of the few side hustles where a small investment of time and money can return real, consistent profit.
We walked through everything from finding the right pieces and prepping them properly to painting with confidence and selling fast.
The process is learnable, repeatable, and genuinely rewarding once you land that first successful flip.
Pick one piece this week, apply what you learned here, and see what it sells for. Your next paycheck might already be sitting in a thrift store waiting for you.
Frequently Asked Questions (FAQ)
How Much Money Can You Make Flipping Furniture?
It depends on the pieces you source, the time you put in, and your local market. Casual flippers typically make a few hundred dollars a month, while those who treat it more seriously can bring in a steady four-figure monthly income.
What Furniture Sells the Best When Flipped?
Dressers, nightstands, dining chairs, and solid wood side tables are consistently the strongest sellers. They are easy to source, simple to refinish, and in constant demand.
How Much Does It Cost to Start Flipping Furniture?
Most beginners get started with under $100 total. A cheaply sourced piece, combined with a basic set of supplies including paint, primer, sandpaper, and a brush, is all you need for your first project.
Do I Need a License to Flip Furniture?
For casual flipping as a side hustle, most people do not need any formal license. However, if you scale into a full-time business or sell regularly at high volume, registering as a sole proprietor or small business in your region is a smart move.

Holding a Master’s in Architecture from the University of Texas at Austin, Emily Rodriguez has dedicated more than two decades to the art and science of building renovation. Starting her journey in historic preservation, she developed a profound respect for blending old with new in building design. Emily became a vital part of our team in 2019, renowned for her insightful and innovative renovation tips. She has been leading our DIY home improvement series since ever since, where she shares her wealth of knowledge in turning outdated spaces into modern havens. When not engaged in writing or consulting, Emily is a passionate advocate for heritage conservation and enjoys exploring vintage architecture, a hobby that complements her professional expertise.