

Residential air conditioners use a sealed refrigerant circuit to carry indoor heat outside. The correct charge supports steady cooling, shorter cycles, and better humidity control. If the level drops, a leak or mechanical fault is usually involved. Homeowners should not open the system, yet safe observation still has value. Careful checks help us recognize warning signs early and request licensed service before comfort, energy use, or compressor life suffers.
Start With Safe Visual Clues
Before any tool is used, visible symptoms can tell a clear story. This guide on how to check AC refrigerant level reinforces a sound rule: residents can observe cooling behavior, ice, stains, airflow, and unusual noise, while pressure testing, charging, and repairs belong with licensed technicians trained to handle refrigerant safely.
Know What Refrigerant Does
Refrigerant absorbs heat at the indoor coil, then releases it through the outdoor coil. It shifts between liquid and vapor as pressure changes inside the circuit. That pathway should stay sealed. Weak cooling may come from poor airflow, electrical failure, dirty coils, or charge loss. Low refrigerant is never routine consumption.
Avoid Opening the System
No homeowner should attach gauges, loosen service valves, or add refrigerant without proper certification. Direct contact can injure skin or eyes, and vapor exposure can affect breathing. Federal rules also govern recovery and handling. Safe checks rely on symptoms, temperatures, and equipment behavior. Pressure readings require a trained air conditioning technician.
Check Airflow First
Poor airflow often imitates low refrigerant. A clogged filter limits heat transfer and may freeze the indoor coil. Closed vents, blocked returns, or dust-packed grilles can distort cooling results. Replace a dirty filter, then clear furniture from return openings. Reliable airflow makes every later observation more meaningful.
Measure the Temperature Split
Place a digital thermometer at the return grille, then check a nearby supply vent. Many systems show a 15 to 20 degree Fahrenheit split during cooling. A smaller difference may suggest low charge, dirty coils, weak airflow, or equipment strain. Test after the unit has run steadily for 10 minutes.
Look for Ice

Ice on copper tubing, the indoor coil area, or outdoor components needs prompt attention. Frost may appear when refrigerant pressure falls too far. Restricted airflow can create the same symptom. Turn cooling off if ice forms, and run the fan to help thaw the coil. Never scrape tubing.
Feel the Suction Line
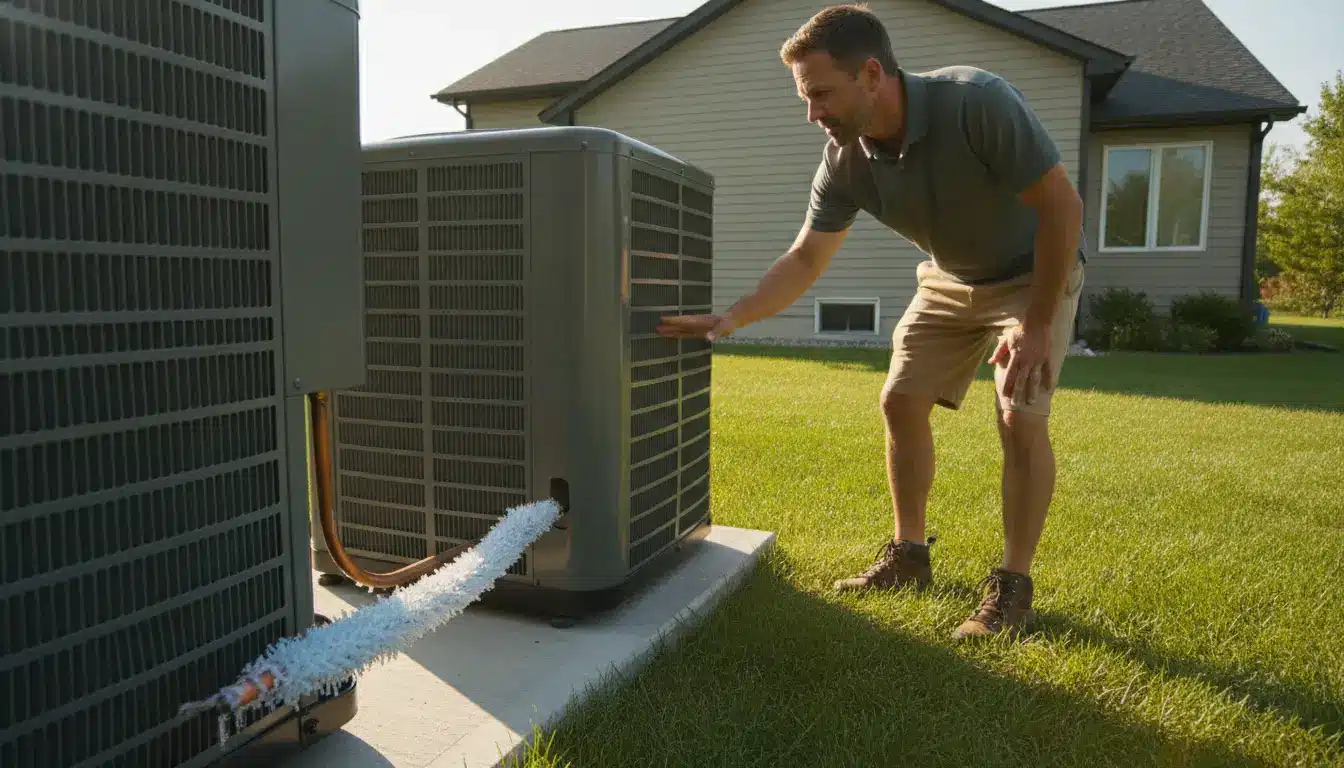
The larger insulated copper line near the outdoor unit usually feels cool during operation. Light sweating can be normal in humid weather. If that line feels warm while rooms stay uncomfortable, service may be needed. The smaller bare line often runs warm or hot. Touch carefully, avoiding sharp cabinet edges.
Watch for Oily Stains
Refrigerant carries oil through the circuit, so greasy marks can signal leakage. Check around service valves, copper joints, coils, and the compressor area. Dust stuck to oily residue makes the clue easier to spot. Cleaning the stain will not correct the fault. A technician should locate and repair the opening.
Listen for Leak Sounds
Hissing, bubbling, or faint rushing near refrigerant lines may indicate escaping gas. These sounds can be easier to notice after the outdoor fan stops. Normal equipment noises can sound similar, so noise alone proves little. Combine that clue with warm supply air, long cycles, or ice before scheduling service.
Track Run Time
A system short on refrigerant may run longer than usual. Rooms can feel humid, uneven, or warmer than the thermostat setting. Extended cycles raise electricity use and place extra strain on the compressor. Compare current operation with past cooling on similar outdoor temperatures. Sudden changes deserve attention.
Review Energy Bills
Utility records often reveal cooling stress. A sharp increase, without a rate change or new household habit, can point to inefficient operation. Refrigerant loss forces the system to work harder for the same heat removal. Dirty coils, duct leakage, and worn parts can produce similar costs. Patterns help diagnosis.
Call for Certified Testing
A licensed technician can confirm charge through pressure readings, temperature checks, and leak detection. Service may include superheat or subcooling measurements, depending on equipment type. Adding refrigerant without repairing a leak wastes money and can damage the compressor. Proper work includes finding the fault, sealing it, evacuating the circuit, and charging by manufacturer data.
Keep Records
Simple notes make service visits more accurate. Record filter changes, thermostat settings, noises, ice events, and repair dates. Keep model numbers and refrigerant type with maintenance paperwork. Clear history helps a technician compare symptoms against prior performance. Those records can also support replacement planning for older systems.
Conclusion
Safe refrigerant checks do not require opening an air conditioner or handling chemicals. They depend on airflow review, temperature comparison, visual inspection, sound awareness, and run time patterns. These steps help us separate basic maintenance issues from signs that need certified testing. If warm air, ice, oily residue, or rising bills continue after simple checks, professional diagnosis protects the compressor, restores comfort, and keeps cooling equipment within safe operating limits.

Tommy Hardy, an alumnus of the Georgia Institute of Technology with a degree in Mechanical Engineering, has been a go-to figure in residential upkeep and innovation for over 18 years. His career commenced in a leading home appliance manufacturing company, where he mastered the intricacies of household systems. Joining our platform in 2020, Tommy quickly became a reader favorite for his practical and easy-to-follow guides. He took the helm of our DIY section in 2019, consistently delivering content that empowers homeowners. Beyond his professional pursuits, Tommy is a passionate gardener and enjoys woodworking, skills enhancing his hands-on approach to home care.