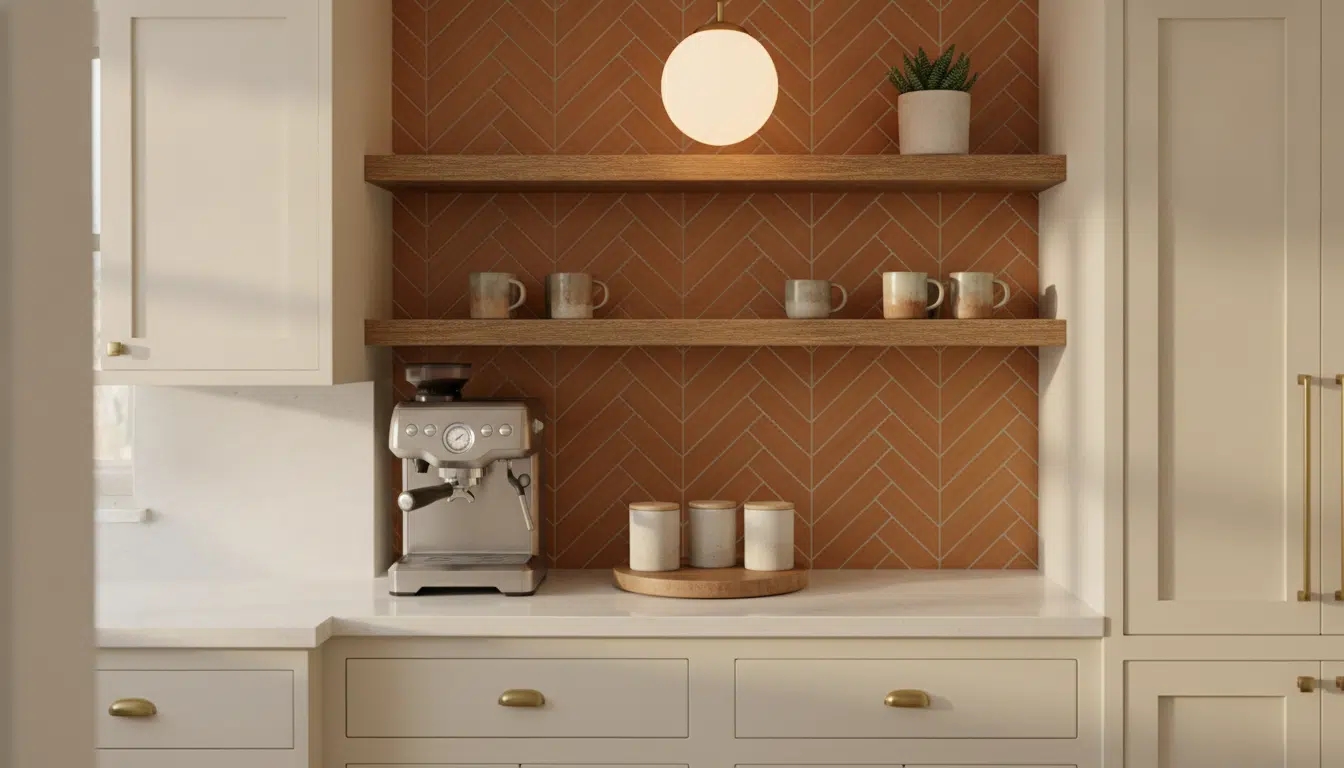
A coffee bar has become one of those small-space upgrades that punches well above its size. Unlike a full kitchen remodel, it’s a project you can finish in a weekend, and it does more for the way a room feels than almost any other single addition. Done well, it reads as an intentional design feature rather than an appliance graveyard on the counter. Done poorly, it’s just clutter with better branding.
If you’re planning one, here’s how to design it so it actually earns its place, both functionally and visually, rather than becoming another surface you have to work around.
Start With Location, Not Decoration
Before you think about tile or open shelving, figure out where the bar physically makes sense. The best spot is usually a dead zone: the end of a run of cabinets, an awkward corner near the fridge, or an unused stretch of wall in a butler’s pantry. You want somewhere close enough to a water source and outlet that you’re not running an extension cord across the floor, but distinct enough from the main cooking zone that it reads as its own feature.
Once you’ve settled on a footprint, think through storage before anything else, because this is where a lot of coffee bars quietly fail.
A closed cabinet or a few deep drawers below the counter will do more for the finished look than open shelving alone, since it gives you somewhere to keep the less photogenic essentials: filters, syrups, and your bulk coffee beans out of sight until you actually need them.
Buying beans in bulk is also a practical fit for a dedicated bar, since it means fewer half-empty bags cluttering the space and one less thing to restock every couple of weeks. Just keep them in an airtight canister once the original bag is open, since a bar built for good coffee should also be stocked with beans that taste like it.
Build the Cabinetry and Shelving to Match What’s Already There
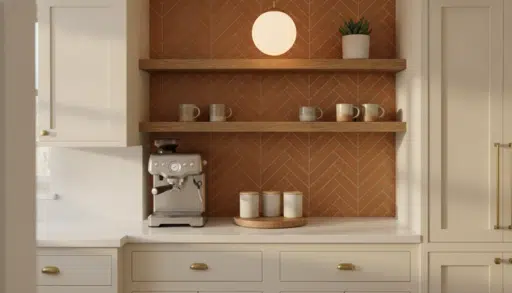
The fastest way to make a coffee bar look like an afterthought is to build it in a style that doesn’t match the rest of the kitchen. If your cabinets are shaker-style with brushed brass hardware, a matching lower cabinet with the same door profile and hardware will look built-in rather than bolted on, even if it’s a standalone piece.
Stock cabinets from a home center work fine here; the trick is matching the paint color and hardware finish exactly, not necessarily the exact cabinet line.
Open shelving above the counter is where you get to have some fun, but it works best in moderation. Two floating shelves, evenly spaced, with a mix of mugs, a small plant, and one or two ceramic canisters, will look considered.
Five shelves stacked with every mug you own will look like storage overflow. If you’re working with a small footprint, a single shelf plus one closed cabinet is often the more elegant answer than trying to fit everything on display.
Brackets matter more than people expect here too. A slim, hidden bracket keeps the eye on what’s displayed rather than what’s holding it up, while a chunky decorative bracket can work in a farmhouse-style kitchen but will fight a more minimal look. Match the bracket finish to your cabinet hardware and it will read as one cohesive design decision rather than two separate projects bolted together.
Choose a Countertop and Backsplash That Can Handle Daily Use
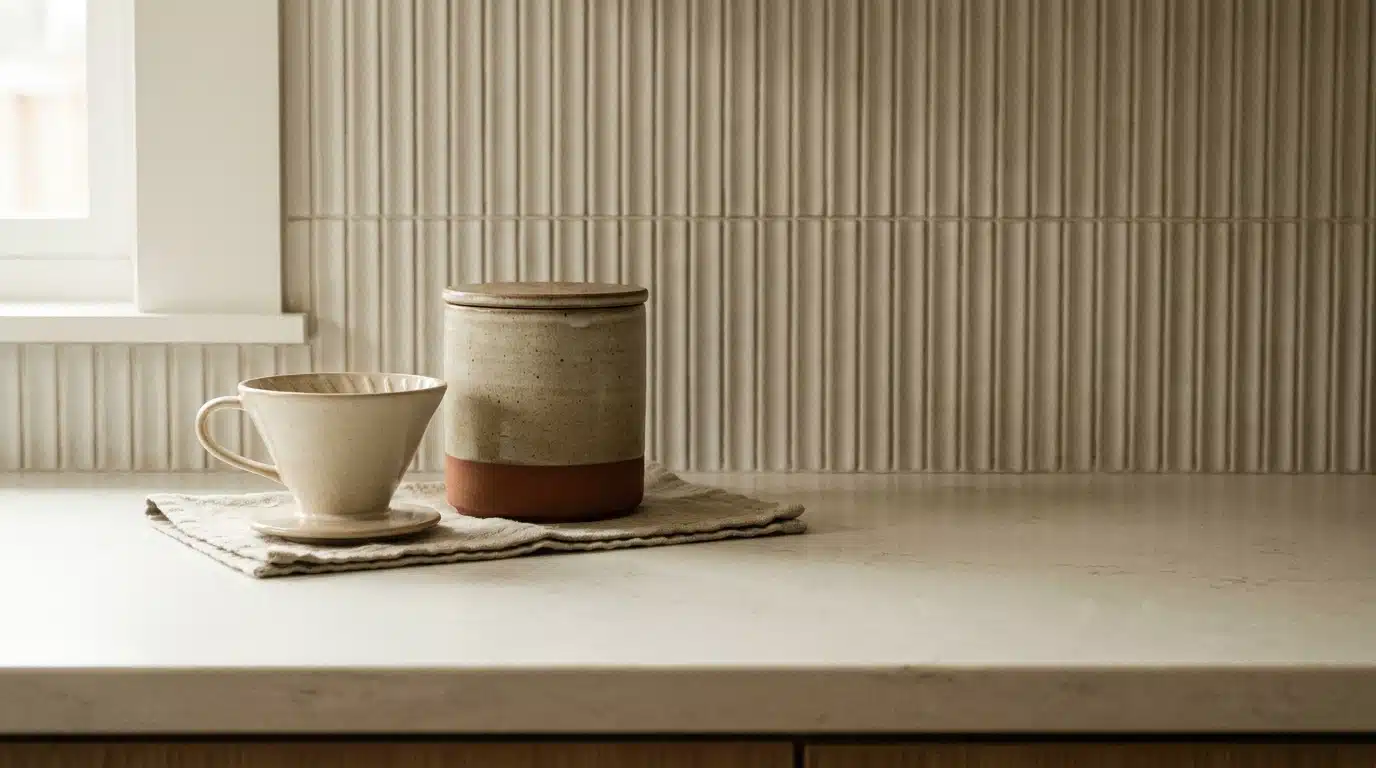
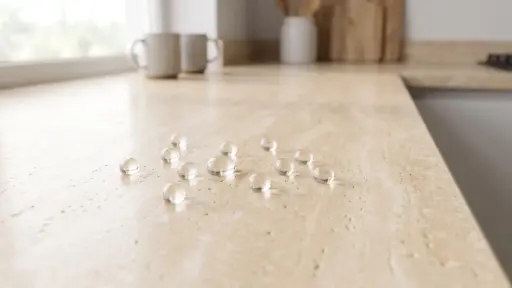
A coffee bar counter takes more abuse than people expect: spilled grounds, water rings, the occasional dropped mug. Quartz is the easiest low-maintenance option and shrugs off moisture and staining better than almost anything else on the market, but it’s not the best choice if a warming plate is part of your setup.
Quartz is bound with resin, and sustained heat, the kind a coffee maker or warming plate puts out over hours, can leave a permanent scorch mark that no amount of cleaning fixes, so keep a trivet or mat under anything that stays warm.
If a warming plate is non-negotiable, granite is the safer bet, since it’s solid stone with no resin binder and handles heat far better. Butcher block looks warmer and pairs beautifully with a farmhouse or transitional kitchen, but it needs regular sealing if it’s going to sit near a water source without warping.
For the backsplash, this is a good spot to take a small design risk you might not commit to across an entire kitchen: a bold tile pattern, a contrasting grout color, or a material like fluted stone or beadboard that adds texture in a contained area.
Because the bar is a small, self-contained zone, a bolder choice here tends to read as a deliberate design moment rather than overwhelming the room the way it might across a full backsplash.
Finish With Lighting and Styling Details
Good task lighting matters more here than people assume, especially if the bar sits somewhere the overhead lighting doesn’t quite reach. A single pendant light or a strip of under-cabinet LED lighting will make the space feel finished and make it genuinely easier to use before your coffee has kicked in. Warm white bulbs, rather than cool white, will keep the space feeling cozy instead of clinical.
Styling is the last ten percent, but it’s the part people notice first. Stick to a tight color palette, two or three materials at most (wood, ceramic, brass, for example) so the space feels curated rather than assembled from whatever was on sale.
A tray to corral the smaller items keeps the counter from looking busy, and swapping bagged coffee into matching canisters instantly makes even a modest setup look more like a design feature than a utility corner.
The Payoff
A well-designed coffee bar does something a lot of home upgrades don’t: it gets used every single day, which means the return on the effort you put in shows up almost immediately. It doesn’t need to be large or expensive to work. It needs a sensible layout, cabinetry that matches the rest of your kitchen, materials that can handle daily wear, and a few styling choices that make it feel deliberate rather than accidental.
Start with the footprint, build outward from there, and resist the urge to over-decorate before the bones of the space are right. Get those fundamentals in place and the rest, the mugs, the canisters, the little tray of syrups, will fall into place on its own.

NKBA-certified designer Harper Williams holds a degree in Interior Architecture from Auburn University and has specialized in high-function kitchens and spa-inspired baths since 2011. She joined us in 2024 to simplify layout planning, fixture selection, and budget tricks for remodelers. Away from CAD files, Harper restores vintage cookstoves and crafts small-batch soaps.