

Picture a homeowner with a stack of timber ready for a long-awaited DIY project. The boards look dry and feel solid, but what if there is still more moisture inside than you realise? Hidden moisture can contribute to movement, warping, or shrinking after a project is finished, potentially turning a straightforward build into a frustrating repair.
A moisture meter provides a simple way to check what you cannot see. Instead of relying only on how timber looks or feels, you can take an actual reading before cutting, joining, or installing it. This small step can help you understand whether the wood is suitably conditioned for the project and give you greater confidence before you begin.
Why Wood Moisture Matters in DIY Projects
Wood naturally exchanges moisture with the surrounding air, and changes in moisture content affect its dimensions and performance. The USDA Forest Service’s Wood Handbook explains that this exchange depends on relative humidity, temperature, and the moisture already present in the wood.
That matters because timber can keep gaining or losing moisture after you bring it home. Building a cabinet, table, or flooring project before the wood reaches a suitable moisture level can lead to gaps between boards, warping, cracks, or doors that no longer fit correctly.
What a Wood Moisture Meter Actually Measures
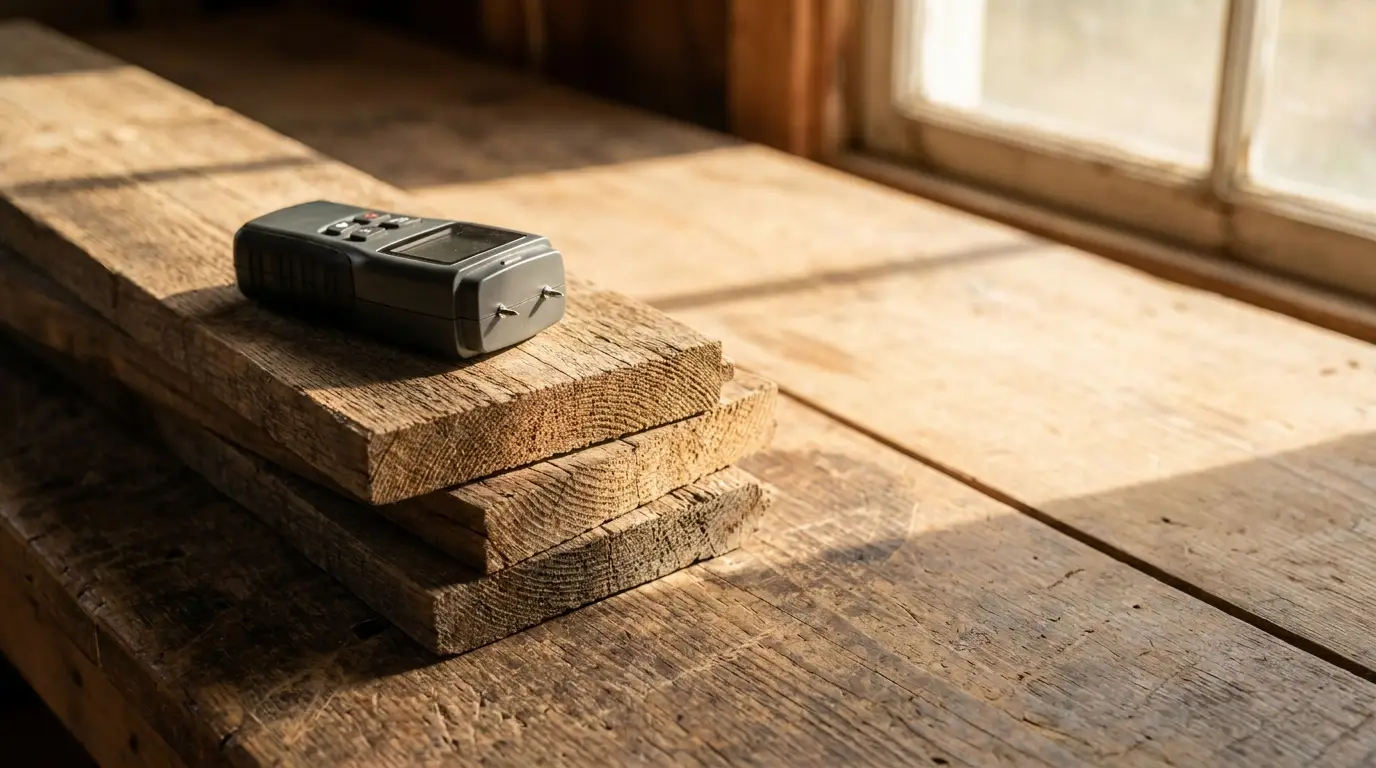
A wood moisture meter gives you a more useful picture of what’s happening inside timber than simply checking whether it feels dry. Depending on the model, it works in one of two main ways:
- Pin meters: Use small probes that make contact with or penetrate the wood to measure its moisture content.
- Pinless meters: Use a sensor placed against the surface, allowing you to take readings without making holes in the timber.
- Percentage reading: The meter displays moisture content as a percentage, giving you a measurable figure rather than a simple “wet” or “dry” result.
- Internal moisture: The reading can reveal moisture that is not obvious from the surface. Timber may feel completely dry while still containing considerably more moisture internally.
The important point is that the reading tells you about the wood’s moisture content, not automatically whether it is ready for your particular project. The appropriate level depends on the type of timber, its intended use, and the environment where it will ultimately be used.
How to Use a Wood Moisture Meter, Step by Step
With that context in mind, here are the six steps that actually take you from an unopened stack of timber to wood genuinely ready to build with.
Step 1: Check What Moisture Level Your Project Requires
Start by establishing the range you’re actually aiming for, before measuring anything. An outdoor project shouldn’t target the same moisture content as an indoor cabinet, and species, construction method, and environment all affect the target. The USDA Wood Handbook notes that lumber intended for furniture, cabinetry, and millwork usually has a final moisture content of around 6% to 8%, a useful general reference, though a specific manufacturer’s recommendation should always take priority.
Step 2: Let the Wood Adjust to Its Environment
Next, resist the urge to test the wood the moment it arrives. A reading taken immediately after bringing timber home may not tell the whole story. If boards were stored somewhere with different humidity than your workshop, their moisture content may shift once indoors. Give the timber time to acclimate, keeping boards properly supported so air can circulate, rather than leaving them in a random pile.
Step 3: Prepare the Moisture Meter
Before taking a single reading, spend a moment getting the meter itself ready. Read your meter’s instructions, since models vary in settings and calibration. Select the correct wood species or group if the meter allows it, since density genuinely influences readings. Check the battery and clean the pins or sensing surface before starting.
Step 4: Take Several Readings
Now start measuring, but don’t stop after just one reading. Measure at several points, near both ends, around the middle, and anywhere that looks different from the surrounding timber. With a pin meter, follow the manufacturer’s guidance on insertion depth; with a pinless meter, keep the sensor firmly and consistently positioned.
Step 5: Look for Patterns, Not One “Perfect” Number
Once you have several readings, look at them together rather than in isolation. Consistency across readings is often as useful as any single number. If one board reads within range while another shows notably higher readings, that’s worth investigating before you build. Ask whether readings are reasonably consistent, whether one piece is wetter than the others, and whether the timber has had enough time to adjust.
Step 6: Know When to Wait
Finally, be willing to act on what the readings actually tell you. A moisture meter’s biggest benefit is telling you when not to start. If readings run high, rushing ahead rarely solves the problem, give the timber more time and test again. This matters most where dimensional accuracy counts, since a cabinet door that fits today may not stay that way if the wood later loses moisture.
A Simple Way to Make Moisture Checking a Habit
Once you’ve worked through the six steps a couple of times, the whole process condenses into a routine you can repeat on autopilot:
- Identify the required moisture range for the project
- Allow the timber to acclimate in the environment where it will be used
- Check several areas rather than relying on one reading
- Record unusually high or inconsistent readings
- Wait and retest if the moisture level is unsuitable
- Start building once the timber is appropriately conditioned
This routine takes only a few extra minutes but provides considerably more confidence before cutting begins.
Choosing the Right Tool for the Job
Not every DIYer needs the most advanced meter available. A basic model is often adequate for occasional projects where you just need to confirm timber falls within a reasonable range. Anyone working with different species or precise joinery may benefit from species settings or pinless operation.
This is where having a reliable wood moisture meter makes sense for regular DIY work. SensoraHome offers wood moisture meters designed for checking timber moisture content, giving DIYers a straightforward way to build moisture testing into their routine, replacing guesswork with an actual measurement before committing to the next step.
Common Mistakes to Avoid
A handful of specific mistakes show up again and again once people skip a step in the process above:
- Don’t measure only one spot. A single reading may not represent the whole board.
- Don’t ignore the species setting. Use it if your meter offers one.
- Don’t treat every percentage as universal. The ideal level depends on the application.
- Don’t start right after bringing timber home. Give it time to adjust first.
- Don’t assume a dry surface means dry timber. Appearance alone isn’t reliable.
Avoiding these five is genuinely most of the battle, once they’re accounted for, the rest of the process is mostly just patience.
Conclusion
Learning how to use a wood moisture meter at home is relatively simple, but the information it provides matters throughout a DIY project. Checking several areas, understanding the appropriate moisture range, letting timber acclimate, and paying attention to inconsistent readings all help reduce the risk of unwanted movement after construction.
The goal isn’t chasing one perfect number, it’s knowing whether the wood is genuinely ready for the environment and use you’ve planned, so you can approach the project with real confidence rather than a guess.

Stephanie Grace, a graduate with a degree in Fine Arts from the Savannah College of Art and Design, has been inspiring DIY enthusiasts with her creative and practical guidance for over 14 years. Her career in design and crafting began in a small artisan workshop, where she developed a passion for transforming everyday materials into beautiful and functional items. Stephanie joined our website in 2018, rapidly gaining popularity for her easy-to-follow DIY tutorials and innovative project ideas. Since then, she has been the creative mind behind our DIY section, helping readers bring their artistic visions to life. Outside her professional pursuits, Stephanie enjoys pottery and urban gardening, hobbies that showcase her love for hands-on creativity and nature.