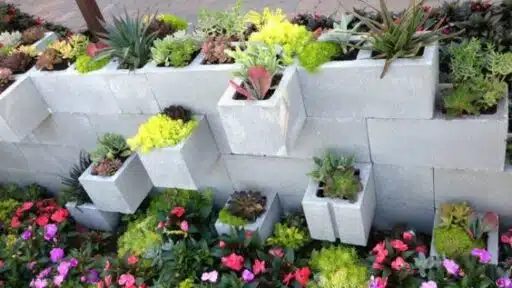



Garden DIY projects have a way of generating far more waste than people expect. A weekend of pulling out an overgrown hedge, ripping up old paving, or clearing years of accumulated garden debris can leave you with piles of green waste, broken concrete, and general rubbish that your council bin simply cannot handle.
This is where sorting out skip bins before you start digging makes the whole project run more smoothly, rather than scrambling for a solution once your yard is already full of waste.
Whether you are redesigning a garden bed, building a retaining wall, or tackling a full backyard overhaul, planning your waste removal alongside your project design saves time, money, and a lot of frustration.
Match the Bin to the Job, Not Just the Size
It is tempting to order whatever skip size sounds about right and hope for the best, but garden projects often produce a mix of waste types. Green waste like branches, soil, and old turf usually needs a different bin than broken pavers, bricks, or old timber decking.
Ordering the correct waste type bin, rather than a general mixed waste skip, is often cheaper and avoids extra sorting fees later. If your project spans several waste types, it may be worth arranging two smaller bins rather than one large mixed bin.
Plan Delivery Around Your Project Timeline
One of the most common mistakes with DIY garden projects is underestimating how long clearing and rebuilding actually takes. A skip bin sitting empty on your driveway for a week while you are still deciding on paving colours is wasted money, and a bin that fills up before the job is finished means a second delivery and added cost.
Map out your project in stages, demolition first, then landscaping, then finishing touches, and time your bin hire to match the messiest phase of the work.
Pack It Properly to Get Full Value
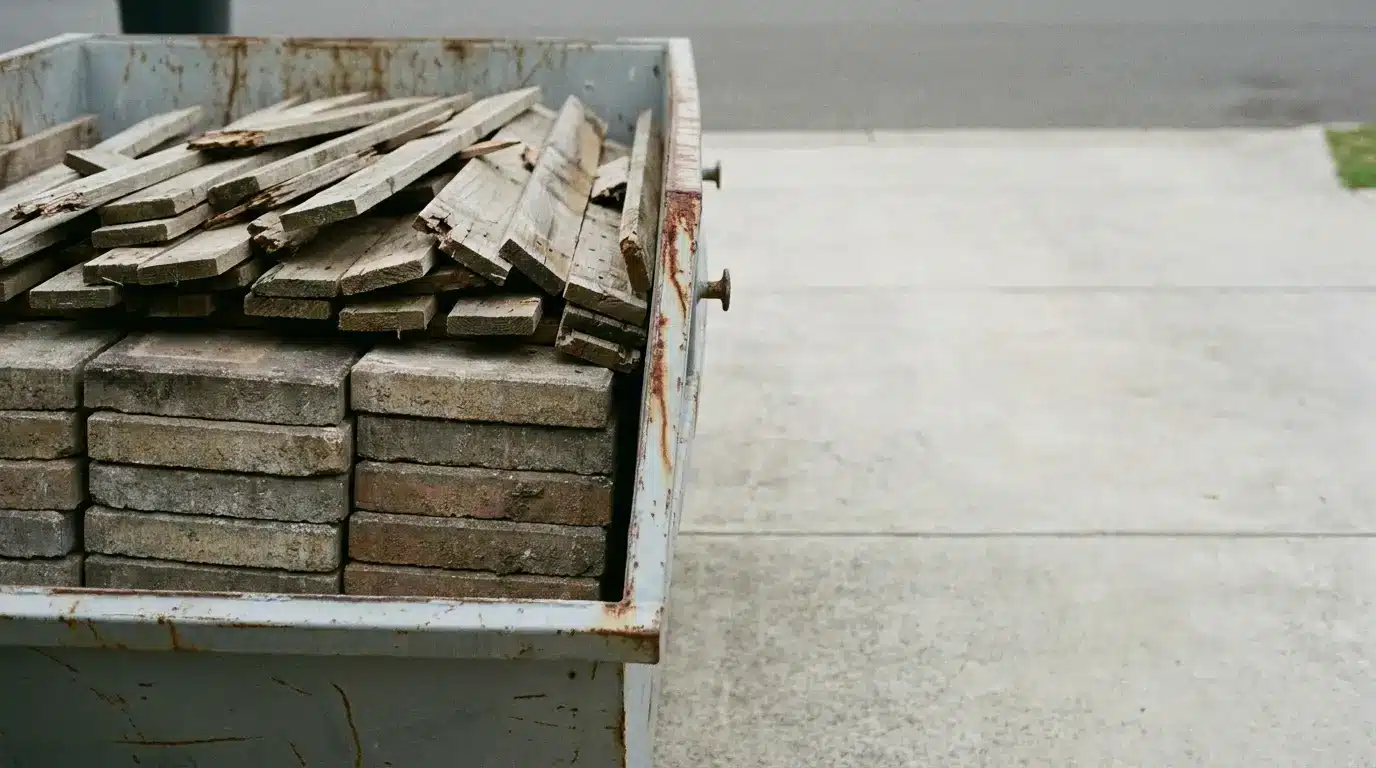
Skip bins are charged by size, not by how neatly you use the space, so packing matters. Break down larger items like old furniture, trellises, or timber structures before loading them in, and stack flat items like pavers or fence palings along the base rather than tossing them in randomly.
Filling gaps efficiently means you are less likely to need a second bin partway through the project, which keeps your overall renovation budget on track.
Consider What You Are Actually Digging Up
Older gardens sometimes hide surprises once you start digging, old concrete footings, buried bricks, or compacted fill that needs to come out before new garden beds or a deck can go in.
If you suspect your project involves heavier material like concrete or soil, check that your bin and waste type selection accounts for this upfront. Concrete and soil are typically heavier and often need a dedicated bin rather than being mixed in with general garden waste.
Think About Access Before You Book
Skip bins need somewhere to sit, ideally somewhere your delivery truck can reach without navigating narrow side gates or overhanging trees. Before booking, walk your property and identify where the bin will actually go for the duration of the project.
If driveway access is tight, ask about bin sizes that suit narrower spaces so you are not left working around an awkwardly placed skip for the whole job.
The Takeaway
A great garden DIY project is not just about the design you end up with, it is also about how smoothly the process runs from demolition to final planting. Sorting your waste removal early, choosing the right bin size and type, and timing delivery around your project stages turns a chaotic backyard overhaul into a manageable, well-organised job from start to finish.

With a Master’s in Landscape Architecture from the University of Virginia, Sophia Stephenson has dedicated the last 20 years to creating and maintaining vibrant outdoor spaces. Her professional journey started in landscape design, where she gained a reputation for innovative and sustainable approaches. Sophia became a part of our editorial team as a freelancer in 2019, offering a fresh perspective on outdoor living. Since 2020, she has been the chief for our outdoor design content, blending aesthetic appeal with environmental stewardship. In her leisure time, Sophia is a keen photographer, capturing the beauty of natural landscapes, a hobby that complements her professional expertise.