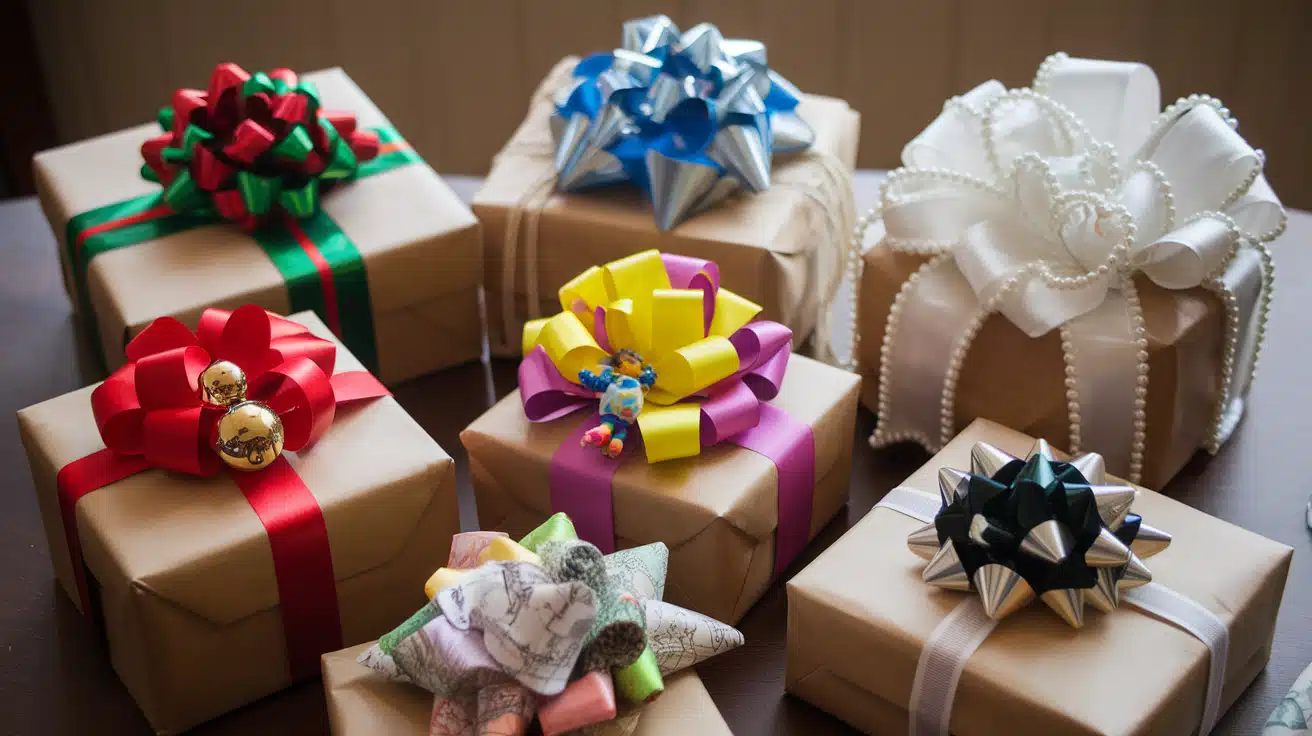
Making beautiful gift bows at home saves money and adds a personal touch to your presents. Many people think creating bows takes special skills, but it’s simpler than you might expect.
With basic materials and a few minutes, you can make bows that look store-bought or better.
This guide will teach you five bow styles, from quick, simple ties to full, layered designs. Each method fits different needs, whether you’re wrapping a last-minute gift or creating something special for a wedding.
We’ll also cover ways to fix common problems and share ideas for matching bows to various occasions.
Ready to start making your own bows? Let’s begin with the basics and work our way up to more detailed designs.
Materials Needed for Various Types of Bows
| Material | Used In | Description/Notes |
|---|---|---|
| Ribbon | Simple Bow, Double-Looped Bow, Rosette Bow, Layered Bow, Giant Christmas Gift Bow | The main material for all types of bows. You can use satin, grosgrain, or fabric ribbon. |
| Scissors | All Bow Types | Cut ribbons and fabric to size. |
| Fabric Glue | Double-Looped Bow, Layered Bow | To secure the ribbon in place. You can substitute with hot glue or needle and thread. |
| Wire (optional) | Rosette Bow, Layered Bow | To help hold the loops in place in fuller bows. |
| Lighter | Double-Looped Bow | Used to seal the ends of the ribbon and prevent fraying. |
| Jute String (optional) | Layered Bow | Used to secure the bow’s center tightly. |
| Duct Tape | Giant Christmas Gift Bow | Used to scale up the bow, especially for large bows. |
| Cardstock or Wrapping Paper | Giant Christmas Gift Bow | Used for creating a sturdy base for giant bows. |
| Tape (Masking or Packing) | Giant Christmas Gift Bow | To assemble and secure the layers of the bow. |
| Hot Glue Gun (optional) | Layered Bow, Giant Christmas Gift Bow | To glue ribbon layers or other materials together. |
| Ruler or Measuring Tape | All Bow Types | For measuring and cutting the ribbon to accurate lengths. |
Step-by-Step Tutorials with YouTube Tutorials
1. Simple Bow
This quick method creates a basic bow in under a minute. It uses a simple twisting technique that works every time.
Steps:
- Hold your ribbon as if you’re tying your shoes. Take both ends in your hands.
- Create the first loop, but go opposite from a shoe tie. This makes the loops sit better.
- Pull the ends through to form your knot. Keep it loose until you adjust the loops.
- Gently pull each loop and tail to make them match in size.
Uses: This small bow looks great on dresses, fits perfectly on baby headbands, adds style to scrapbook pages, and works for quick craft needs.
2. Double-Looped Bow
This bow has clean lines and a tidy center. You’ll need two ribbon pieces and some basic tools.
Steps:
- Cut your ribbons – one 20-inch piece and one 2-inch piece.
- Place the long ribbon across your palm. Make loops by threading between your fingers.
- Take the small piece and wrap it around the middle. Add glue to keep it in place.
- Heat the ends with a lighter to stop fraying. Keep the flame quick and careful.
Uses: Perfect for wrapped gifts, home items, and any project needing a clean finish.
3. Rosette Bow
This round bow looks like a small flower. The width of your ribbon decides how full it becomes.
Steps:
- Wrap your ribbon 8-10 times around your hand. Keep the loops even.
- Cut small V-shapes in the center of all loops.
- Hold the middle tight while you add wire or thread.
- Pull each loop out slowly to create the round shape.
Uses: Works well for hair clips, craft projects, and adding style to any item.
4. Layered Bow
Overview: This full bow mixes different ribbons and fabrics for a rich look.
Steps:
- Cut strips between 10-12 inches long. Use various widths and patterns.
- Stack the strips in an X-shape. Keep the middle tight with your fingers.
- Tie the center with string or add glue to hold the layers.
- Cut the ends at angles and fluff each layer.
Uses: Great for door items, home projects, big gifts, and craft work.
5. Giant Christmas Gift Bow
This large bow makes a big impact. You can use duct tape or card stock.
Steps:
- Make strips following the size guide. Form each into loops.
- Build layers from the bottom up. Secure each with tape or glue.
- Create a centerpiece to hide the middle joins.
Uses: Makes big gifts special, turns doors into presents, and works great for party items like headbands.
Troubleshooting Common Issues

Uneven Loops
Creating perfect loops takes practice, but you can easily fix mismatched sides. Start by comparing your loops side by side before tightening the knot. When you spot a size difference, give a gentle pull at the base of the larger loop to match the smaller one.
Keep the center loose until both sides match. Some crafters find it helpful to work with one loop at a time, adjusting as they go. This method gives you better control over the final look.
Loose Knots
A bow falling apart often comes from a loose center knot. The key lies in how you make the center tie. Start by crossing your ribbon twice in the middle section.
This creates a stronger base. While you tie, keep your index finger in the center point. Pull the knot slowly, ensuring it stays firm but doesn’t crush your loops. A tiny drop of glue under the knot keeps everything in place for extra security on special projects.
Fraying Ribbon Ends
Frayed ends can make any bow look old and worn. The solution depends on your ribbon type. Satin ribbons respond well to heat sealing – a quick pass with a match or lighter stops fraying instantly.
Just keep the heat moving to protect your ribbon. Fabric ribbons need different care. A clear coat of nail polish works well for these, and cutting your ends at an angle also helps reduce fraying over time.
Bow Not Sitting Right on the Gift
A crooked or loose bow can spoil the look of your gift. Start with a clean, dry surface on which to place your bow. Double-sided tape creates a strong bond between the bow and wrapping.
Secure the center point first, giving you a stable base. For bigger bows that might sag, put small tape pieces under the loops, too. When dealing with heavier designs, glue dots placed at several points keep everything exactly where you want it.
These fixes work for most bow types. Test different methods on scrap ribbon first to find what works best for your specific project. Sometimes, the smallest adjustment significantly affects the look of your final bow.
Customizing Bows for Special Occasions

1. Christmas Bows
Make your holiday gifts stand out with seasonal colors and patterns. Red and green ribbons create traditional charm, while gold and silver add sparkle.
Mix different textures – try pairing smooth satin with plaid patterns. Small bells or pine sprigs tucked into the bow’s center bring extra cheer. The white and red striped ribbon looks perfect on kraft paper wrapping, creating that classic holiday feel.
2. Birthday Bows
Birthday gifts call for fun and bright bows that make people smile. Mix yellow, pink, blue, and purple ribbons for a festive look. Polka dots and stripes work well together in birthday bows.
When choosing your ribbons, consider the gift recipient’s favorite colors. To make the bow special, you might add small trinkets in the center—tiny toys for children’s gifts or decorative pins for adults.
3. Wedding or Anniversary Bows
Special moments need special touches. White satin creates clean, classic bows, while pearl-trimmed ribbon adds soft shine. Lace overlays on plain ribbon create depth without looking too heavy.
Try mixing ivory and champagne colors for a subtle contrast. Silver or gold metallic threads woven through white ribbon catch light beautifully. These bows look stunning on gift boxes or as part of table settings.
Each bow type can be sized up or down to fit your needs. Small versions work well on place cards or party favors, while larger ones make statements on big presents or wall decorations. The key is matching your bow style to the occasion while keeping the same basic techniques.
Conclusion
Creating your bows brings life to gifts and decorations. Each method we’ve explored offers its special touch – from simple tie-style bows for quick wrapping to detailed rosettes for special moments.
Remember, practice improves every bow, and small adjustments can fix most issues.
You’ll find your favorite ways to work with different ribbons and materials as you try these methods. The skills you’ve learned here work for any occasion, from daily gifts to meaningful celebrations. Paper, fabric, or ribbon – each material creates something unique.
Making bows by hand adds value beyond the gift itself. It shows care and effort that pre-made bows can’t match. Keep experimenting with colors, sizes, and styles to find what works best for your needs.


