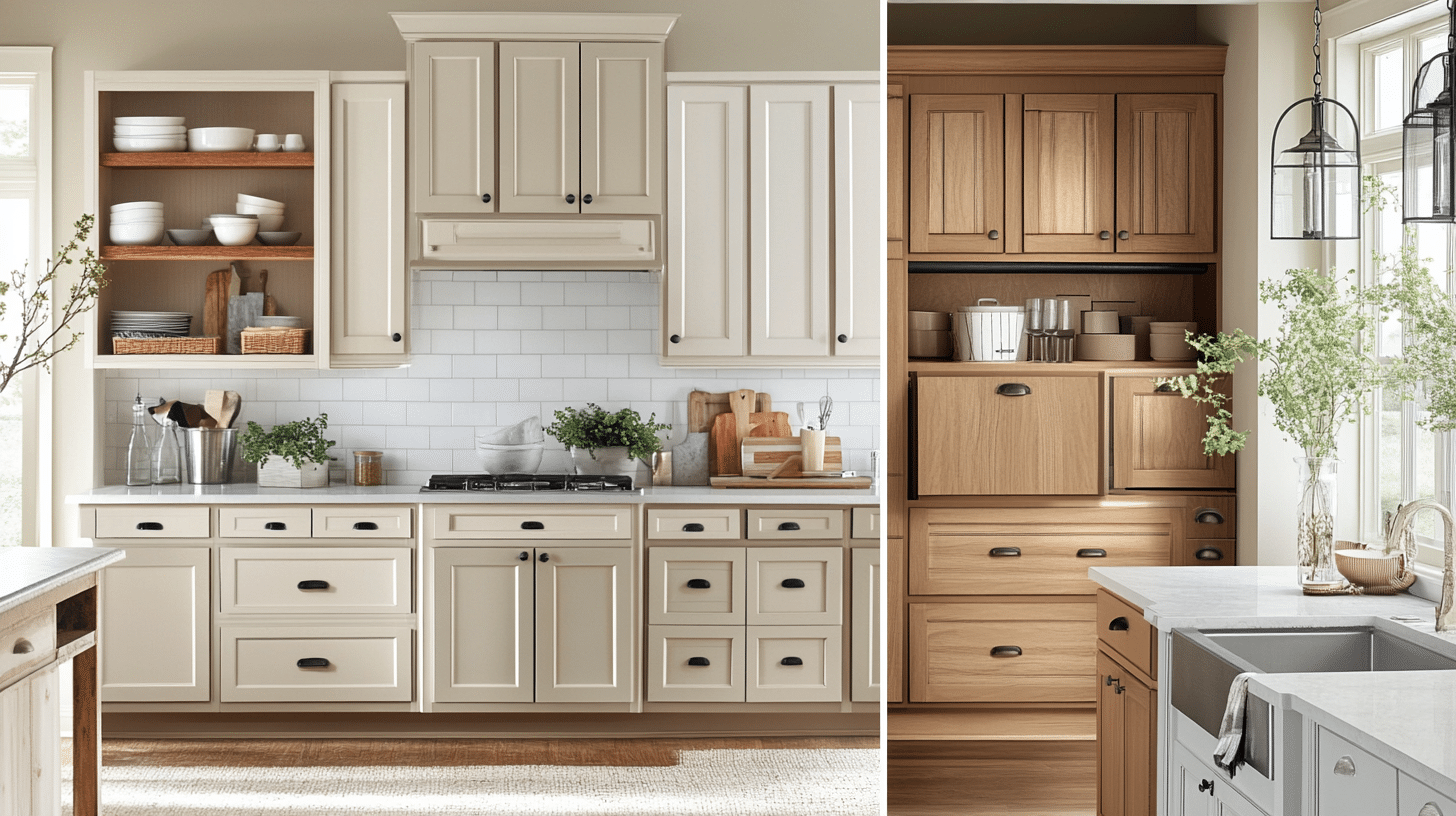
When my family and I recently moved into our new home, I wanted the kitchen to feel like the heart of the house—warm, welcoming, and uniquely ours.
The cabinets, however, were outdated and dull, and I knew they needed a makeover. But with a busy schedule and kids running around, the thought of sanding them down was overwhelming.
After plenty of trial and error, I discovered some amazing options that completely transformed my cabinets without all the extra prep work.
The process was quicker than I expected, and the results were stunning—durable, smooth, and professional-looking.
In this blog, I’ll share what I learned, from the best no-sanding paint options to the step-by-step process I followed.
Whether you’re short on time or just want an easier way to upgrade your cabinets, this guide has you covered.
Best Types of Paint for Cabinets Without Sanding
1. Chalk Paint
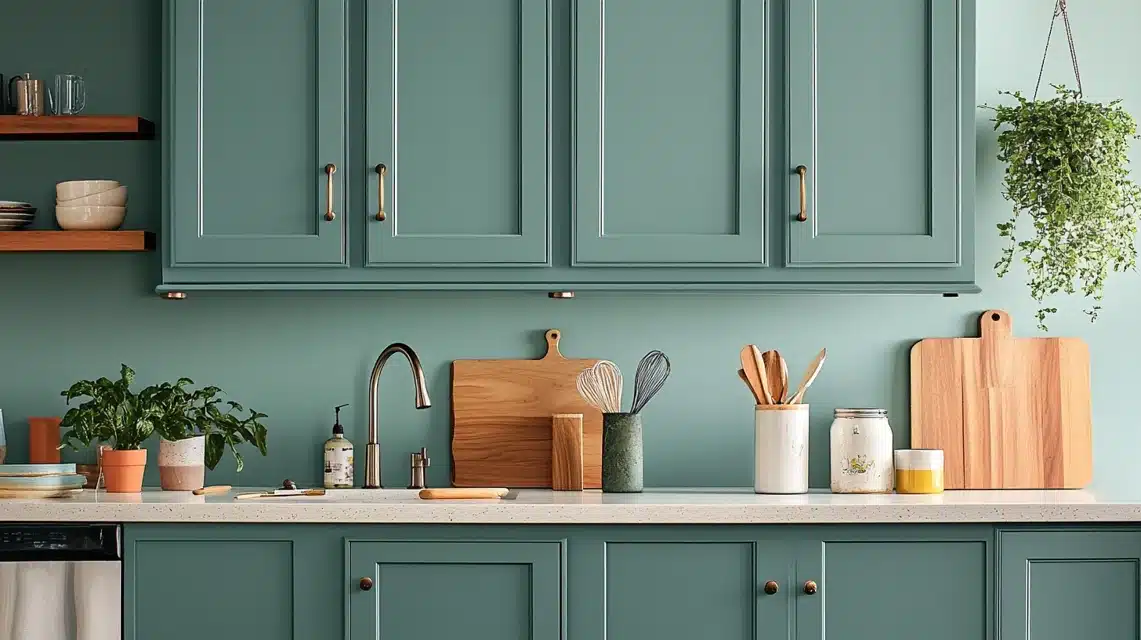
Let me tell you about my experience with chalk paint when I redid my kitchen cabinets! It was such a game-changer when I moved in with my family and wanted to refresh our space.
I discovered that chalk paint is basically a DIY-er’s best friend – and trust me, I’m no professional, but this made me feel like one!
You know what’s amazing? I didn’t have to mess around with primer at all. I just cleaned the cabinets well and started painting right away.
The paint went on so smoothly, almost like spreading butter on toast. I found myself thinking, “Why didn’t I try this sooner?” as I watched each stroke cover perfectly.
The finish? Oh, it’s gorgeous! It has this soft, matte look that makes our kitchen feel both modern and cozy at the same time.
My family keeps commenting on how professional it looks, and honestly, I can’t help but feel proud every time I walk into the kitchen.
It’s amazing how such a simple change could make such a big difference in our home.
2. Milk Paint with Bonding Agent
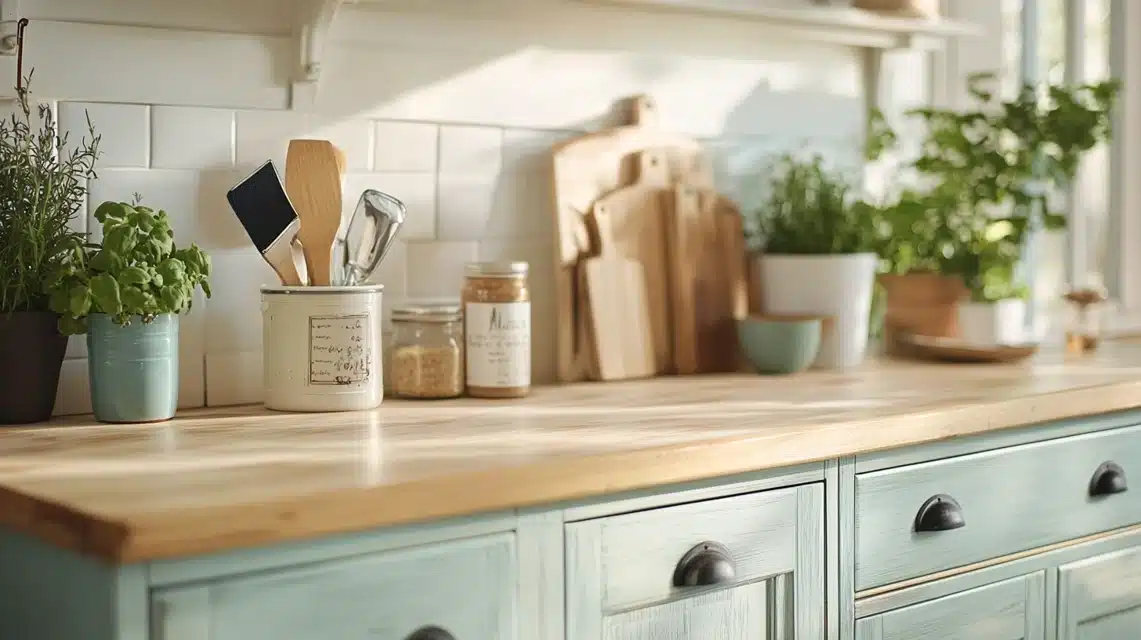
I wanted to give our kitchen cabinets a unique, personal touch. That’s when I discovered milk paint with a bonding agent, and it was such a cool mixture.
Since it’s all-natural, I felt good about using it in our family kitchen, where we spend so much time cooking together.
I love how this paint just grabs onto the cabinet surfaces without any fuss. The best part? I got to play around with different textures until I found exactly what I wanted.
Sometimes I made it smooth, other times I went for a more vintage, slightly textured look. It’s like being an artist in your own kitchen!
The bonding agent really is the secret sauce here, and it helps the paint stick beautifully to the cabinets.
My family kept watching as I transformed our plain old cabinets into something special, and now they can’t stop touching the unique finish I created.
It’s become such a conversation starter when friends visit.
3. Acrylic or Enamel-Based Paints
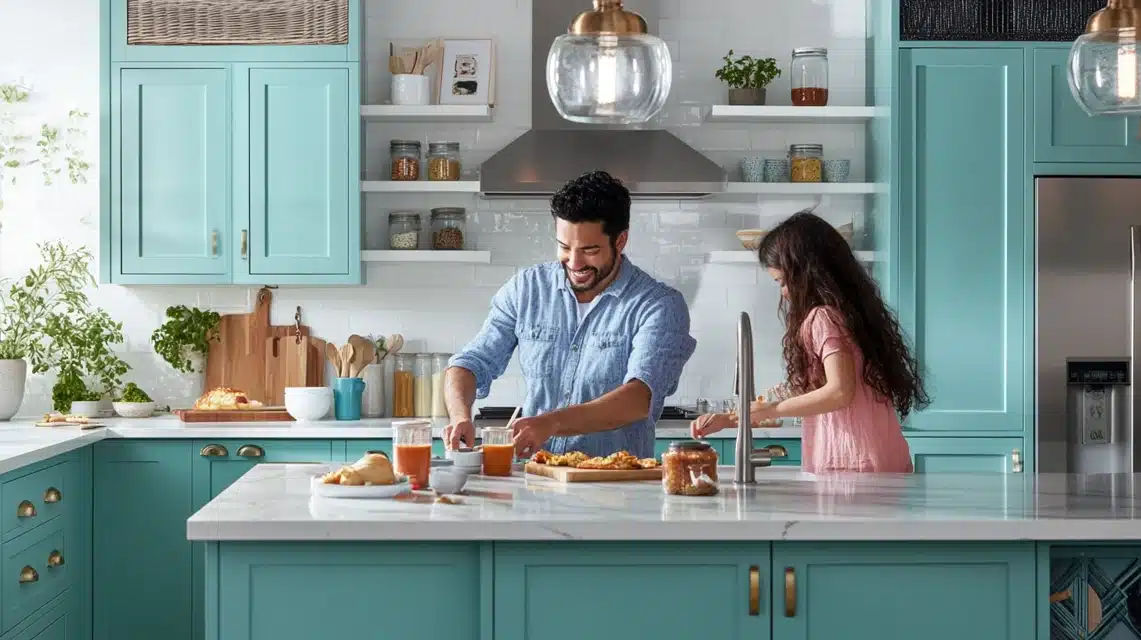
After moving in, I knew my cabinets needed something tough to handle all the activity, with kids running around and constant cooking, and I definitely qualify as a high-traffic kitchen.
I opted for these paints because they’re real workhorses. The glossy finish not only looks amazing but also makes cleaning up those inevitable sticky fingerprints and cooking splatters so much easier.
Trust me, with my family’s love for pasta sauce and sticky treats, this was a game-changer.
What really sold me was how durable these paints are. Every morning, when I make breakfast, and the kids rush around grabbing snacks, I don’t worry about the cabinet finish getting damaged.
The glossy surface just adds this beautiful shine that catches the light and makes our whole kitchen look more polished and modern.
Even after months of heavy use, they still look as fresh as day one.
4. Cabinet-Specific Paints
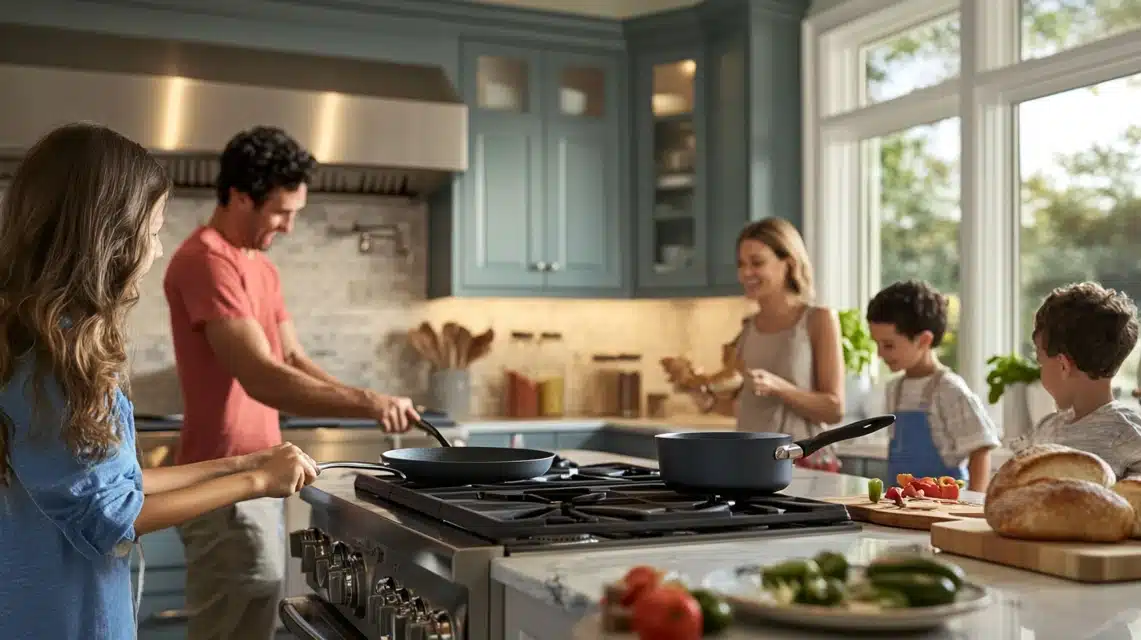
Working in our kitchen every day, I needed something that could really stand up to all the chaos of family cooking.
These paints are like superheroes for cabinets. They stick like they were meant to be there from day one!
I was honestly amazed at how well they stucked without any messy preparation. And don’t get me started on the grease resistance with all the frying and cooking we do, it’s been such a relief to see how easy cleanup is. Just a quick wipe and the cabinets will look as good as new.
The durability is incredible, too. From my kids banging cabinet doors to my constant opening and closing while cooking, these paints just keep looking fresh.
It’s been months now, and every time I walk into our kitchen, I’m still so happy with how professional and clean everything looks.
Step-by-Step Guide to Painting Cabinets Without Sanding
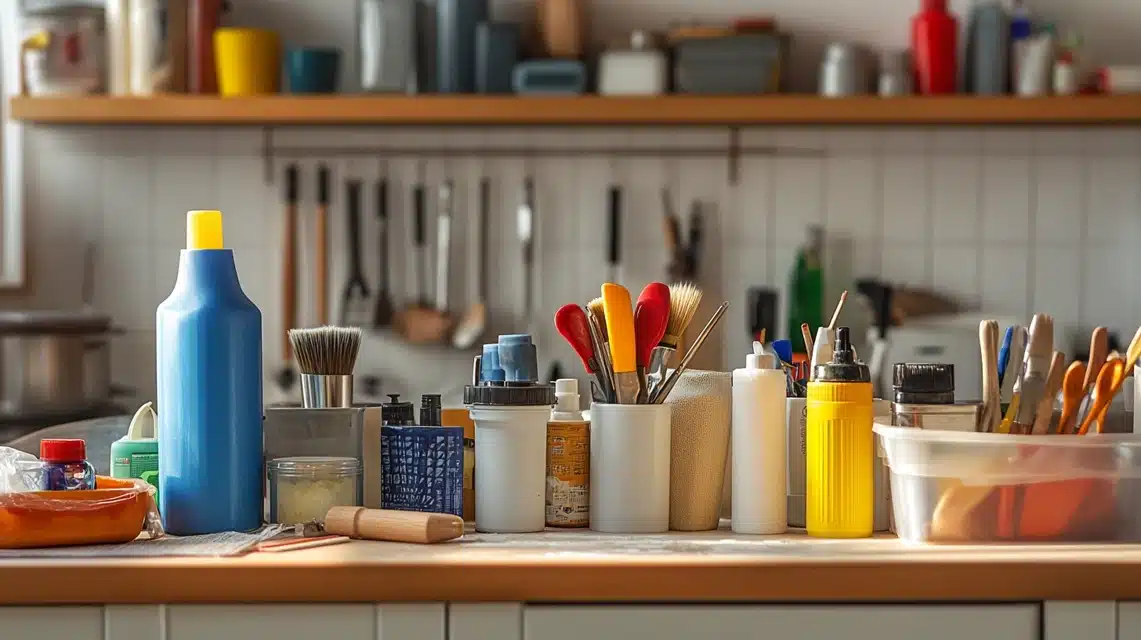
Let me share my complete list of materials needed for painting cabinets without sanding. I’ve used this exact set of supplies for multiple cabinet projects with great results.
1. Materials You’ll Need
- Degreaser or TSP (trisodium phosphate) cleaner
- Heavy-duty liquid deglosser/liquid sandpaper
- Quality paintbrushes (both angled and flat)
- Small foam rollers with high-density foam
- Paint primer specifically designed for cabinets (oil-based or shellac-based)
- Cabinet paint (either oil-based or latex enamel)
- Paint tray and liners
2. Additional Supplies
- Clean microfiber cloths
- Drop cloths
- Protective gear (gloves, eye protection, respiratory mask)
- Screwdriver for removing hardware
- Painter’s tape
- Small plastic bags and labels for hardware
- Wood filler (if needed for repairs)
- Small container for deglosser application
3. Optional but Helpful
- Paint sprayer for a smoother finish
- Tack cloth for removing dust
- Plastic sheeting for protecting counters/floors
- Drying racks or stands
- Fine-grit sanding block (just in case touch-ups are needed)
Step-By-Step Process for Painting for Kitchen Cabinets without Sanding
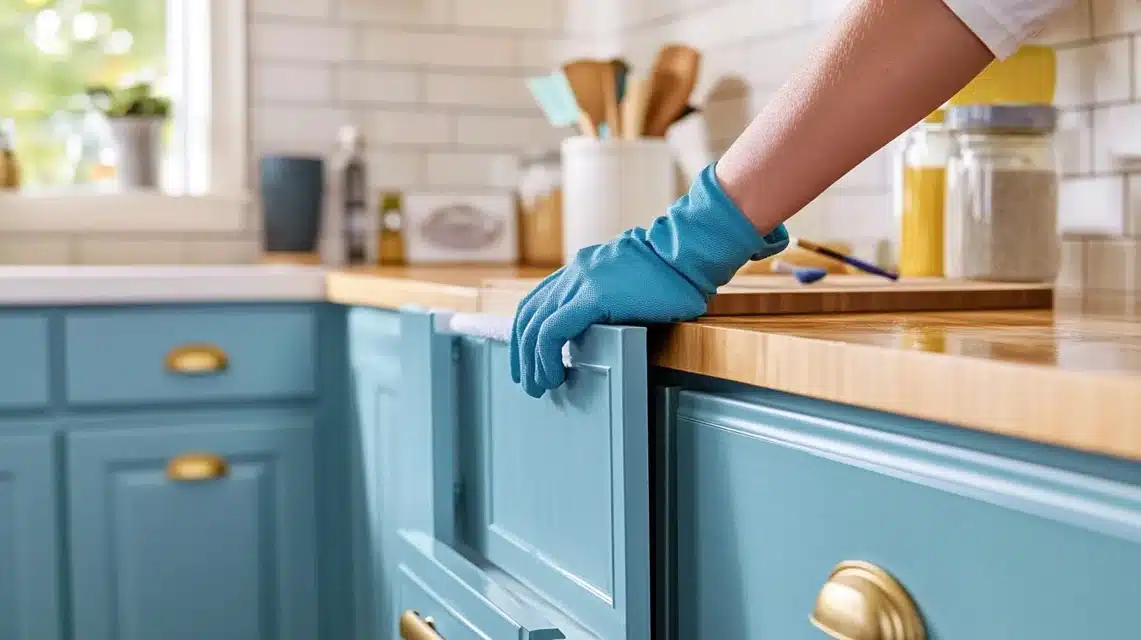
I took on this no-sand painting project myself, and wow, what a rewarding journey it turned out to be.
Let me tell you about my prep phase first. I gathered everything carefully – got myself some heavy-duty cleaning supplies (never knew I’d need so many rags!), a high-quality deglosser, bonding primer that I researched recently, and both foam rollers and quality brushes.
Second, I invested in good drop cloths too – learned that lesson from previous projects. I also grabbed lots of small plastic bags for hardware and labels to keep everything in place.
Third, the cleaning process was intense – I spent a whole weekend just on this step. Every cabinet got treated to a deep clean with a cleaning cleaner.
Fourth, those corners where cooking greased pilled up? I made sure they were spotless.
Fifth, Next came the deglosser phase, which honestly felt a bit magical. No sanding is needed, just careful application with protective gloves on.
I followed this with a bonding primer that really gave me a perfect surface to work with. Those cabinet surfaces were transformed and ready for their makeover.
For the actual painting, I discovered a combination technique that worked wonders – I used foam rollers for the flat surfaces and quality brushes for details and edges.
My game-changer tip? Multiple thin coats rather than thick ones. Sure, it took longer, but the finish looks absolutely professional.
I waited patiently between coats (though I’ll admit, I was excited to see the final result!).
Now, when I walk into our kitchen each morning, I can’t help but smile. The cabinets look brand new, and my family keeps saying they can’t believe I did it myself.
From someone who just moved in to create their dream kitchen – trust me, it’s totally doable with patience and the right approach.
Best Paint Brands for Kitchen Cabinets Without Sanding
1. Top Recommendations
After lots of research and testing, I found some amazing options that worked perfectly without any sanding needed.
- Annie Sloan Chalk Paint became my absolute favorite. I used it on some of our upper cabinets, and I couldn’t believe how smoothly it went on. No primer needed – what a time saver! The finish has this beautiful matte look that adds so much character to our kitchen.
- I tried Rust-Oleum Cabinet Transformations on our lower cabinets, and wow – this stuff is tough! With three young kids constantly opening and closing doors, I needed something durable, and this paint really delivers. Even after countless spills and wipes, it still looks fresh.
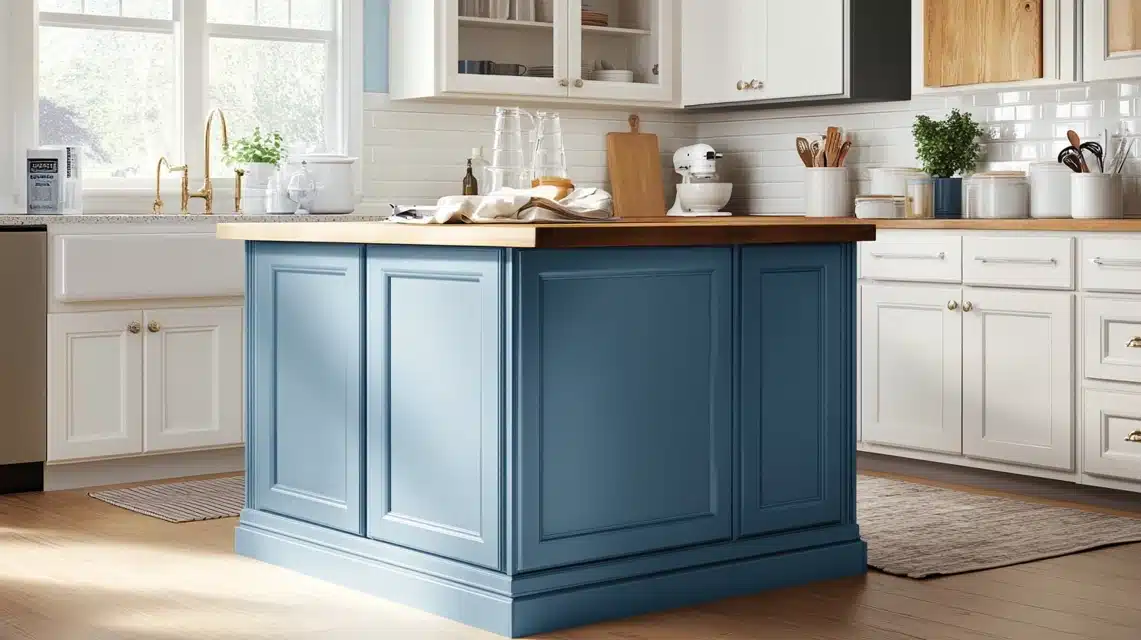
- For our island, I went with Benjamin Moore Advance, and I’m so glad I did. The self-leveling feature is incredible. It made my blunder painting job look totally professional. Yes, it took longer to dry between coats, but the glossy finish was worth the wait.My family loved how modern it looked, and it’s holding up beautifully against all our cooking adventures. Trust me, these paints were worth every penny for getting that perfect, long-lasting finish.
2. Budget-Friendly Options
Budget-friendly paint discoveries when I redid our kitchen cabinets after moving in with my family! I was determined to get a great look without breaking the bank, and I found some amazing options.
- BEHR Premium from Home Depot became my go-to choice. I got it during one of their paint sales, and honestly, the quality surprised me! I used their cabinet and trim version, which gave me this smooth, durable finish that’s been holding up great against our daily cooking messes.
- I also tried Valspar Cabinet Enamel – what a find! Got it on sale at Lowe’s, and it covered our cabinets beautifully. The paint leveled itself really well, which helped hide my amateur brush strokes. Plus, it’s super scrubbable, which is perfect for our busy family kitchen.
- For some of our less-used cabinets, I went with Color Place from Walmart. After adding their bonding primer, it worked like a charm! Sure, it needed an extra coat, but at that price point, I didn’t mind at all.
My family couldn’t believe how professional everything looked when I finished – they thought I’d spent a fortune.
Conclusion
The no-sanding paint options I used, like chalk paint and a good bonding primer, made the process so much easier and less time-consuming.
With proper cleaning and a bit of patience, I was able to achieve a smooth, durable finish that feels like it was done professionally.
Now, every time I walk into the kitchen, I feel proud knowing I created this space for my family.
It’s proof that you don’t need complicated techniques to make a big impact, just the right tools, materials, and a bit of determination.
If you’ve been thinking about updating your cabinets but don’t want the hassle of sanding, I encourage you to try this method.
You’ll save time, and the results are truly worth it. I’d love to hear about your experience. Please share your results or questions in the comments below.
Frequently Asked Questions
Can I Really Skip Sanding?
Absolutely! I was skeptical at first, but using a good deglosser worked perfectly. When I tell my family how I transformed our kitchen without sanding, they can hardly believe it.
How Long Did Your Project Take?
From my experience, it took about four days total. I spent one day cleaning and deglossing, another for priming, and two days for painting with drying time. Though I was eager to put everything back, patience was key.
Did Your Paint Actually Stick?
Yes, The secret was a thorough cleaning and using quality bonding primer. Even after months of daily use, my cabinet finish is holding strong. My kids aren’t exactly gentle with the doors, so that’s saying something.
What About Brush Marks?
I worried about this too! I found using a foam roller and high-quality paint made a huge difference. The paint self-leveled beautifully, and you can barely see any brush strokes in my finished cabinets.
Was It Worth the DIY?
Definitely! I saved hundreds compared to professional painting, and I love telling visitors that I did it myself. Plus, having the freedom to choose exactly how I wanted our kitchen to look was priceless.

