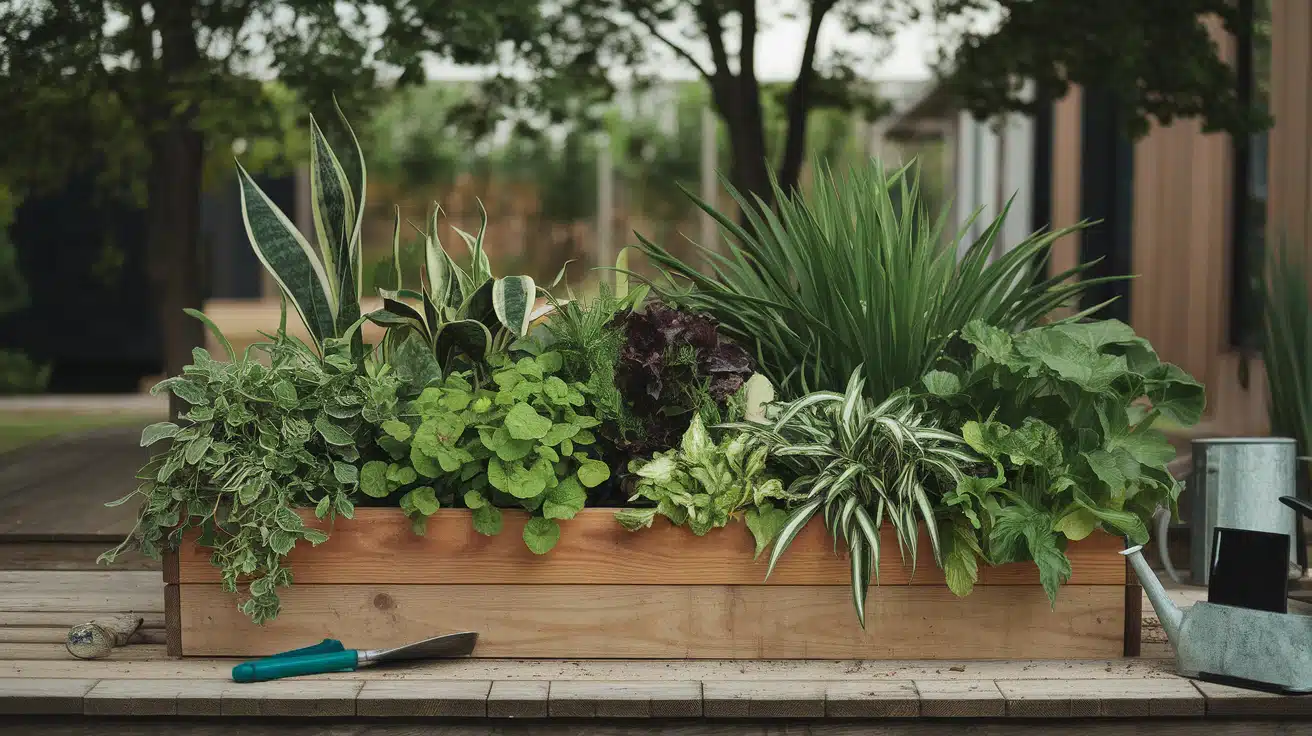
Growing your own food sounds perfect, but poor soil conditions can prevent many gardeners from starting. A DIY cedar garden box solves this common problem. For just $25 and a few hours of work, you can create a lasting garden space that puts fresh vegetables within easy reach.
This guide will show you how to build, maintain, and get the most from your garden boxes. You’ll learn the step-by-step building process, essential care tips, and smart ways to protect your garden through changing seasons. We’ll also share ideas for making your garden boxes beautiful and productive.
By the end, you’ll have all the knowledge needed to create and care for garden boxes that produce fresh food for years.
Building Your Own Garden Boxes: A Step-by-Step Guide
What You’ll Need
| Material | Description | Purpose |
|---|---|---|
| Cedar Boards | 6 ft long, 6 in wide, 1 in thick | The main structure of the box |
| Screws | 1-inch Starbit deck screws | Assembling the box |
| Drill | Standard power drill | Drilling and fastening screws |
| Saw | Hand saw or circular saw | Cutting wood to size |
| Sandpaper | Medium grit | Smoothing edges |
| Protective Finish | Outdoor wood sealant or stain | Weatherproofing and aesthetics |
| Measuring Tape | Standard tape measure | Precision in measurements |
| Level | Standard level tool | Ensuring the box is even |
| Optional Liner | Landscape fabric or plastic | Weed barrier and soil containment |
| Optional Accessories | Paint, brushes, decorative elements | Personalization and decoration |
Your supply list remains simple. Seven cedar fence boards form the foundation of your project. Each board should measure 6 feet long, 6 inches wide, and 1 inch thick.
You’ll also need a box of 1-inch Starbit screws and a box of 1⅝-inch deck screws. Basic tools include a saw, screwdriver, and measuring tape.
1. Getting Started
The quality of your boards matters greatly. Before purchasing, examine each board carefully. Good boards show straight edges without bends. They should have no visible cracks.
The color should look even across the surface. Run your hand along each board to feel for a smooth texture.
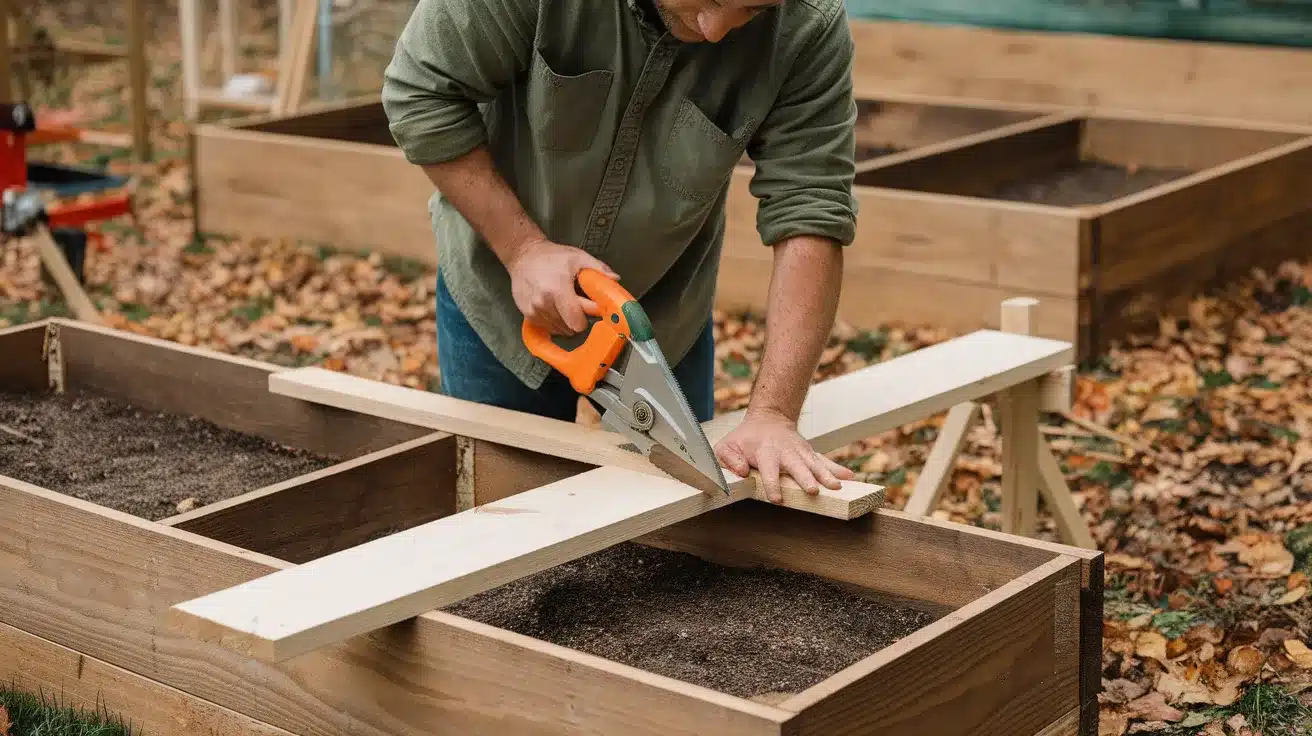
2. Making Your Cuts
The cutting process begins with two of your cedar boards. Cut these boards in half, creating four pieces at 35½ inches each. These pieces will serve as your end sections.
Next, take another board and create six 11-inch sections. These shorter pieces will join your corners together. The remaining boards stay at full length for the sides of your box.
3. Building The Frame
Your frame starts with the short ends. Stack two of your half-boards together. Join them using the 11-inch support pieces you cut earlier. Secure everything with 1-inch screws.
Create a second end piece the same way. The long sides come next. Use your full-length boards, stacking two for each side. Attach support pieces and secure them with screws.
4. Final Assembly
The assembly brings all the pieces together. Stand up your four sides and ensure the corners line up perfectly. The 1⅝-inch screws join these corners together. Take time to check that your box sits level on the ground. Add more support pieces if needed for extra strength.
5. Preparing For Plants
Your garden box location affects the setup. For grass placement, start with cardboard on the bottom. This base stops unwanted plants while keeping your soil in place. The cardboard also helps with proper drainage.
For patio placement, line the bottom with black plastic first. Add your cardboard layer next. Then fill with soil. This method makes moving your box easier in the future if needed.
Video Tutorial
Watch the full YouTube video on DIY garden boxes below.
Essential Care for Your Garden Boxes
Consistent care and attention will flourish your garden boxes. Let’s explore the key aspects of maintaining them to help your plants grow strong and healthy.
Effective Watering Practices
Water forms the foundation of plant health in your garden boxes. Your plants need consistent moisture without becoming waterlogged. A simple test helps you know when to water: Touch the soil about an inch below the surface. Water when it feels dry at this depth.
Morning watering works best for most plants. The early hours give roots time to absorb moisture before the sun warms the soil. This timing also reduces water loss through evaporation.
A drip system can make watering easier and more consistent. Small tubes run along your soil surface, releasing water slowly near plant roots. This method saves water and time while keeping leaves dry, which helps prevent plant diseases.
Optimizing Soil Health and Fertilization
Good soil creates the base for healthy plants. To add nutrients naturally, mix compost into your soil each season. You can make compost from kitchen scraps and yard waste at home, or store-bought organic options work well, too.
Your plants will tell you when they need more nutrients. Yellow leaves often signal hunger for specific minerals. A balanced organic fertilizer feeds your plants slowly and safely. Apply it according to package instructions for best results.
Mulch helps keep your soil healthy in several ways. A layer of straw, leaves, or wood chips holds moisture in the soil. This covering also stops most weeds from growing. Add mulch when plants reach about 6 inches tall, keeping it away from plant stems.
Managing Pests and Weeds Naturally
You can handle most garden pests without harsh chemicals. Plants like marigolds and herbs naturally keep many bugs away. Plant flowers nearby to invite helpful insects. Ladybugs and praying mantises eat many problem insects.
A simple soap spray controls many soft-bodied pests. Mix one tablespoon of gentle dish soap with a quart of water. Spray affected plants early in the morning or late in the evening. Repeat weekly as needed.
Stop weeds before they start with smart planning. Place plants close enough to shade the soil between them. Pull any weeds while they’re small, getting the whole root. Regular mulching blocks weed seeds from sprouting.
Hand-picking works well for larger pests like caterpillars and beetles. Check your plants often to catch problems early. Remove damaged leaves promptly to prevent disease spread. Keep your garden tools clean between uses.
Enhancing Your Garden with Accessories
Using Climbing Supports for Vertical Gardening
Adding vertical features to your garden boxes gives you extra growing space. Simple wooden stakes support tomato plants as they grow tall, and bamboo poles are tied together to create perfect supports for climbing beans and peas.
Metal grids attached to the box sides work well for smaller climbing plants. These supports help cucumber vines grow up instead of spreading out. The upward growth leaves more space in your box for other plants.
String nets between posts make excellent supports for flowering vines. Morning glories and sweet peas climb these gentle supports easily. The flowers add color above your vegetables while saving ground space.
Decorative Elements
Small touches make your garden boxes stand out. Solar-powered lights along the edges create a soft evening glow. Stone borders around the base add natural charm while helping with drainage.
Wind chimes near your boxes bring gentle sounds to your garden space. Copper plant markers catch sunlight while helping you track what’s growing where. Small garden figures tucked between plants add fun personal touches.
Painted signs with plant names or garden sayings make your space unique. Use outdoor-safe paints to create weather-resistant art. Careful painting or wrapping can even make support poles decorative.
Conclusion
Building a garden box opens up possibilities beyond just growing food. Each season brings new chances to learn and improve your gardening skills. The simple cedar structure you create becomes a small space of joy, producing fresh vegetables and herbs just steps from your door.
Your $25 investment and time spent building will return years of fresh produce and satisfaction. As you tend your garden boxes through the seasons, you’ll notice how they bring more than just food to your yard.
They create spots for learning, sharing with neighbors, and connecting with nature.
Remember that successful gardening comes from steady care and attention to basics. Your cedar boxes provide the foundation – the rest comes from your daily moments spent tending your growing plants.

