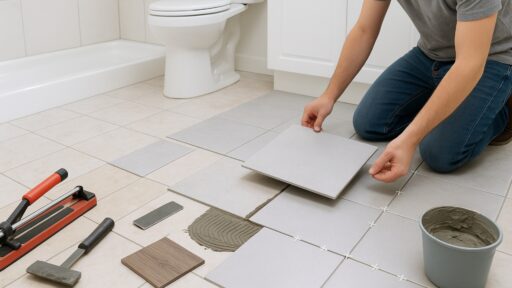
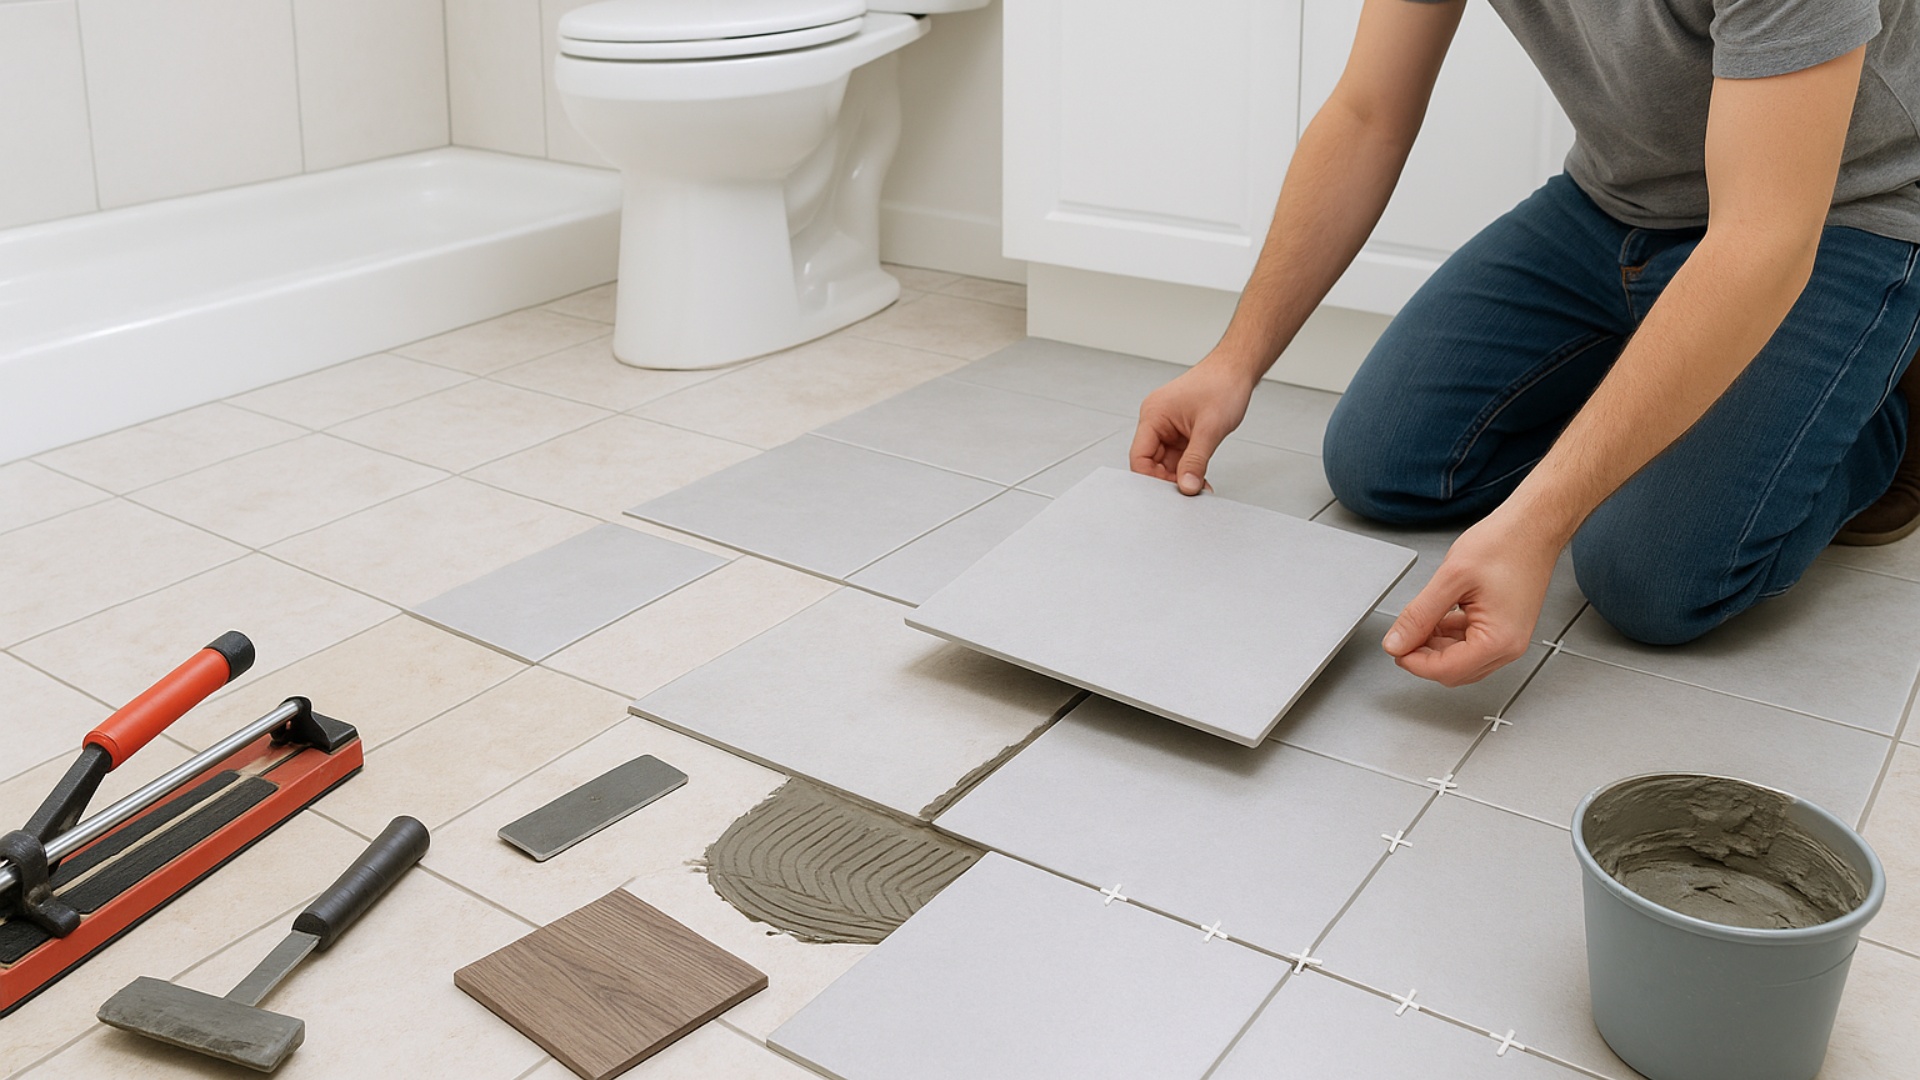
“Can I tile over tile?”
I asked myself this question while staring at my outdated bathroom floor, dreading the thought of demolition.
If you’re wondering the same thing, you’re not alone!
Tiling over existing tile is a popular choice for DIYers wanting to update their space without the mess of removing everything.
It’s like giving your room a fresh new outfit without having to take a shower first.
Today, I’ll walk you through my recent experience of tiling over tile in my bathroom.
I’ll share what worked, what didn’t, and the important lessons I learned along the way.
If you’re looking to save time, money, or avoid a massive cleanup, here’s what you need to know before deciding if you can tile over tile.
What It Means to Tile Over Tile
Tiling over tile means installing new tiles directly on top of existing ones without removing the old layer first.
It’s like putting on a sweater over a t-shirt – you’re adding a new layer on top.
I considered this approach mainly because it saves significant time and effort.
Ripping out old tile creates a massive mess with dust and debris everywhere.
Not to mention the labor involved in scraping off stubborn adhesive. The cleanup alone can take days!
My bathroom floor, shower walls, and kitchen backsplash behind the stove were common areas where I considered tiling over tile.
This technique seemed especially appealing for smaller spaces like a powder room or entryway.
These quick projects could completely change the look of the space without turning my home into a construction zone.
Why I Thought Tiling Over Tile Was a Good Idea?
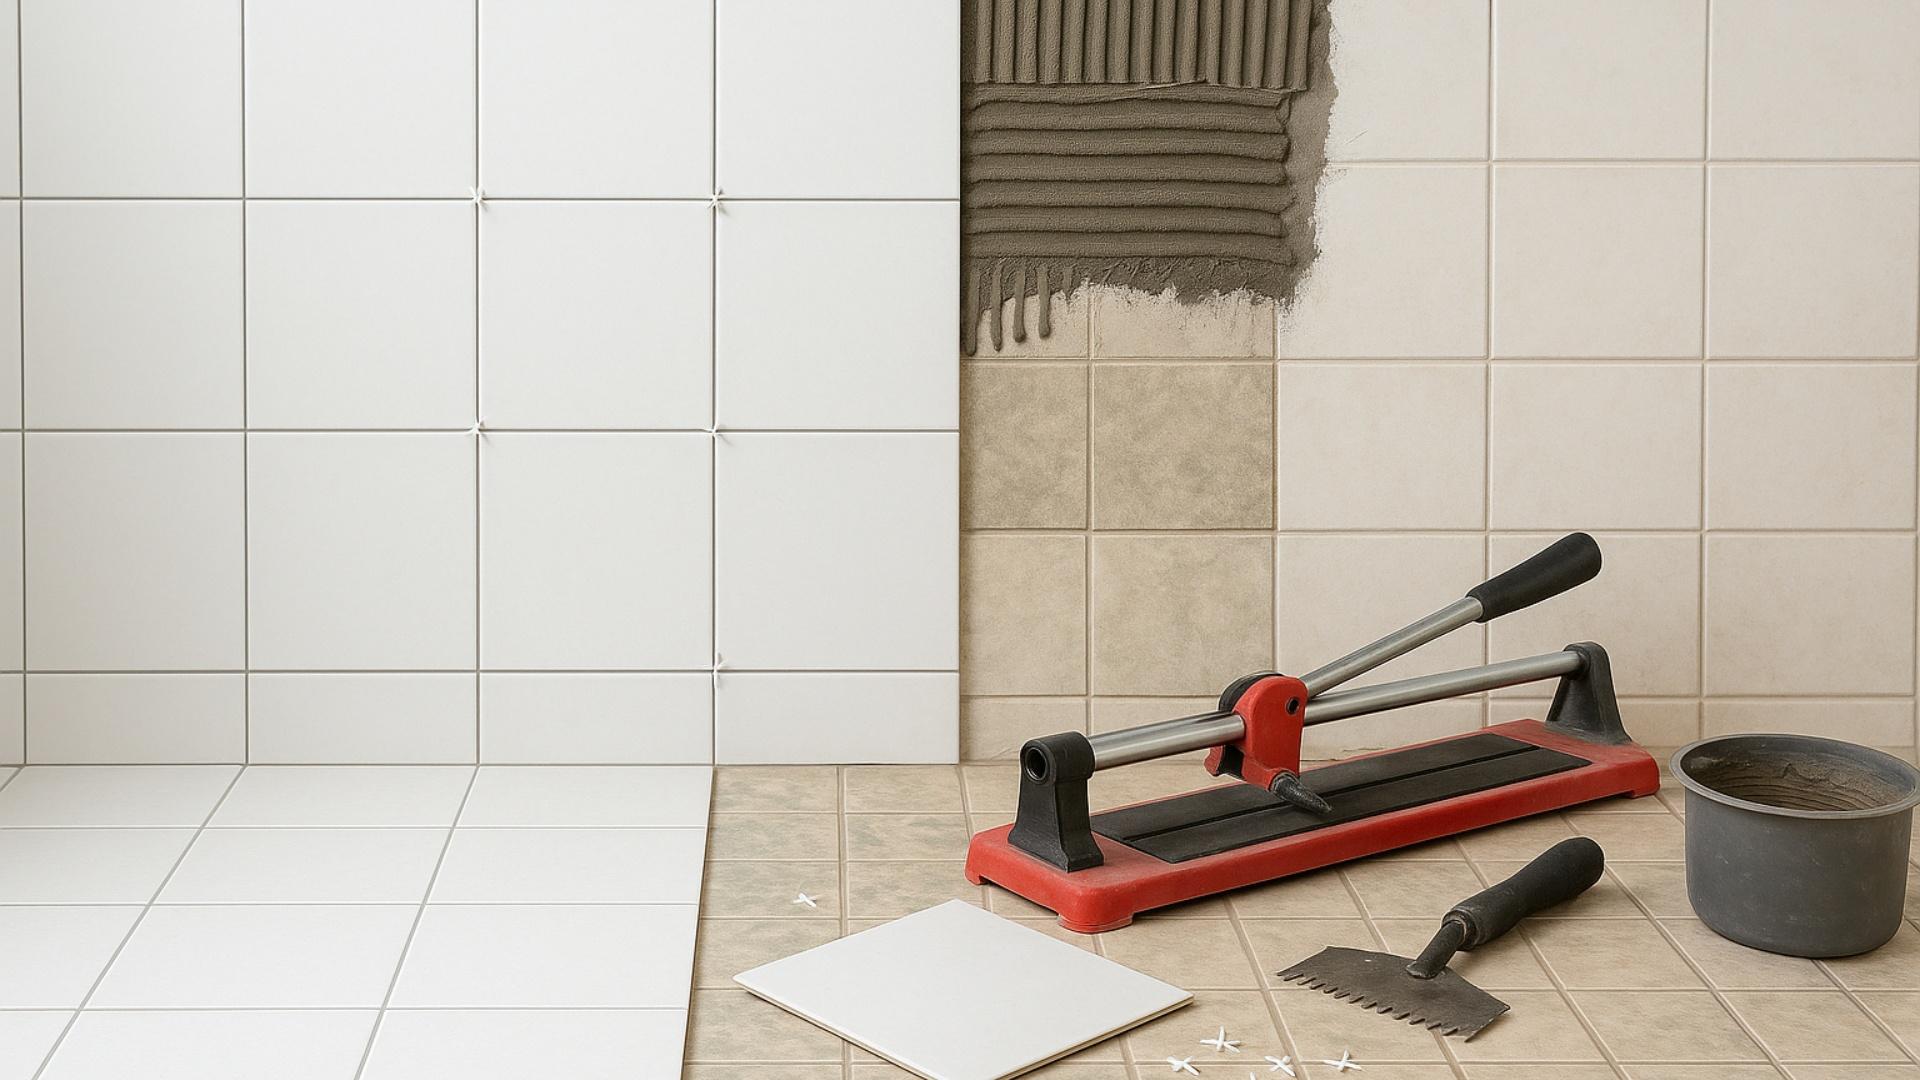
When I stared at my outdated bathroom floor, I knew something had to change.
But the thought of a full demolition made me cringe.
Tiling over the existing tiles seemed like a smart solution for several reasons.
I weighed my options carefully before grabbing my tools and heading to the tile store.
1. Time-Saver
Removing old tile is a huge pain.
Each tile needs to be broken, scraped, and cleaned up, a process that can take days or even a full week for bigger spaces.
By tiling over my existing floor, I figured I could finish the whole project in a weekend instead of taking time off work.
Plus, I could skip all the hammering, chiseling, and prying that make tile removal such a backbreaking job.
This approach meant I could start seeing results almost immediately.
2. Less Mess
Last time I removed the tile, the dust got everywhere.
It coated my furniture, snuck into closed cabinets, and I was still finding it months later.
I had deep-cleaned my entire house for a family visit, and the thought of covering everything in plastic and dealing with that fine powder again was too much.
Tiling over tile meant no dust clouds, no tiny sharp fragments hiding in corners, and no hauling heavy bags of demo waste to the curb.
3. Cost-Effective
When I priced out my project, I realized demolition would eat up a big chunk of my budget.
If I hired someone, they’d charge at least $500 to remove the old tile.
Doing it myself would save money, but cost me in time and energy.
By skipping this step, I could spend more on those beautiful ceramic tiles I really wanted instead of settling for the basic ones.
I could also avoid buying or renting special demolition tools.
4. The Existing Tiles Were in Good Shape
My old tiles weren’t pretty anymore, but they were still firmly attached to the floor.
I didn’t see any cracks, chips, or loose pieces that would cause problems later.
The grout lines were intact, and the floor was perfectly level.
The only issue was the outdated 1990s pattern and color that didn’t match my new bathroom vision.
Since the foundation was solid, covering it up made perfect sense rather than tearing out a functioning floor.
When I Realized It Might Not Work?
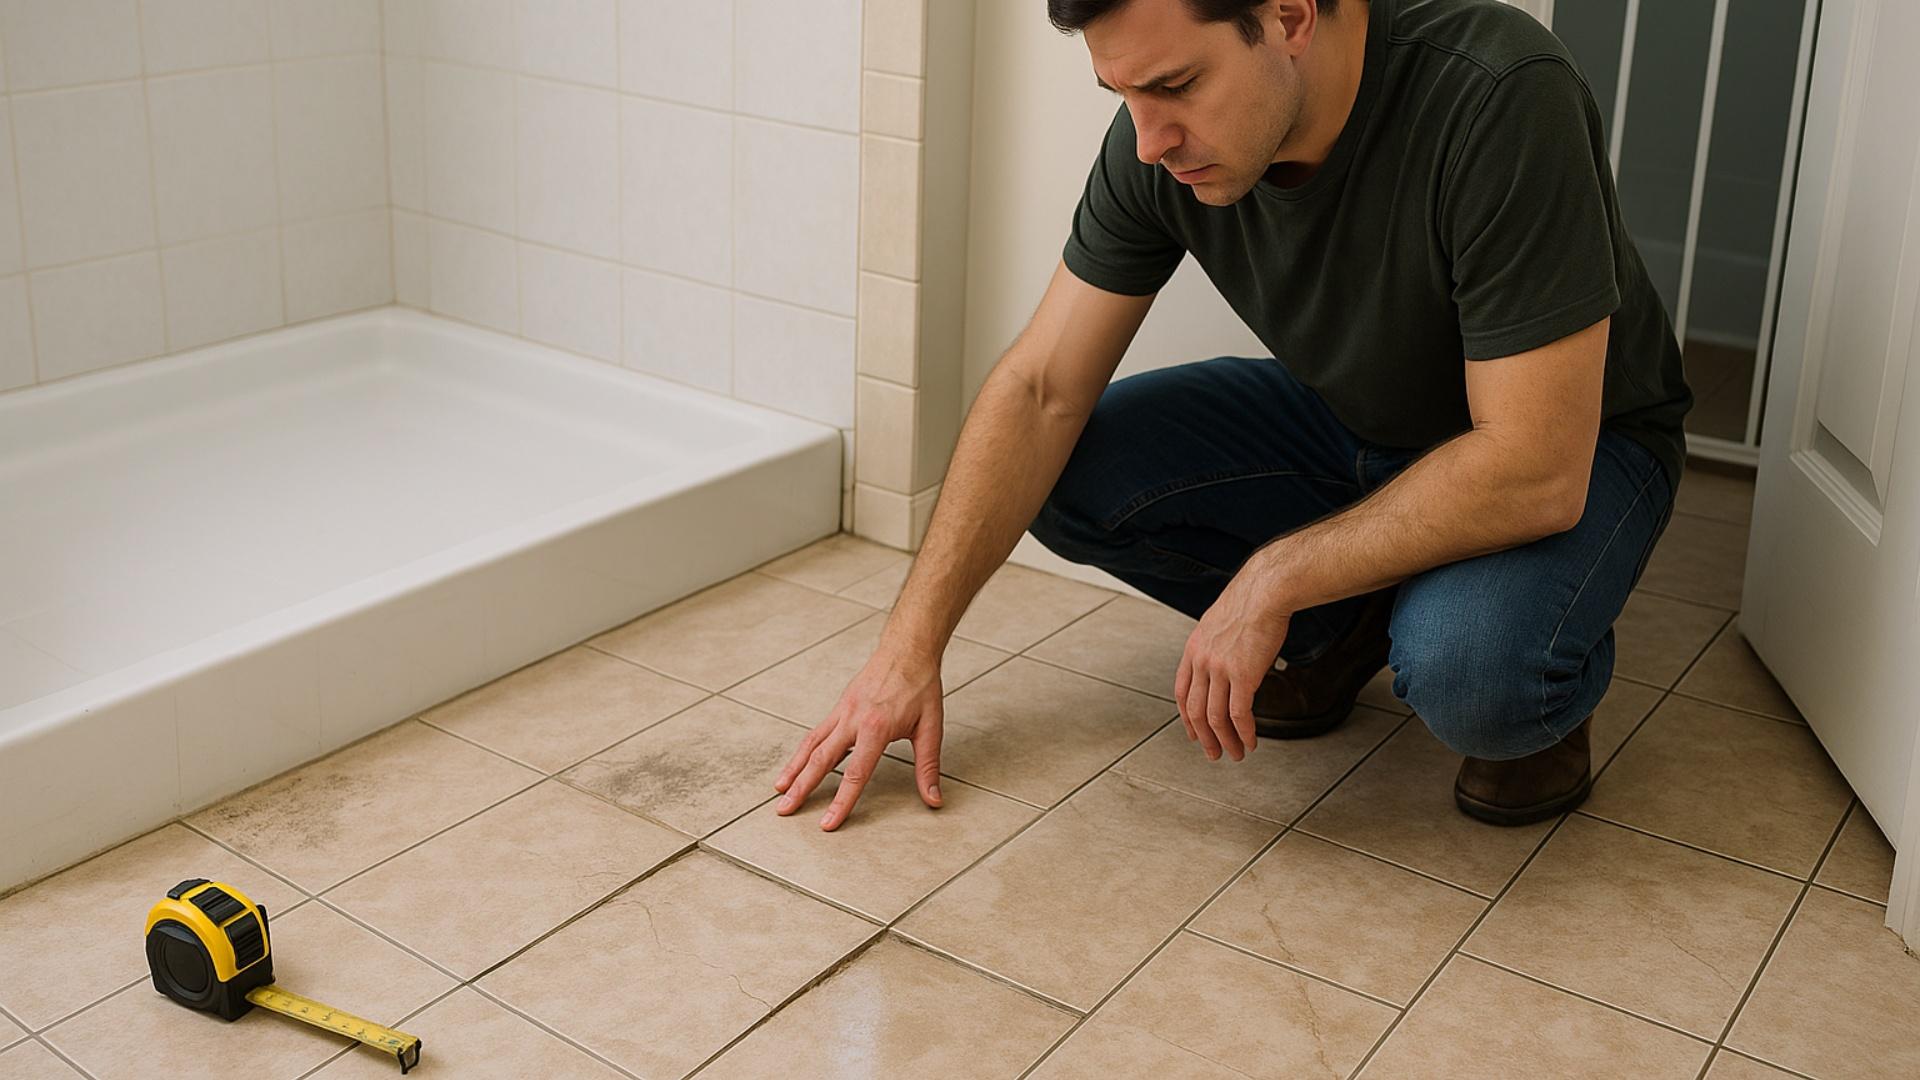
My excitement about an easy tile-over-tile project faded when I noticed some problems.
While checking the existing floor, I tapped on tiles and heard hollow sounds in several spots.
This meant they weren’t stuck down properly. I also saw super glossy areas where new adhesive probably wouldn’t stick well.
Another big concern was height. Adding a new layer would raise my floor by about half an inch.
I measured the bathroom door to see if it would still open properly and checked if the toilet fixtures needed adjusting.
The biggest worry came when I found a slightly soft spot near the shower.
When I looked closer, I saw tiny black dots that looked like mold. Water damage is serious business!
If moisture was trapped under the old tiles, adding new ones would hide the problem, which would only make it worse over time.
How I Tiled Over Tile: A Step-by-Step Guide
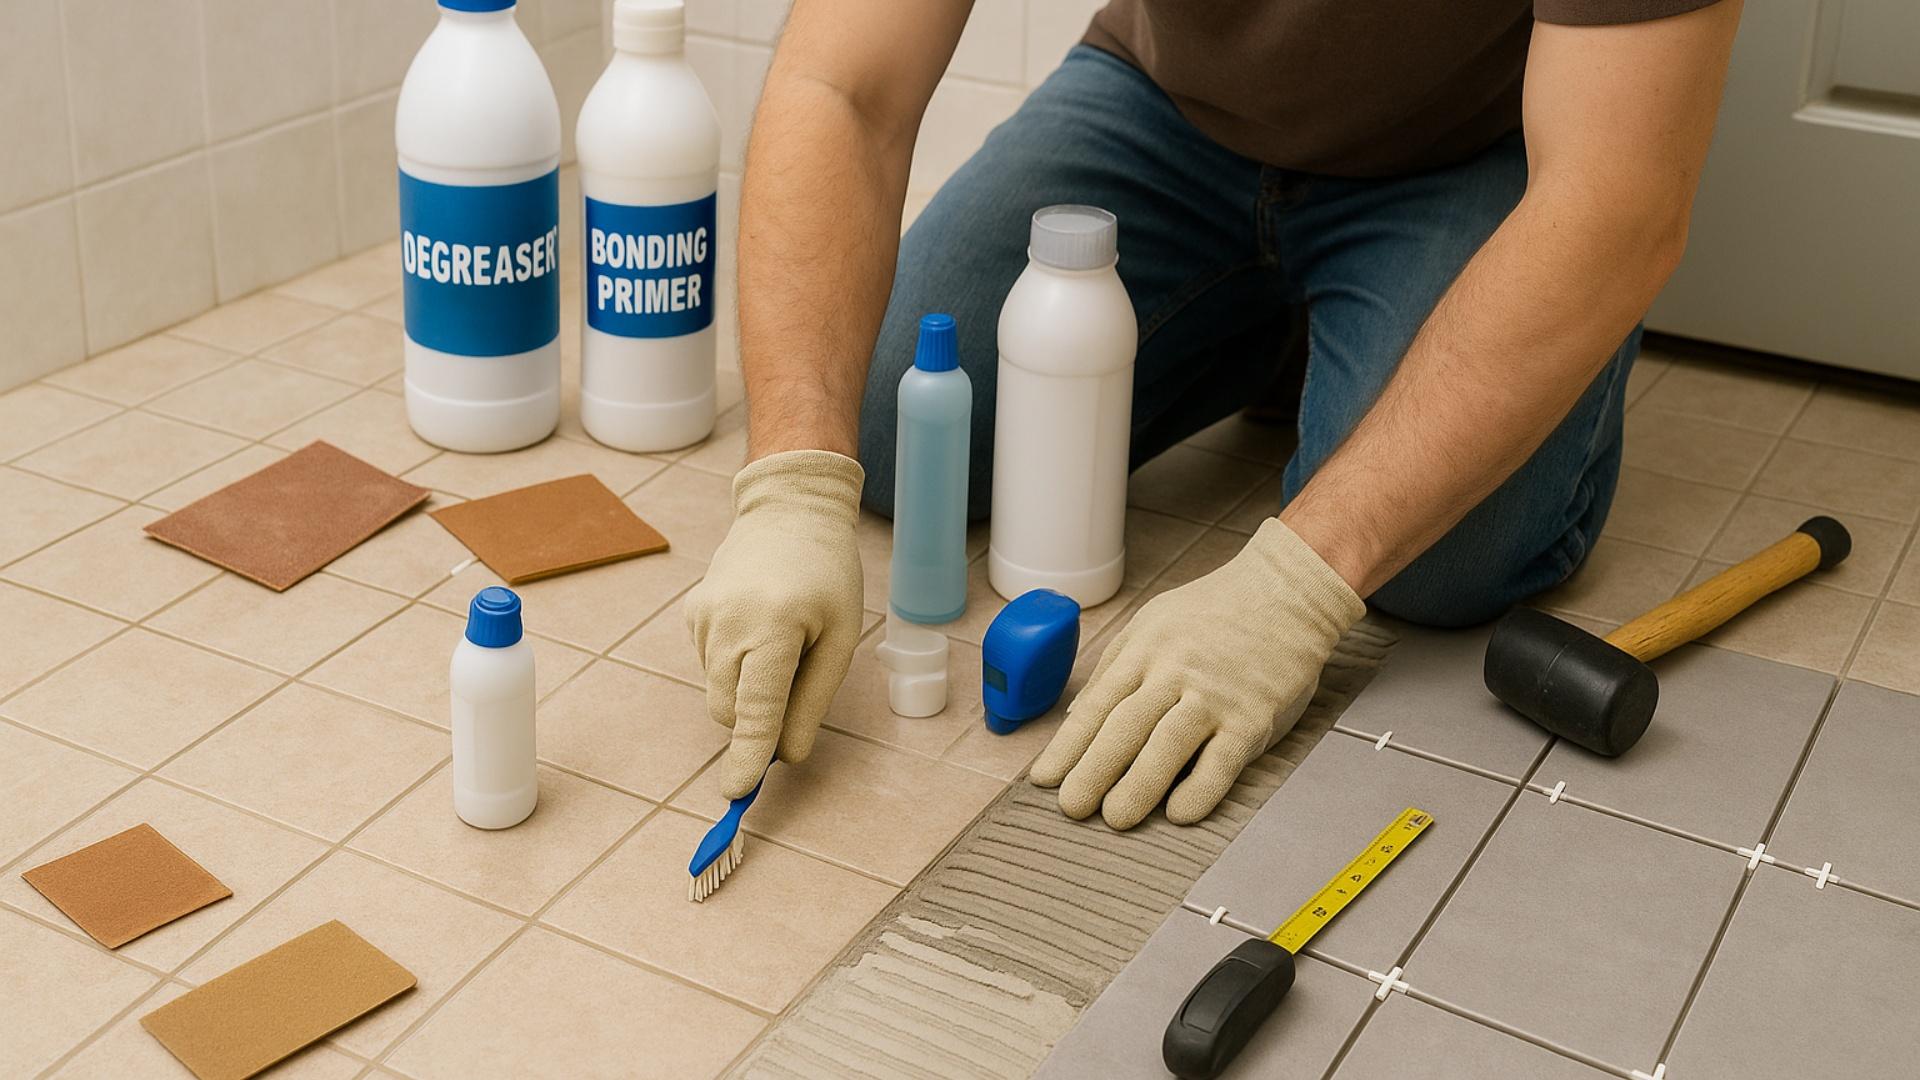
Once I decided to go ahead with my tile-over-tile project, I needed a solid plan.
While it seemed simpler than ripping everything out, there were still important steps to follow.
Here’s how I tackled the job from start to finish.
Step 1: Cleaning
I started by cleaning like my project depended on it, because it did!
Using a strong degreaser, I scrubbed every inch of the old tile surface.
Years of soap scum, dirt, and cleaning product residue had to go.
I paid special attention to the grout lines, using an old toothbrush to get in the cracks.
After cleaning, I rinsed everything twice to make sure no soap remained that could prevent the adhesive from sticking properly.
Step 2: Surface Prep
Clean tiles weren’t enough; I needed to create a surface that the new adhesive could really grip.
I used 80-grit sandpaper to lightly scratch up the glossy finish on my old ceramic tiles.
For some extra-slick spots, I applied a bonding primer that’s made specifically for glossy surfaces.
This step took about two hours, but it was worth it.
Without this preparation, my new tiles might have popped loose within months.
Step 3: Choosing the Right Adhesive
Not all adhesives work for tile-over-tile projects.
I learned this the hard way after almost buying the wrong kind.
I ended up with a modified thin-set mortar that specifically mentioned “tile over tile” on the packaging.
It cost about $10 more than regular thin-set, but it contained special polymers that improved its adhesion to glossy surfaces.
I mixed small batches as I worked, so it wouldn’t dry out before I could use it.
Step 4: Laying the New Tiles
This part was both exciting and challenging.
I started from the center of the room and worked outward, using 1/8-inch plastic spacers between each tile.
The trickiest part was keeping everything level.
Since the old tile had grout lines, I had to apply more adhesive in some spots to prevent the new tiles from dipping into those lines.
I checked frequently with a level and tapped high corners down with a rubber mallet.
Step 5: Grouting and Sealing
After waiting 24 hours for the adhesive to set, I applied sanded grout to the spaces between tiles.
I worked in small sections, wiping away excess grout before it dried too hard.
Three days later, I applied two coats of grout sealer to protect against water damage.
I also sealed the tile surface itself since my new tiles were slightly porous.
This final step is especially important in bathrooms and kitchens where moisture is constant.
The Pros and Cons I Experienced
Before I share my final thoughts, here’s a simple breakdown of what worked well and what didn’t when I tiled over my existing tile.
| PROS | CONS |
|---|---|
| Finished the job in just a weekend | Had to trim the bathroom door to fit the higher floor |
| Saved $300 on demolition costs | Difficult to keep the new tiles level over the old grout lines |
| No dust or mess to clean up | Concerns about long-term durability |
| Didn’t need to move out during work | Required special transition strips for doorways |
| Could afford better quality tiles | Used more adhesive than planned |
Looking back, I’m happy with my decision for this particular project.
The time and mess I avoided made the few extra challenges worthwhile.
What I’d Do Differently (and Other Options I Considered)
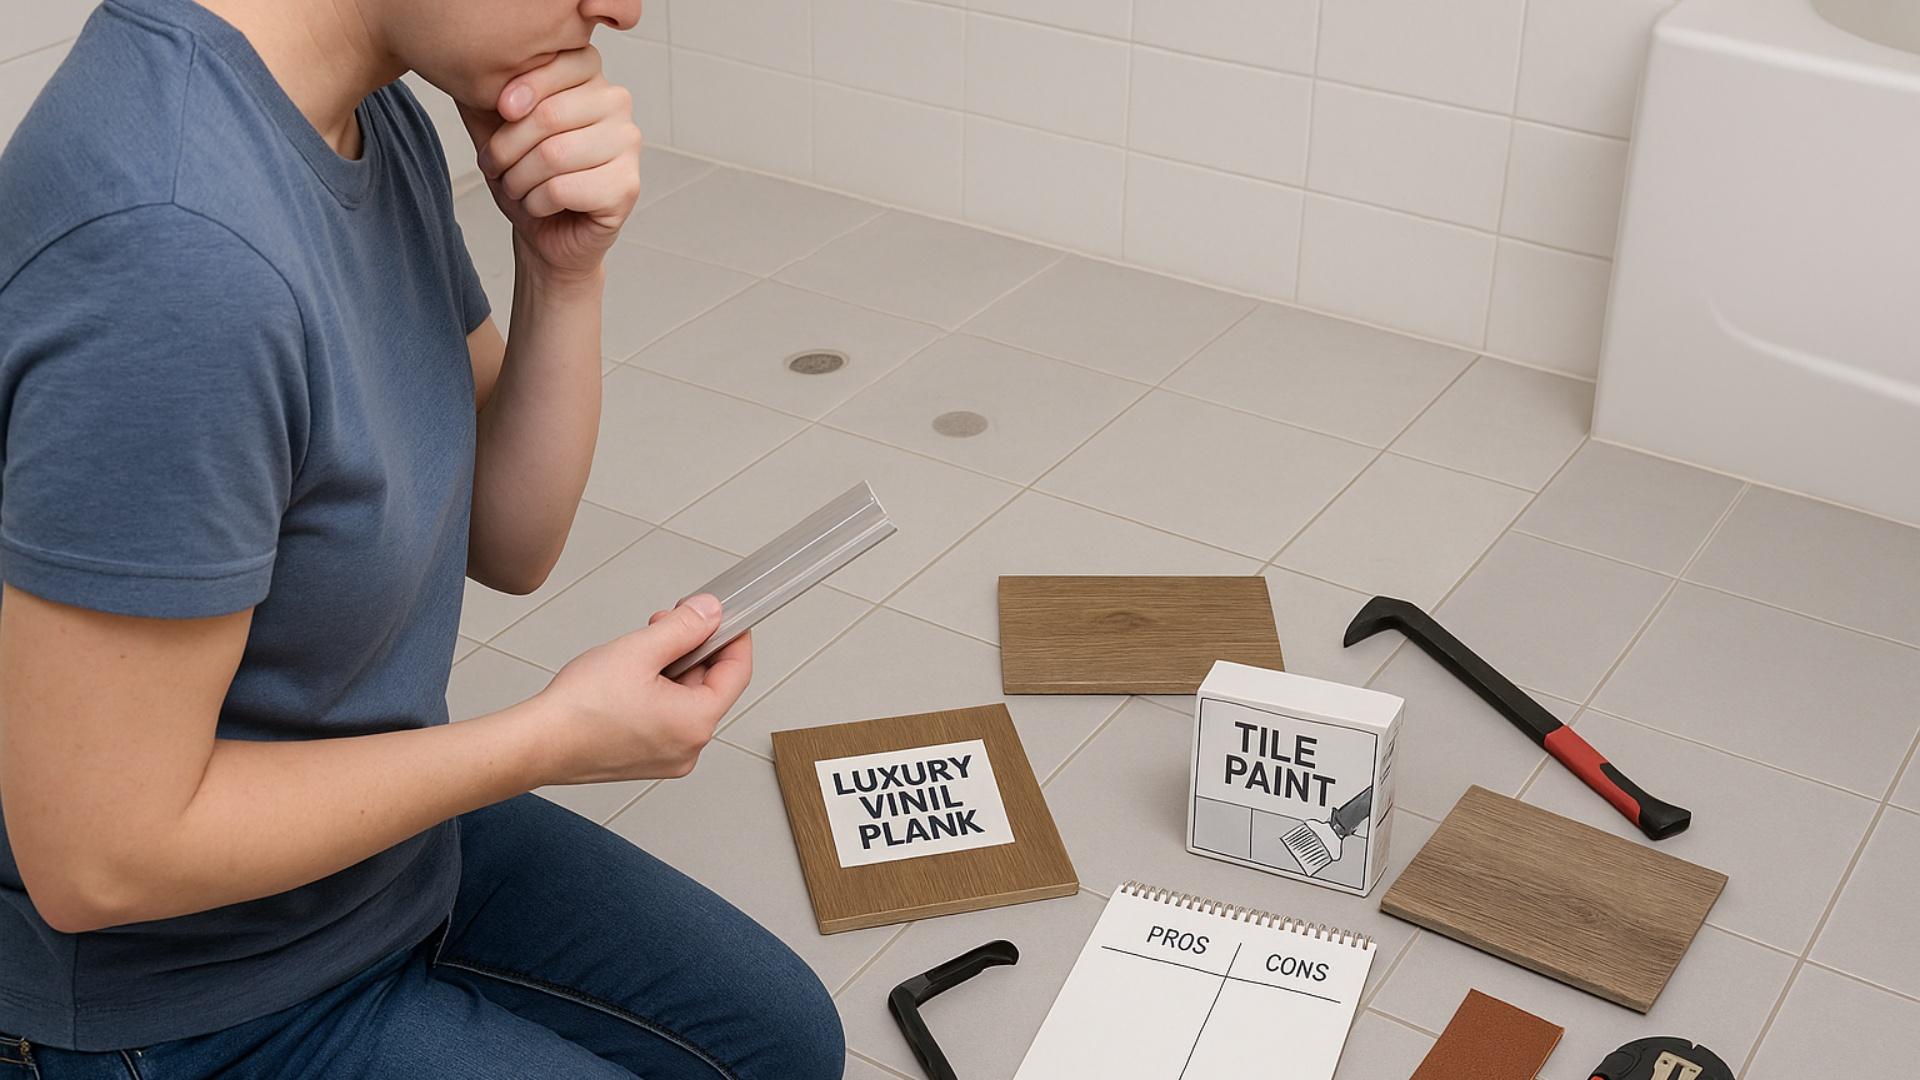
Looking back on my tile-over-tile project, I learned a few important lessons.
While I’m happy with how it turned out, there were definitely moments when I questioned my decision.
Before starting, I also explored several other options that might work for different situations.
1. Would I Do It Again?
Yes, I would tile over existing tile again, but only in certain situations.
The time and money saved were significant.
However, next time I’d be more careful checking for hollow spots and buy transition strips in advance.
This method works best for small spaces with solid existing tile. I might think twice about it for larger rooms or high-traffic areas.
2. When I’d Avoid It
I would never tile over existing tile if I saw any warning signs.
Loose, cracked, or hollow-sounding tiles are big red flags.
I’d also avoid this method in areas with standing water or suspected moisture issues behind walls.
Covering up potential mold or water damage is a bad idea, no matter how convenient it seems at first.
3. Alternatives I Looked Into
I considered several other options before deciding to tile over tile.
My first thought was to remove the old tile, but the mess and potential damage to the subfloor changed my mind.
Luxury vinyl planks seemed promising since they’re waterproof and easy to install, but I wanted the solid feel of real tile.
Tile paint kits were the cheapest solution, but reviews mentioned chipping and peeling within months, which wasn’t worth the initial savings.
Final Thoughts
So, can I tile over tile?
The answer is a qualified yes, but it depends on your specific situation.
As I figured out through my project, tiling over existing tile can be a fantastic time and money saver when conditions are right.
The key is making sure your existing tile is in good shape with no moisture issues lurking underneath.
While I’m happy with my decision to tile over tile, it’s not the perfect solution for every situation.
If you decide to go this route, take time to evaluate your space, consider the alternatives, and prepare properly.
With the right preparation and expectations, you can change your space without the demolition drama.
And isn’t that what most of us DIYers are looking for, great results with less hassle?
Now you know when tiling over tile works. Find more smart solutions in our home improvement section for every corner of your home!

