Gift-giving is special, but wrapping can be tricky. Many of us struggle with making pretty bows for our presents.
It’s frustrating when the final touch doesn’t look as nice as we hoped.
We’re here to help. In this guide, we’ll show you how to create beautiful ribbon bows at home. You’ll learn a simple method that works every time.
We’ll cover everything you need to know:
- What supplies you’ll need
- Step-by-step instructions for making a bow
- Tips for getting the perfect shape
- How to attach your bow to gifts
By the end, you can make bows that add a personal touch to any gift.
Why Make Your Ribbon Bows?
1. Personal Touch to Gift Wrapping
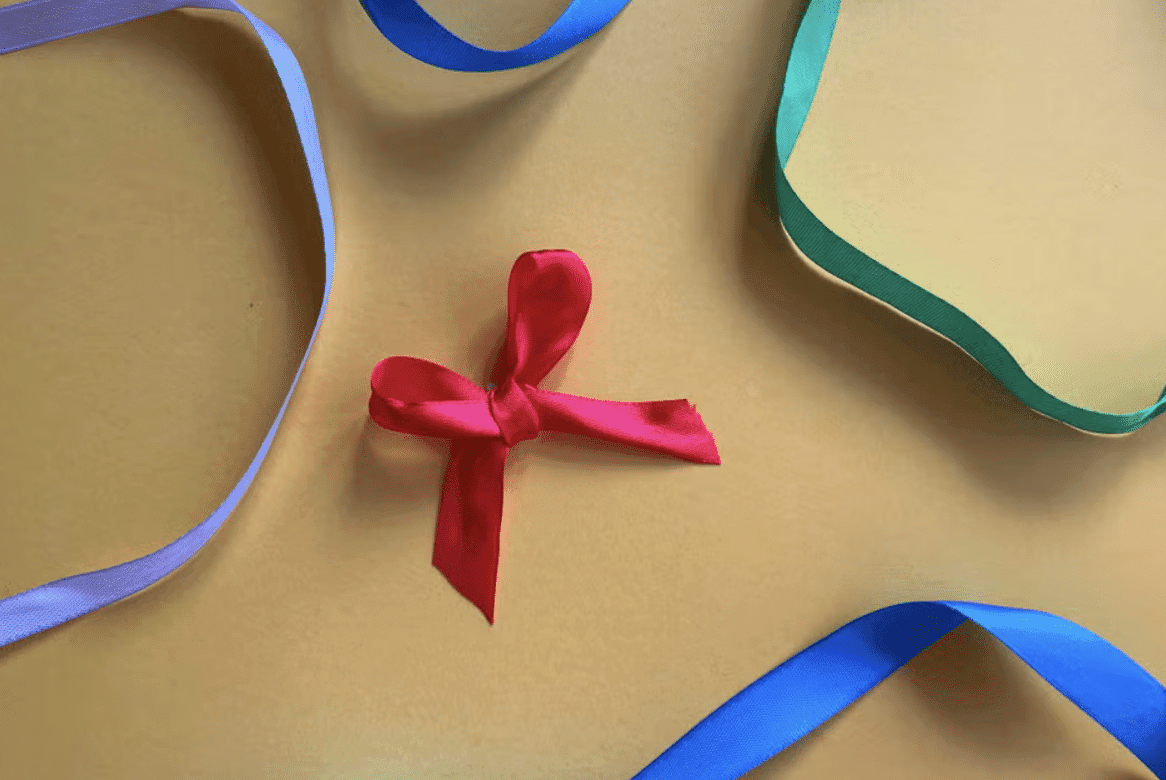
Handmade bows make gifts extra special. They show you care enough to put in extra effort. When you make a bow, you can pick colors that suit the event or match the person’s liking.
This makes the gift feel more personal. Even a simple present looks fancy with a nice bow on top.
2. Cost-Effective Compared to Buying Pre-Made Bows
Making your bows can save you money. Buying ribbons in big rolls costs less than getting pre-made bows all the time.
You can use leftover ribbons for other gifts or crafts, too. You can choose good materials that look nice and last longer when you make bows yourself.
3. Endless Customization with Various Ribbons, Colors, and Sizes
You can be as creative as you want when making your bows. For cool looks, you can mix different ribbons, such as satin or velvet.
There are so many colors and patterns to choose from. You can make the perfect bow to go with any gift wrap.
You can also make bows in any size you need, from tiny ones for small gifts to big, bold ones for large packages.
Materials Required to Make Ribbon Bows for Gifts
| Material | Purpose |
|---|---|
| Ribbons (Satin, Velvet, Grosgrain, etc.) | To create bows with different textures and styles |
| Scissors | For making clean and precise cuts on the ribbons |
| Measuring Tape | To measure and ensure consistent ribbon lengths for uniform bows |
| Adhesive (Optional) | To secure the bows to the gifts, if needed |
Step-by-Step Guide to Make Stunning Ribbon Bows for Gifts
Step 1: Cut the Ribbon to the Desired Length
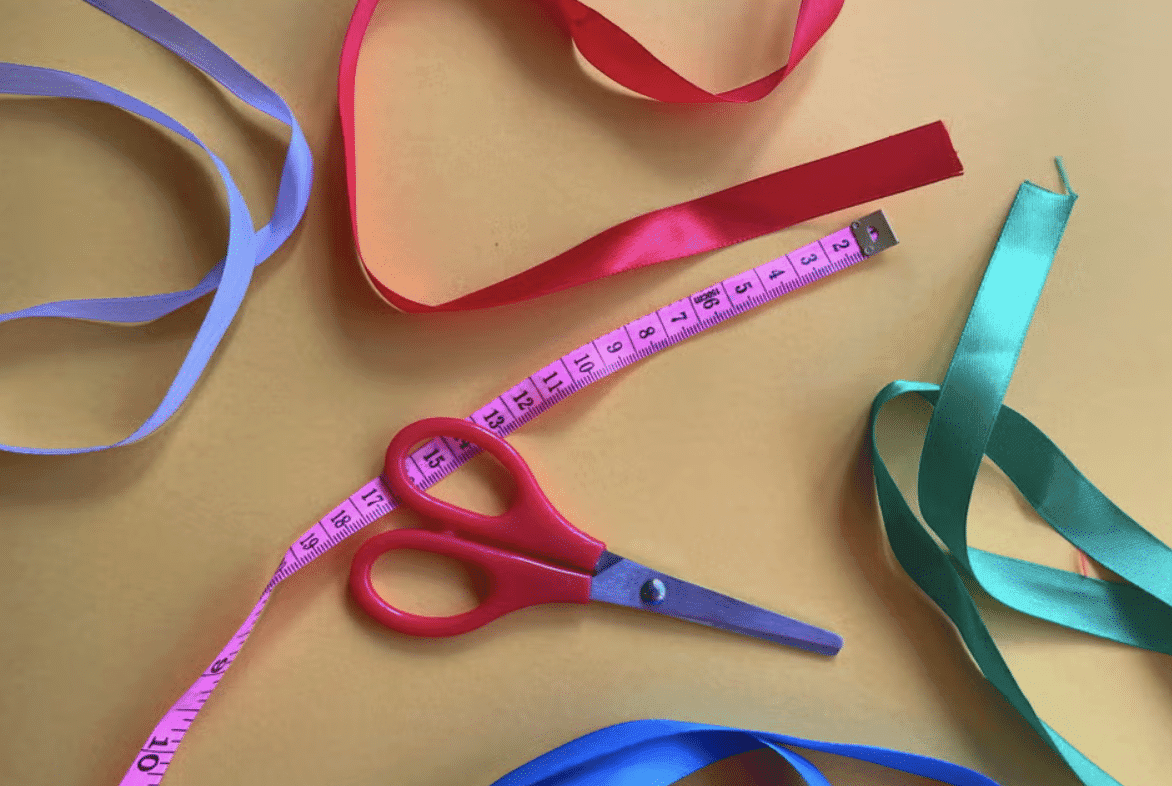
The size of your bow depends on how long and wide your ribbon is. For a normal bow, you’ll want about 36 cm of ribbon. Use more or less ribbon if you need a bigger or smaller bow.
Wide ribbons make full, big bows. Thin ribbons work best for small, dainty bows. When you cut your ribbon, do it at an angle. This stops the edges from fraying and makes your bow look neat.
Step 2: Fold the Ribbon in Half and Press at the Center to Create a Crease
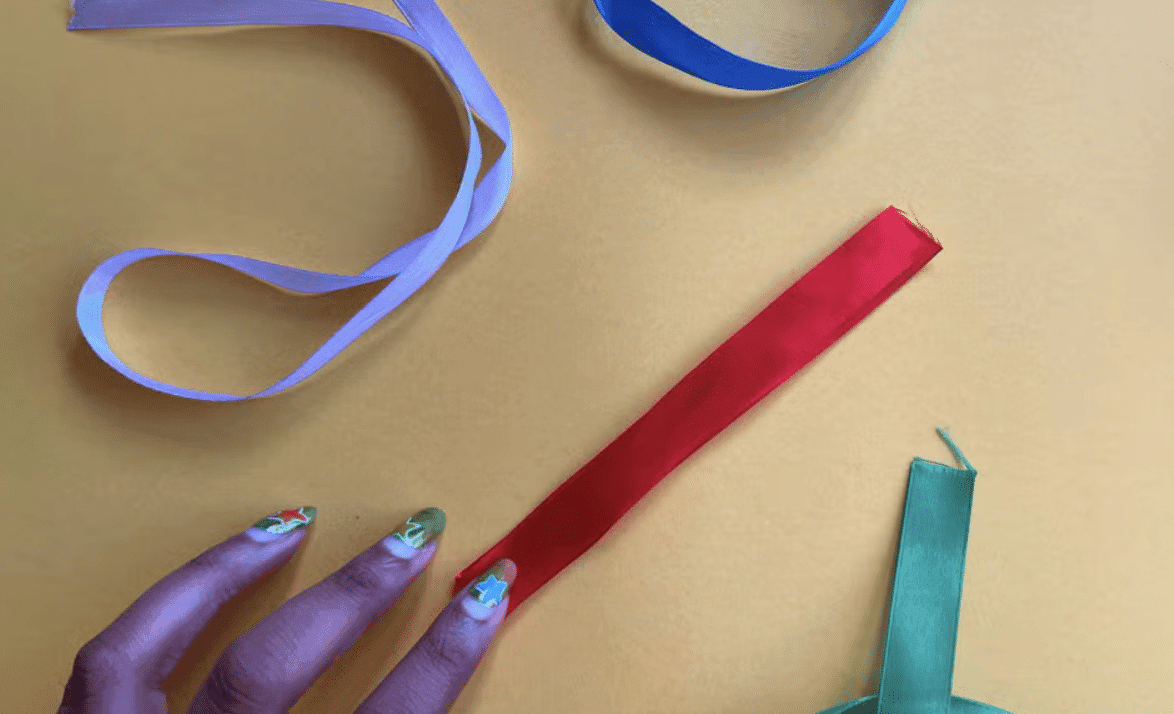
Folding your ribbon helps keep your bow even on both sides. Press the middle to make a visible line. This line will help you find the center when you make the loops.
If your ribbon is thick, you might need to press harder. You can use an iron on low heat if necessary. But be careful not to push too hard. You don’t want to leave a mark on soft ribbons like satin.
Step 3: Form a Classic Charity Ribbon Shape by Crossing One Side Over the Other
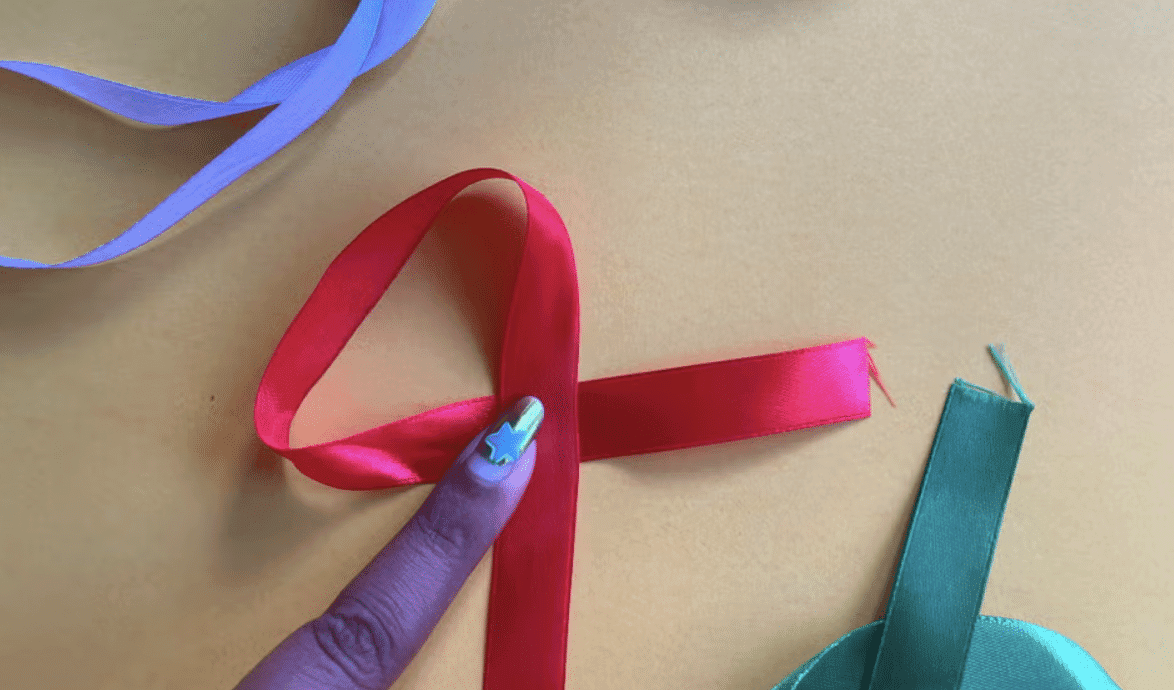
Make a shape like the ribbons used for awareness campaigns to start your bow. Cross one side of the ribbon over the other. Keep the ribbon flat to avoid wrinkles.
This shape sets your bow’s size, so adjust it as needed. To keep things even, make sure both sides are the same length.
Step 4: Create Two Even-Sized Loops (Bunny Ears) by Folding Down the Larger Loop
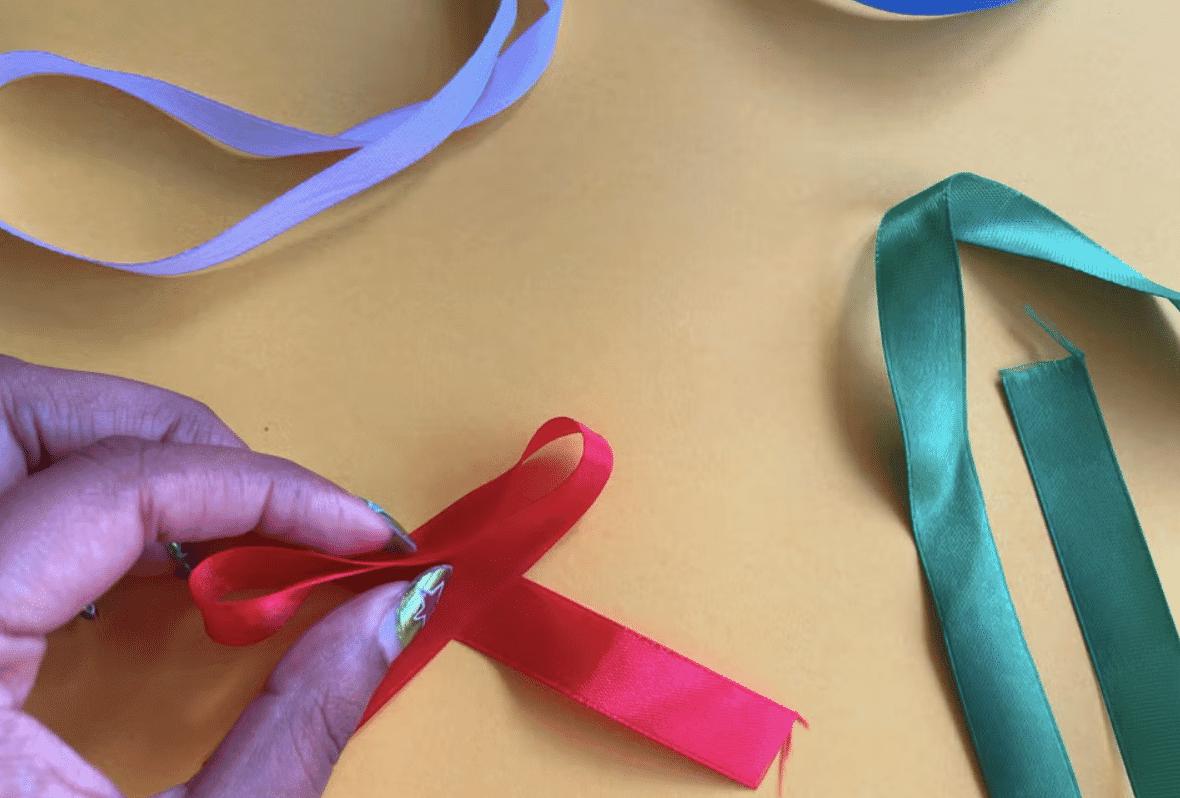
Now, make two loops that look like bunny ears. Fold the big loop down to make two loops the same size. These loops will be your bow’s “ears.”
Before you move on, check that both loops are the same size. Hold the loops tight with your fingers so they don’t move.
Step 5: Fold the Loops Over Each Other and Pull the Ends Tight
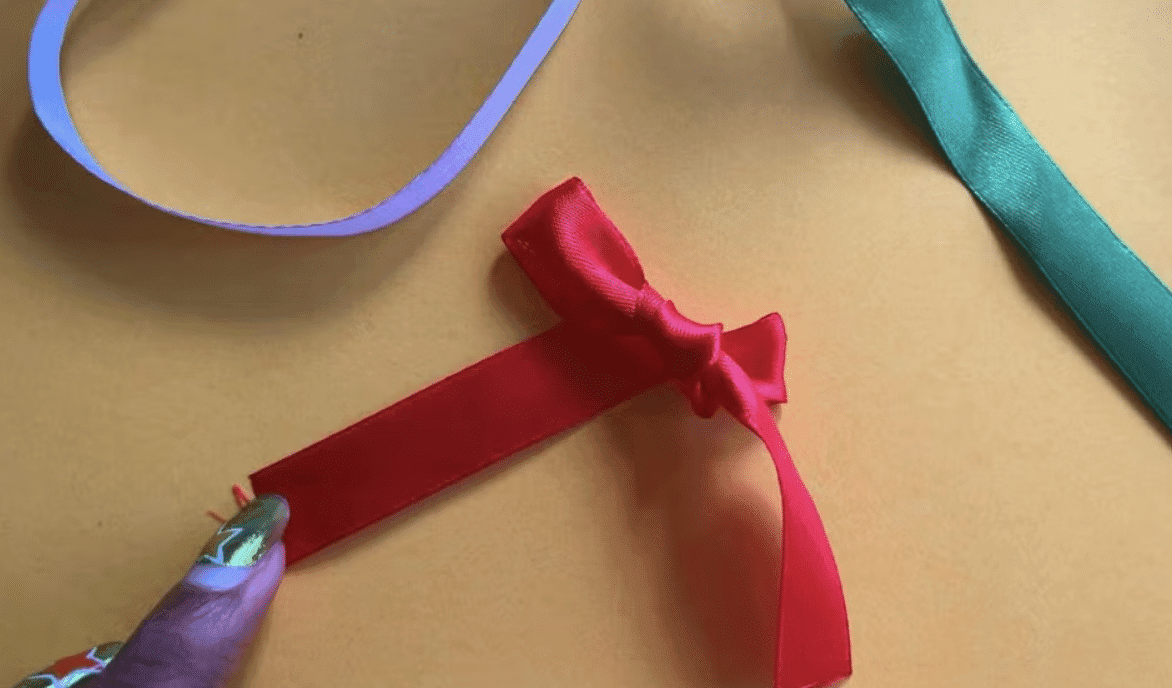
To join your bow, cross one loop over the other—it’s like tying your shoes. Pull the ends of the loops to make the bow tight.
Be careful not to pull too hard, or you might squish the loops. Pull both sides the same amount to keep the bow straight.
Step 6: Adjust the Loops and Tails for Symmetry, Then Trim the Ends at an Angle
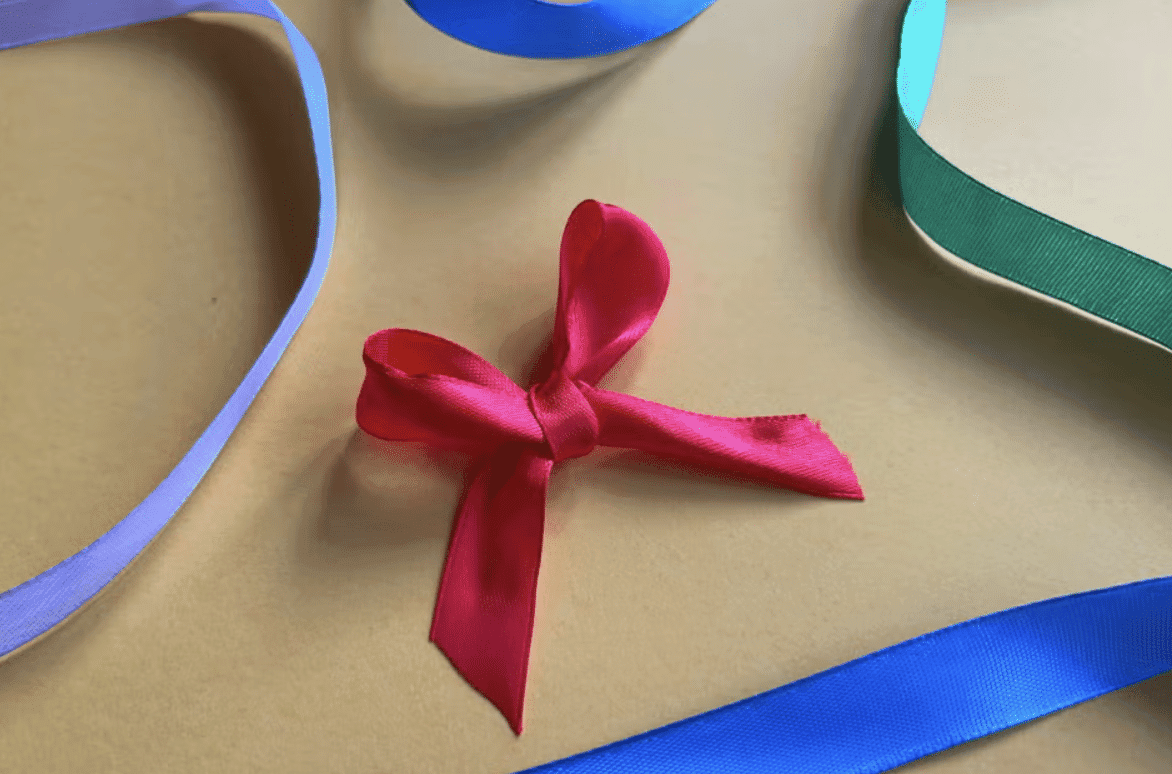
For the final touches, make sure your bow looks good all over. Fix the loops and tails so they’re the same on both sides. Gently fluff the loops to make them look full.
Cut the ends of the ribbon tails at an angle or in a “V” shape. This makes your bow look neat and stops the ribbon from fraying.
Pro Tips for Making the Perfect Bow
Making a nice bow is easy, but creating a perfect one requires skill. Here are some tips to help you make bows look great every time.
1. Pick the Best Ribbon for Your Gift
The type of ribbon you use can change how your gift looks. Silk ribbons make gifts look fancy, and they’re great for special events.
Grosgrain ribbons are tough and hold their shape well. They work for everyday gifts or when you need a strong bow.
2. Make Sure Your Bow is Even
Measure your ribbon carefully to get a bow that looks good. Use the same length for both sides of the bow.
This helps make sure your loops and tails are the same size. An even bow looks neat and well-made.
3. Try Different Ribbon Sizes and Feels
Play around with ribbons of different widths. Wide ribbons make big, full bows. Thin ribbons are good for small, cute bows.
Mix up the textures, too. Smooth ribbons look sleek, while textured ones add some interest. Trying new things can help you make bows that stand out.
How to Attach Your Bow to Gifts
Now that you’ve made your bow, it’s time to put it on your gift. There are a few easy ways to do this:
- Use Double-Sided Tape: Put a small piece on the back of your bow and press it firmly onto your wrapped gift. This works well for light bows on smooth wrapping paper.
- Try a Glue Dot: Place a glue dot on the back of your bow and stick it to your gift. These strong adhesives work great for heavier bows.
- Tie It On with Ribbon: Wrap a thin ribbon around your gift and tie your bow onto this ribbon. This method keeps your bow secure and adds a classic touch.
- Use a Safety Pin for Fabric Gifts: Carefully pin the bow to fabric-wrapped gifts. This works well for presents like scarves or blankets.
Remember to be gentle when attaching to avoid squishing the bow loops. Pick the method that best suits your bow size and gift wrap type.
Wrapping It Up
Making ribbon bows at home is a fun and easy way to add a special touch to your gifts. You can create beautiful bows that match any occasion or gift wrap with just a few simple steps.
Remember, practice makes perfect. Don’t worry if your first few bows aren’t flawless. Keep trying, and you’ll soon be making bows like a pro.
Why not start your bow-making journey today? Grab some ribbon and give it a try. You might surprise yourself with how quickly you pick up this skill.
For your next gift-giving occasion, skip the store-bought bows. Instead, create a handmade bow that shows you care.
Your friends and family will appreciate the extra effort, and you’ll enjoy the satisfaction of making something beautiful with your own hands.
Happy bow-making!


