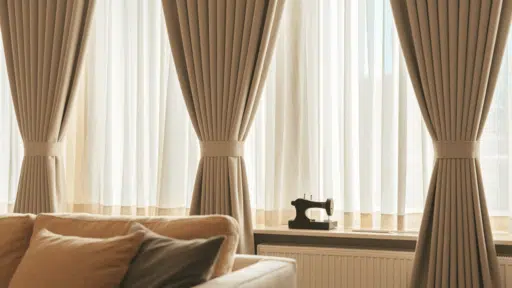
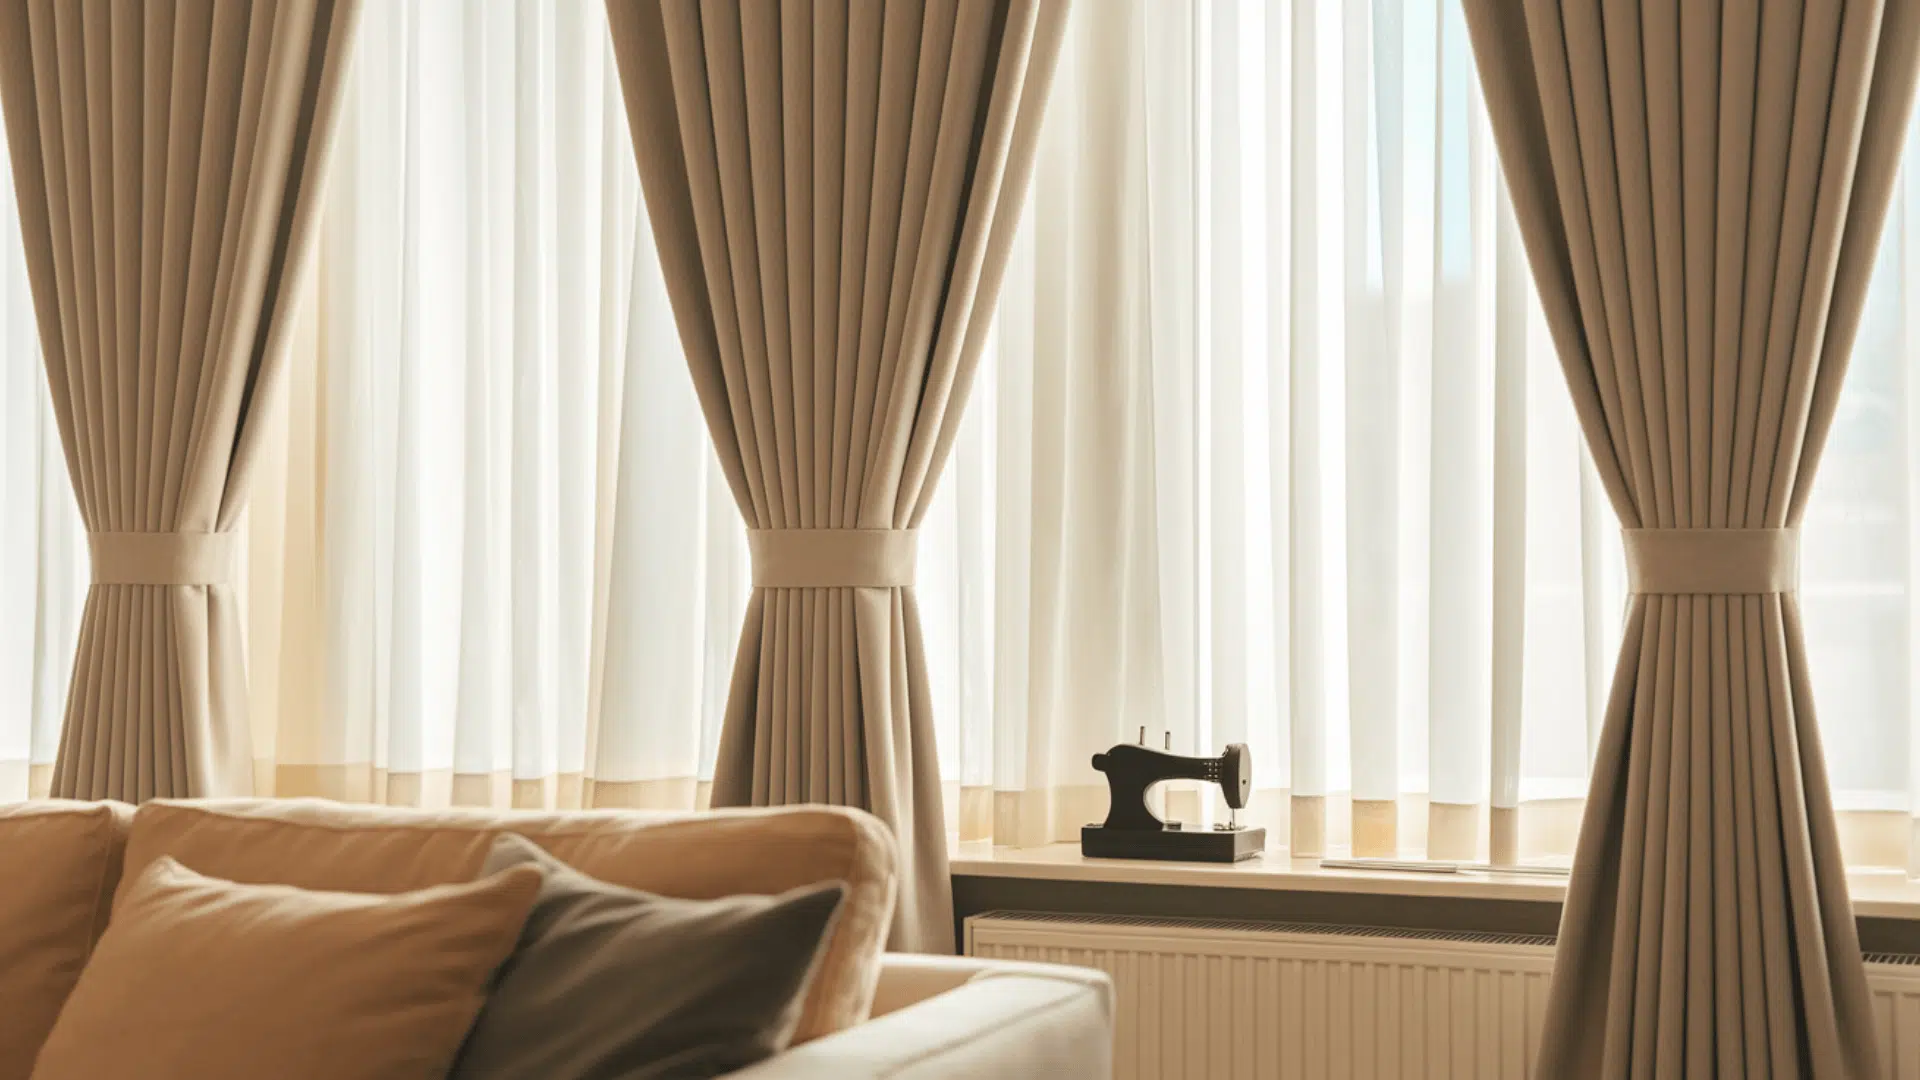
Want to know what instantly makes a room look put-together?
Custom window treatments.
But who wants to pay hundreds for something you can make yourself?
Not me, and probably not you either!
I learned the hard way that store-bought curtains often look flat and boring.
Then I found the secret: pleat tape.
This simple addition turns plain panels into stunning, perfectly folded curtains that look custom-made.
What shocked me most is that even with basic sewing skills, you can create curtains that fool everyone.
If you can stitch a straight line, you can make pinch pleat curtains that refashion your entire room.
Ready to try it yourself?
Let’s make those windows the star of your room!
Why Choose Pleat Tape for Curtains?
Have you ever walked into a room and noticed how some curtains hang just right?
Not flat against the window, but with perfect waves that catch the light and add depth to a space?
That’s the magic of pleat tape.
Plain curtains often look flat and boring. They hang straight down without much shape.
But when you add pleat tape, you get those lovely folds that make curtains look much nicer.
Pleat tape is a strip of fabric with little pockets sewn in.
You insert hooks into these pockets, which creates even folds across your curtains.
Think of pleat tape as the secret tool that turns basic window coverings into something special.
It works with store-bought curtains, homemade ones, light fabrics, heavy materials – pretty much anything!
The best part?
You don’t need fancy skills to use it.
With pleat tape, you can get that custom-made look without paying custom prices.
Your windows will thank you, your wallet will thank you, and your guests will wonder how your home looks so put-together!
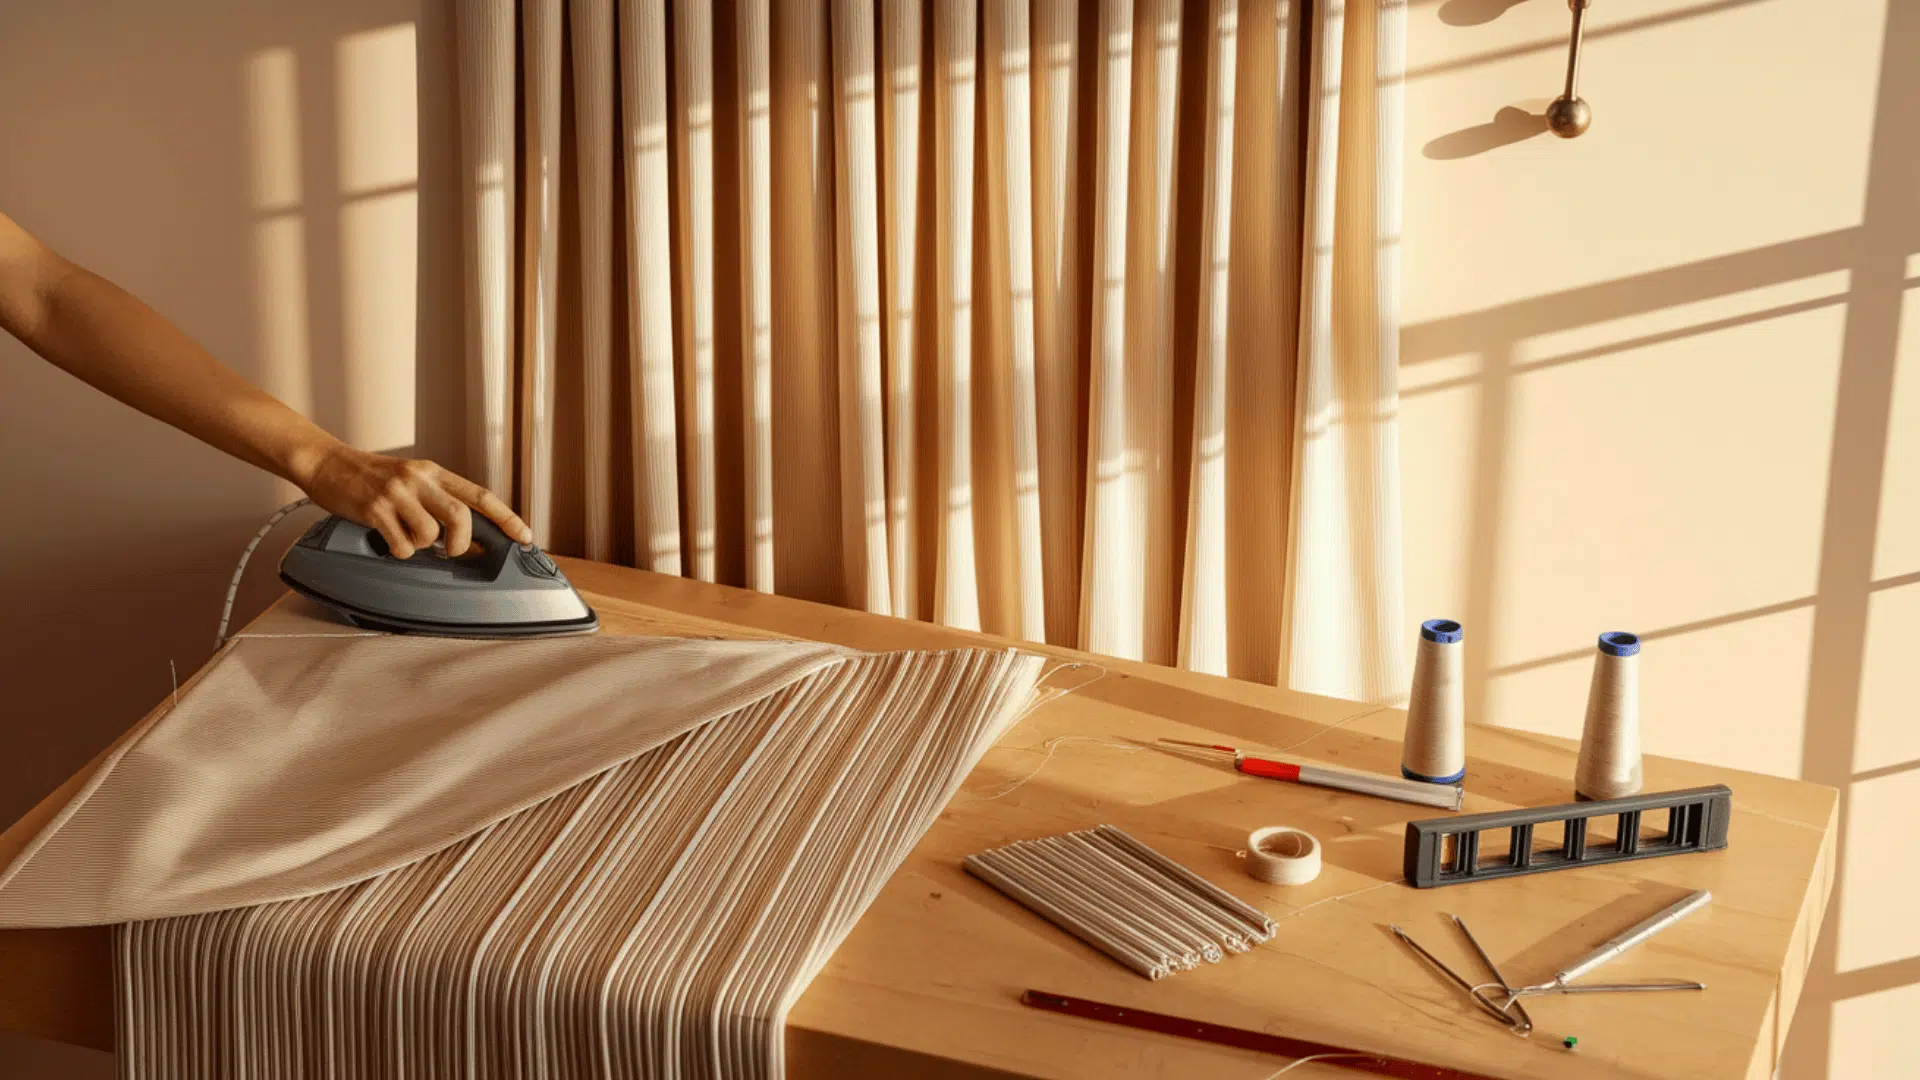
Materials You’ll Need for DIY Pinch Pleat Curtains
Before starting your curtain project, gather everything you’ll need.
Having all supplies ready makes the work go much smoother and helps avoid stopping halfway through.
While the list might seem long, many items are common household tools you likely already own.
| ESSENTIAL ITEM | WHY YOU NEED IT | SHOPPING TIP |
|---|---|---|
| Pleat tape | Creates uniform folds | Look for tape with evenly spaced pockets (best pleat tape for curtains has clear markings) |
| Four-prong pleater hooks | Forms the actual pinch | Metal hooks last longer than plastic ones |
| Curtain rings with eyelets | Allows smooth opening/closing | Choose rings that match your curtain rod |
| Fabric/pre-made panels | The main material | Heavier fabric for pinch pleats holds shape better |
| Thread | Attaches tape to fabric | Match the color to your curtain fabric |
| Iron | Creates crisp folds | The steam setting works best for most fabrics |
| Sewing machine | Faster than hand-stitching | Basic straight stitch is all you need |
| Scissors | Cutting fabric and thread | Sharp fabric scissors make clean cuts |
| Pins | Holds pieces in place | T-pins work better than regular straight pins |
With these items collected before you start, your project will run smoothly from start to finish.
This preparation step saves time and frustration later when you’re in the middle of sewing.
Step-by-Step DIY Pleated Curtain (Pinch Pleat Style)
Creating your own pleated curtains might seem hard at first, but breaking it down into simple steps makes it doable even for beginners.
This method gives you custom-looking window treatments without the custom price tag.
The trick is taking your time with each step.
Rush, and you might end up with uneven pleats or poorly hanging curtains.
Let’s walk through it carefully.
Step 1: Prepare and Prewash the Fabric
Always wash your fabric before sewing.
This step prevents future shrinking that could ruin your finished curtains.
Use cold water and gentle detergent for best results.
After washing, dry according to fabric type instructions.
While still slightly damp, iron the fabric flat to remove all wrinkles.
This creates a clean surface for measuring and cutting.
For pre-made panels, check the care label before washing.
Lay your fabric on a large, clean surface like a floor or table.
Measure carefully, making sure both panels are exactly the same size if making a pair.
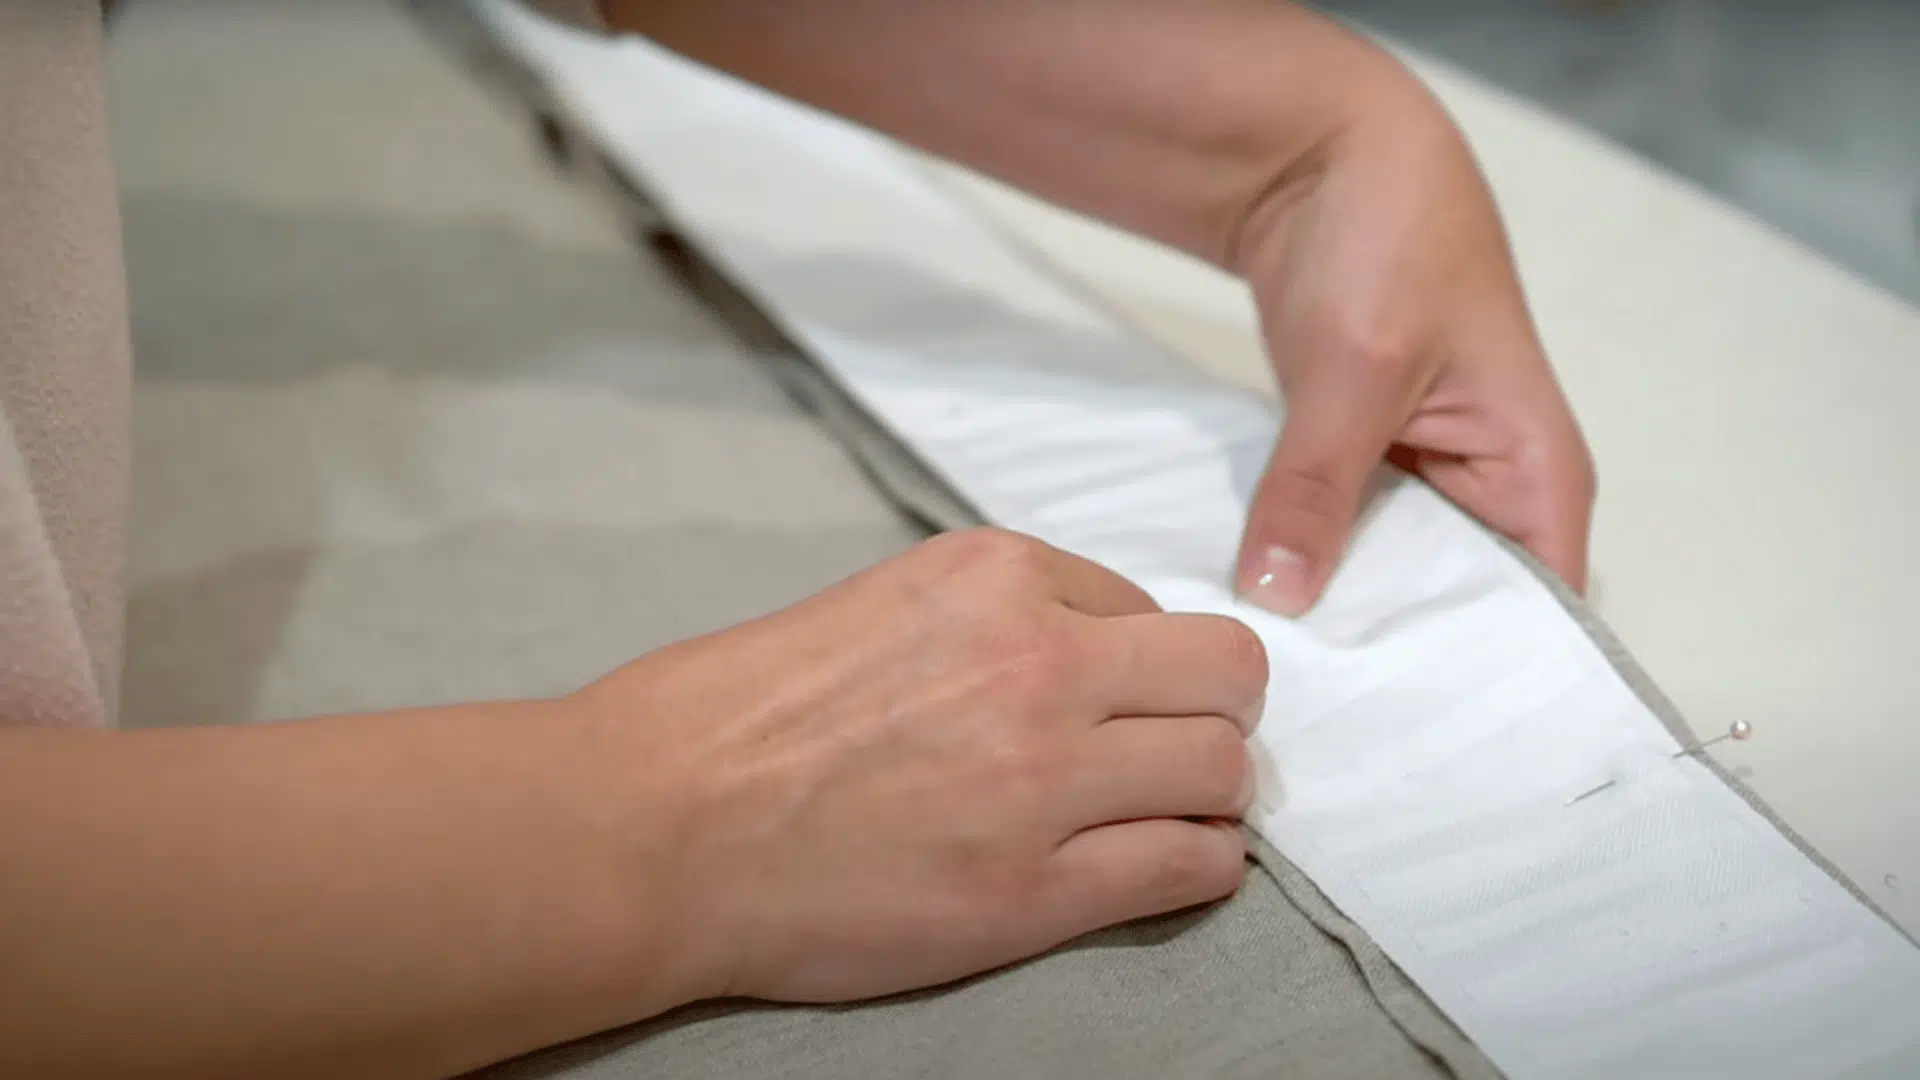
Step 2: Hem the Curtain Sides for a Clean Edge
Start by folding each side edge inward about 1/2 inch, then fold again to hide the raw edge completely.
Pin these folds in place every few inches.
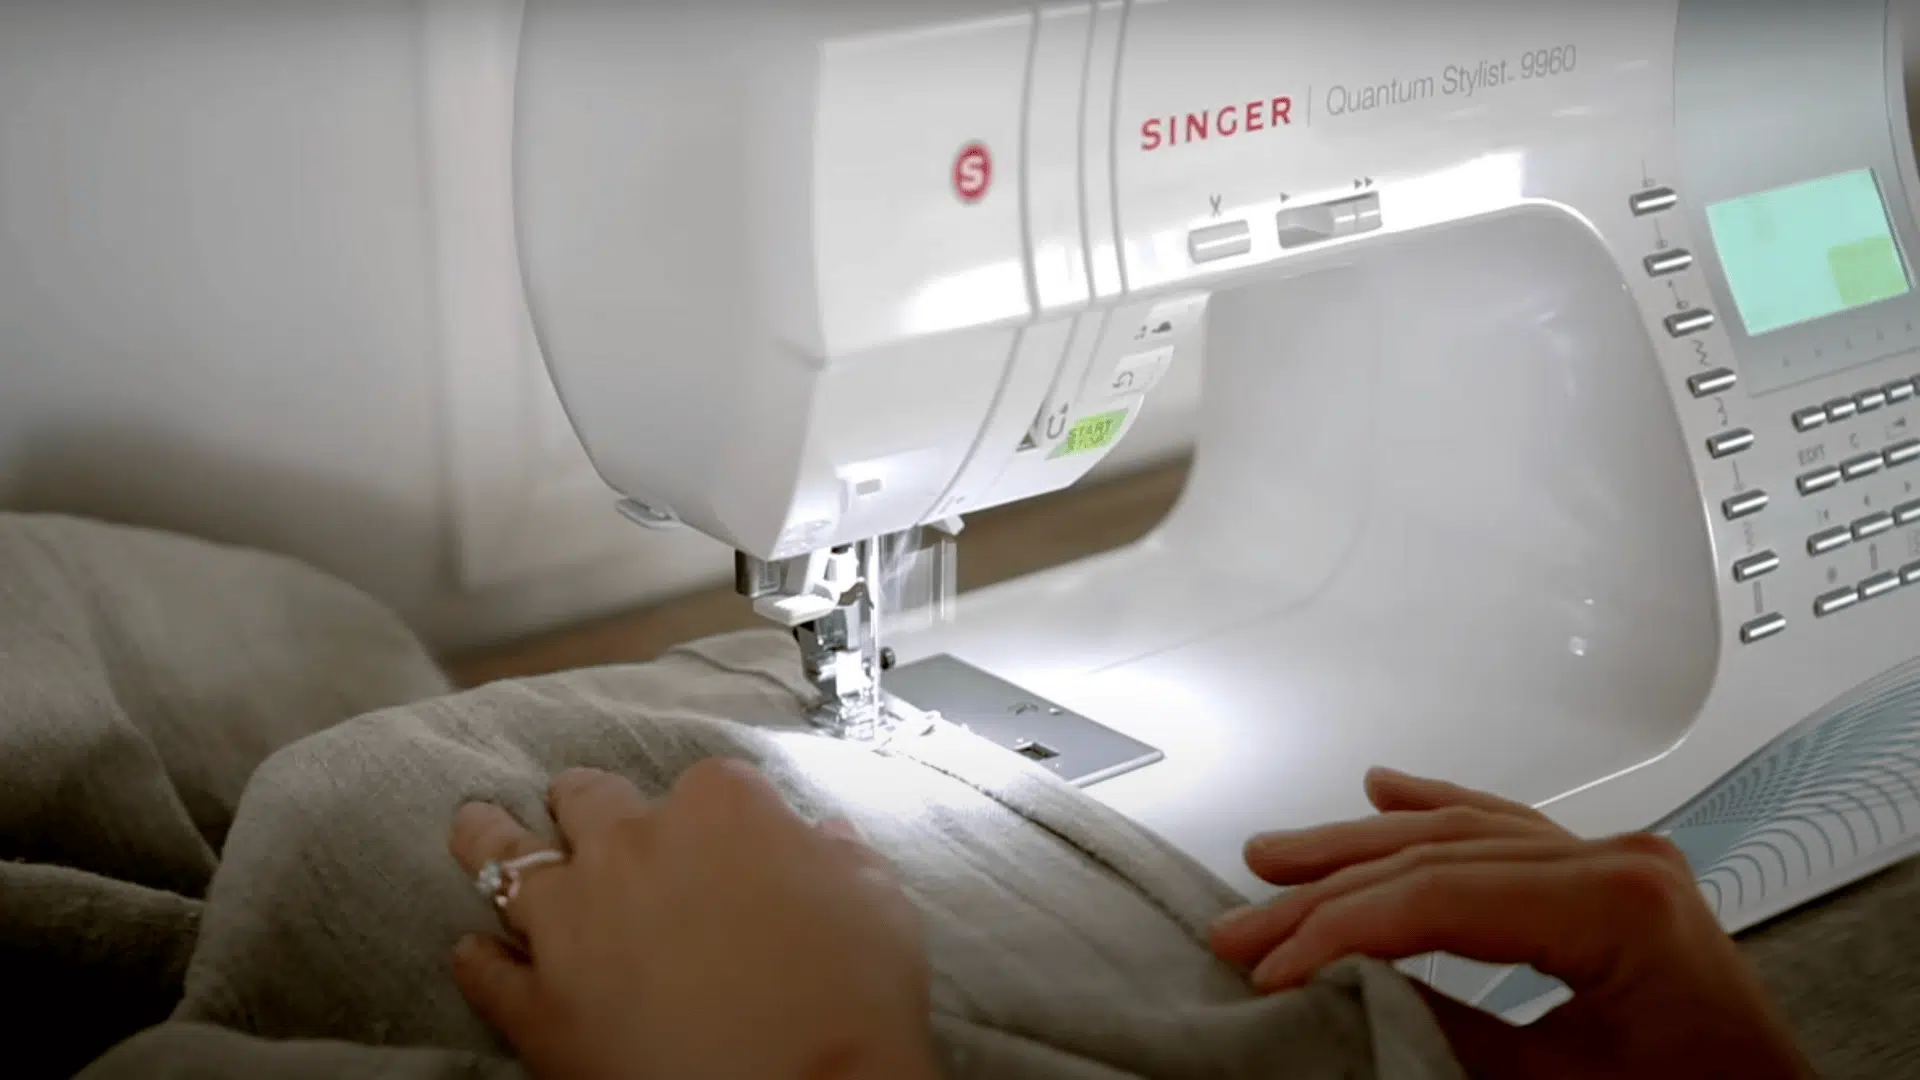
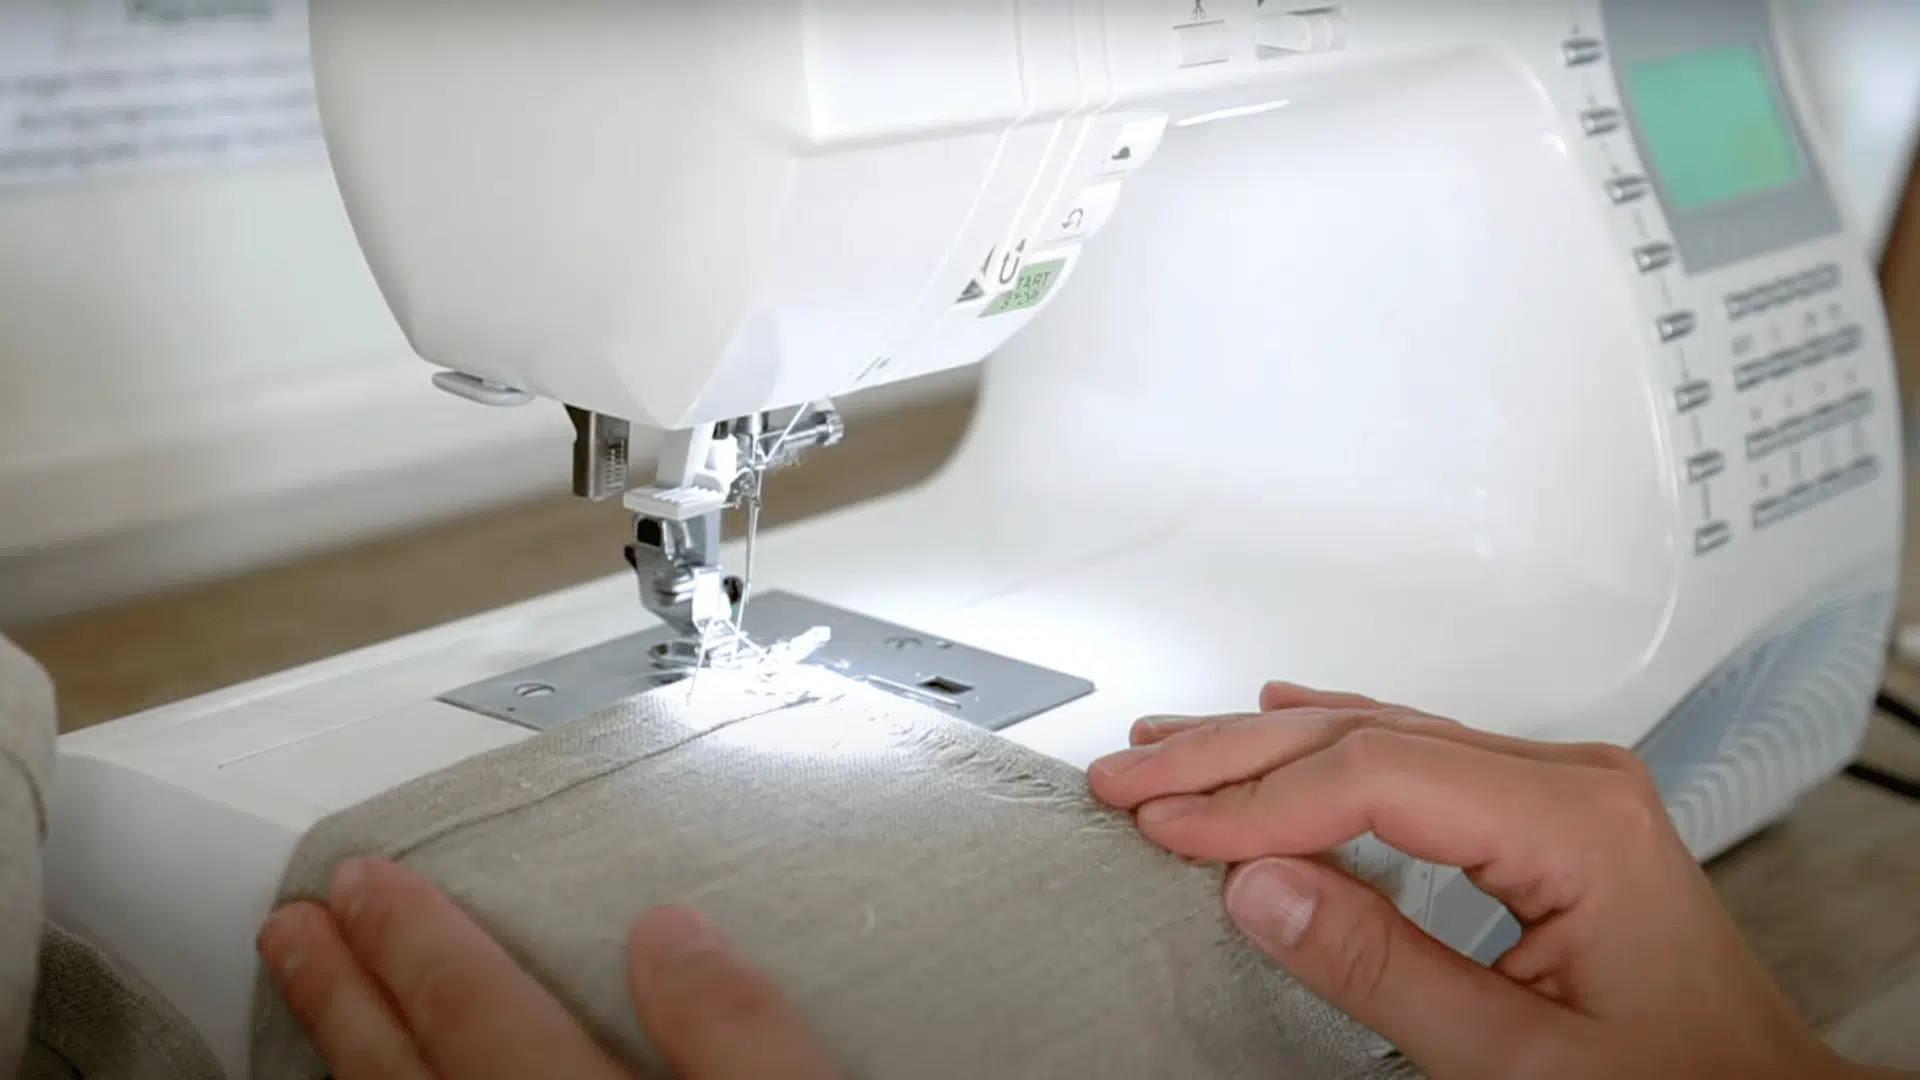
Use a straight stitch on your sewing machine to secure both side hems.
Keep your stitch line straight by following the inner fold as a guide.
Remove pins as you go to avoid hitting them with the needle.
Press the finished side hems with an iron to make them lie flat.
This small step makes a big difference in how professional your curtains look.
For thin fabrics, consider using hem tape instead of sewing for clean, no-sew edges.
Simply iron the tape between fabric layers according to package directions.
Step 3: Fold and Stitch the Top Hem to Prepare for Pleat Tape
Create a double-fold at the top of your curtain panel.
First, fold down 1/2 inch, then fold again 3-4 inches to create a sturdy top band.
Pin in place across the entire width.
This wide top hem gives weight to your curtains and provides a strong base for attaching the pleat tape.
Make sure the width is consistent from one side to the other.
Stitch close to the bottom edge of this fold, removing pins as you sew.
Use a matching thread and keep your stitches straight for a clean look.
Leave the top and side edges of this hem open for now. You’ll need access to insert the pleat tape in the next step.
Step 4: Pin and Sew Pleat Tape Across the Top
Position your pleat tape inside the top hem you created, with the pockets facing out toward you.
The tape should sit about 1/2 inch down from the top fold.
Pin the tape in place every few inches, checking that it stays straight across the entire curtain width.
This step takes patience but ensures even pleats later.
Sew along both edges of the pleat tape using a basic straight stitch.
Be careful not to sew through the actual pocket channels where hooks will go.
If space allows between pocket rows, sew a third line down the middle of the tape for extra strength.
This helps heavier curtains stay in shape over time.
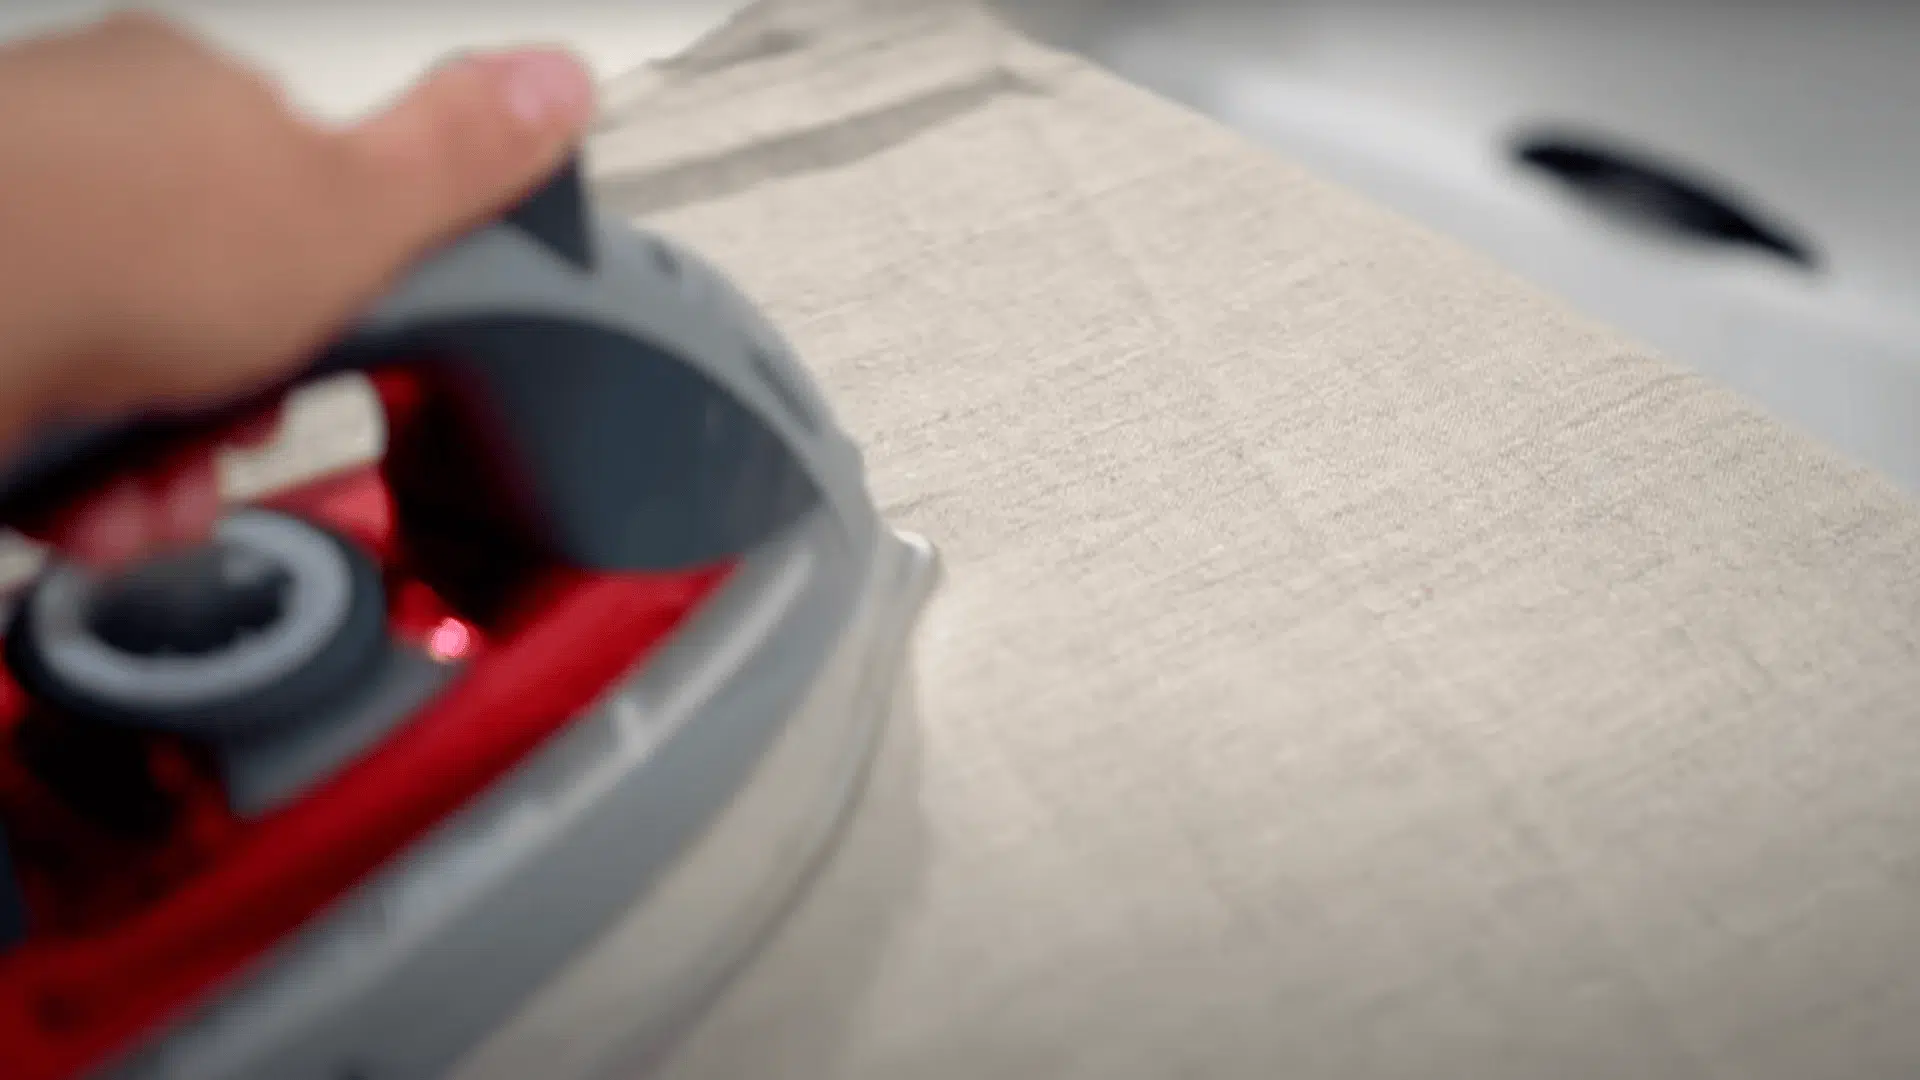
Step 5: Insert Pleater Hooks and Hang Curtains Using Rings
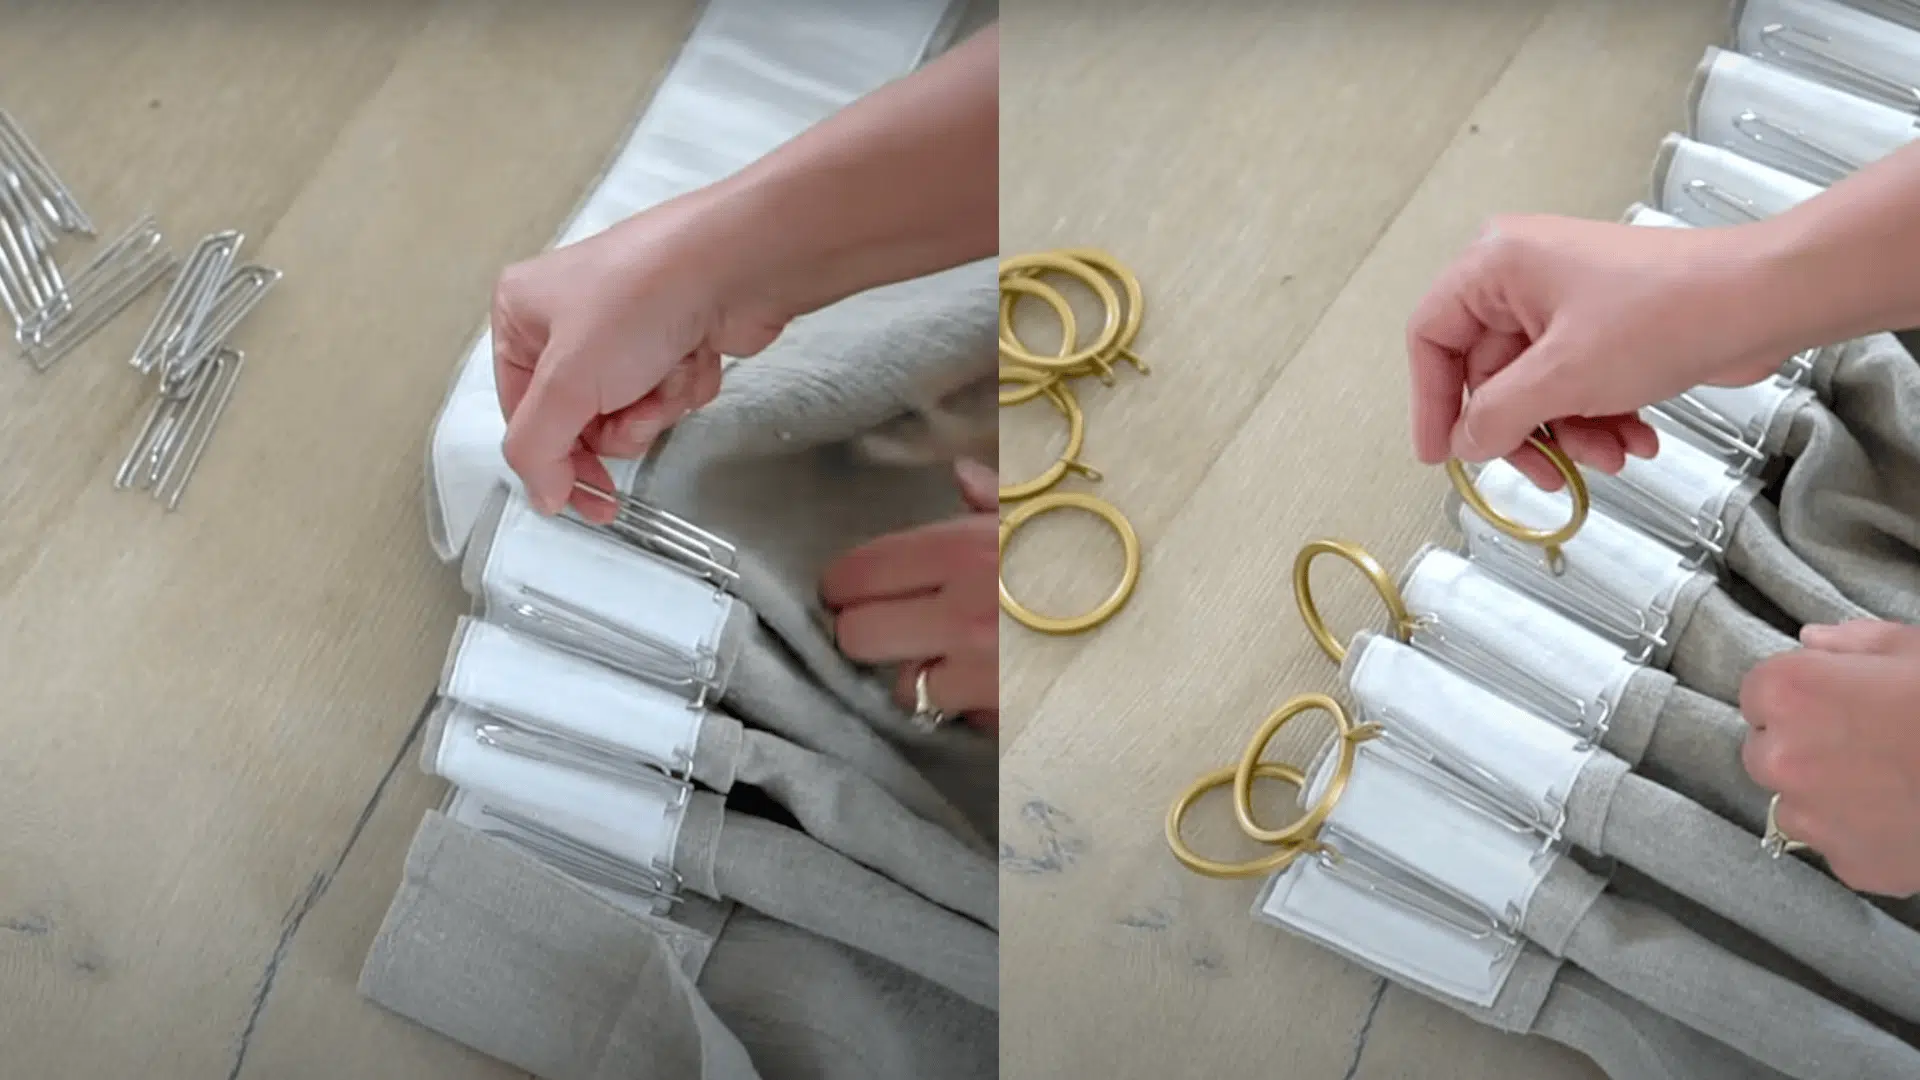
Count the spaces on your tape to plan your hook placement.
For standard spacing, place a hook every 4-6 inches, depending on how full you want your curtains to look.
Push each curtain pleater hook through the pocket openings, making sure all prongs go into separate channels.
The hook part should stick out at the top where it will connect to your rings.
For hanging, thread each hook through the eyelet of a curtain ring.
Work from one side to the other, checking that none of the hooks are twisted or backward.
Slide all rings onto your curtain rod, adjust the curtain placement, then stand back to let the pleats fall naturally.
You may need to hand-shape each pleat at first.
Video Walkthrough: See How Experts Do It!
For more information, check out this video tutorial by TIDBITS & Company
Different Pleat Styles You Can Create with the Same Tape
One great thing about pleat tape is how flexible it is.
The same tape can create many different looks depending on how you use the hook spacing.
Think of pleat tape as your window’s wardrobe – changing styles can completely turn how a room feels.
Some styles look formal, others casual, but all add that special touch that plain curtains lack.
1. Classic Double Pleat

This style uses two folds per pleat group for a clean, timeless look.
To make double pleats, skip every other pocket when inserting hooks.
This style works well in living rooms and dining areas.
The double pleat creates medium fullness – not too heavy, not too light.
It’s perfect for beginners since it’s the most forgiving pleat style if your spacing isn’t perfect.
2. Dramatic Triple Pleat
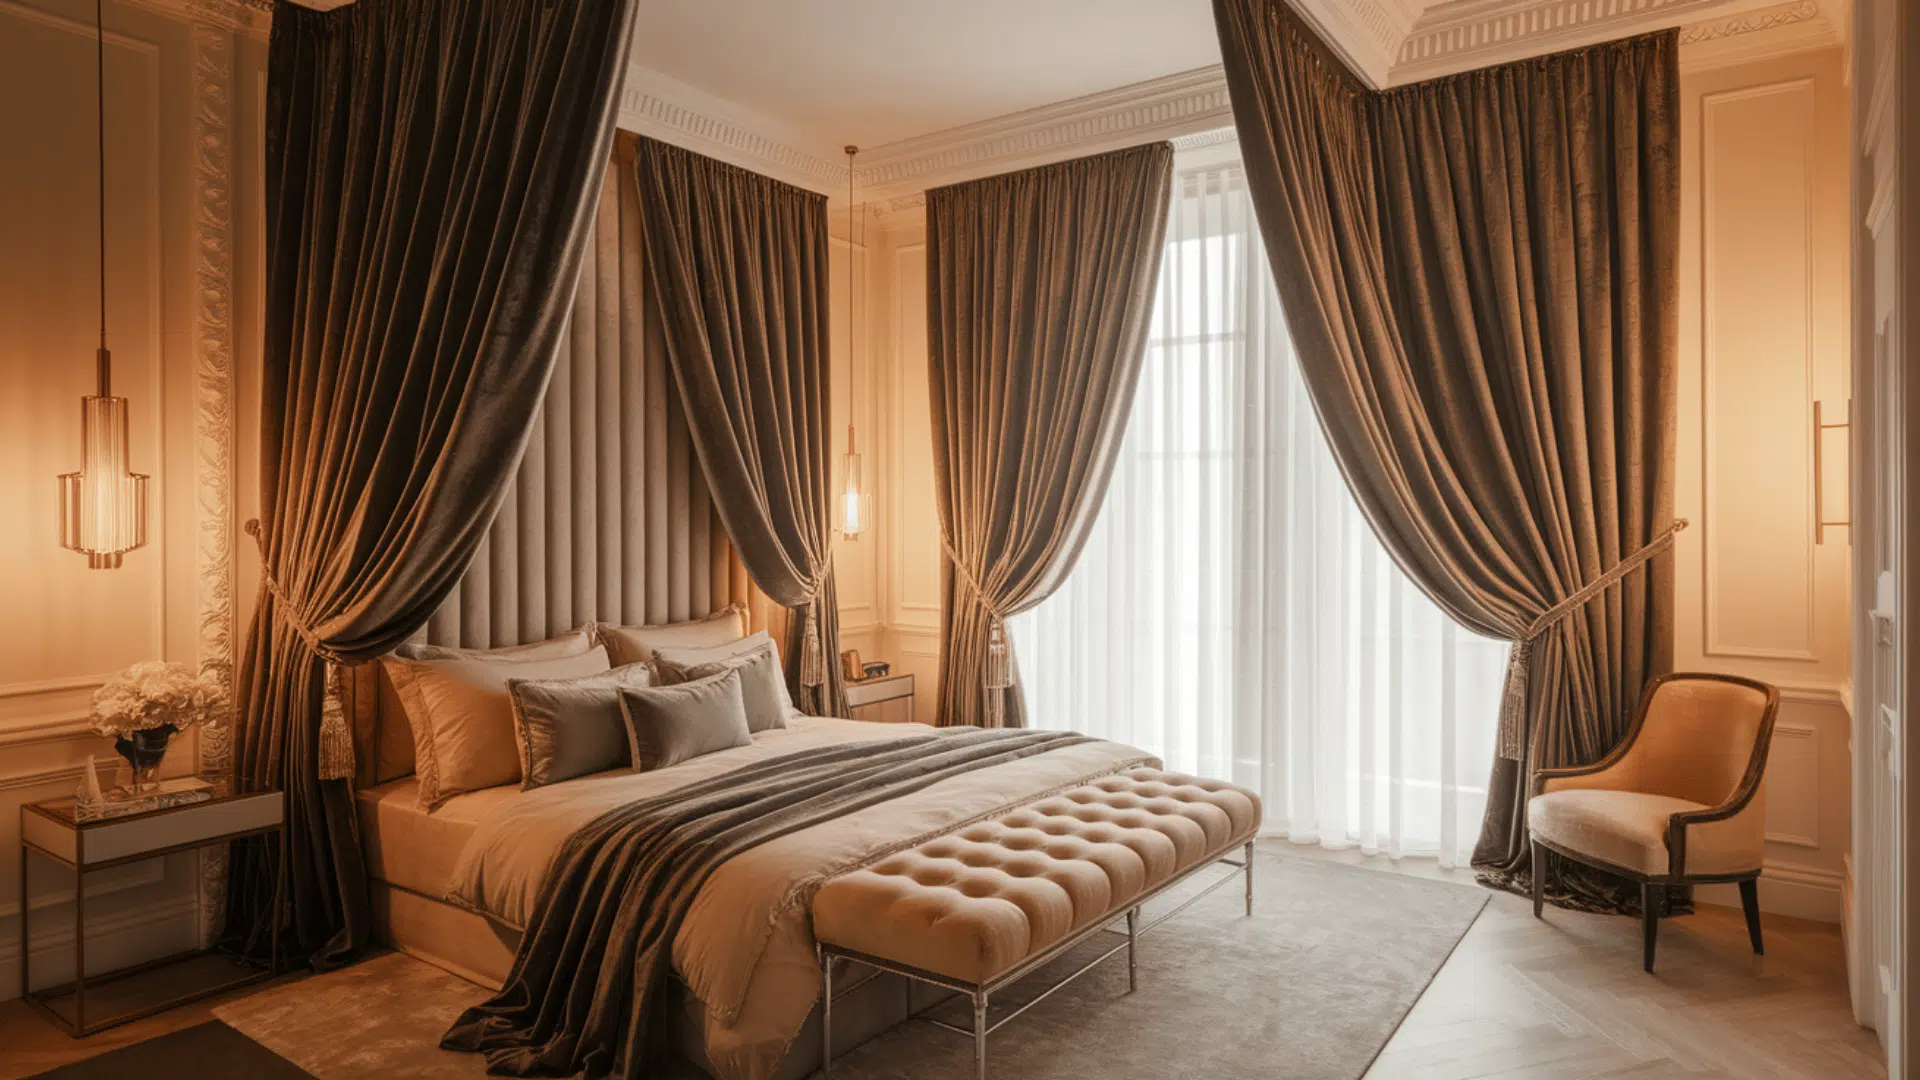
For a more formal, rich look, create triple pleats by using three folds per group.
This style needs more fabric but creates stunning depth on larger windows.
Triple pleats work beautifully with heavier fabrics like velvet or thick cotton.
They make a strong statement in master bedrooms or formal living spaces.
3. Casual Spaced Pleat
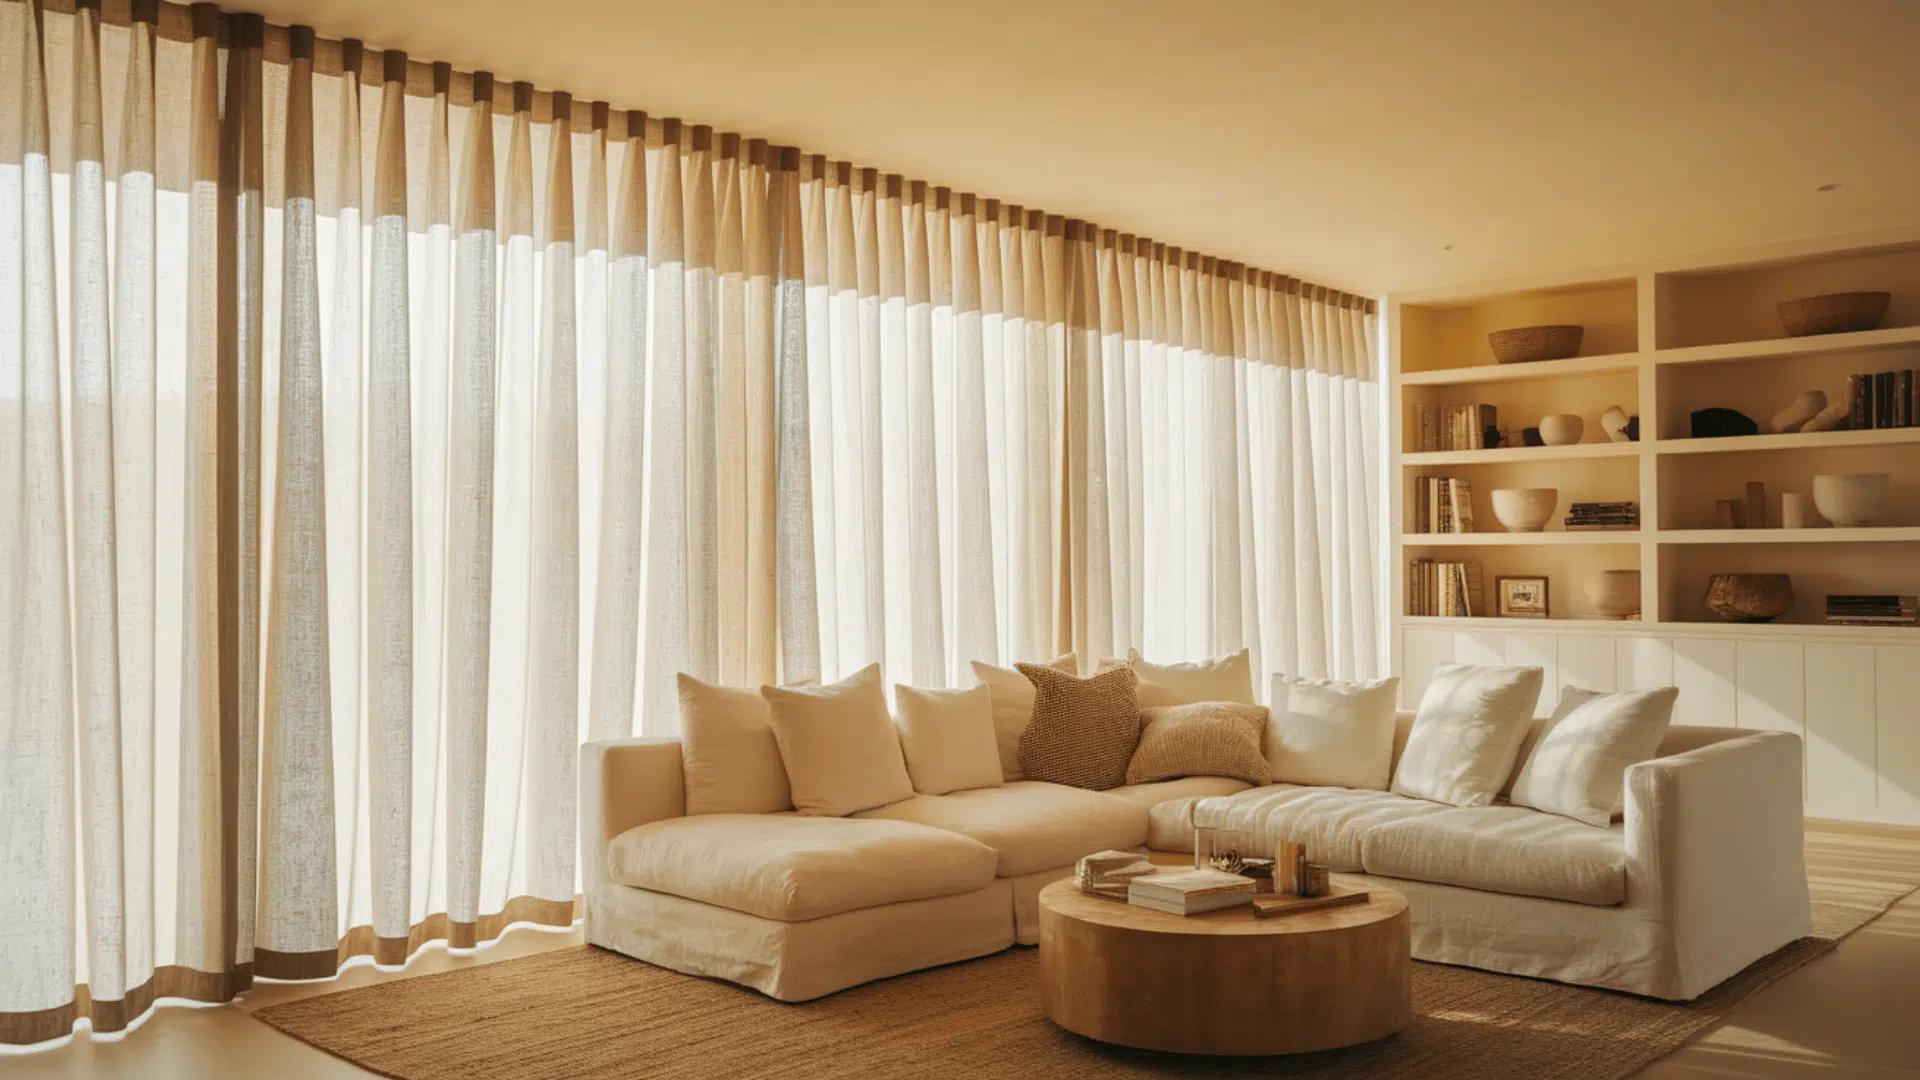
For a relaxed, modern look, try the “casual pleat method”, which uses every fifth prong spacing.
This creates softer, more widely spaced folds perfect for informal spaces.
This style uses less fabric while still giving structure.
It’s ideal for custom curtain pleats in family rooms, offices, or anywhere you want a less formal feel.
Tips for a Professional Finish
Little details make the difference between homemade-looking curtains and those that seem store-bought or professionally made.
These quick tips will help you achieve that high-end look without much extra effort.
- Always press seams and folds with a hot iron before and after sewing.
- Hang curtains to mark the hem length rather than measuring from the floor up.
- Use a thread that matches your fabric exactly, not just “close enough.”
- Keep pleater hooks evenly spaced for uniform folds across the curtain.
- Leave curtains hanging for 24 hours before final pressing to let folds settle.
- Check that the pleats hang straight by using a level on each fold.
Following these simple tricks will make your homemade curtains look like they came from a high-end shop.
Most mistakes happen when people rush these final steps.
Wrapping It Up
You did it!
From choosing your fabric to hanging those final pleats, you’ve created window treatments that look store-bought but showcase your handiwork.
The beauty of DIY pinch pleat curtains lies in their lasting style.
While other home trends come and go, pleated curtains remain timeless.
Your new curtains will keep looking fresh for years with minimal care.
Remember, your first set might not be perfect, and that’s okay!
Each panel you make will turn out better than the last.
Start in a less visible room if you’re nervous.
Take photos of your finished project.
Trust me, you’ll want to look back and feel proud of what you created.
Happy sewing, and enjoy those beautiful new curtains framing your view!

James McLaren, with a rich background in architecture from the University of Manchester, has been contributing his expertise to the world of creative construction and home innovation for over 20 years. His journey began as a project manager for a leading construction firm, where he honed his skills in bringing complex designs to life. James joined our platform as a freelancer in 2019, quickly becoming a favorite for his insightful and practical advice. He has been a pivotal force to our wing ever since, bringing our readers a blend of technical know-how and creative flair. Beyond his professional life, James is an avid woodworker and enjoys restoring vintage furniture, a hobby that complements his professional insights beautifully.