Like you, I understand the struggle of finding the perfect shelves that match your style and budget.
After years of buying mass-produced units that never quite fit my space, I found the joy of building my own wooden shelves – and trust me, it’s easier than you might think!
In this step-by-step tutorial, I’ll guide you through creating beautiful, custom wooden shelves that’ll last for years and save you some money.
So, get ready to transform a few simple boards into stunning storage solutions.
I’ll walk you through everything, from selecting the right wood and essential tools to mastering basic woodworking techniques.
Whether you’re a complete beginner or a weekend DIY warrior, this guide is packed with practical tips and tricks I’ve learned the hard way.
Benefits of DIY Wooden Shelves
From my DIY adventures, making wooden shelves isn’t just about storage – it’s about creating something uniquely yours! Here’s why I love crafting my own:
- It saves significantly more money than buying store-bought options while letting me choose quality materials
- Creates perfect custom sizes for any space, no more awkward gaps or ill-fitting shelves
- Offers complete control over wood type and finish, making it easy to match existing décor
- Ensures rock-solid construction that lasts years – my bookshelves haven’t wobbled once!
- Allows for easy modifications and updates with simple paint or stain changes
- It brings immense satisfaction when telling guests, “I made it myself!”
- Develops valuable DIY skills while being eco-friendly, especially when using reclaimed wood
- It makes repairs and maintenance simple since I know exactly how they’re built
Types of Wooden Shelves
Three common wooden shelves you can build at home:
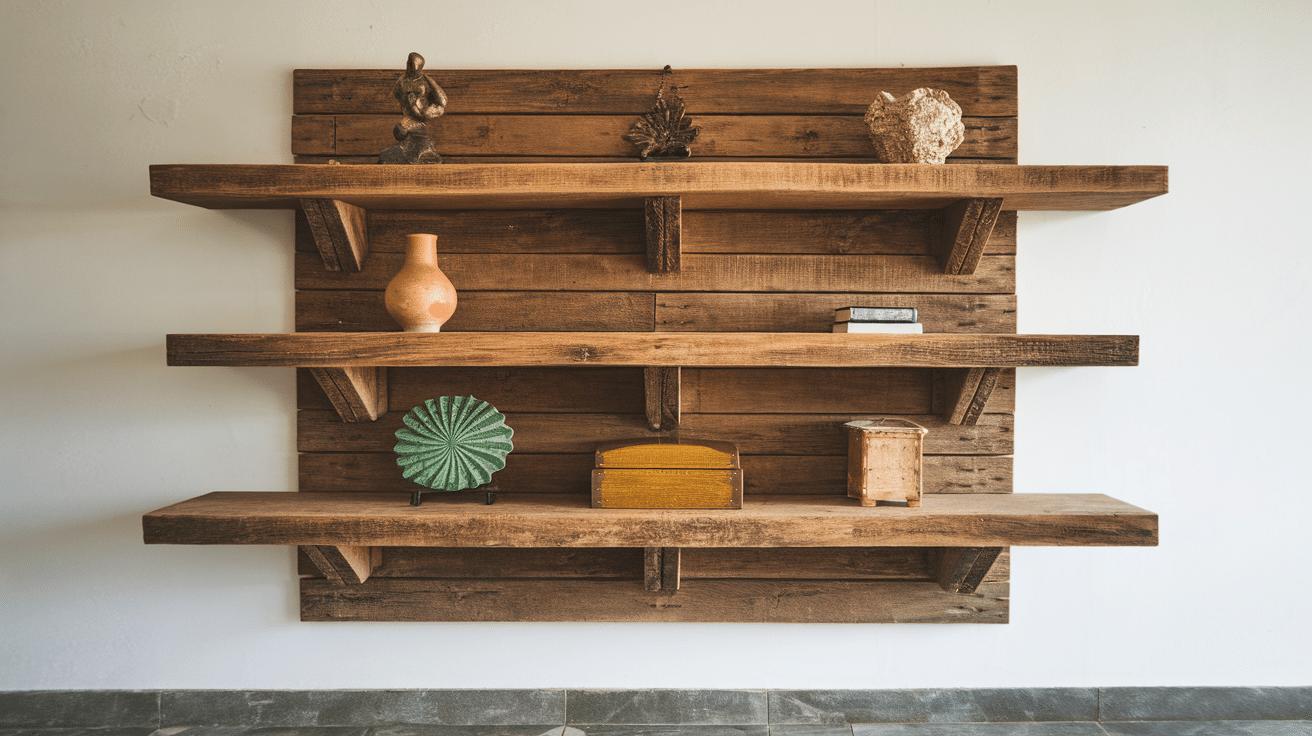
- Floating shelves: Wood pieces that attach to walls without visible brackets. Perfect for small spaces and clean looks.
- Corner shelves: L-shaped designs that fit snugly in room corners. They help use empty corner spaces well.
- Box shelves: Simple square or rectangle shapes with backs. You can stack them or hang them alone.
These shelf styles let you mix function with style. Each type adds its own charm to a room. You can paint, stain, or keep the natural wood look – the choice is yours.
They work well for storing books and plants or showing off items you love.
How to Pick Perfect Wood for Shelf?
Picking the right wood for your shelves makes a big difference.
I always tell my friends to start with pine if they’re new to diy – it’s budget-friendly and easy to work with.
Oak and maple are great picks if you want something stronger for heavy items.
Cedar works well in bathrooms since it handles moisture well.
Think about what you’ll put on your shelves—books need sturdy wood, while picture frames are fine with lighter options.
I’ve found that looking at the wood grain patterns helps me choose the best suits for my room’s style.
Tools & Supplies: Your DIY Shelf Shopping List
| Tools | Materials |
|---|---|
| Circular Saw | 12 Two-By-Fours |
| Miter Saw (optional) | 1 Sheet of 7/16-Inch Osb |
| Carpenter Square | 2.5-Inch Screws (self-Tapping) |
| Clamps | 3-Inch Screws (for Wall Mounting) |
| Chalk Reel | Quarter-inch plywood (for Shims) |
| Measuring Tape | |
| Drill and Screwdriver | |
| Stud Finder | |
| Level | |
| Safety Gear (gloves, Goggles, Mask) |
Total Estimated Cost: $60–$70
(Prices may Vary Depending on Location and Material Availability.)
This Project Offers an Economical Alternative to Store-Bought Shelves While Allowing for Customization and Durability.
Build Your Wooden Shelf: Easy Step-To-Step Guide
Step 1: Measure and Cut the Lumber
- The structure will consist of 12 two-by-fours. To begin with, cut eight two-by-fours to the desired shelf length (e.g., 6 feet).
- Mark and cut the boards using a carpenter square and a circular saw. Ensure precision to avoid uneven surfaces.
- For efficiency, clamp two boards together and cut them simultaneously.
Step 2: Prepare Shelf Bracing
- Cut smaller braces for the shelves. For example, cut 13-inch boards to connect the longer shelf boards.
- Use a miter saw for precise cuts. If available, set up a stop block for uniform length.
Step 3: Cut the Sheathing Material
- For the shelf tops, use a 4×8 sheet of 7/16-inch Osb (oriented strand board) cut into 16-inch-wide strips.
- Cut each strip to match the shelf length (e.g., 69 inches). Leave slight gaps for easier assembly.
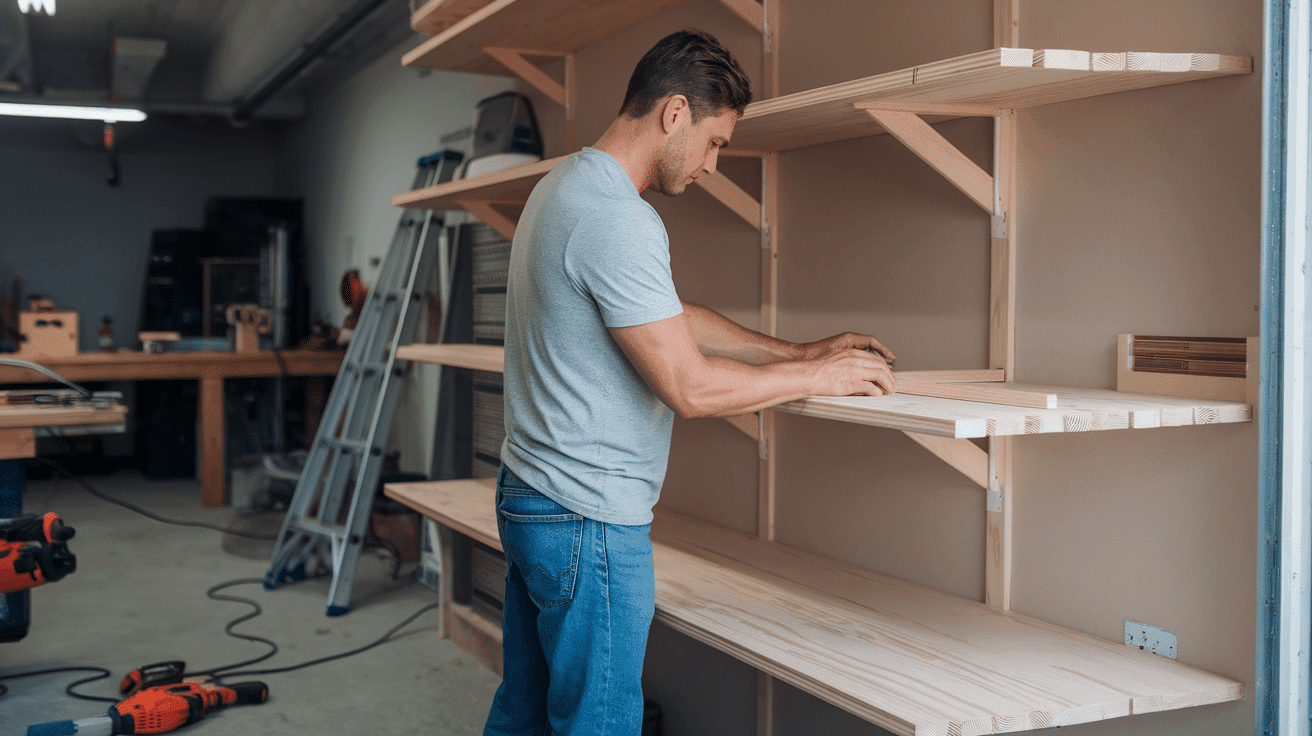
Step 4: Assemble the Shelf Units
- Lay out the long boards on a flat surface. Mark the positions for braces (e.g., 23 inches from each side).
- Attach the braces using 2.5-inch screws. Align and check the boards’ crown (natural curve) to ensure consistency.
Step 5: Attach Sheathing to Shelves
- Place OSB panels on top of the assembled shelves. Secure them with nails or screws, leaving slight gaps to avoid overhangs.
Step 6: Prepare and Attach the Legs
- Cut four legs to the desired height (e.g., 75.5 inches). Adjust the length of accounting for garage floor slopes.
- Assemble the unit upside down for easier alignment. Secure each leg to the shelves using three screws per corner.
Step 7: Install and Secure the Unit
- Stand the unit upright and position it against the wall. If necessary, trim back legs to accommodate garage curbs.
- Use a stud finder to locate wall studs. Secure the unit to the wall with 3-inch screws to prevent tipping.
Step 8: Organize and Finalize
- Place Bins or Storage Items on The Shelves. Add Labels for Better Organization. Ensure Everything Is Stable and Secure.
Watch the full you tube video below on how to make diy wooden shelves.
Fresh & Fun Shelf Styles You’ll Love
Let me share some eye-catching shelf designs that I’ve successfully created and installed in various spaces:
Zigzag Shelves

Dynamic wall-mounted shelves that create instant visual interest.
Mine cleverly holds books and plants while doubling as wall art.
Perfect for modern spaces, they transform boring walls into conversation starters. Plus, those angles make dusting easier than you’d think!
Mixed Material Shelves
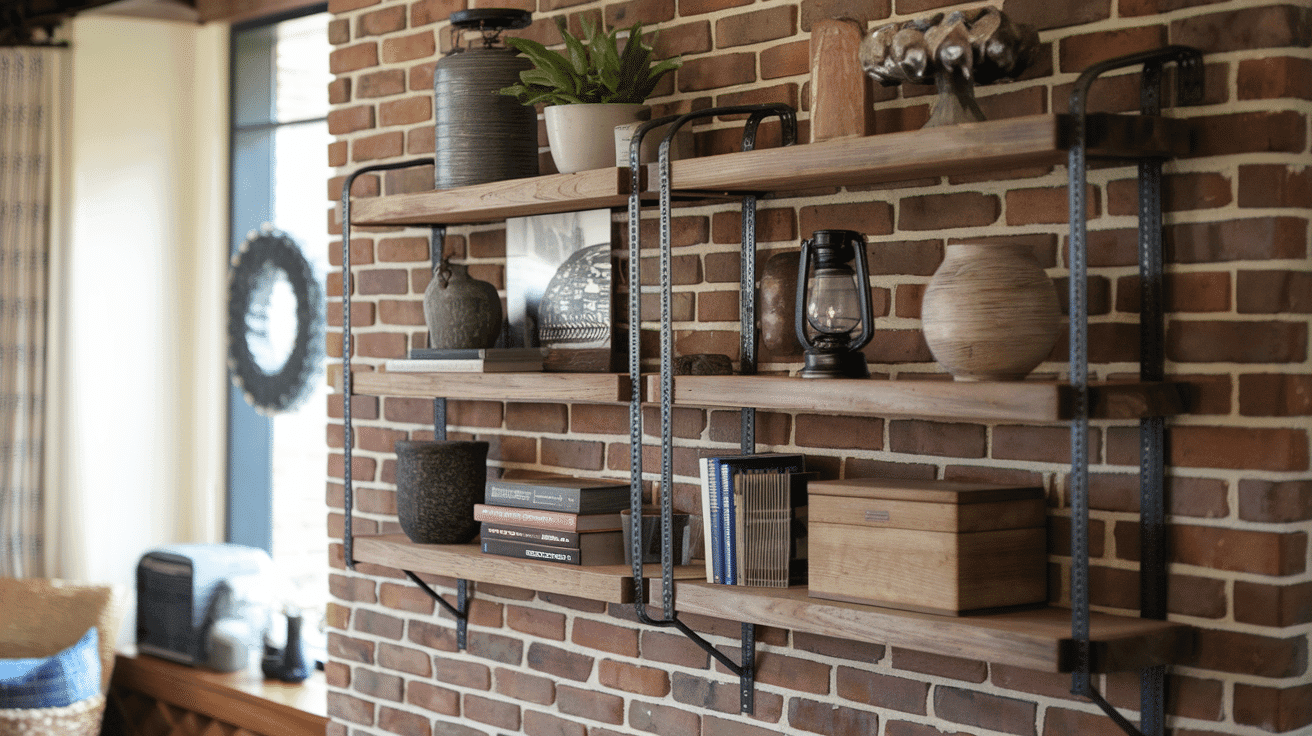
I love pairing rich wood tones with metal brackets or copper pipes. It creates that perfect industrial-chic vibe while staying incredibly sturdy.
Great for kitchens and living spaces – handles everything from cookbooks to collectibles with style.
Hexagon Shelves
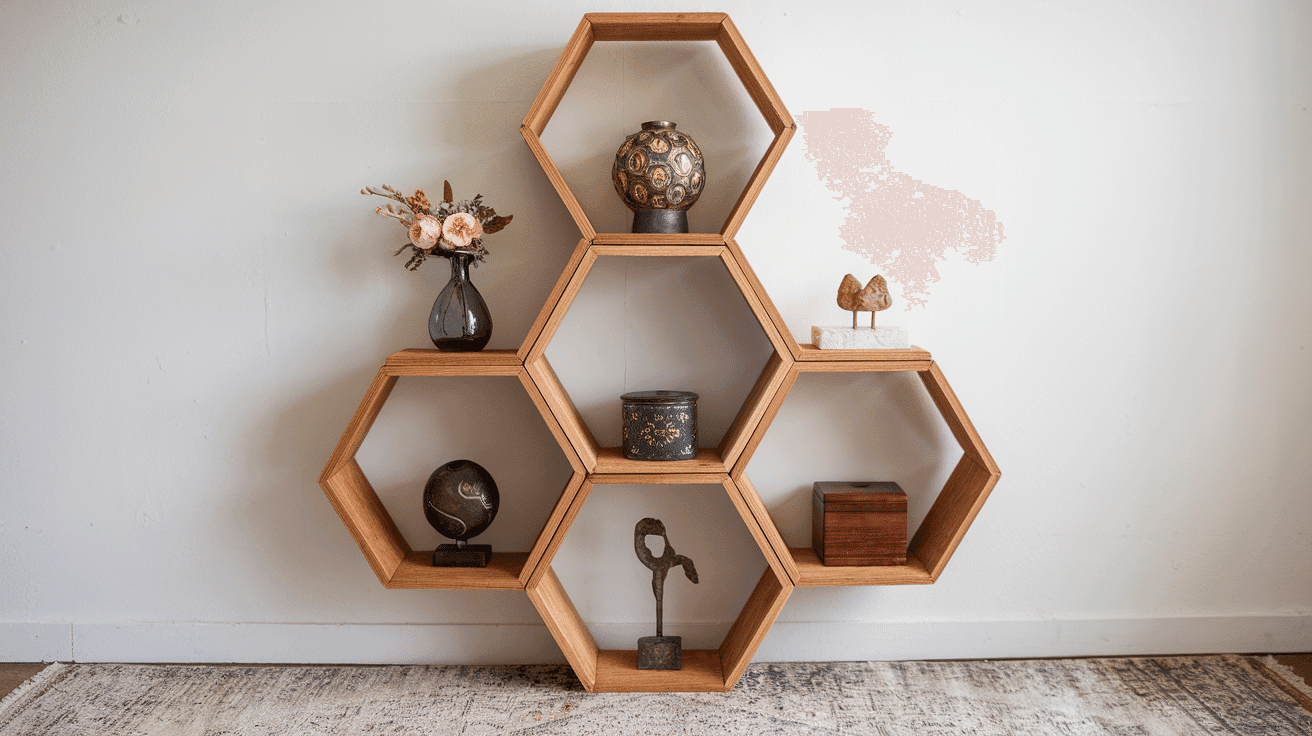
My favorite way to create honeycomb-style wall displays is with these six-sided beauties, which group together for endless pattern possibilities.
They are perfect for showcasing small plants, photos, and treasures.
They truly make storage feel like modern art.
Ladder Shelves
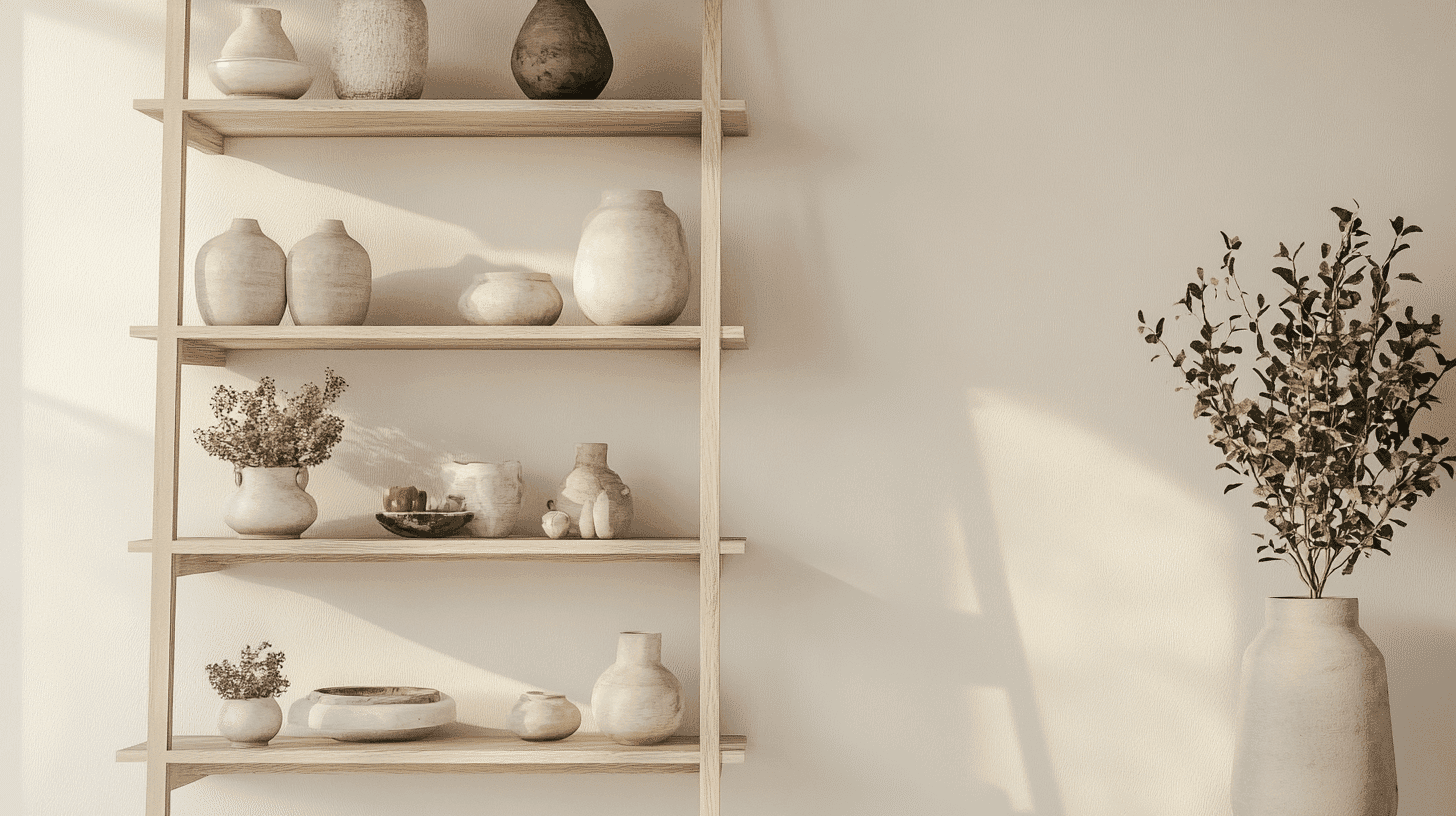
These space-smart leaners are my go-to for small rooms. There’s no need for multiple wall holes—just secure at the top, and you’re done.
I’ve used them everywhere, from bedrooms to home offices.
These styles prove that storage can be both functional and fashionable. I’ve found that keeping the design clean while playing with patterns creates the most striking impact!
Tips for Maintaining and Troubleshooting Shelves
Daily Care
- Dust weekly with a soft cloth – i use my old cotton t-shirt; it works like a charm!
- Watch out for watermarks – i always use coasters under plant pots.
- Clean spills right away – they can seep in and leave marks.
Regular Checks
- Notice any warping? That’s usually moisture. I keep my shelves away from steamy areas.
- A quick wipe with wood cleaner every month keeps mine looking fresh.
- Keep those vents clear – good airflow helps prevent moisture build-up.
Common Problems & Fixes
- Got loose screws? I tighten them right away. A tiny wobble today means bigger trouble tomorrow.
- Shelf sagging? I added a center bracket – it works every time!
- Uneven surface? Try adjusting the wall brackets or adding a thin shim.
Preventive Care
- Avoid direct sunlight – I learned this after my shelf color faded unevenly.
- Re-apply finish yearly – I mark it on my calendar like a shelf spa day!
- Check the wall mounts every season. Just a gentle push tells me if something’s loose.
Wrapping It up
Building wooden shelves isn’t just about adding storage—it’s about making your space truly yours.
From picking the right wood to adding final touches, we’ve seen that each step matters in creating shelves that last and look good.
Remember, your first shelf might not be perfect, and that’s okay! Start with simple designs and basic tools.
I started with a wobbly floating shelf, and now i build pieces my friends ask about.
Why wait to get started? Pick a design that speaks to you, grab some wood, and begin your project.
Keep this guide handy for tips and safety checks.

