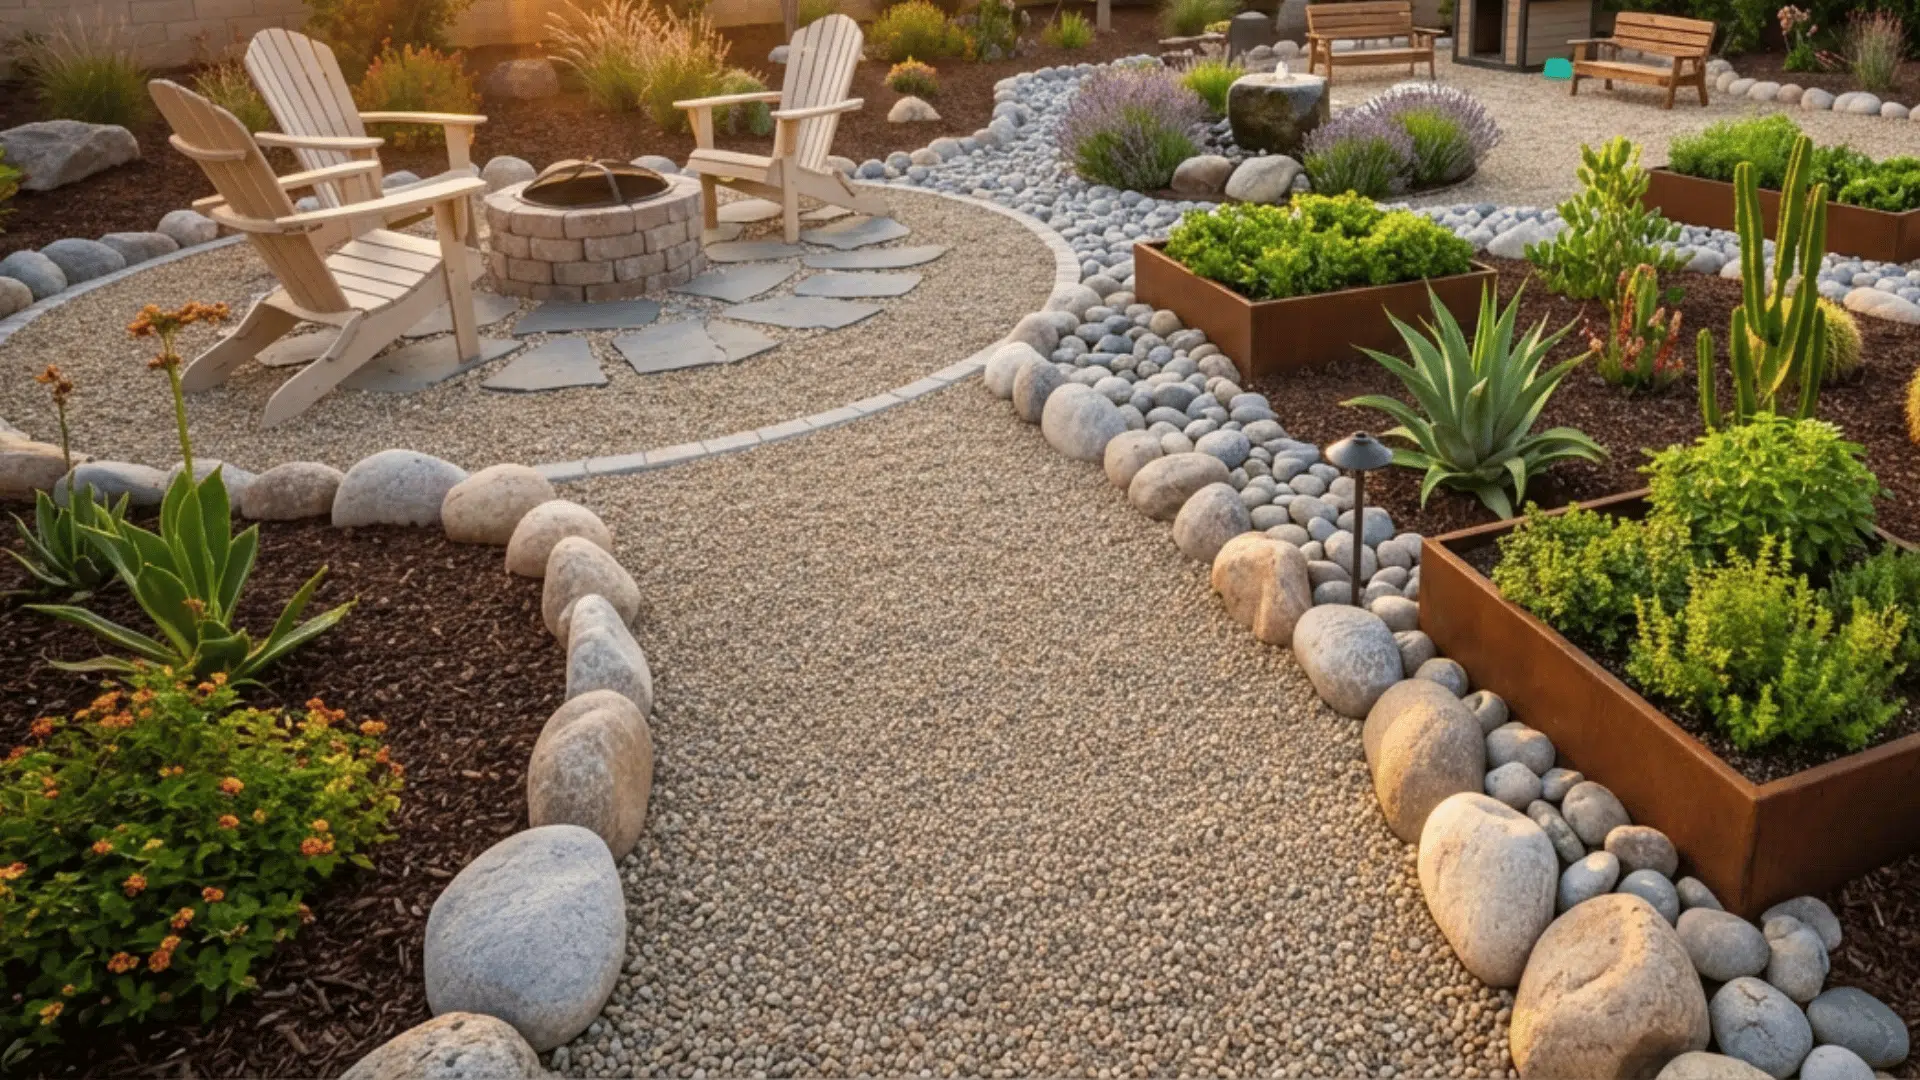
Deep raised garden beds look great, but filling them can get expensive fast.
That’s where a lot of people get stuck. The good news is you don’t need to fill the whole bed with costly soil to grow healthy plants.
There’s a simple layering method that helps save money while still giving roots what they need.
By using natural materials at the bottom and better soil on top, the bed drains well and holds moisture longer.
This setup supports strong plant growth and gets better over time as materials break down.
Learning how to layer a raised bed the right way makes building and maintaining it easier, more affordable, and much more rewarding.
What are Raised Garden Bed Layers?
Raised garden bed layers are the filling of a garden bed using different materials stacked in sections instead of using only soil.
Each layer has a purpose, from drainage at the bottom to nutrient-rich soil at the top.
The DIY raised garden bed layers approach helps deep beds drain properly, keeps roots healthy, and cuts down on how much expensive soil is needed.
It also copies how soil naturally forms over time, with organic matter breaking down and feeding plants from below.
Layered raised beds work especially well for deep or tall beds where filling the entire space with fresh soil would be costly.
DIY Raised Garden Bed Layers Order
Using the correct order is what makes this method effective.
Each layer plays a specific role and supports the one above it, helping the bed drain well while staying moist where plant roots need it most.
As the materials slowly break down, they improve soil structure and provide long-term benefits for plant growth.
1. Bottom Layer: Large Logs
Place large logs at the base of the bed. This layer creates space for water to drain instead of pooling at the bottom.
Older or partially rotted logs work best because they absorb and release moisture over time. As they break down, they also add organic matter to the soil.
2. Middle Layer: Branches and Filler Material
Add smaller branches, sticks, and other dry organic matter on top of the logs. This fills gaps and improves airflow between layers.
After that, add filler material such as native soil, reused potting soil, or composted plant matter.
This layer acts as a buffer, giving roots something easy to grow into while reducing how much premium soil is needed.
3. Top Layer: High-Quality Soil
Finish with a deep layer of nutrient-rich soil designed for raised beds.
This is where most plant roots will grow, so it should be loose, well-draining, and full of organic matter.
Leave a little room at the top for settling, as the layers below will slowly compress over time.
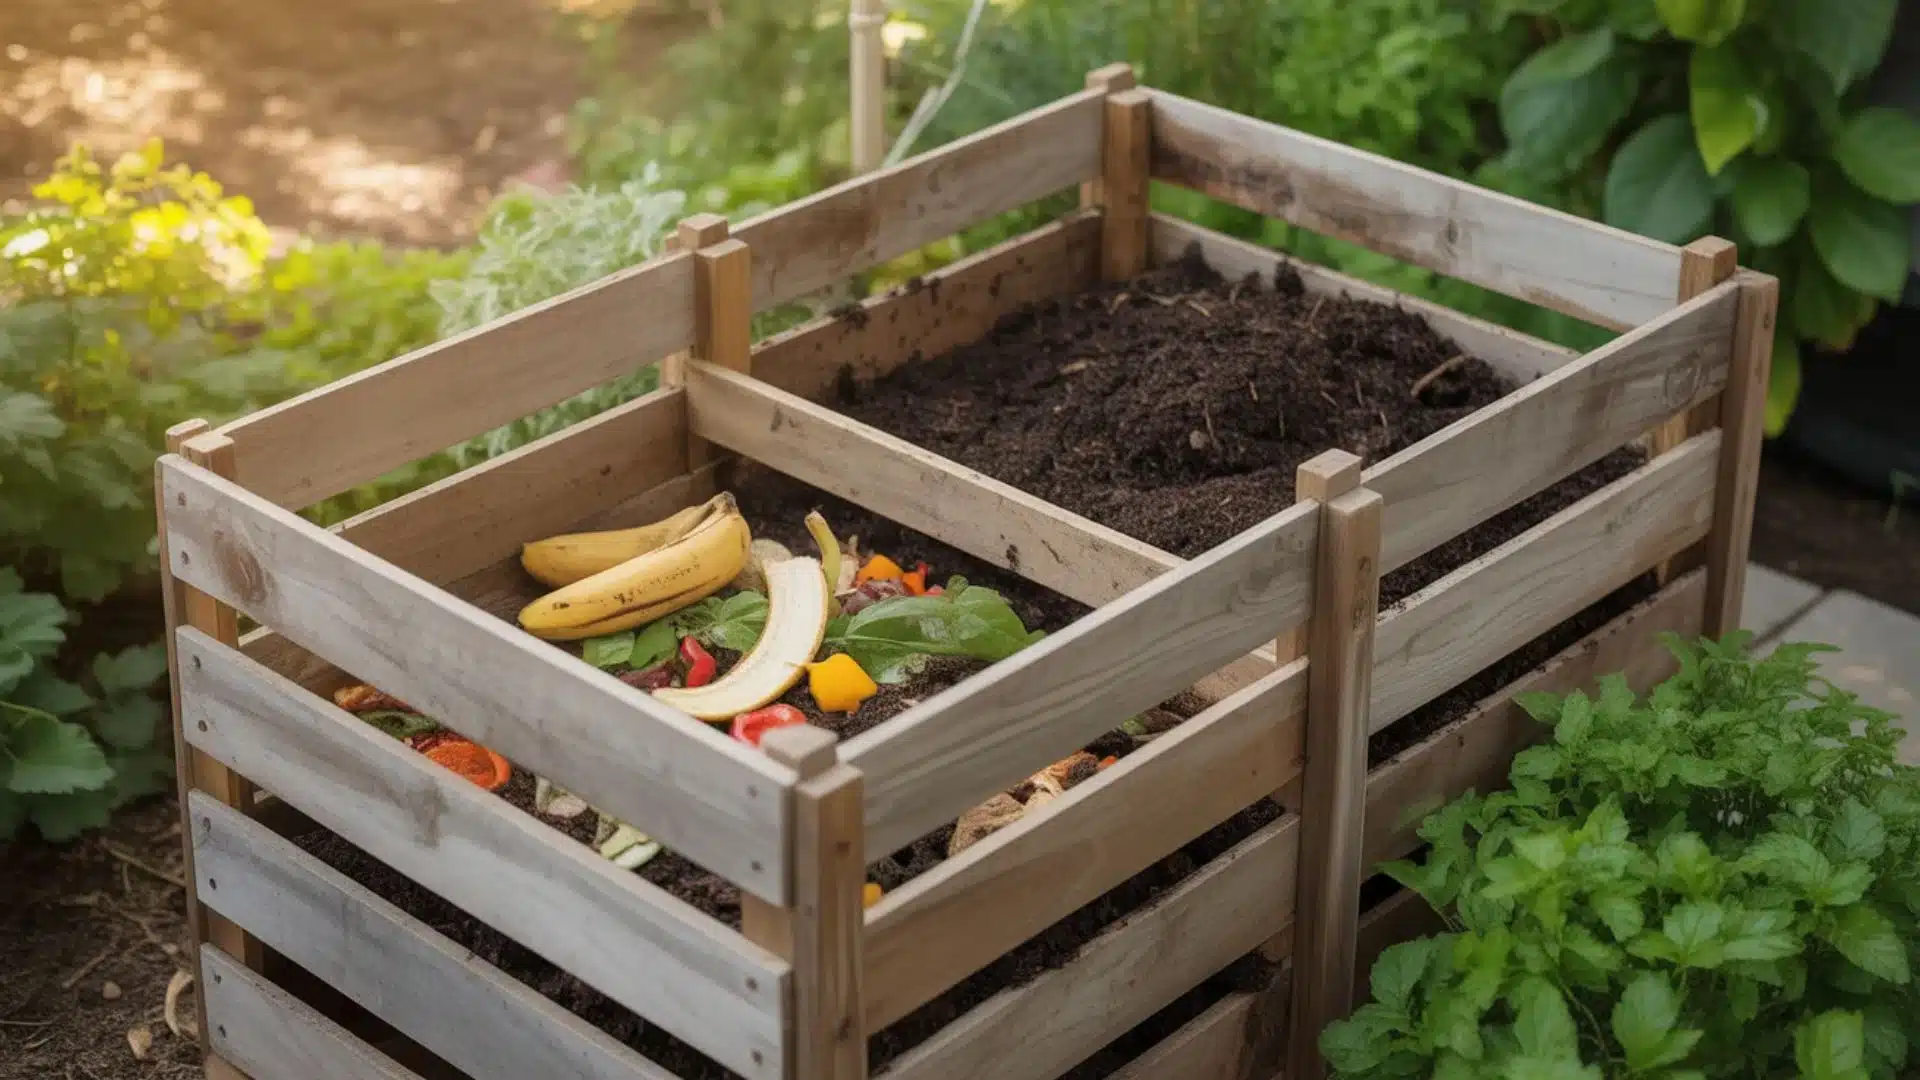
Tools and Materials Needed to DIY Raised Garden Bed Layers

Here are the tools and materials needed to build your DIY raised garden bed layers:
Raised garden bed: This structure holds all the layers in place.
Large logs: These form the base layer to provide drainage and retain moisture.
Branches or sticks: Used to fill gaps above the logs and improve airflow within the bed.
Composted plant matter: Creates a beneficial buffer between the wood layers and the topsoil.
Native soil or old potting soil: Acts as a cost-effective filler to reduce the amount of new soil required.
High-quality raised bed soil: The final top layer that supports healthy plant growth.
Shovel: Essential for moving soil and organic materials into the bed.
Garden gloves: Used to protect your hands during the setup process.
Water source: Necessary to help the layers settle properly after filling.
How to Build DIY Raised Garden Bed Layers (Step-by-Step)

Filling a deep raised garden bed doesn’t mean filling the whole thing with expensive soil.
The goal is good drainage, healthy roots, and saving money. This layered method has been tested over multiple seasons and works especially well for deep beds.
Step 1: Start with Logs at the Bottom
Place large logs directly at the bottom of the raised bed.
Older, partially rotted logs work best because they are lighter, break down faster, and hold moisture better than fresh wood.
These logs help with drainage and slowly release water to deep plant roots during dry periods. Avoid filling the bottom with dense soil, as that can trap water and limit airflow to roots.
Step 2: Add Branches and Dry Organic Material
On top of the logs, add smaller branches, sticks, or other dry organic material.
This fills gaps between the logs and improves airflow. Only use dry material; fresh green waste can cause unwanted composting once buried.
This layer helps prevent the soil above from sinking too quickly.
Step 3: Create a Buffer Layer
Next, add a buffer layer using composted plant matter, old potting soil, native soil, or finished compost.
This layer separates the wood from the main growing soil and gives roots something easy to grow into while the logs slowly break down.
Lightly spread and level this layer without packing it down too tightly.
Step 4: Add Filler Soil
Add more soil to bring the bed closer to the top, leaving about 12–18 inches of space for your best growing soil.
This filler can be reused with potting mix, native soil, or compost.
It helps stabilize the layers below and reduces the amount of premium soil you need.
Water lightly to help everything settle if rain is not expected.
Step 5: Fill the Top with Quality Soil
Now add your best raised bed soil to the top portion of the bed. This is where most plant roots will grow, so use a nutrient-rich mix.
Spread it evenly and allow some room for settling, since the bed will sink slightly over time.
Step 6: Let It Settle and Maintain Over Time
After planting, the bed will slowly settle as the wood breaks down. Each season, top it off with compost or soil as needed.
This keeps nutrients high and maintains the soil level without needing to rebuild the bed.
This layered setup gives you the benefits of a deep raised bed while only filling the top section with high-quality soil.
Common Mistakes to Avoid With Raised Garden Bed Layers
Even though this method is simple, a few mistakes can cause problems later.
Skipping drainage layers. Filling the entire bed with soil can trap water.
Using fresh green material. This can break down too fast and affect the soil balance
Packing layers too tightly, as roots need airflow.
Using rocks or concrete can block drainage instead of helping it.
Filling too much with premium soil: This defeats the cost-saving purpose.
Taking a little extra time during setup prevents issues during the growing season.
Maintaining DIY Raised Garden Bed Layers Over Time
Layered raised beds change slowly as materials break down. This is normal and expected. Over time, the bed may sink slightly as the logs decompose and settle into the soil below.
Once or twice a year, add compost or soil to the top to keep the bed level and nutrient-rich.
There’s no need to dig out old layers or rebuild the bed. The materials underneath continue to support healthy root growth as they break down naturally.
It also helps to check moisture levels during very dry seasons, as deep beds can hold water differently than shallow ones.
Mulching the surface can reduce moisture loss and keep soil temperatures more stable.
Plants often grow stronger each season as the soil becomes more balanced, looser, and richer in organic matter, making long-term maintenance simple and low effort.
What Not to Fill a Raised Garden Bed With?
Choosing the wrong materials can cause drainage problems, poor plant growth, or even contaminate the soil. Avoid using the following items when filling a raised garden bed.
1. Treated or painted wood: Pressure-treated wood, painted boards, or stained scraps can release chemicals into the soil over time. These chemicals can harm plants and may not be safe for growing food.
2. Fresh green yard waste: Fresh grass clippings, weeds, or green plant material can break down too fast when buried. This can create heat, unpleasant odors, and nutrient imbalance in the soil.
3. Large rocks or gravel: Rocks may seem like a good drainage solution, but they actually reduce usable soil space and can trap water above them instead of helping it drain.
4. Trash or synthetic materials: Plastic, fabric scraps, rubber, or construction debris do not break down properly. These materials block drainage and can interfere with root growth.
5. Unfinished compost: Compost that hasn’t fully broken down can pull nutrients away from plants as it continues decomposing. Always use finished compost that looks dark and crumbly.
6. Soil from contaminated areas: Soil from roadsides, old construction sites, or unknown locations may contain pollutants. Stick to clean, trusted soil sources.
7. Cat or dog waste: Pet waste can carry harmful bacteria and should never be added to garden beds, especially those used for food crops.
Conclusion
DIY raised garden bed layers offer a practical way to grow more food without overspending on soil.
By using natural materials like logs, branches, and compost, deep beds stay well-drained while holding moisture where plants need it most.
This layered setup supports strong roots, improves soil quality over time, and keeps maintenance simple.
It also makes tall beds easier to manage and more productive season after season.
With proper layering and occasional top-ups, a raised bed can continue producing healthy crops for years.
If this method sounds helpful or if you’ve tried something similar, share your experience or questions in the comments, learning from each other makes gardening even more rewarding.

With a Master’s in Landscape Architecture from the University of Virginia, Sophia Stephenson has dedicated the last 20 years to creating and maintaining vibrant outdoor spaces. Her professional journey started in landscape design, where she gained a reputation for innovative and sustainable approaches. Sophia became a part of our editorial team as a freelancer in 2019, offering a fresh perspective on outdoor living. Since 2020, she has been the chief for our outdoor design content, blending aesthetic appeal with environmental stewardship. In her leisure time, Sophia is a keen photographer, capturing the beauty of natural landscapes, a hobby that complements her professional expertise.