Are you curious to know the process of painting furniture white?
Painting your furniture is an interesting DIY!
Looks like you are also planning to do one soon. That’s what brought you here, isn’t it?
Painting furniture with our favorite colors gives a different joy. Getting it done professionally is also another option. However, the satisfaction you get by seeing the hand-painted sofa hits differently. Doing it according to the process will help you maintain the paint for a longer time. The biggest question that arises while painting furniture white is about the type of colors to be used.
Whether you are painting a new piece of furniture or thinking about a makeover of an old piece, this article will help you. It takes you through the whole process, from the very first step of cleaning to the last step of protecting the paint.
Read ahead and get ready to paint.
The Types of Paint that are for Painting Furniture White!
Wood is a unique material and needs to be taken care of differently. Using an appropriate paint is necessary to maintain the quality of the furniture after painting.
The type of paint you select will play a massive role in deciding the texture and look of your furniture. We will also focus on the types of paint that are suitable for wooden furniture.
Before buying the paint, it is necessary to understand the best choice of color. Here are some paints you can use to paint your wooden furniture.
- Latex
- Chalk Paint
- Acrylic
- Milk Paint
If you have an extra box of wall paint, it can also be used to color your furniture.
Simple Steps for Painting Furniture White
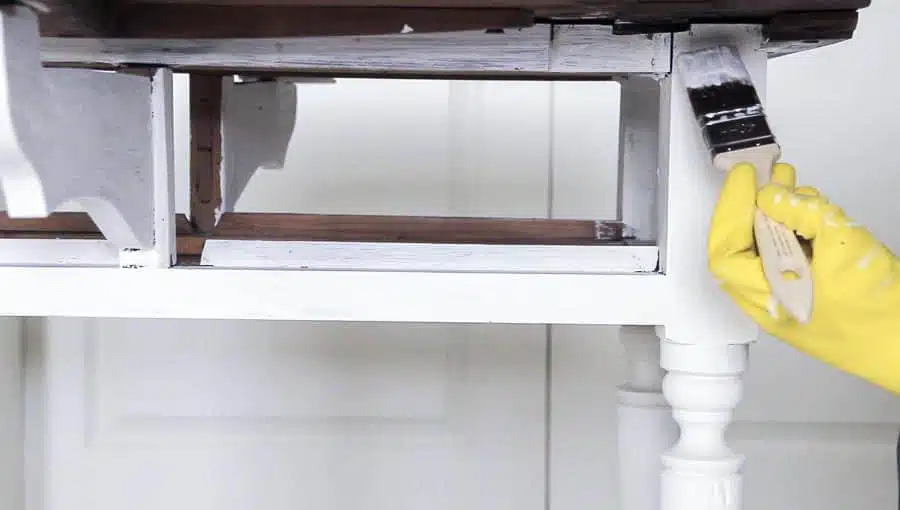
Step 1: Removing the Old Paint and Cleaning
Before you begin removing old paint and cleaning the surface, don’t forget to take a picture. You would want a memory of old and new furniture after painting it. After you have taken a photo of your old furniture, it’s time to get the cleaning done.
Before painting furniture white, it is necessary to get the surface free from dust particles. Preparing your furniture for painting is the most basic yet important part of the process.
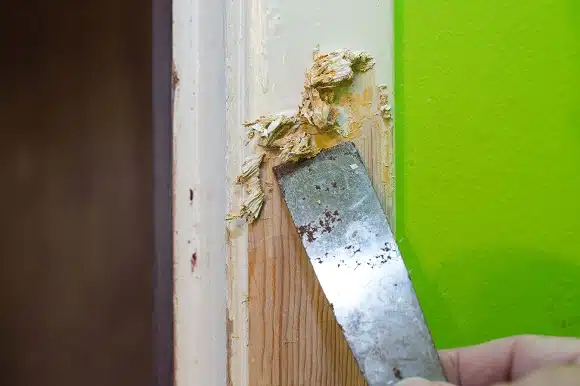
If your furniture already has an old layer of paint, remove it. Use a heat gun, chemical paint remover, or a power sander to get rid of the old paint. After removing the old paint, you will have to sand the surface for proper consistency.
Use the heat gun on the paint and wait for it to detach from the surface. Once you observe the layer of paint separating from the surface, remove it with the help of a knife. You will need to verify whether the heat gun works for the type of paint you have on the furniture. There are chances that it might not work for all kinds of paint. In that case, you will have to use a chemical paint remover.
Gloves and masks are compulsory when you are using a chemical paint remover. Apply the chemical remover on the furniture and wait. If you want to save the liquid from evaporating, use a wrap to cover the surface. This will make the process quick and easier.
The paint remover works within a few hours to 1 day. Test the remover on a smaller part of the furniture and see what works. Remove the plastic wrap and scrap the old paint with a knife.
White scraping the old color, be careful not to harm the surface of the furniture. After peeling the paint, use sandpaper to sand the surface.
Step 2: Applying the Primer
After sanding the surface, clean it with a dry cloth and use a cleaner. You can also use soap and water to ensure that the smallest dust particles are cleaned from the surface. If you leave any such particles on the surface, they will mix with the paint and create an uneven texture. After thorough cleaning of the surface, it’s time to use a primer.
Primer is a substance that assures adhesion and enhances the look of your furniture. It fills the grains in the wood and allows the color to be highlighted. Apply the primer on your furniture with the help of a foam roller.
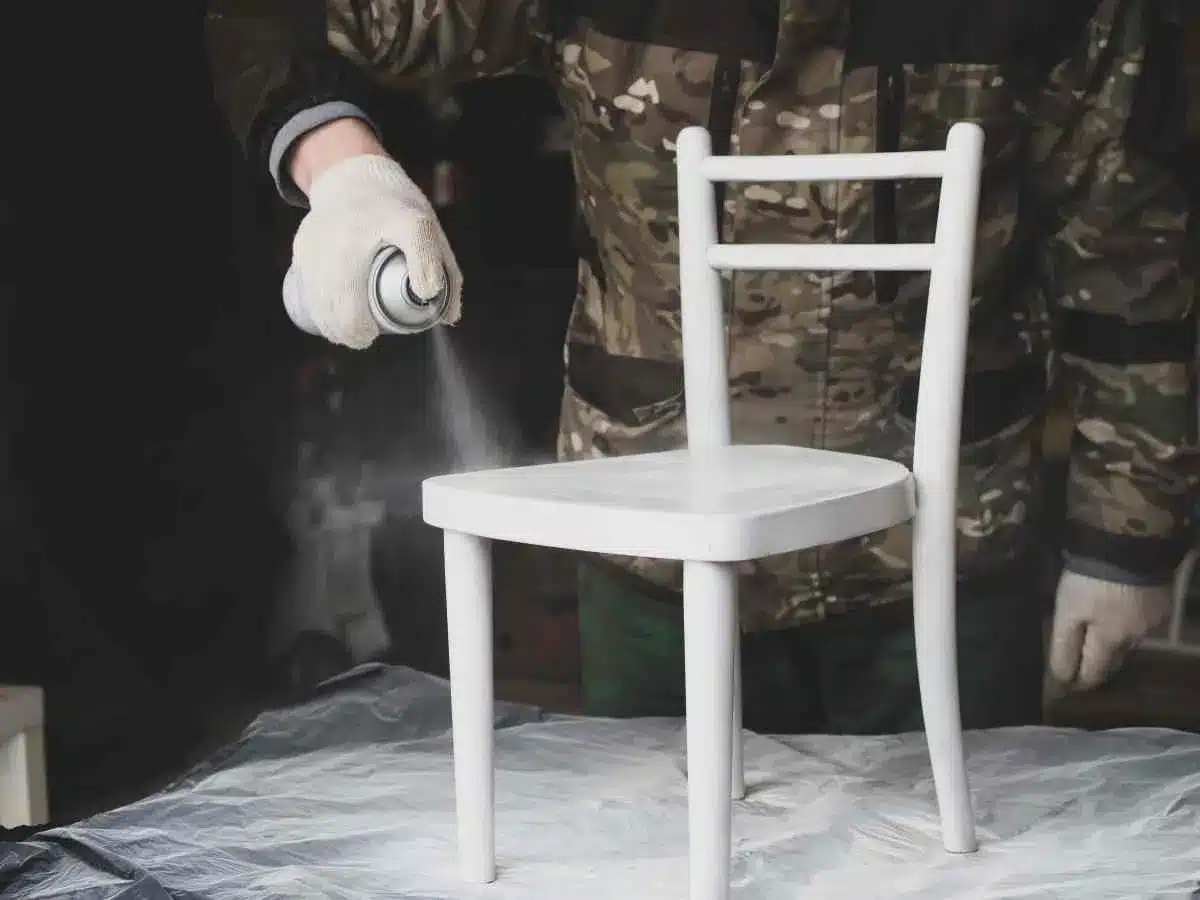
If your furniture has a unique shape and is curved in some places, opt for a spray primer. With a spray, you will easily be able to cover the innermost corners of uniquely shaped furniture. The primer will help prevent the paint bleed through.
Primer is the most important step, especially when painting the furniture white. Once again, after the primer dries, sand the surface with 320-grit sandpaper. This will remove any layers created by the brushstrokes of a primer. Once the sanding is done, clean the surface with a dry cloth and remove any small dust particles.
What Kind of Primer to Use for Painting a Darker Shade of Furniture with White Color?
Primers are of two kinds: oil-based and water-based. When you are painting a darker shade of wood, it is advisable to use an oil-based primer. It blocks the holes and other stains from connecting with the color. Apply a thicker coat of oil-based primer and wait for it to dry. If the stains are still visible, apply a second coat.
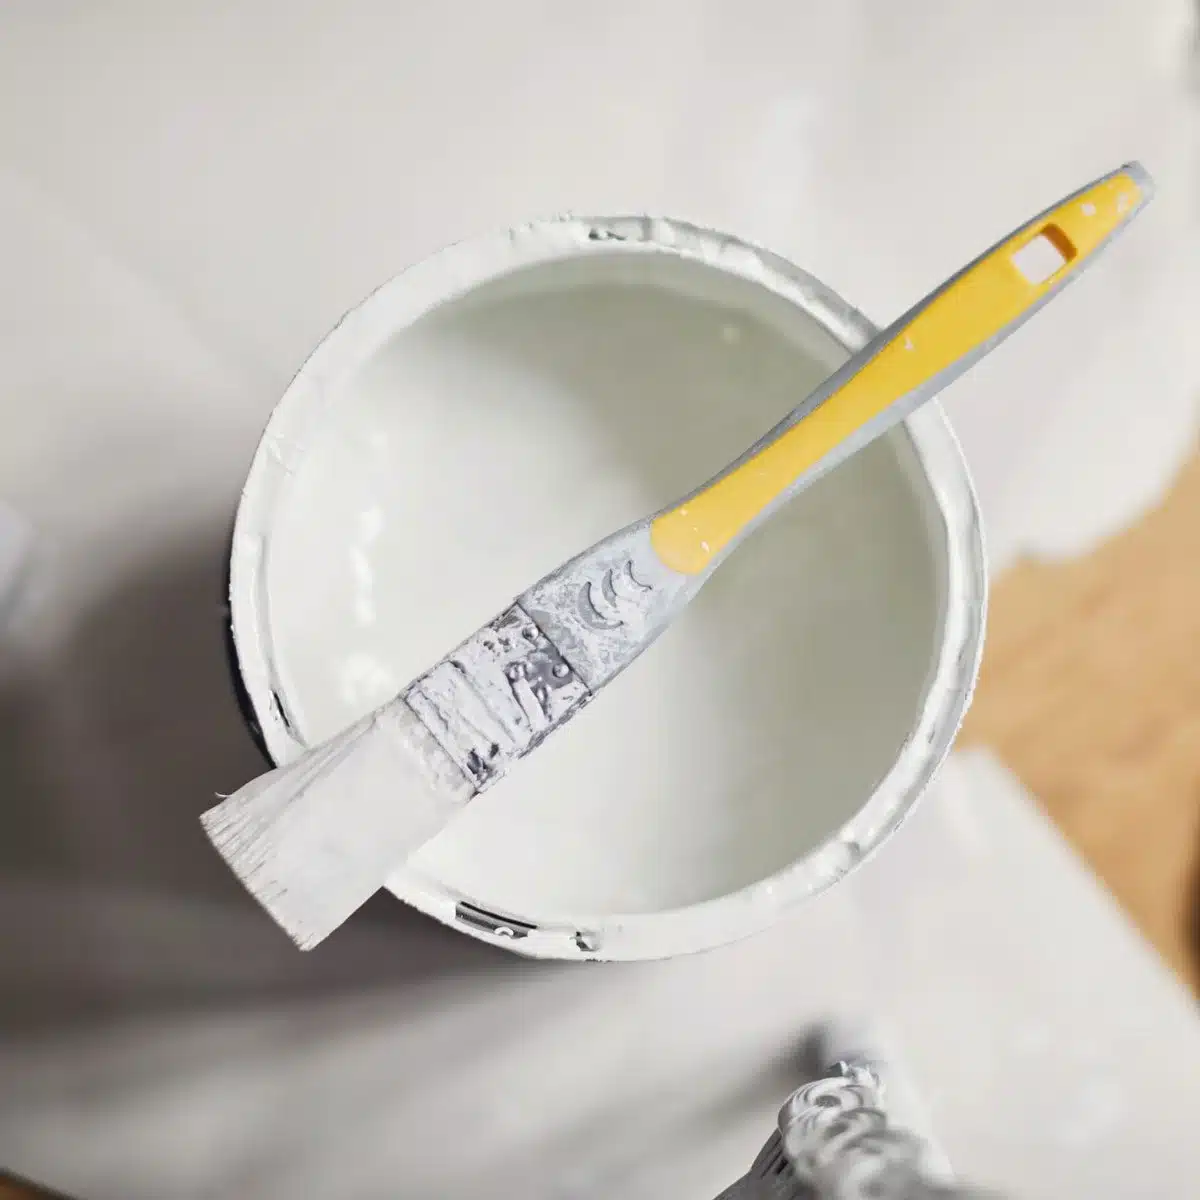
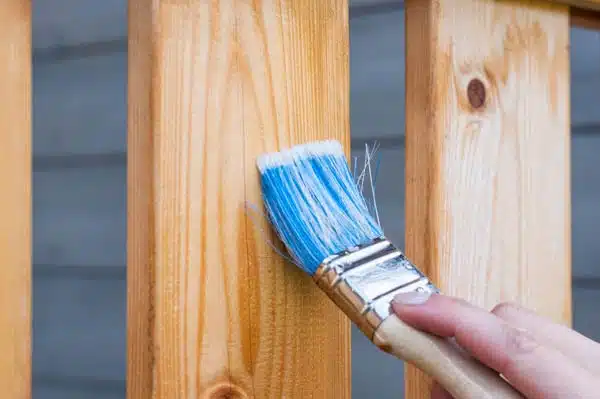
Step 3: Painting Time
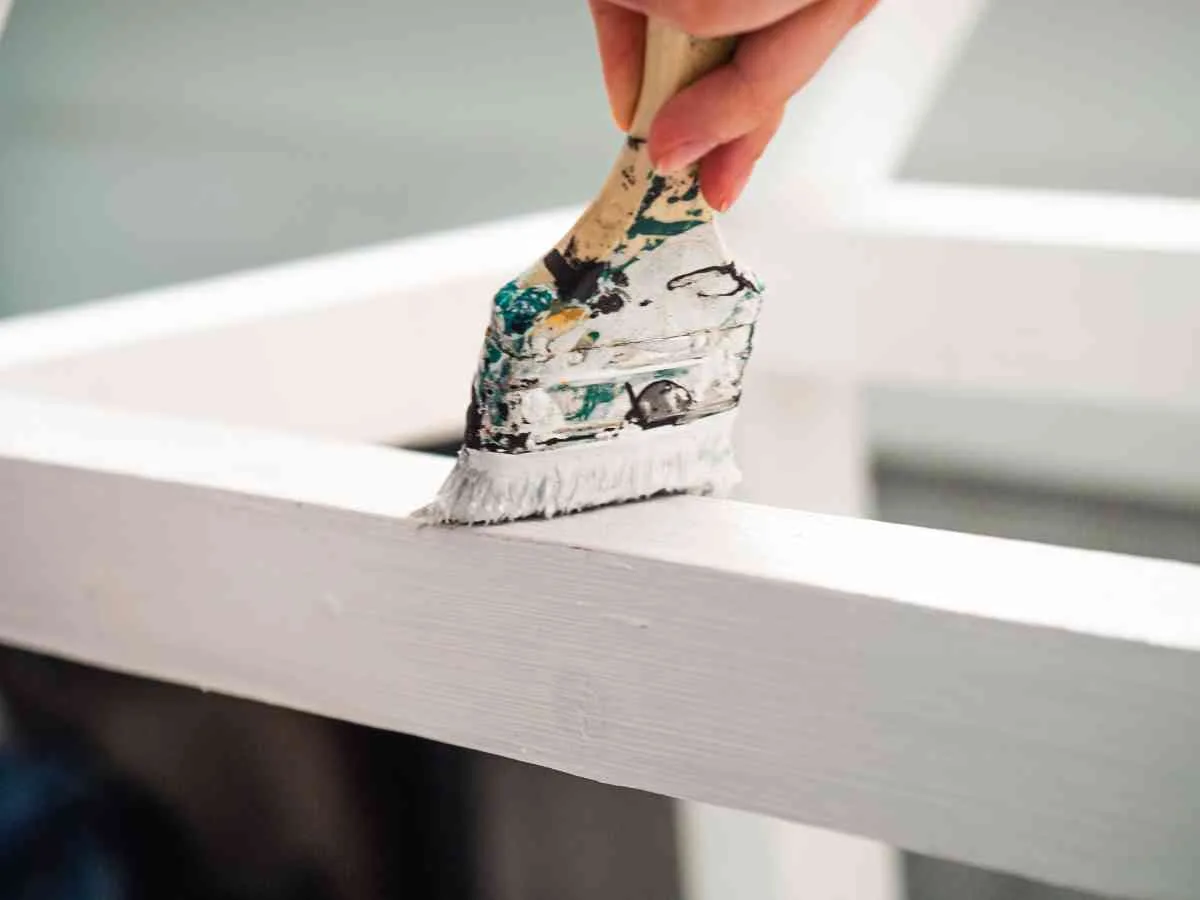
After the priming process and cleaning the surface, it’s time to finally paint your surface. By selecting the paint of your choice, begin the process. You can use a roller or a paintbrush to cover the surface with paint. The choice depends upon the shape of the furniture and your comfort. After the first coat of white paint, wait for it to dry. If you feel the need, apply the second coat of paint.
Sometimes, it might be necessary to go for more than two coats. Do not worry about the final look. Even though the particles of white color are a little transparent, multiple layers will give your furniture the perfect look. Keep painting till you get the perfect look. The number of coats will depend upon the type of the material.
If you are painting with a brush, it will give your surface a little texture. While using a roller, you will get a smooth and uniform look. As such, there is no right choice when deciding on the painting tool. It all depends on what you want the furniture to look like. If you have a flat surface and want a smooth finish, opt for a roller. To get a textured look on curvy surfaces, try using a brush.
Is Sanding Between Different Coats of Paint Necessary?
Sanding is something that smoothens the surface. However, it is not compulsory to sand between different coats of paint. When you sand between different painting coats, it helps in getting a smoother and better finish.
Many experts advise keeping a gap of 24 hours between the first and second coats of paint. While painting furniture white, it is necessary to allow your paint to fully dry before applying the second layer.
After the first coat dries, check for wood grains by rubbing your hand on the furniture. If you feel the presence of any wood grain, use sandpaper lightly to even out the surface. You can use 120-220 grit sandpaper with lighter hands.
Step4: Creating a Protective Layer
The process of painting furniture white ends with this final step. It is crucial to create a protective layer before the furniture is ready to use. The absence of a protective layer can lead to peeling off of the paint. You surely don’t want to see all the hard work peeling off within a few weeks.
Select a top coat to create a protective layer around the white paint. Be sure to select a top coat that does not become yellow over time.
Applying the protective layer on your furniture is not a one-time process. You can do it every year to ensure the safety of your white color. Check the validity of your topcoat before buying it. Will it remain in a usable condition until next year?
Some of the options to finish and give a final look to your furniture are as follows
Polycrylic
You can create a glossy cover conveniently and protect your white furniture with a Polycrylic finish. Keep in mind while applying this material that the more glossy it is, the better it will protect.
To create a safety layer with this material, you will need a sponge brush. Spread the Polycrylic mixture with the sponge and wait for it to dry. Use a hair dryer to fasten the process. Make sure to check the evenness of the texture after it dries, and use sandpaper if necessary.
Wax
The texture of wax is perfect to protect the layer of your white furniture. Along with protecting your furniture, it also brings a shine to the surface. Use a wax brush and spread the wax all over the furniture. Don’t forget to reach the corners of your beautiful furniture while applying the wax. Keep an eye on it so that you don’t miss out on any space. Once the wax dries and settles on the surface, smoothen the surface for a perfect finish.
Resin
Resin is a material we use to create delicate designs and accessories. Using the same material, you can also protect your furniture and give it a luxurious look. Get an epoxy resin mixture from Amazon and begin the process by reading the instructions. Follow the guidance and understand the appropriate mixture proportion.
If you are a beginner, there are chances that you might spill the resin mixture on the floor. Cleaning the dry resin mixture is a tough process. So, it is advisable to spread a plastic sheet on the floor before you begin working with the furniture.
This will save you a lot of time in cleaning and getting rid of resin residue. Also, ensure that the furniture is placed on a proper level so that the resin can adjust accordingly to the surface.
The grace and elegance brought by resin finishing are incomparable. Make sure to understand the whole process and time required before you begin.
These are some of the protective layer options available in the market. As such, there is no ‘BEST ONE FROM ALL’ when it comes to finishing. It depends upon your furniture and the budget you have. Evaluate your priorities and make the best choice.
Painting Furniture White Will Now Be Easy!
After painting the furniture white, don’t forget to take the final picture! It will be easier for you to plan everything after reading the above steps. Get the needed tools, colors, and materials before beginning the journey. You will also find some helpful painting kits with all the necessary items. Instead of buying everything differently, such kits make it convenient for you by assembling the items.
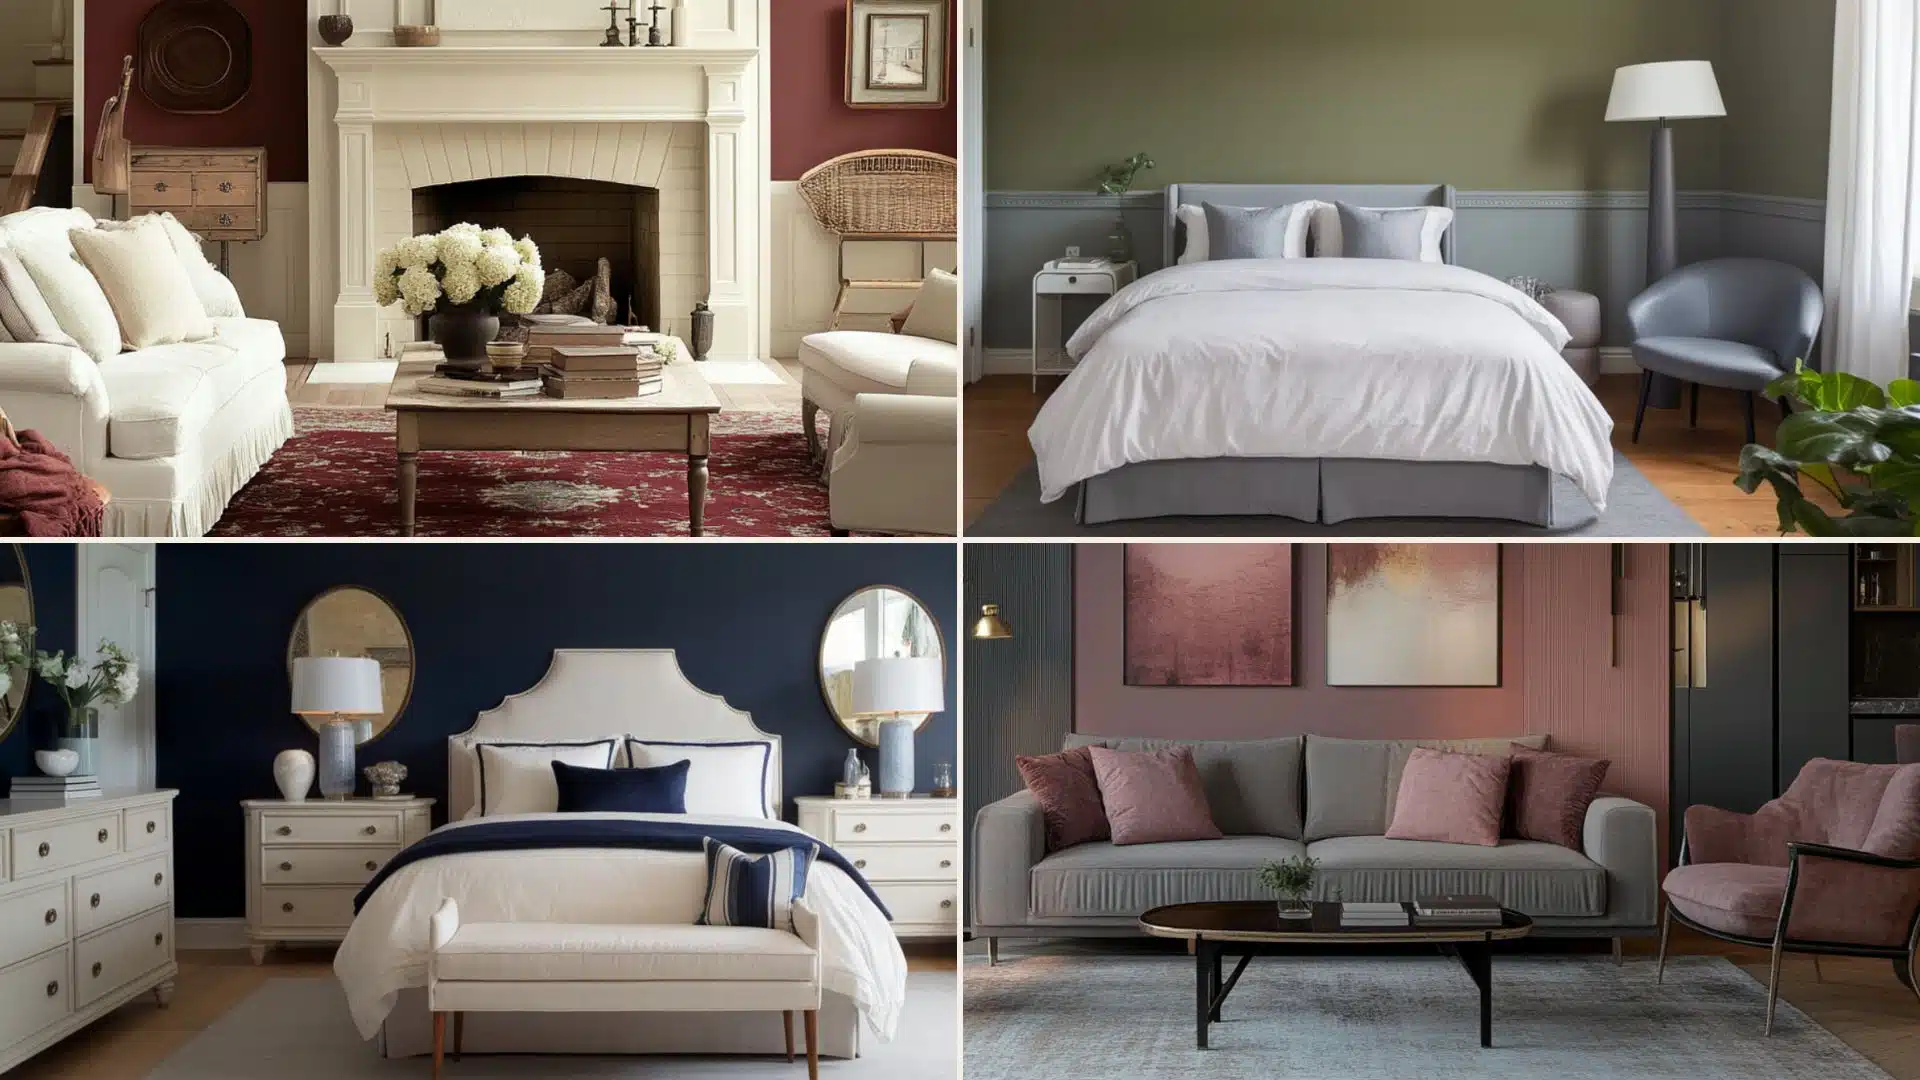
White furniture is a valuable addition to your home or office. It is the kind of furniture that goes with any style of interior. Whether it’s a meditation space, living room, or an office cabin, white brings elegance and serenity to the room. So, do it on your own and beautify your space!
Clean, Prime, Paint, and Protect to get the best white furniture! Take a step towards designing your furniture and feel good about your contribution to the space!
Frequently Asked Questions
Why is the White Paint Peeling Off?
The white paint might be peeling off due to improper cleaning and priming in the initial steps. Sanding and using a primer are crucial parts of the painting process.
How Do I Stop My White Furniture from Turning Yellow?
To stop the furniture from turning yellow, use multiple layers or primer, buy a topcoat that does not turn yellow, and examine the effect of sun rays on your furniture. Sometimes, UV rays might be the reason for the yellow shade. Change the space of your furniture in such a situation.

Alex Guerrero, a graduate with a Fine Arts degree from the Rhode Island School of Design, has been a visionary in the world of color and design for over 15 years. His professional journey began in the heart of the fashion industry in Milan, where he developed an acute sense for color harmonies and trends. Alex joined our team in 2018, offering fresh and innovative perspectives on color utilization in various spaces. Renowned for his ability to blend contemporary trends with timeless elegance. Outside of work, Alex is an accomplished painter and a volunteer art therapist, his artistic talents further enriching his professional insights.