Do you hate those ugly metal dog crates that don’t match your home? Does your dog seem uncomfortable in a traditional crate? Dog crate furniture is the perfect solution.
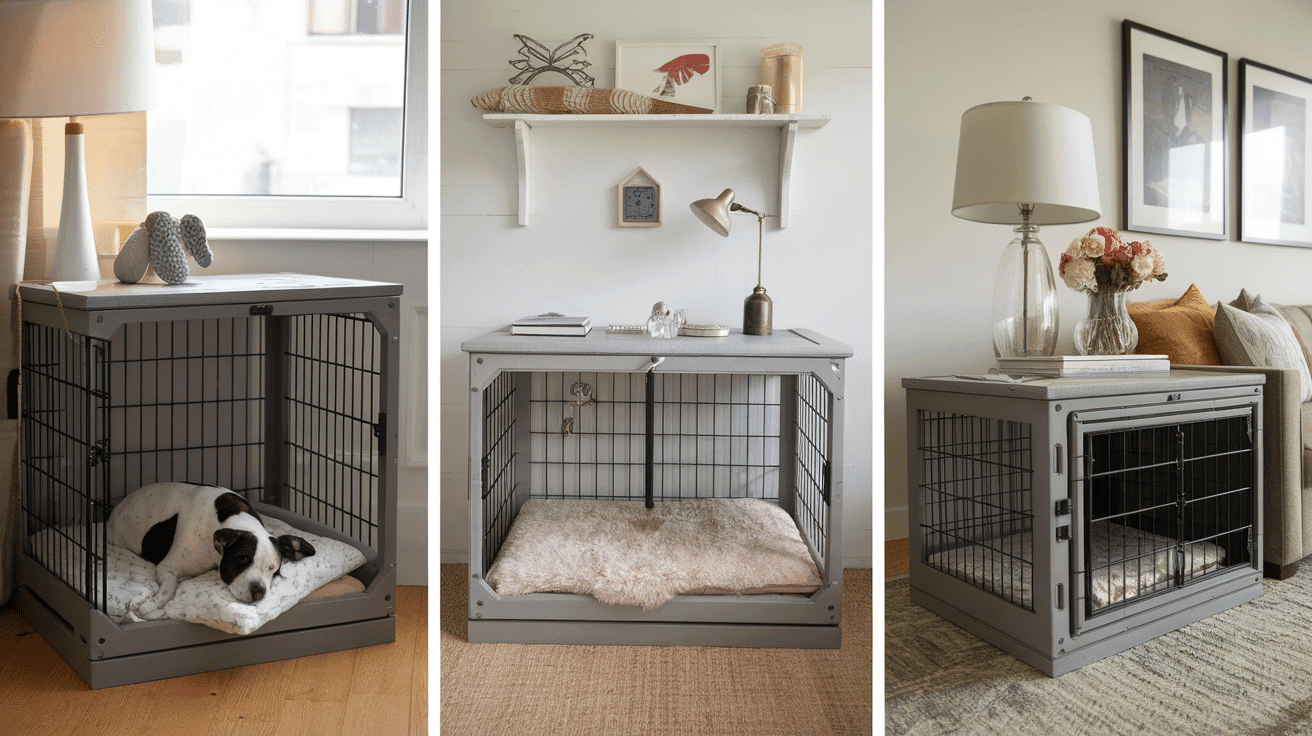
Unlike normal metal or plastic crates, dog crate furniture looks like regular household items—like end tables, TV stands, or benches—but it has a cozy space inside for your pup.
These special pieces keep your dog safe while making your home look nice. Your pet gets their own den, and you get stylish furniture that works in any room.
And if building isn’t your thing, you can always browse a quality dog crate if DIY isn’t for you and still get a stylish option that fits your space.
Keep reading to learn how to create the perfect dog crate furniture that both you and your furry friend will love!
Why is Furniture Dog Crate Better?
Dog crate furniture looks nicer in homes than regular metal crates. These special crates match with other furniture, making rooms look prettier. They work as tables or stands while giving pets a cozy spot to rest.
Many people use them in living rooms because they don’t look like pet cages.
Making your own dog crate furniture saves money. Store-bought crate furniture can cost hundreds of dollars, but DIY projects often cost less than half that amount when using basic materials.
The best part about building your own is making it perfect for your home and dog. You can choose the right size, color, and style. It is easy to customize, and we’ll share some of the ways later in the blog.
Tools and Materials Required

Before starting with making your own dog crate, make sure you create a check-list of items below and make sure that all of the items are safe for pets.
Verify them through safety marks at the shopping place before you purchase them.
Basic Materials You Need
- Wood panels (plywood, solid wood, or MDF)
- Wood screws or nails
- Pet-safe wood glue (like Elmer’s All Multipurpose White Glue)
- Metal mesh or bars for airflow
- Hinges for doors
- Latches or locks for safety
- Sandpaper to smooth rough edges
- Pet-safe paint or wood stain
- Sealant (if needed for extra protection)
- Soft bedding or cushion
List of Tools
- Measuring tape
- Saw (hand saw or power saw)
- Drill with drill bits
- Screwdriver
- Clamps to hold wood pieces
- Paintbrushes
- Wood filler for screw holes
- Safety gear (gloves, goggles, mask)
Step-By-Step Guide for Creating DIY Dog Crate Furniture
Step 1: Cutting Wood Pieces
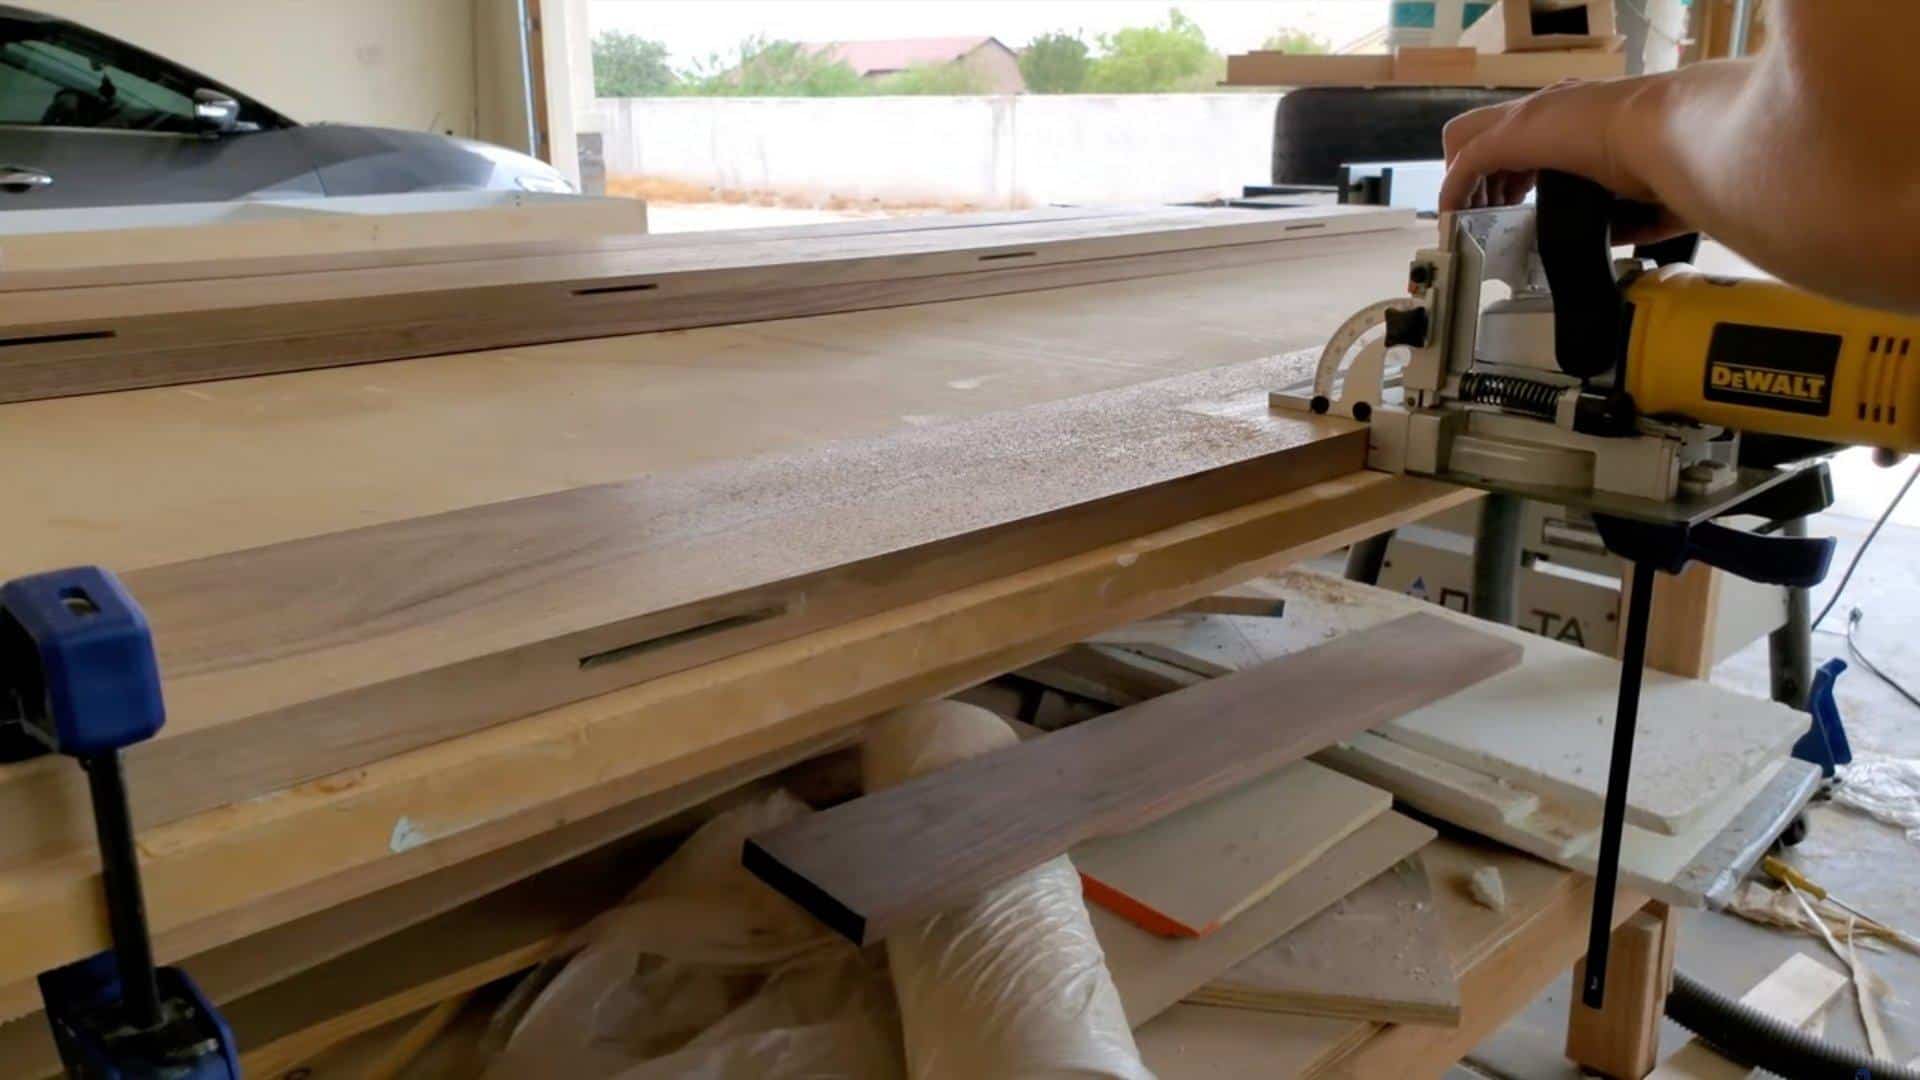
Start by measuring and marking your wood. Use a hand saw or table saw to cut the pieces according to your plan. Always draw cutting lines with a pencil first.
Be very careful when using cutting tools, and wear safety glasses.
Step 2: Making Pocket Holes
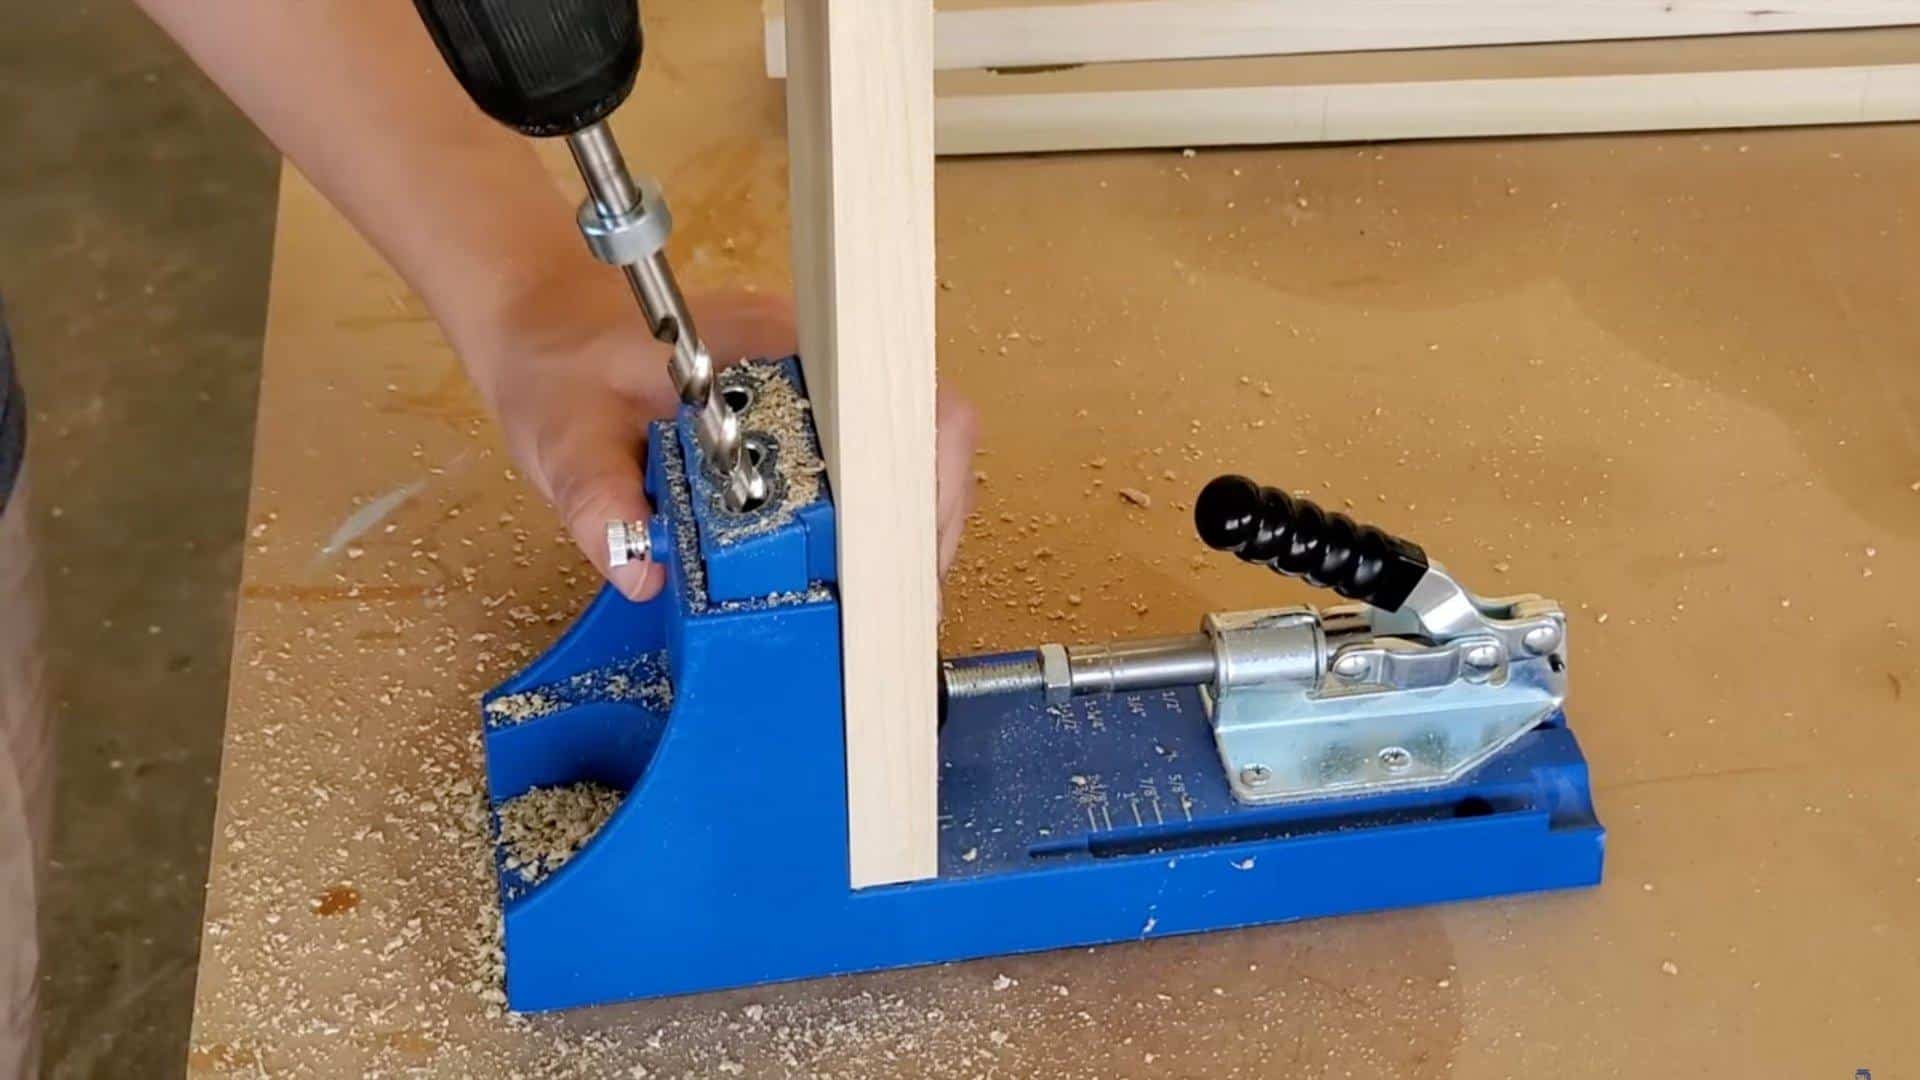
Use a drill machine to make holes in the wood. These holes will hold the bars of the crate. Make sure the holes are the right size for your bars. Keep the drill straight while making holes.
Step 3: Preparing Bars

Check all the bars for rough spots or bumps. Use sandpaper to smooth any rough areas. Clean the bars with a damp cloth to remove dust after sanding. If there are bumps in your bars, remove them.
Step 4: Testing Bars by Fitting to Wood Pieces

Place the bars into the holes to check if they fit well. Make sure everything lines up correctly. This step helps find problems before painting.
Step 5: Painting Bars and Wood

Paint all wood pieces and bars with pet-friendly paint. Let each coat dry fully before adding another. Pick colors that match your home.
Step 6: Preparing Wood for The Top
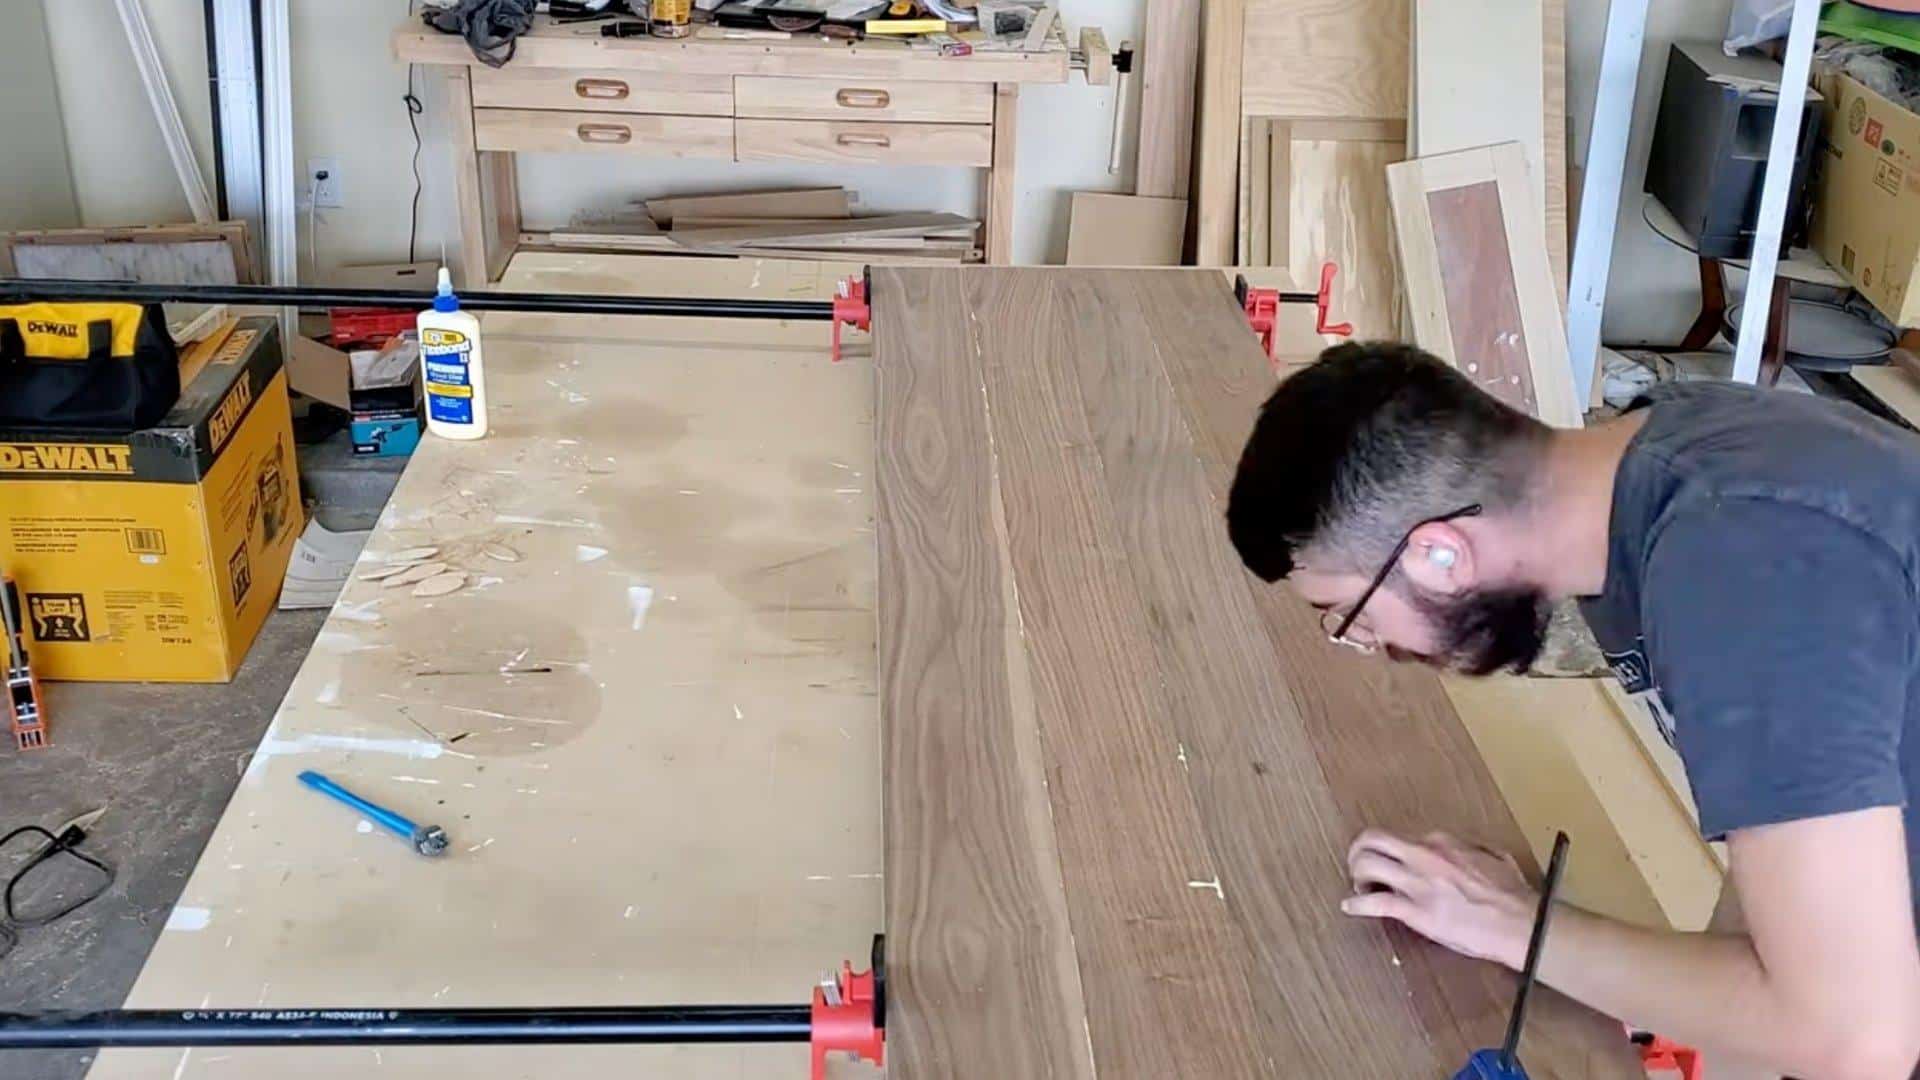
Choose a nice piece of wood for the top of the crate. This part will be seen the most and can be used as a table. Sand it smooth before finishing.
Step 7: Door Preparation
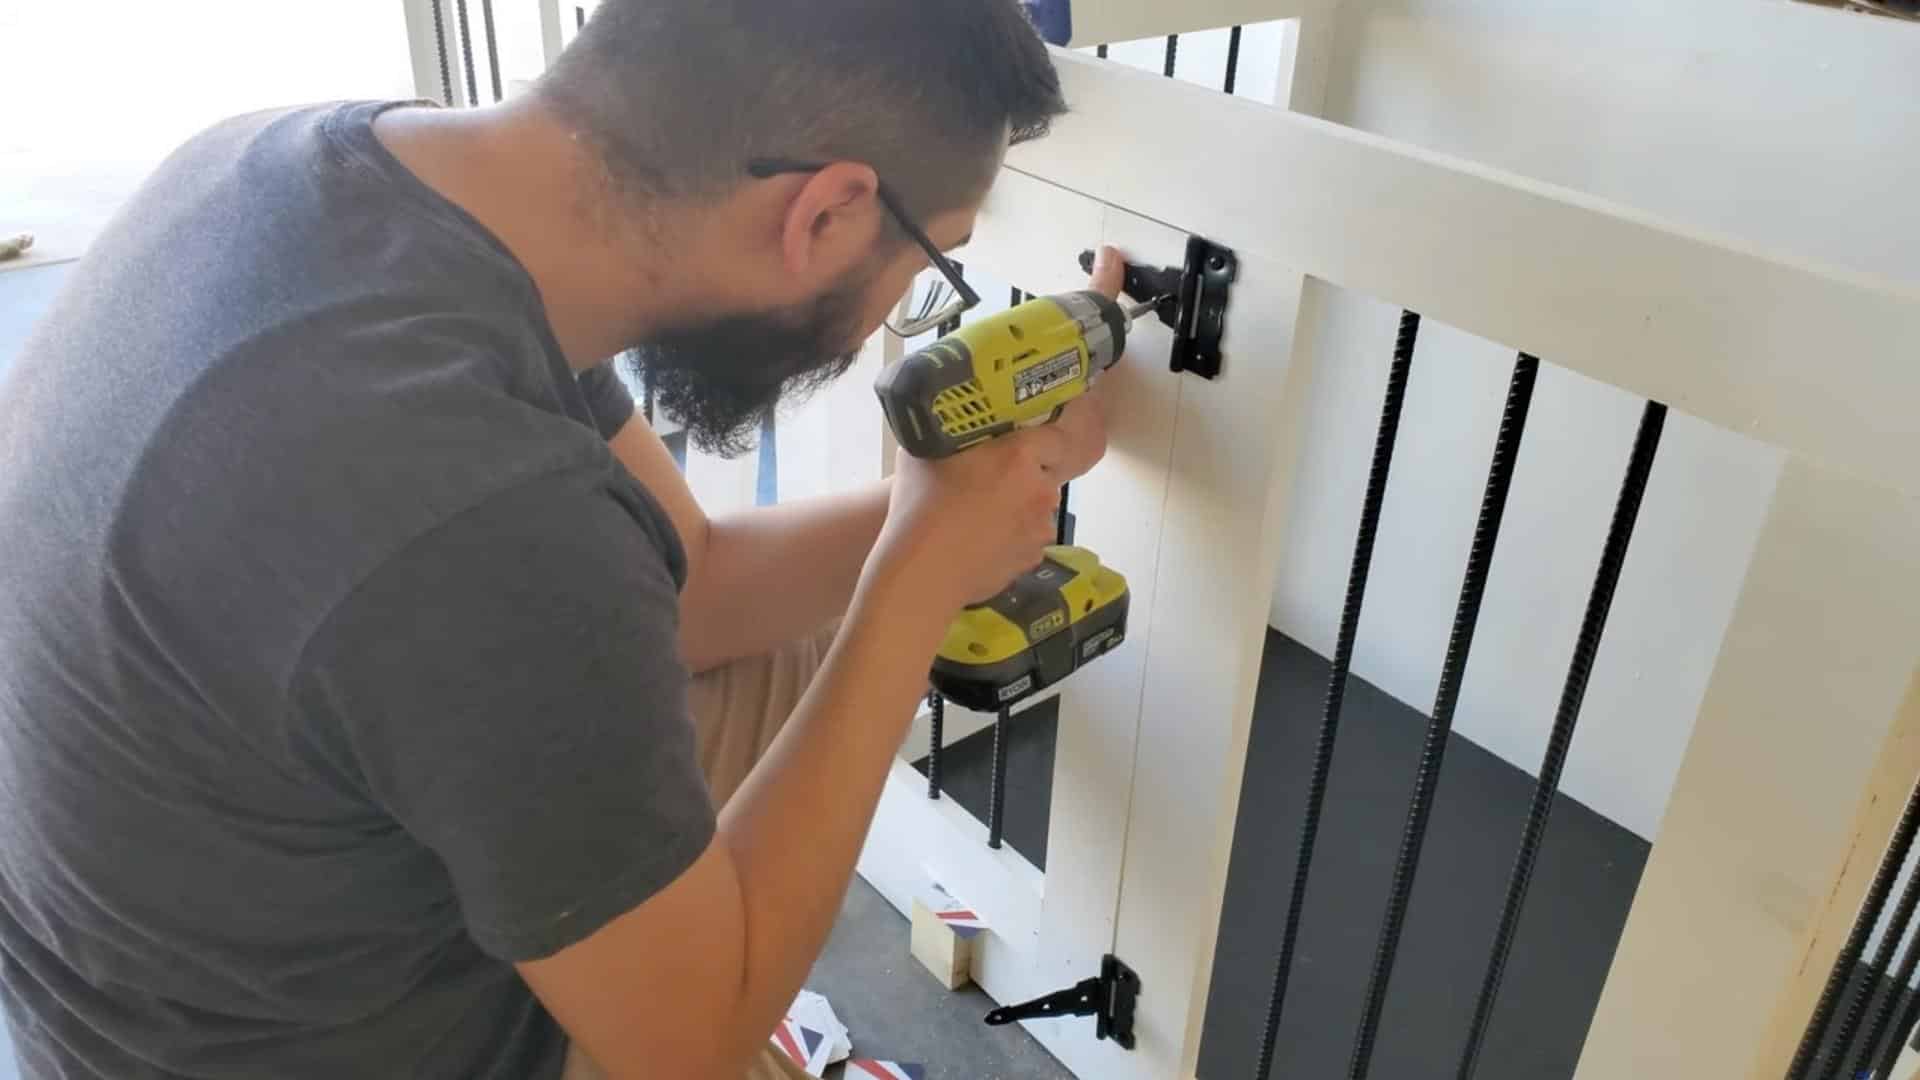
Mark where the door will go. Attach hinges to make the door open and close. Add a latch to keep the door closed when needed.
Step 8: Final Touches for Top Wood
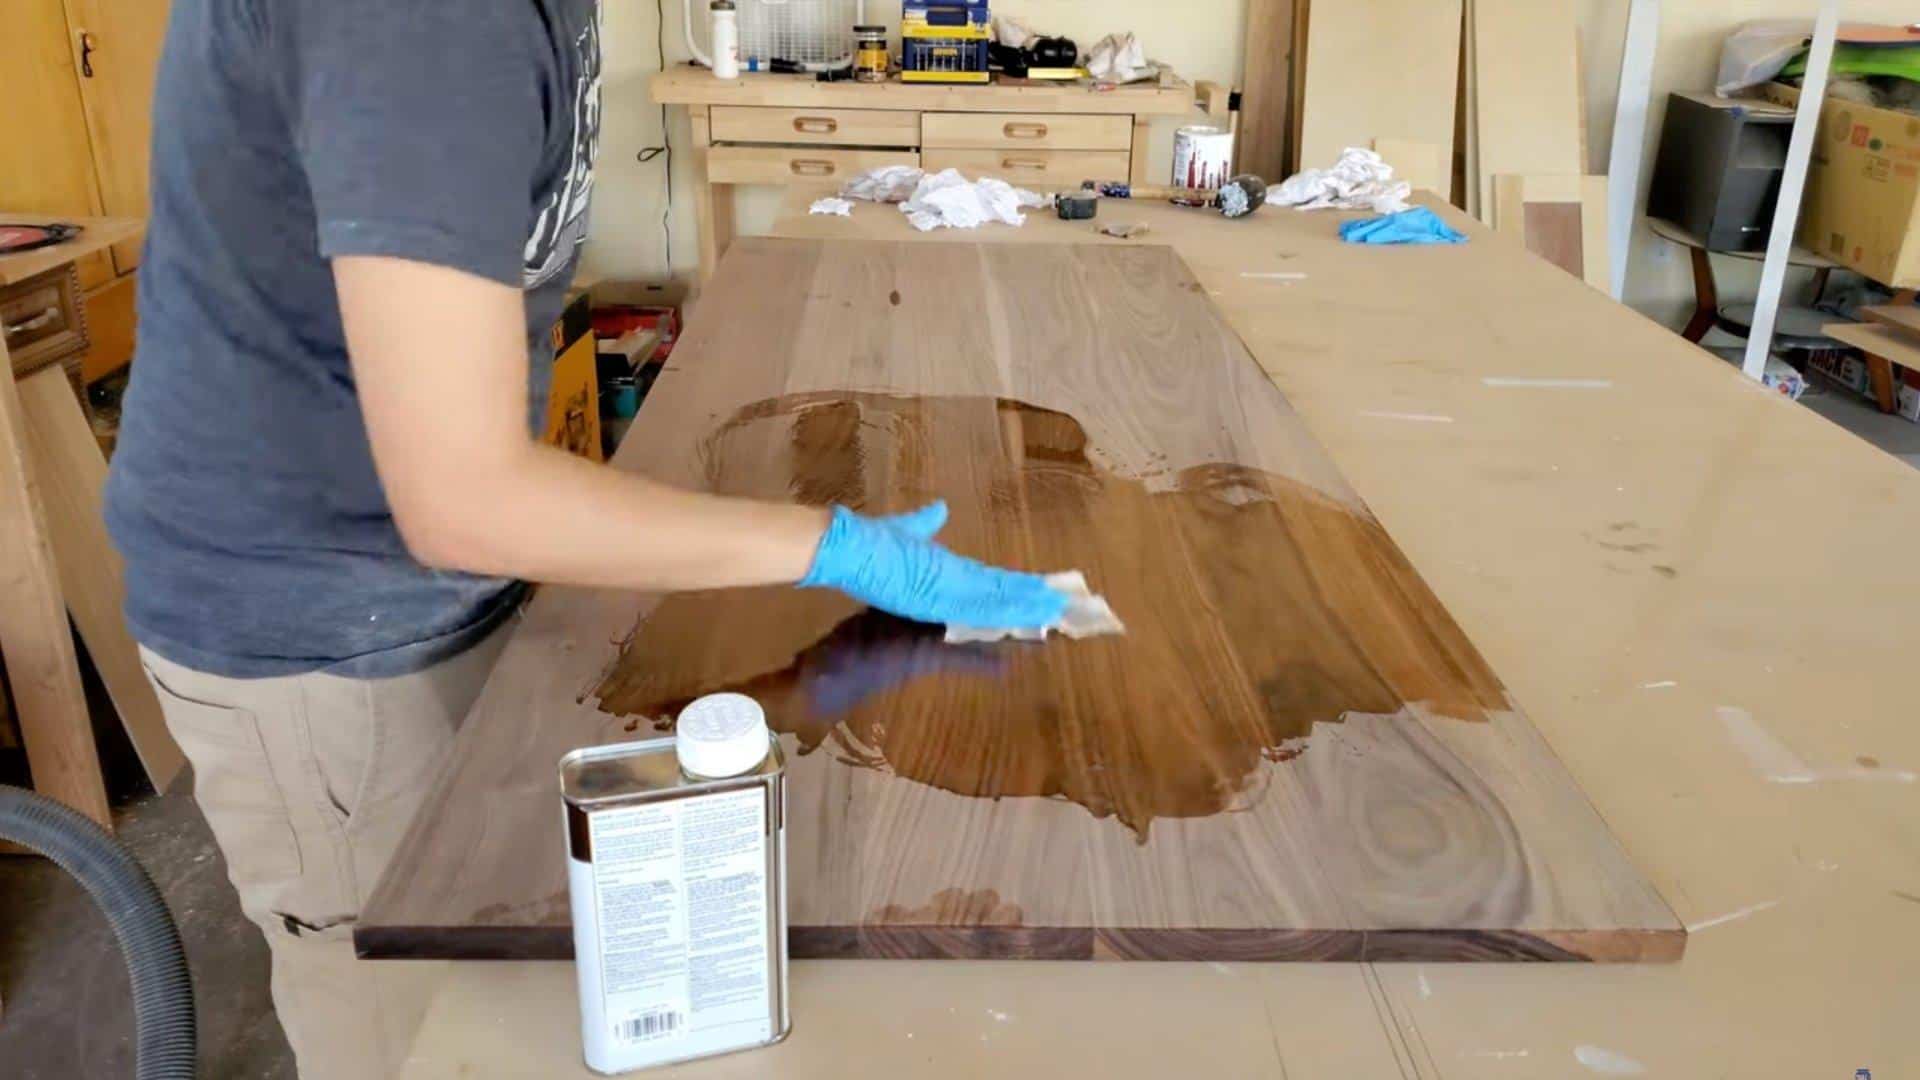
Apply oil or varnish to the top wood to protect it. Let it dry completely. You can also paint it if you prefer a colored top.
Step 9: Final Assembly
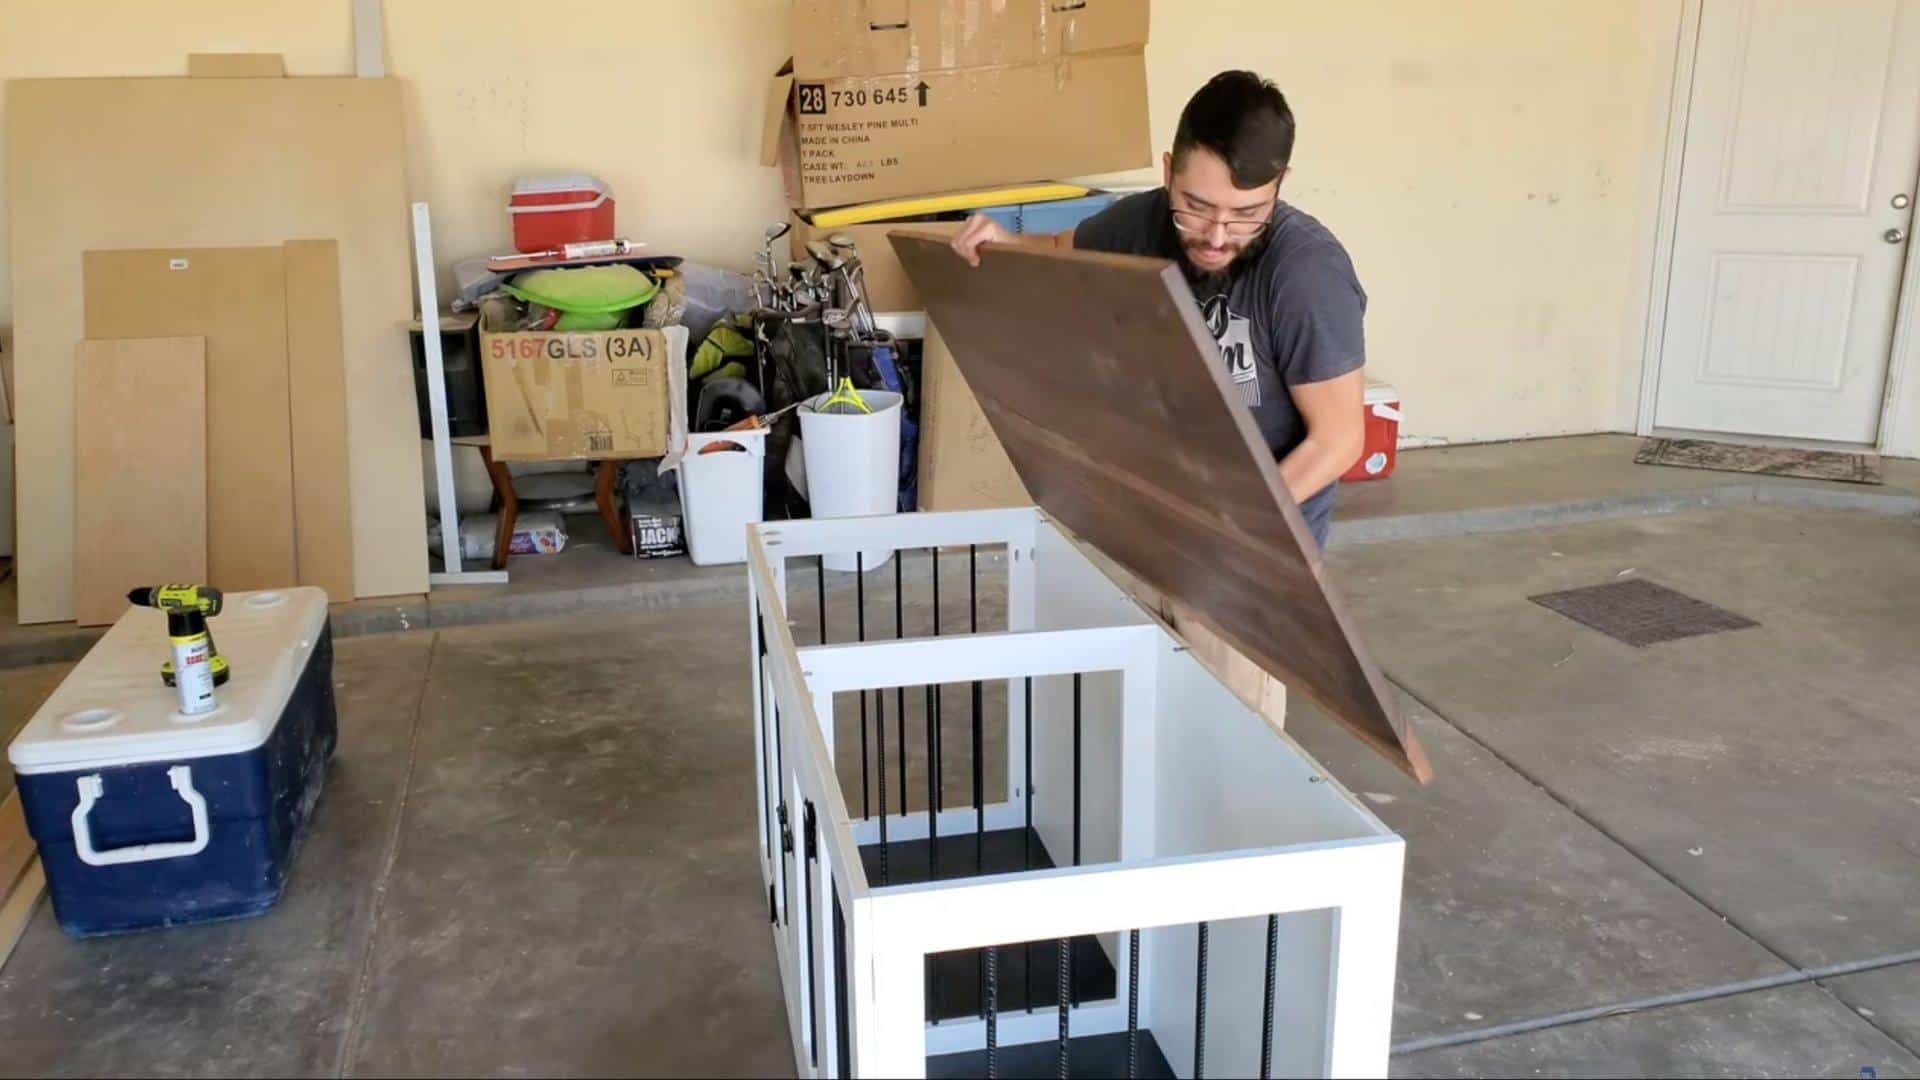
Put all parts together to complete your dog crate. Place it somewhere cozy in your home where your dog will feel safe, and you can enjoy the new furniture piece.
Watch How It’s Done: Creating Wooden Dog Crate
For more information, check out the video by JAR Made
Customizations for Your Unique Dog Crate
Making your dog crate special is easy and fun! You can add soft pillows inside to give your dog a cozy place to rest. Pick pillows with colors that match your room or ones that are easy to clean.
The top of your dog crate works great as a table. You can put plants, books, or photo frames on it. Just make sure these items are steady and won’t fall on your dog.
When adding your crate to a room, put it where your dog can see you but not in the way. Corner spots work well.
You can also paint the outside of the crate to match your furniture or add a wood frame around it.
These simple changes turn a plain dog crate into a cute piece of furniture that both you and your dog will love.
Safety Tips and Common Mistakes to Avoid

Building the perfect dog crate furniture requires careful planning to keep your pet safe and happy. Here are key safety tips and mistakes to avoid:
- Proper ventilation and spacing: Make sure there are enough air holes so your dog can breathe easily. Dogs need good airflow to stay cool and comfortable.
- Ensuring structural stability: Build a strong base and frame that won’t tip over when your dog moves around inside.
- Choosing non-toxic materials: Use pet-safe wood and finishes that won’t harm your dog if chewed.
- Choosing the wrong size: Avoid making the crate too small. Your dog should be able to stand up, turn around, and lie down easily.
- Poor ventilation: Don’t block airflow with too many solid sides or tight spaces.
- Using unsafe materials: Stay away from weak woods, sharp edges, or toxic paints that could hurt your dog.
Maintenance Tips
Keeping your DIY dog crate furniture looking good and working well doesn’t have to be hard. With regular care and quick fixes, your pet’s special space will stay clean and sturdy and will last for many years.
These simple tips will help you maintain your furry friend’s furniture.
- Clean the crate often with pet-safe cleaners. Put a washable mat inside and air it out weekly to stop smells.
- Protect wood by using a water-proof sealer. Add felt pads where the crate touches the floor.
- Fix small damages fast with wood filler for scratches. Tighten loose screws right away so problems don’t get worse.
Final Notes
Now, you have all the steps to make your own dog crate furniture. With some basic tools, wood, and a weekend of work, your furry friend can have a stylish new home that also works as nice furniture in your house.
We hope this guide helped you plan and build the perfect dog crate for your home.
Remember to measure everything twice before cutting, and make sure the crate is big enough for your dog to stand, turn around, and lie down comfortably.
What does your dog’s furniture crate look like? Share with us in the comments below.

James McLaren, with a rich background in architecture from the University of Manchester, has been contributing his expertise to the world of creative construction and home innovation for over 20 years. His journey began as a project manager for a leading construction firm, where he honed his skills in bringing complex designs to life. James joined our platform as a freelancer in 2019, quickly becoming a favorite for his insightful and practical advice. He has been a pivotal force to our wing ever since, bringing our readers a blend of technical know-how and creative flair. Beyond his professional life, James is an avid woodworker and enjoys restoring vintage furniture, a hobby that complements his professional insights beautifully.