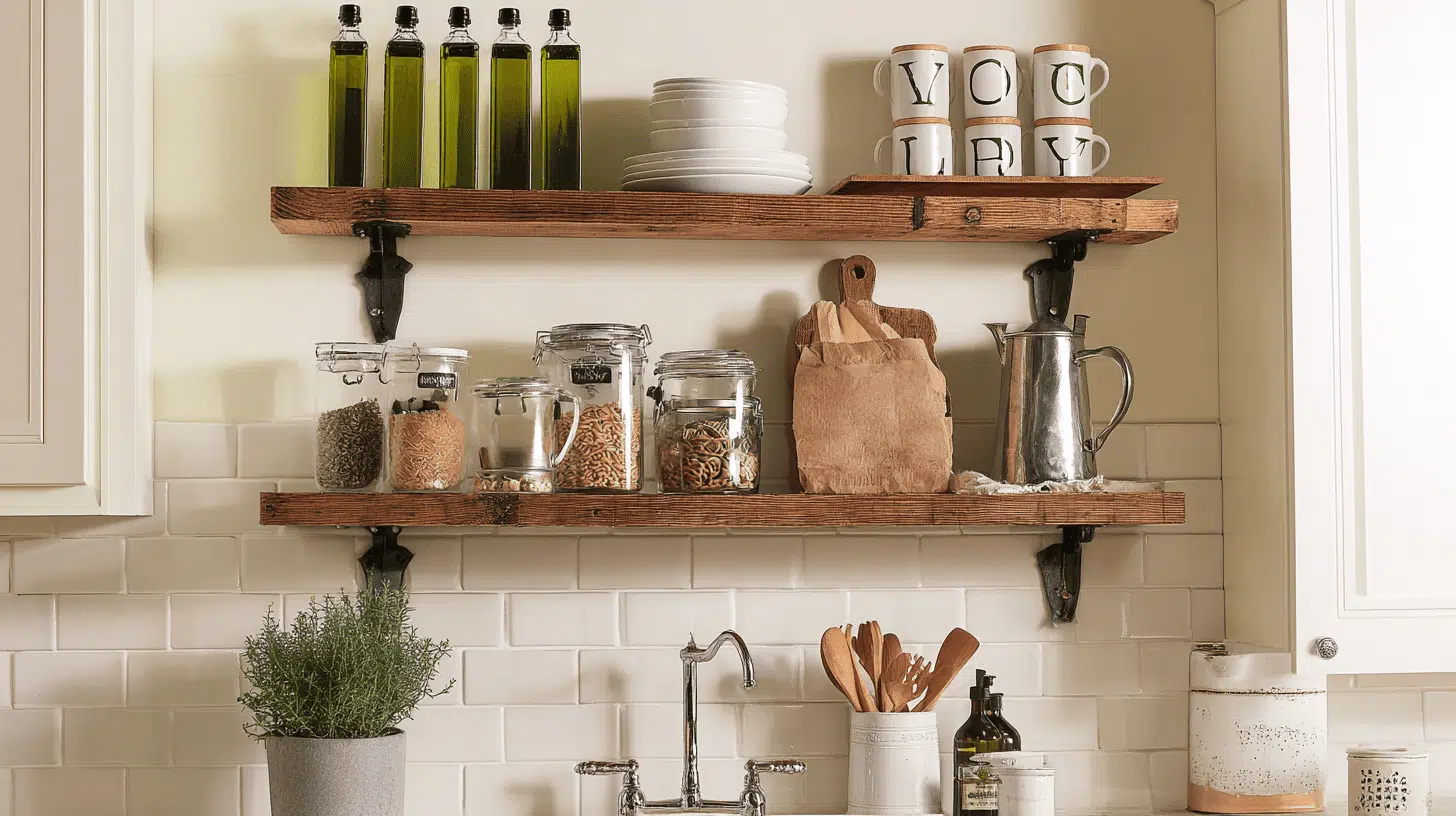
Looking for a simple way to upgrade your Kitchen without a complete remodel? Floating shelves in the Kitchen are a smart, stylish solution that’s gaining popularity across American homes.
They offer the perfect blend of form and function, opening up wall space while showcasing your favorite dishes, glassware, or even a touch of greenery.
Unlike bulky cabinets, floating shelves create a light, airy feel that works in both small apartments and spacious family kitchens. From modern farmhouse to coastal or minimalist kitchen design, open shelving blends beautifully with almost any style.
It’s a great way to stay organized and let your personality shine.
Thinking about trying floating shelves in your Kitchen? This trend is here to stay, and it’s easier to pull off than you might think.
What Are Floating Shelves?
Floating shelves are wall-mounted shelves that appear to float on the wall without any visible brackets or supports.
This clean, seamless design is made possible by hidden hardware that secures the shelf in place while keeping the focus on the shelf itself and what’s displayed on it.
In kitchens, floating shelves have become a popular alternative to traditional upper cabinets.
They open up the room visually, making even small kitchens feel more spacious and airy. Instead of hiding everything behind closed doors, these shelves let you show off everyday dishes, colorful mugs, glass jars, or cookbooks.
Floating shelves seamlessly blend form and function. They bring character to a space while still serving a practical purpose.
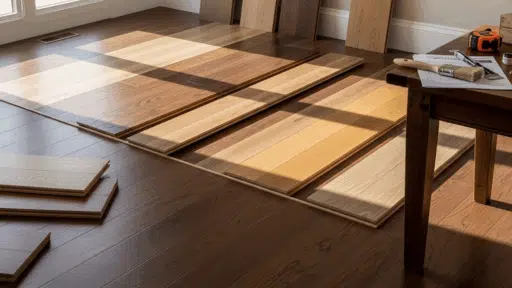
Materials You’ll Need for Floating Shelves In The Kitchen
Thinking about building a kitchen with floating shelves? It’s easier than it looks. With the right materials, you can create slim, stylish shelves that feel custom and hold serious weight.
If you’re ready to add both charm and function to your space, here’s what you’ll need:
| MATERIAL | USE |
|---|---|
| Cabinet-grade plywood (¾”) | Main shelf structure (top, bottom, and face pieces) |
| Floating shelf brackets (150 lb) | Hidden supports recessed into the wall |
| Wood stain + polyurethane | Finishing and sealing for a polished, durable surface |
| Drywall tools + joint compound | Patch and smooth the wall where the brackets are recessed |
| Screws, brad nails, wood glue | To assemble and secure all shelf components |
With just these essentials, you can create slim, sturdy shelves that look custom-built and completely hardware-free.
How to Build Floating Shelves in the Kitchen
Thinking of adding floating shelves in your Kitchen? This project is an excellent way to enhance your style, improve functionality, and expand your space without requiring a complete remodel.
This method conceals all hardware while maintaining extra-strong shelves. Follow these steps and get ready to build shelves that truly stand out.
Step 1: Plan and Mark Your Shelf Placement

Before you pick up any tools, it’s important to plan your layout and get those lines perfectly level. This first step lays the foundation for the entire project.
Start with a laser level to project a straight, horizontal guide across the wall.
Apply painter’s tape along the laser line, then paint over it with a dark color.
Measure your desired shelf height from the ceiling or countertops
Double-check all marks to ensure everything is level and consistent
Taking your time here pays off in the long run. A strong layout ensures that every shelf is perfectly aligned and visually balanced in your Kitchen.
Step 2: Install Hidden Brackets into Wall Studs

Now it’s time to focus on the supports that will hold up your shelves. These hidden brackets are what make floating shelves look clean and modern.
Use a magnetic stud finder to locate reliable stud locations behind your wall.
Trace each bracket shape directly onto the wall where the shelves will go
Use a multi-tool to cut clean openings in the drywall to recess the brackets
Screw each bracket into the center of the stud to ensure it’s fully supported
This technique keeps all hardware out of sight while giving your shelves incredible strength.
Once installed correctly, your brackets can easily hold heavy plates and kitchen essentials without sagging.
Step 3: Patch and Prep the Wall

With brackets securely installed, your next task is to make the wall look untouched. This step hides the openings so your floating shelves appear to float with no visible support.
Cover the recessed areas using mesh drywall tape.
Apply joint compound in several thin coats, letting each dry before sanding.
Smooth the surface carefully, then prime and paint to match the wall finish.
The goal here is a seamless surface. Once you’re done, the wall should look clean and complete, with no sign of what’s hidden behind.
Step 4: Cut and Assemble the Shelf Pieces

This is where your shelves come to life. You’re building a custom box that slides over the hidden brackets, giving your shelf a solid, polished look.
Use cabinet-grade plywood to cut the top, bottom, front face, and spacer pieces.
Bevel all edges at 45 degrees so they fit together without visible seams
Attach spacers to the inside of the top board using wood glue and brad nails
Screw the top board onto the bracket while holding it tightly against the wall
Attach the bottom board and front face to complete the shelf form
When assembled properly, your shelf will appear as one solid, seamless piece of wood. Even up close, no one will be able to tell it’s made from layered plywood.
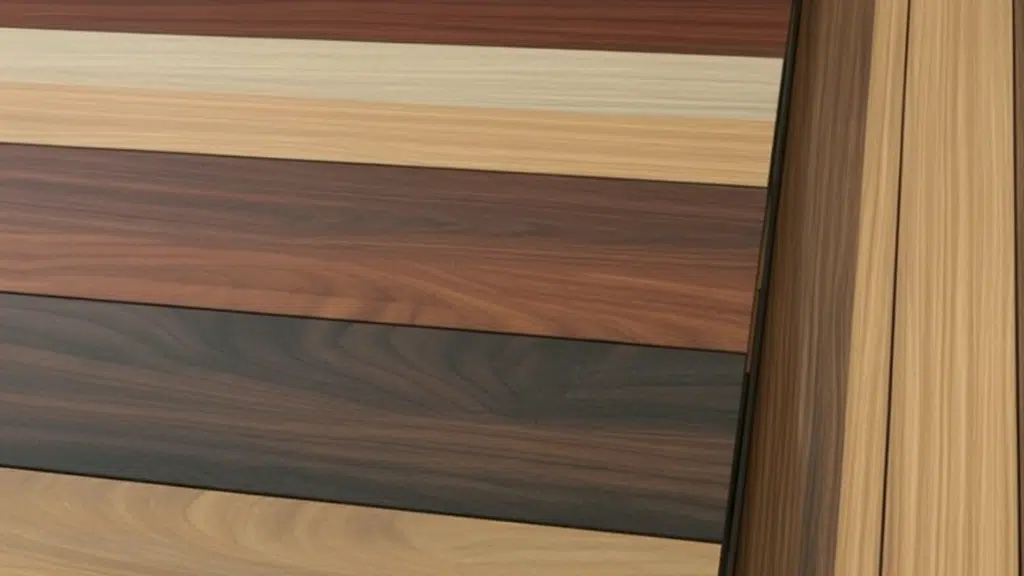
Step 5: Sand, Stain, and Finish

The final step brings everything together. It’s time to smooth, color, and protect your new shelves so they fit beautifully in your Kitchen.
Hand-sand all faces and edges to avoid over-sanding the plywood layers
Apply a pre-stain wood conditioner to prevent blotchiness, especially on maple
Stain the shelf in your desired color, adding a second coat if needed
Finish with one coat of water-based polyurethane applied with a foam roller
A careful finish adds warmth, shine, and long-term durability. Once dry, your shelves will not only look stunning, they’ll also hold up to everyday use in the Kitchen.
Watch the Full Video Here
Melissa inspires this floating shelf project from Welcome to the Woods, who created slim, sturdy shelves with a clean, custom look.
Watch her full video for the complete tutorial and more smart DIY ideas.
Why Floating Shelves Work So Well in American Kitchens
There’s a reason so many homes feature Kitchen with shelves layouts: they’re stylish, flexible, and surprisingly practical.
If you live in a compact apartment or a spacious house, these shelves offer a clean look and functional storage.
One of the nicest things about floating shelves is how approachable they are. They’re usually easy to install, even for small home projects, and they’re a good option for renters who want to add a personal touch without making major changes.
These shelves also make everyday life a little easier. You can keep your most frequently used items, such as dishes, spices, or mugs, and display things like cookbooks, plants, or small pieces.
All in all, floating shelves bring both charm and usefulness to a space many of us spend a lot of time in. They’re simple, practical, and help keep the heart of the home feeling both welcoming and organized.
Tips for Floating Shelves in the Kitchen
Floating shelves may look simple, but behind the scenes, strength and safety are important. This is especially true in a kitchen with floating shelves where you store dishes, glassware, or pantry items. A few smart choices can make a big difference in how your shelves hold up over time.
- Use a reliable stud finder- Pick a magnetic or deep-sensing finder to locate studs. Always anchor brackets into solid framing.
- Know the weight limits- Most brackets support 100–150 lbs. Match hardware strength to the items you’ll store.
- Choose trusted hardware brands- Brands like Cripple Creek Brackets, Ultra Shelf, and Waddell offer durable, easy-to-install options.
- Protect against kitchen moisture- Apply a water-based polyurethane finish to prevent warping from steam or humidity.
Even the most beautiful Kitchen with floating shelves needs the right support to last. Follow these tips and your shelves will look great and stay sturdy.
Final Thoughts
Shelves for the Kitchen are more than just a trend. It’s a smart, stylish way to make your space feel bigger, brighter, and more personal.
These shelves offer the perfect blend of form and function, if you’re showing off favorite dishes or keeping essentials close at hand.
With the proper hardware and a bit of planning, even beginners can achieve a seamless, custom look. Floating shelves are also renter-friendly and ideal for DIY upgrades that make a real impact without a complete renovation.
Have you tried adding floating shelves to your Kitchen? Drop a comment below and join the conversation!

Tommy Hardy, an alumnus of the Georgia Institute of Technology with a degree in Mechanical Engineering, has been a go-to figure in residential upkeep and innovation for over 18 years. His career commenced in a leading home appliance manufacturing company, where he mastered the intricacies of household systems. Joining our platform in 2020, Tommy quickly became a reader favorite for his practical and easy-to-follow guides. He took the helm of our DIY section in 2019, consistently delivering content that empowers homeowners. Beyond his professional pursuits, Tommy is a passionate gardener and enjoys woodworking, skills enhancing his hands-on approach to home care.