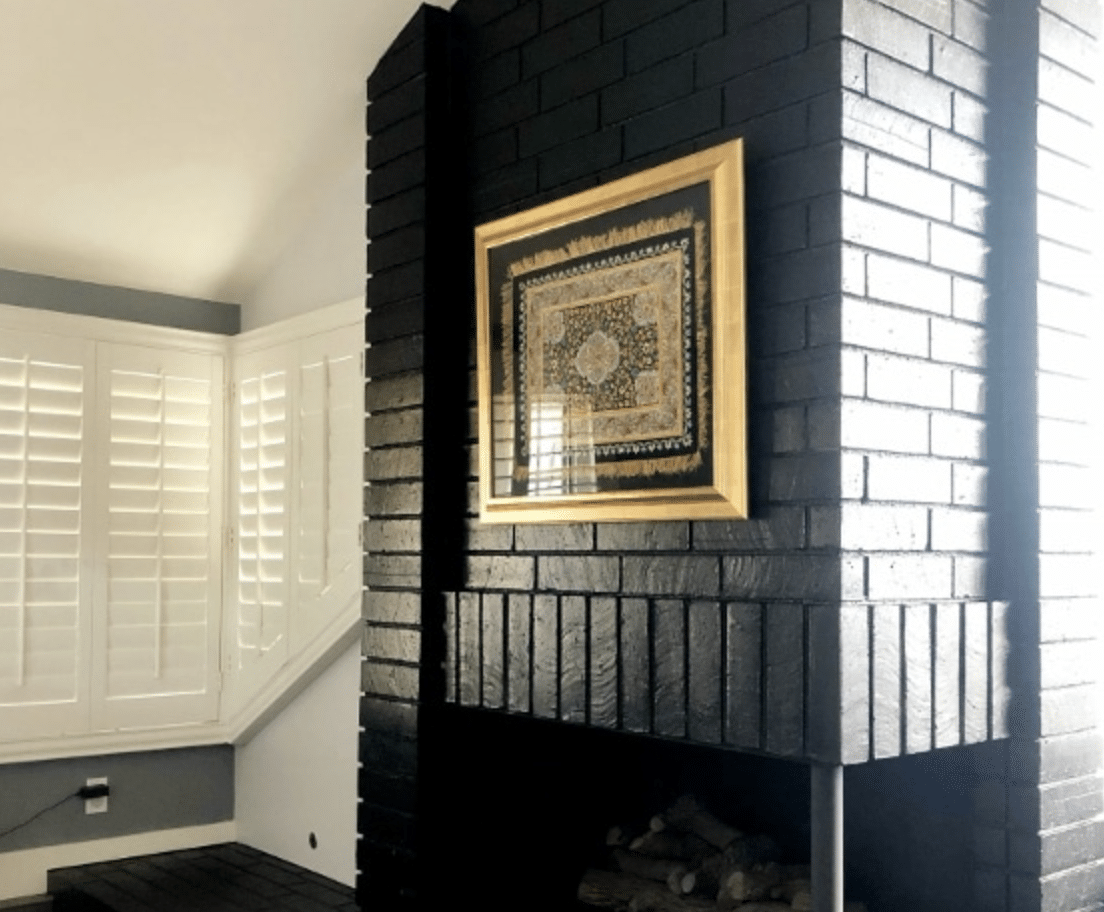
Are you tired of your outdated black brick fireplace? It’s a common eyesore in many homes. We understand the struggle of wanting to update your living space without a complete overhaul.
Painting your black brick fireplace can give your room a fresh, modern look. But the process can seem daunting. What if you make a mistake? What supplies do you need? How do you prep the surface? We’ve got you covered.
This guide will walk you through each step of painting your black brick fireplace. You’ll learn the best techniques, materials, and tips to achieve a stunning result. You’ll have the knowledge and confidence to tackle this project like a pro by the end.
Ready to breathe new life into your living room?
Tools Needed to Paint Black Brick Fireplace
| Tool | Purpose |
|---|---|
| Wire or Stiff Bristle Brush | Scrub and remove grime, soot, and dirt from the brick surface. |
| Soap | For basic cleaning of the brick before painting. |
| Water | Used to rinse the soap and clean the brick. |
| Trisodium Phosphate (TSP) (Optional) | Heavy-duty cleaner for extremely dirty brick surfaces, ensuring thorough cleaning and paint adhesion. |
Steps to Paint Black Brick Fireplace
Step 1: Preparing the Brick for Painting

Before painting your brick fireplace, it’s essential to prepare the surface thoroughly. Over time, the brick can accumulate dirt, grime, and soot, which could prevent the paint from adhering properly. Start by scrubbing the brick with a wire or stiff bristle brush.
This will help remove any loose dirt and soot. For more stubborn stains, you can use soap and water to aid the cleaning process. In cases where the brick is extremely dirty, trisodium phosphate (TSP) can be used.
This powerful cleaner effectively removes heavy grime and prepares the surface for painting.
Once the cleaning is done, allow the brick to dry for at least two days. This ensures that no moisture remains trapped in the brick, which could compromise the paint’s adhesion and lead to peeling or flaking in the future.
Taking the time to clean the brick thoroughly will give you the best foundation for a smooth and lasting finish.
Step 2: Priming the Brick

After preparing the brick, the next step is to apply primer. Priming helps the paint adhere evenly to the surface and provides a uniform base color.
Begin by applying two coats of latex primer to the entire surface. For the best results, use a small paintbrush to work the primer into the crevices between the bricks and around the mortar joints.
Once the crevices are covered, use a roller to apply the primer to the larger flat areas of the brick. This combination of tools will ensure a smooth, even application.
In areas prone to moisture, such as near the base of the fireplace, apply an extra coat of primer to protect against mildew and wear.
Proper priming creates a strong foundation, allowing the paint to adhere well and giving the fireplace a polished, professional appearance.
Step 3: Choosing the Right Paint

Selecting the right paint is crucial for achieving the best results when painting a brick fireplace. For indoor projects, it’s recommended to use latex, heat-resistant paint specifically designed for masonry, stucco, or brick.
This type of paint is formulated to handle the high temperatures that fireplaces generate. Elastomeric paint, designed to protect brick surfaces from weather elements, is an optional choice for outdoor brick.
However, for indoor fireplaces, elastomeric paint is not necessary.
For a modern and bold look, choose a deep black color like Behr Premium Plus in Glossy in Pure Black. This paint not only provides excellent coverage but also gives the fireplace a sleek, contemporary finish that stands out without being overwhelming.
Step 4: Painting the Brick Fireplace

Once the primer has dried, it’s time to begin painting. Start by using a small brush to carefully paint the crevices and edges of the brick. This ensures that no spots are missed and that the coverage is consistent.
Once the detail work is completed, switch to a roller for the larger, flat sections of the brick. Multiple thin coats of paint are preferable to a single thick coat. This approach ensures even coverage and helps avoid drips or streaks.
When painting bold colors like black, it’s essential to apply at least two coats of paint to achieve full coverage and a rich finish. Allow each coat to dry fully before applying the next.
For larger fireplaces, consider how the bold color interacts with the room’s lighting and furniture. If balanced correctly with the rest of the decor, a bold black fireplace can become the centerpiece of the room.
Step 5: Final Touches and Curing

After the final coat of paint is applied, allow the fireplace to dry completely. This may take up to a few days depending on the paint type and environmental factors such as humidity. Once the paint has fully cured, check the surface for any areas that might need touch-ups.
Take the time to adjust the surrounding room decor to complement the fireplace’s bold new look. Lighter furnishings, rugs, or curtains can help balance the dark color, creating a warm, inviting atmosphere.
Proper curing ensures the longevity of the paint job, allowing you to enjoy the newly updated fireplace for years to come.
Maintenance Tips for a Painted Brick Fireplace
To keep your painted brick fireplace looking fresh, it’s essential to incorporate some basic maintenance into your routine. Regular cleaning will help prevent the buildup of dust and soot on the surface. Use a soft, dry cloth to gently wipe the surface periodically.
For tougher stains, a damp cloth with a mild detergent should do the trick. Avoid abrasive cleaners, as they could damage the paint.
If any chips or scratches occur, use touch-up paint to maintain a clean and polished appearance. Keeping the fireplace clean and properly maintained will ensure it remains a stunning focal point in your home for years to come.
Conclusion
Painting your black brick fireplace is a rewarding project that can greatly improve your home’s look. We’ve covered the key steps: cleaning, priming, and painting. Remember to choose the right paint and tools for the job.
Take your time with each stage, especially the prep work. This ensures a long-lasting, attractive finish. Your newly painted fireplace will become a focal point, adding charm and value to your living space.
The process might seem challenging at first, but with patience and care, you’ll achieve great results. We hope this guide has given you the know-how to take on this task with confidence.
Your fireplace makeover will refresh your entire room, creating a cozy and inviting atmosphere for you and your guests to enjoy for years to come.


