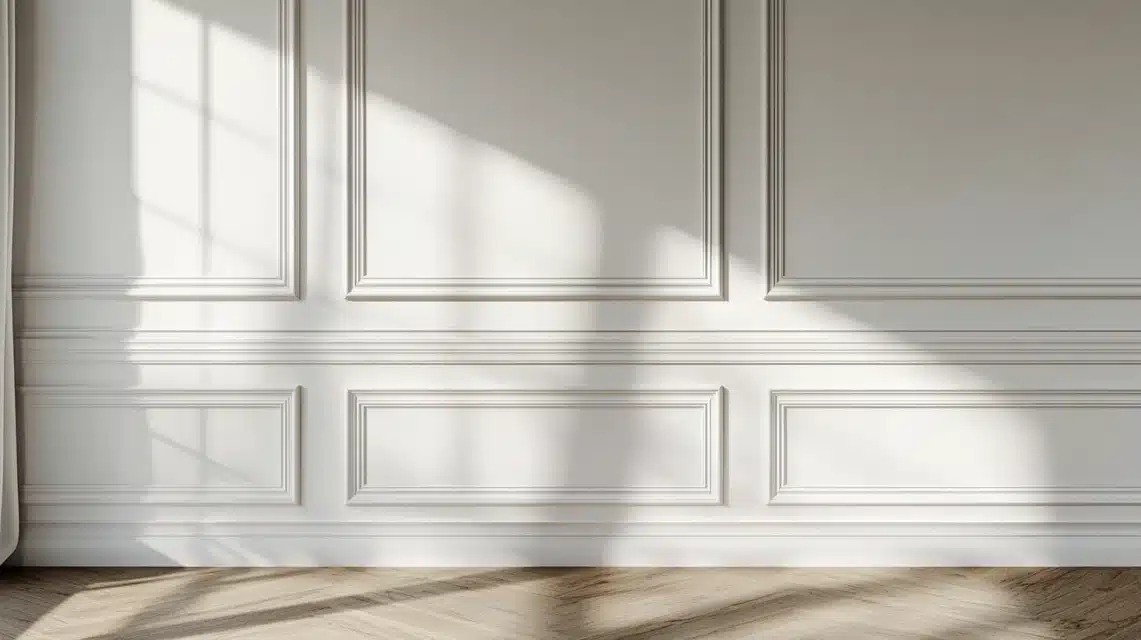
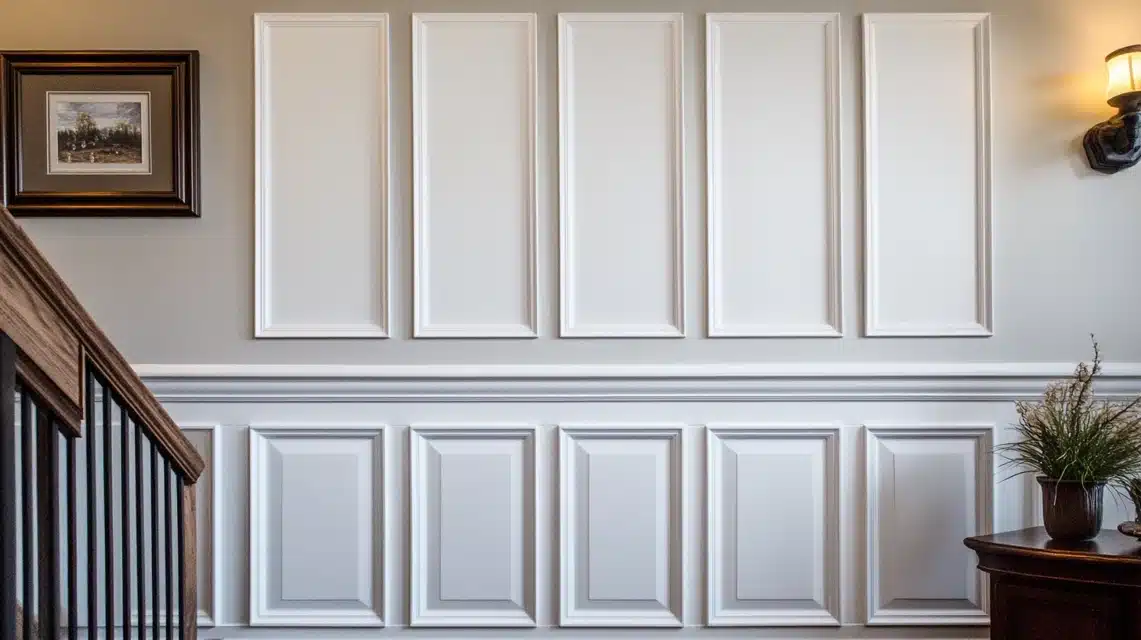
As a design enthusiast, I’ve seen how the right wall trim can completely change a room from “meh” to “magnificent.”
I promise to keep it simple! You know those fancy lines and panels you see running across the middle of walls in beautiful homes?
That’s what I call Mid-Wall Trim, and I absolutely love using it in my design projects. In my years of designing homes, I’ve found that mid-wall trim ideas create visual interest at eye level.
I’ve personally tested them in my clients’ homes! They’re incredibly flexible, too. I’ve used them in everything from cozy cottages to modern mansions.
I’ll tell you which styles work best in different rooms, because what looks perfect in your dining room might not be the best choice for your hallway. Trust me, by the end of this blog, you’ll be as excited about mid-wall trim ideas as I am!
Well! If you are unsure how to paint your trim to get that crisp, professional finish? Use My Guide to Painting White Walls and Trim Perfectly for all the dos and don’ts.
Mid-Wall Trim Ideas for Different Rooms
Let me walk you through my favorite trim solutions for each room in your home – from living spaces to bathrooms, I’ve tested what works best in real projects.
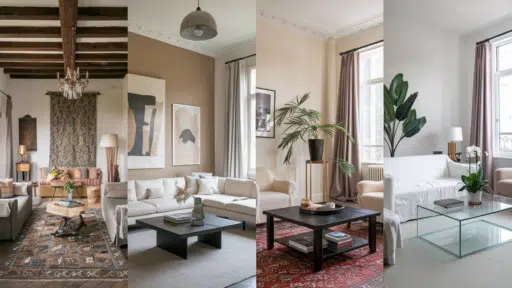
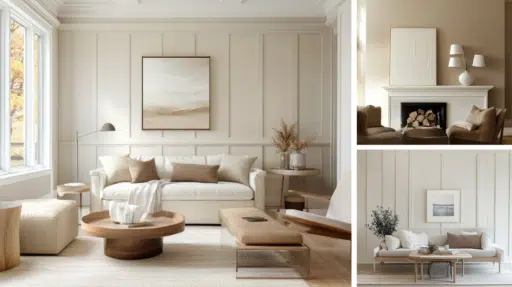
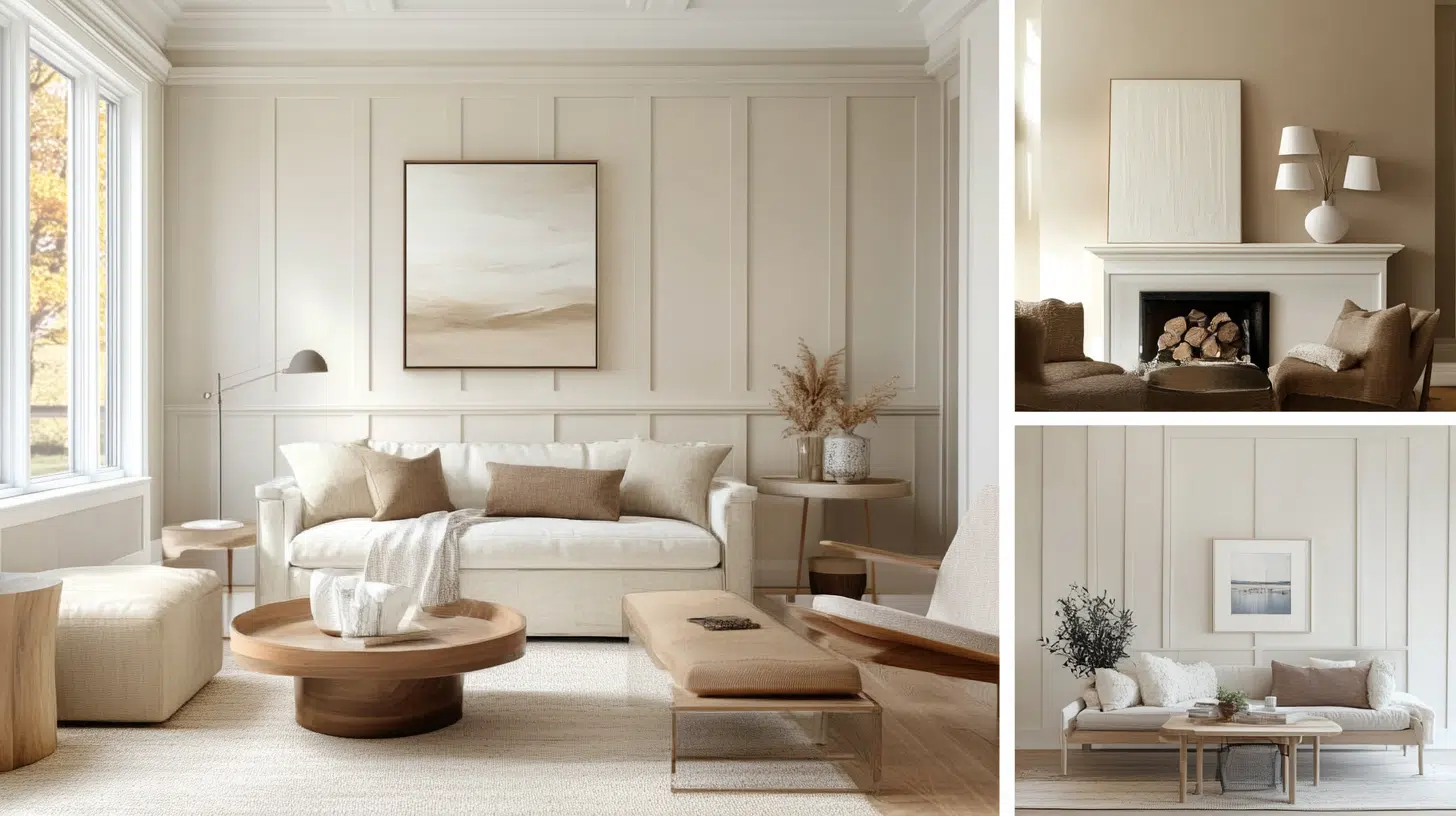
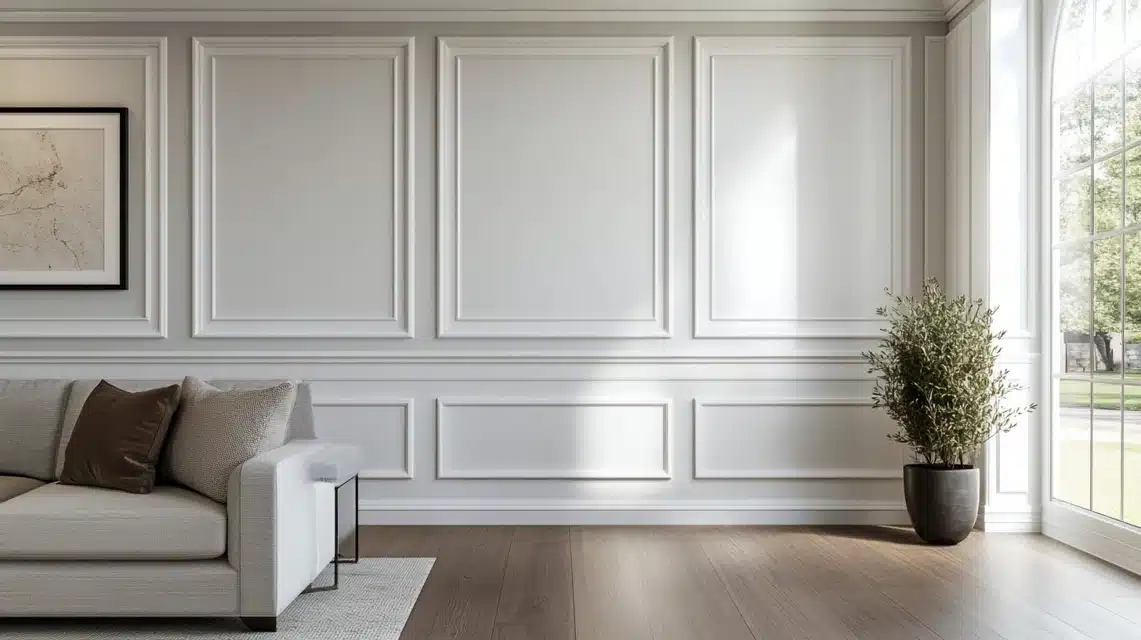
1. Living Room
The right trim can completely change how a space feels. Floor-to-ceiling board and batten on TV walls creates focal points. Paint in colors like Sherwin Williams’ Pewter Green for added impact.
Mix trim styles for interest – combine classic wainscoting below with modern grid patterns above. In high-ceiling rooms, extend trim to 7 feet and paint everything one color for balance. For modern spaces, try asymmetrical board-and-batten with varying widths. Use Shaker panels in smaller rooms, keeping them simple and widely spaced.
Designer Secrets
- Use board and batten on focal walls
- Extend the trim to 7 feet in tall rooms
- Mix styles for visual interest
- Keep panels simple in small spaces
- Paint trim and walls the same color for cohesion
2. Dining Room
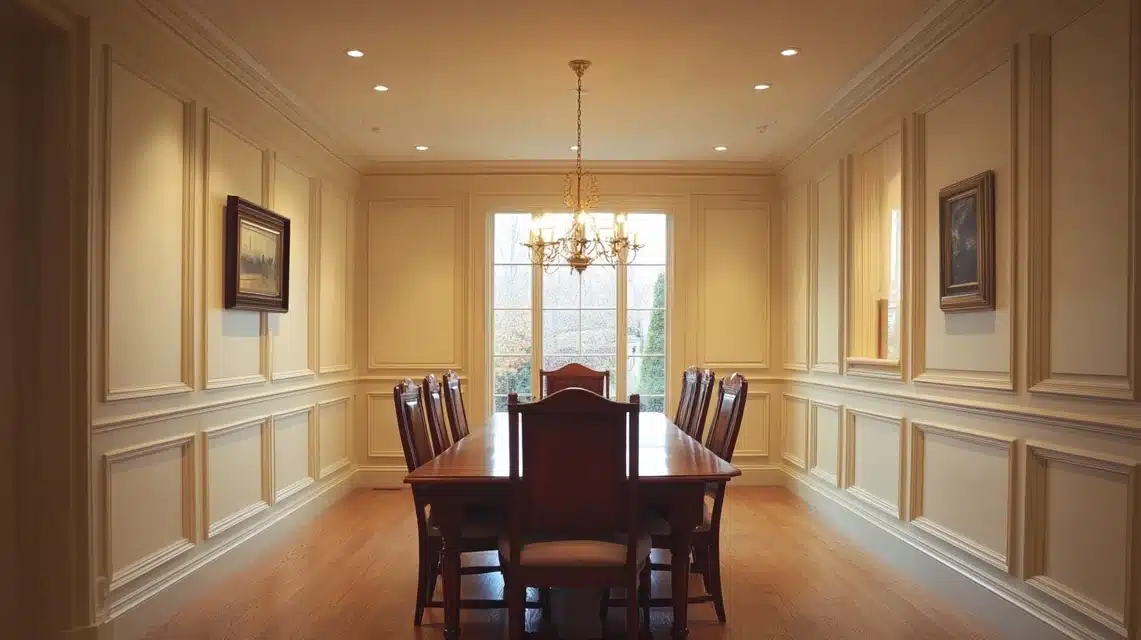
Dining rooms balance tradition with drama. Install raised panel wainscoting 42 inches high with substantial chair rails. Paint panels in cream and upper walls in deep navy for contrast.
Combine different molding elements – pair chair rails with crown molding for a frame effect. Extend wainscoting to 54-60 inches to create a backdrop for buffets. Add picture frame molding above wainscoting for extra detail.
Designer Secrets
- Install wainscoting at 42 inches standard
- Go 54-60 inches behind buffets
- Use contrasting colors for drama
- Add crown molding for a complete look
- Include picture frames above panels
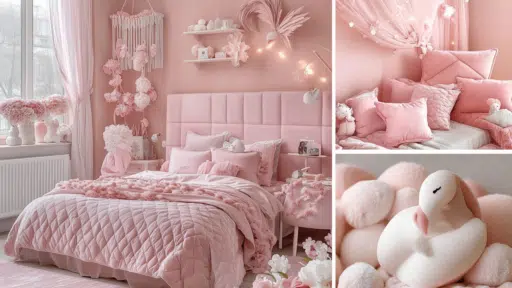
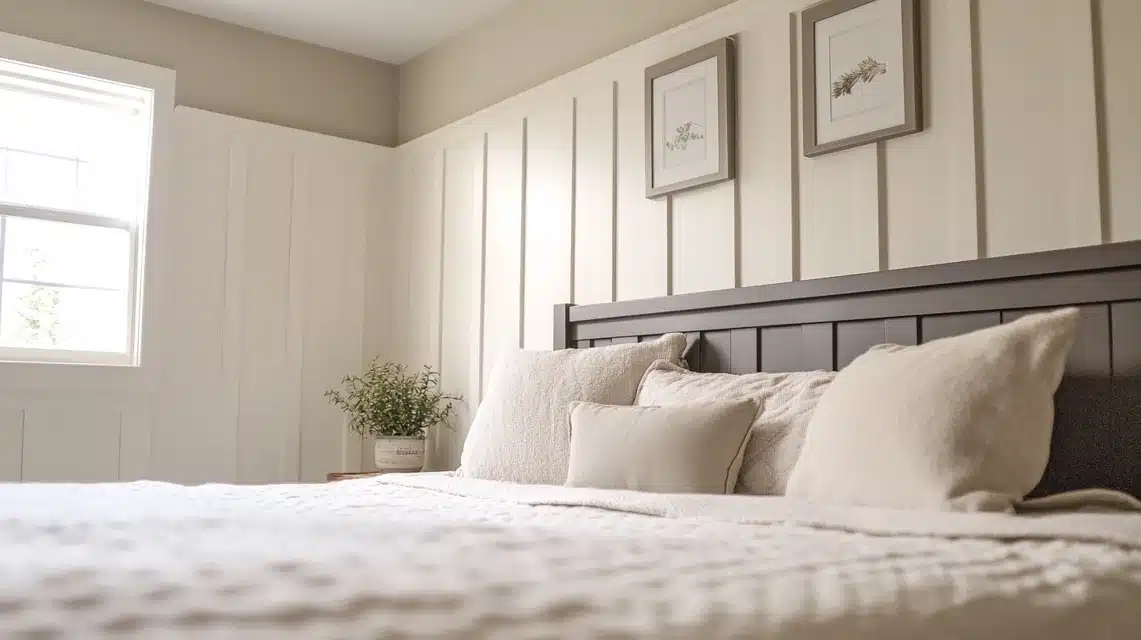
3. Bedroom
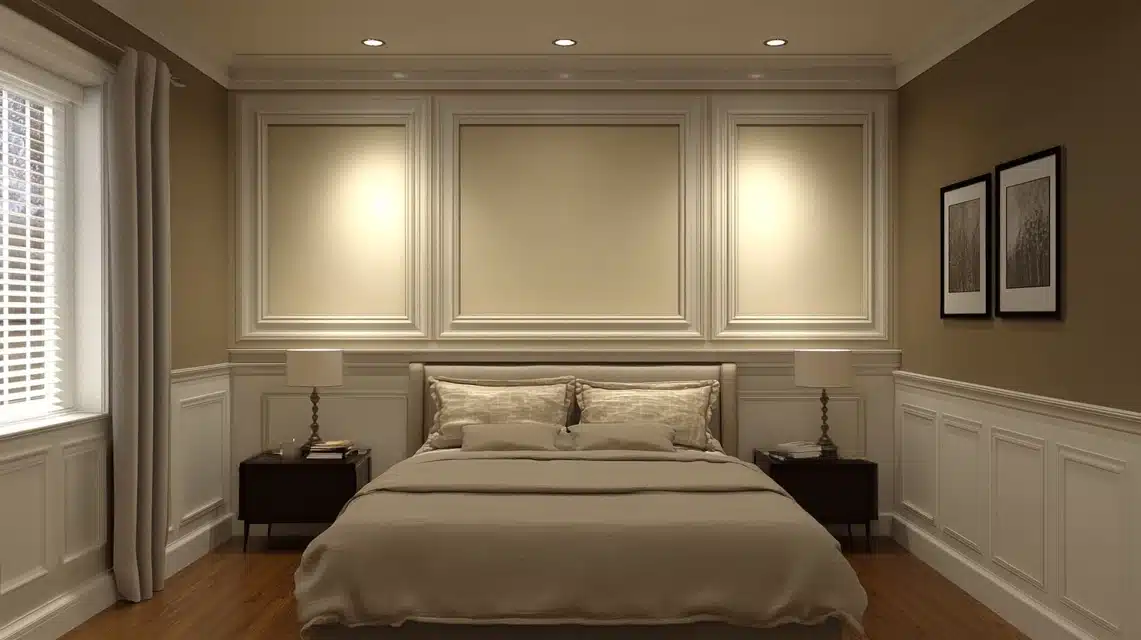
Trim creates cozy bedroom vibes. Install Shaker panels 40 inches high behind beds. Paint in soft whites like Sherwin-Williams’ Alabaster using a tone-on-tone approach.
For feminine spaces, combine board and batten at 54 inches with floral wallpaper above. Mix textures by pairing beadboard with modern chair rails. Keep colors calm – warm greige works well.
Designer Secrets
- Use 40-inch panels behind beds
- Try tone-on-tone painting
- Mix board and batten with wallpaper
- Combine different textures
- Stick to calming colors
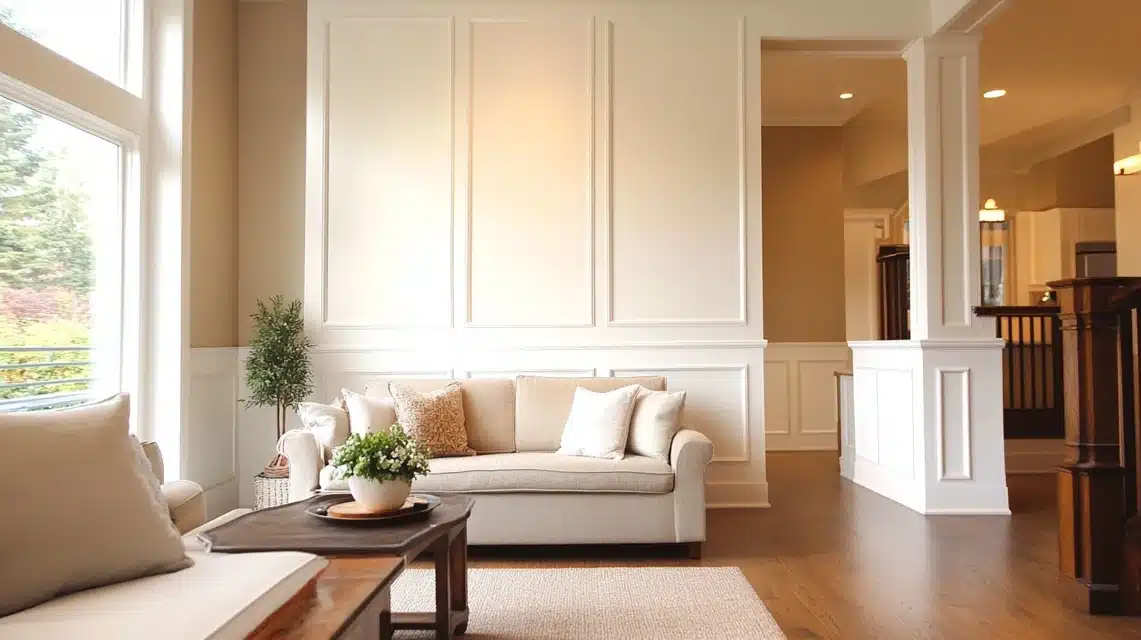
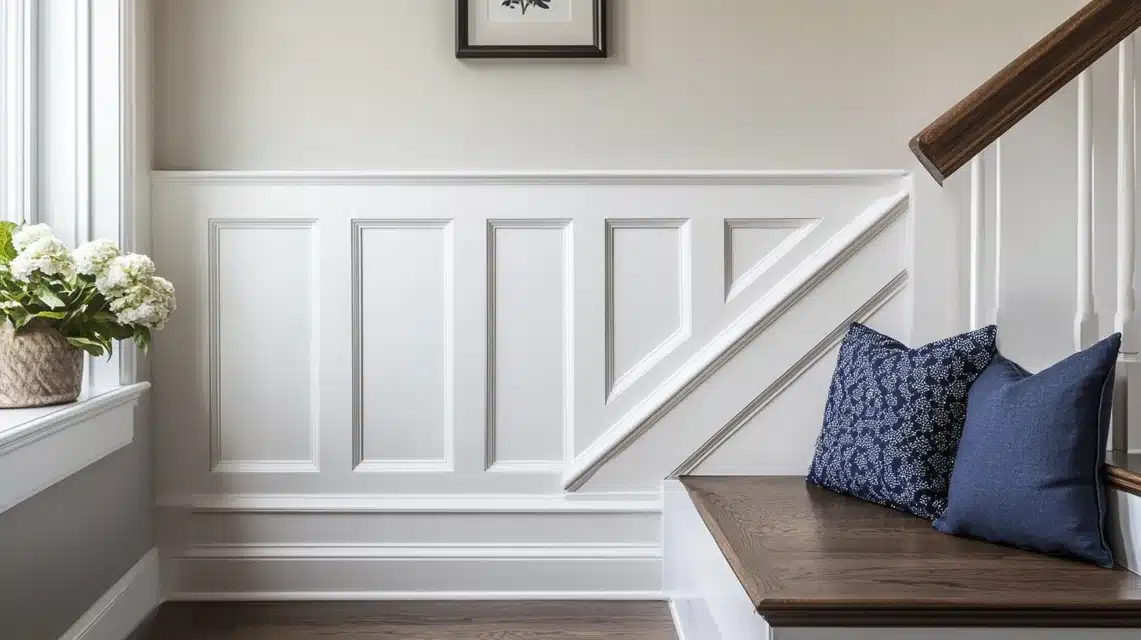
4. Hallways and Entryways
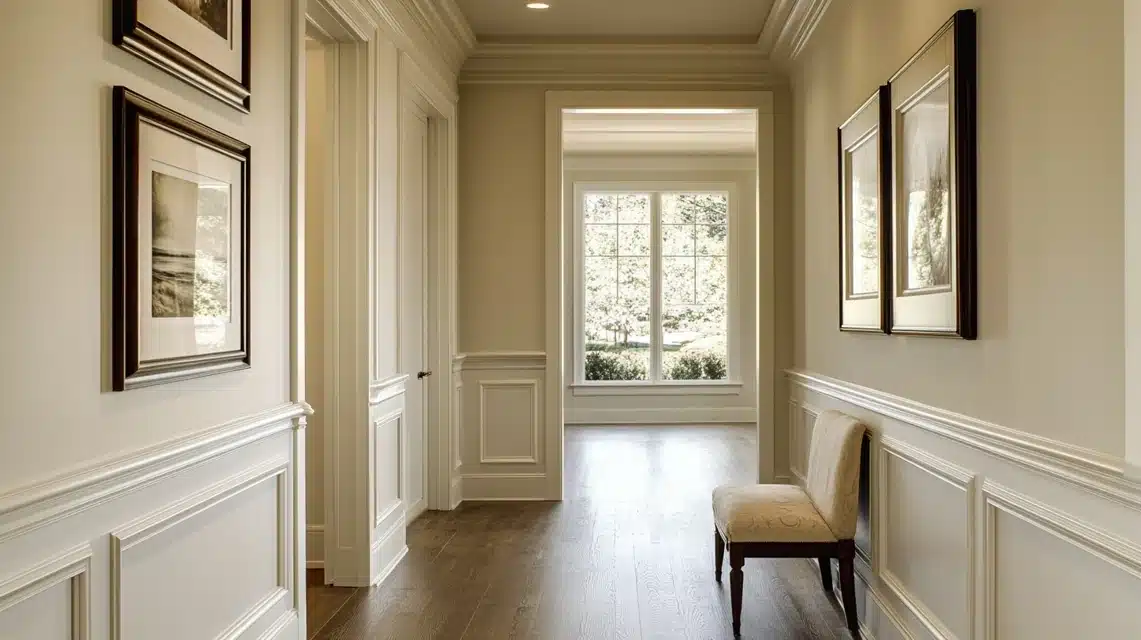
Narrow hallways benefit from vertical board and batten spaced 16 inches apart. Paint in light neutrals like Benjamin Moore’s Classic Grey to open the space.
For entryways, install 48-inch Shaker panels that wrap corners into adjoining spaces. Paint trim slightly darker than walls for a grounding effect. Mix chair rails with vertical battens for layered interest.
Designer Secrets
- Space battens 16 inches in hallways
- Wrap panels around corners
- Use light colors in narrow spaces
- Paint the trim darker than the walls
- Layer different trim styles
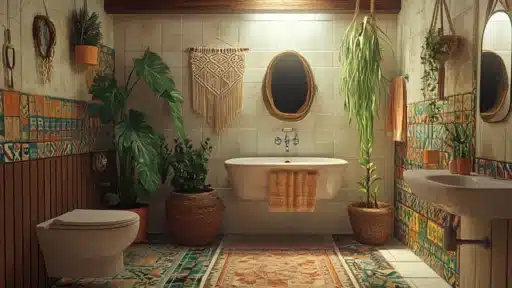
5. Bathroom
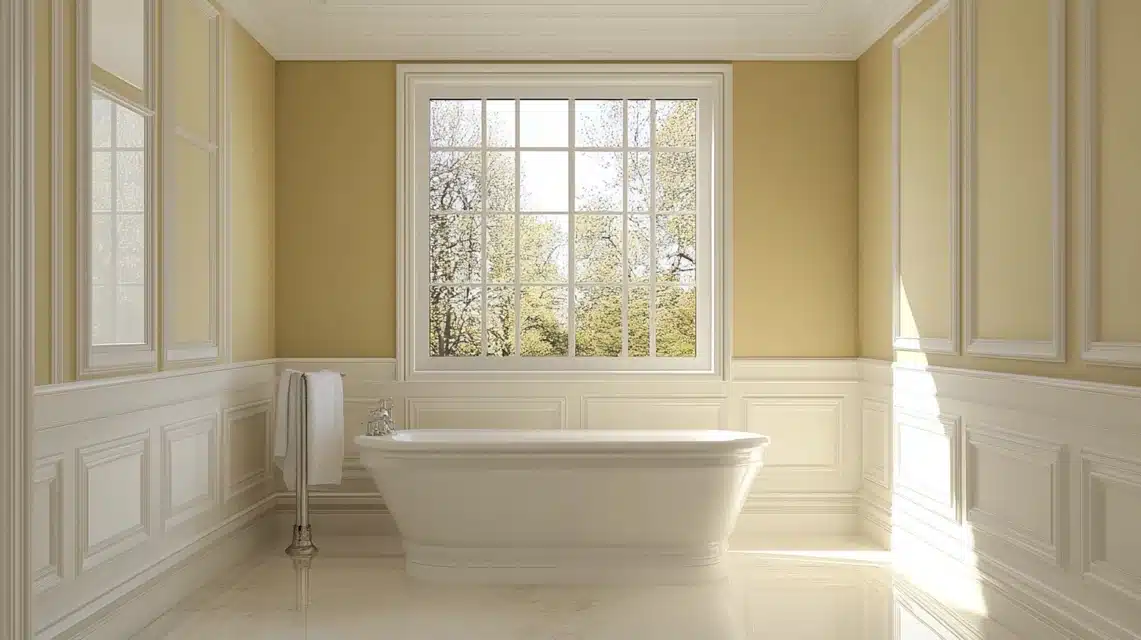
Beadboard works perfectly in bathrooms. Install PVC beadboard to 48 inches with chunky chair rail on top. Paint in crisp white like Benjamin Moore’s Chantilly Lace.
Use moisture-resistant Shaker wainscoting at vanity height (36 inches). Paint in spa colors like Sherwin Williams’ Sea Salt. Vertical board and batten with 12-inch spacing makes narrow bathrooms feel taller.
Designer Secrets
- Use PVC materials for moisture resistance
- Install at 48 inches in powder rooms
- Keep at vanity height in full baths
- Choose spa-like paint colors
- Use vertical lines to add height
How to Choose the Right Mid-Wall Trim for Your Space?
My proven approach to selecting the perfect mid-wall trim – it’s all about creating harmony between your space and style!
1. Consider the Room’s Functionality
I always start by thinking about how the room is used daily. For my busy family clients, I choose a sturdy board and batten in living spaces, it stands up beautifully to active kids and pets!
In formal dining rooms, I love using elegant raised panels because they create the perfect sophisticated backdrop for special occasions. For bathrooms, I strictly stick to moisture-resistant options like PVC bead board—it gives you that gorgeous look without any worries about water damage.
Designer secret: In high-traffic areas, I recommend trim profiles that have fewer ornate details which could collect dust or get damaged. Trust me, simple doesn’t mean boring it’s all in how you style it.
2. Room Size and Scale
My simple rule: bigger rooms = bolder trim! In spacious rooms with high ceilings, I go for wider chair rails (5-6 inches) and larger panels. But in cozy spaces, I scale down to a 3-inch trim with smaller panels to keep things proportional.
One of my favourite recent projects – a narrow hallway transformation! Instead of using standard 4-inch trim, I opted for slimmer 2.5-inch vertical battens spaced every 16 inches.
Why it worked so brilliantly: the thinner profile kept the space feeling open while the vertical lines drew the eye up, making the ceiling appear higher. (My clients couldn’t believe how much larger their hallway felt )
I’ve discovered that panel size is just as crucial as trim width. In my latest dining room project, I used larger 24-inch wide panels because the room could handle it. But in a small home office I just completed, I reduced the panel width to 18 inches – trust me, these small adjustments make a huge difference in how balanced a room feels!
Designer secret: I installed board and batten at 65% of the wall height, using 5-inch trim pieces. The proportions were absolutely perfect! In contrast, when I designed a cozy den with 8-foot ceilings, I scaled everything down to 42 inches high with 3-inch trim – it created beautiful interest without overwhelming the space.
Clients ask me about getting the scale right. I always say it’s like choosing the perfect frame for a beautiful picture that is too big or too small, and something just feels off. The right scale makes everything feel intentional and perfectly planned.
3. Home Overall Artistic

Recently, I worked on a modern minimalist home where I used clean-lined Shaker panels with absolutely no messy details.
Designer secret: I painted everything in crisp white (Benjamin Moore’s Chantilly Lace is my go-to) and kept the spacing geometric and precise. The result? Pure contemporary elegance that perfectly matched my client’s sleek furniture and minimal decor
A traditional home I just finished! I went all out with raised panel wainscoting in the formal areas. I’m talking detailed chair rails, deep beveled panels, and substantial crown moulding.
But here’s the key: I kept the same traditional language flowing throughout the house. Even in casual spaces, I used simpler versions of the same trim style, creating this beautiful, cohesive story from room to room.
Clients ask about matching trim to their home’s art. I always say it’s like composing a beautiful song. Every note needs to work together to create the perfect harmony!
Benefits of Mid Wall Trim
1. Adds Architectural Interest
- I added board and batten to a plain living room wall, and my client said it looks like a completely different space.
- I love using trim to create depth – it’s like adding dimension where there was none. In my recent project, I installed Shaker panels that catch light and shadow throughout the day.
- Those large, empty walls? They become stunning focal points! I just finished a dining room where the trim work turned a basic wall into what looks like custom millwork.
- Trust me on this – trim gives your room that custom, high-end look that you usually only see in design magazines. It’s my favorite way to add instant sophistication.
2. Protects Walls
- Chair rails aren’t just pretty – they’re like sheild for your walls! In busy hallways, they prevent scuff marks from furniture and daily traffic.
- I always recommend trim in dining rooms – it protects walls from chair backs while looking absolutely elegant.
- In my own home, I installed bead board in high-traffic areas, and it’s been a lifesaver with active kids running around.
- The best part? It’s both functional and beautiful – like having a stunning piece of jewelry that also keeps your necklaces from tangling!
3. Visually Defines Spaces
- I used trim to subtly separate the dining area from the living room without any walls.
- I love using different trim heights to create zones – higher in formal areas and lower in casual spaces. It works like magic!
- In my recent project, I defined a home office nook in a larger room just using a change in trim style, no additional walls needed.
- Think of it as creating ‘invisible walls’ that guide you through the space without closing anything off.
4. Boosts Property Value
- Quality trim work is like an investment that keeps giving back. I’ve had clients tell me their home’s value increased just from adding detailed trim work.
- Buyers absolutely love seeing custom trim details – it’s one of those upgrades that really makes your home stand out in the market.
- In my experience, homes with beautiful trim work tend to sell faster – it’s that perfect mix of character and craftsmanship that buyers are looking for.
- Just last month, a client’s realtor specifically mentioned how the trim work I installed made their listing photos pop compared to similar homes.
Popular Styles of Mid-Wall Trim
Each one has its own special magic, and I’m excited to share what I’ve learned through years of hands-on experience
1. Classic Chair Rail
When I first started designing homes, I used to think chair rails were just those functional strips of wood meant to protect walls from chair backs.
But over the years, I’ve discovered they’re so much more than that! In my designs, I use chair rails as a brilliant way to create a visual story in a room.
Think of it as drawing a beautiful line right through your space that naturally guides your eye around the room.
I can’t tell you how many times a simple chair rail has completely transformed a room!
In my latest dining room project, I installed a 4-inch chair rail at 36 inches from the floor, this height is my sweet spot as it perfectly aligns with most table backs.
Designer secret: I love painting everything below the rail in a slightly darker shade than the upper wall.
I completed a dining room where I painted the wall above the rail in a soft pearl grey and below in a deeper charcoal – the result was stunning!
For formal living rooms or studies, I recommend going with a slightly more substantial rail profile – maybe 5-6 inches – to create a more commanding presence.
The key is matching the scale to your room’s size and ceiling height. Trust me, once you nail this proportion, the whole room just sings!
I’ve found that classic chair rails work particularly well in traditional or transitional homes, but don’t let that limit you.
I recently installed one in a modern townhouse, and the clean lines of a simple rail profile looked absolutely perfect against the modern furniture.
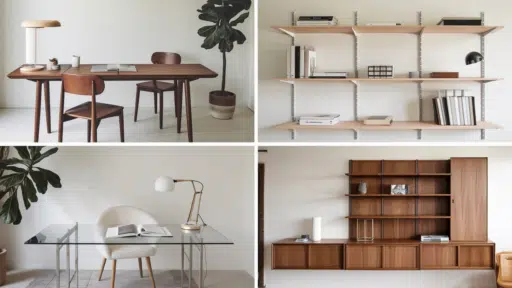
2. Shaker Wainscoting
Do you know what I love most about Shaker wainscoting? Its clean, simple lines tell a story of understated elegance.
In my designs, I typically use rectangular panels with thin trim work – nothing fancy or extra – but the impact is always dramatic.
Last month, I installed it in a client’s modern living room, keeping the panels perfectly proportioned at 24 inches wide, and the result was absolutely stunning.
I’ve found that Shaker wainscoting is incredibly versatile in modern and transitional homes. Just recently, I used it to transform a plain home office into a sophisticated workspace.
I painted it in a crisp white (Benjamin Moore’s Chantilly Lace is my go-to), and it created this beautiful backdrop for my client’s minimalist furniture.
The best part? It added architectural interest without overwhelming the space.
Designer secret: I love installing Shaker wainscoting at about 40 inches high in most rooms, but in spaces with 9-foot ceilings or higher, I’ll go up to 48 inches. It’s all about proportion!
In a recent dining room project, I took it up to 54 inches and paired it with a dramatic wall color above – my clients couldn’t stop smiling when they saw the finished look.
Speaking of modern spaces myself, I’ve been experimenting with painting Shaker panels in deep, moody colors lately.
Just finished a home library where I did the panels in a rich navy blue.
It’s become my new favorite way to add depth to basic interiors. Trust me, when you pair simple Shaker lines with bold color choices, magic happens!
3. Beadboard
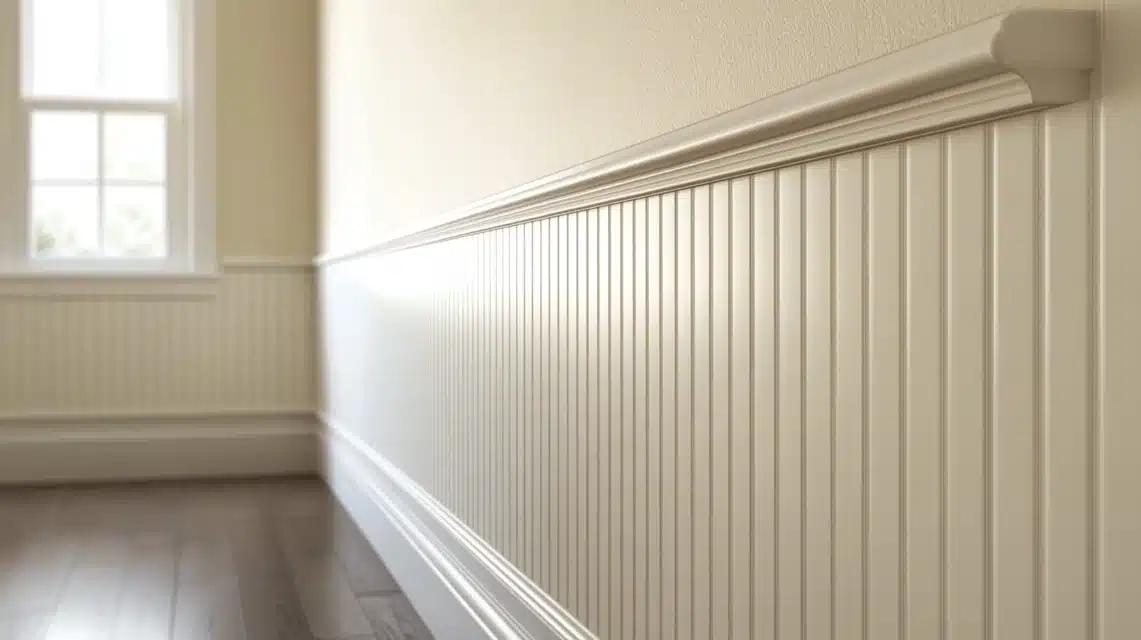
When I first introduce the bead board to my clients, I always describe it as the perfect blend of texture and tradition.
Those vertical grooves running up the wall create such beautiful shadow lines! In my most recent cottage renovation, I installed a traditional 2.5-inch beadboard, and the way it catches the light throughout the day is simply magical.
It’s like adding a subtle rhythm to your walls!
I absolutely love using bead boards in bathrooms. It’s become my signature touch!
Just last week, I completed a powder room where I took the bead board up to 48 inches and crowned it with a chunky chair rail.
Designer secret: in bathrooms, I always recommend using PVC bead board instead of wood. It gives you that same gorgeous look but stands up beautifully to moisture and humidity.
Trust me, your walls will thank you!
Kitchens are another space where I can’t resist adding bead board. I recently designed a farmhouse kitchen, which I used as a backsplash and carried onto a kitchen island. The texture it added was incredible!
I often paint it in warm whites (Swiss Coffee by Benjamin Moore is my current obsession) to keep the space feeling bright and airy while still maintaining that cozy feel.
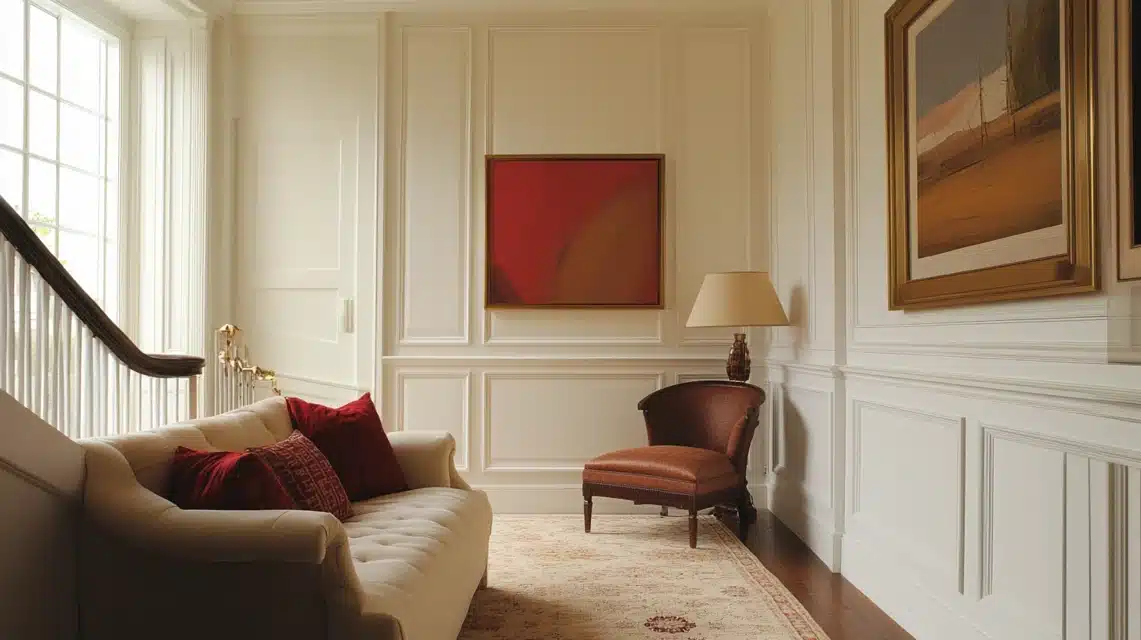
4. Raised Panel Wainscoting
In my years of designing, I’ve found that raised panel wainscoting is like adding fine jewelry to your walls.
Each panel is like a perfectly framed piece of art! I recently completed a formal dining room where I installed panels with deep beveled edges.
They create these gorgeous shadows that change throughout the day. The depth and dimension it adds to a room is simply breathtaking.
When I design with raised panels, I love going dramatic! In my latest library project, I took the panels up to 60 inches high and painted them in a rich, deep green (Benjamin Moore’s Hunter Green – my current obsession).
Designer secret: I often mix panel sizes on different walls, keeping larger panels for wider spaces and slightly smaller ones around windows and doorways. It creates this beautiful rhythm that makes the room feel incredibly custom.
For formal dining rooms, I recommend going all out! I just finished a project where I paired 42-inch raised panels with an extra-wide chair rail and substantial base molding.
I painted it in warm ivory (my favorite is Swiss Coffee), and the result was pure sophistication.
Pro tip: adding a glaze over the painted panels really highlights those beautiful raised edges and takes the elegance factor through the roof!
Earlier, I designed a home office in which I wrapped the entire room in raised panels, including around the built-in bookcases.
The level of sophistication it brought to the space was incredible.
My client said it felt like stepping into a luxury hotel.
5. Board and Batten
During my design practice, I’ve found that board and batten are like magic for adding architectural interest to plain walls.
Just last week, I finished a living room where I installed vertical battens every 16 inches, and wow – the way it added height to the room was incredible!
Designer secret: I love playing with different batten spacing to create unique patterns. In wider walls, I’ll go with 18-24 inch spacing, while in smaller areas, I’ll tighten it up to 12-16 inches for perfect proportion.
Let me tell you about my favourite board and batten project – a stunning entryway transformation!
I took the trim up to 72 inches high and painted it in Sherwin Williams Iron Ore (my go-to dramatic color). The vertical lines literally drew the eye up, making the ceiling appear higher.
I love how it created this gorgeous first impression that had my clients’ guests stopping in their tracks!
For modern homes, I’ve been experimenting with asymmetrical batten patterns lately.
In a recent focal wall project, I created varying width sections and painted them in a deep navy; it became instant wall art!
Here’s a pro tip I always share: in rooms with 8-foot ceilings, I install board and batten to about 60 inches high to create the illusion of taller ceilings without overwhelming the space.
Speaking of hallways – they’re my favorite place to have fun with this style!
I just completed a project where we ran a board and battened down a long corridor, painting it in a soft grey (Benjamin Moore’s Metropolitan is my current crush).
The vertical lines create this beautiful rhythm that draws you through the space. Trust me, it turned a boring hallway into a designer moment.
Conclusion
Throughout my design career, I’ve seen firsthand how these mid-wall trim right-trim ideas can turn a basic room into something different.
Let me encourage you to be brave with your trim choices! Start by playing with different styles in one room.
Just last month, I helped a client mix classic chair rails with contemporary panels, and the result was absolutely stunning.
Remember, there’s no strict rulebook – your home should reflect your personality. Try painting your trim in unexpected colors (I recently used a gorgeous deep blue that looked amazing or experiment with different heights and patterns.
Trust me, once you start exploring the world of mid-wall trim, you’ll discover endless possibilities for making your home uniquely yours.
So go ahead and take that first step in transforming your space.
I can’t wait to see what you create.
Frequently Asked Questions
What Height Should I Install My Mid-Wall Trim?
Most rooms work best with 36-42 inches from the floor. I adjust based on the ceiling height. For 8-foot ceilings, use 36 inches. Higher ceilings? Go up to 48 inches.
Should All Rooms Have the Same Trim Style?
Not necessarily! Keep similar styles in connected spaces but vary in separate rooms. I often use raised panels in formal dining rooms and simpler board-and-batten in family areas.
What’s the Best Paint Finish for Trim Work?
Semi-gloss works great for most rooms. It’s durable with a nice sheen. Use high-gloss in bathrooms and kitchens for moisture resistance. Same color, different finishes create subtle contrast.
Can I Install Mid-Wall Trim in a Small Room?
Yes! Scale is key. Use narrow beadboard with slim chair rails. It actually makes spaces feel larger. Keep proportions right for the room size. Small rooms love simple trim!
What’s the Best Trim Style for a Modern Home?
Clean-lined Shaker panels or simple board-and-batten work perfectly. I use minimal 1×4 boards in grid patterns. Keeps that modern look while adding visual interest to walls.

Ava Taylor, holding a Bachelor’s degree in Interior Design from the Pratt Institute, has made her mark in creating engaging and functional living spaces for over 14 years. She began her career with a New York-based design studio, where she gained a reputation for her innovative and user-centric designs. Ava joined our team in 2019, bringing a blend of artistic flair and practicality to our home improvement section. Since the she has been the lead contributor to our room transformation series, inspiring readers with her unique approach to maximizing space utility and aesthetic appeal. Beyond her professional work, Ava is a passionate collector of vintage furniture, a hobby that enriches her design perspective.