Most people assume painting pressure treated wood is as simple as cracking open a can and getting started. But then the paint starts peeling within months, leaving them wondering what went wrong.
Pressure treated wood is built to resist moisture, which also makes it resist paint. That’s why so many paint jobs fail fast.
But painting it doesn’t have to end that way. With the right prep, the right products, and a little patience, anyone can get a finish that holds up for years. This guide breaks it all down, step by step.
What Is Pressure-Treated Wood?
Pressure-treated wood is regular wood that has been treated with chemicals to help it resist rot, insects, and moisture. It’s commonly used for outdoor projects like decks, fences, and posts because it lasts longer than untreated wood.
The treatment process pushes preservatives deep into the wood using pressure. This is what makes it strong and durable, especially in harsh weather conditions.
However, this same process also leaves the wood slightly wet when it’s new. That’s why it behaves differently when it comes to painting or staining.
Can You Paint Pressure-Treated Wood?
Yes, you can paint pressure-treated wood, but timing is key. Many people ask, “Can you paint pressure-treated wood right away? The short answer is no. Fresh wood needs time to dry before it’s ready for paint.
For freshly treated wood, the general rule is 3 to 6 months. So if you paint too early, you’re looking at peeling, an uneven finish, or paint that just won’t stick properly.
So, how do you know when it’s ready?
- Do a quick water test: sprinkle water on the surface; if it soaks in, it’s ready
- Look at the color and texture: dry wood appears lighter and less glossy
- Wait it out: drying can take a few weeks to a couple of months, depending on the weather
But if you’re working with kiln-dried after treatment (KDAT) lumber, you’re in luck; it’s already been dried before purchase, so you can often start painting much sooner. It costs a bit more, but it saves you months of waiting.
Best Paint for Pressure-Treated Wood
Not all paints are created equal, and the wrong choice can mean a finish that fades, peels, or just looks rough after one season. Here’s what you need to purchase:
| Paint Type | Pros | Cons | Best For |
|---|---|---|---|
| 100% Acrylic Latex | Flexible, UV-resistant, easy cleanup | Needs recoating every few years | Fences, railings, vertical surfaces |
| Solid Color Deck Stain | Penetrates wood, great durability | Less color variety | Deck floors, horizontal surfaces |
| Oil-Based Paint | Strong adhesion, hard finish | Long dry time, strong fumes | High-wear areas |
Two things to keep off your shopping list. First, interior paints. They’re simply not built for outdoor conditions, and moisture and UV will break them down fast. Second, glossy finishes on walking surfaces. Looks nice until it rains, then it’s basically a slip-n-slide. Stick to satin or flat for deck floors.
Tools and Materials You’ll Need to Paint
Before you get started, make sure you’ve got everything on this list within reach.
| Category | Items Needed |
|---|---|
| Brushes & Rollers | 2-inch angled brush, wide brush, paint roller with extension pole |
| Prep Tools | Sandpaper (80-120 grit), stiff-bristle brush, or pressure washer |
| Painting Supplies | Paint tray, painter’s tape, drop cloths |
| Cleaning | Wood cleaner or deck cleaner solution |
| Primers & Paint | Water-based primer, acrylic latex exterior paint |
| Safety Gear | Gloves, safety glasses, dust mask |
How to Paint Pressure-Treated Wood: Step-by-Step Process
Once your wood is dry and your supplies are ready, the actual process is pretty straightforward. Just follow these steps in order.
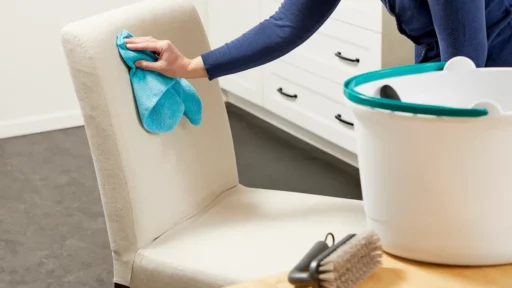
Step 1: Clean the Wood Thoroughly

Give the surface a solid cleaning before you even think about primer. Use a deck cleaner and a stiff brush to scrub away dirt, mildew, and any debris.
A pressure washer works great here, too. Just make sure you let the wood dry completely afterward, which usually takes around 24 to 48 hours, depending on the weather.
Step 2: Sand the Surface

Lightly sand the wood using 80 to 120 grit sandpaper. This smooths out the rough grain and gives the primer something to grip onto.
It doesn’t have to be perfect, just even. Once you’re done sanding, wipe everything down with a tack cloth or a damp rag to clear the dust.
Step 3: Apply Primer

Apply a thin, even coat of exterior water-based primer across the entire surface. Use a brush for edges, corners, and any detailed spots.
Switch to a roller for the larger flat sections to save time. Let the primer dry fully before moving on. Most manufacturers recommend around 2 to 4 hours, but always check the label.
Step 4: Apply the First Coat of Paint

Now you’re ready for paint. Work in the direction of the wood grain and keep your coats thin and even. Thick application leads to drips and an uneven finish, so resist the urge to pile it on.
Let it dry completely before moving to the next coat. Follow the dry time on your paint can, as it varies by brand and weather conditions.
Step 5: Apply the Second Coat and Inspect

The second coat is what really locks in the durability, color depth, and weather resistance. Apply it in the same way as the first.
Once it’s dry, do a full walkthrough and look for any missed spots, drips, or thin areas. Touch them up, and you’re done. A little extra attention here goes a long way.
Pro Tips for a Long-Lasting Finish
Getting a smooth, long-lasting finish takes more than just paint and a brush. A few smart choices and the right timing can make a big difference in how well it holds up.
- Paint In Mild Temperatures: 50°F–85°F is the ideal range, so avoid painting in direct hot sun
- Avoid Rain and Humidity: Never paint on a rainy or extremely humid day, as moisture affects adhesion
- Use A UV-Resistant Sealer: adds extra protection and helps prevent fading and damage over time
- Re-Coat Every Few Years: repaint every 2–3 years to keep the surface protected and fresh
- Always Use Primer: Skipping primer can lead to peeling and uneven results
- Choose The Right Paint Type: Use exterior-grade paint made for wood to ensure durability
- Inspect and Maintain Regularly: check yearly for cracks or peeling and follow a simple cleaning schedule to extend life
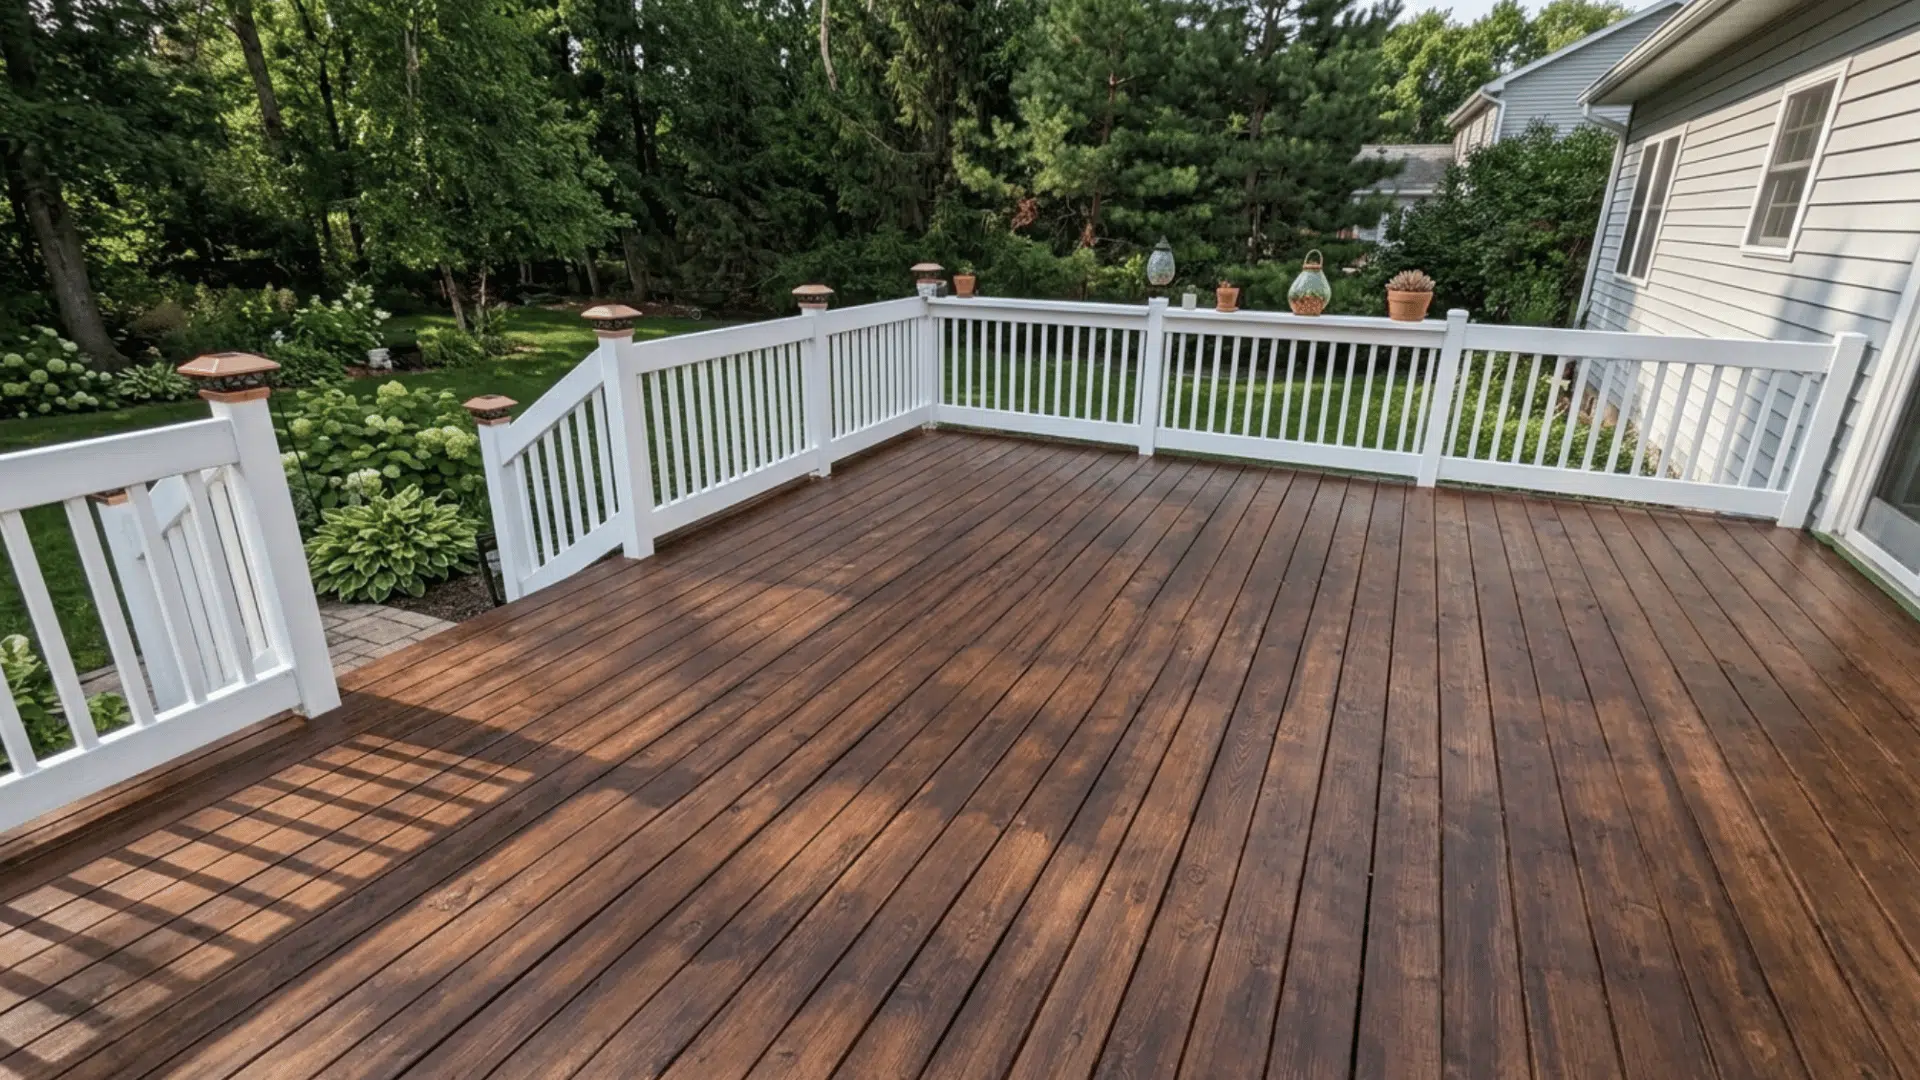
Paint or Stain: What Works Better for Pressure-Treated Wood?
Both paint and stain work on pressure-treated wood, but they give very different results. The right choice depends on how you want the surface to look and how much maintenance you’re willing to do.
| Feature | Paint | Stain |
|---|---|---|
| How It Works | Sits on top of the wooden surface | Soaks into the wood fibers |
| Finish Type | Solid, smooth finish with full color coverage | Natural finish that shows wood grain |
| Coverage | Hides imperfections and gives a uniform look | Does not fully cover flaws, keeps natural texture visible |
| Durability | Can peel over time if not applied correctly | Less likely to peel, fades gradually instead |
| Maintenance | Needs repainting every few years | Requires more frequent reapplication |
| Prep Required | Requires primer and proper surface prep | Less prep compared to paint |
| Best For | Bold, clean, polished appearance | Natural, simple, wood-focused look |
Final Thoughts
Painting pressure-treated wood takes a bit of planning, but it’s totally worth it. Now that you know the answer to “can you paint pressure-treated wood” is a solid yes, the only thing left is doing it right.
Dry the wood, prep the surface, pick the right paint and primer, and take it one step at a time. That’s really all there is to it.
Cut corners, and you’ll be redoing the whole thing in a season. Follow the process, and you’ll end up with a finish that actually holds up.
Ready to get started? Grab your supplies, run the water test, and go for it. Your deck or fence is going to look great.

Stephanie Grace, a graduate with a degree in Fine Arts from the Savannah College of Art and Design, has been inspiring DIY enthusiasts with her creative and practical guidance for over 14 years. Her career in design and crafting began in a small artisan workshop, where she developed a passion for transforming everyday materials into beautiful and functional items. Stephanie joined our website in 2018, rapidly gaining popularity for her easy-to-follow DIY tutorials and innovative project ideas. Since then, she has been the creative mind behind our DIY section, helping readers bring their artistic visions to life. Outside her professional pursuits, Stephanie enjoys pottery and urban gardening, hobbies that showcase her love for hands-on creativity and nature.