Have you ever wanted to sip your morning coffee from a mug that’s truly one of a kind? DIY mugs are the perfect way to express your creativity while saving money!
Making your own mugs is fun and transforms ordinary coffee breaks into special moments. With just a few basic supplies, such as blank ceramic mugs, paint, and markers, you can create something uniquely yours that no store can match.
DIY mugs also make heartfelt gifts that friends and family will treasure because they’re made with love.
Don’t worry about getting everything perfect—those tiny “mistakes” actually make your mug special and tell your creative story. Are you ready to transform plain mugs into personalized treasures?
Why DIY Mugs Are Your Cup of Awesome!
Making your own mugs is super fun and totally worth it! You get to create something that’s just yours – no one else will have the same mug.
Plus, it’s cheaper than buying fancy mugs from stores. Imagine sipping your morning coffee from a mug you made yourself—it feels good, right? DIY mugs also make amazing gifts.
Your friends will love getting something you made just for them. And don’t worry about being perfect—the little flaws make your mug special! Have you ever considered what design you’d put on your own mug?
Materials and Tools You’ll Need for DIY Mugs
Selecting the Perfect Mugs for Your Project
Choosing the right mugs is crucial for the success of your DIY project. Look for plain ceramic mugs with smooth surfaces—they’ll hold designs better than textured ones.
White mugs show colors most vibrantly, while colored mugs create interesting effects. Consider the mug’s shape, too – straight sides are easier to decorate than curved ones.
For beginners, heavier mugs are less likely to chip during handling. Want something special? Etsy and craft stores offer unique blank mug shapes!
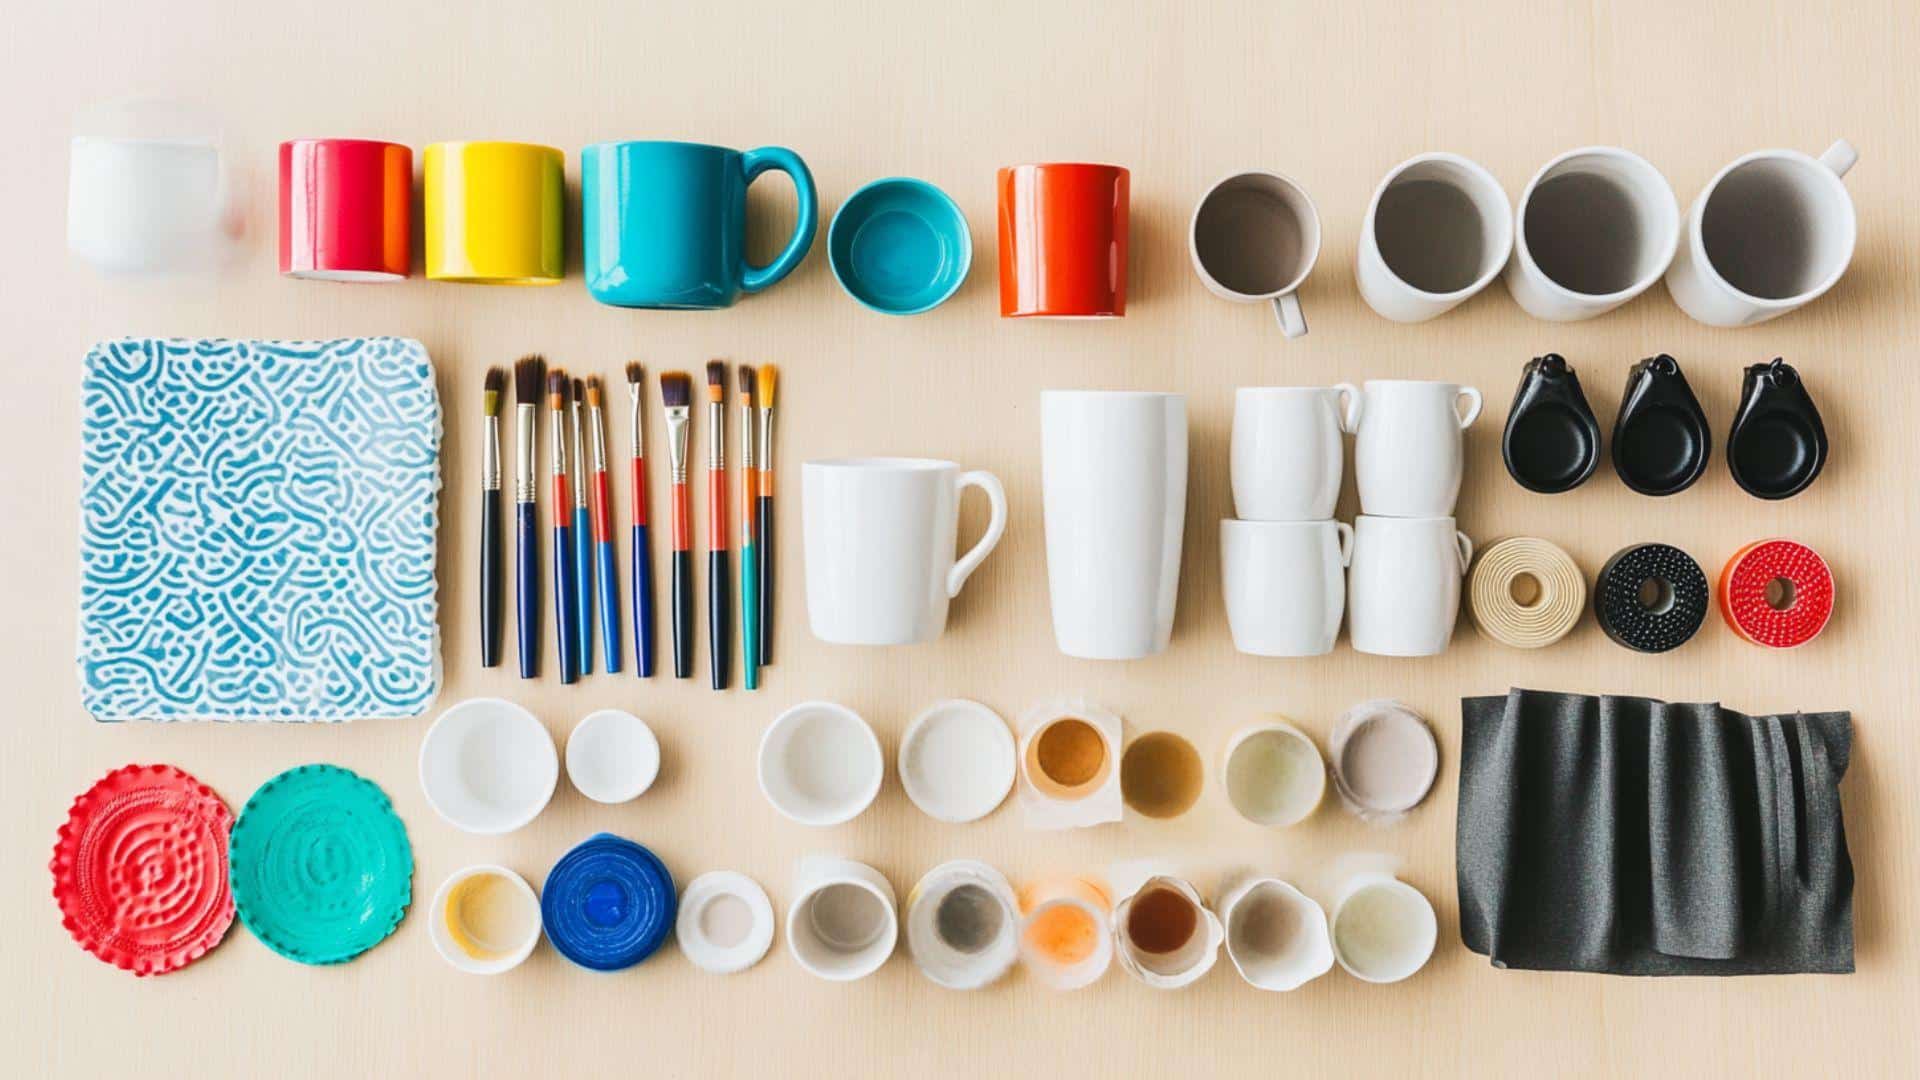
Essential Supplies for Custom Mug Creation
- Blank ceramic mugs
- Ceramic paint or permanent markers
- Stencils (optional)
- Painter’s tape (optional)
- Brushes (if using paint)
- Oven
- Oven mitts
- Soft cloth for cleaning
- Glossy finish (optional)
Total Estimated Cost
With Soft Cloth and Brushes
Minimum Cost: $29
Maximum Cost: $88
Without Soft Cloth and Brushes
Minimum Cost: $22
Maximum Cost: $68
Style Options for DIY Mugs

Popular Designs for Handmade Mugs
This table shows the most popular design styles for DIY mugs that even beginners can try. Each style has its own unique look and can be customized to fit your taste or home decor. Choose the design that speaks to you and matches your skill level for the best results.
| Design Style | Description |
|---|---|
| Minimalist Line Art | Simple black lines on white mugs create a clean and modern look. |
| Watercolor Effects | Soft, dreamy, and artistic colors blend for a unique design. |
| Geometric Patterns | Modern, trendy designs use shapes like triangles, squares, and circles. |
| Hand-Lettered Quotes | Personalized mugs with custom quotes or names written by hand. |
| Splatter Paint | Bold, random paint splatters create a playful and abstract look. |
| Dip-Dyed Ombré | A graceful gradient effect is achieved by dipping the mug in dye, fading from dark to light. |
| Holiday-Themed Designs | Seasonal designs are perfect for gifts, such as Christmas or Halloween motifs. |
How to Match Your DIY Mug to Your Kitchen Style?
When creating your DIY mug, consider your kitchen’s color scheme and style. For farmhouse kitchens, try rustic designs with muted colors or hand-drawn elements.
Modern kitchens pair well with geometric patterns and bold contrasts. For vintage spaces, floral motifs or retro-inspired designs work beautifully.
Don’t forget to coordinate with your existing dishware – your new mug can either match perfectly or become a standout conversation piece among your collection!
Step-By-Step Guide for DIY Mug
STEP 1: Choose Your Mug Base
Start by selecting a blank ceramic mug. You can purchase these from craft stores or online. Make sure the mug is clean and free of any dust or debris before beginning your design. This will ensure that any paint, markers, or other materials adhere properly to the surface.
Pro tips:
- Look for mugs with a smooth, even surface.
- If the mug is too glossy, consider lightly sanding it for better adhesion.
- Always wash the mug thoroughly before decorating.
STEP 2: Design Your Mug
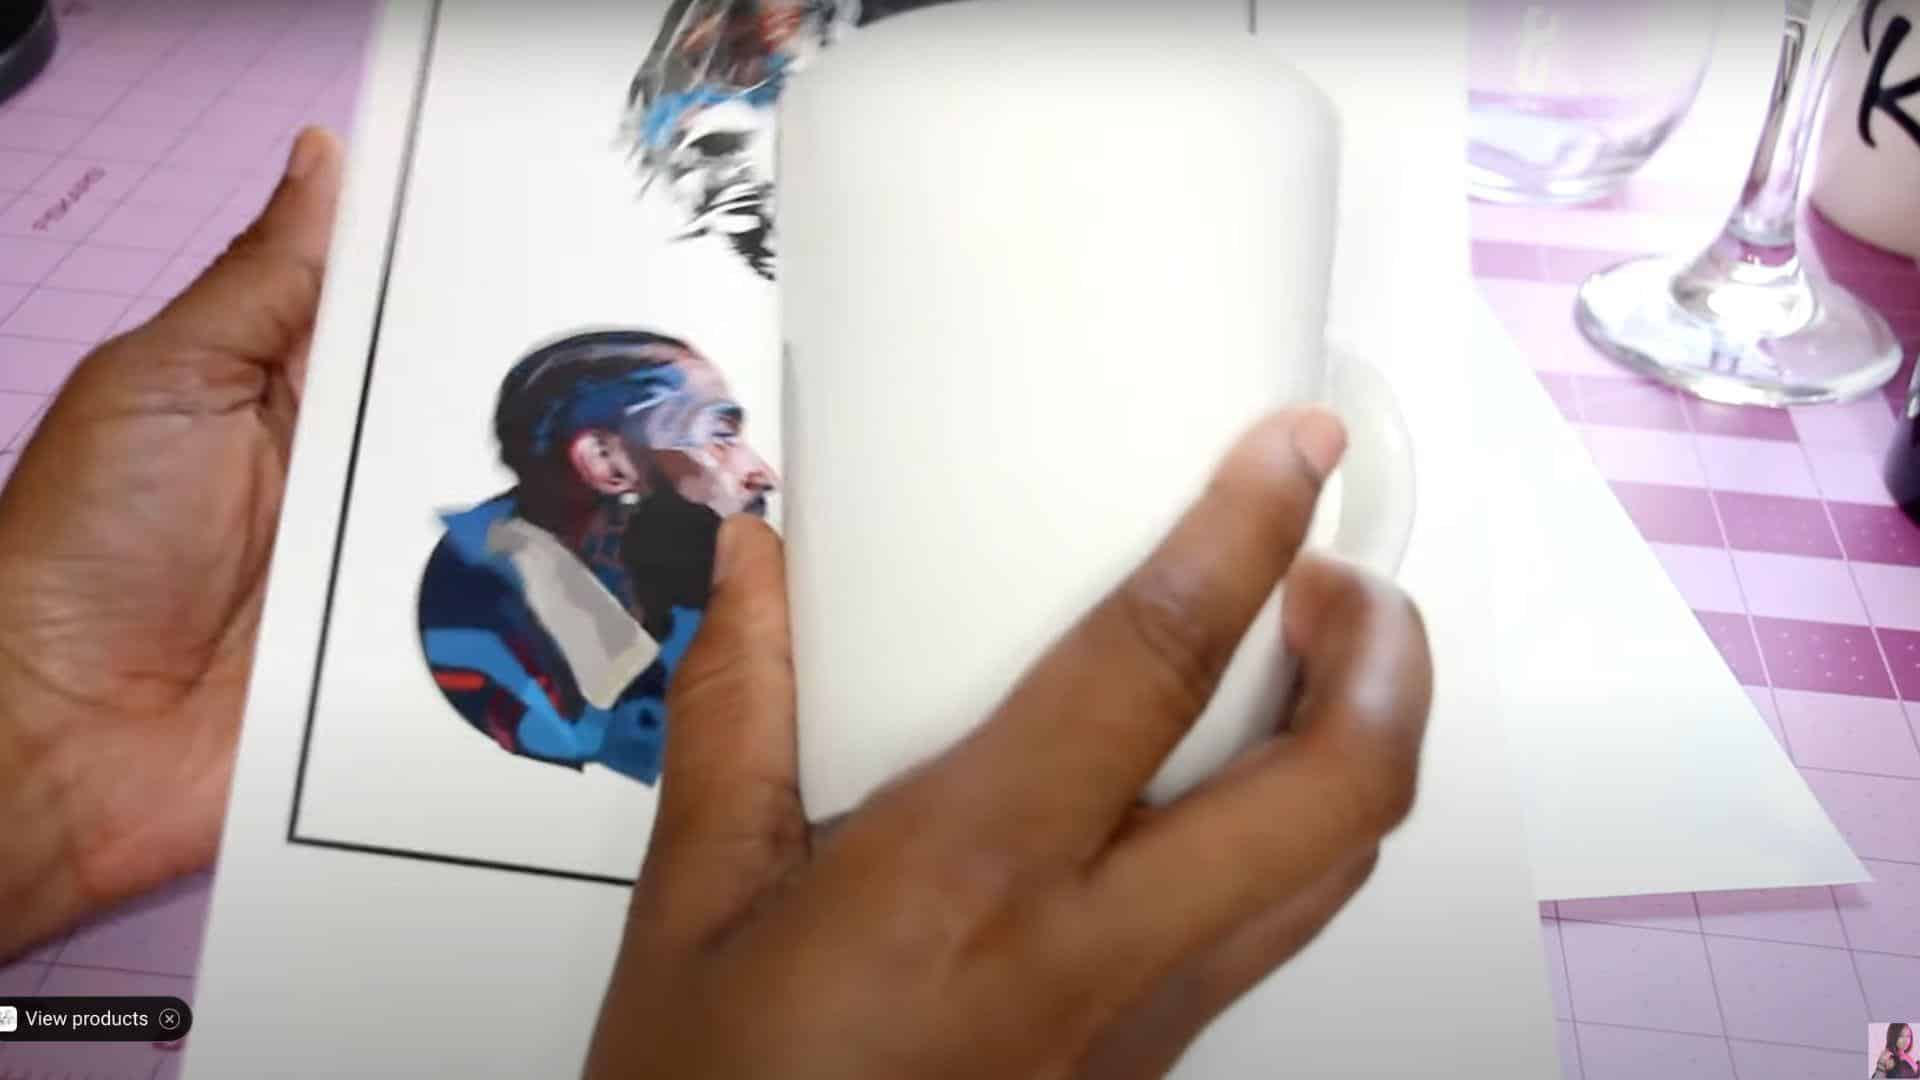
Sketch out your design on paper first, or go straight to painting or drawing. You can use paint markers, stencils or freehand your designs directly onto the mug.
For beginners, stencils and tape are great tools to help create neat lines and shapes. Be creative with colors and patterns!
Pro tips:
- Keep the design simple if it’s your first time.
- Use painter’s tape for clean lines.
- Try adding quotes or small illustrations for a personalized touch.
STEP 3: Apply Paint or Markers

Once your design is planned, use ceramic paint or permanent markers to apply your design to the mug carefully. If using paint, ensure each layer dries before adding the next.
Use different brushes to create textures or details in your design. Allow it to dry completely after finishing your artwork.
Pro tips:
- Use ceramic-specific paint to ensure it’s durable.
- Apply multiple, thin layers of paint for better coverage.
- Allow your design to dry completely to avoid smudging.
STEP 4: Bake the Mug
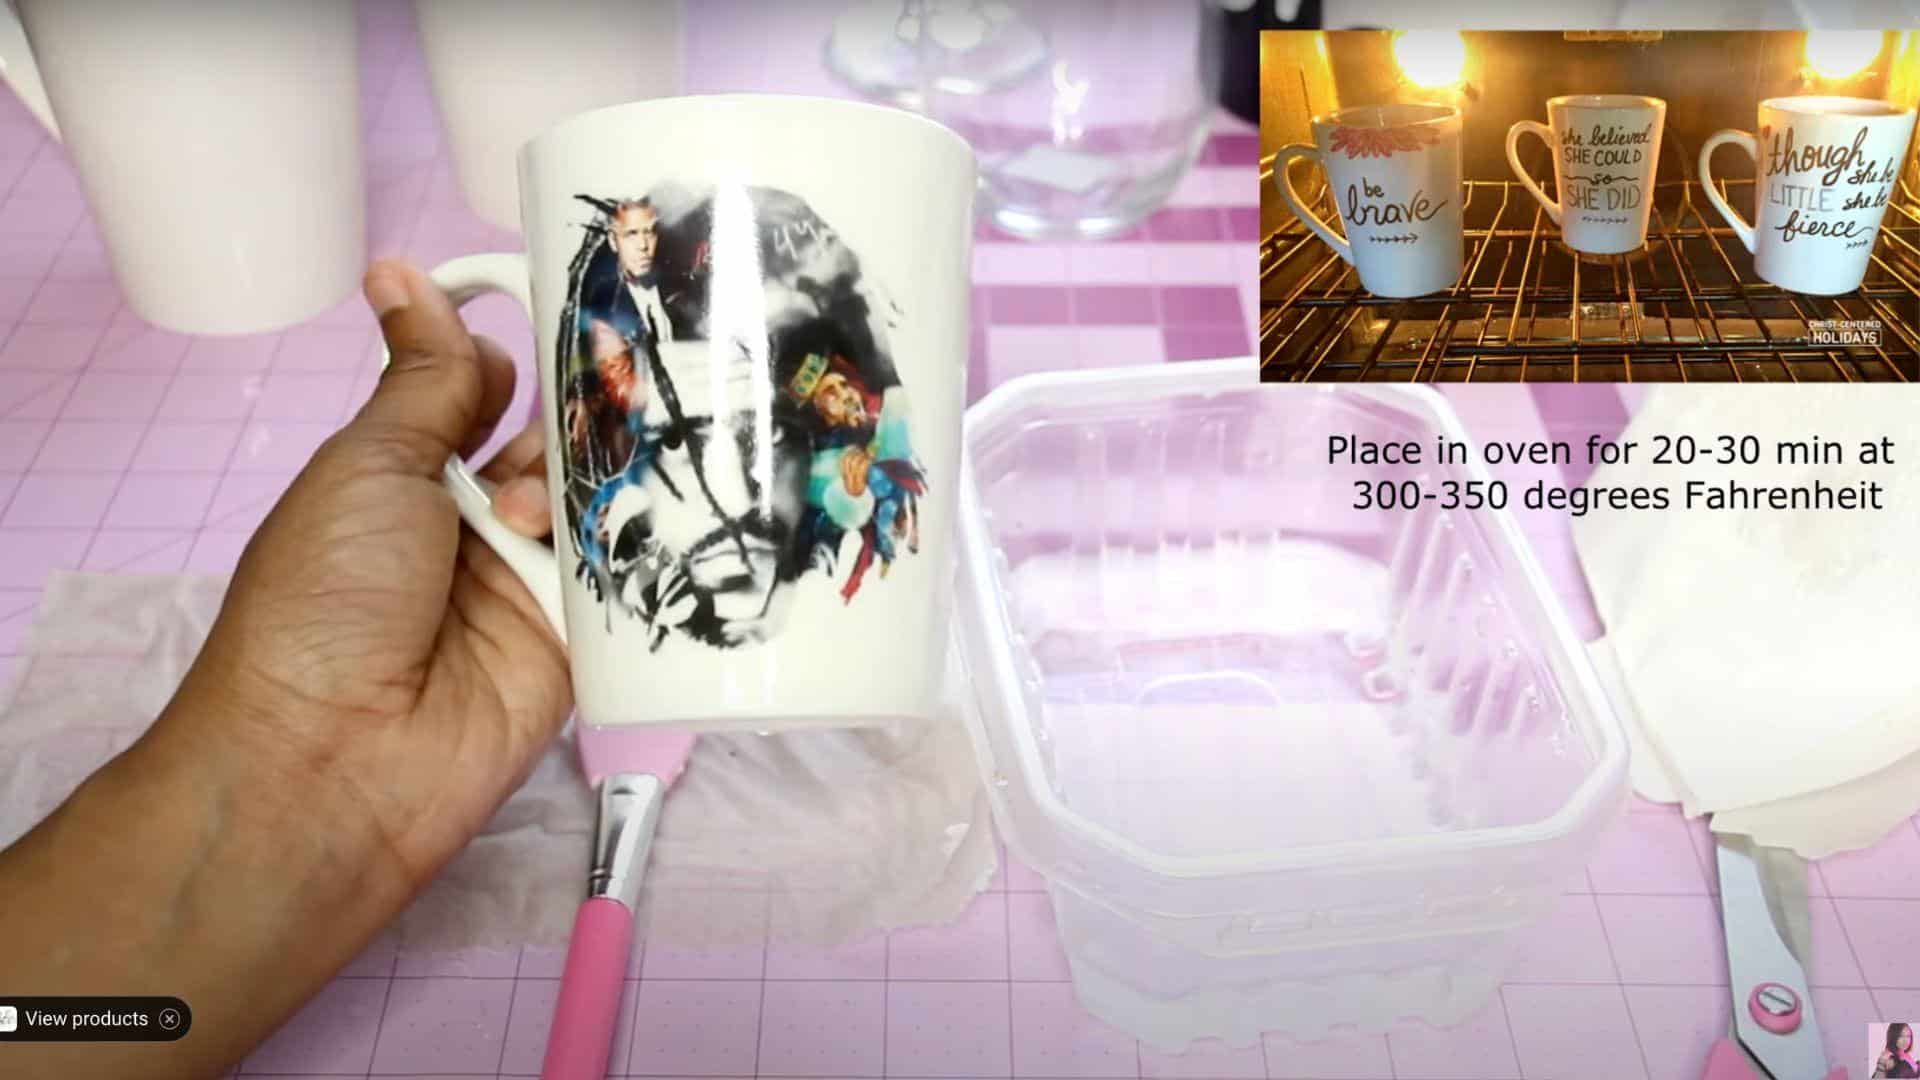
To set your design, bake the mug in the oven. Preheat the oven to 350°F (175°C) and place the mug in the oven for 30 minutes.
This process will help cure the paint and make it permanent, so the mug can be used regularly without worrying about fading.
Pro tips:
- Place the mug in a cold oven to avoid cracking.
- Don’t rush the baking process—let it cool down naturally.
- Follow the specific instructions on the paint or marker packaging for best results.
STEP 5: Enjoy Your Custom Mug
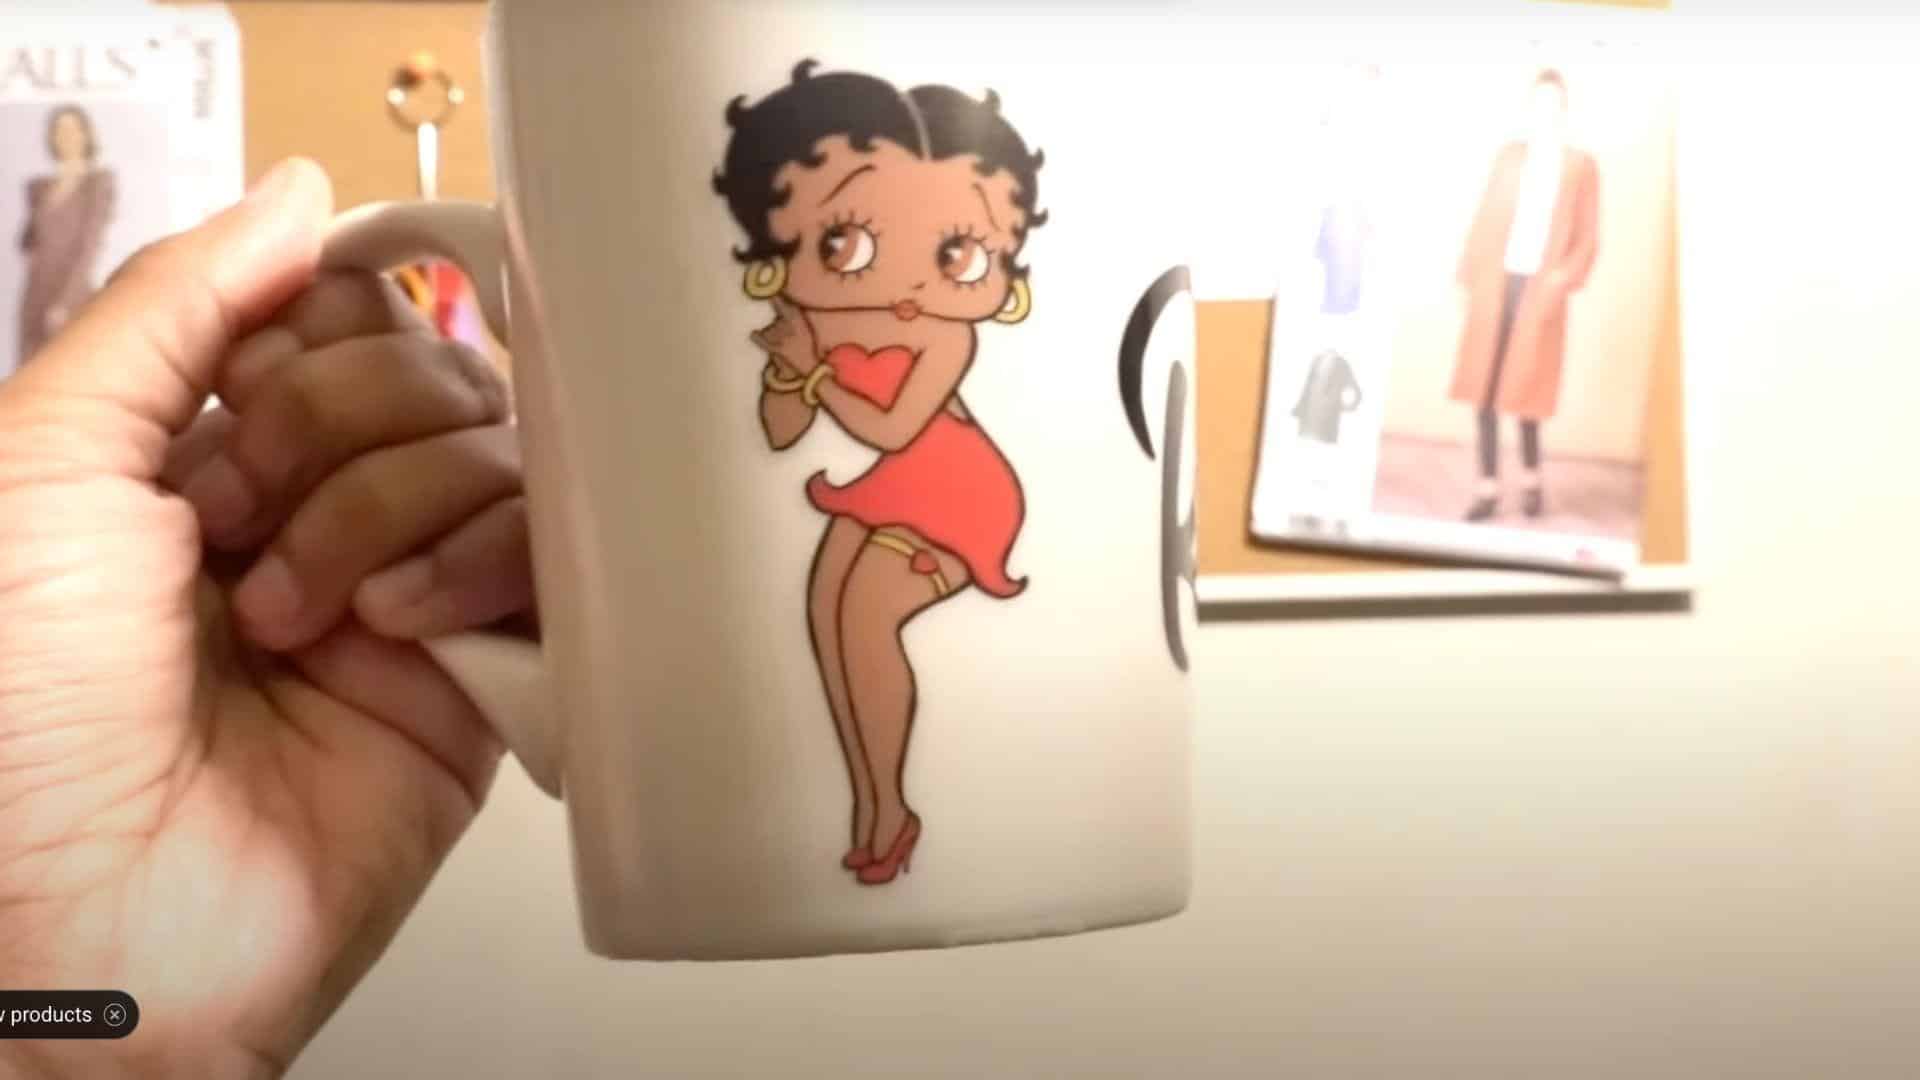
After your mug has cooled down from baking, it’s ready to use! You can gift it to someone or enjoy your personalized creation with your favorite beverage. To clean, hand-wash gently to preserve the design for as long as possible.
Pro tips:
- Hand wash to preserve the design.
- Consider adding a glossy finish for extra protection.
- Keep your mug away from abrasive sponges or scrubbers.
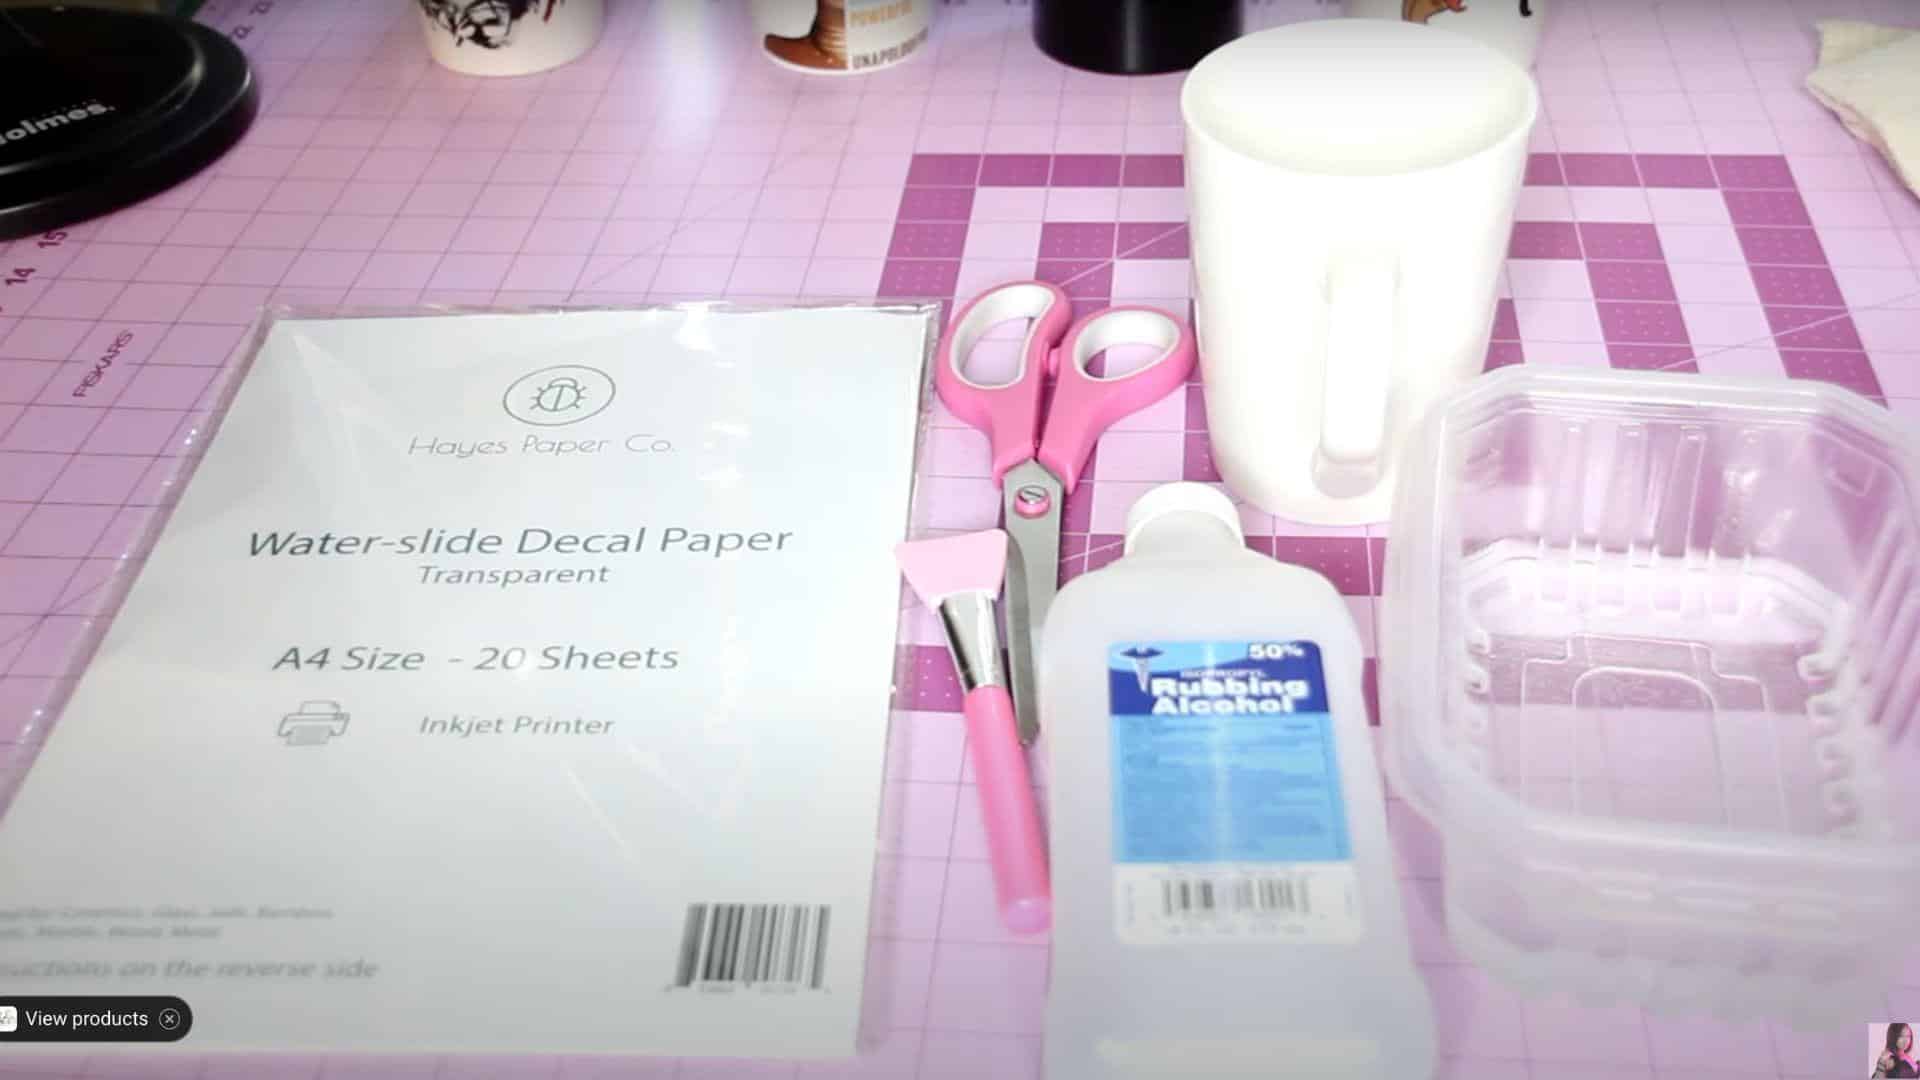
Watch How It’s Done: DIY Mugs Video Tutorial
For more information, check out this video tutorial by Doctor Fashion.
Maintaining Your DIY Mugs
Wash your handmade mugs gently with warm, soapy water after each use to keep them looking fresh and prevent coffee or tea stains from setting in.
Store your DIY mugs on a shelf where they won’t get bumped or knocked over, and avoid stacking them if you’ve added decorations that might scratch.
Touch up any fading designs with a fresh coat of paint or markers every few months and seal them again for the best protection.
Test your DIY mugs regularly for any cracks or chips, especially around the rim where your lips touch, to ensure they’re still safe to drink from.
Show off your creative mugs to friends who visit, and ask them which designs they like best—you might get inspiration for your next DIY project!
Common Issues to Avoid
- Avoid using harsh scrubbing brushes on your painted designs. They can scratch off your artwork and ruin hours of creative work.
- Don’t put DIY mugs in the dishwasher unless you’re certain all materials used are dishwasher-safe, as high temperatures can damage designs and cause paint to peel.
- Watch out for hairline cracks forming at the bottom of your mug. These cracks can leak hot liquid and potentially cause burns when you least expect them.
- Be careful when using a microwave, as some paints, markers, and adhesives can bubble, spark, or release chemicals when heated, making your mug unsafe.
- Avoid leaving mugs with dark liquids sitting for days, as coffee and tea can permanently stain unglazed or poorly sealed surfaces of your DIY creation.
Final Thoughts
Creating DIY mugs brings joy both in the making and using. These personalized cups become more than just containers for your favorite drinks—they become daily reminders of your creativity.
Remember to maintain your DIY mugs by washing them gently, storing them safely, and touching up designs when needed.
Avoid common pitfalls like harsh scrubbing, dishwasher cleaning, or leaving dark liquids sitting too long.
The beauty of DIY mugs is that they grow with you—as your skills improve, so will your creations!
They’re perfect conversation-starters when friends visit and might inspire others to try making their own. Life’s too short for boring mugs!

James McLaren, with a rich background in architecture from the University of Manchester, has been contributing his expertise to the world of creative construction and home innovation for over 20 years. His journey began as a project manager for a leading construction firm, where he honed his skills in bringing complex designs to life. James joined our platform as a freelancer in 2019, quickly becoming a favorite for his insightful and practical advice. He has been a pivotal force to our wing ever since, bringing our readers a blend of technical know-how and creative flair. Beyond his professional life, James is an avid woodworker and enjoys restoring vintage furniture, a hobby that complements his professional insights beautifully.