Measuring your floor might sound tricky, but it’s actually pretty simple once you know what to do.
If you’re planning to install new flooring, like laminate or hardwood, you need to figure out how much to buy.
That’s where I come in. I’ll walk you through a clear, step-by-step method to measure your space so you don’t end up short or spend more than you need to.
You won’t need anything fancy, just a tape measure, some paper, and a few minutes of your time.
This guide helps you break your room into easy sections, measure them right, and even add a little extra just in case.
If you’ve been unsure about how to measure floor space before buying materials, you’re in the right place. Let’s make it easy and stress-free.
Square Footage 101: How to Measure for Flooring

Before purchasing any flooring, it’s essential to determine the exact amount you’ll need. That’s where square footage comes in.
Square footage tells you the size of your space in a way that matches how flooring is sold.
Whether it’s hardwood, laminate, tile, or carpet, flooring is usually priced and packaged by the square foot.
To figure it out, you just need to measure two things: the length and the width of your room. Then, multiply those numbers together.
For example, if your room is 10 feet long and 12 feet wide, the total area is 120 square feet.
Look at this simple formula:
Length × Width = Square Footage
Getting this number right is key. It helps you buy the correct amount of material, avoid waste, and make sure your project runs smoothly from start to finish.
No guesswork-just clear numbers you can trust.
Tools You’ll Need

You don’t need a lot to measure your floor-just a few basic tools that you probably already have at home.
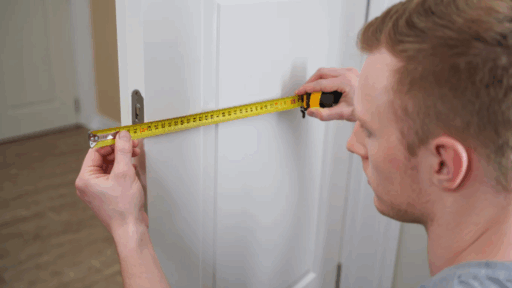
- Tape Measure: This is the most important tool. Make sure it’s long enough to measure across your room.
- Pencil and Paper: Use these to draw a simple sketch of your room and write down your measurements as you go.
- Calculator (Optional): This can help you quickly add up different areas or figure out square footage. You can also use your phone for this.
How to Measure Your Floor: Step-by-Step Instructions
Measuring your floor is easier when you break it down into simple steps. Follow this process to get accurate numbers and avoid surprises later.
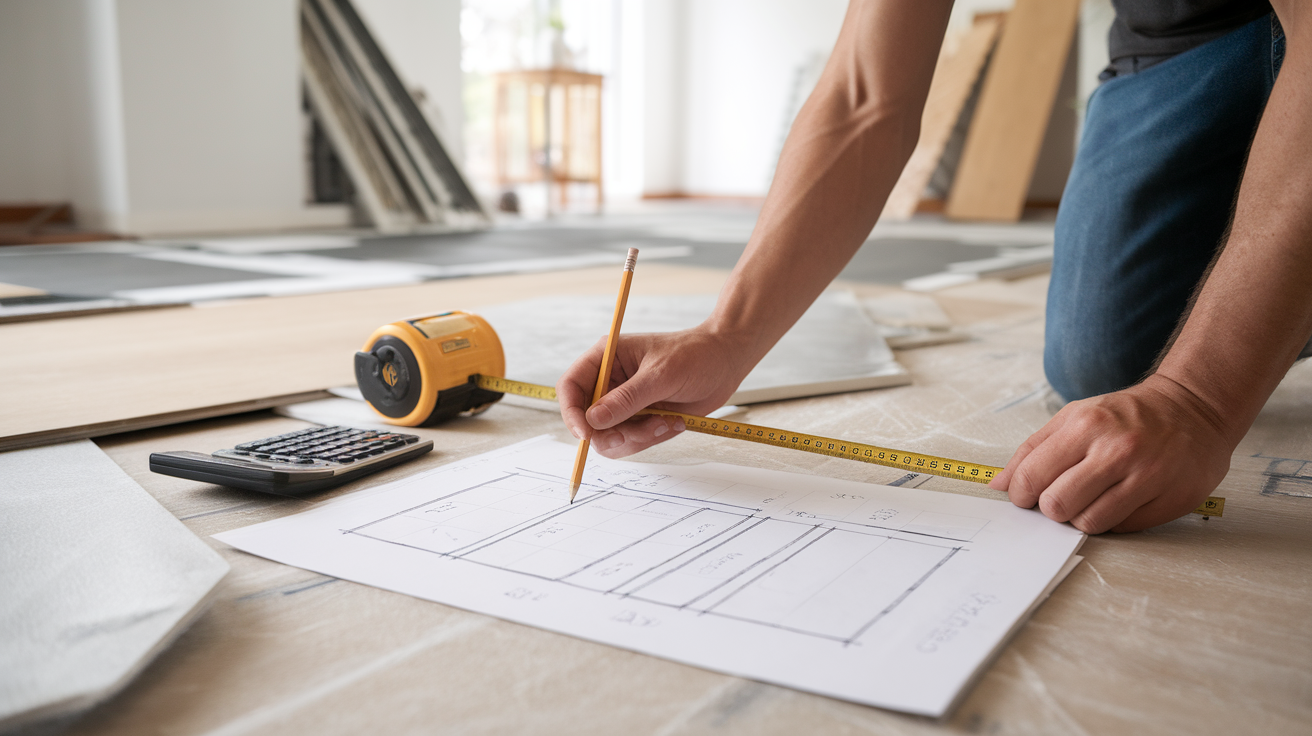
Step 1: Sketch Your Room and Break It Into Boxes

Start by drawing a basic outline of your room on paper. Don’t worry about making it perfect, just a simple sketch will do.
Look at your room and break it into smaller parts like rectangles or squares. If you have closets, corners, or built-in furniture, treat each one as its own box.
This makes measuring much easier. Label each section so you can keep track of the measurements later.
Think of it like making a puzzle-smaller pieces are easier to work with than one big shape.
Step 2: Measure the Length and Width of the First Section

Pick one of the boxes you drew and grab your tape measure.
Measure the length first, placing the tape against one wall and stretching it across to the opposite wall. Write that number down.
Then, measure the width from one side to the other. If you get something like 10 feet 8 inches, round it up to 11 feet.
It’s better to have a little extra than not enough.
Keep your notes clear and double-check your numbers to avoid mistakes. Once you finish this section, you’re ready to move on to the next.
Step 3: Calculate the Area of Each Box

Now that you have the length and width of your first section, multiply them together to get the area.
This tells you how many square feet that part of the room covers. For example, if one section is 12 feet long and 10 feet wide, you get 120 square feet.
Write the total next to your sketch. Repeat this for every other box in your drawing. You’ll end up with several numbers, one for each section.
These numbers are important because they help you figure out how much flooring you need overall.
Step 4: Repeat for All Remaining Sections

Go through each part of your room one by one. Measure the length and width, just like before, and calculate the square footage for each section.
Add those numbers together to get your total floor area. If you measured 120 square feet in one box and 20 in another, your total so far is 140.
Keep adding each new number to your total.
This step is all about staying organized and not skipping anything, even small spaces like closets.
Every part of the floor matters when you’re planning how much flooring to buy.
Step 5: Add 10% Extra for Waste

It’s a smart idea to buy a little more flooring than you think you need. This helps cover small mistakes, cutting pieces, or saving some for later repairs.
To do this, take your total square footage and add 10%. A quick trick is to move the decimal one place to the left.
If your total is 150 square feet, 10% is 15.
So, 150 + 15 = 165 square feet. This step helps make sure you don’t run out of materials halfway through your project.
Step 6: Round Up to the Nearest Package Size

Flooring often comes in boxes that cover a set amount, like 20 or 25 square feet. Once you know how much you need, check how your chosen flooring is sold.
Then round up to the next full box. If you need 165 square feet and each box covers 20 square feet, you’ll need 9 boxes (180 square feet).
It’s better to have extra than to come up short. Having leftovers is handy in case you need to fix anything later.
Plus, it saves you from making a second trip to the store.
Want to see exactly how it’s done? Check out this video from @The Fixer-it walks you through each step in a way that’s easy to follow and helpful.
Common Mistakes to Avoid
Avoiding these common mistakes can help your flooring project go smoothly and save you time, money, and effort:
- Skipping closets or alcoves: These small spaces still need flooring, so don’t leave them out of your measurements.
- Not rounding up measurements: Rounding up helps make sure you have enough material and don’t fall short.
- Leaving out the 10% extra for waste: This extra amount covers cutting mistakes, damage, or future repairs.
- Not writing measurements down: Forgetting even one number can cause problems. Keep clear, written notes.
- Guessing instead of using a tape measure: Always measure carefully, don’t rely on rough estimates.
- Not checking flooring package sizes before buying: Flooring is sold in set amounts, so know how many boxes you’ll need.
Conclusion
Measuring your floor doesn’t have to be hard. With just a tape measure, a pencil, and a little time, you can figure out exactly how much flooring you need.
I’ve walked you through each step, sketching your room, measuring each section, adding it all up, and making sure to include a little extra for waste.
This method works great for any kind of flooring, including laminate and hardwood.
Taking the time to measure now will save you from problems later. You won’t have to guess or make last-minute trips to the store.
Just follow these simple steps, double-check your numbers, and round up when needed.
I hope this guide made things easier and gave you the confidence to start your flooring project the right way.
If you’re ready to shop, you’ll now know how much to get-and that’s a big step in getting the job done right.

James McLaren, with a rich background in architecture from the University of Manchester, has been contributing his expertise to the world of creative construction and home innovation for over 20 years. His journey began as a project manager for a leading construction firm, where he honed his skills in bringing complex designs to life. James joined our platform as a freelancer in 2019, quickly becoming a favorite for his insightful and practical advice. He has been a pivotal force to our wing ever since, bringing our readers a blend of technical know-how and creative flair. Beyond his professional life, James is an avid woodworker and enjoys restoring vintage furniture, a hobby that complements his professional insights beautifully.